When I learned to crochet I soon found the need to store my rapidly increasing stash of crochet hooks. But where? Make it myself of course! Since I have hooks from very thin to very thick I wanted to have one in which I can easily adjust the size of the pockets. The pattern for this Roll it Up & Go crochet hook case is written more as a template instead of exact instructions.
This pattern is written in American English crochet terminology.
Difficulty
Techniques used consist of ch, sc and slst. Because of this, the pattern is suitable for the beginner.
Materials
- Less than 1 skein of yarn of choice
- Even less in yarn of the same weight in a contrasting color
- Crochet hook size 3.5 mm (US # E)
- Crochet hook size 4 mm (US # G).
Finished Size
Any size you want it to be!
Gauge
Depends on the size desired and yarn used.
Notes
The main body of this hook case consists of a rectangle shape worked in Sc in the front loops only to get a more thin and flexible fabric.
Instructions for the roll it up & go crochet hook case
The body of the hook case
Ch a length equal to the length of the longest hook you want to keep in the case + 10 cm (4 inch) for the pockets. Let’s call that amount of chains “A”. In my case A was equal to 51 sts. Make sure your A is an uneven number. Ch 1, turn.
Row 1: Sc in second ch from hook and in each ch across. Ch 1, turn. Work the sc in the single bump on the back of the chain for a finishing that will look the same on both ends of the rectangle.
Row 2: Sc (in front loops only!) in each sc for (A minus 3) / 2 sts, 1 sc in both loops of st, ch 1, skip 1 sc, 1 sc in both loops of st, sc in front loops only in each sc across, ch 1, turn
Repeat row 2 until you have twice the number of crochet hooks you want to keep in the case + 12. It is however always wise to make it bigger than you think you’ll possibly be needing. Fasten off.
Create the pocket
First, sc along one of the sides of the rectangle (perpendicular to the rows) with a contrasting color. I used orange. Then fasten off.
Next, fold up the side you just worked on perpendicular to the rows. Doing this will make a pocket, make sure the pocket is approx. 5 cm (2 inch). Fasten onto the crease with a slip stitch. Sc up the side of the pocket, making sure to crochet through both the upper and lower row. When you reach the end of the pocket, continue to sc up the side of the case, along the upper edge and down the other side. Then crochet both rows together again.
Fasten off.
Holding the hooks in place
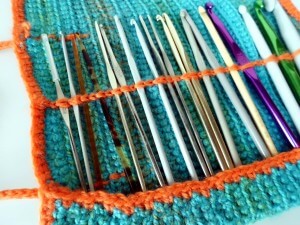
In the middle of the rectangle, the [ 1 sc in both loops of stitch, ch 1, skip 1 sc, 1 c in both loops of stitch] part created a line with “holes” in the fabric. These holes will be used to slip stitch the “holding” part of the hook case onto the rectangle. Up to 5 mm hooks, I use 1 st loop to hold the hook down. For bigger hooks skip 1 or even 2 holes and adjust the tension of your yarn to make a slip stitch loop big enough to accommodate the bigger hook.
By using a contrasting color you can at any time in the future rework this part to fit more (or less) smaller or bigger hooks.
Hold your yarn at the back of your work (the outside of your crochet hook case). Push your hook into the work from the front to the back at the edge of the rectangle where column with the holes begins. Hook the yarn from behind your work and bring the new loop to the front. Be sure to hold on to the loose end of yarn!
Then, again push your hook through the fabric to the back, hook the yarn and bring it to the front of your work. This time bring your newly formed loop through the old one. Be careful not to pull the yarn too much or the fabric will pucker. When you reach the other side of the rectangle, fasten off.
Closure
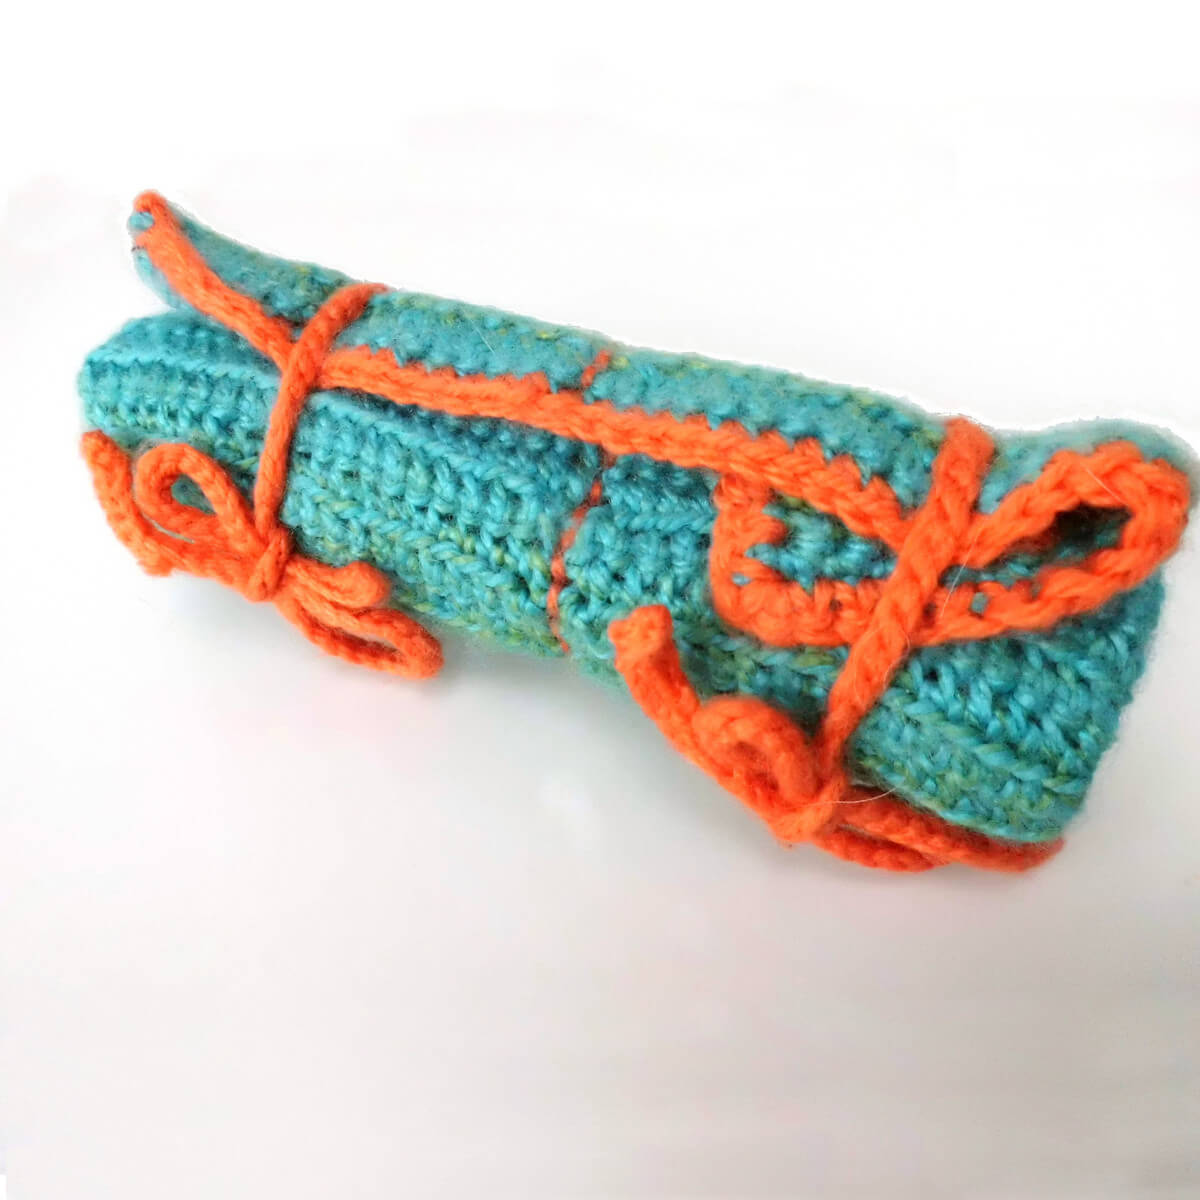
In my Roll it Up & Go crochet hook case I used ties to keep it closed. Of course feel free to use buttons or something else instead.
With the larger hook make a chain big enough to wrap around your hook case when rolled up plus extra to tie into a bow. Also, add about 20 extra chains, the chain will end up shorter than it initially is. A total of 40 to 50 cm (16 to 17 inches) will probably be enough.
Next, switch to the smaller hook and slipstitch in the second chain from the hook and till the end. Fasten off.
Repeat for second tie.
Finishing
Sew the ties to the outside of the Roll it Up & Go crochet hook case as pictured. Weave in ends and fill your hook case up with crochet hooks.
roll it up & go crochet hook case
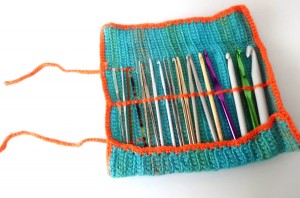
roll it up & go crochet hook case

Roll it up & go crochet hook case