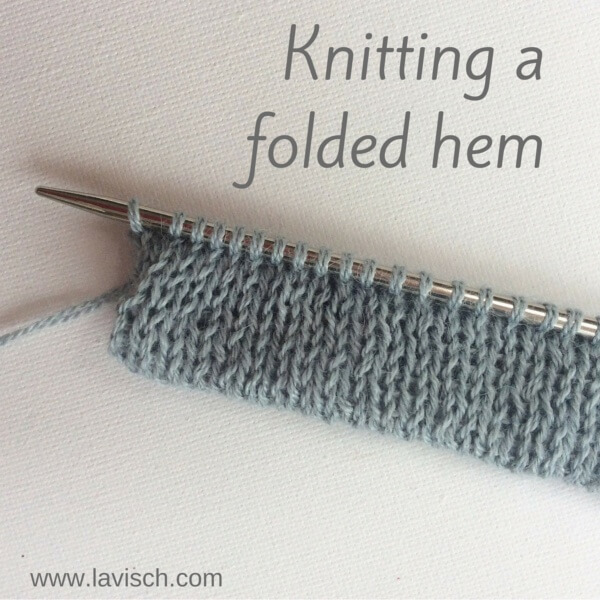
Making a folded edge or or hem on a knitted garment is the way to give a project an edge in stockinette stitch that does not roll. Ideal if you’re looking for an understated and elegant finish of your garment. Because this border is composed of two layers, it is a strong and wear-resistant finish, which is very suitable for example for sleeves and collars.
As is often the case, there are multiple ways to create a folded hem. In this post I will show you the version using a provisional cast-on.
Materials needed
- Yarn for your project
- Smooth waste yarn in a similar thickness as your main or slightly thinner for the provisional cast-on
- Knitting needles
- An additional knitting needle in the same or slightly smaller size
- A crochet hook
Knitting a folded hem step by step
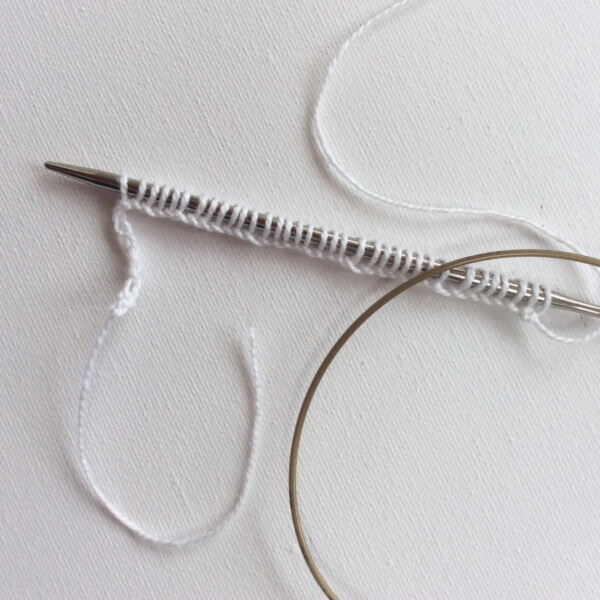
1. Start by doing a provisional cast-on using the waste yarn. In this post you can see how my favourite way to do a provisional cast-on is done step by step.
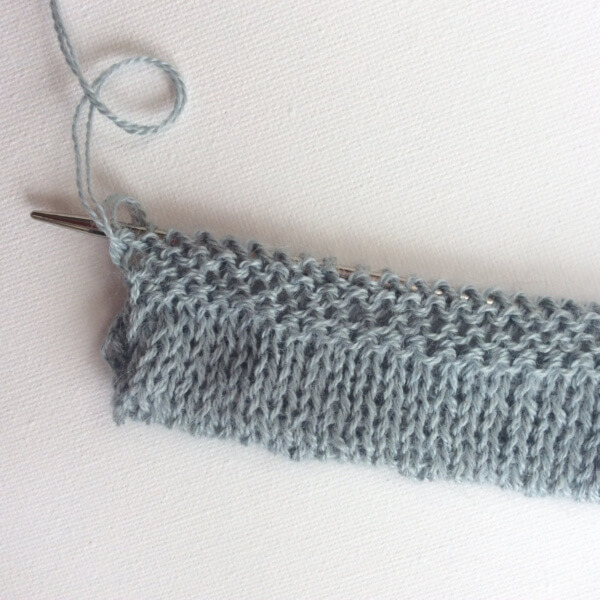
2. Then knit with your main yarn in stockinette stitch. For a somewhat rounded edge to your hem, knit to about twice the desired height of the hem. That’s what I’ve done in this example.
For a hem with a sharper crease on the fold, knit in stockinette until the desired height of the hem. Next work a purl row on the right side of the work, followed by another length in stockinette for the desired height of the hem.
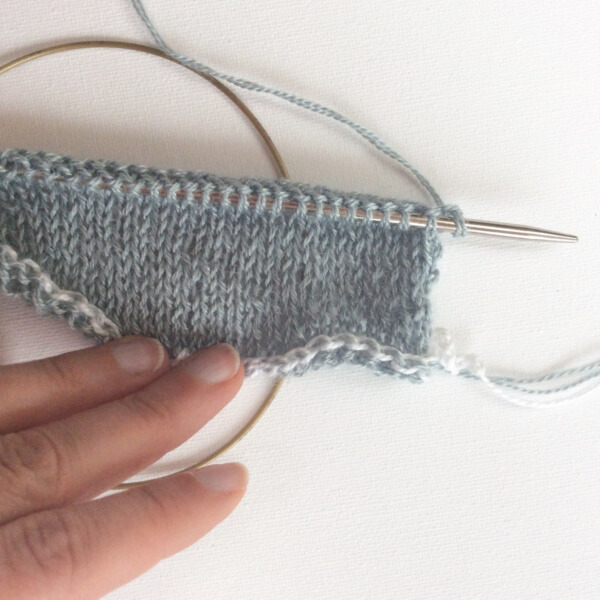
3. Remove the provisional cast-on and place the freed stitches on the extra knitting needle.
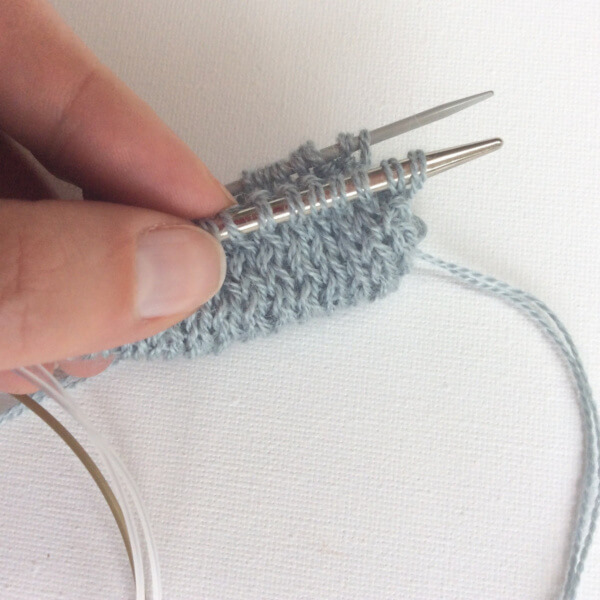
4. Fold the piece like shown in the picture with the right side of the work on the outside and hold both knitting needles in the same hand.
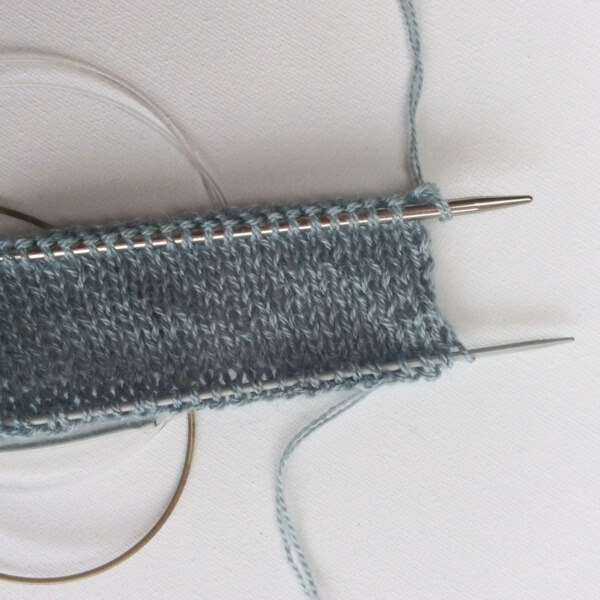
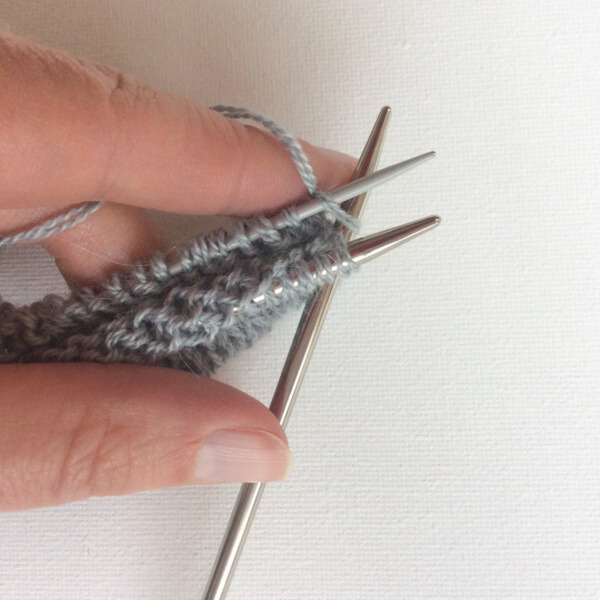
5. Insert the third knitting needle into the first stitch on the front needle as if to knit as usual, then immediately after that do the same with the first stitch on the needle at the back. Wrap yarn around the needle as usual and pull it through both stitches. Next slip both first stitches from the 2 left-hand needles to complete the stitch.
6. Repeat step 5 until the end of the needle, it will look something like this:
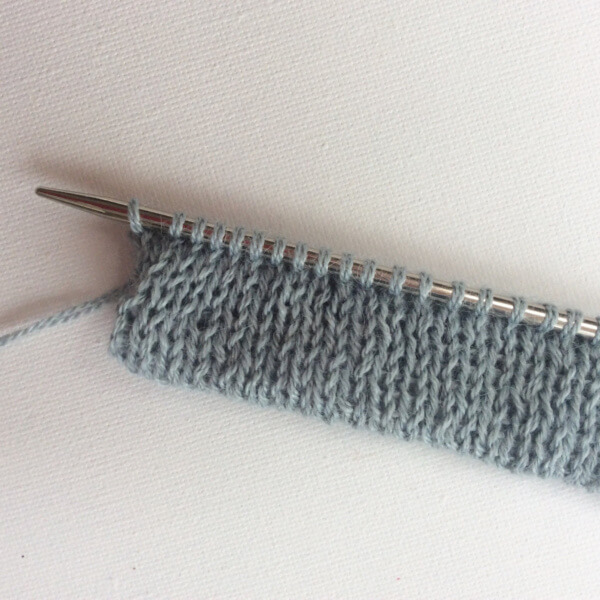
After knitting a few rows in stockinette stitch, the work looks like this on the right side of the work:
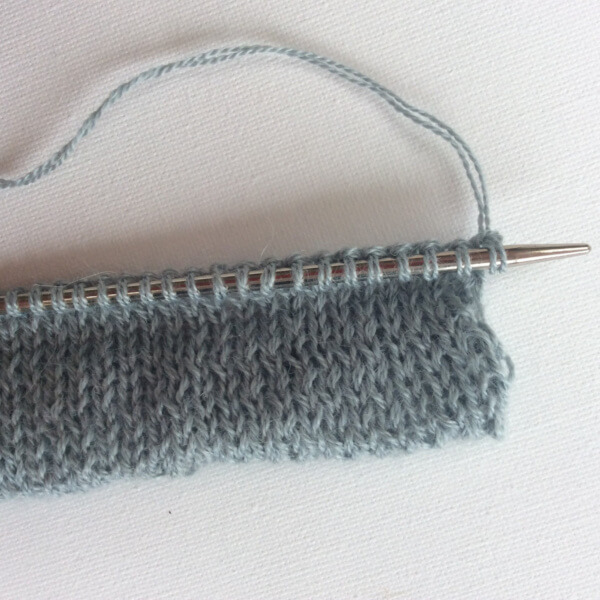
On the wrong side of the work you can also see how pretty this hem look. This is a very suitable solution for those projects that have to be pretty on both sides!
For this type of folded hem I also see the possibility of using it for the waist of a skirt to thread a cord or elastic band through. Also in terms of finishing the hood of a sweater, I see opportunities!

")

