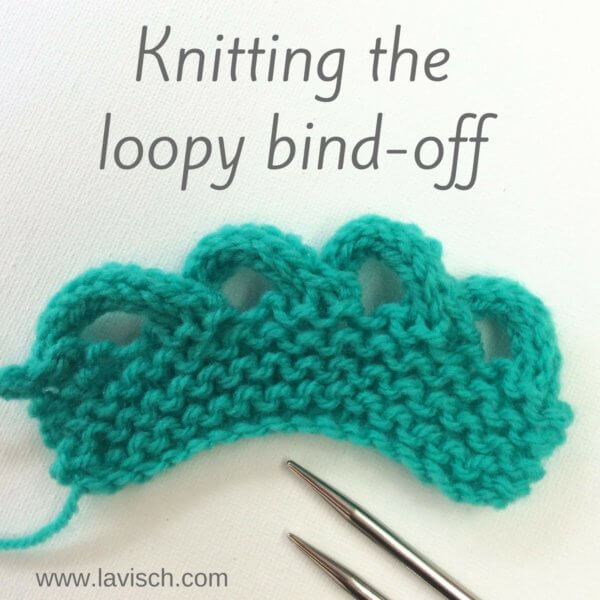
In this post I want to show you a variation of the i-cord BO: the loopy bind-off. With a regular i-cord BO you work directly over all stitches, binding them off. With the loopy bind-off loops of i-cord are made in between the stitches that are to be bound off. This does not only give a highly decorative edge, but is also a very elastic finishing. For this reason, this would be a nice BO to use on items like shawls, that have to be blocked quite aggressively for the best results.
Similar to regular i-cord (click here for the post about it!), this stitch can be knit over 3, 4 or 5 stitches. The more stitches, the fatter the resulting i-cord will be. The number of stitches also affects the loops in this bind-off: if you want to knit the i-cord for the loops over 3 stitches, you will need a multiple of 3 stitches to bind-off.
To knit the loopy bind-off, you need a set of knitting needles, plus one extra needle in the same size. It can be worked on both the good and the wrong side of the work. In this example I’m binding off a small swatch in garter stitch.
The loopy bind-off step by step
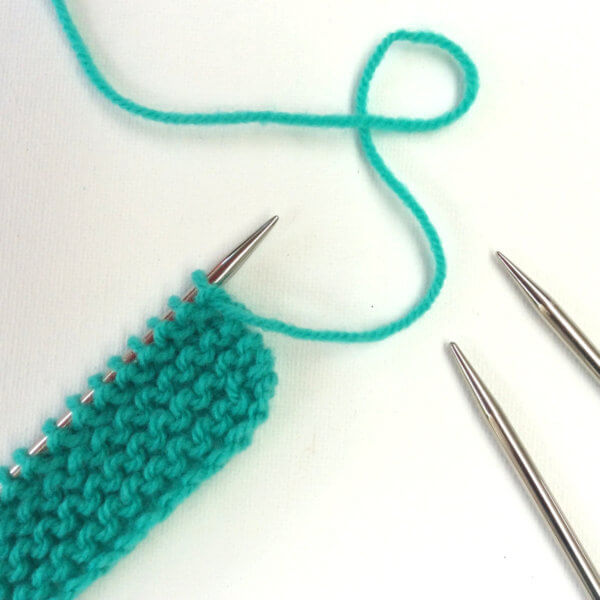
1. Use the first 3 stitches on the left needle to knit regular i-cord. You can decide how long to make the cord, as long as it is equal for all loops. In this example I made cord with a length of 3.5 cm, which was 10 rows.
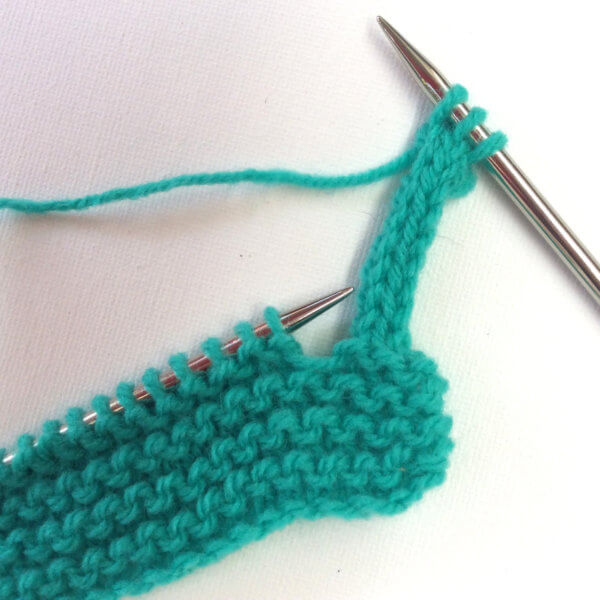
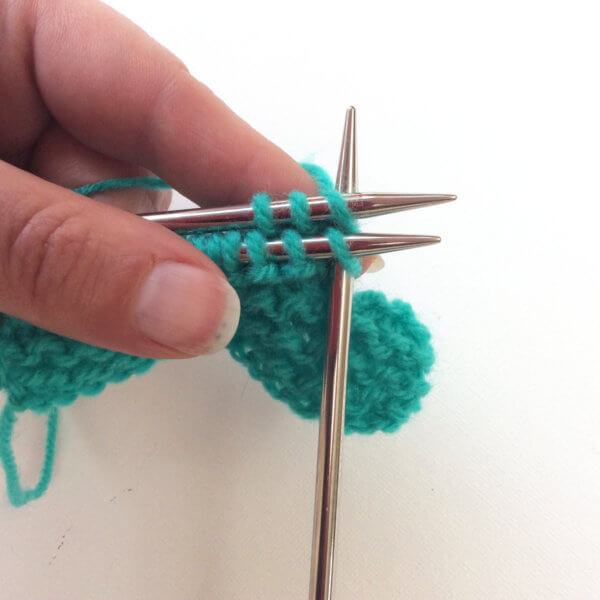
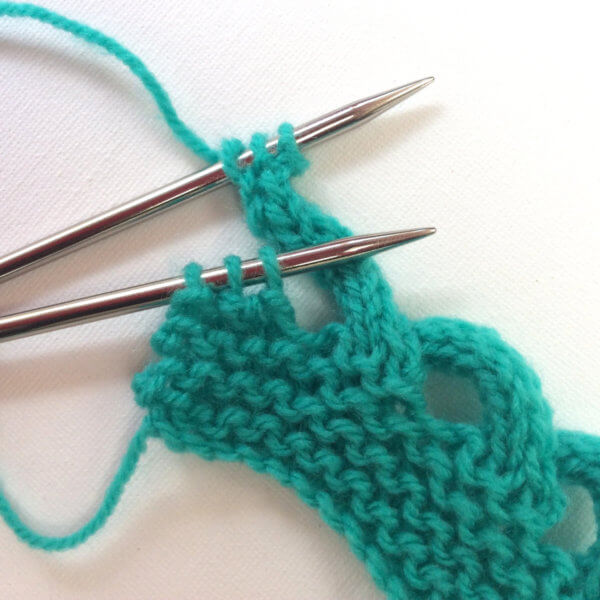
2. Next, bring the needle with the i-cord stitches parallel to the needle with the stitches to be bound off, by twisting it counterclockwise.
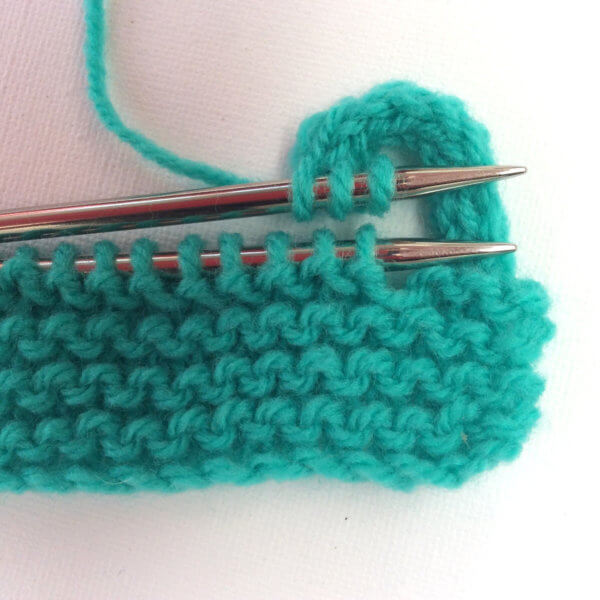
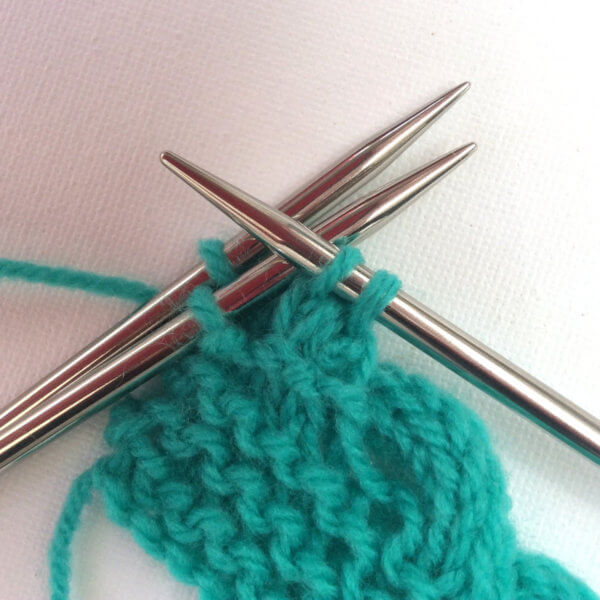
3. Insert the third needle into the first stitch on the front needle, then immediately also into the first stitch of the back needle. Wind the yarn around the needle as usual, pull the yarn through both stitches and then slip off the first stitch of both the front and back needle. This is really very similar to working a three-needle BO.
4. Repeat step 3 twice.
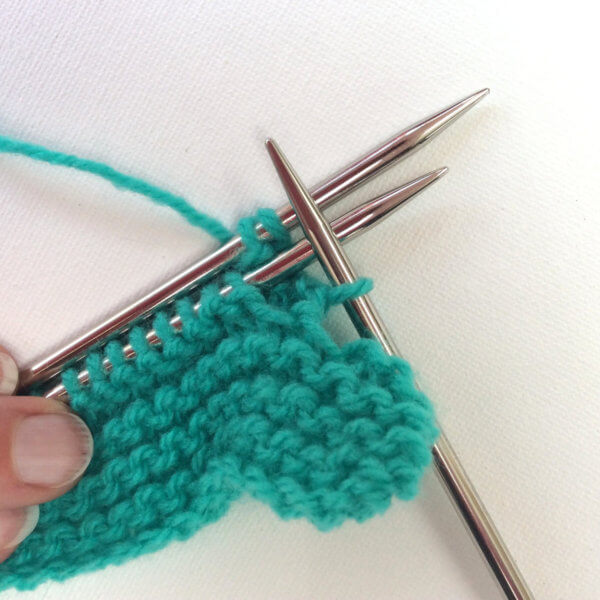
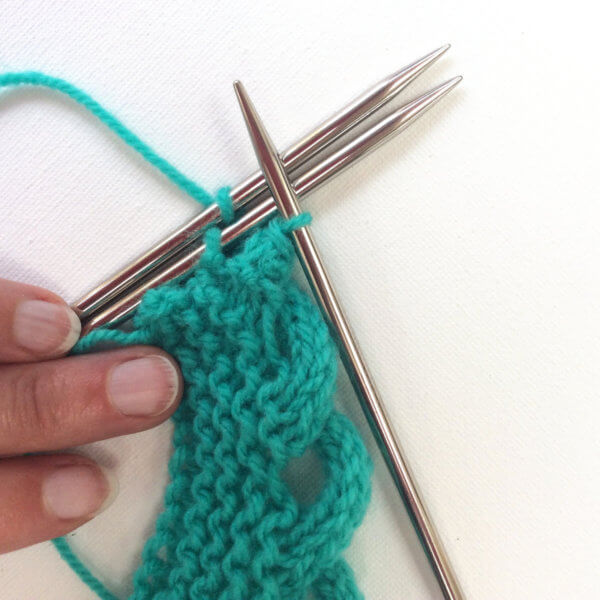
5. Next, slip the 3 newly knitted stitches back to the left-hand needle.
6. Repeat steps 1 to 5 until 3 stitches remain on the left-hand needle. Next, repeat steps 1 and 2 once more.
7. Work step 3 twice, you now have 2 stitches on the right-hand needle.
8. Pass the first stitch over the second stitch, you now have 1 stitch remaining on the right-hand needle.
9. Repeat step 3 once more, followed by 1 repetition of step 8. All stitches are now cast off, you can now cut the yarn and pull the tail through the last loop.
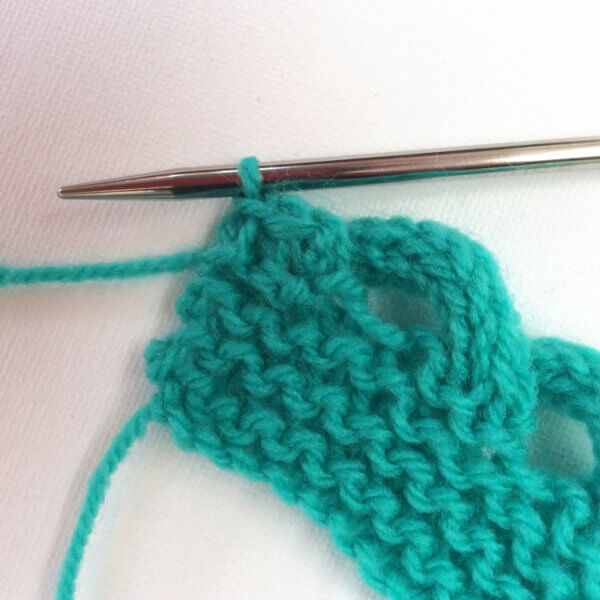
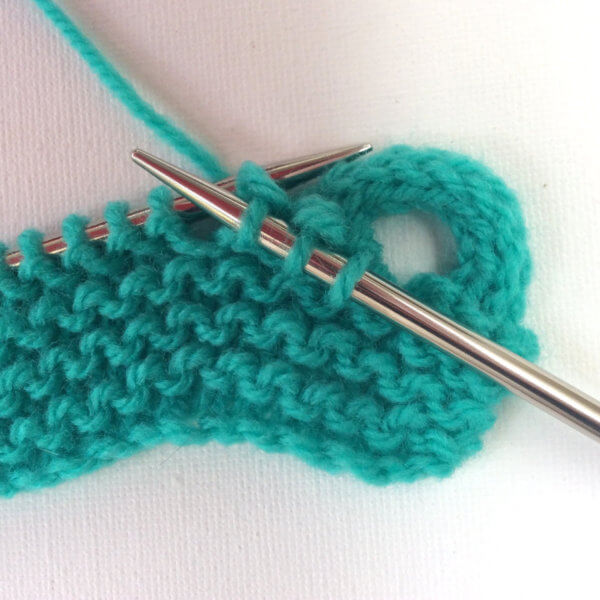
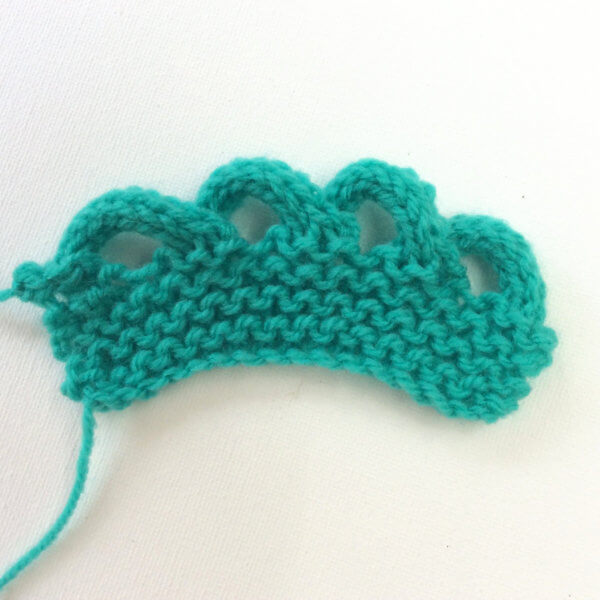
This is how the loopy bind-off edge will look like on the right side of the work:
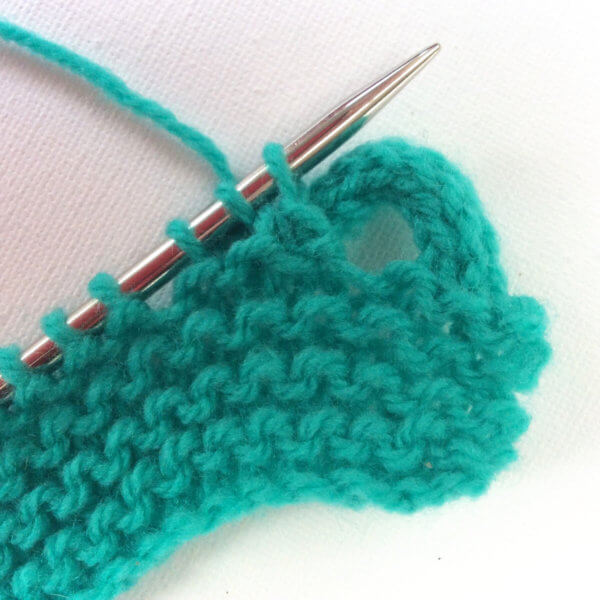
And this is how it looks on the wrong side of the work:
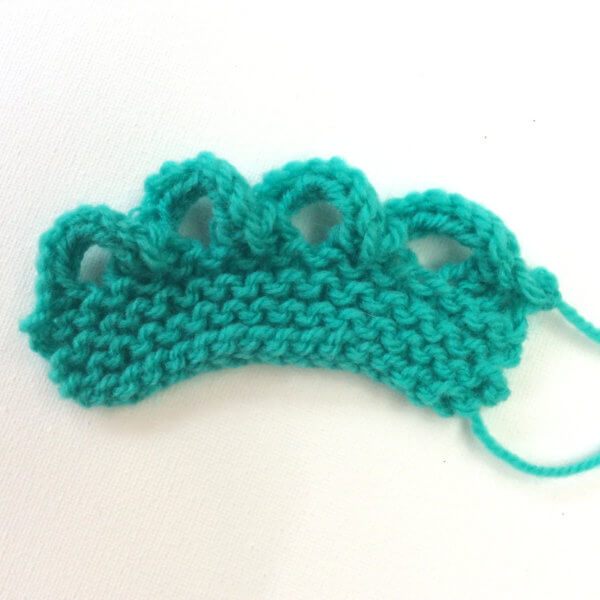
Depending on the desired effect you can use either the right or wrong side of this bind-off.
And that is all there is to it!


