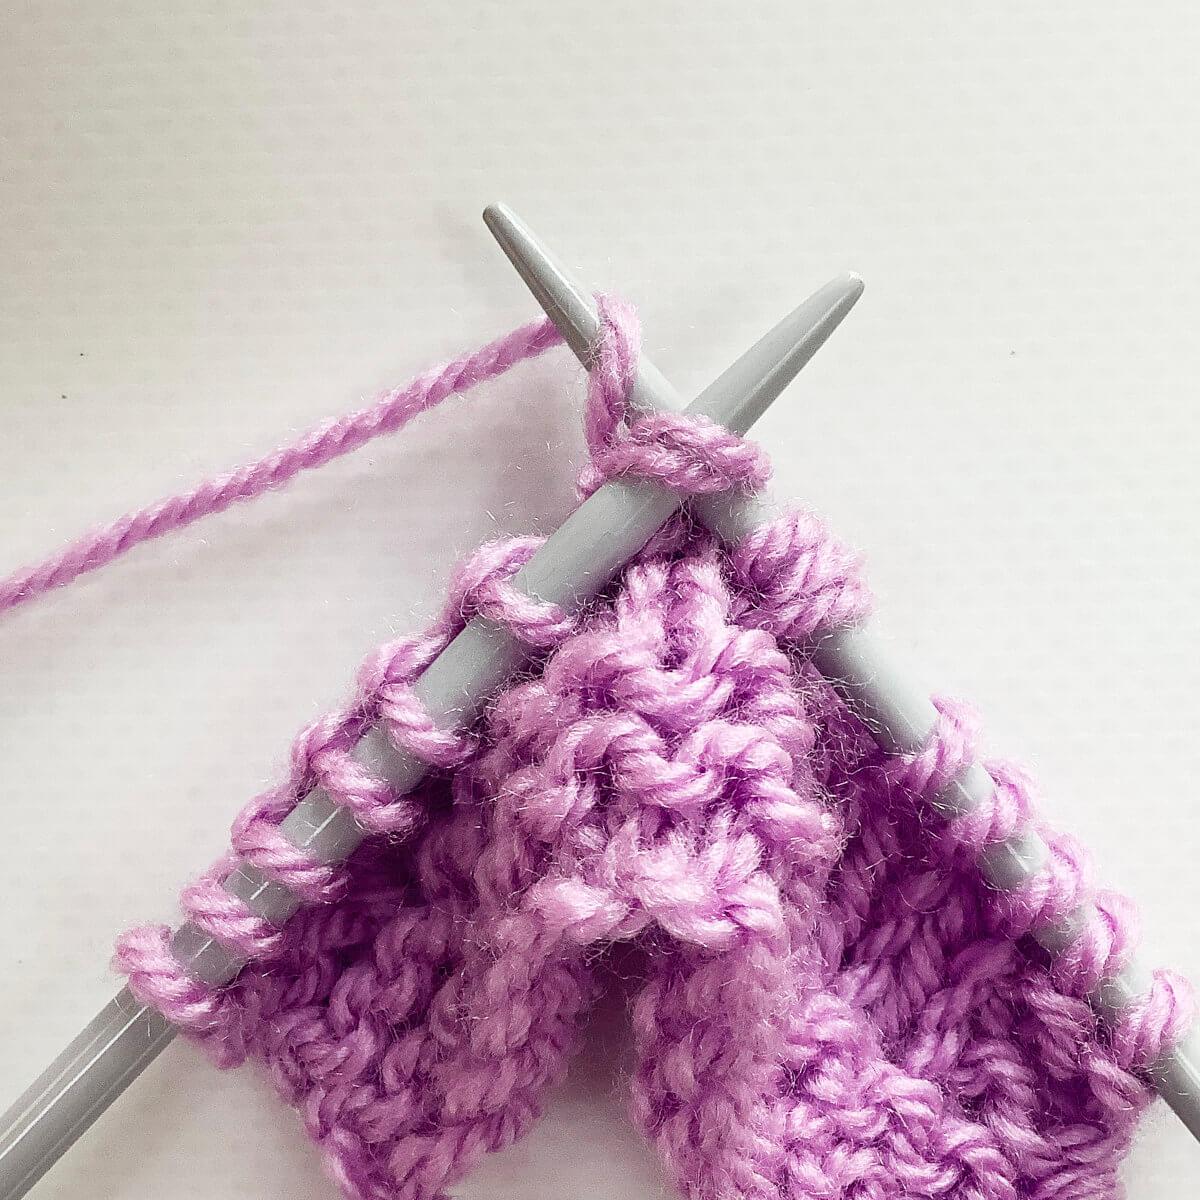
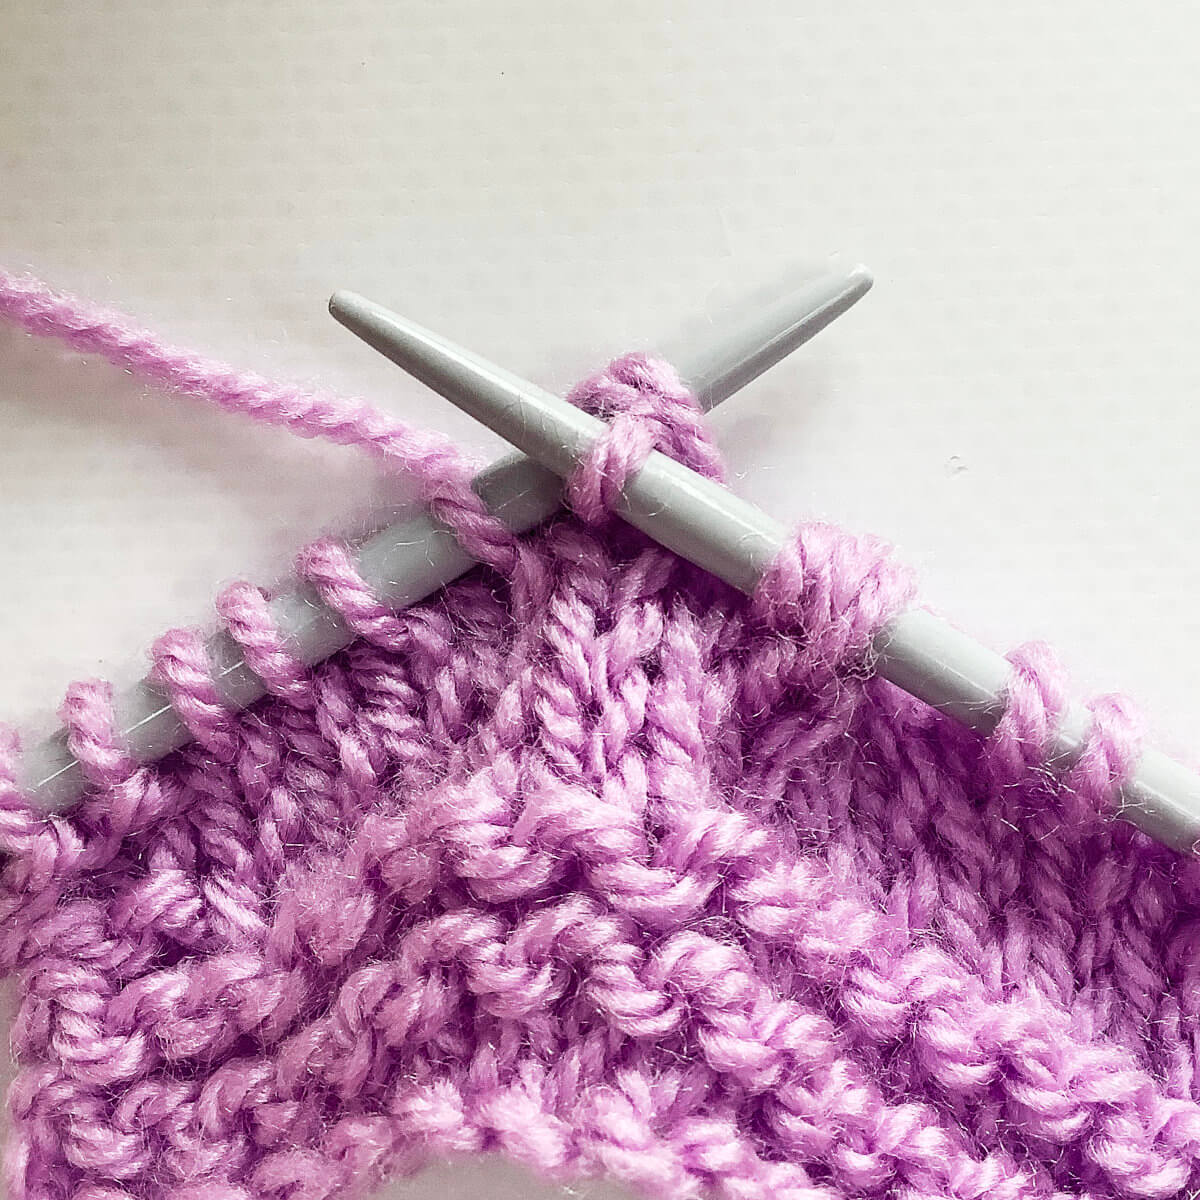
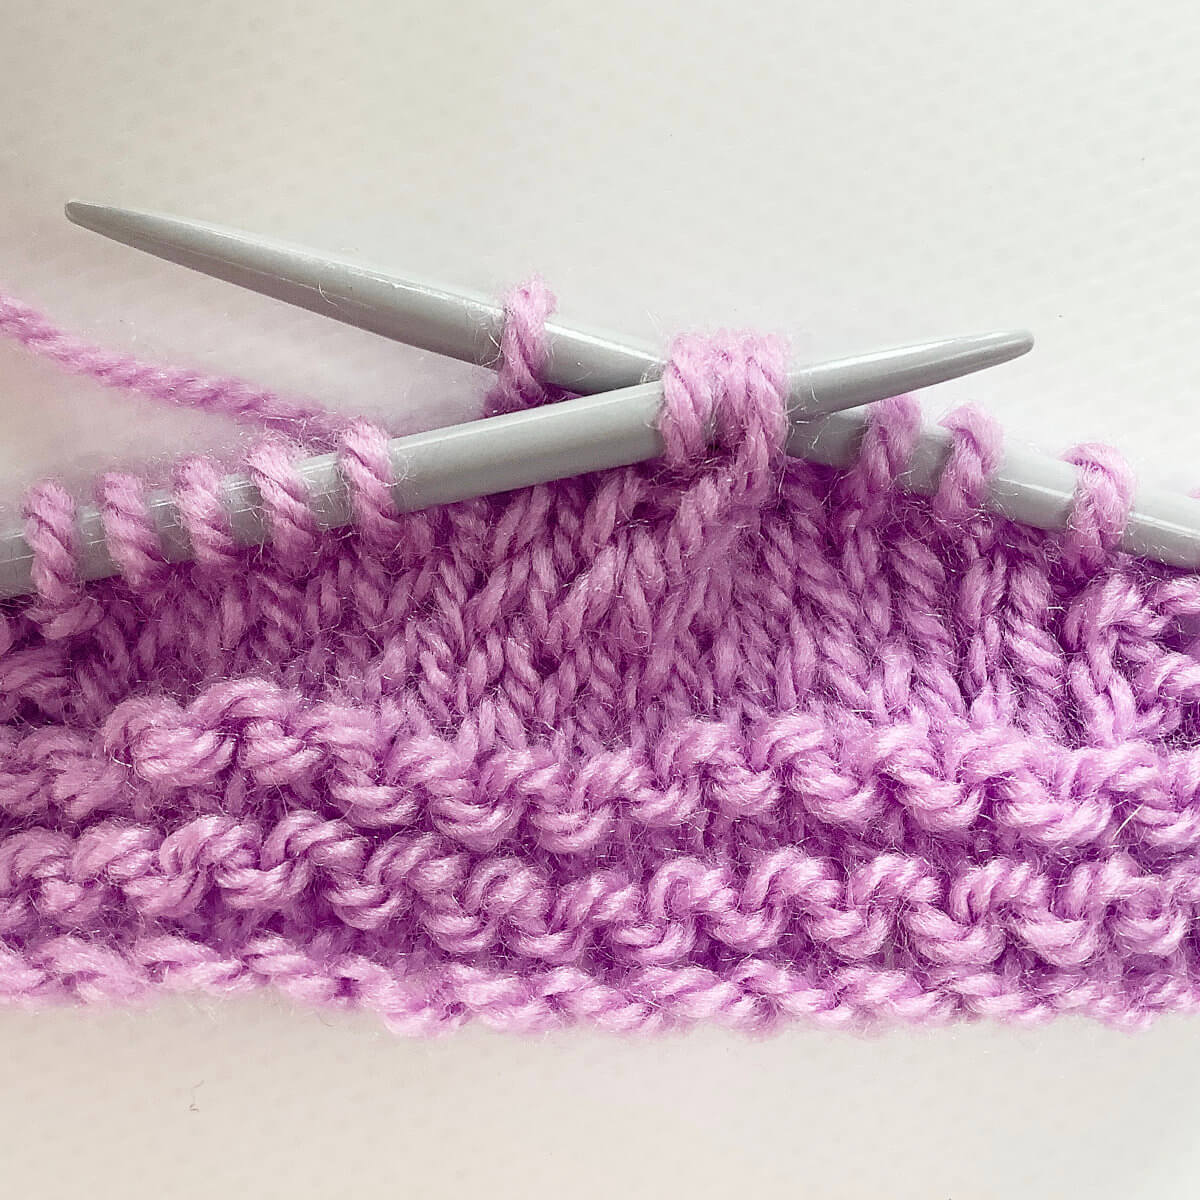
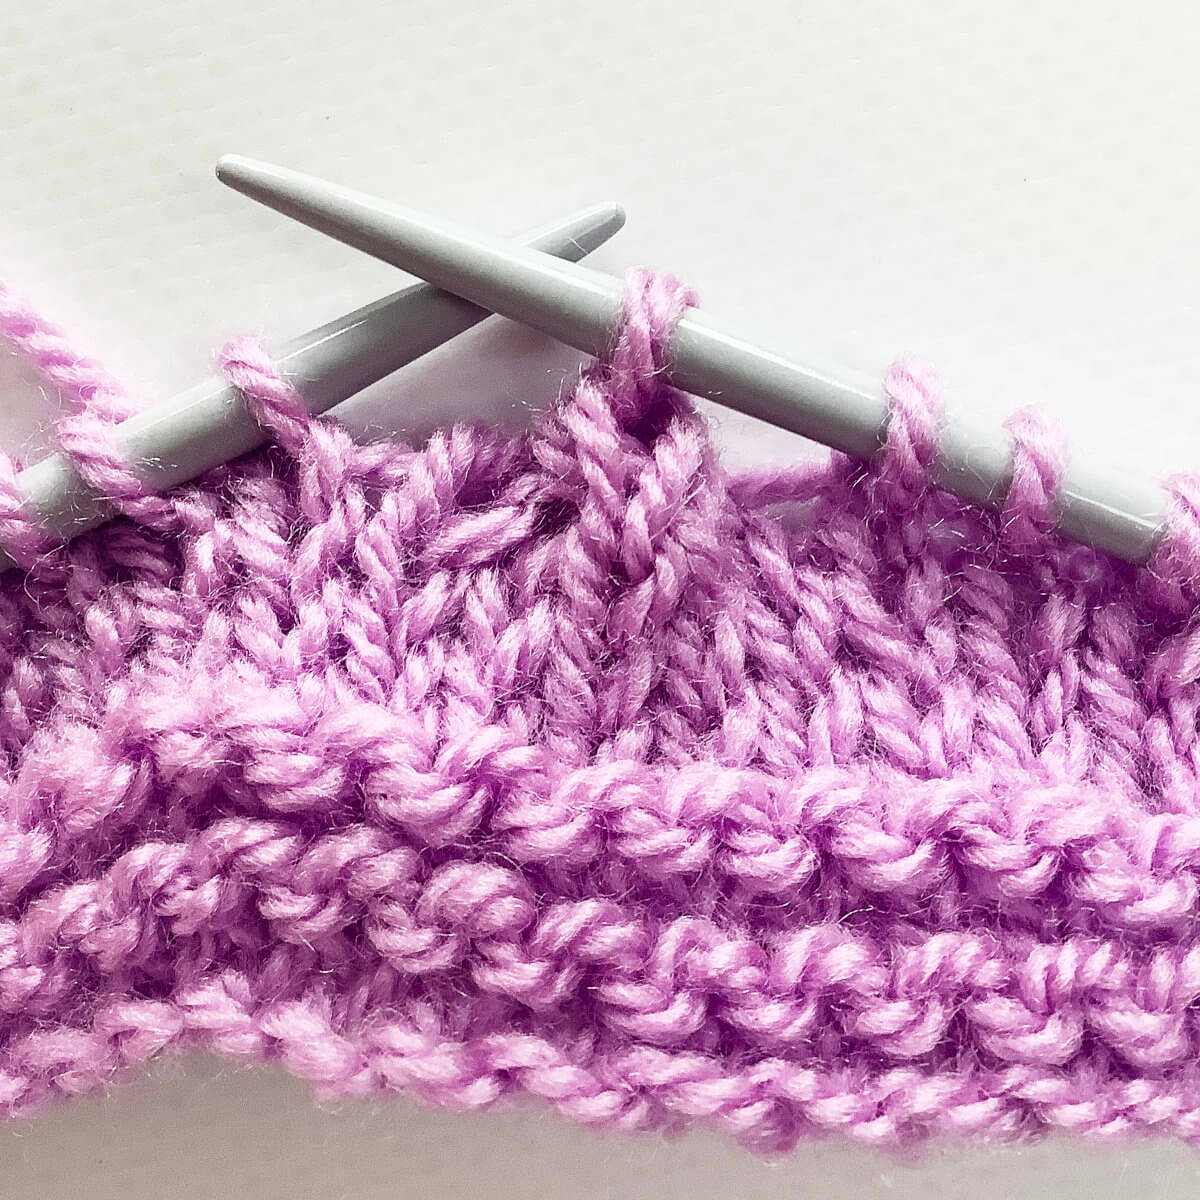
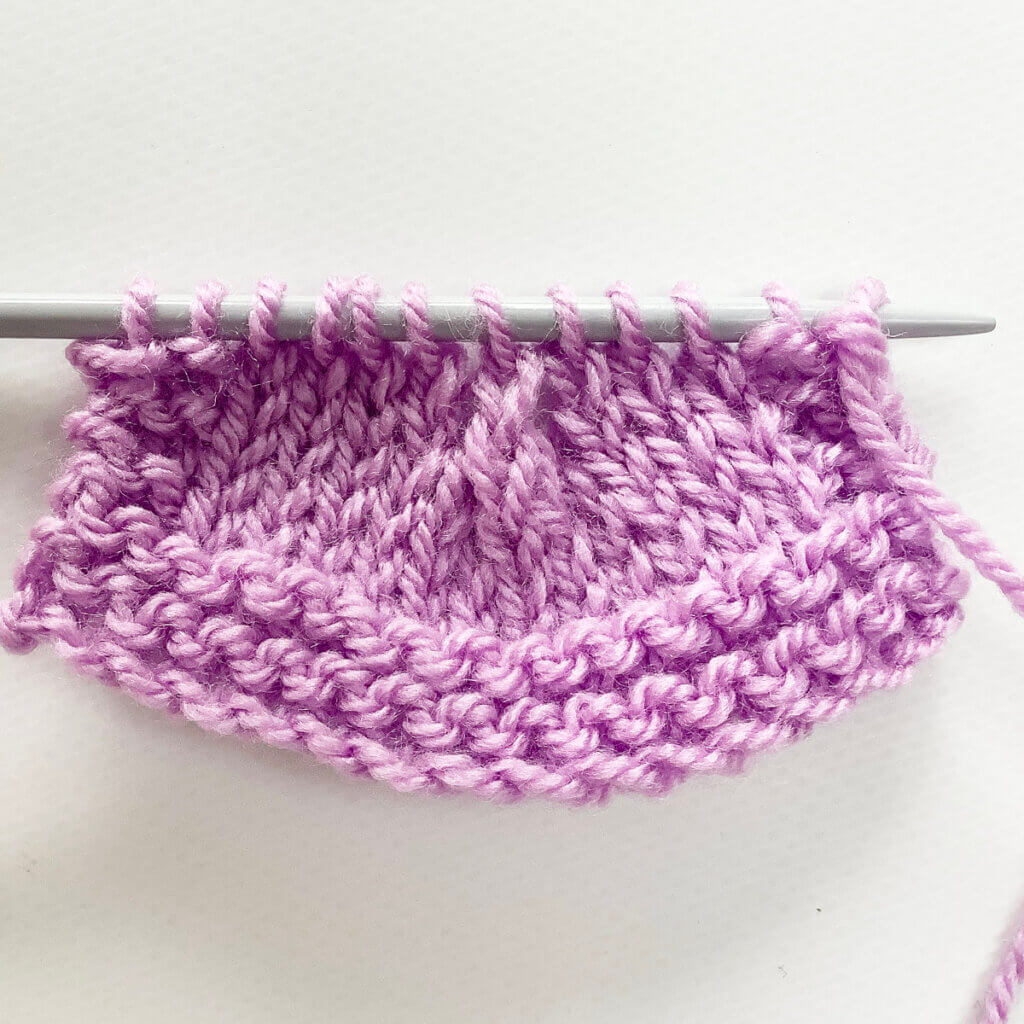
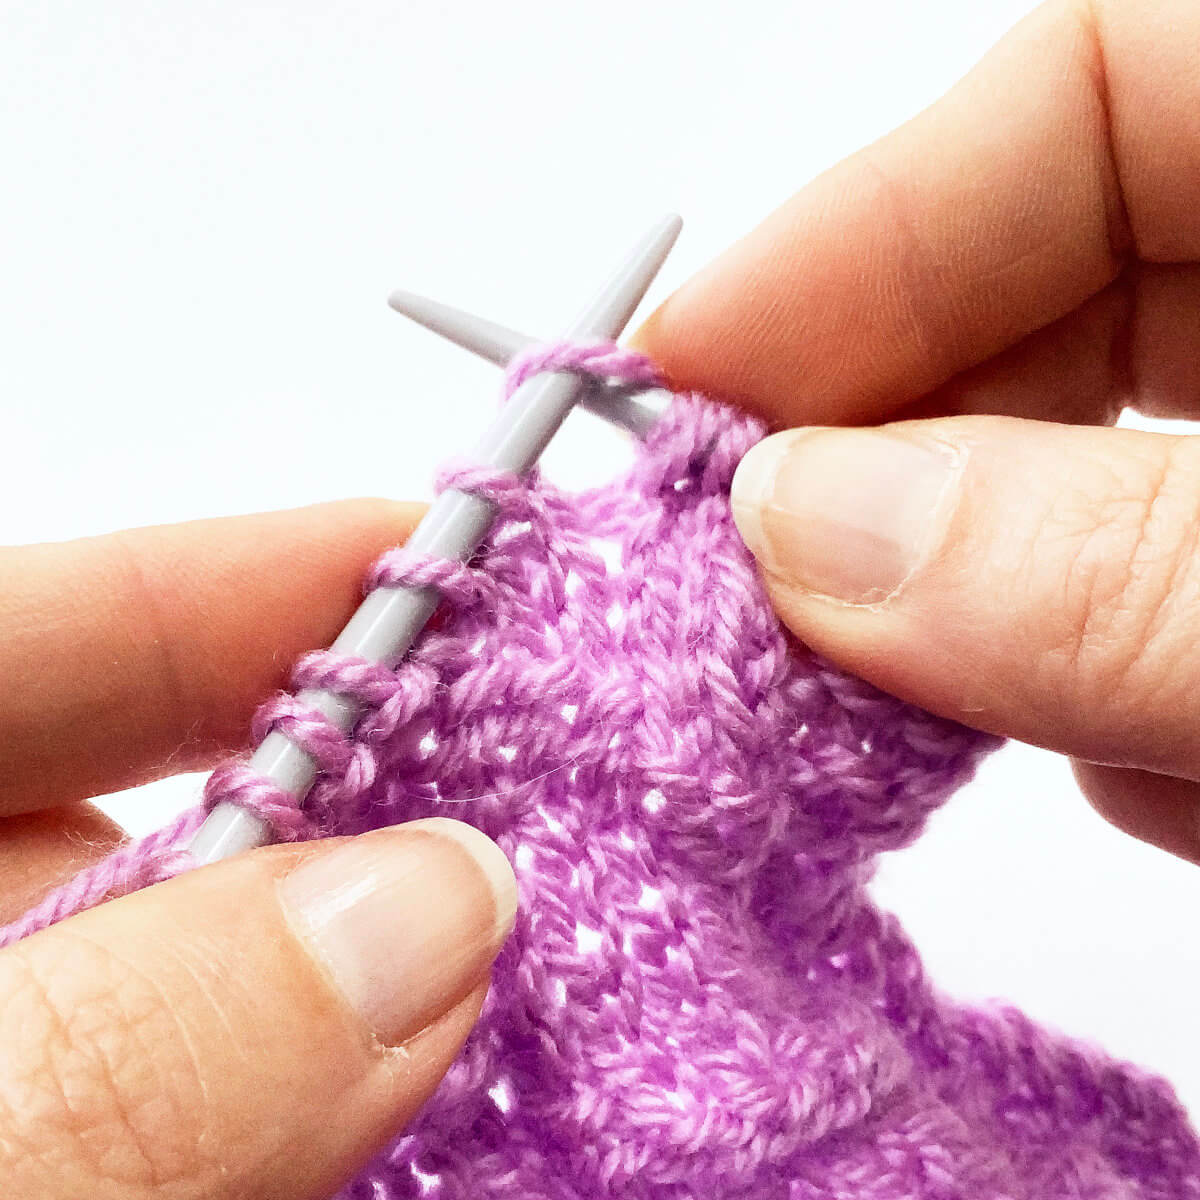
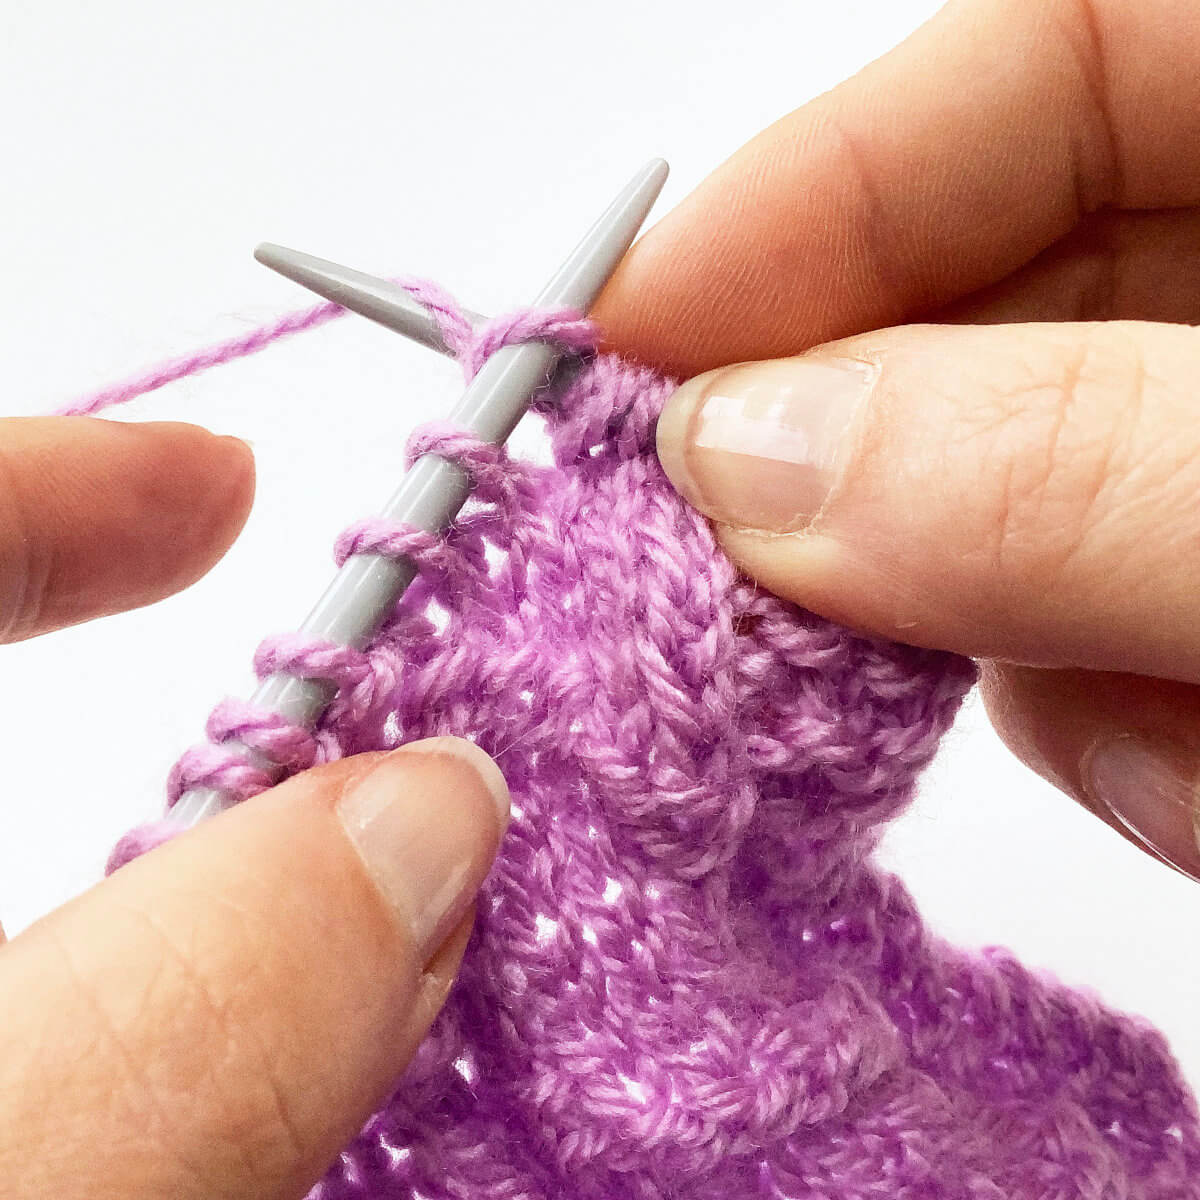
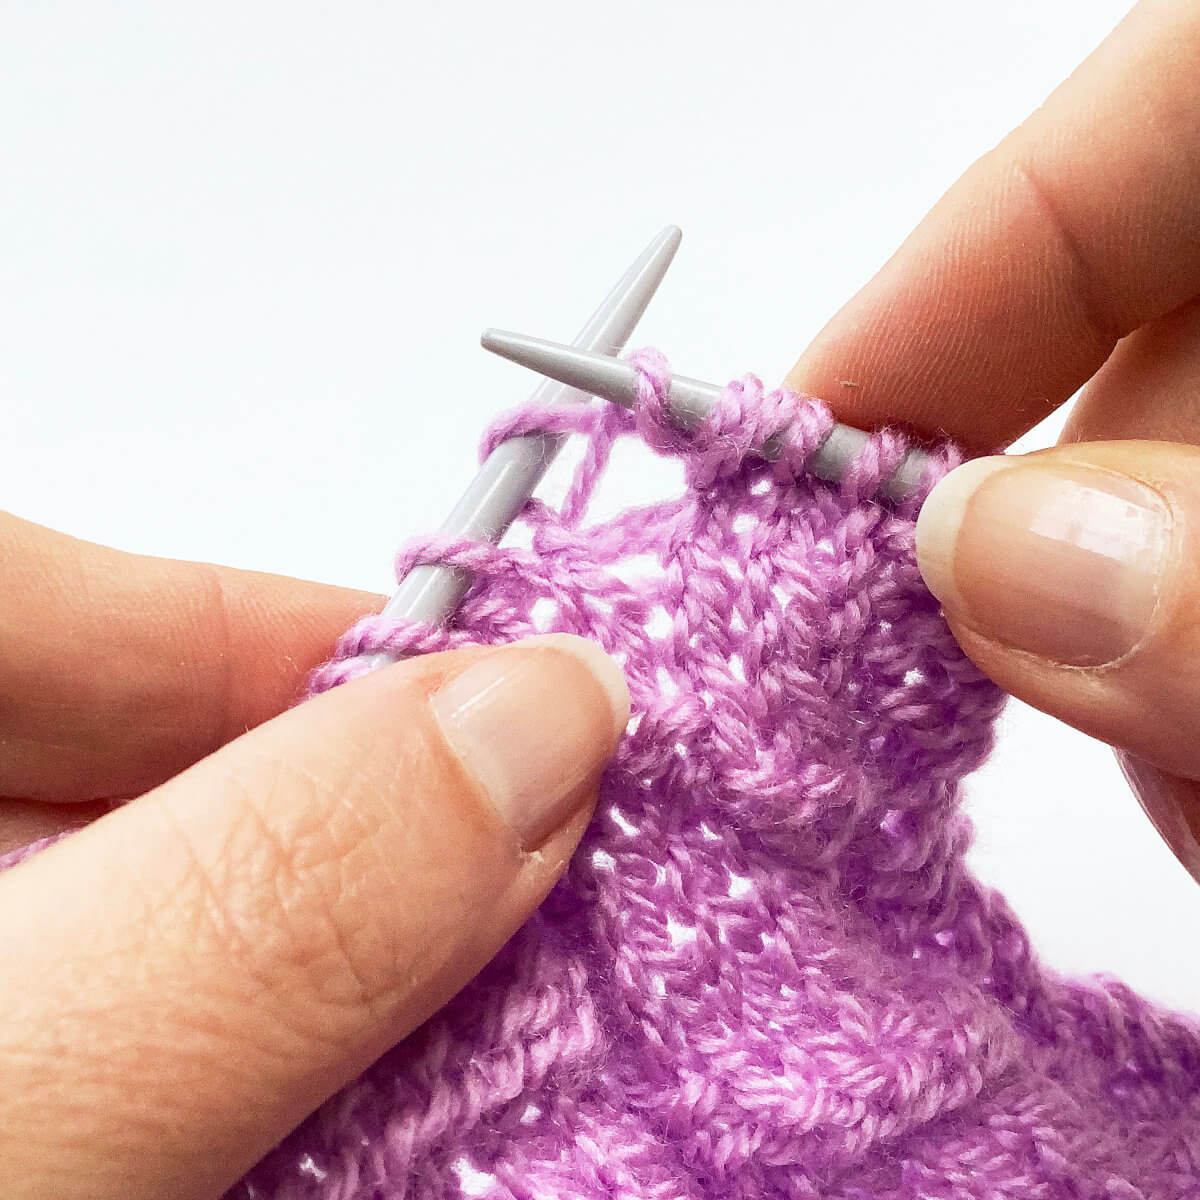
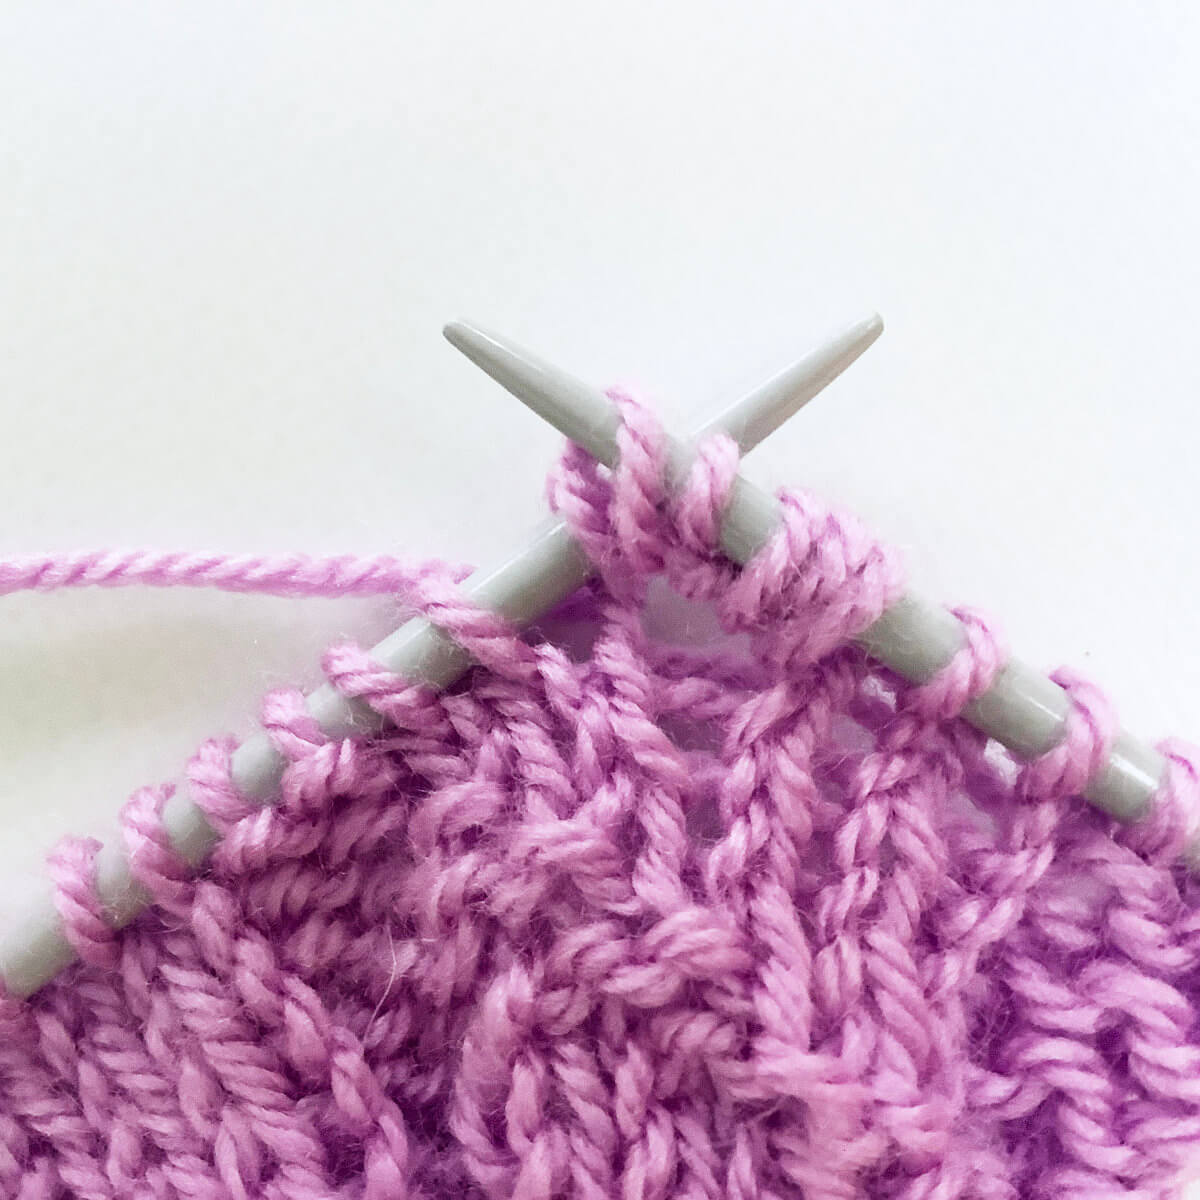
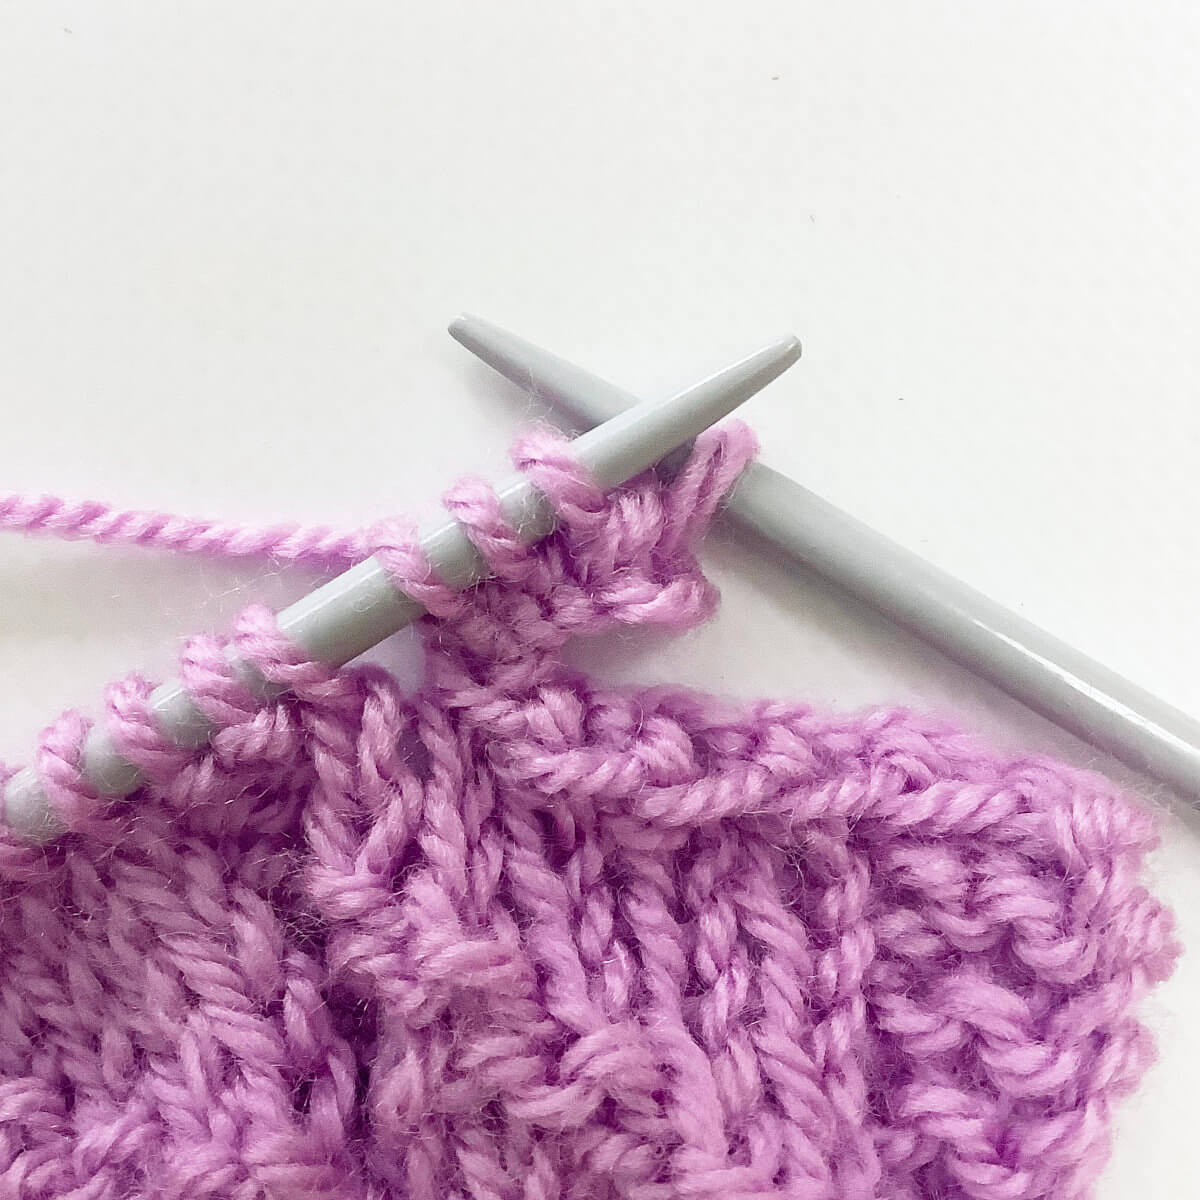
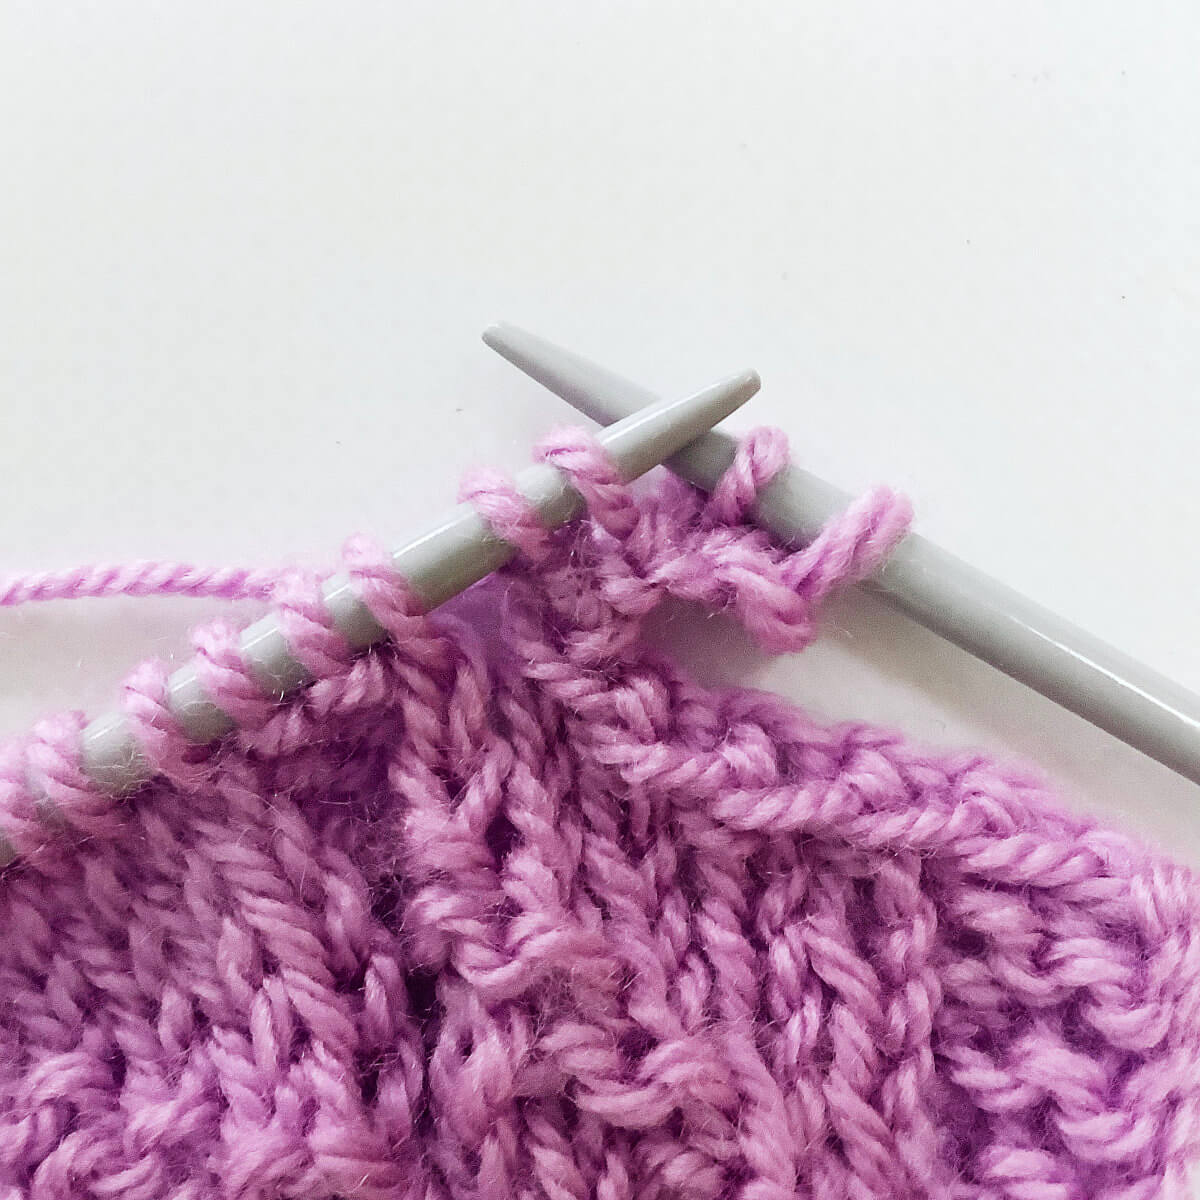
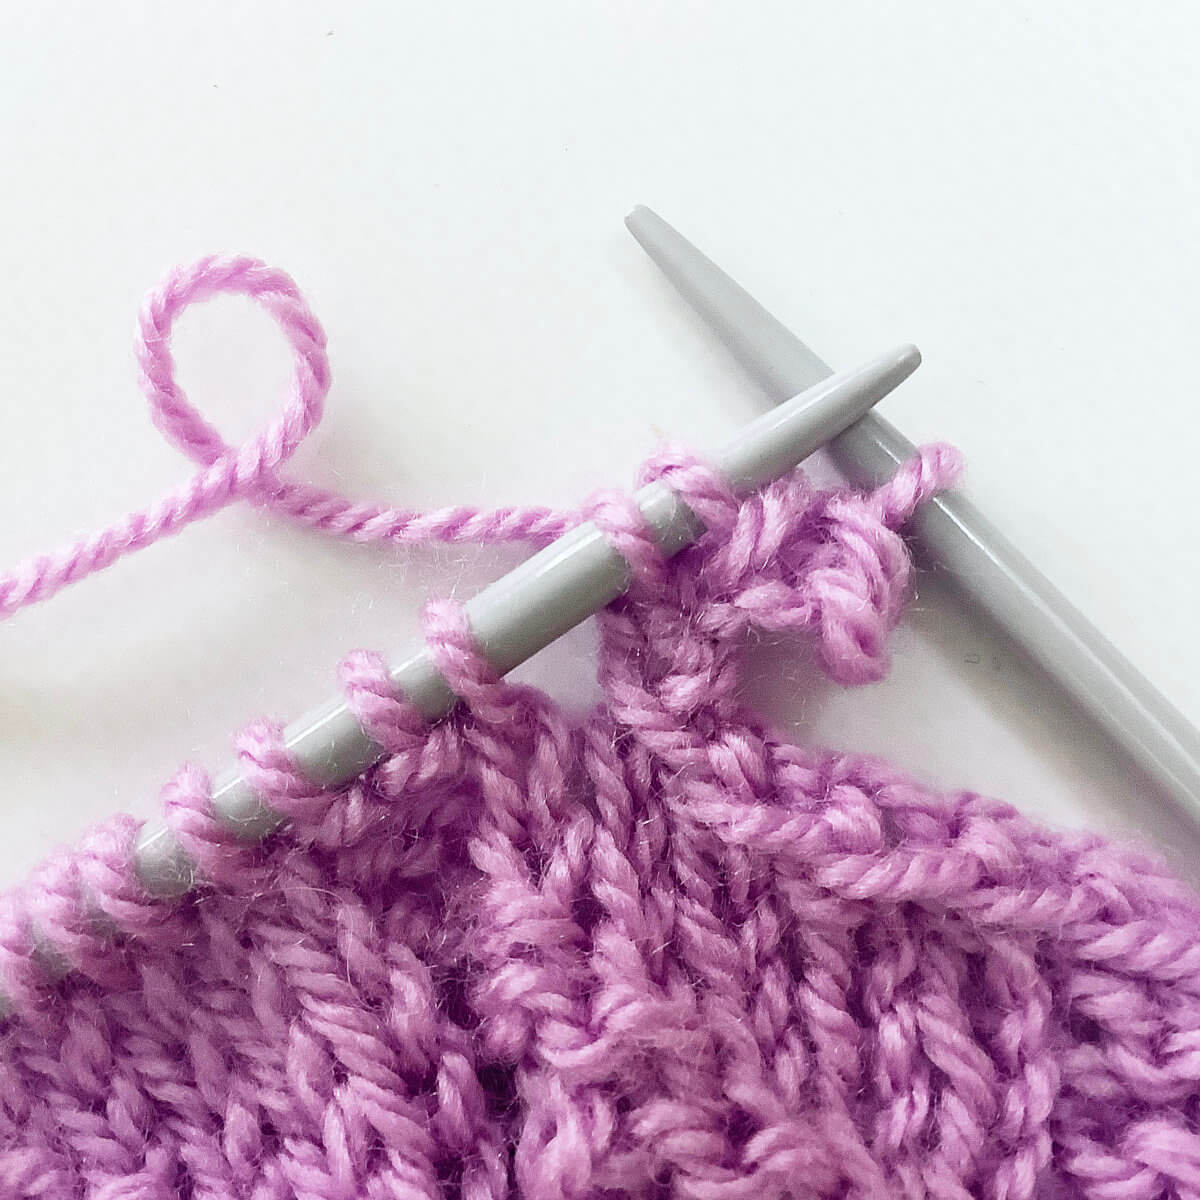
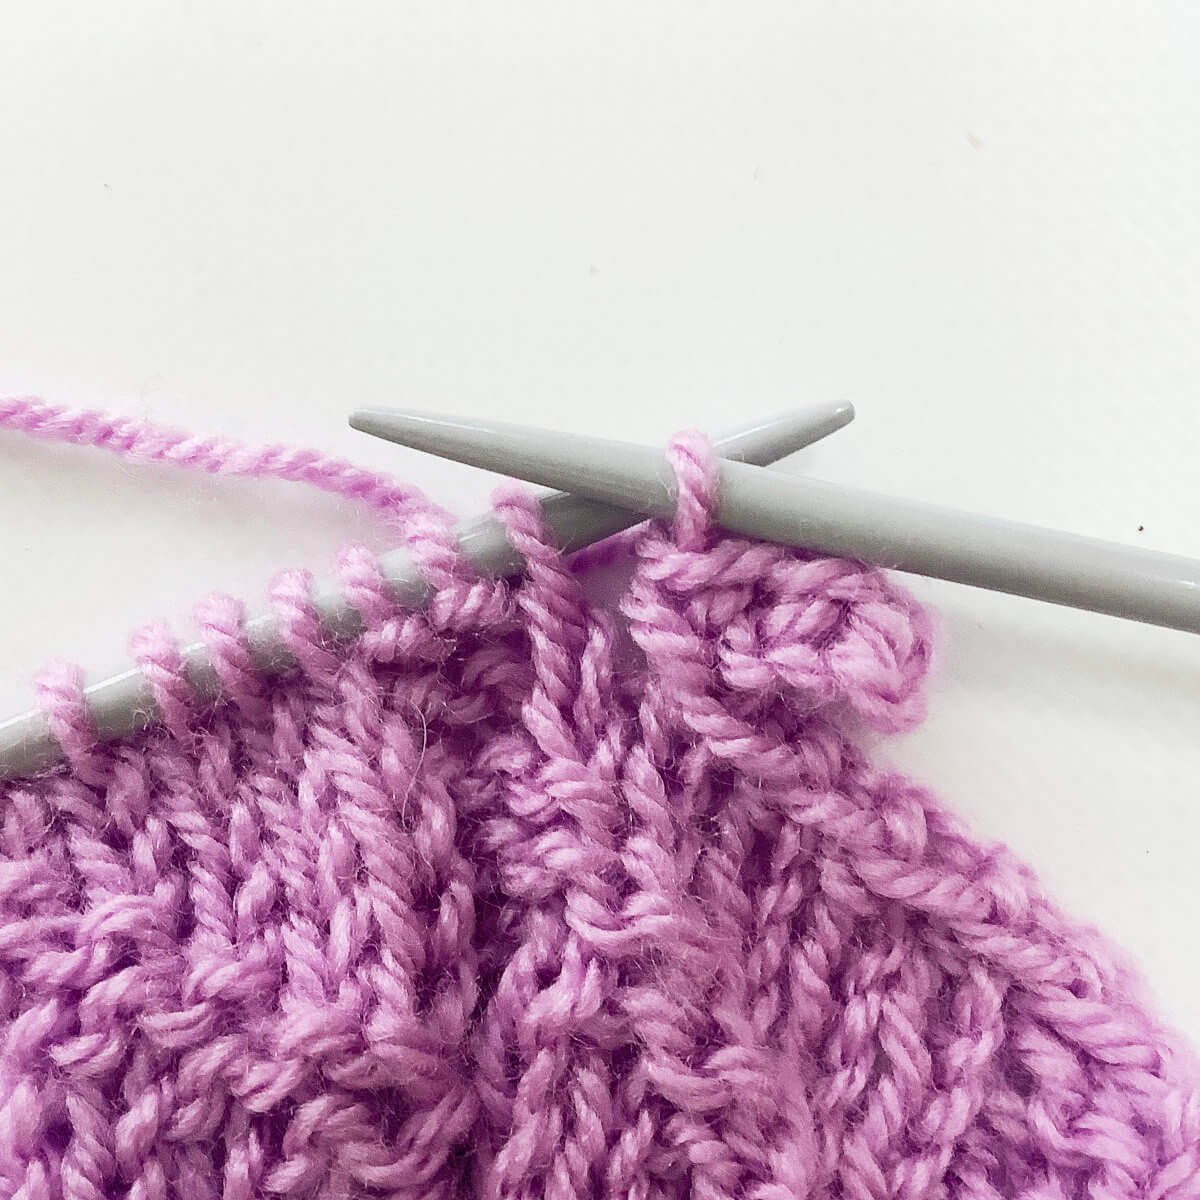
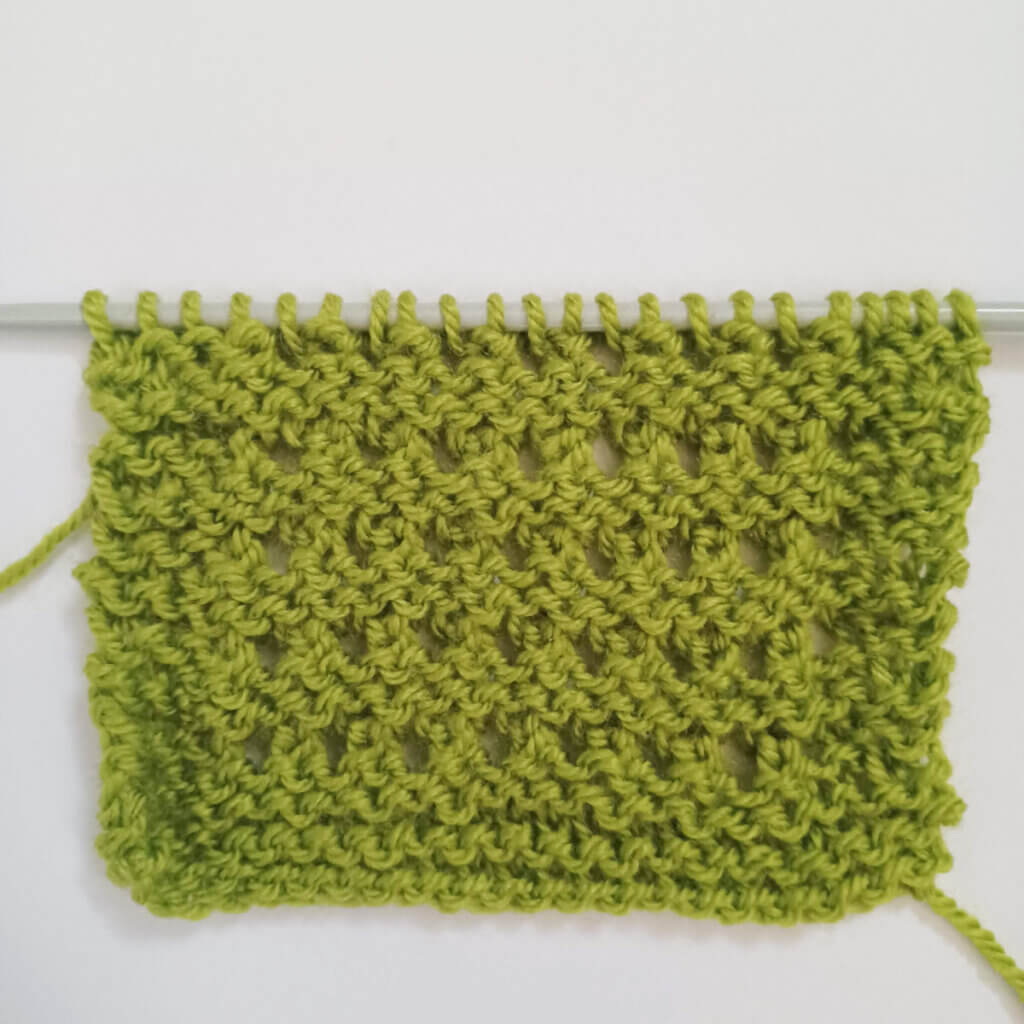
stitch pattern – St. John’s wort stitch

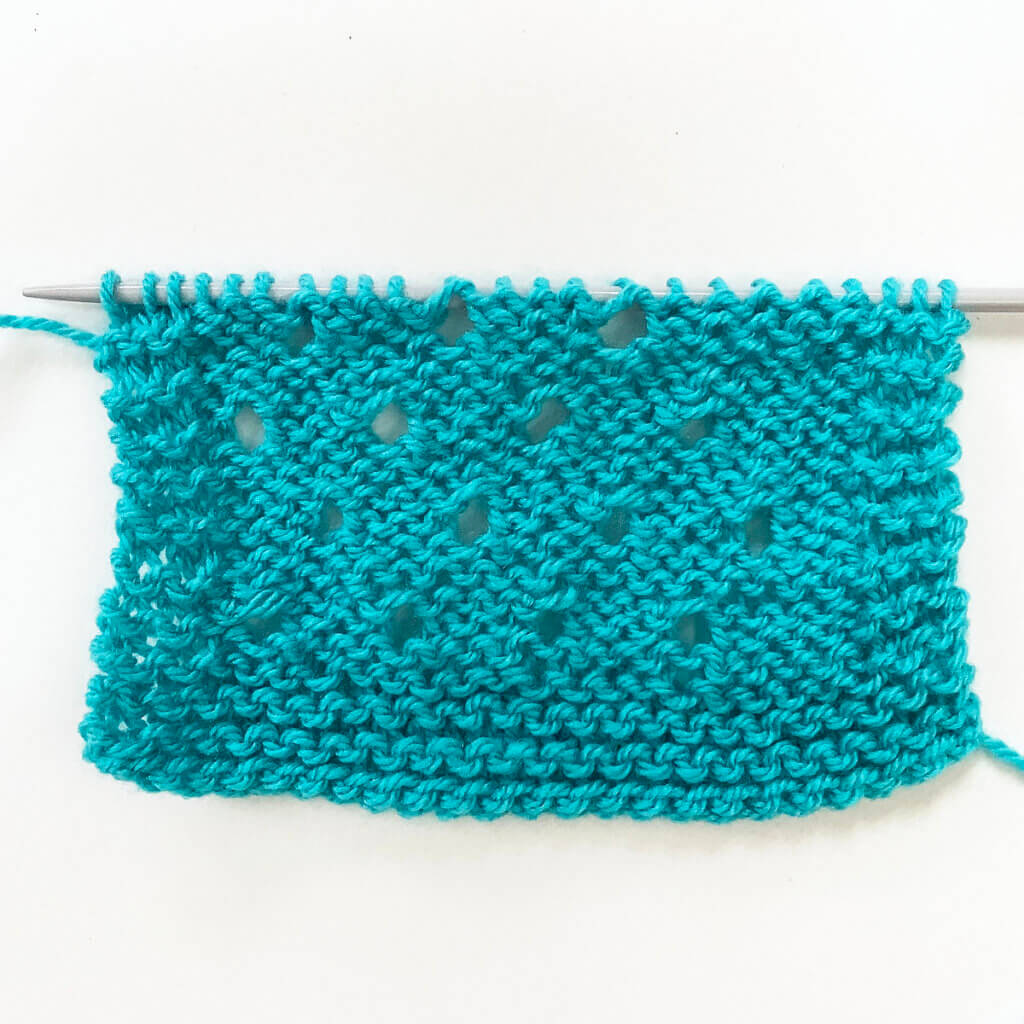
St. John's wort stitch by La Visch Designs

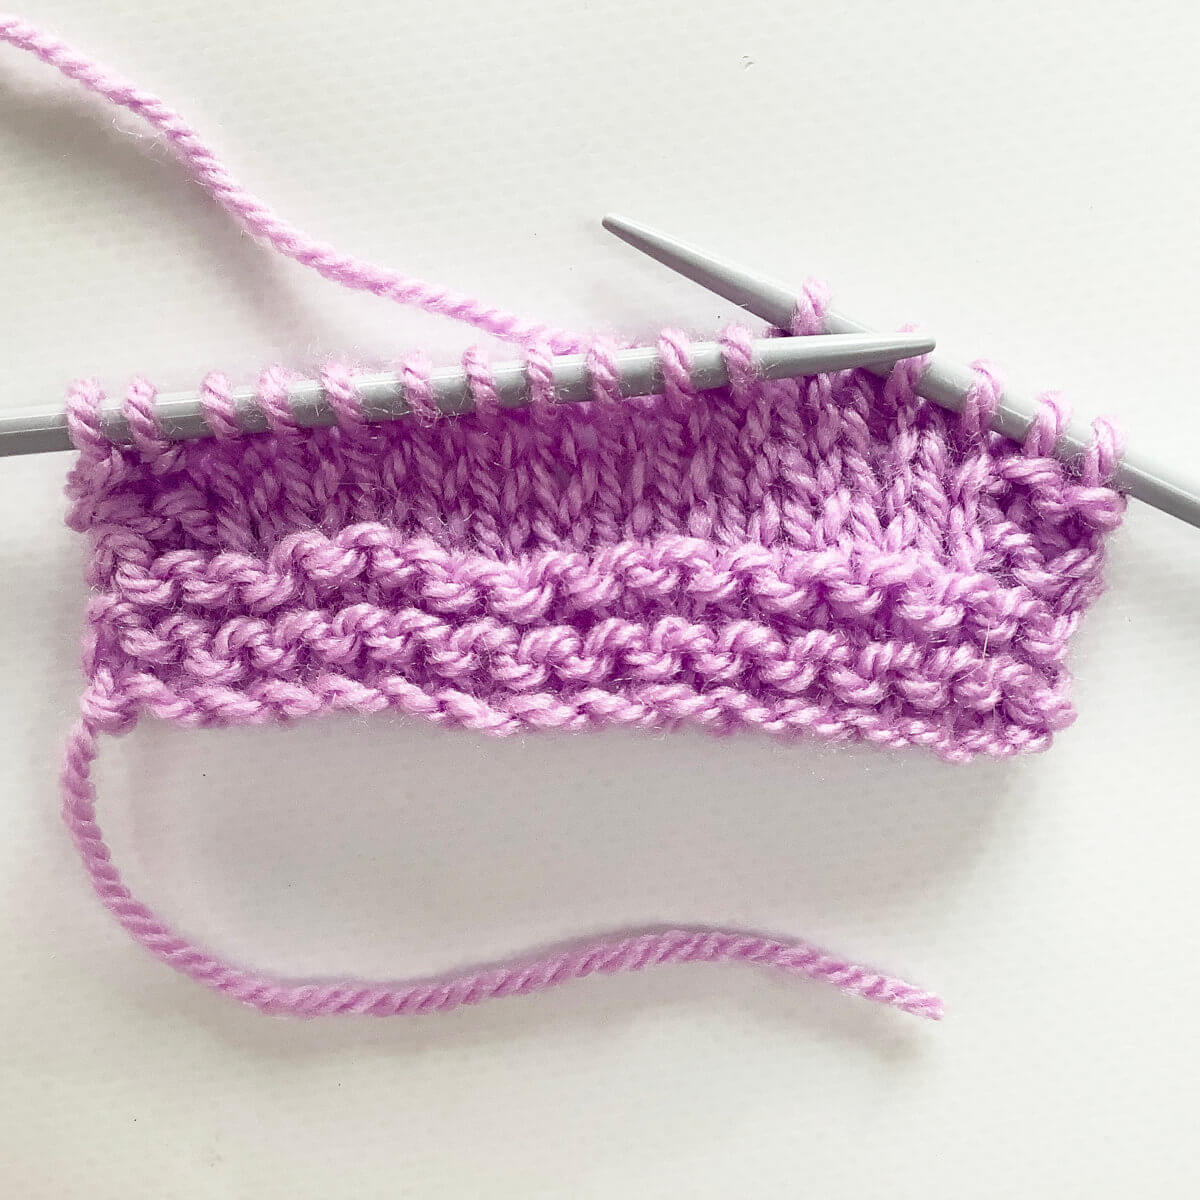
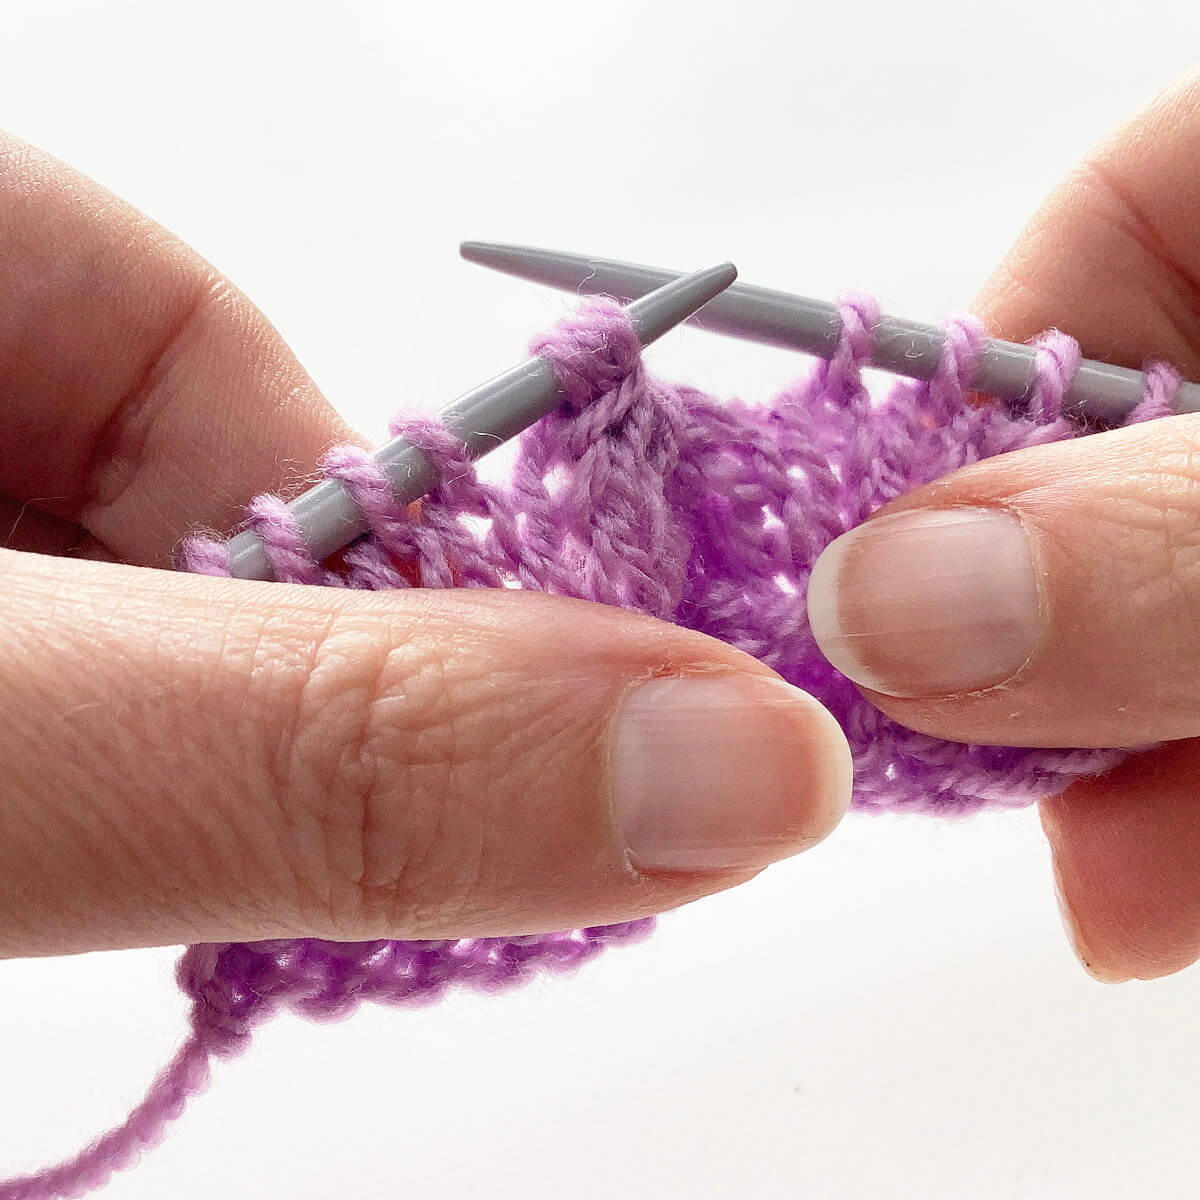
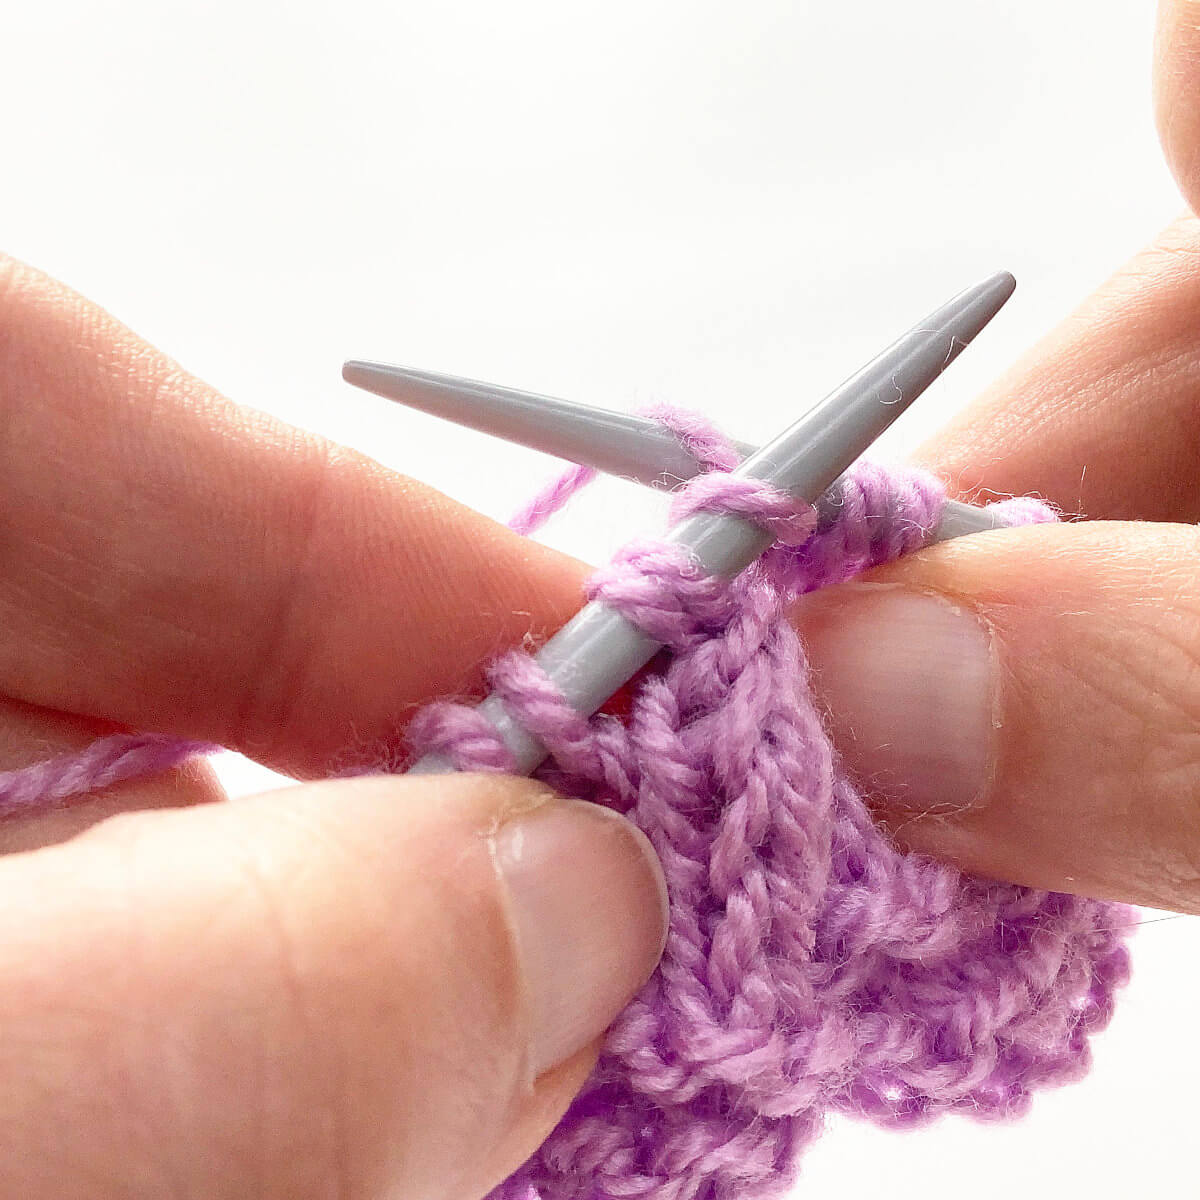
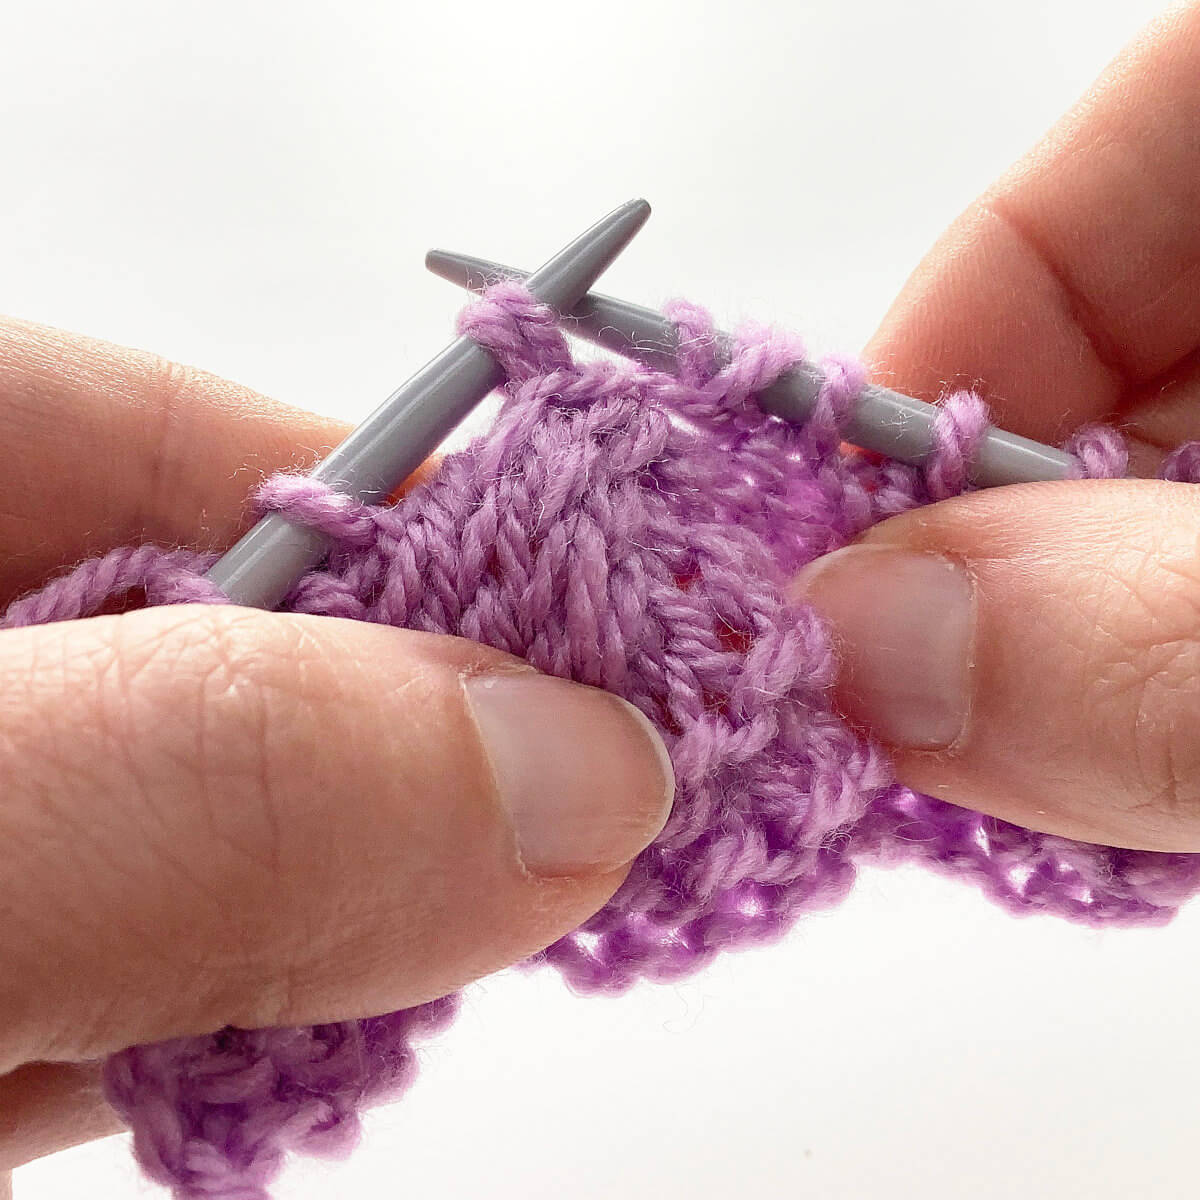
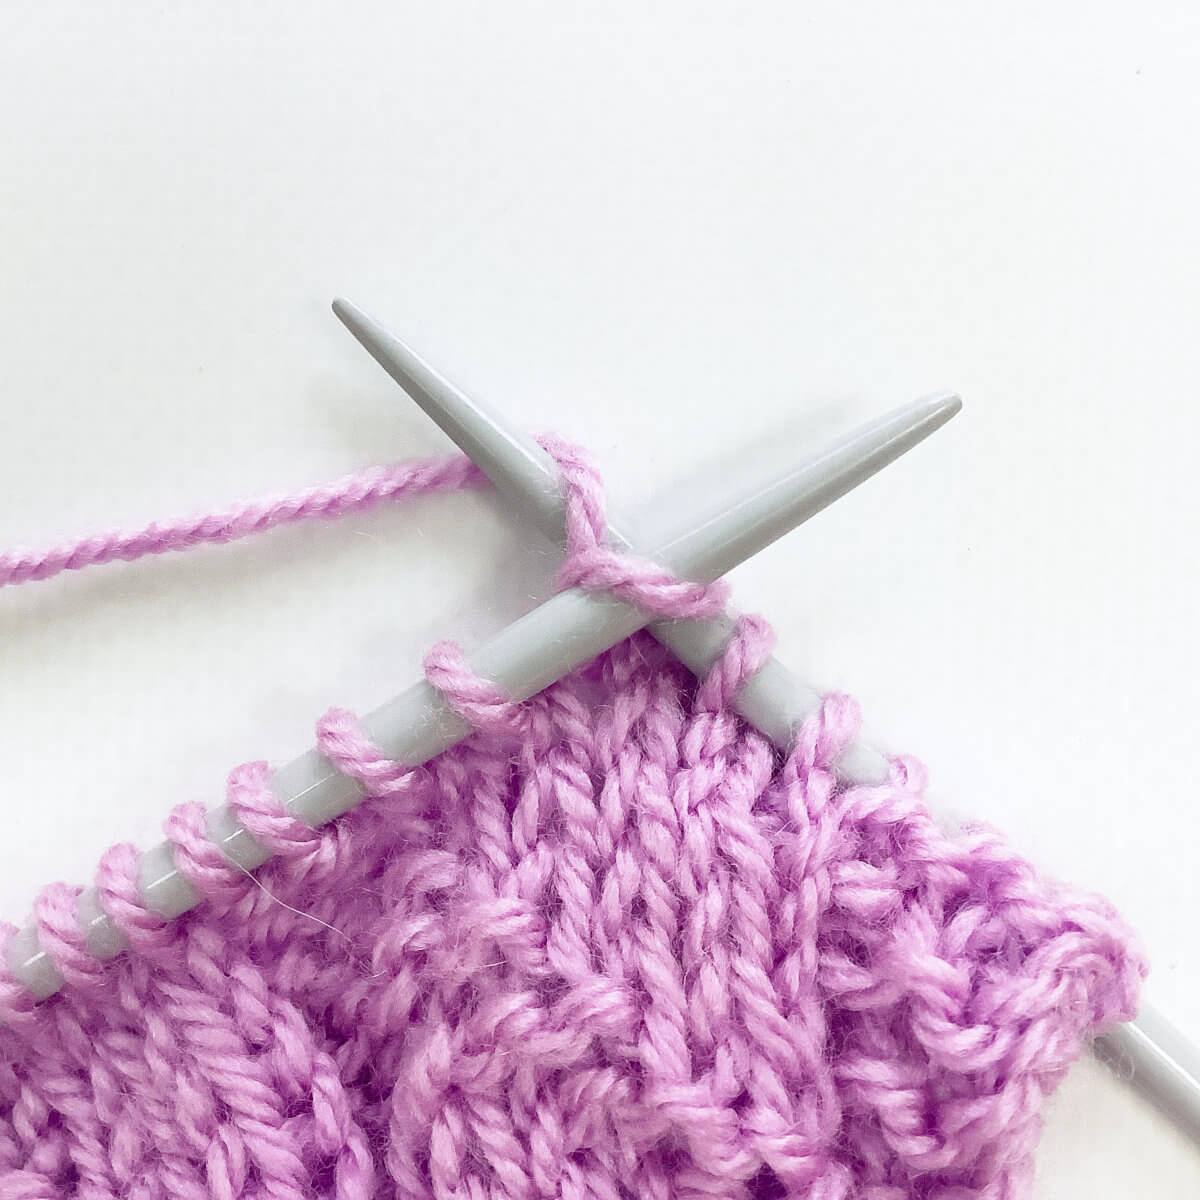
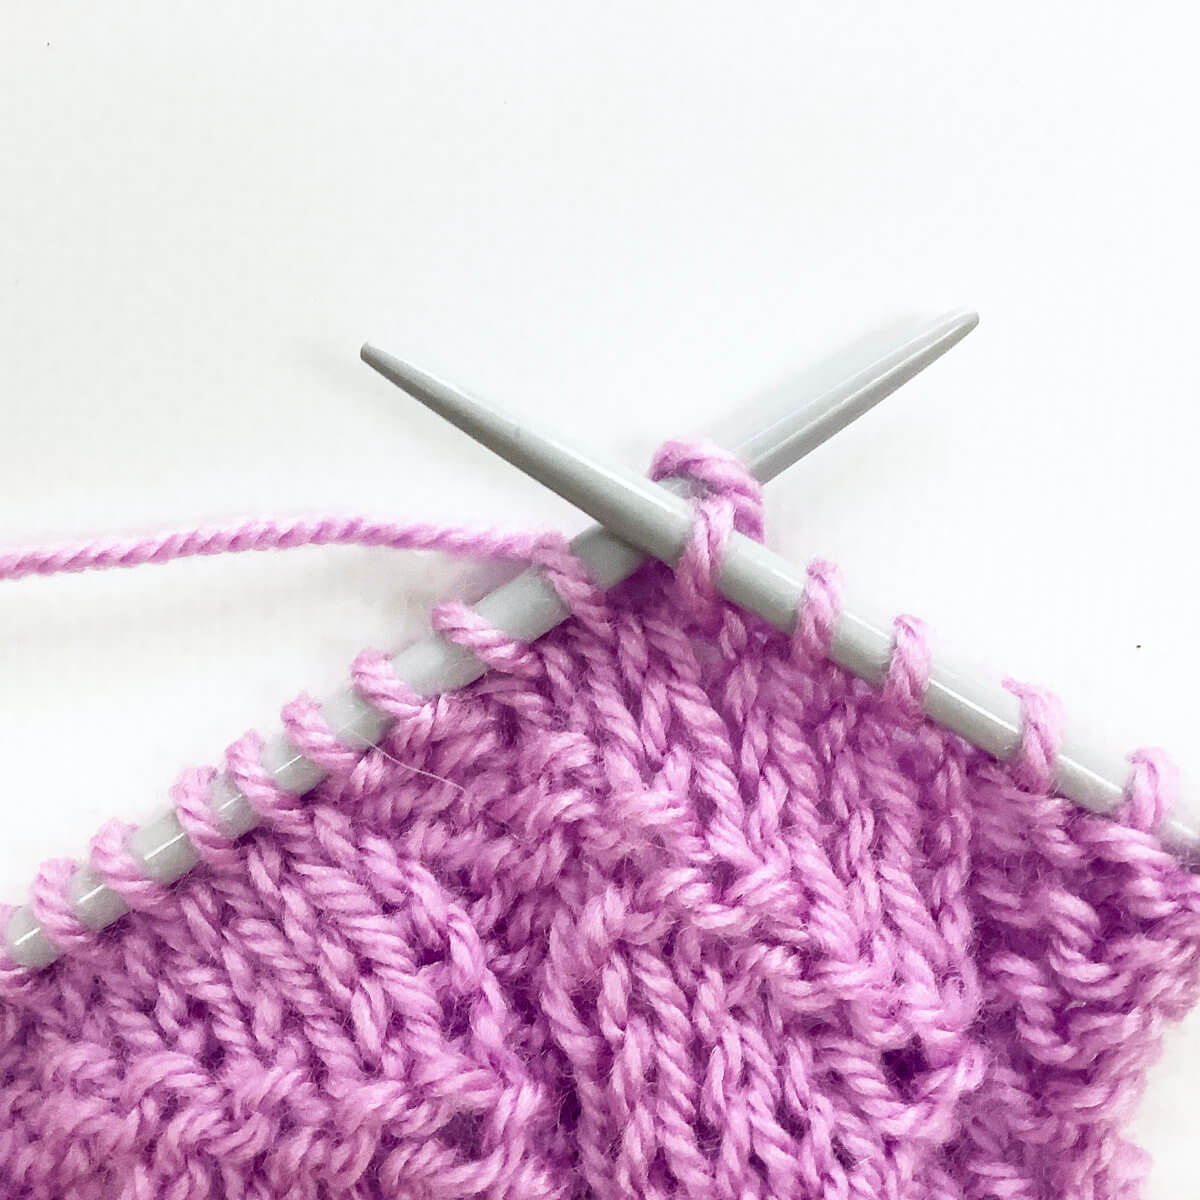
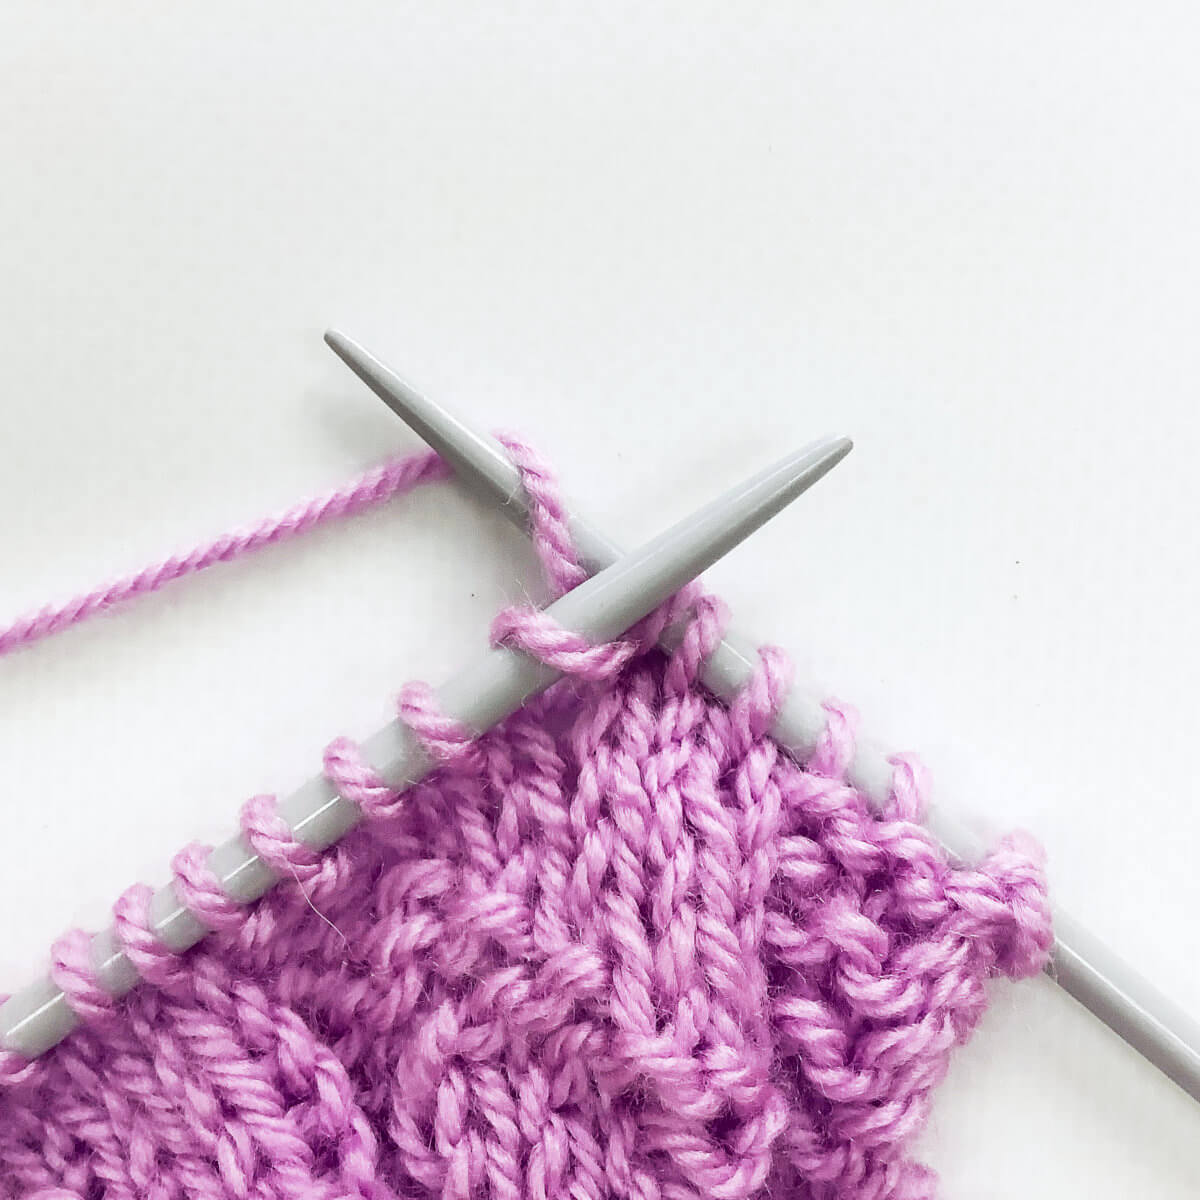
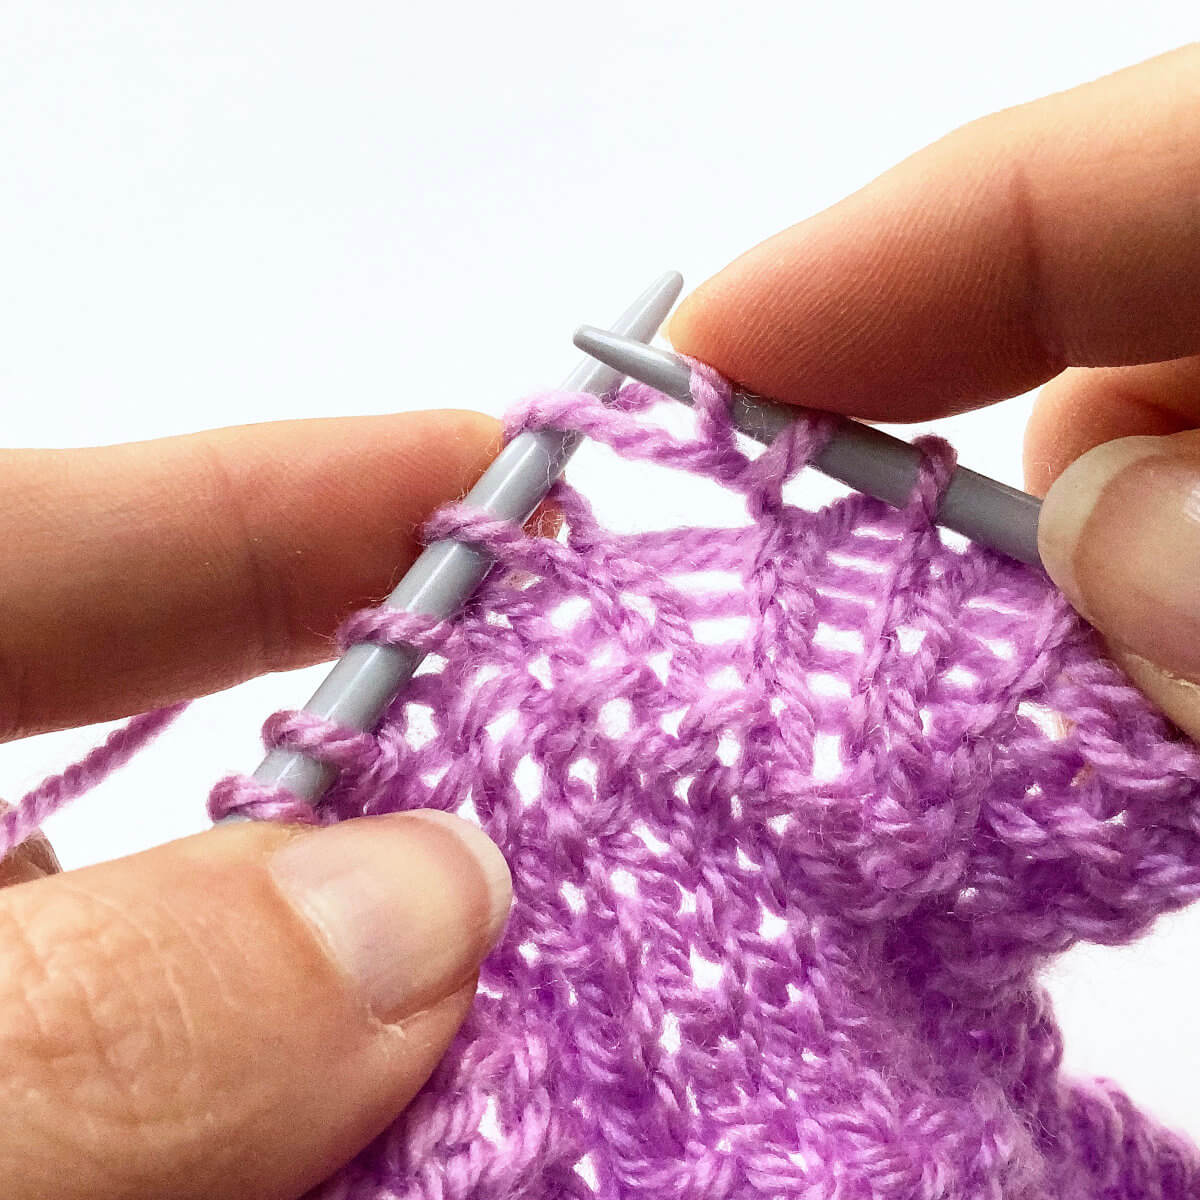
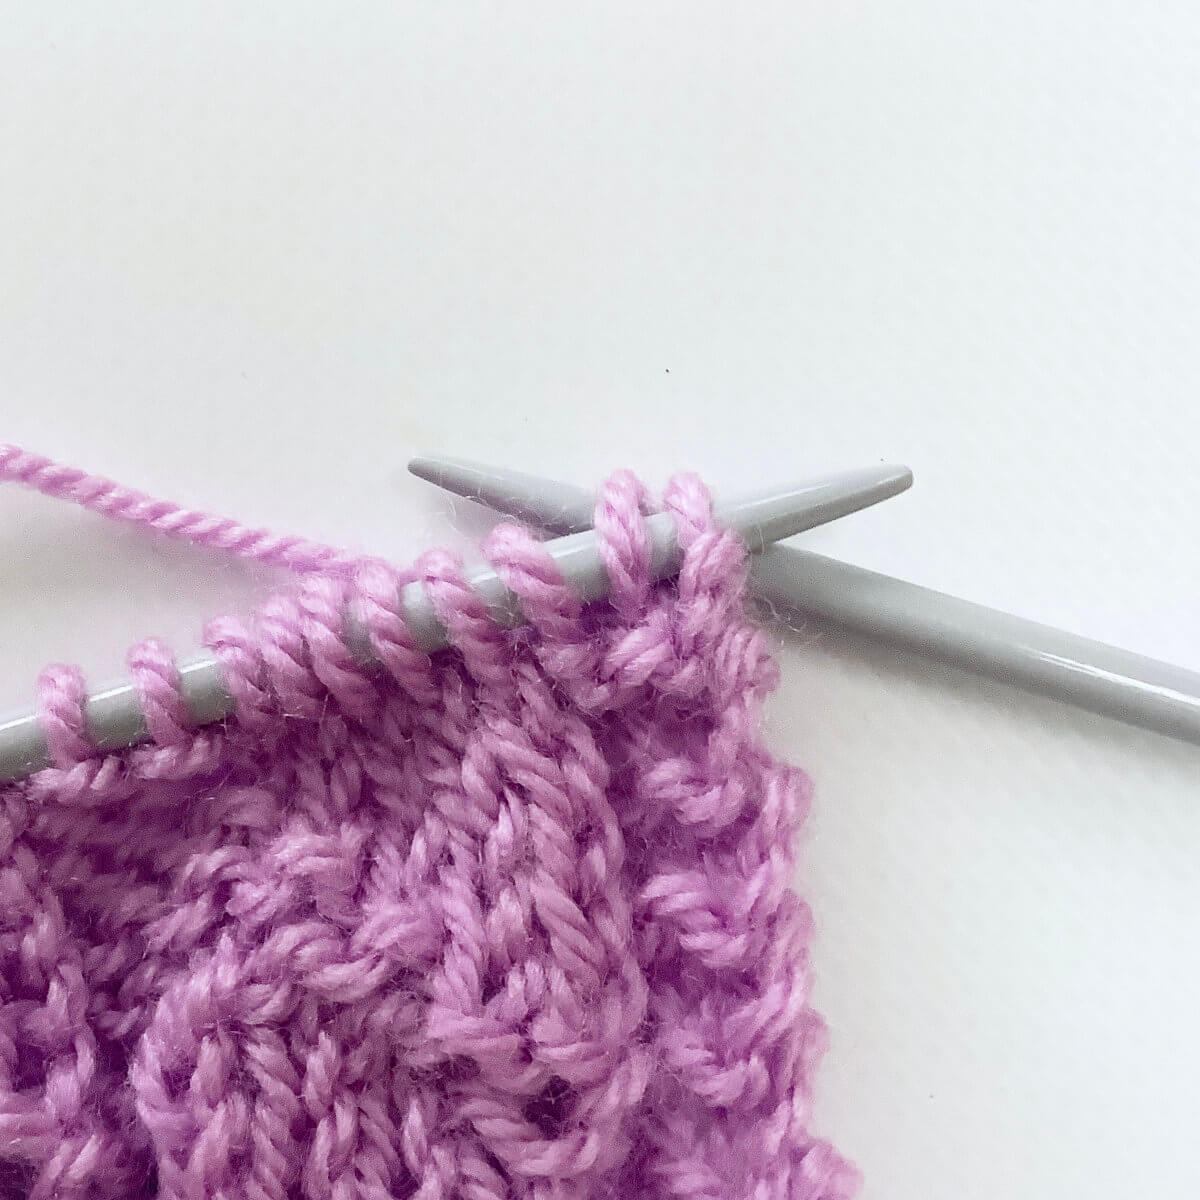
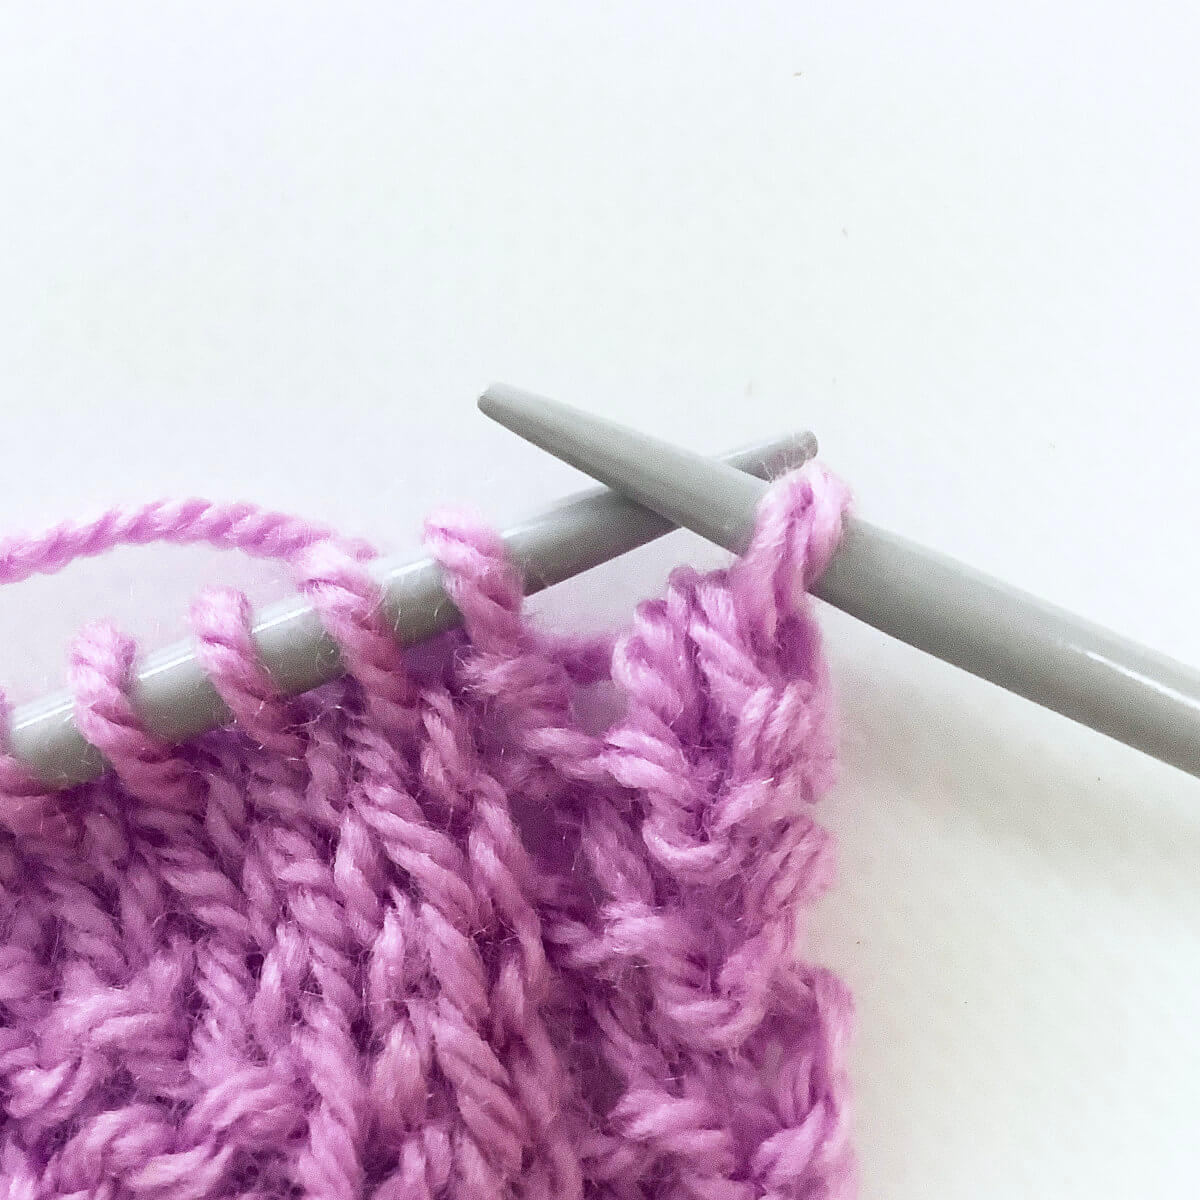
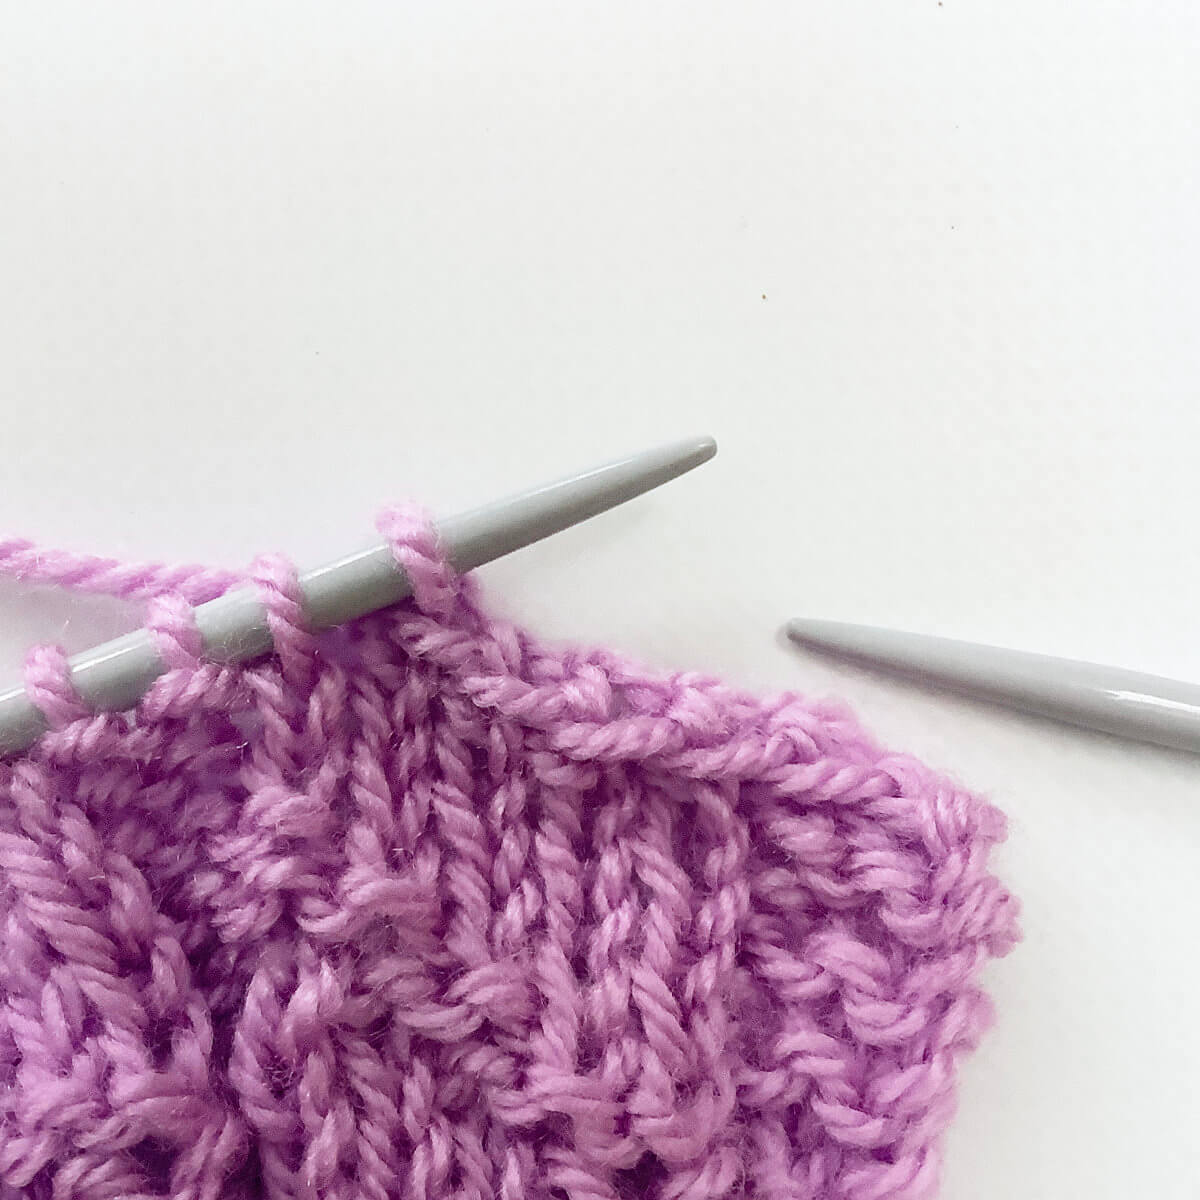
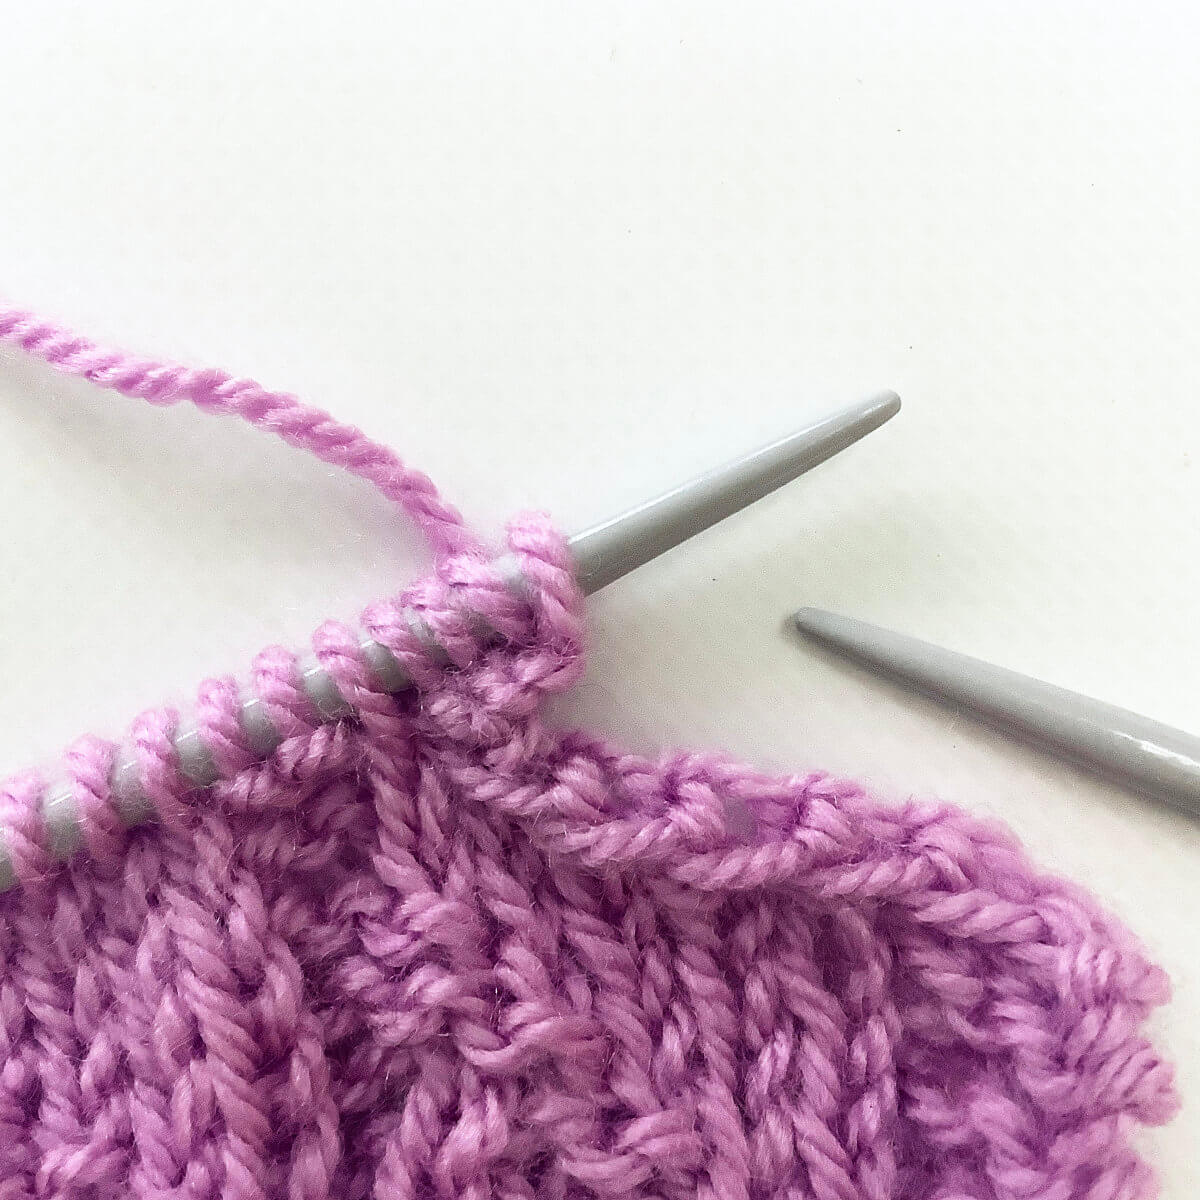
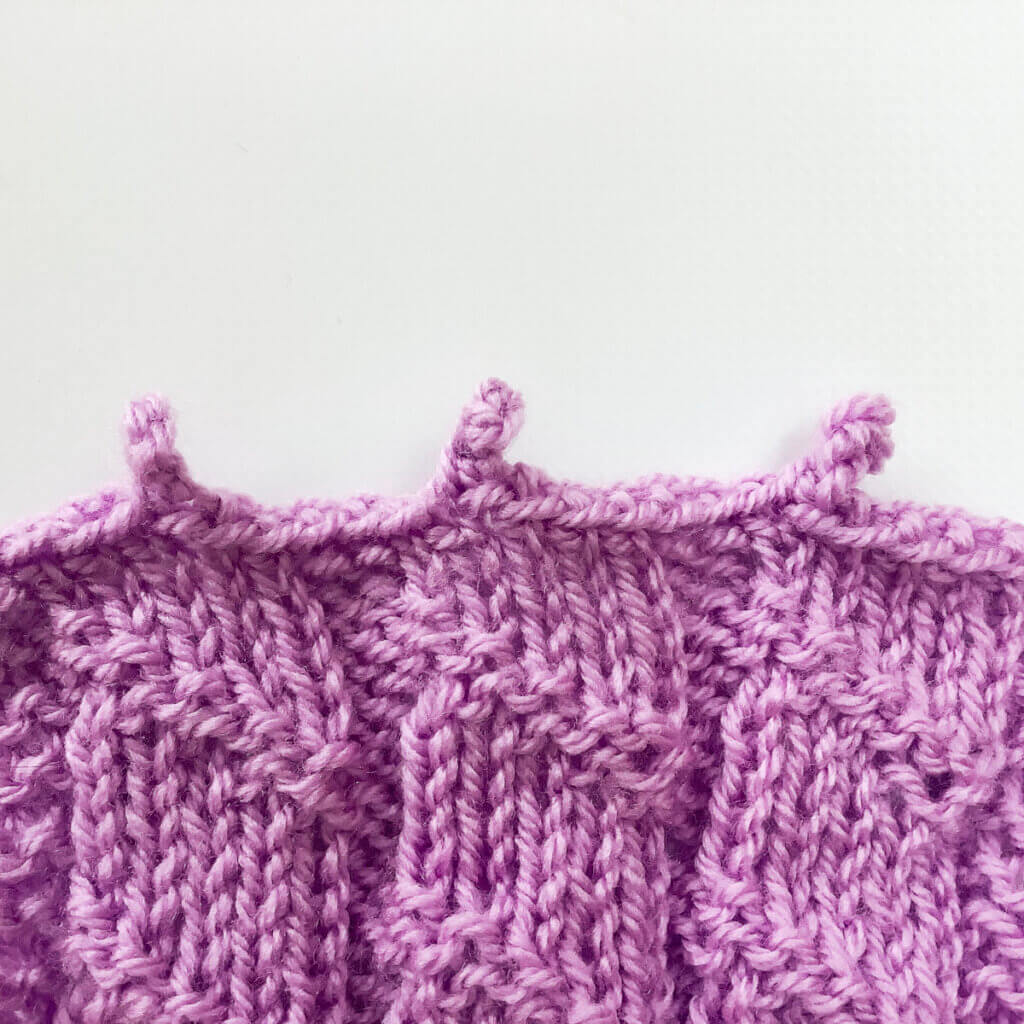
The St John’s wort stitch is a traditional lace knitting stitch. It combines a 3 to 2 decrease on the right side of the fabric, with a strategically placed yarn over increase on the following wrong side of the fabric. Because of this, you’ll see that the stitch count decreases on the right side rows, and increases again on the wrong side rows. As far as lace patterning goes, this one is pretty intuitive to knit: The yarn over always has to be worked between the 2 wrapped stitches of the 3 to 2 decrease. This makes it pretty easy to read the knitting, and see which stitch needs to go where.

The stitch pattern requires a multiple of 6 + 2 stitches, and is worked over 4 rows. Please note that I’ve added 2 edge stitches in garter stitch on both sides of the swatch. These are not included in the stitch pattern description.

Materials used

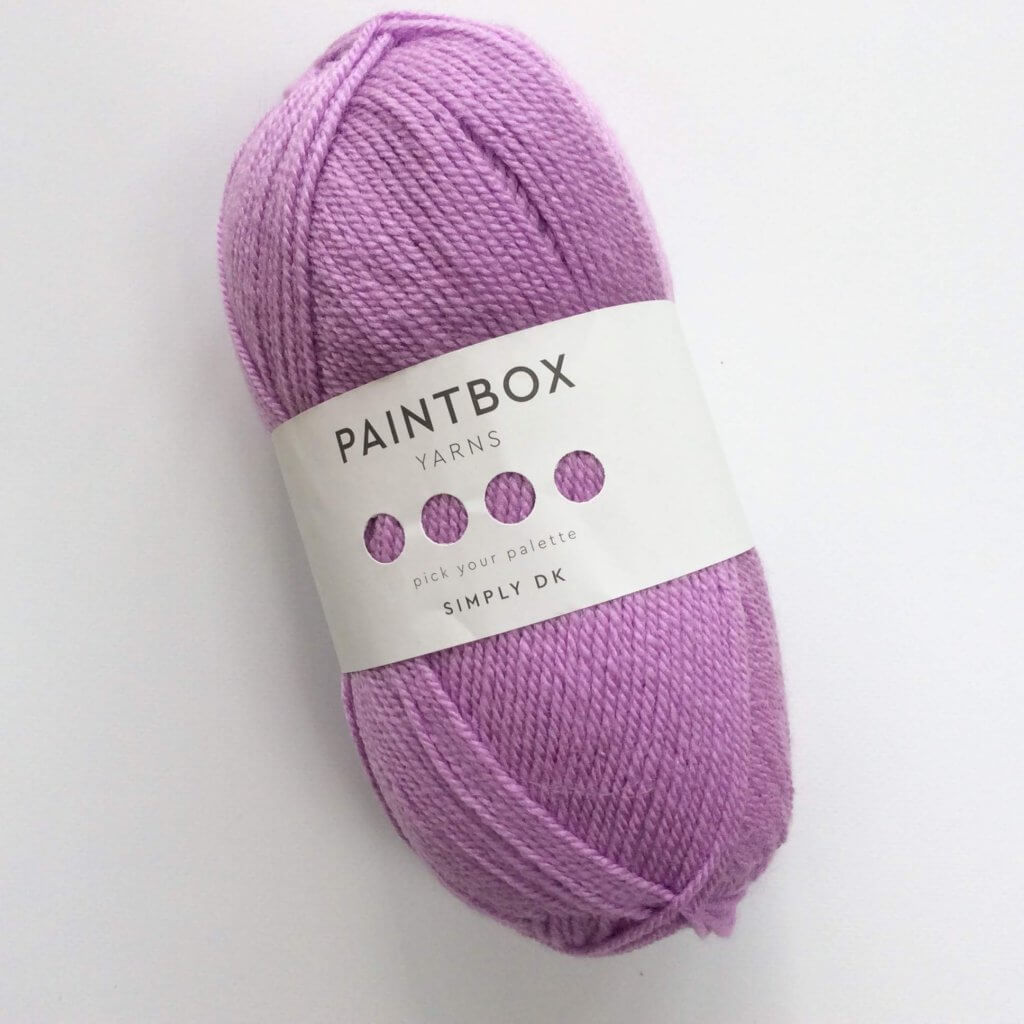
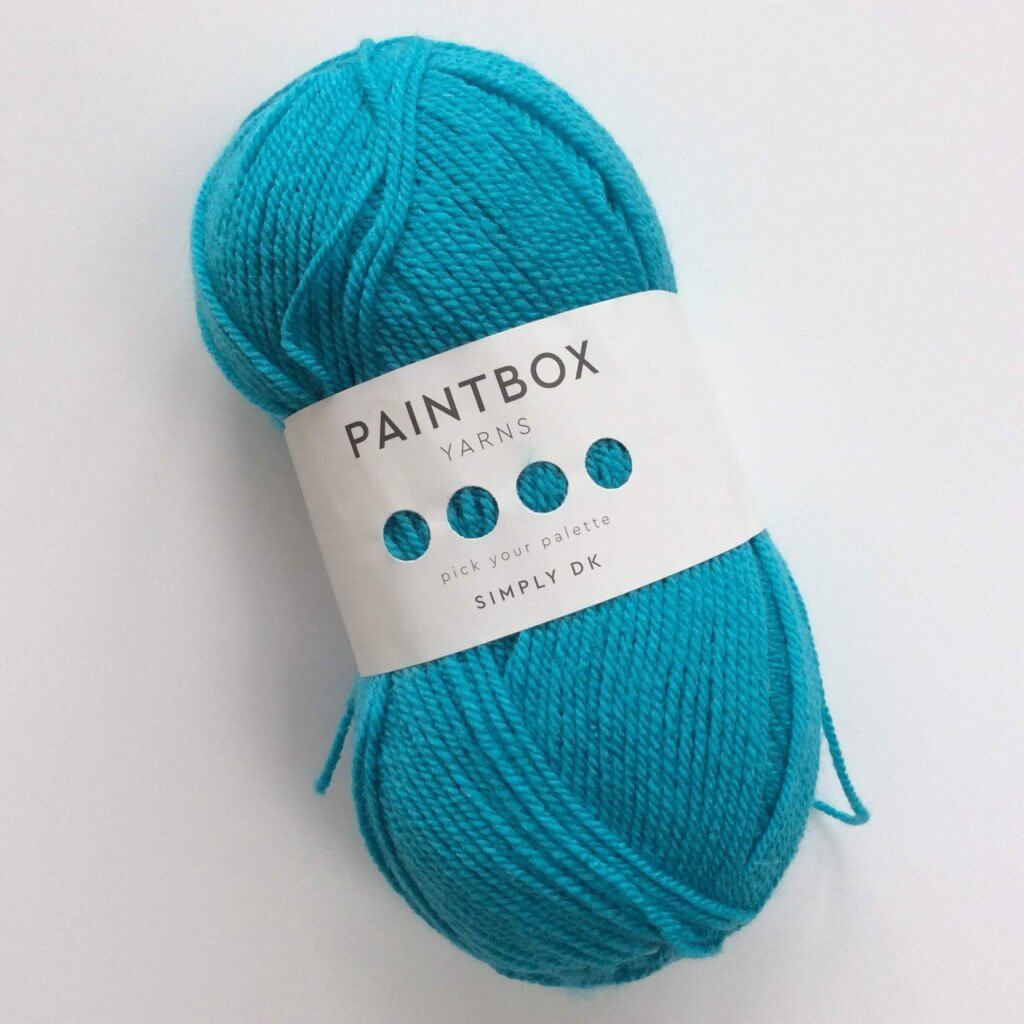
Yarn: Paintbox Yarns Simply DK, a good value, good quality 100% acrylic yarn, in the color Marine Blue.

Needles: This is a pair of straights that I picked up at the second-hand store when I started knitting, brand unknown.

Stitches used

  • k – knit
  • p – purl
  • psso – pass the slipped stitch over
  • RS / WS – right side / wrong side
  • rep – repeat
  • sl – slip the indicated stitch knit-wise to the right-hand needle
  • st(s) – stitch(es)
  • yo – yarn over

St. John’s Wort stitch

Row 1 (RS): K1, * (sl 1, k2, psso), k3; rep from * to 1 st before end, k1.
Row 2 (WS): P1, * p4, yo, p1; rep from * to 1 st before end, p1.
Row 3: K1, * k3, (sl 1, k2, psso); rep from * to 1 st before end, k1.
Row 4: P1, * p1, yo, p4; rep from * to 1 st before end, p1.

Repeat rows 1-4 for pattern until desired length.

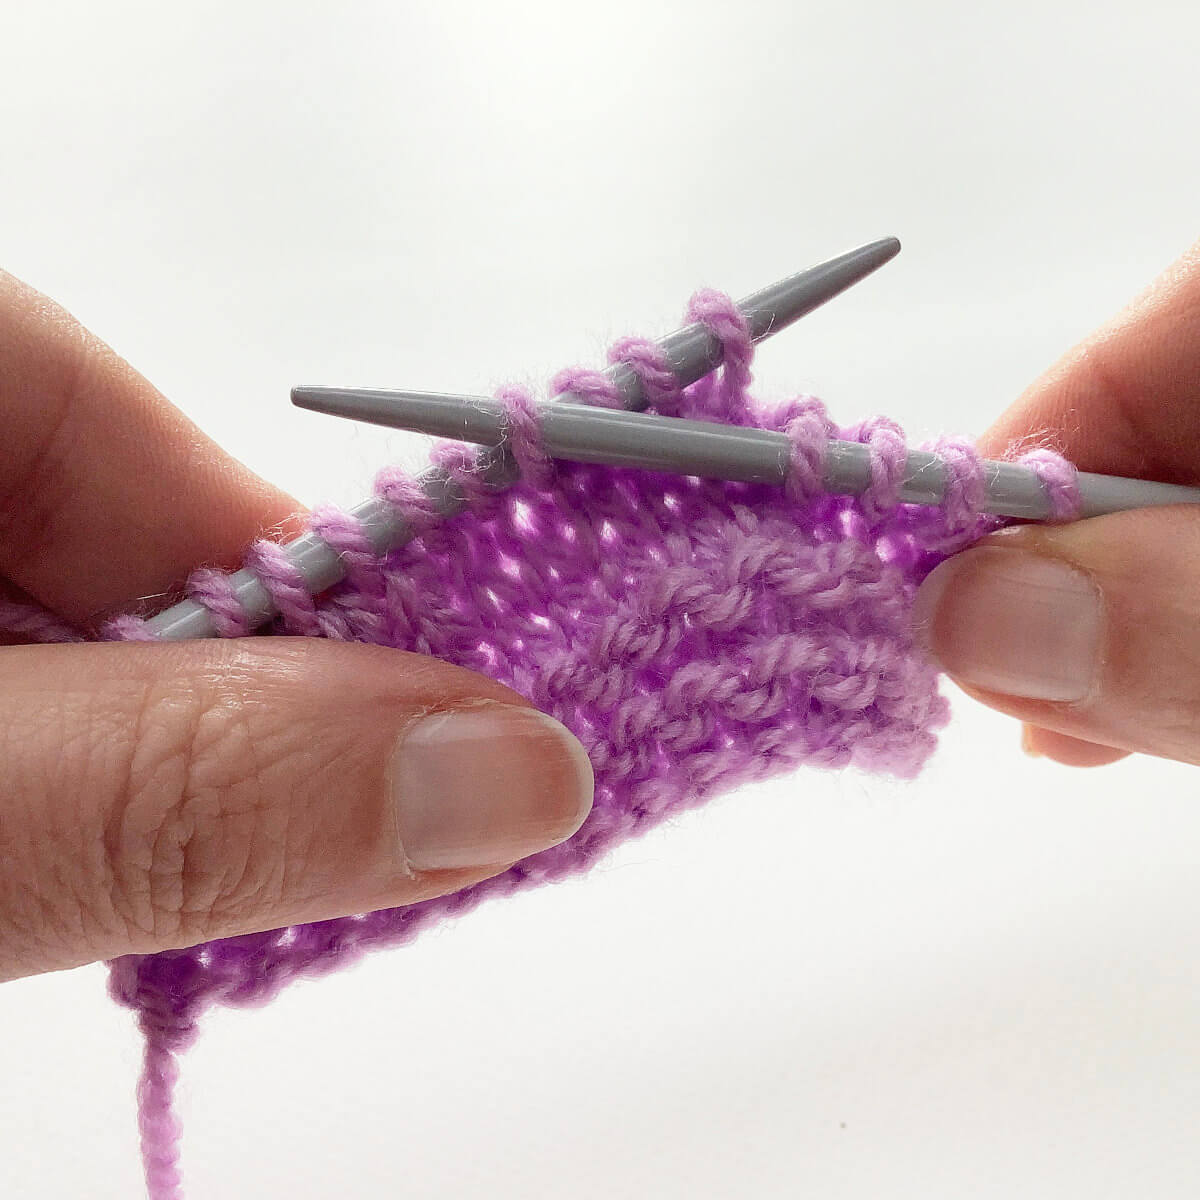
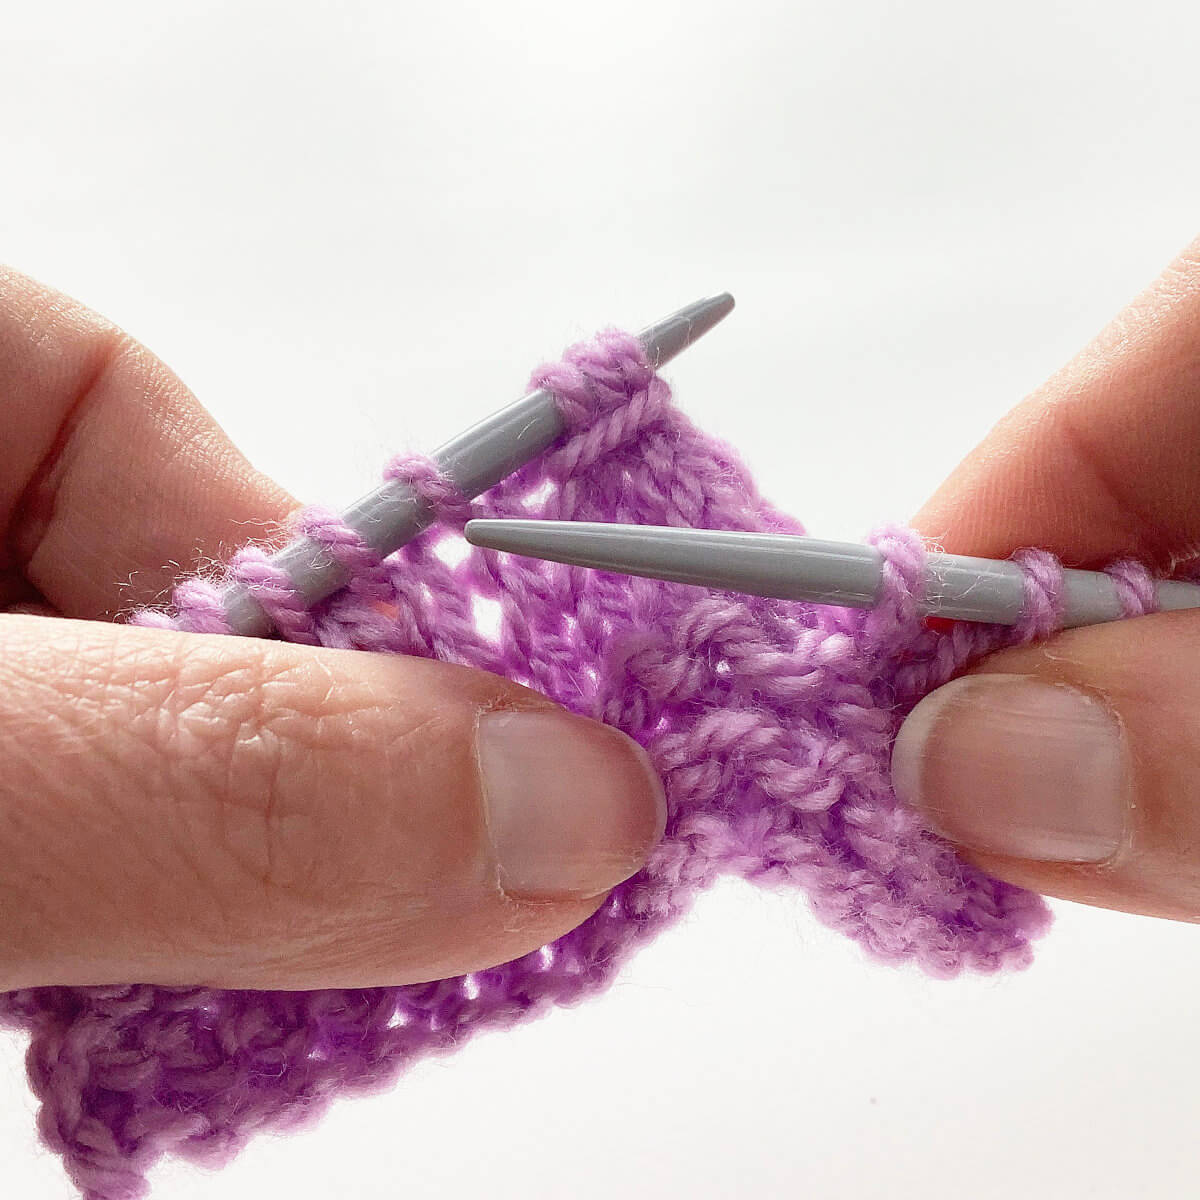
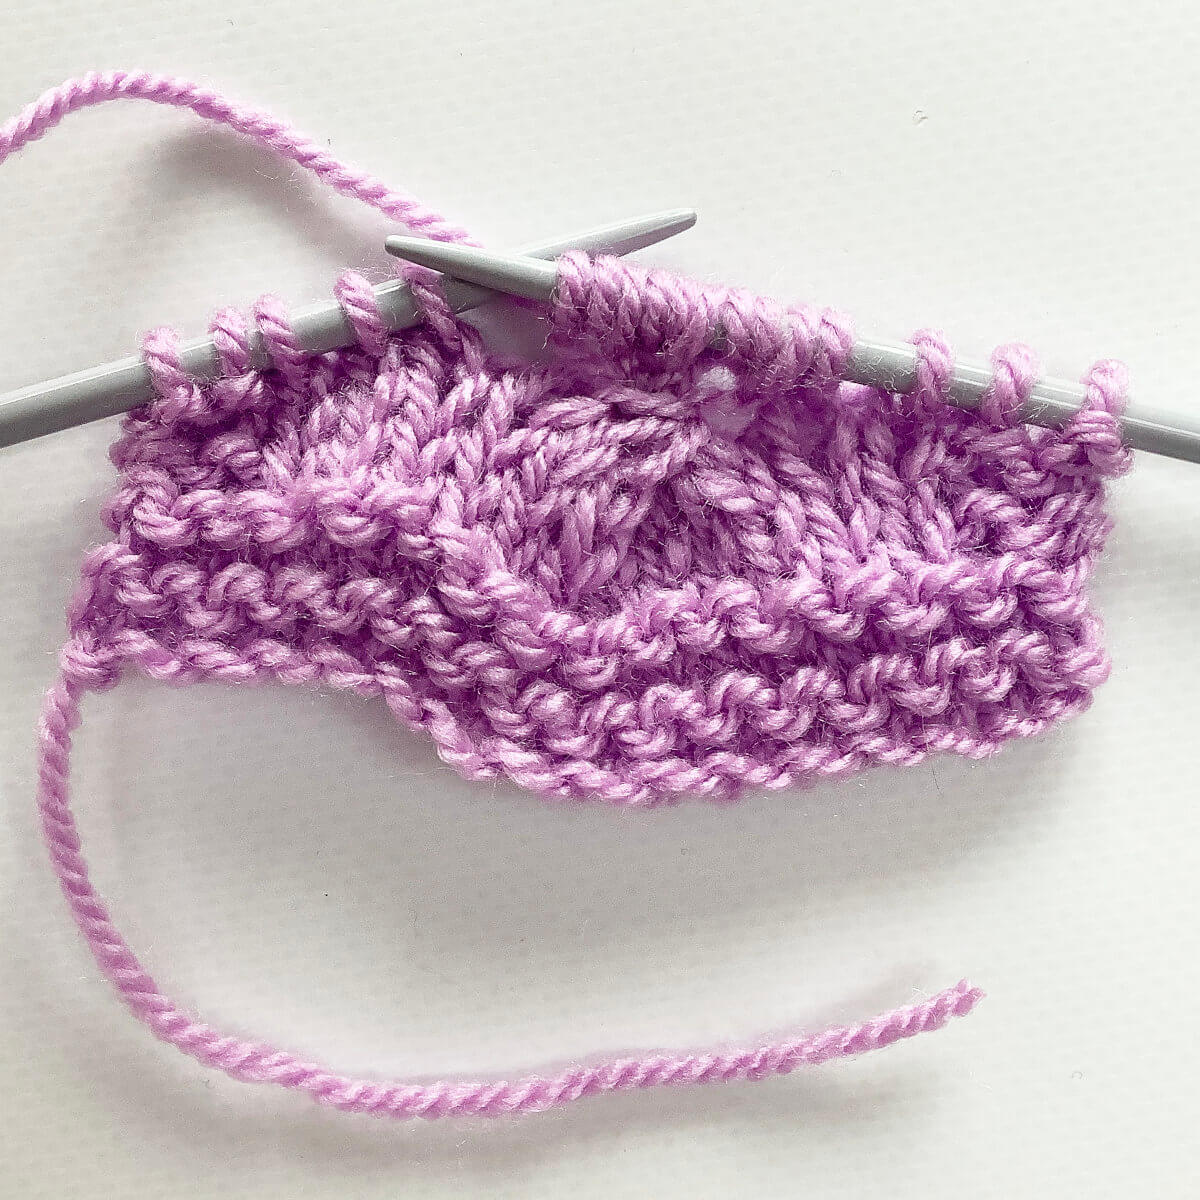
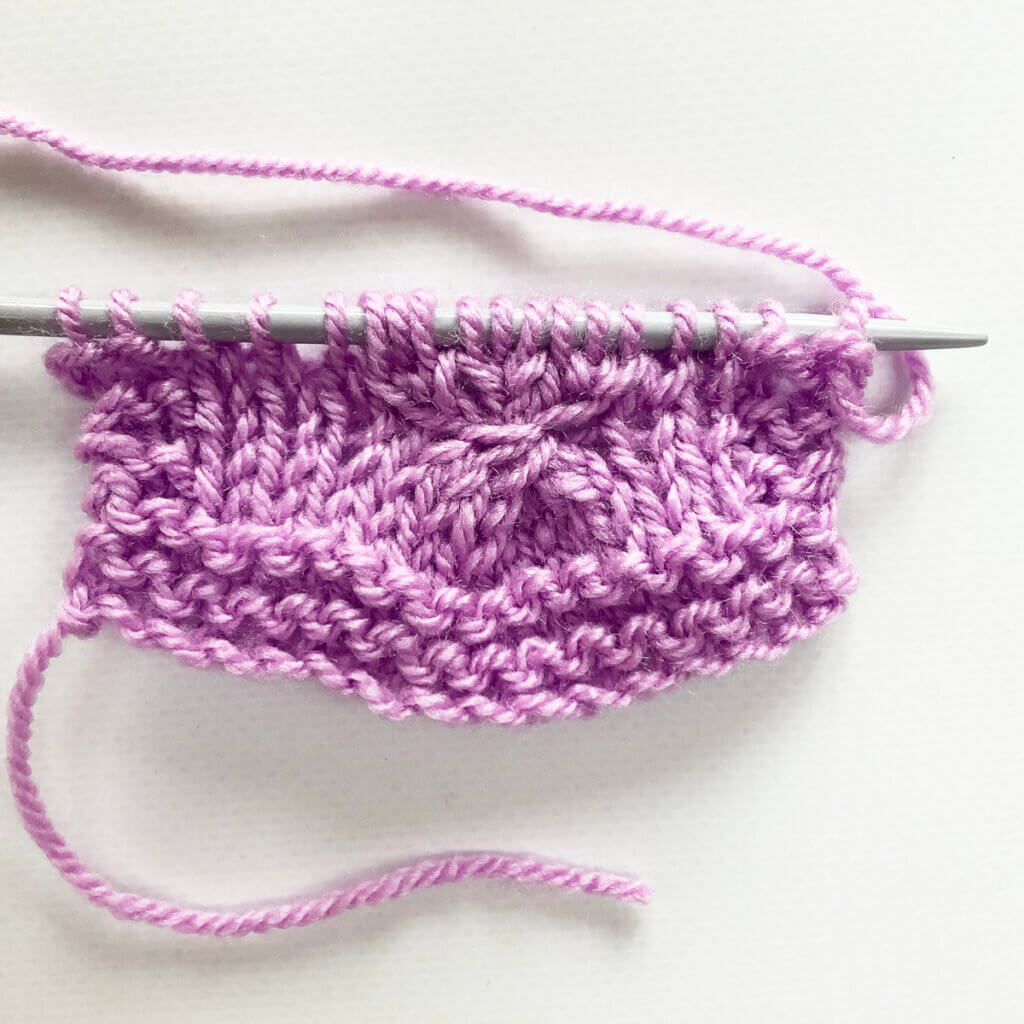
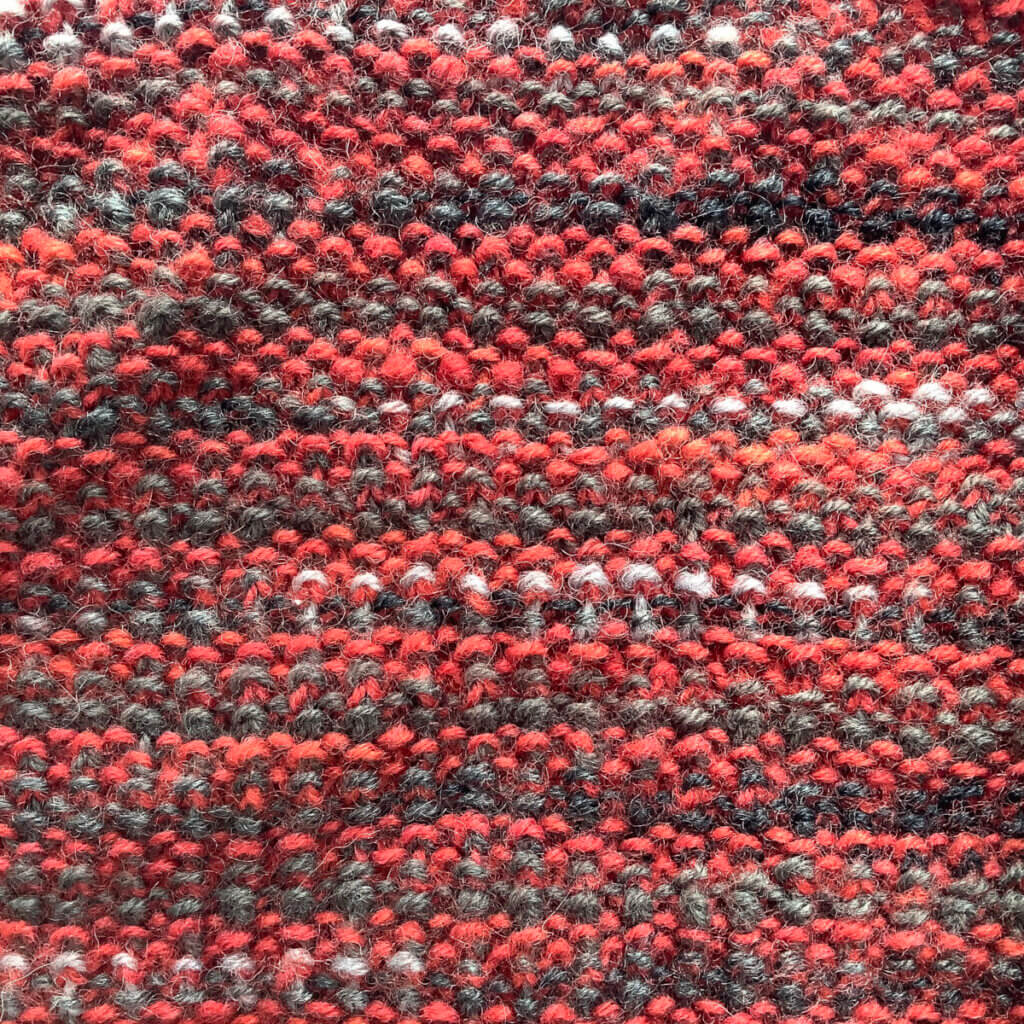
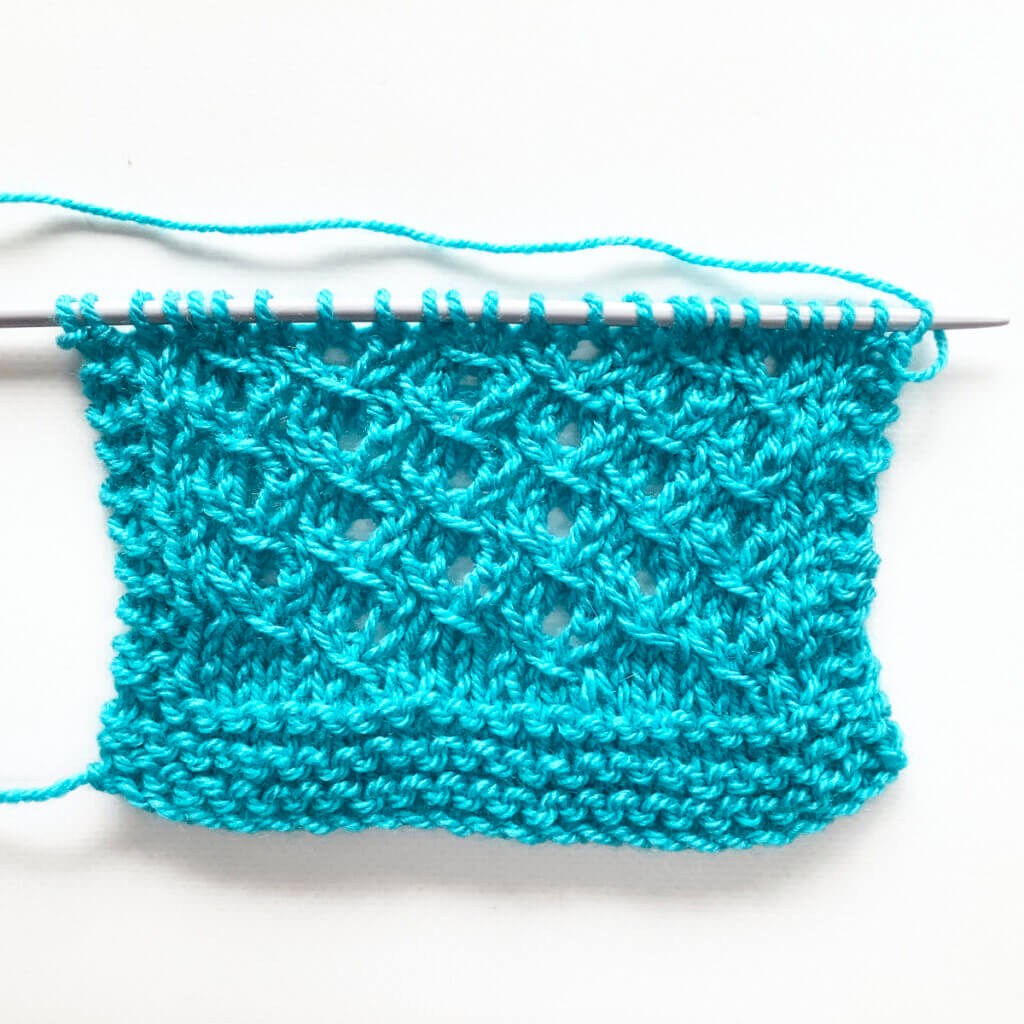
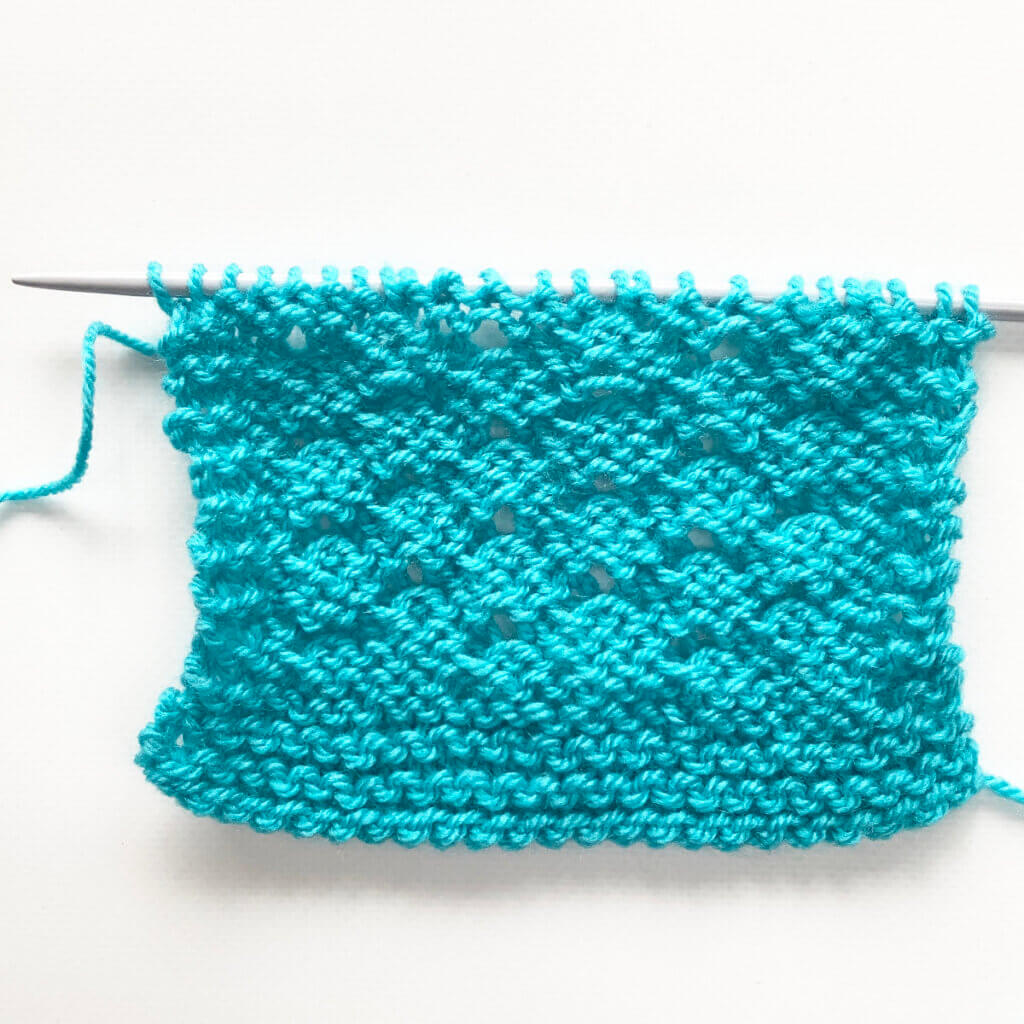
In the below pictures, you see the patterning first from the right, and then also from the wrong side of the fabric:
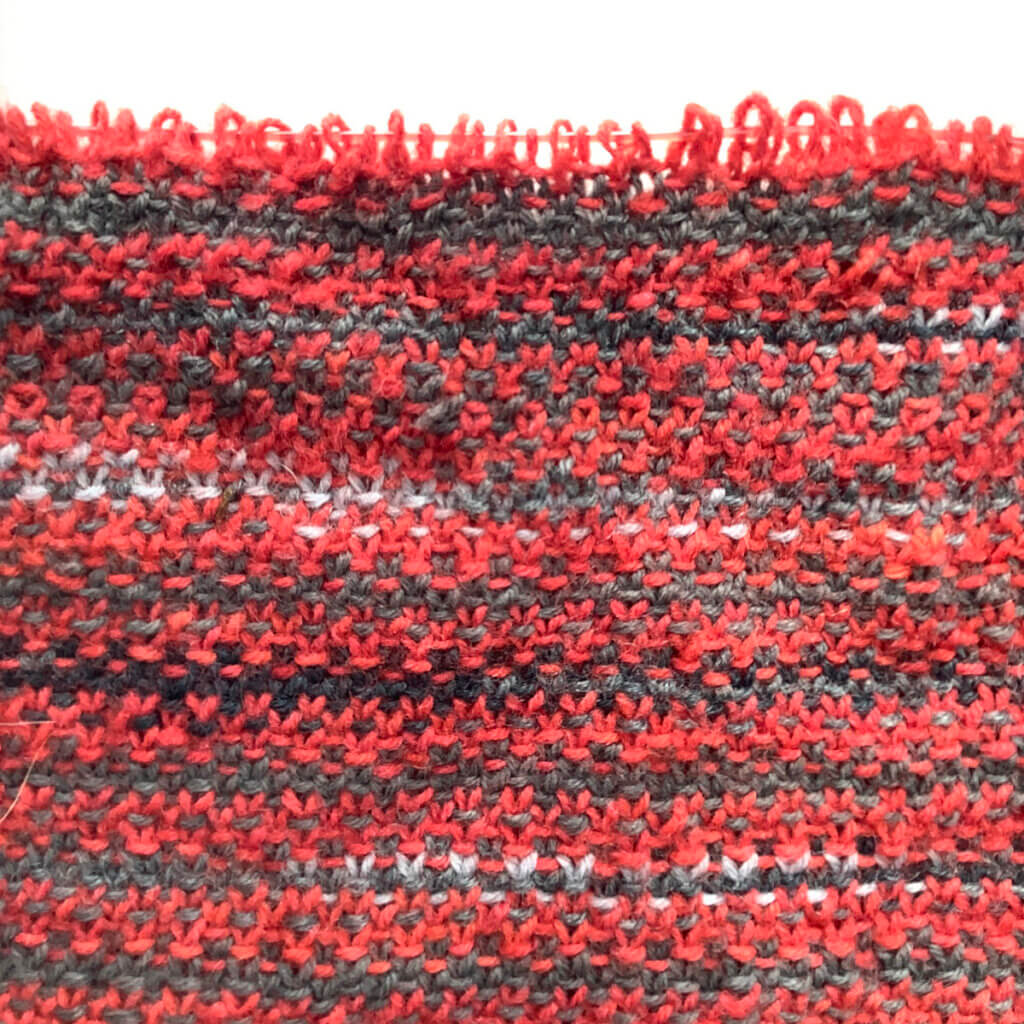
St. John's Wort stitch from the RS
The stitch as seen from the RS.
St. John's Wort stitch from the WS
The stitch as seen from the WS.
Patreon logo

Thanks to my Patreon supporters for bringing you this freebie! Creating quality patterns and tutorials is a lot of work and resource-intensive. However, I find it important to give you free content like this tutorial. Thanks to the generous support of my Patreon supporters, I can make it happen. Thank you, patrons! Click here to join, or click here to read more about La Visch Designs on Patreon.

stitch pattern – St. John’s wort stitch Read More »

tutorial – working a centered 5 to 1 decrease

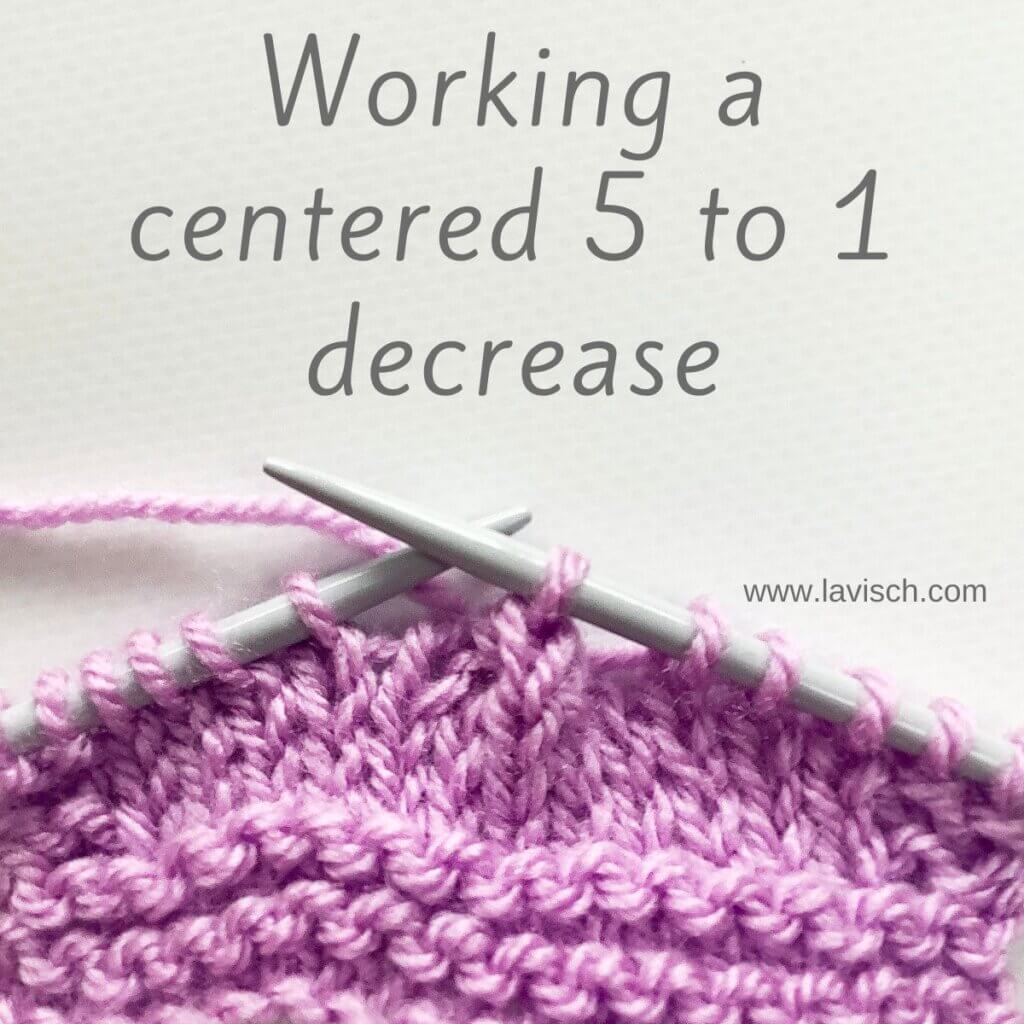
Working a centered 5 to 1 decrease

A centered decrease, as shown in this tutorial, reduces 5 stitches down to 1 stitch in a symmetrical way. This decrease results in a strong vertical decrease line that doesn’t slant to either the left or the right. A useful decrease to have in your knitter’s toolkit! Read on to see how it’s worked.

Materials used

Yarn: Paintbox Yarns Simply DK, a good value, good quality 100% acrylic yarn, here in the color 142 Tea Rose.

Knitting needles: This is a pair of straights that I picked up at the second-hand store when I started knitting, brand unknown.

Working the centered 5 to 1 decrease step by step

  1. To start, work as instructed by your pattern until the point where you want to make the decrease.

    Step 1 of working a centered 5 to 1 decrease

  2. First, insert your right-hand needle into the first 3 stitches on the left-hand needle as if to knit.

    Step 2

  3. Next, slip these 3 stitches from the left-hand to the right-hand needle.

    Step 3 of working a centered 5 to 1 decrease

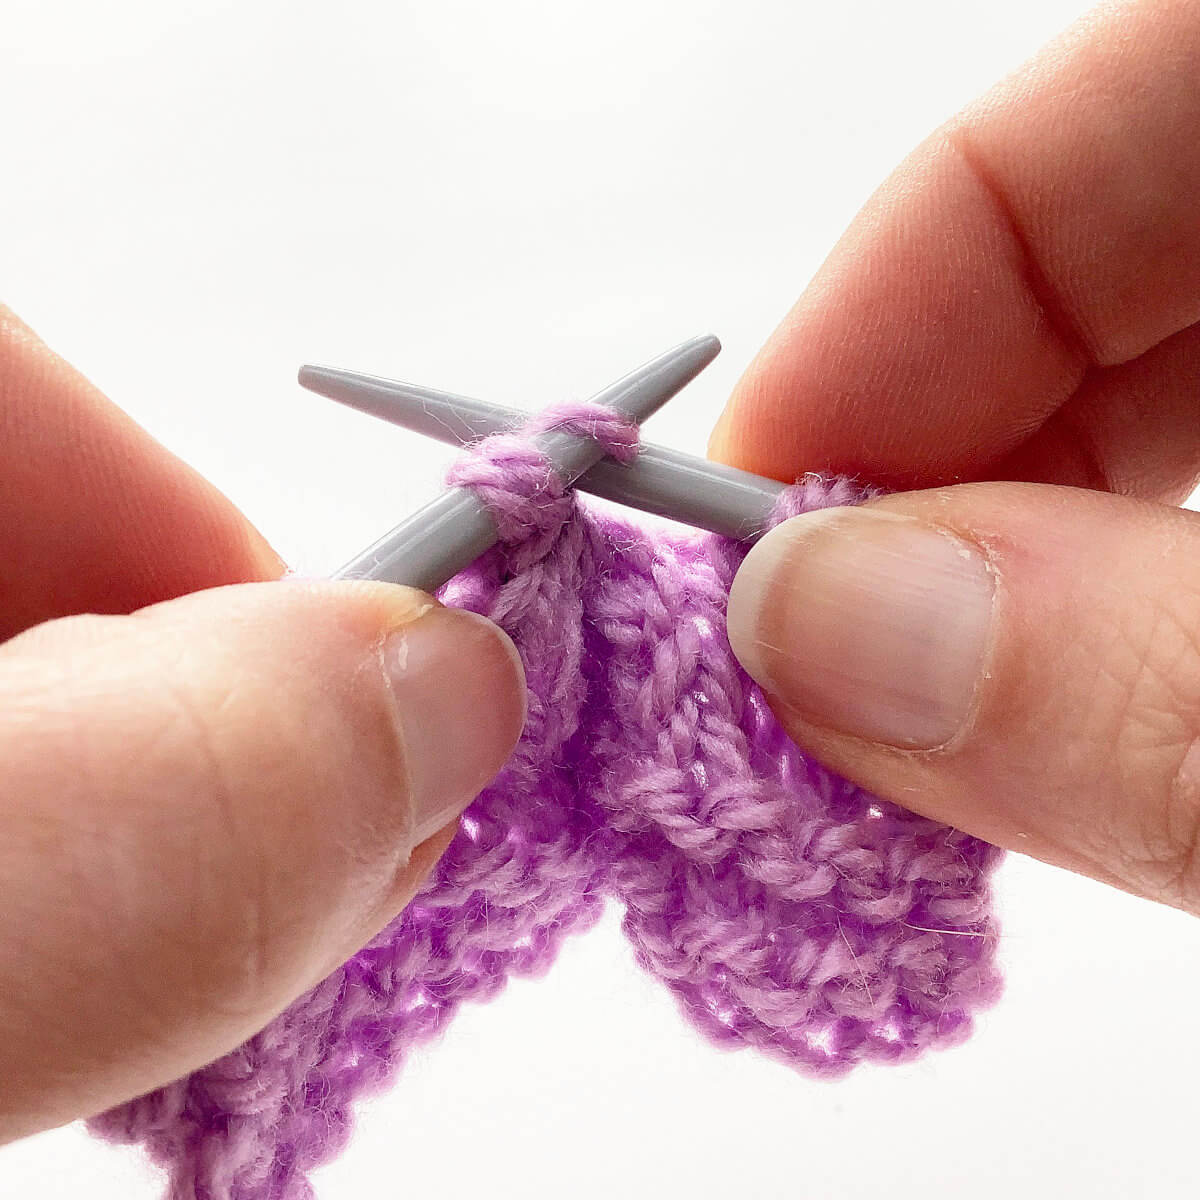
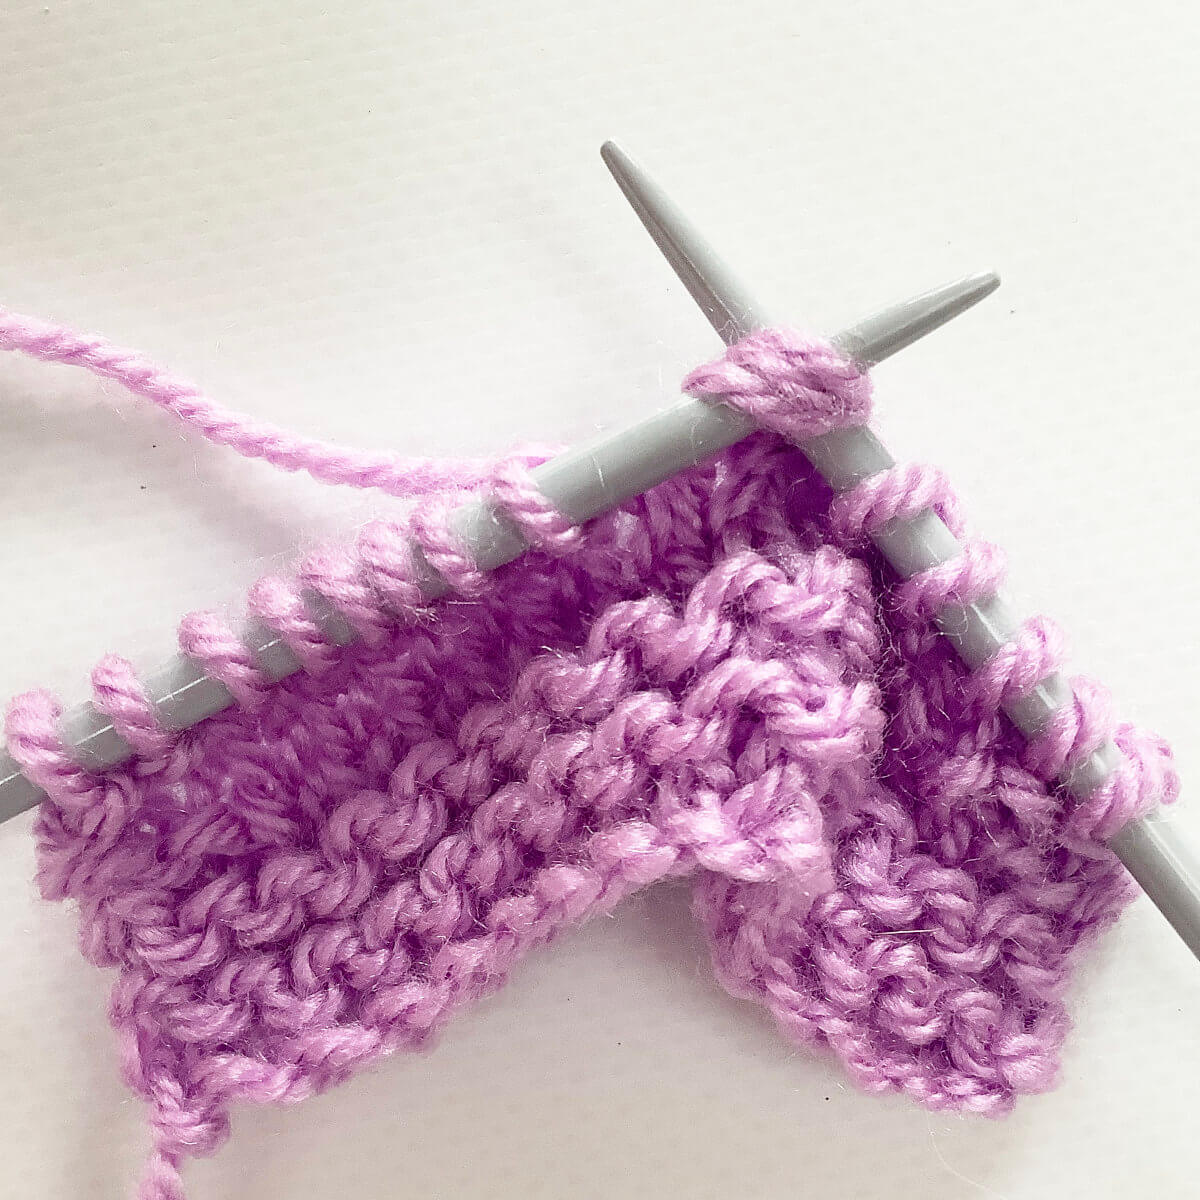
  4. Now, insert your right-hand needle into the first 2 stitches on the left-hand needle as if to knit.

    Step 4 of working a centered 5 to 1 decrease

  5. Next, wrap the yarn around the needle …

    Step 5

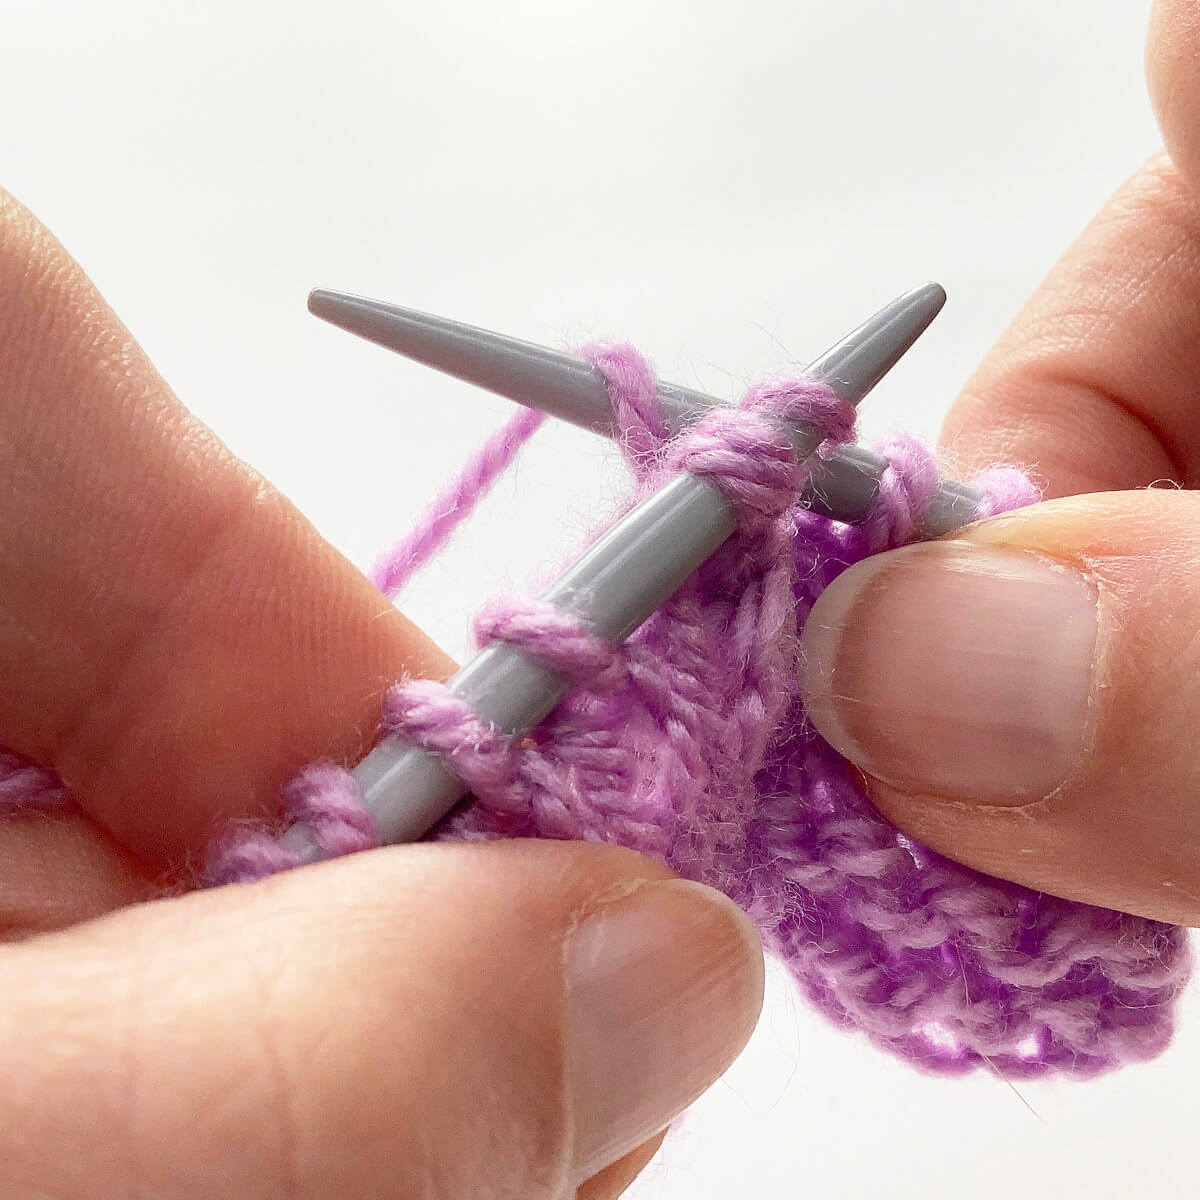
  6. … and pull it through to work a k2tog. Slip the resulting stitch to the right-hand needle.

    Step 6

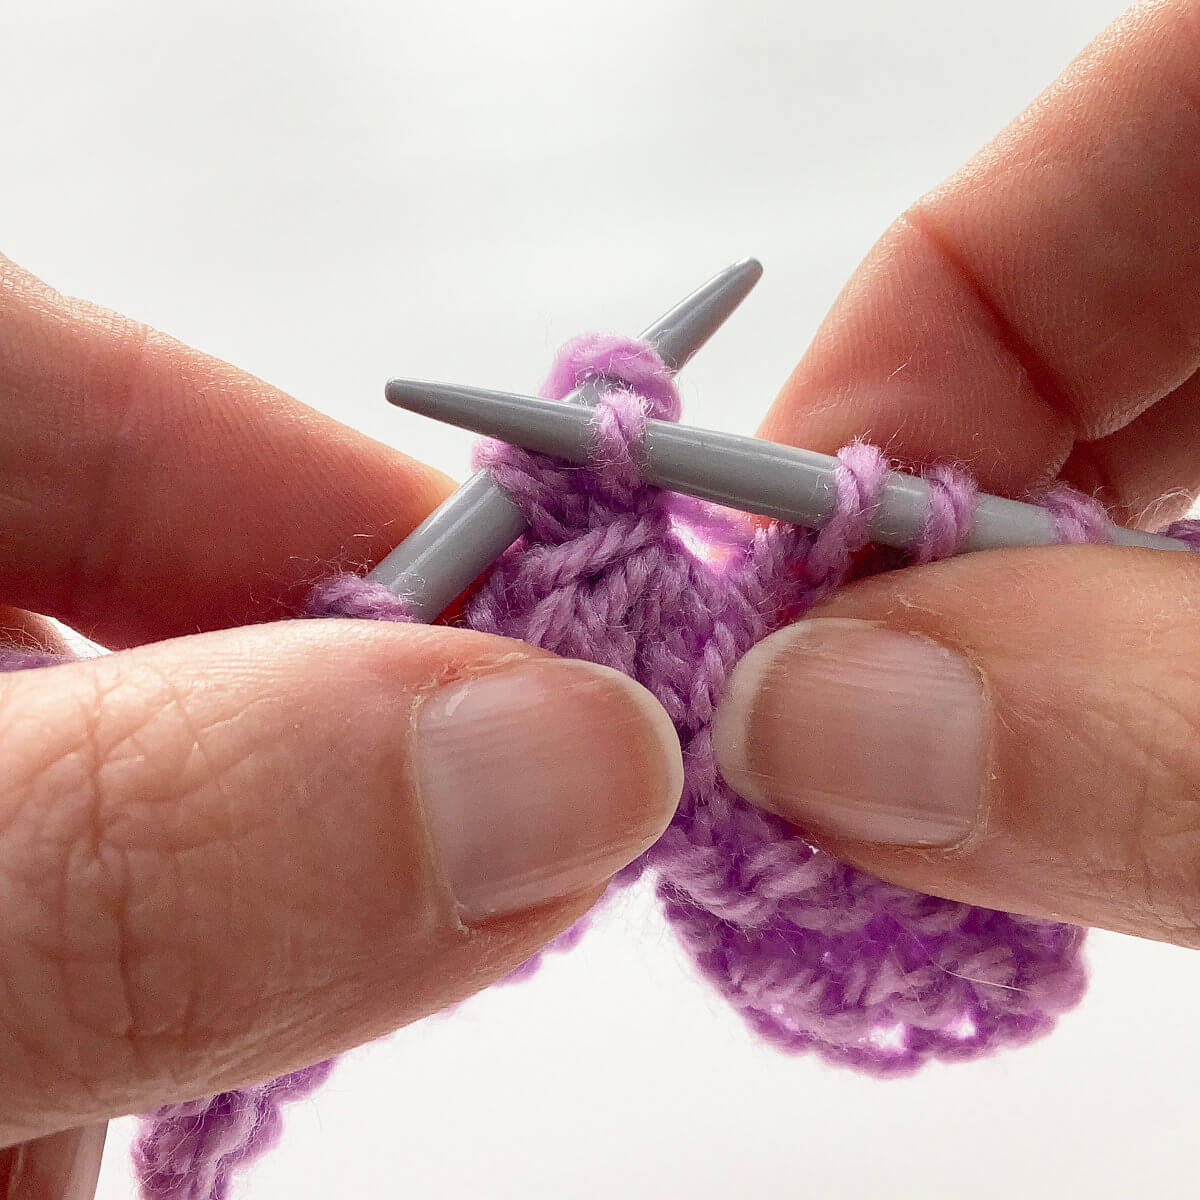
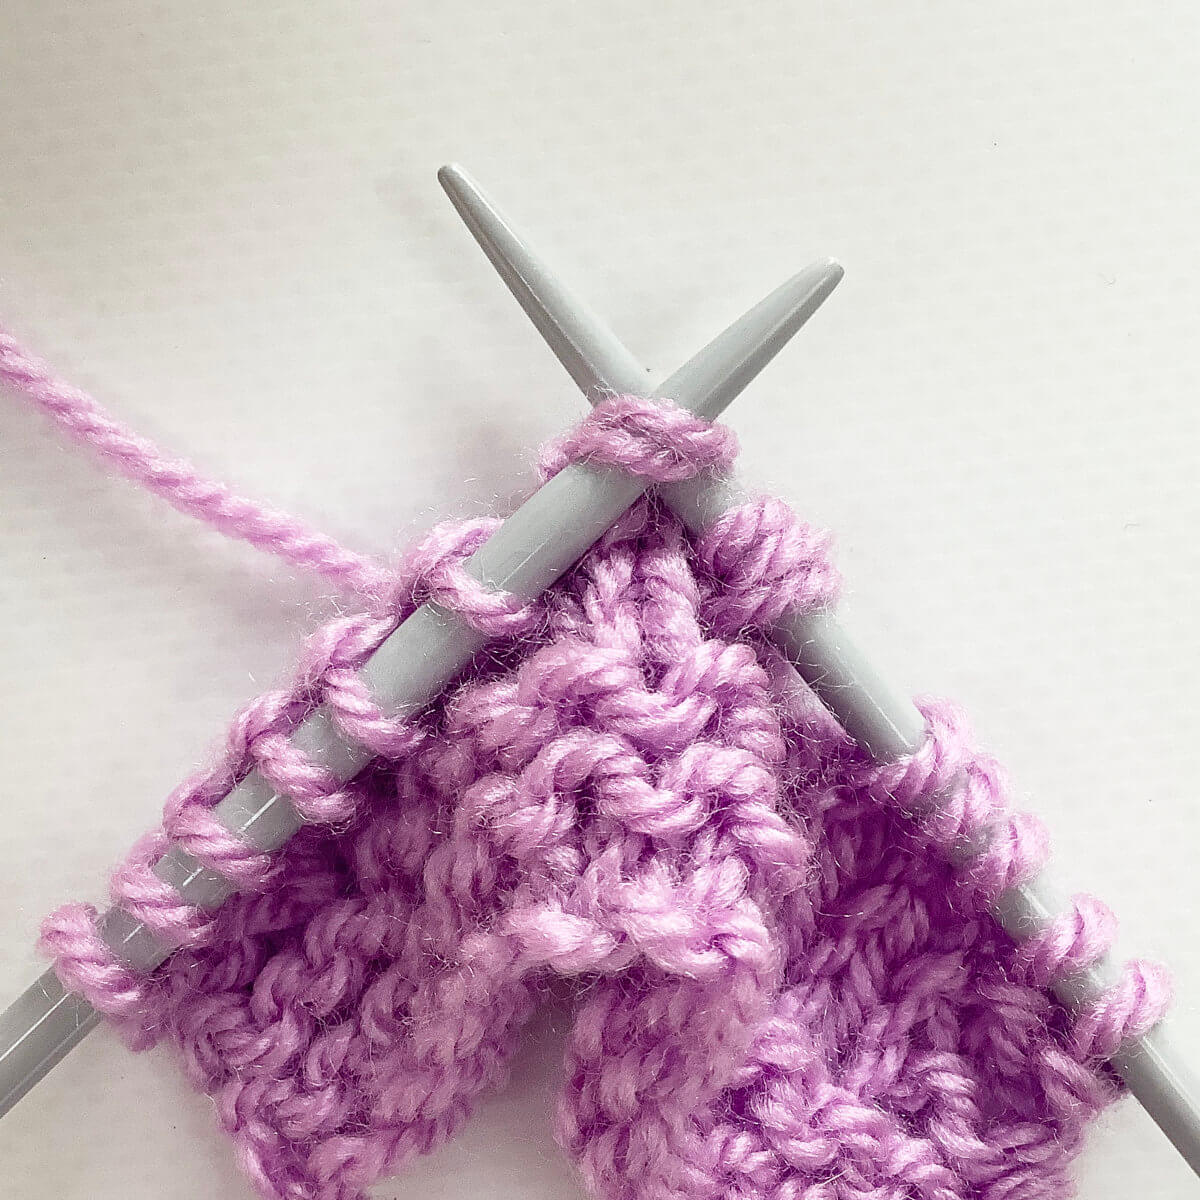
  7. Next, insert the left-hand needle into the 3 stitches that were slipped earlier, and pass them over the k2tog.

    Step 7 of working a centered 5 to 1 decrease

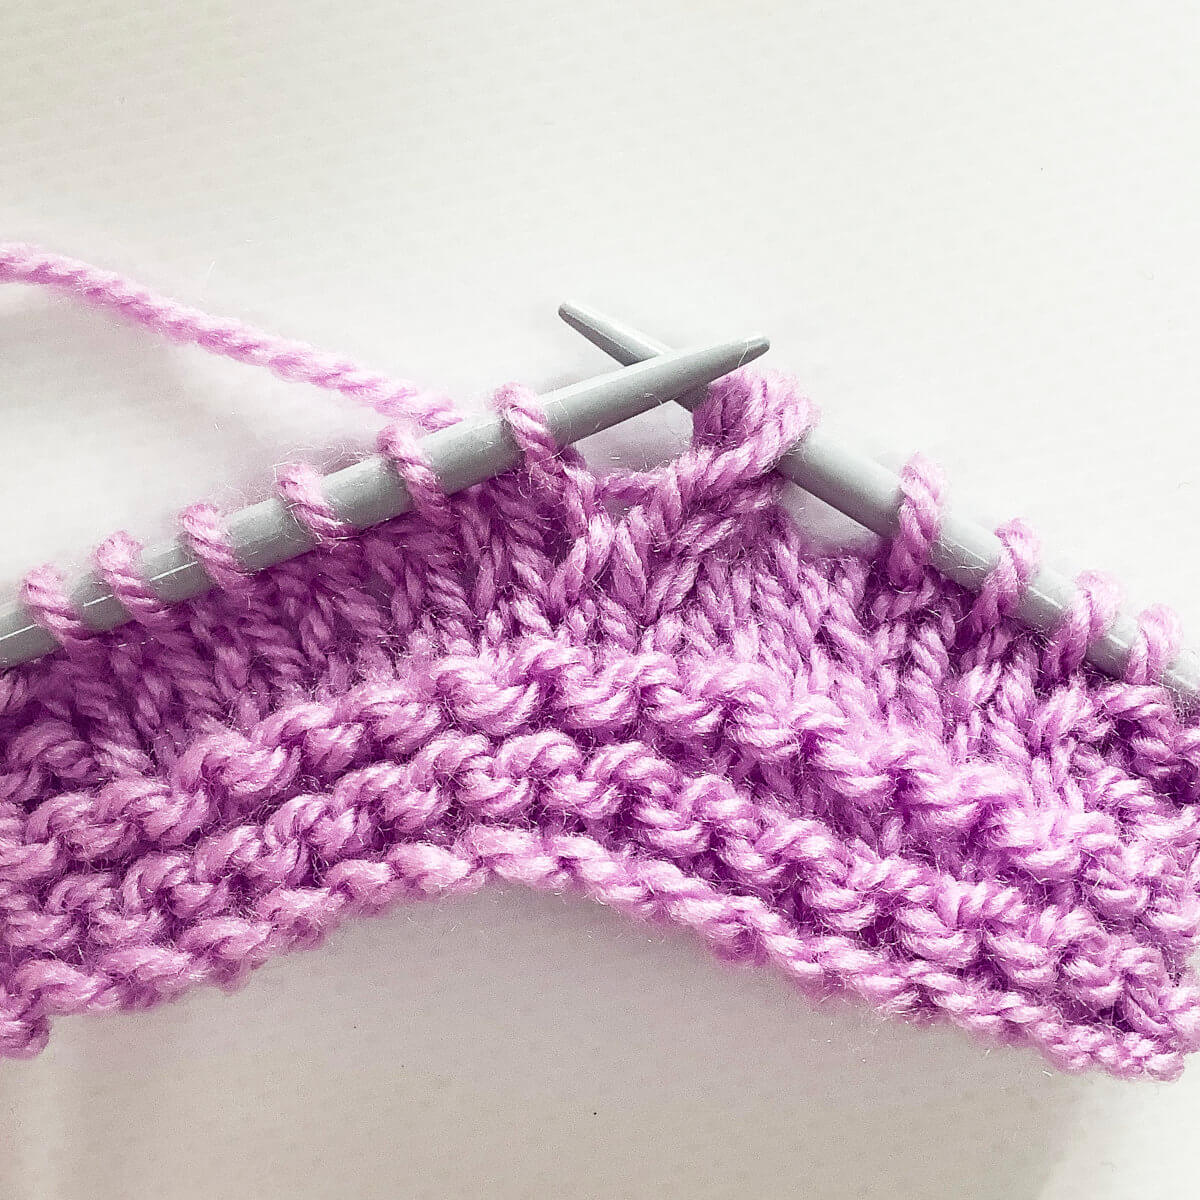
  8. The result after this last step can be seen below.

    After this, continue with your knitting as instructed in the pattern. Step 8 of working a centered 5 to 1 decrease

The result, when the row has been finished and a purl row has also been worked, is as follows. I think it’s pretty neat!

Centered 5 to 1 decrease
Patreon logo

Thanks to my Patreon supporters for bringing you this freebie! Creating quality patterns and tutorials is a lot of work and resource-intensive. However, I find it important to give you free content like this tutorial. Thanks to the generous support of my Patreon supporters, I can make it happen. Thank you, patrons! Click here to join, or click here to read more about La Visch Designs on Patreon.

tutorial – working a centered 5 to 1 decrease Read More »

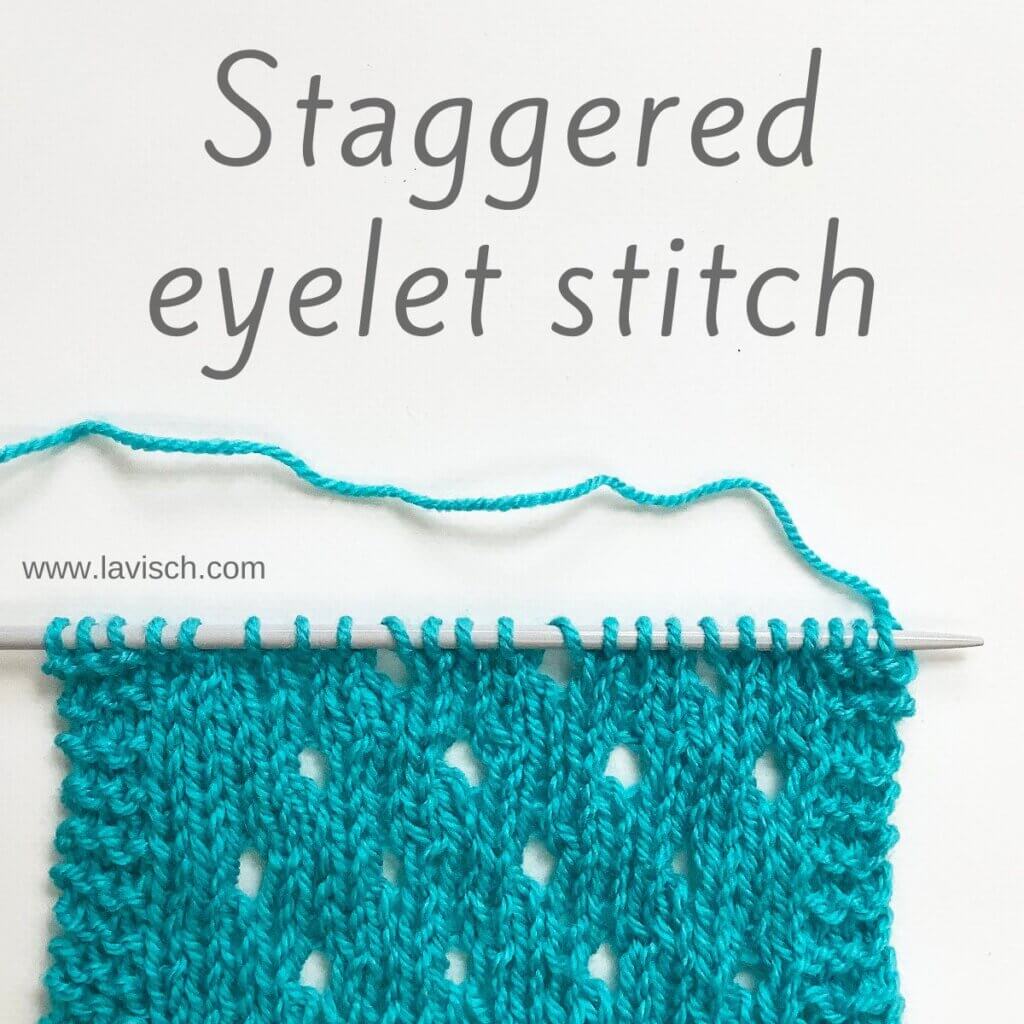
stitch pattern – staggered eyelet stitch

Staggered eyelet stitch - by La Visch Designs

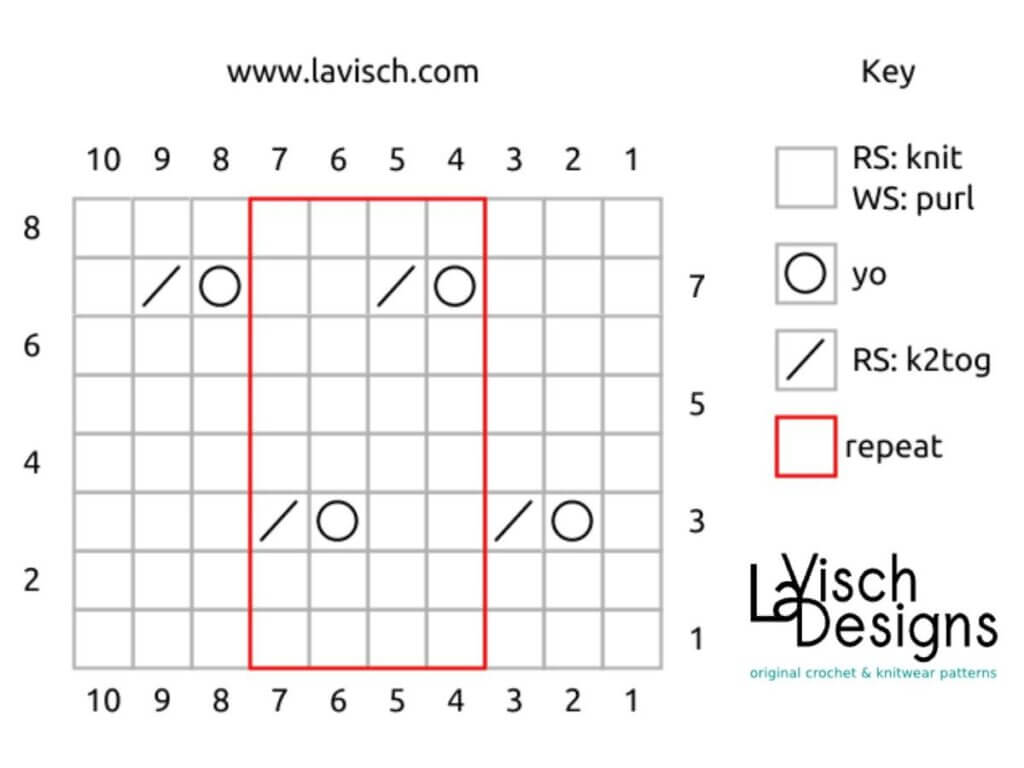
The staggered eyelet stitch consists of alternating eyelets on a stockinette background. It’s a quite simple stitch pattern, with a gorgeous effect when used all-over in a design. Especially if you don’t want to take away too much attention from the yarn. This stitch pattern is worked as a multiple of 4 stitches plus 2 stitches, and in an eight-row repeat. Please note that I’ve added 3 edge stitches in garter stitch on both sides of the swatch. These are not included in the stitch pattern description.

Materials used

Yarn: Paintbox Yarns Simply DK, a good value, good quality 100% acrylic yarn, in the color Marine Blue.

Needles: This is a pair of straights that I picked up at the second-hand store when I started knitting, brand unknown.

Stitches used

  • k – knit
  • k2tog – knit 2 stitches together
  • p – purl
  • RS / WS – right side / wrong side
  • rep – repeat
  • st(s) – stitch(es)
  • yo – yarn over

Staggered eyelet stitch

Row 1 (RS): Knit.
Row 2 and all following WS rows: Purl.
Row 3: K1, yo, k2tog, *k2, yo, k2tog; rep from * to 3 sts before end, k3.
Row 5: Knit.
Row 7: K3, *yo, k2tog, k2; rep from * to 3 sts before end, yo, k2tog, k1.

Repeat rows 1-8 for pattern until desired length.

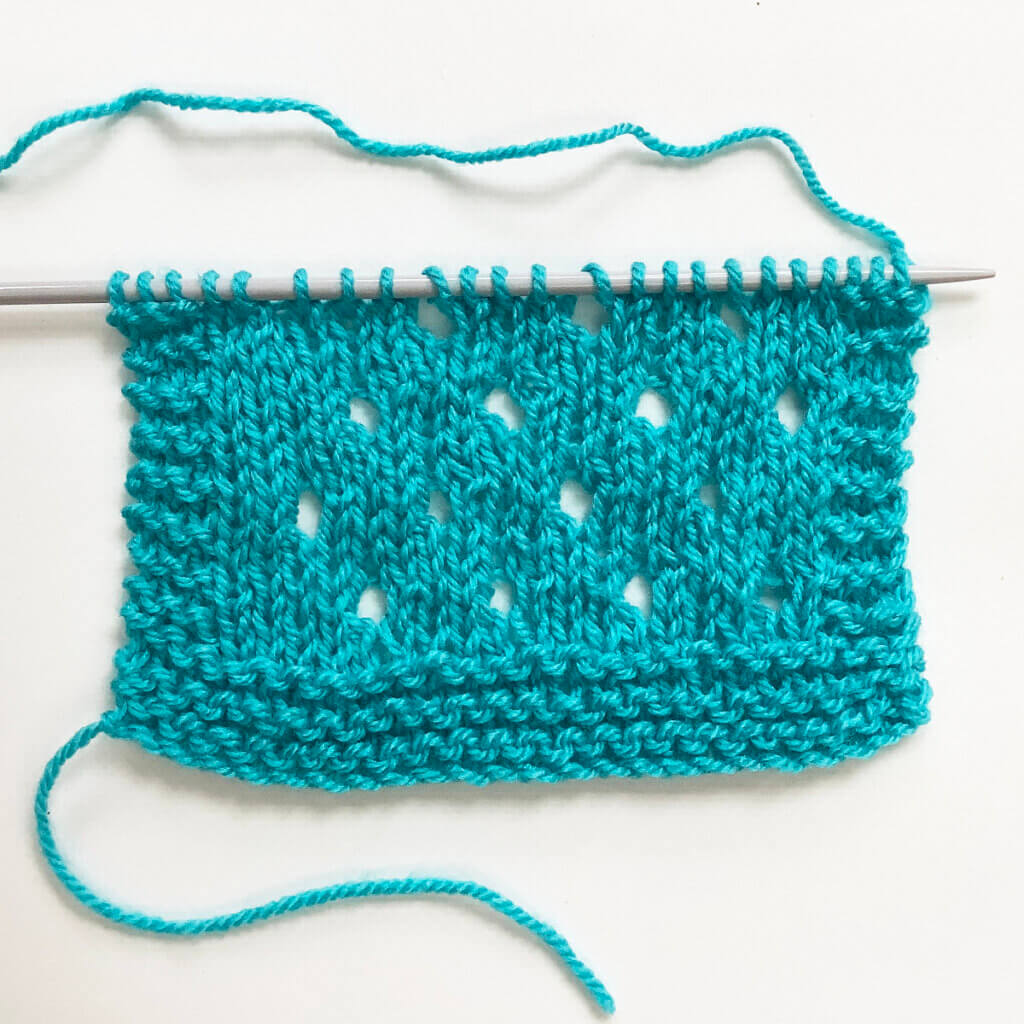
In the below pictures, you see the patterning first from the right, and then also from the wrong side of the fabric:

The staggered eyelet stitch from the RS
The stitch as seen from the RS.
The staggered eyelet stitch from the WS
The stitch as seen from the WS.
Patreon logo

Thanks to my Patreon supporters for bringing you this freebie! Creating quality patterns and tutorials is a lot of work and resource-intensive. However, I find it important to give you free content like this tutorial. Thanks to the generous support of my Patreon supporters, I can make it happen. Thank you, patrons! Click here to join, or click here to read more about La Visch Designs on Patreon.

stitch pattern – staggered eyelet stitch Read More »
tutorial – working a (k1, yo, k1, yo, k1) increase

Working a (k1, yo, k1, yo, k1) increase

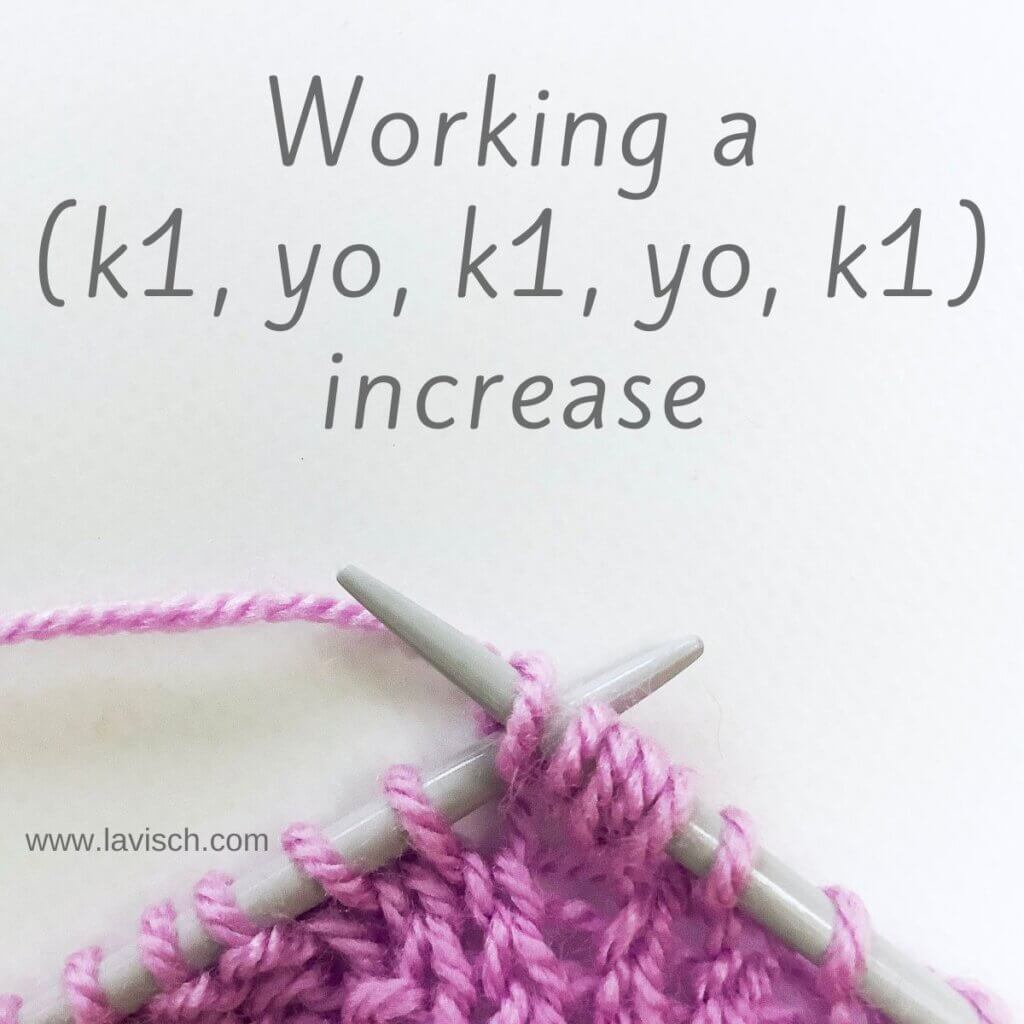
Recently, it was pointed out to me, that in the Scalloped edge tutorial, I don’t show step by step how to work the increases needed. So, time for a new tutorial! With the (k1, yo, k1, yo, k1) increase, 1 stitch is increased to 5 by working [k1, yo] twice in the same loop, followed by another k1. That said, if you’d like to increase 7 or even 9 stitches instead of 5, just work more repeats of [k1, yo] into the original stitch.

Let’s get our materials and get started!

Materials used

Yarn: Paintbox Yarns Simply DK, a good value, good quality 100% acrylic yarn, here in the color 142 Tea Rose.

Knitting needles: This is a pair of straights that I picked up at the second-hand store when I started knitting, brand unknown.

Working the (k1, yo, k1, yo, k1) increase step by step

  1. To start, work as instructed by your pattern until the point where you want to make the increase.

    Step 1

  2. First, insert your right-hand needle into the first stitch on the left-hand needle as if to knit.

    Step 2 of working a (k1, yo, k1, yo, k1) increase

  3. Next, wrap the yarn around the needle …

    step 3

  4. … and pull it through to work a k1. Do not slip the loop off the needle yet!

    step 4

  5. Now, wrap the yarn around the needle again.

    This is one of the yo’s in the increase.Step 5 of working a (k1, yo, k1, yo, k1) increase

  6. To work the next set of (k1, yo), I find it helps to put my finger on the last yo loop already on the needle. This will keep it from sliding off.

    step 6

  7. Again, insert your right-hand needle into the first stitch on the left-hand needle as if to knit.

    step 7

  8. Next, wrap the yarn around the needle …

    Step 8 of working a (k1, yo, k1, yo, k1) increase

  9. … and pull it through to work a k1. Do not slip the loop off the needle yet!

    step 9

  10. Repeat steps 5 to 9 once more to create all the extra stitches needed.

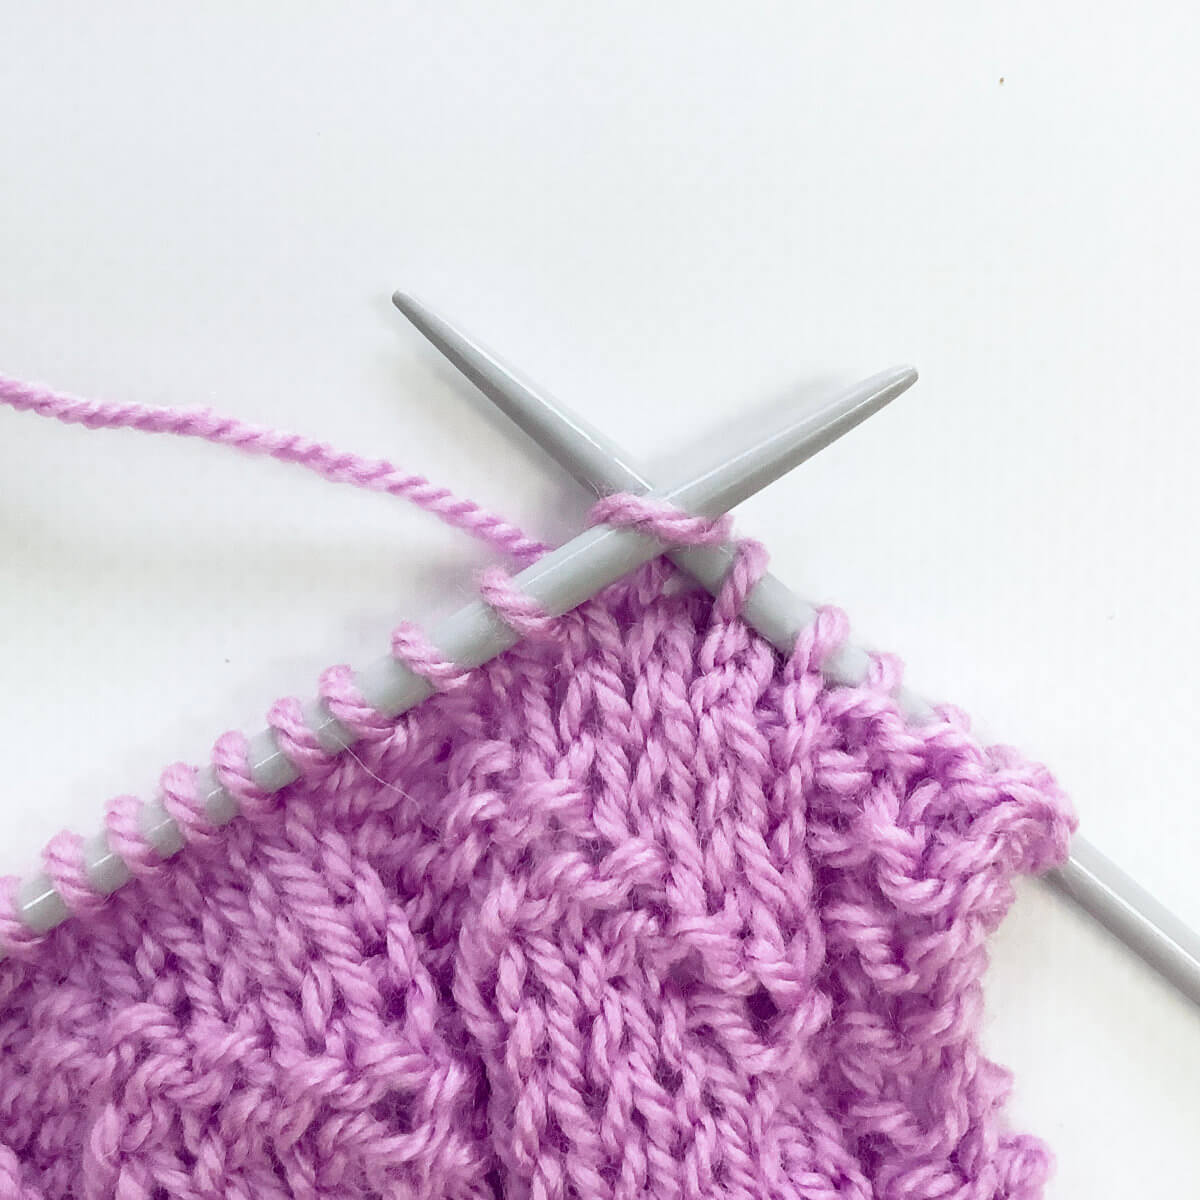
    Step 10 of working a (k1, yo, k1, yo, k1) increase

  11. After this, you can slide the original stitch off the left-hand needle to conclude the increase.

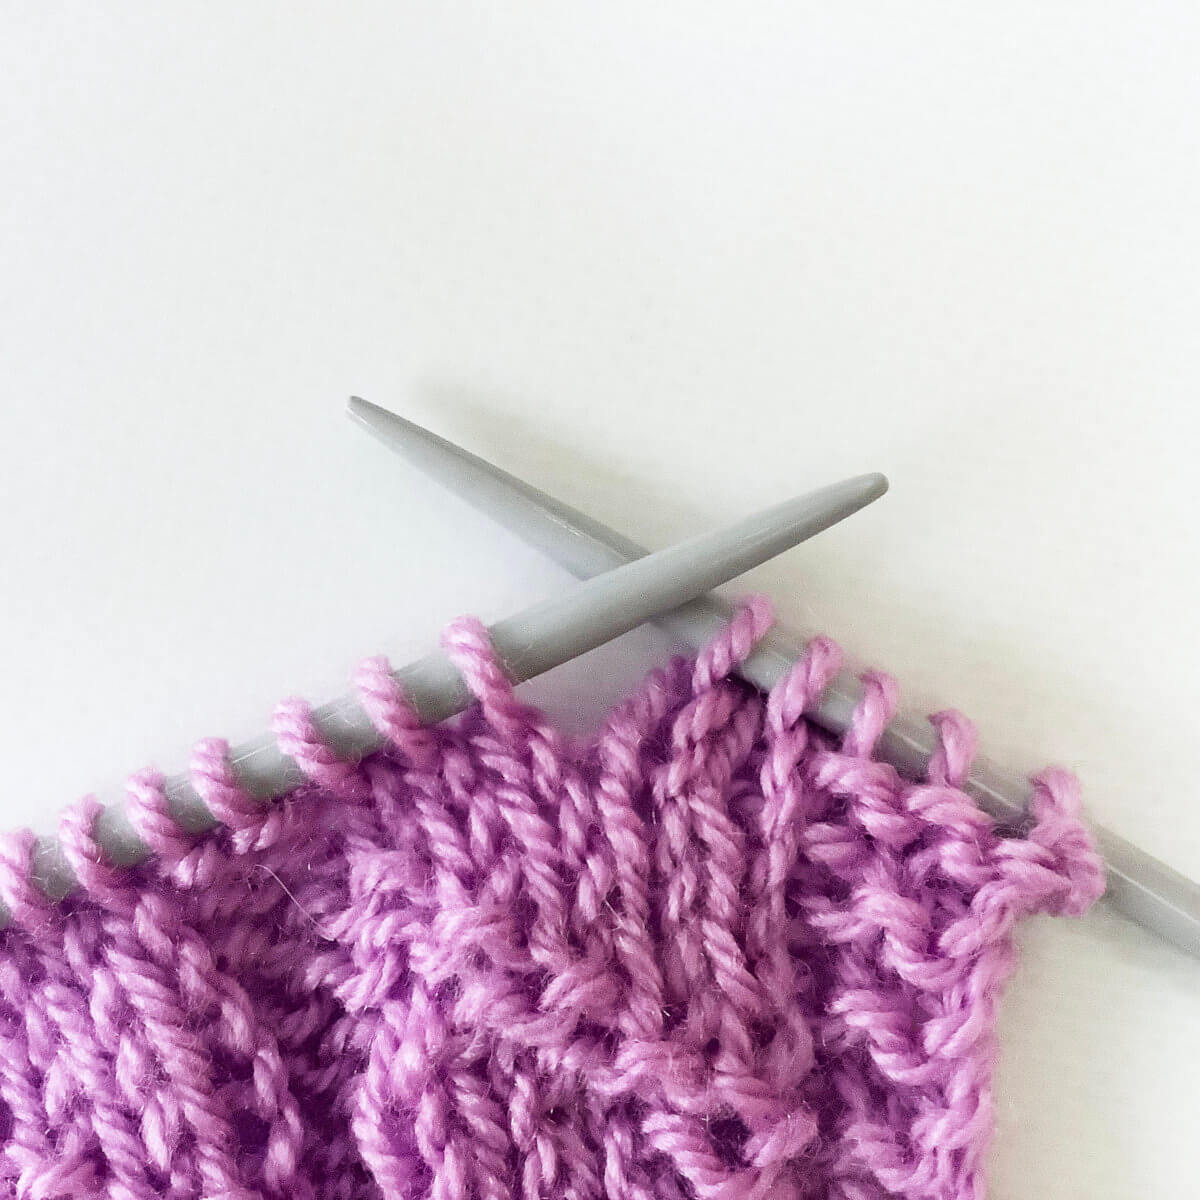
    Below, you can see the result of the (k1, yo, k1, yo, k1) increase.The result of working a (k1, yo, k1, yo, k1) increase

Patreon logo

Thanks to my Patreon supporters for bringing you this freebie! Creating quality patterns and tutorials is a lot of work and resource-intensive. However, I find it important to give you free content like this tutorial. Thanks to the generous support of my Patreon supporters, I can make it happen. Thank you, patrons! Click here to join, or click here to read more about La Visch Designs on Patreon.

tutorial – working a (k1, yo, k1, yo, k1) increase Read More »

stitch pattern – spiral stitch

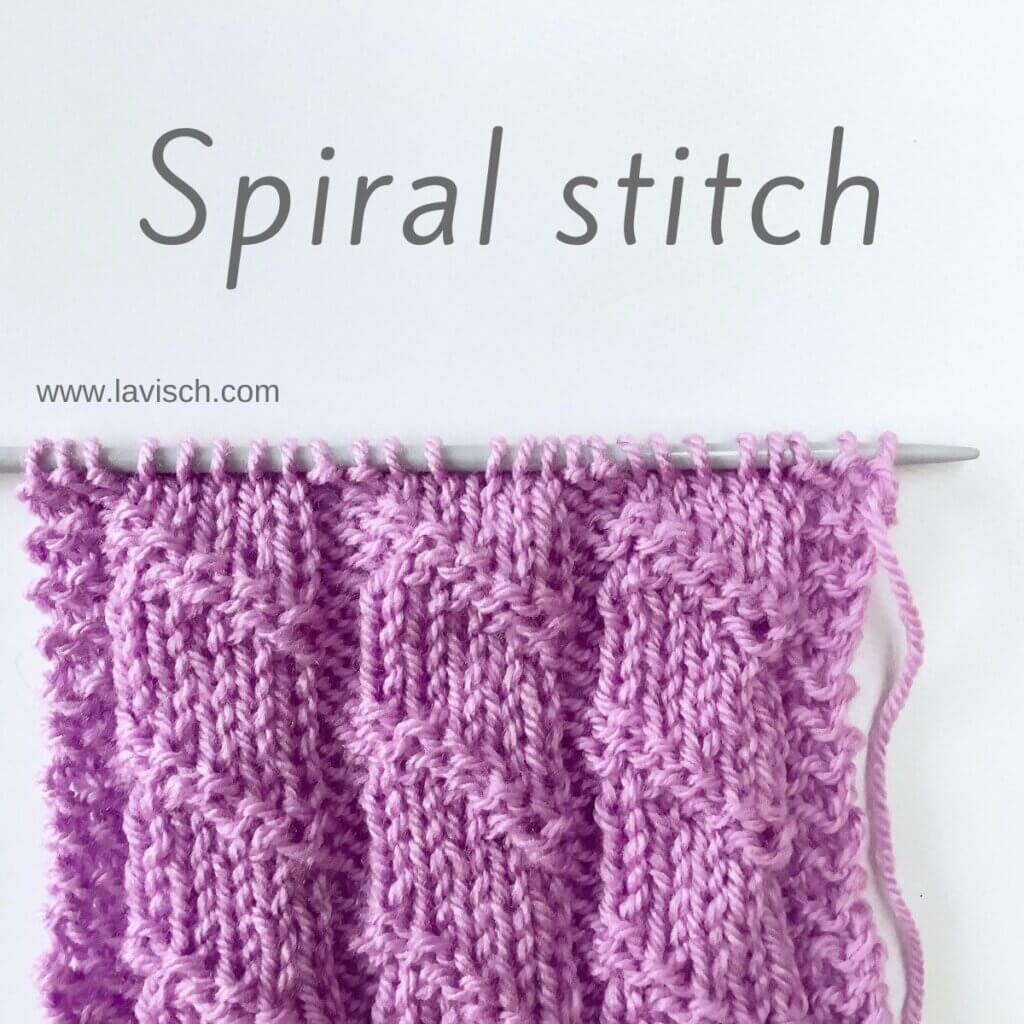
Spiral stitch by La Visch Designs

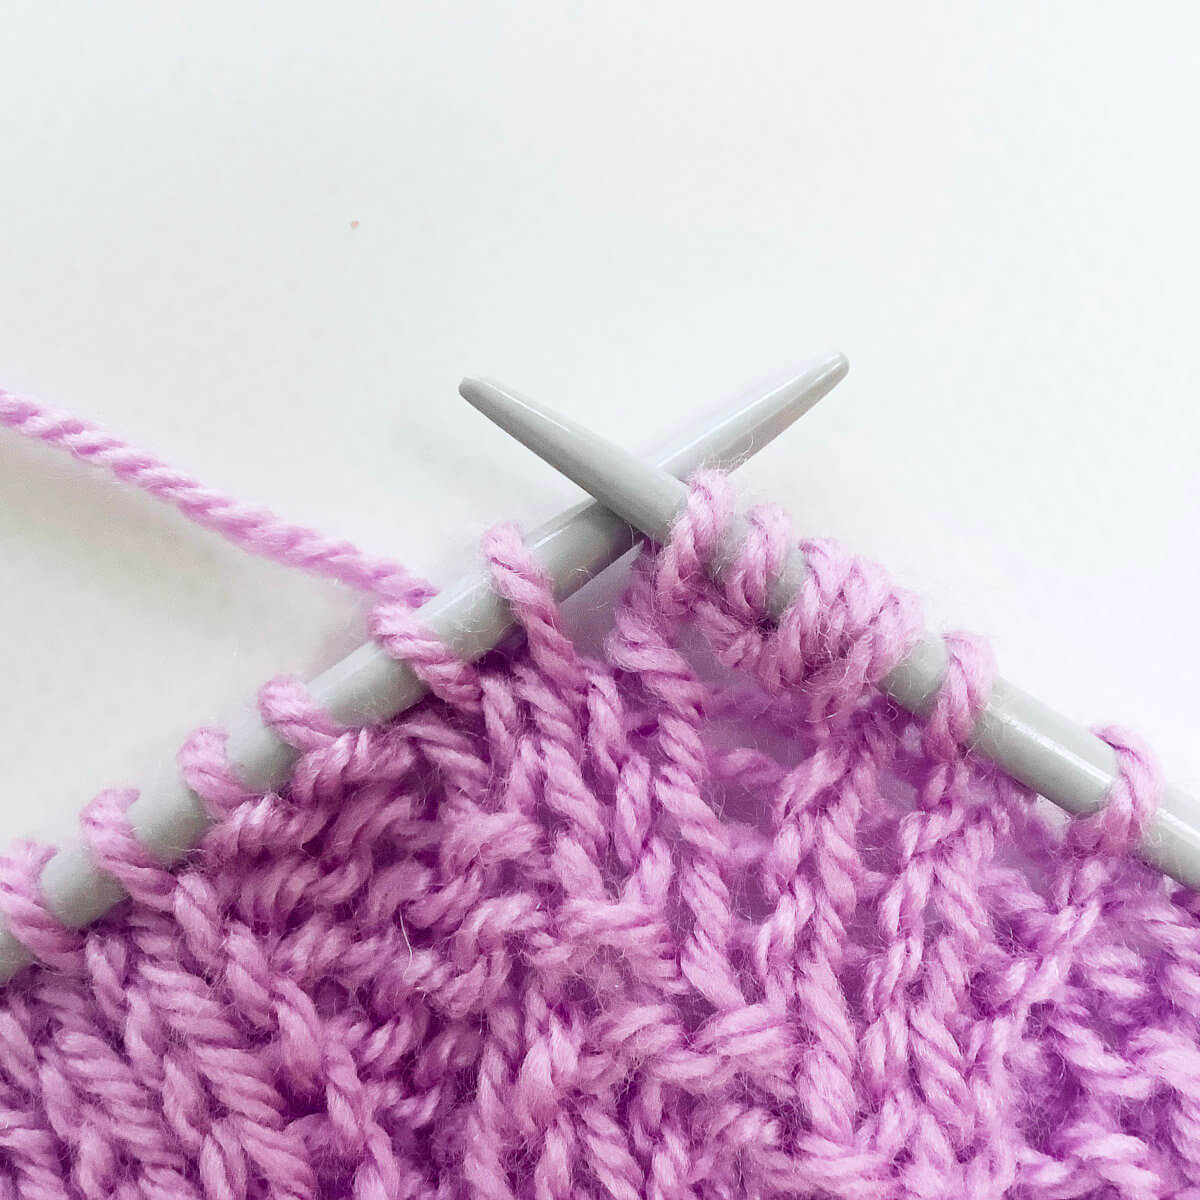
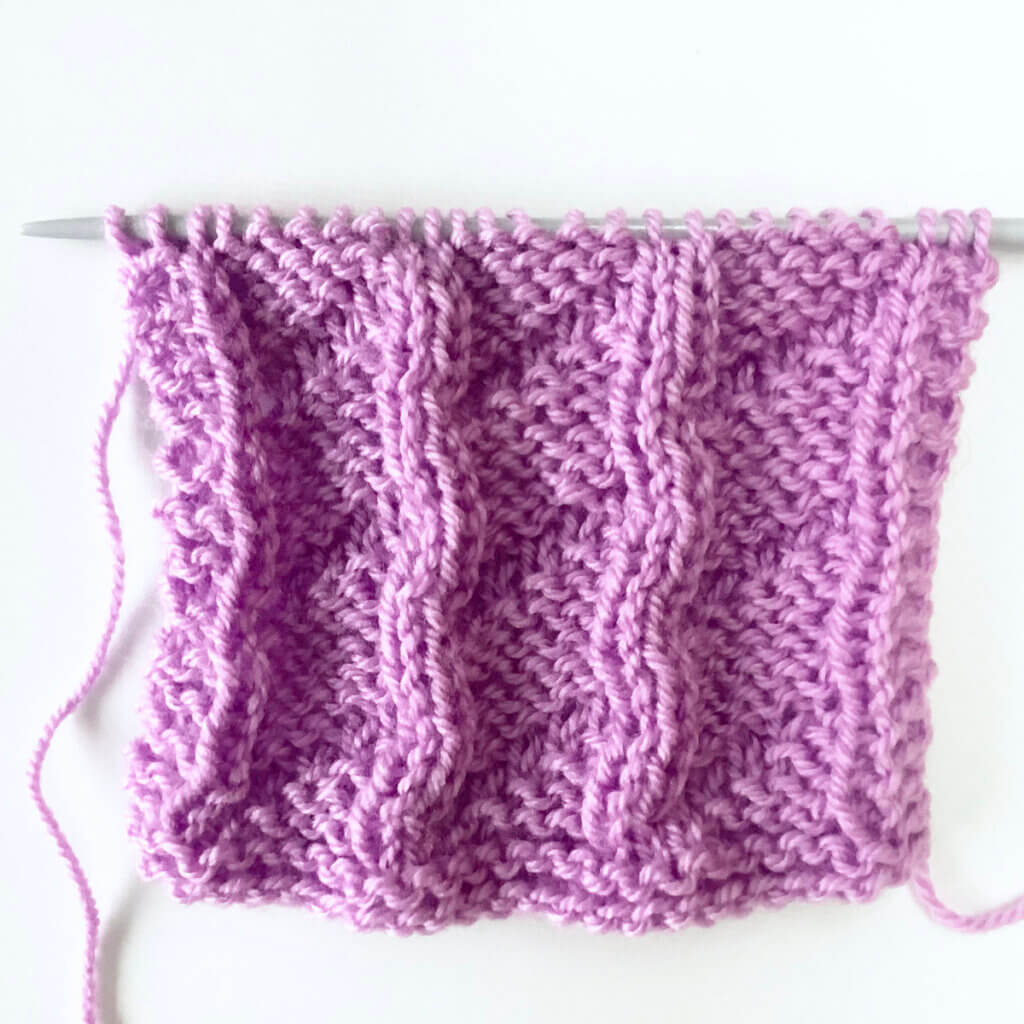
The spiral stitch is a stitch pattern, that uses cleverly placed knits and purls, to make the impression of a spiral of texture winding around columns of stockinette stitch. This stitch pattern is worked in a multiple of 7 stitches. Please note that in the above picture, I’ve added 2 edge stitches in garter stitch on both sides of the swatch.

Materials used

Yarn: Paintbox Yarns Simply DK, a good value, good quality 100% acrylic yarn, here in the color Tea Rose

Knitting needles: This is a pair of straights that I picked up at the second-hand store when I started knitting, brand unknown.

Stitches used

Spiral stitch instructions

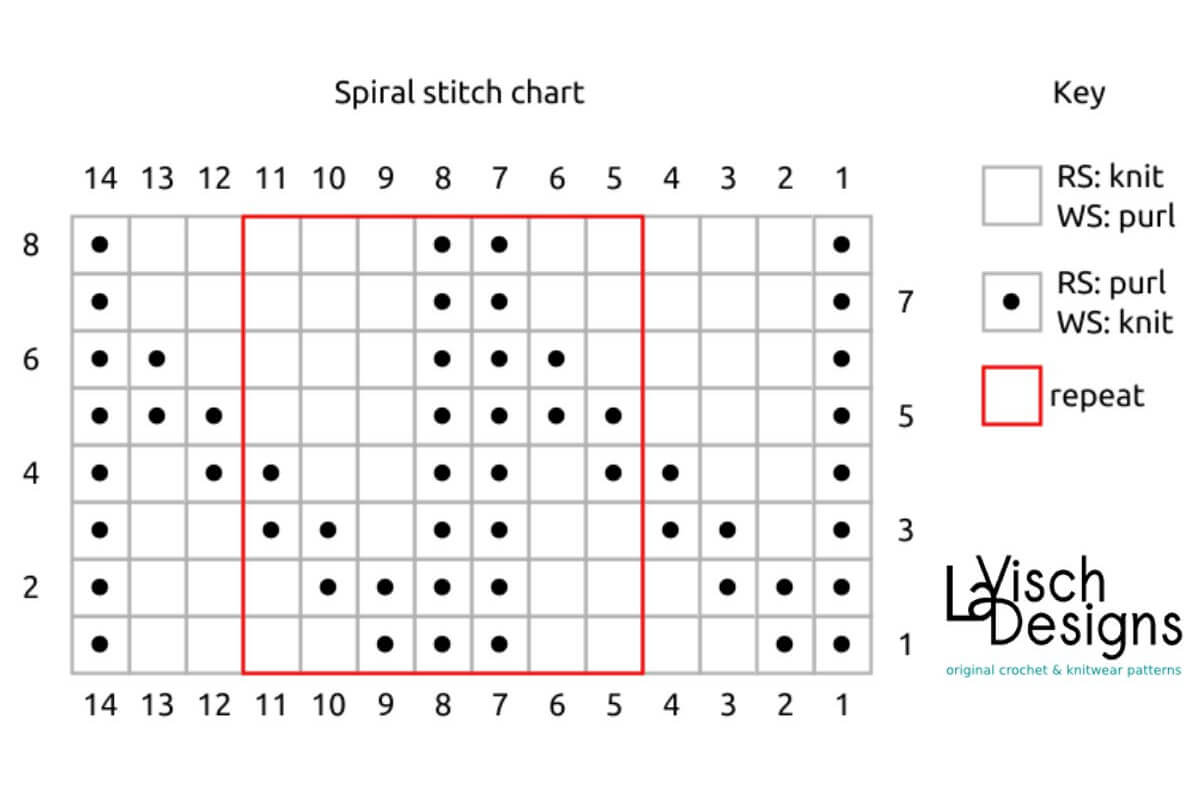
Row 1 (right side): P2, k2, *k2, p3, k2; rep from * to 3 sts before end, k2, p1. (14 sts)
Row 2 (wrong side): K1, p2, *p1, k4, p2; rep from * to 4 sts before end, p1, k3.
Row 3: P1, k1, p2, *k2, p2, k1, p2; rep from * to 3 sts before end, k2, p1.
Row 4: K1, p1, k1, *k1, p2, k2, p1, k1; rep from * to 4 sts before end, k1, p2, k1.
Row 5: P1, k3, *p4, k3; rep from * to 3 sts before end, p3.
Row 6: K2, p1, *p3, k3, p1; rep from * to 4 sts before end, p3, k1.
Row 7: P1, k3, *k2, p2, k3; rep from * to 3 sts before end, k2, p1.
Row 8: K1, p2, * p3, k2, p2; rep from * to 4 sts before end, p3, k1.

Repeat rows 1-8 for pattern.

Spiral stitch chart

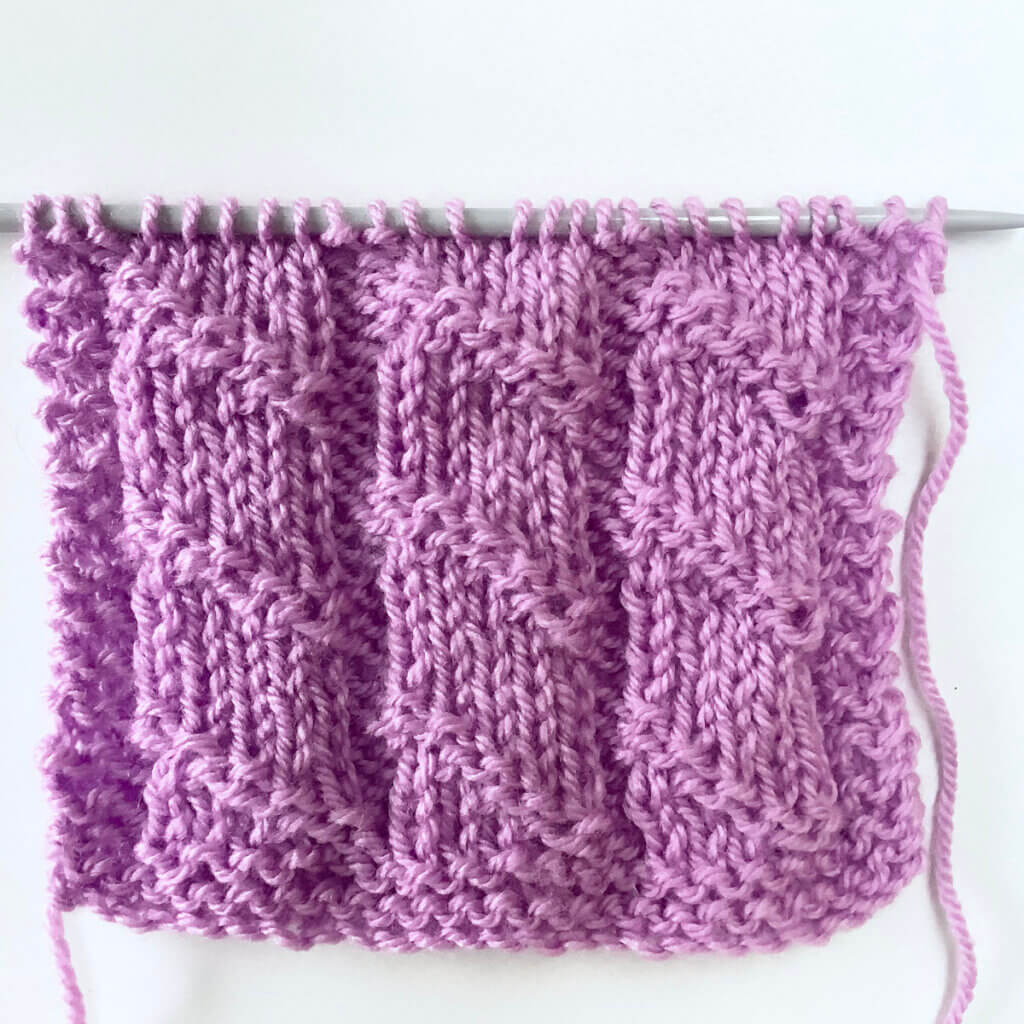
The spiral stitch as shown from the front:

Spiral stitch shown from the front

The spiral stitch as shown from the back:

Spiral stitch shown from the back
Patreon logo

Thanks to my Patreon supporters for bringing you this freebie! Creating quality patterns and tutorials is a lot of work and resource-intensive. However, I find it important to give you free content like this tutorial. Thanks to the generous support of my Patreon supporters, I can make it happen. Thank you, patrons! Click here to join, or click here to read more about La Visch Designs on Patreon.

stitch pattern – spiral stitch Read More »
tutorial – working a Russian picot bind-off

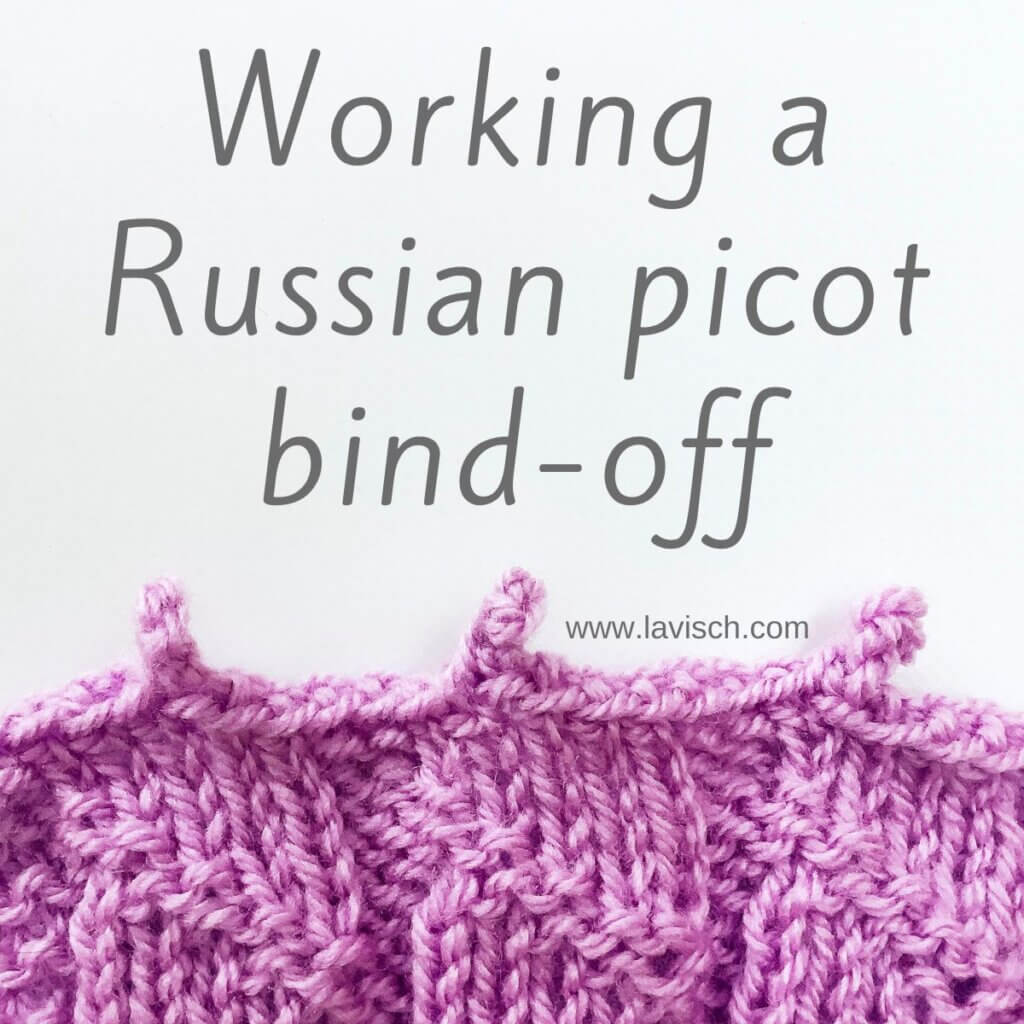
Russian picot bind-off

Recently, I showed you how to work a variation of a regular picot bind-off. However, sometimes you just want the stretch of a Russian bind-off, and combine it with the added pizzazz of some picots. That was exactly the scenario I encountered when I was working on my Framboos shawl. So, I tried out a way to combine the two in a Russian picot bind-off. In this tutorial, I’ll show you what I did.

Materials used

Yarn: Paintbox Yarns Simply DK, a good value, good quality 100% acrylic yarn, here in the color Tea Rose.

Needles: This is a pair of straights that I picked up at the second-hand store when I started knitting, brand unknown.

Working the Russian picot bind-off step by step

  1. To start, knit 1 stitch.

    In this example, I’m using a swatch from a stitch pattern that will be on this website soon.Step 1

  2. Knit another stitch.

    Step 2 of working a Russian picot bind-off

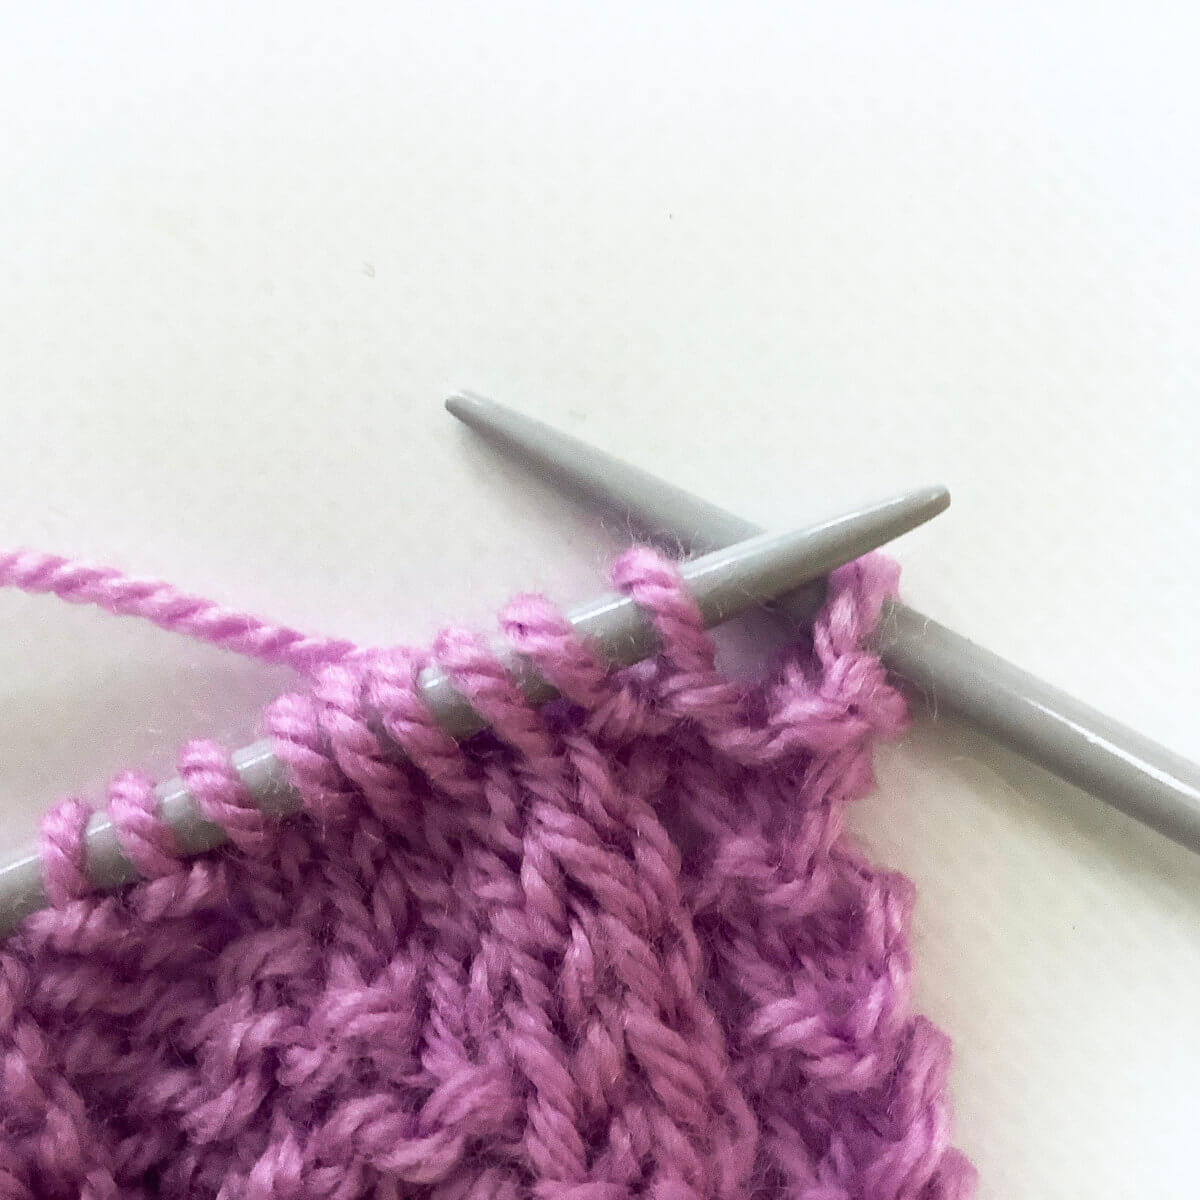
  3. Slip both stitches from the right-hand needle back to the left-hand needle.

    If you insert the left-hand needle as pictured, everything is already positioned correctly for the next step.Step 3

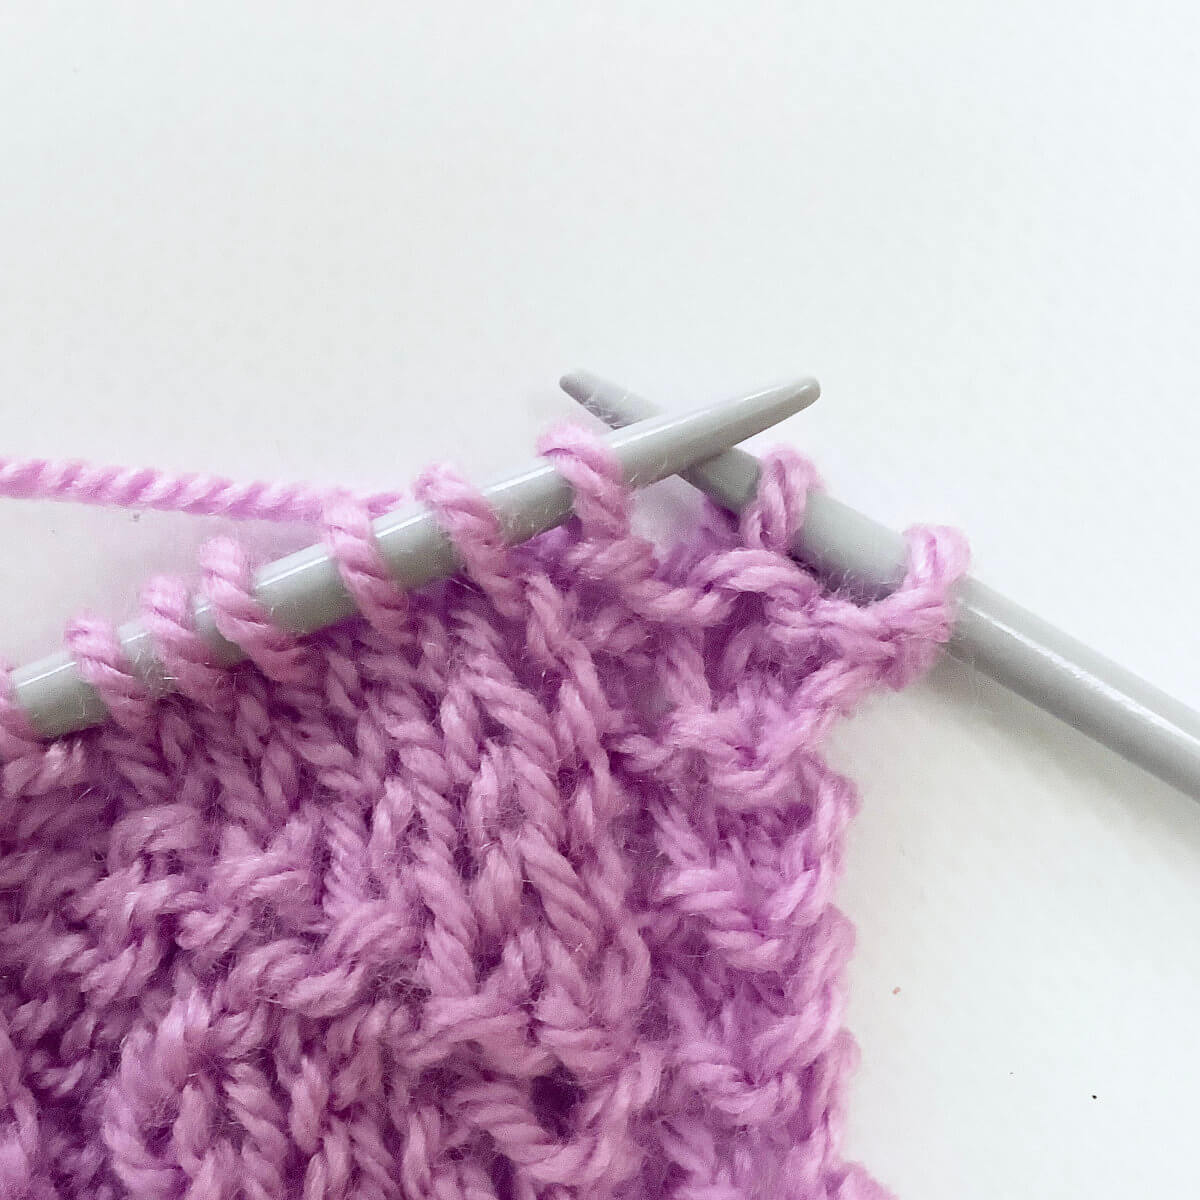
  4. Knit the stitches together through the back loop.

    Step 4

  5. Repeat steps 2-4 another 5 times.

    This is basically the regular Russian bind-off. You can adjust the number of times to make the distance between the picots larger or smaller. End this step by slipping the remaining stitch from the right-hand needle back to the left-hand needle.Step 5 of working a Russian picot bind-off

  6. Cast-on 3 stitches using the knitted on cast-on.

    Step 6

  7. Knit 1 stitch.

    Step 7

  8. Next, knit another stitch…

    Step 8

  9. …and pass the stitch already on the right-hand needle over the one just worked.

    Step 9

  10. Repeat steps 8 and 9 twice more. This is what makes the picot.

    Step 10: making the picot

  11. Repeat steps 2-10 until all stitches have been bound off.

The result of the Russian picot bind-off looks like this:

The result of the Russian picot bind-off
Patreon logo

Thanks to my Patreon supporters for bringing you this freebie! Creating quality patterns and tutorials is a lot of work and resource-intensive. However, I find it important to give you free content like this tutorial. Thanks to the generous support of my Patreon supporters, I can make it happen. Thank you, patrons! Click here to join, or click here to read more about La Visch Designs on Patreon.

tutorial – working a Russian picot bind-off Read More »

stitch pattern – pebble stitch

Pebble stitch

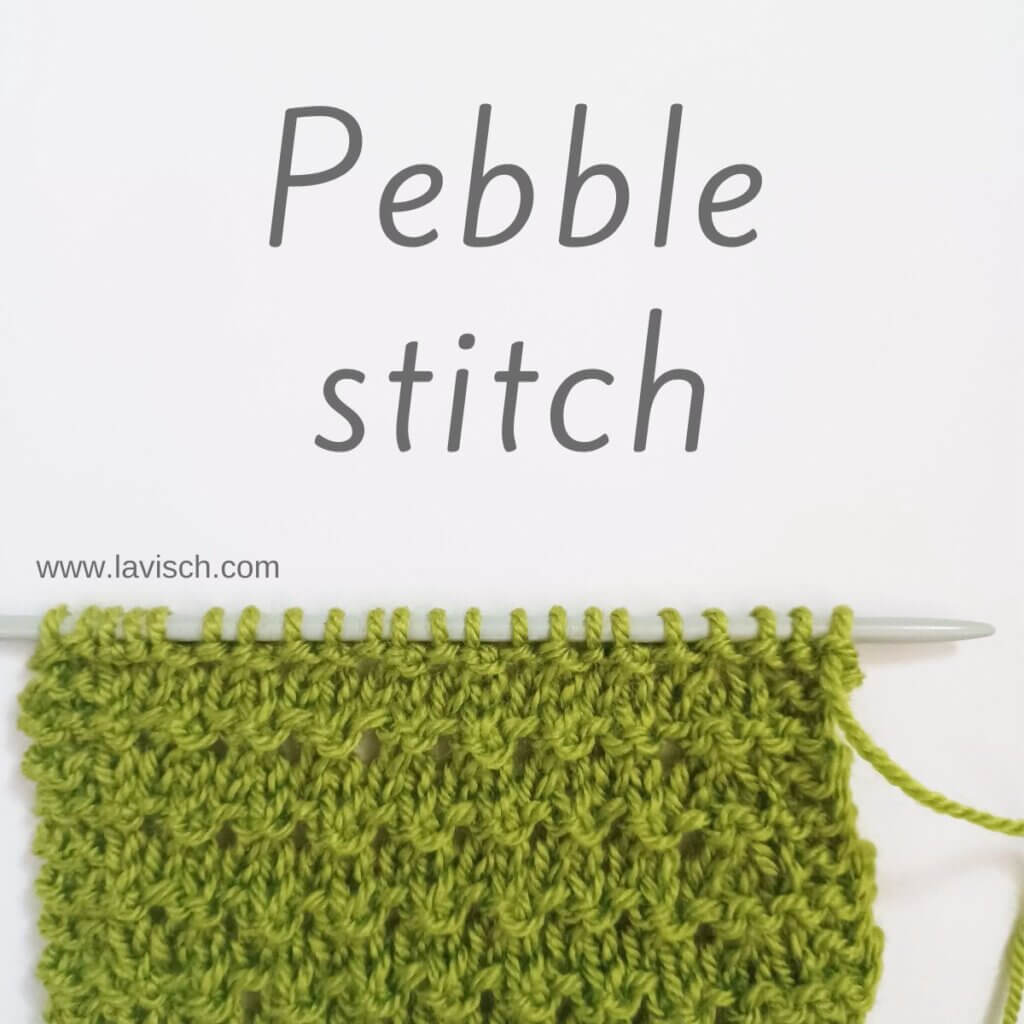
The pebble stitch combines strategically placed increases and decreases with regular knit and purl stitches. This makes it both very easy and fast to work, and gives lovely texture to your project. Please note, that due to the decreases in one of the pattern rows, the stitch count changes. They are brought back to the cast-on number of stitches on the following row, though.

This stitch pattern is worked as a multiple of 2 stitches, and in a four-row repeat. When worked with edge stitches as shown here (2 edge stitches in garter stitch on both sides of the swatch), you could consider to only work the stitches inside the repeat as shown below.

Materials used

Yarn: Paintbox Yarns Simply DK, a good value, good quality 100% acrylic yarn, in the color 128 Lime Green.

Knitting needles: This is a pair of straights that I picked up at the second-hand store when I started knitting, brand unknown.

Stitches used

  • k – knit
  • k2tog – knit 2 stitches together
  • m1r – increase by lifting the thread between the stitch just knit and the next one from the back with your left needle, then knit into the front of the loop
  • p – purl
  • st(s) – stitch(es)

Pebble stitch

Row 1 (right side): Knit.

Row 2 (wrong side): Purl.

Row 3: K1, *k2tog; rep from * to last st before end, k1.

Row 4: K1,*m1r, k1; rep from * to last st before end, k1.

Repeat rows 1-4 for pattern until desired length.

In the below pictures, you see the patterning first from the right, and then also from the wrong side of the fabric:

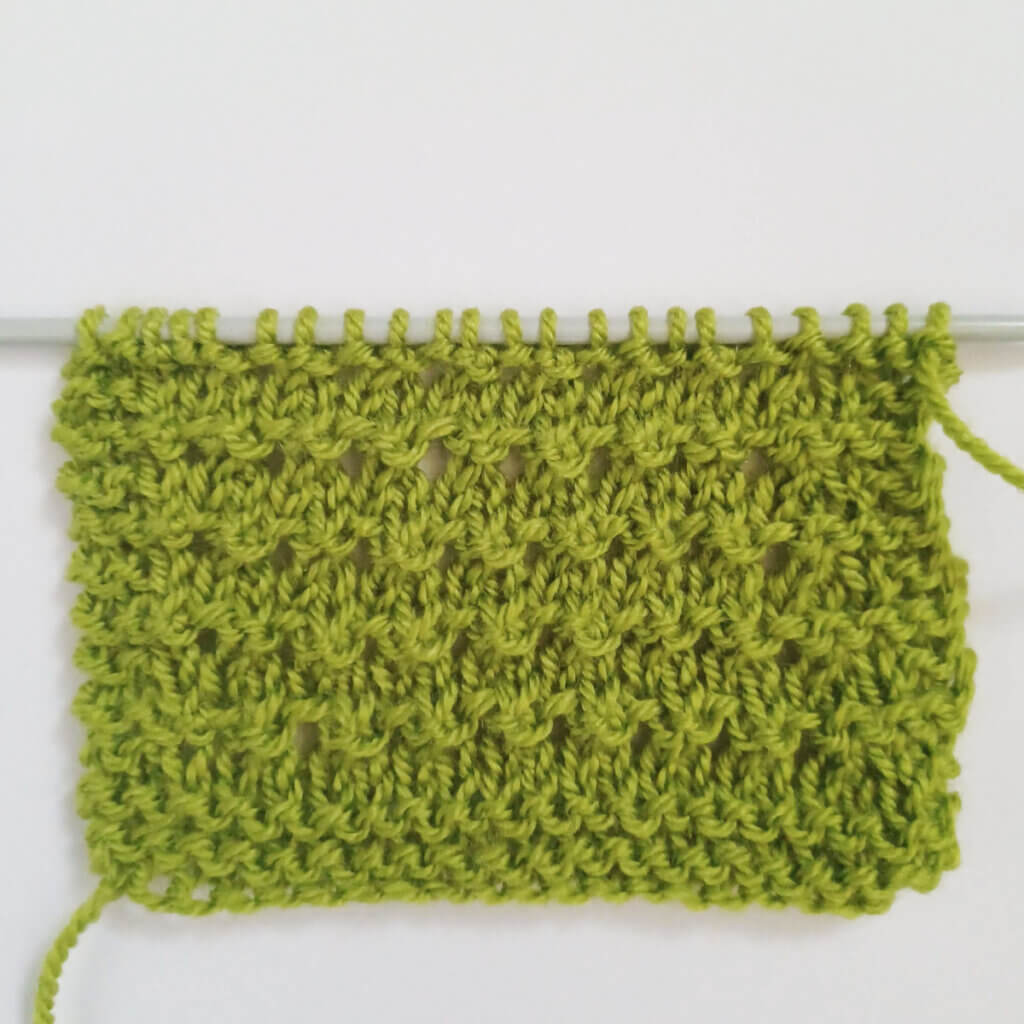
Pwbblw atitch on the RS
Pebble stitch as seen from the right side
Pebble stitch from the WS
Pebble stitch as seen from the wrong side
Patreon logo

Thanks to my Patreon supporters for bringing you this freebie! Creating quality patterns and tutorials is a lot of work and resource-intensive. However, I find it important to give you free content like this tutorial. Thanks to the generous support of my Patreon supporters, I can make it happen. Thank you, patrons! Click here to join, or click here to read more about La Visch Designs on Patreon.

stitch pattern – pebble stitch Read More »
tutorial – working a picot bind-off

Working a picot bind-off

There are quite a few different ways to work a picot bind-off. That’s not even counting the variations coming from different distances between picots, and the sizing of the picots. In this tutorial, I’ll show you a variation of the picot bind-off that consists of binding of stitches the traditional way, combined with strategically cast-on stitches. Also, it can, of course, be used to bind-off a project. But the picot bind-off can also be worked on picked-up stitches or on the stitches from a provisional cast-on. The sky is the limit!

Materials used

Yarn: Paintbox Yarns Simply DK, a good value, good quality 100% acrylic yarn, here in the color 133 Marine Blue.

Needles: This is a pair of straights that I picked up at the second-hand store when I started knitting, brand unknown.

Working the picot bind-off step by step

  1. Take your project when you’re ready to start your bind-off. You can start as soon as the last row of your work has been knit, and after your work has been turned when working flat back and forth.

    In this example, I’m using a swatch from a previous tutorial.Step 1

  2. To start, knit 2 stitches.

    Step 2 of the picot bind-off

  3. Insert the left-hand needle into the stitch first worked…

    Step 3

  4. … and lift it over the second stitch.

    You have now bound-off 1 stitch.Step 4

  5. Knit 1 stitch and repeat steps 3 and 4 to bind-off another stitch.

    Step 5 of working a picot bind-off

  6. Next, cast-on 2 stitches using the knitted-on cast-on.

    To do so, insert your needle into the stitch, wrap the yarn around it and pull it through the stitch. Then, instead of slipping the original stitch off the needle as you’d do when working a knit stitch, slip the new loop onto the left-hand needle to create a new stitch. Repeat once to get 2 new stitches.Step 7

  7. To finish the first picot, work step 5 a total of 4 times.

    Step 8

  8. Continue working steps 6 and 7 until your work has been completely bound-off.

    The result of the picot bind-off

When viewed from the back, it looks like this:

The result of the picot bind-off, viewed from the back
Patreon logo

Thanks to my Patreon supporters for bringing you this freebie! Creating quality patterns and tutorials is a lot of work and resource-intensive. However, I find it important to give you free content like this tutorial. Thanks to the generous support of my Patreon supporters, I can make it happen. Thank you, patrons! Click here to join, or click here to read more about La Visch Designs on Patreon.

tutorial – working a picot bind-off Read More »

stitch pattern – berry stitch

Berry stitch

The Berry stitch consists of patterning that creates little alternating clusters. They are pretty reminiscent of berries, hence the name. However, you can also encounter similar patterning as raspberry stitch, trinity stitch, cluster stitch, or bramble stitch. As with all types of bobbles, this stitch pattern creates the little clusters by a combination of increasing and decreasing. In this particular example, I used needles that were somewhat large for the weight of the yarn, this made the effect more lacy than would otherwise be the case.

This stitch pattern is worked as a multiple of 4 stitches, and in a four-row repeat. However, if you want it to fill a whole panel symmetrically, it’s a multiple of 4 stitches + the first 3 stitches of the next four-stitch repeat. Please note that I’ve added 2 edge stitches in garter stitch on both sides of the swatch. These are not included in the stitch pattern description.

Materials used

Yarn: Paintbox Yarns Simply DK, a good value, good quality 100% acrylic yarn, in the color Marine Blue.

Needles: This is a pair of straights that I picked up at the second-hand store when I started knitting, brand unknown.

Stitches used

  • k – knit
  • k3tog – knit 3 stitches together
  • p – purl
  • RS / WS – right side / wrong side
  • rep – repeat
  • st(s) – stitch(es)

Berry stitch

Row 1 (RS): *K3tog, (p1, k1, p1) into the same st; rep from * to end.
Row 2 (WS): Knit.
Row 3: *(P1, k1, p1) into the same st, k3tog; rep from * to end.
Row 4: Knit.

Repeat rows 1-4 for pattern until desired length.

In the below pictures, you see the patterning first from the right, and then also from the wrong side of the fabric:

Berry stitch from the RS
The stitch as seen from the RS.
Berry stitch from the WS
The stitch as seen from the WS.
Patreon logo

Thanks to my Patreon supporters for bringing you this freebie! Creating quality patterns and tutorials is a lot of work and resource-intensive. However, I find it important to give you free content like this tutorial. Thanks to the generous support of my Patreon supporters, I can make it happen. Thank you, patrons! Click here to join, or click here to read more about La Visch Designs on Patreon.

stitch pattern – berry stitch Read More »
tutorial – in between tinking and frogging

In between tinking and frogging - a tutorial by La Visch Designs

In a shawl project, I encountered a hiccup that I had to fix. When finishing the diamond patterning after a full repeat, and then working a garter stitch ridge to mirror the beginning of this section, this is what I noticed:

Do you see those plain rows of stockinette just above the needle and garter stitch ridge on the right? This did not mirror the start of the section at all… So, I undid some rows to start the garter stitch ridge earlier. With a rather “sticky” yarn, I would just remove the knitting needle, rip it out and place the stitches back on the needle at the right point. However, the yarn used in this project contains 50% tencel, making it rather slippery. I certainly didn’t want to drop any stitches in this patterning. But tinking (knitting spelled and done backwards) back 3 rows wasn’t a good option as well, with over 350 sts on the needle.

The solution: a technique that is something in between tinking and frogging! Below, I’ll show you how I went about it step by step.

Materials

Yarn: Hearthside Fibers Crystal in the colors “Vermont”, and “Lake”.

Needles: A pair of Addi circular needles in the size 4 mm (US 6)

In between tinking and frogging step by step

  1. I positioned my project in such a way, that I had a good view of the row I wanted to put back on the needle from the right side of the fabric.

    In this case, that meant holding the work as shown.Step 1

  2. Do you see the little “V” just above the knitting needle, positioned in between the loops on that needle? Insert the needle into the left leg of the first “V”

    You could, of course, insert the needle under the other leg, but that would mean that the loops are placed on the needle with a twisted orientation. Not a big issue, but it would mean working a first row of the project through the back loops to get them oriented correctly again.
    I do hope I haven’t mixed up my stitch legs here, though…Step 2 of in between tinking and frogging

  3. Repeat step 2 until you have a decent number of stitches on your needle.

    When working with circulars, that’s about 15 to 20 stitches for me.Step 3

  4. Next, slide the knitting needle that holds all non-tinked back stitches out of the stitches below which you’ve just picked up stitches with the other needle.

    Step 4

  5. Now gently pull out the working yarn out of these stitches.

    Make sure to watch out for any missed stitches, now it’s easy to fix it without any runners in your fabric. This will be less so when you’ve already moved on to a new section of stitches.Step 5 of in between tinking and f rogging

  6. And there you have it: a whole set of stitches safely on the needle, without either tinking or frogging.

    Step 6

This way really is between tinking and frogging; a lovely compromise! And my project? I got the offending rows out and did the garter stitch ridge earlier. This is how I intended it to look!

Result in my project
Patreon logo

Thanks to my Patreon supporters for bringing you this freebie! Creating quality patterns and tutorials is a lot of work and resource-intensive. However, I find it important to give you free content like this tutorial. Thanks to the generous support of my Patreon supporters, I can make it happen. Thank you, patrons! Click here to join, or click here to read more about La Visch Designs on Patreon.

tutorial – in between tinking and frogging Read More »