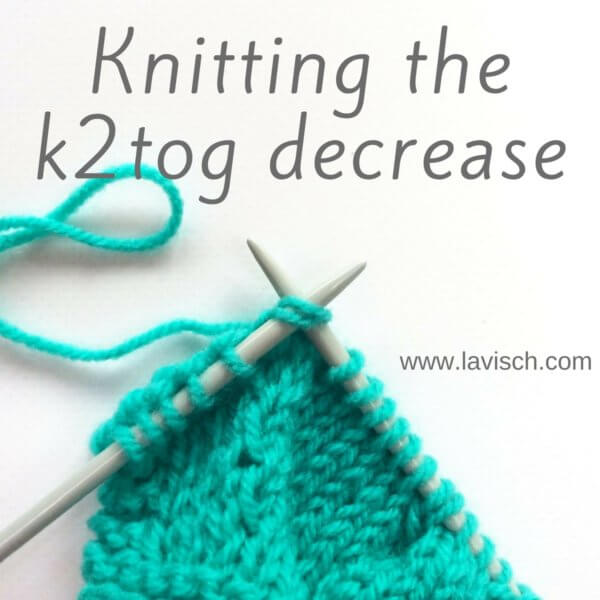
tutorial – working a k2tog tbl
In this tutorial, I’ll show you how to work the k2tog tbl decrease. The abbreviation stands for “knit 2 stitches together through the back loop”. Basically, it’s the twisted version of the k2tog decrease. However, while the k2tog is a right-leaning decrease, k2tog tbl is a left-leaning decrease. It’s similar in appearance to the skp and ssk decreases.
Knitting the k2tog tbl decrease step by step
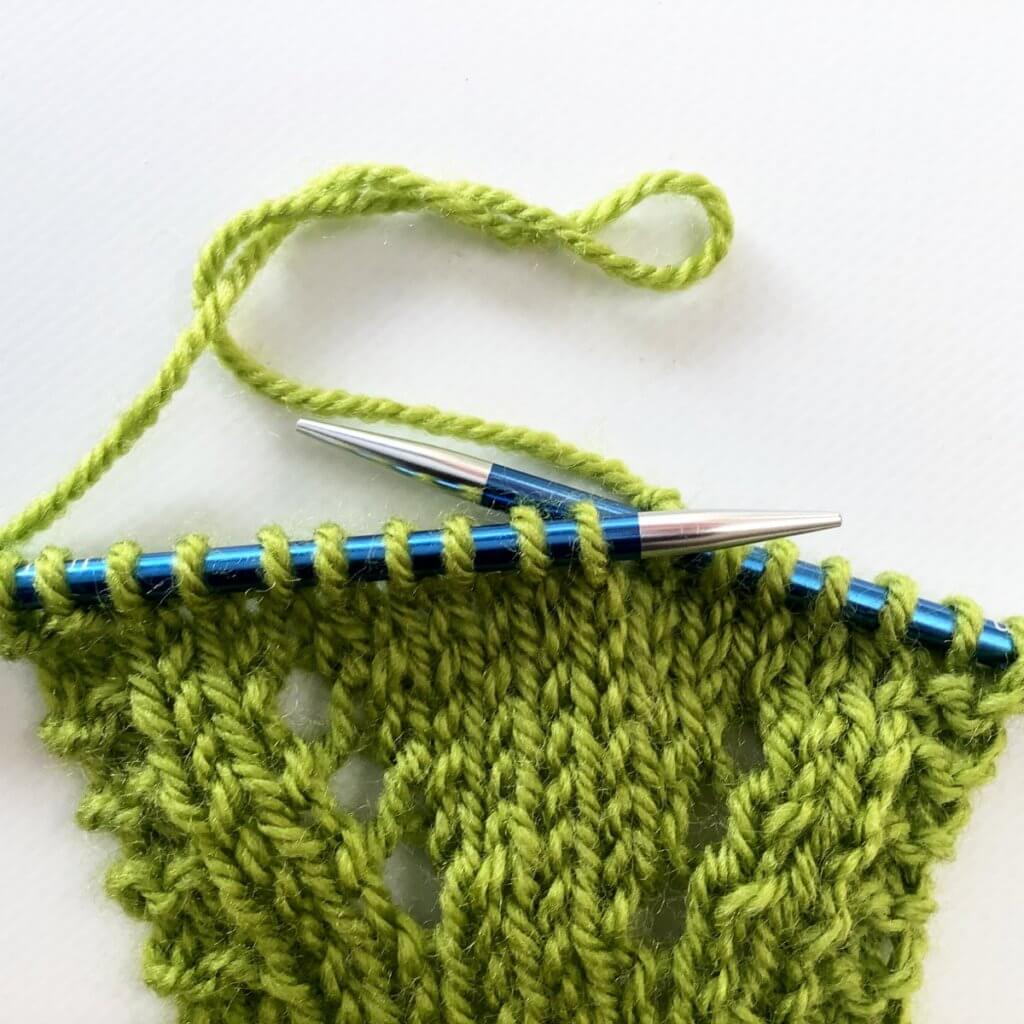
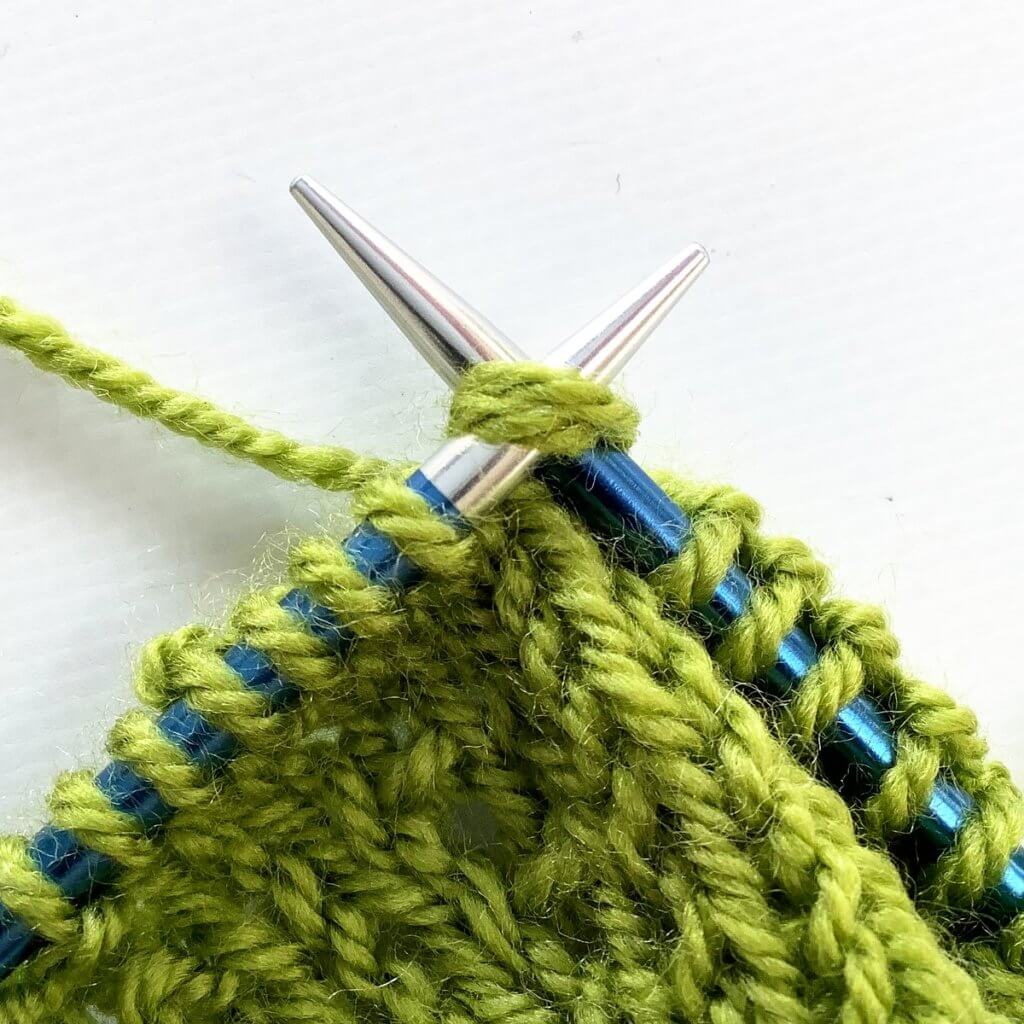
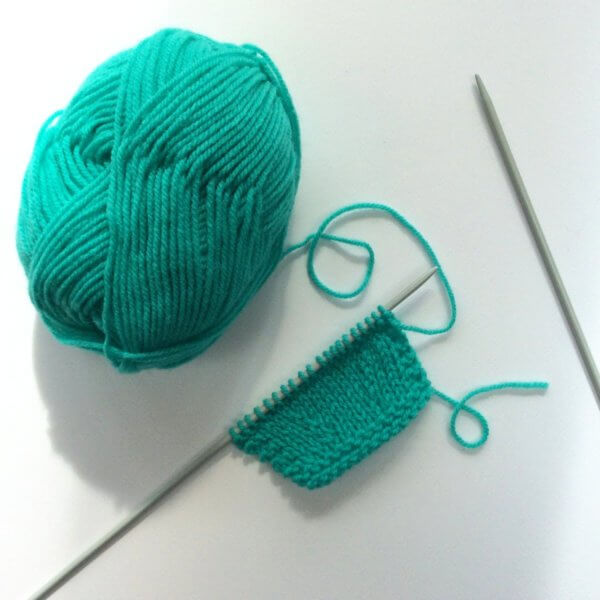
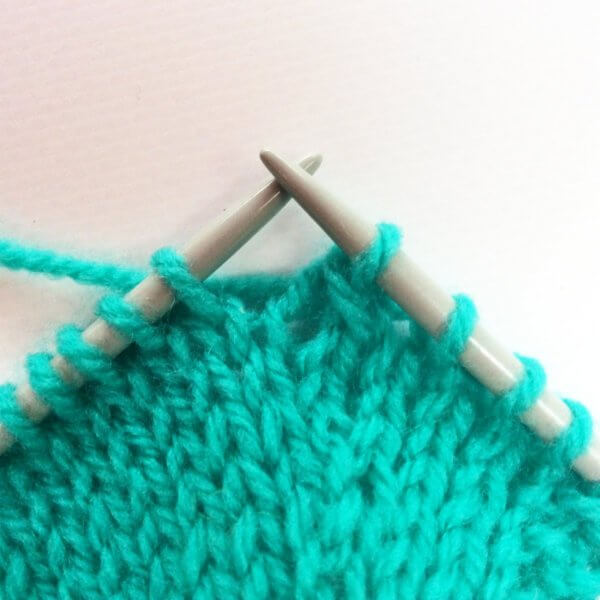
- First, take your project and work to the spot indicated in your pattern, where the decrease is supposed to be made.
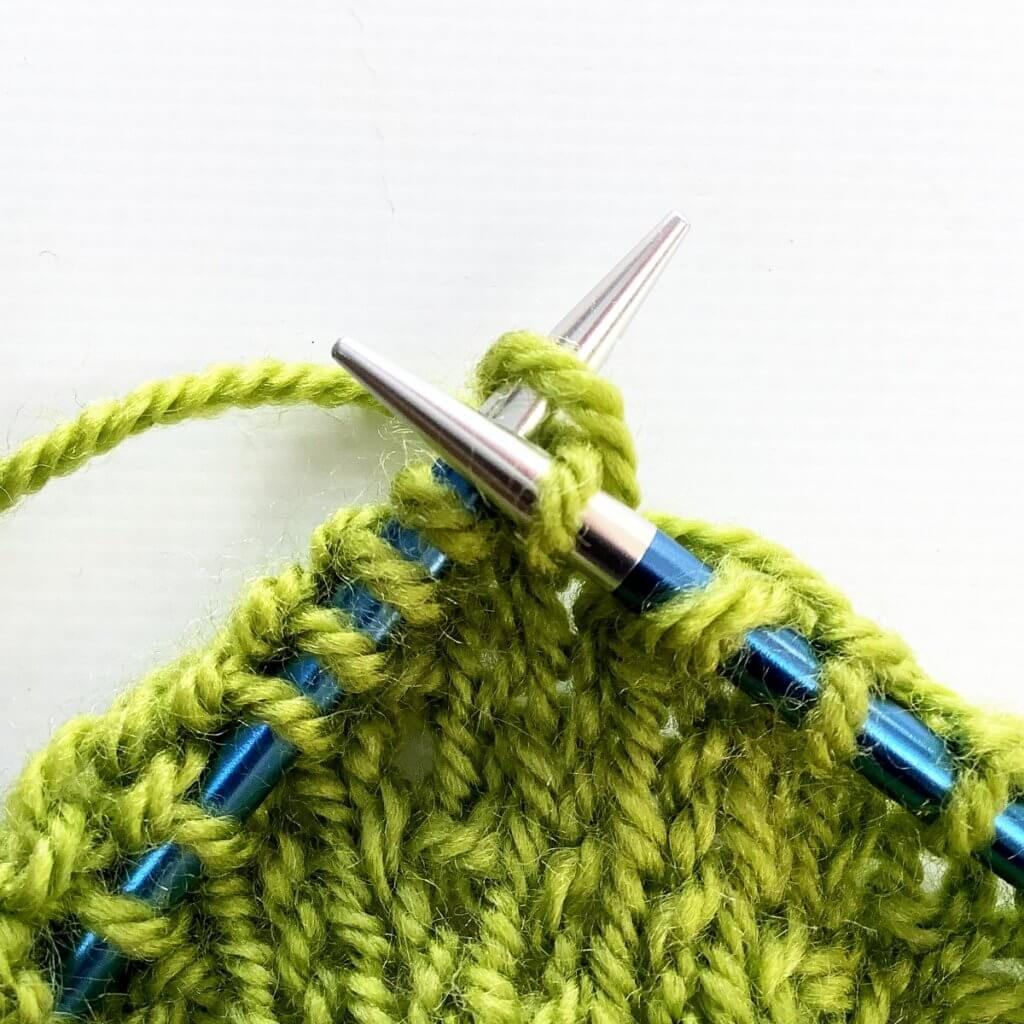
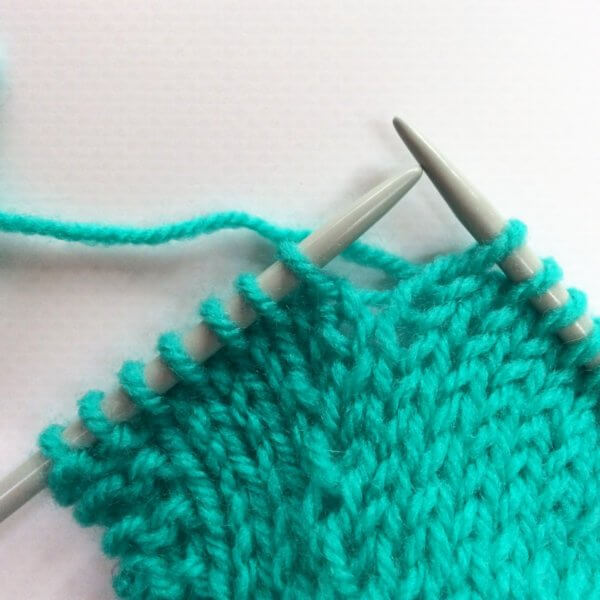
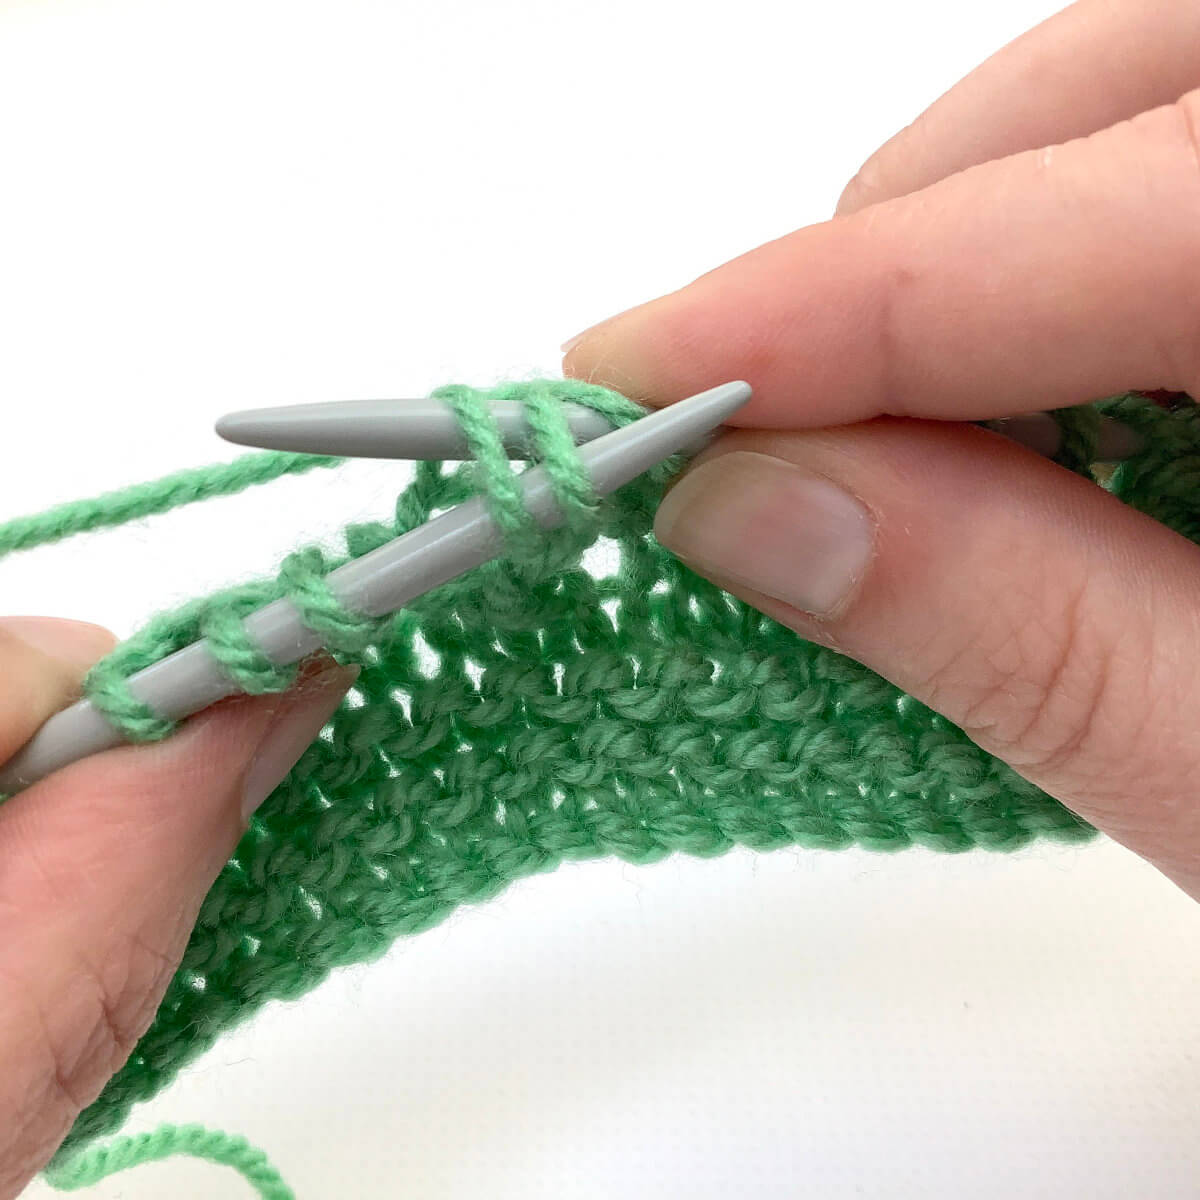
In this case, I’m working a stitch pattern in which I have to work a k2tog tbl directly after a YO, over the 2 stitches near the tip of the left-hand needle.
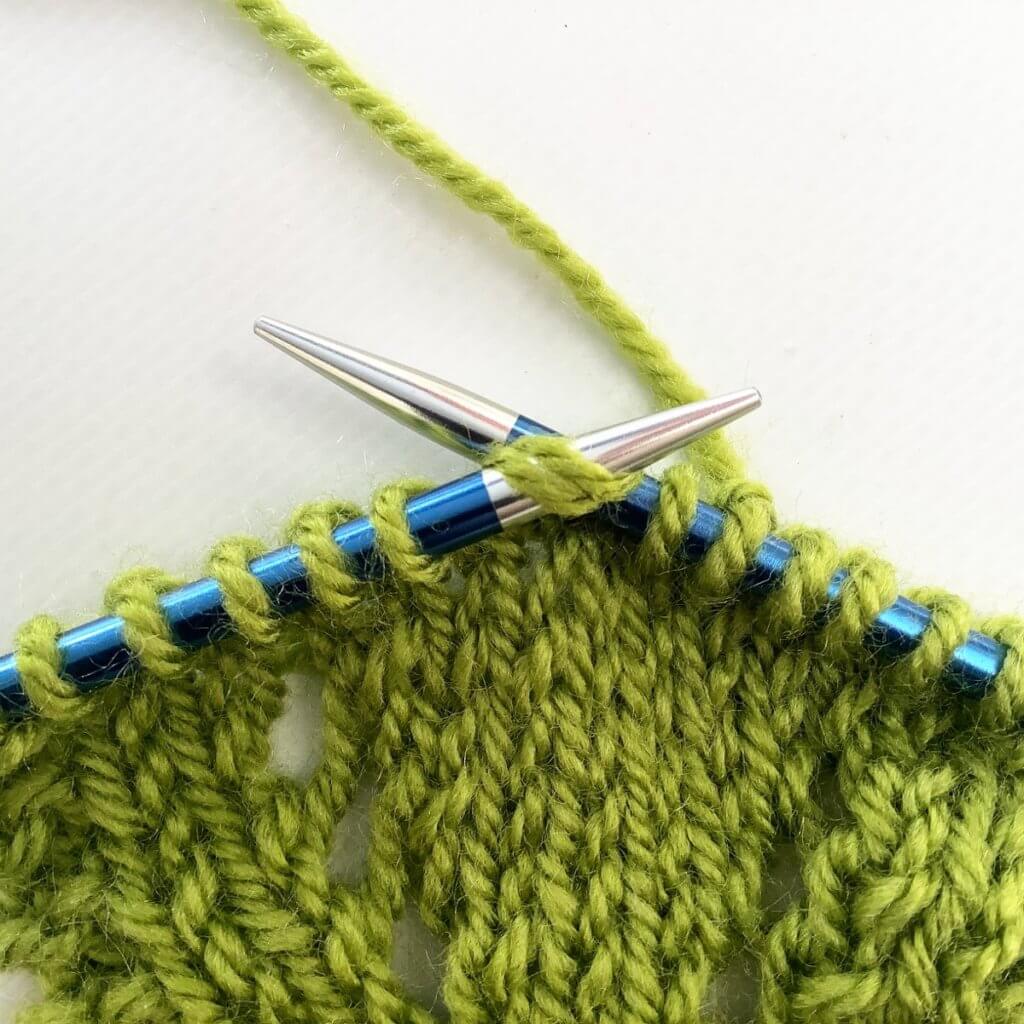
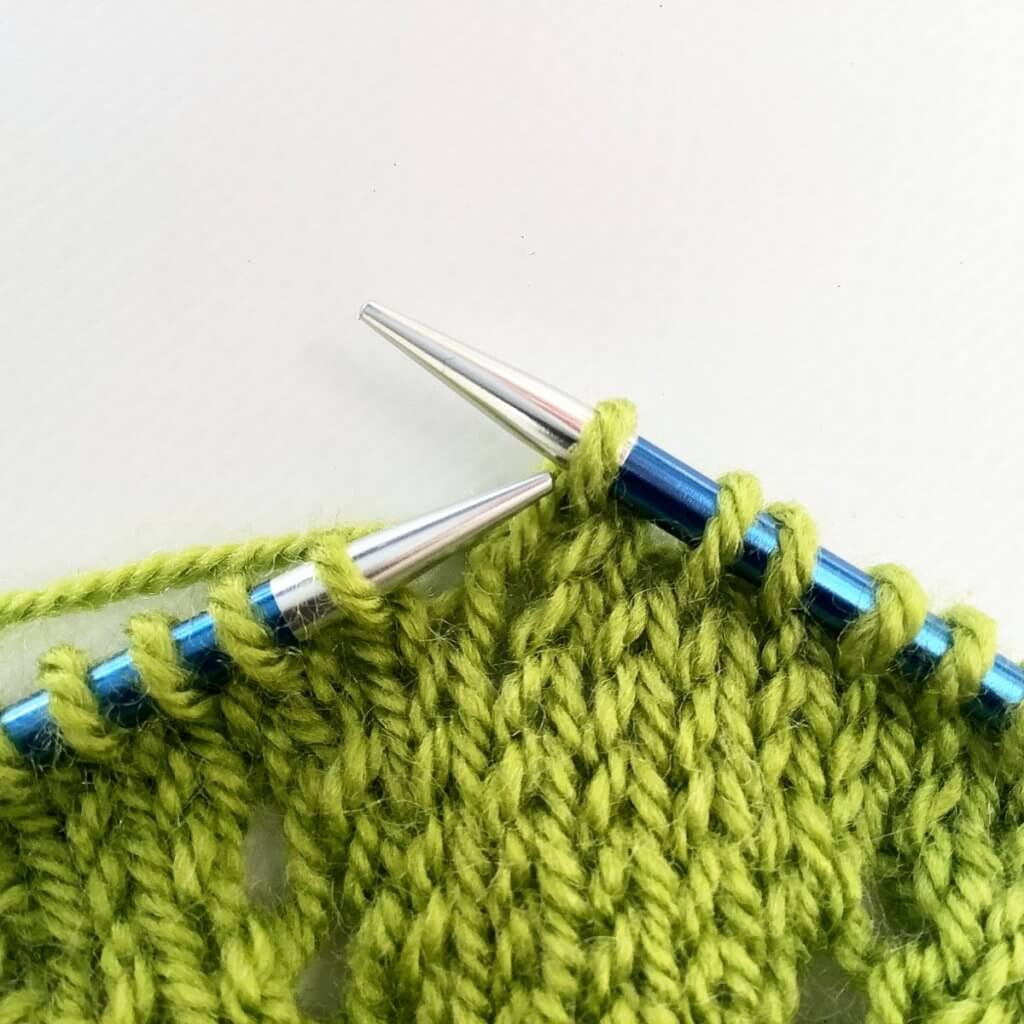
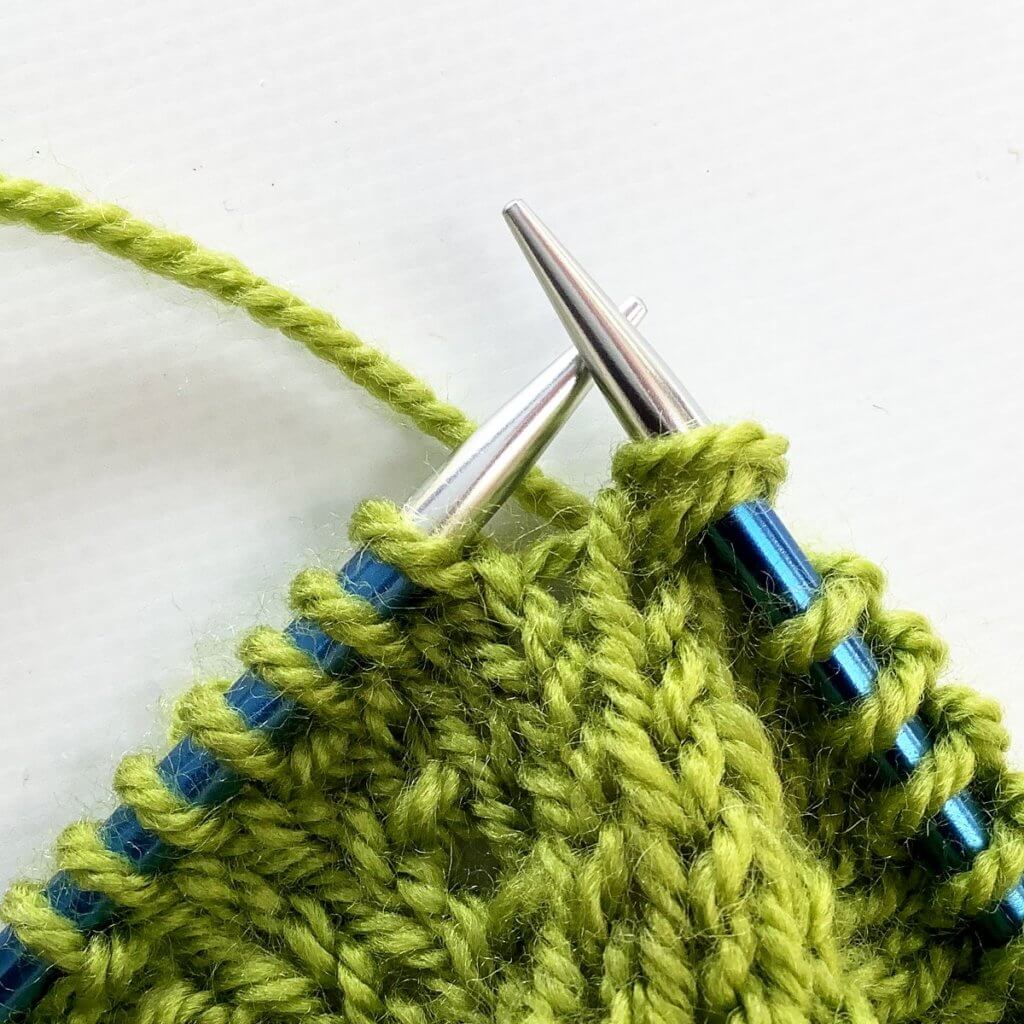
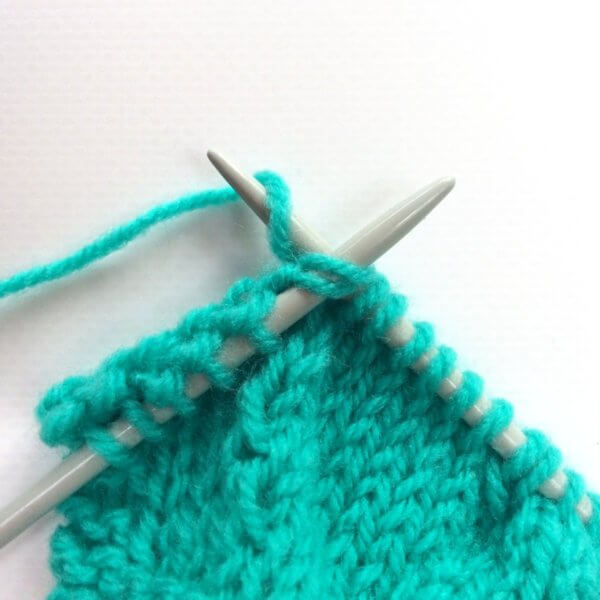
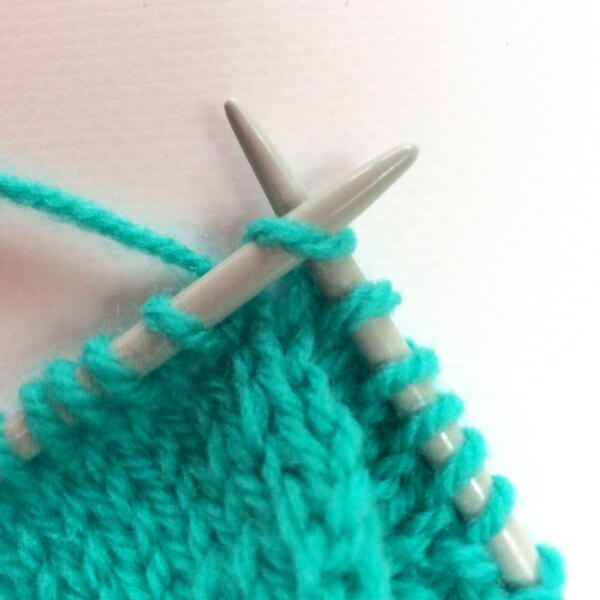
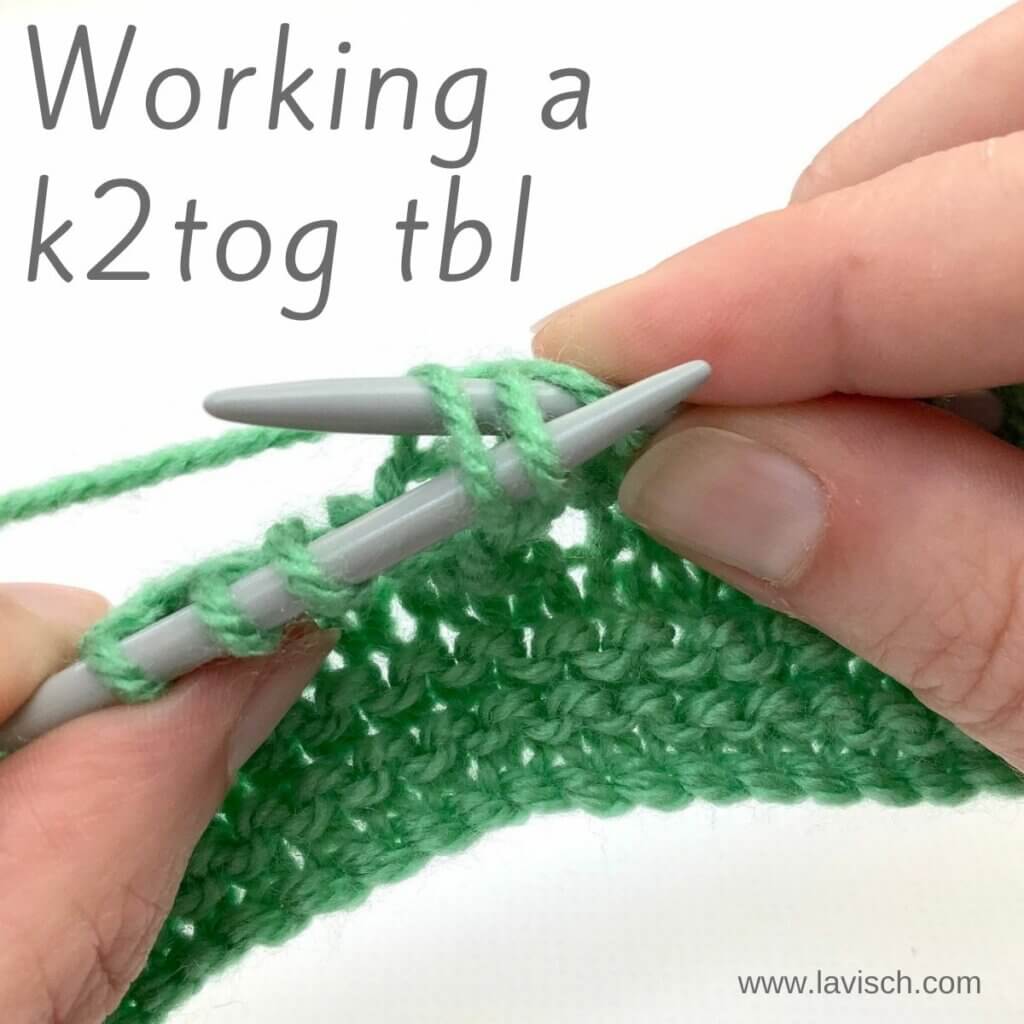
- Next, insert the tip of the right-hand needle into the first 2 stitches at the same time as if to knit through the back loop of these stitches.
This can be a tad hard to get right, I find it helps to pull the fabric down a bit.
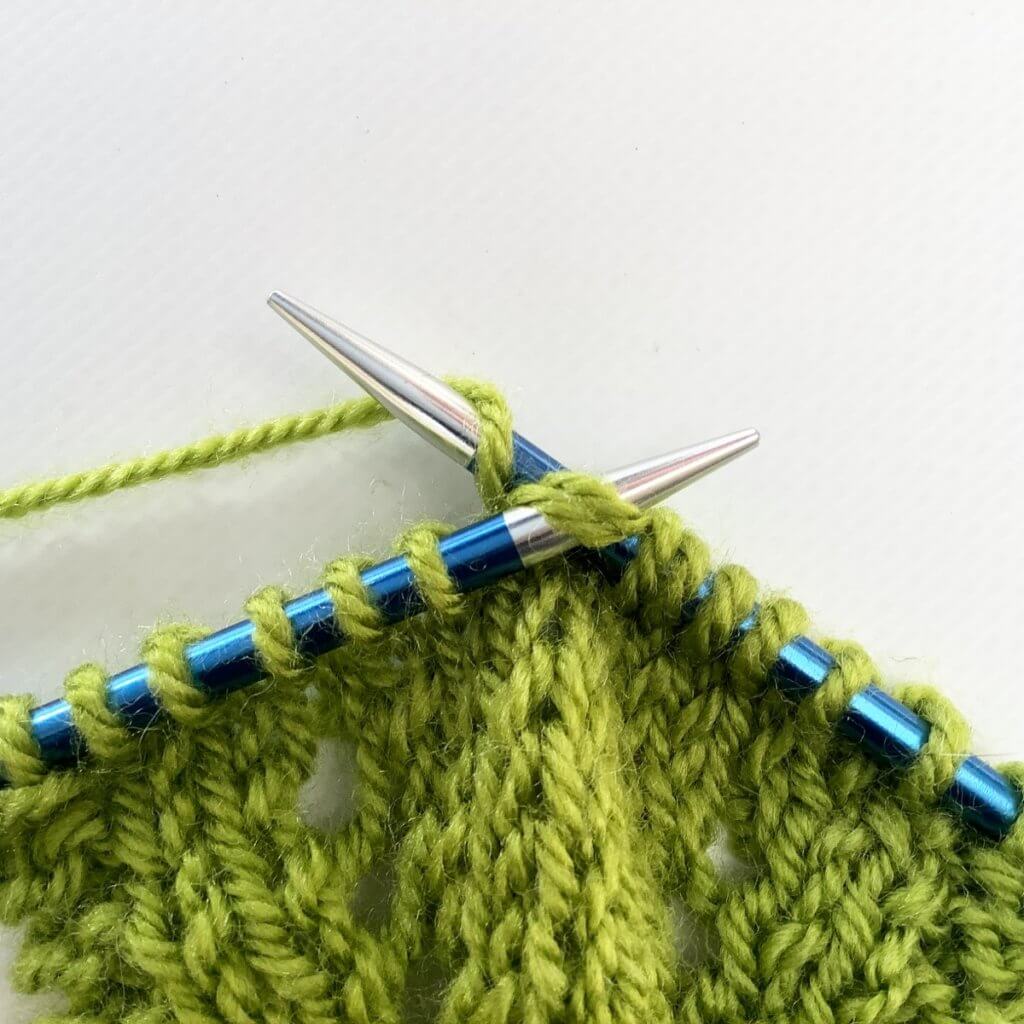
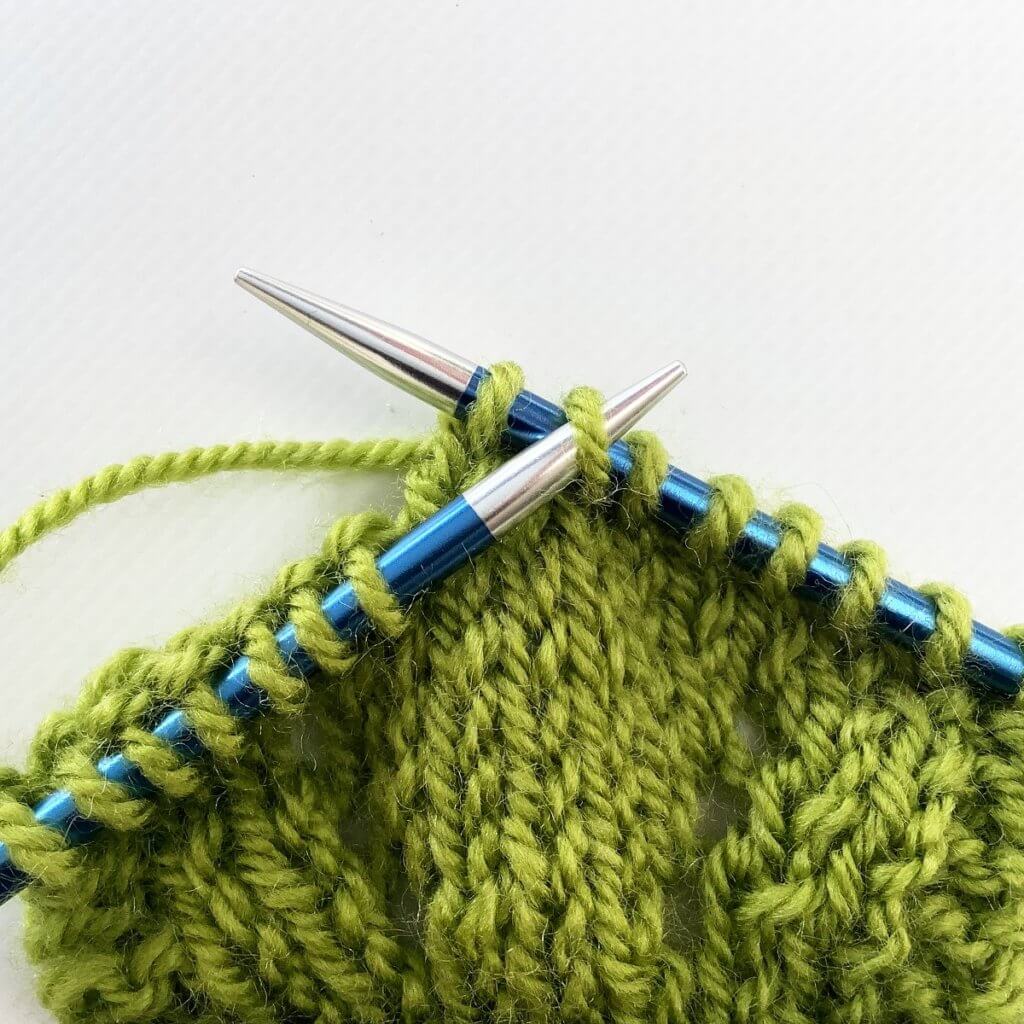
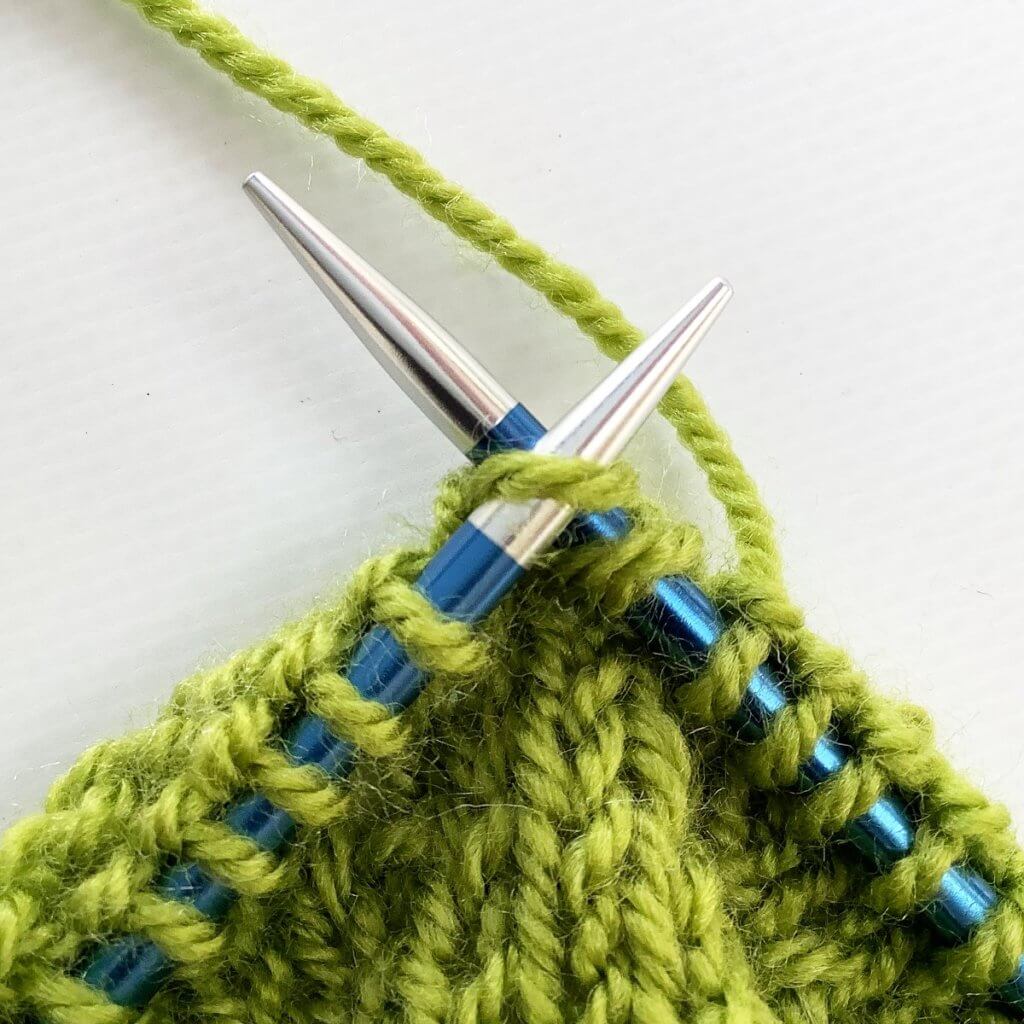
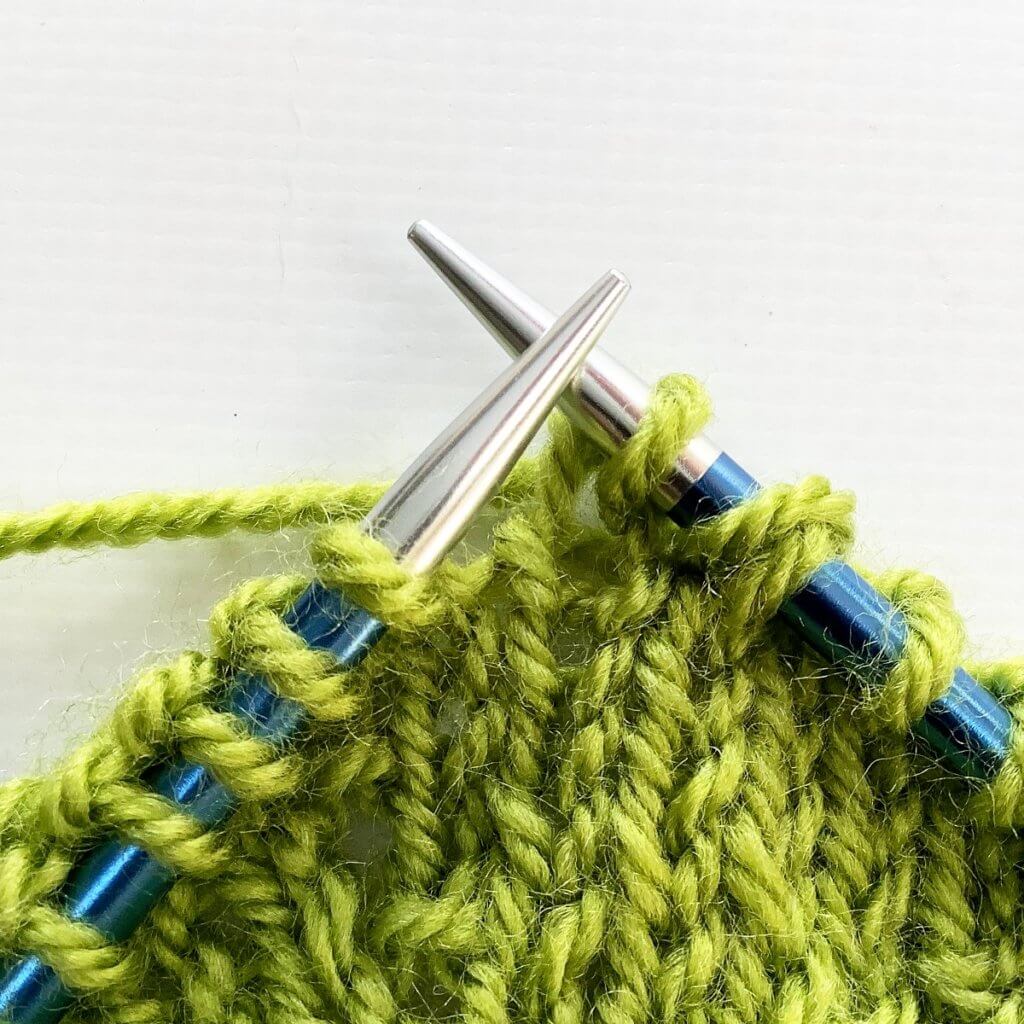
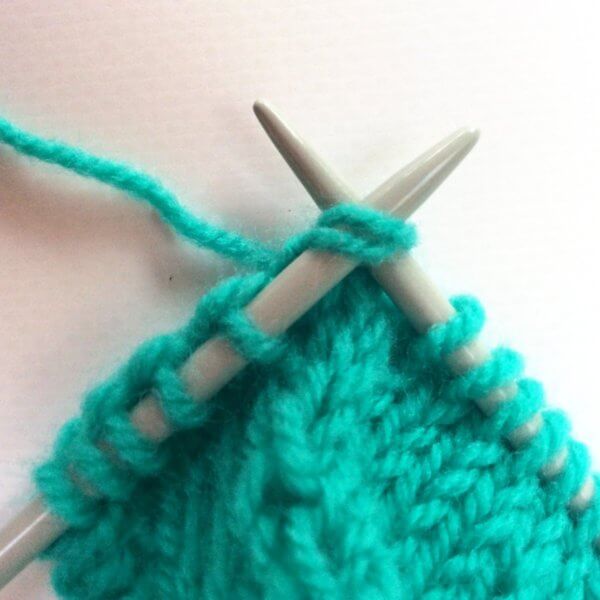
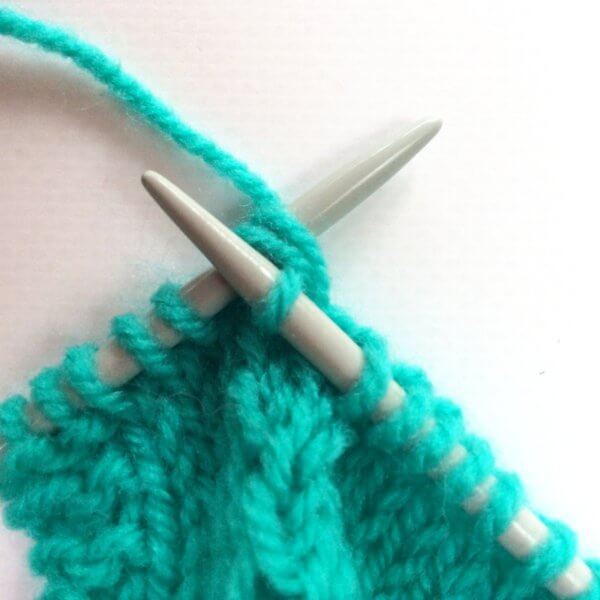
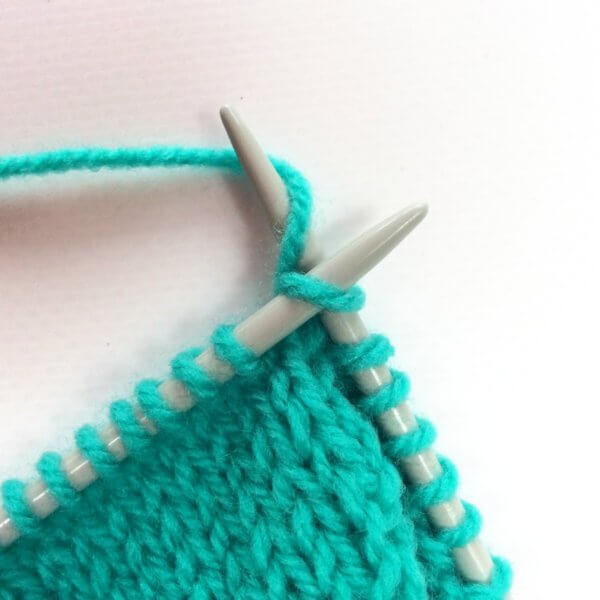
- Wrap the yarn around the needle…
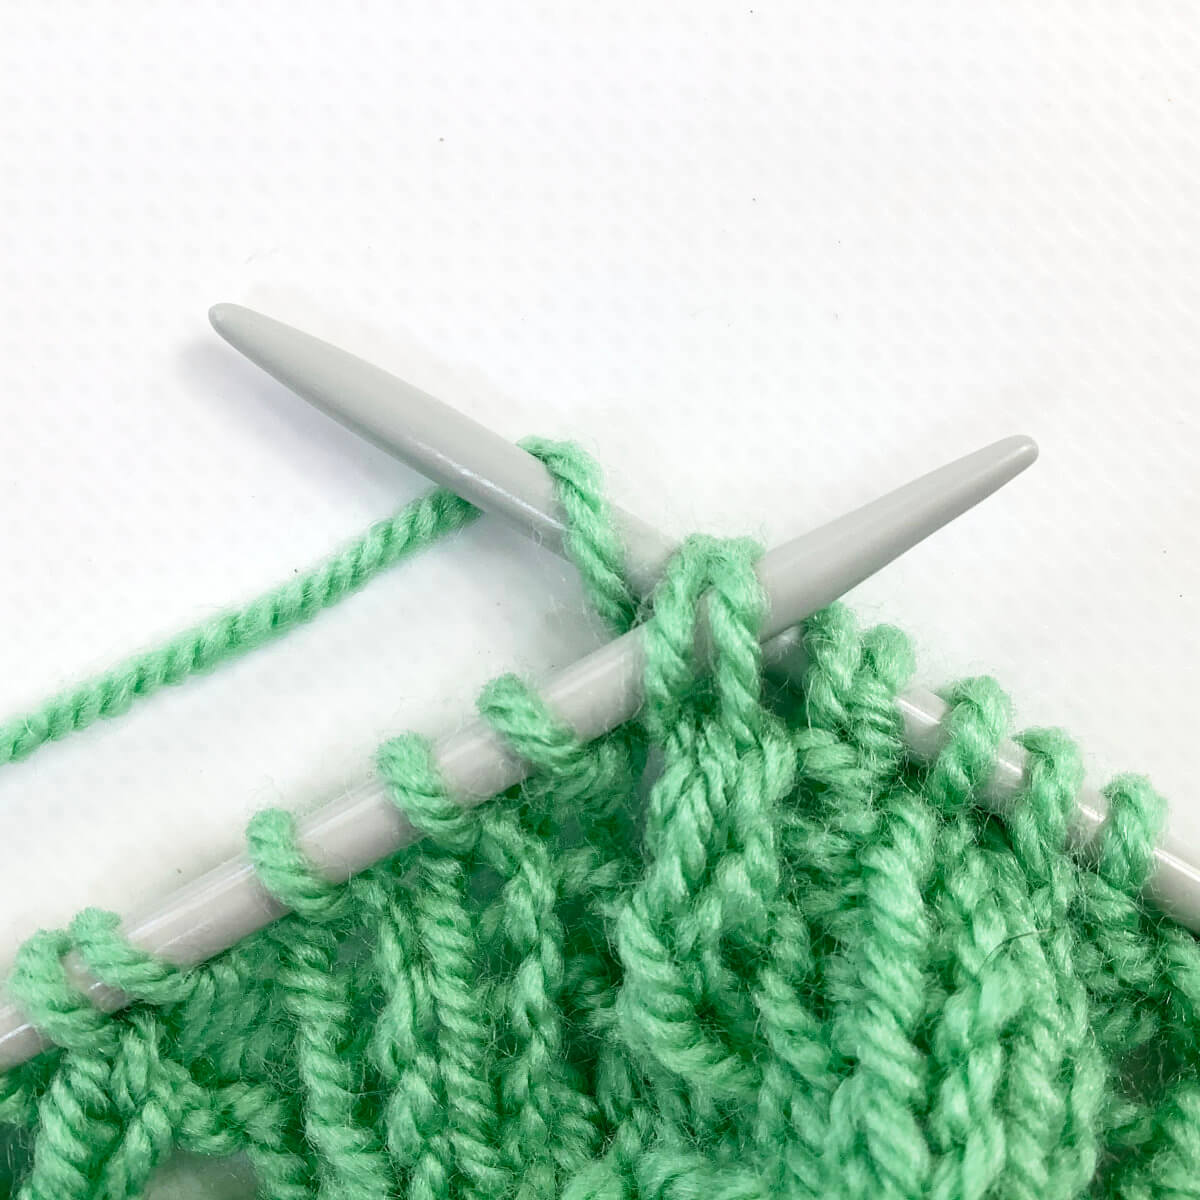
- …, and pull it through the stitches you inserted the right-hand needle in.
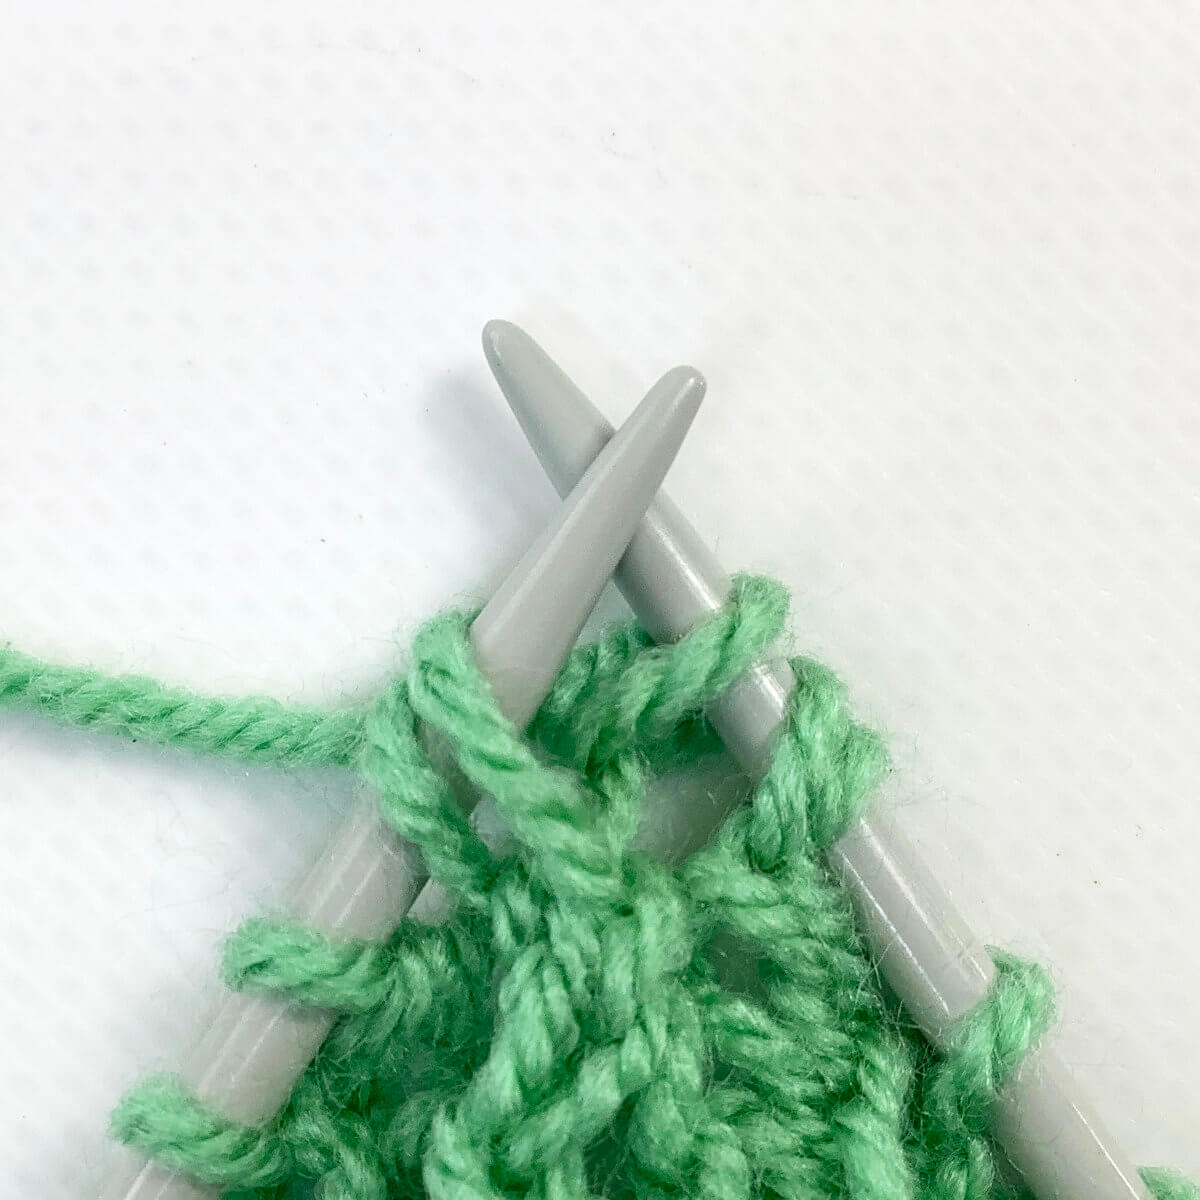
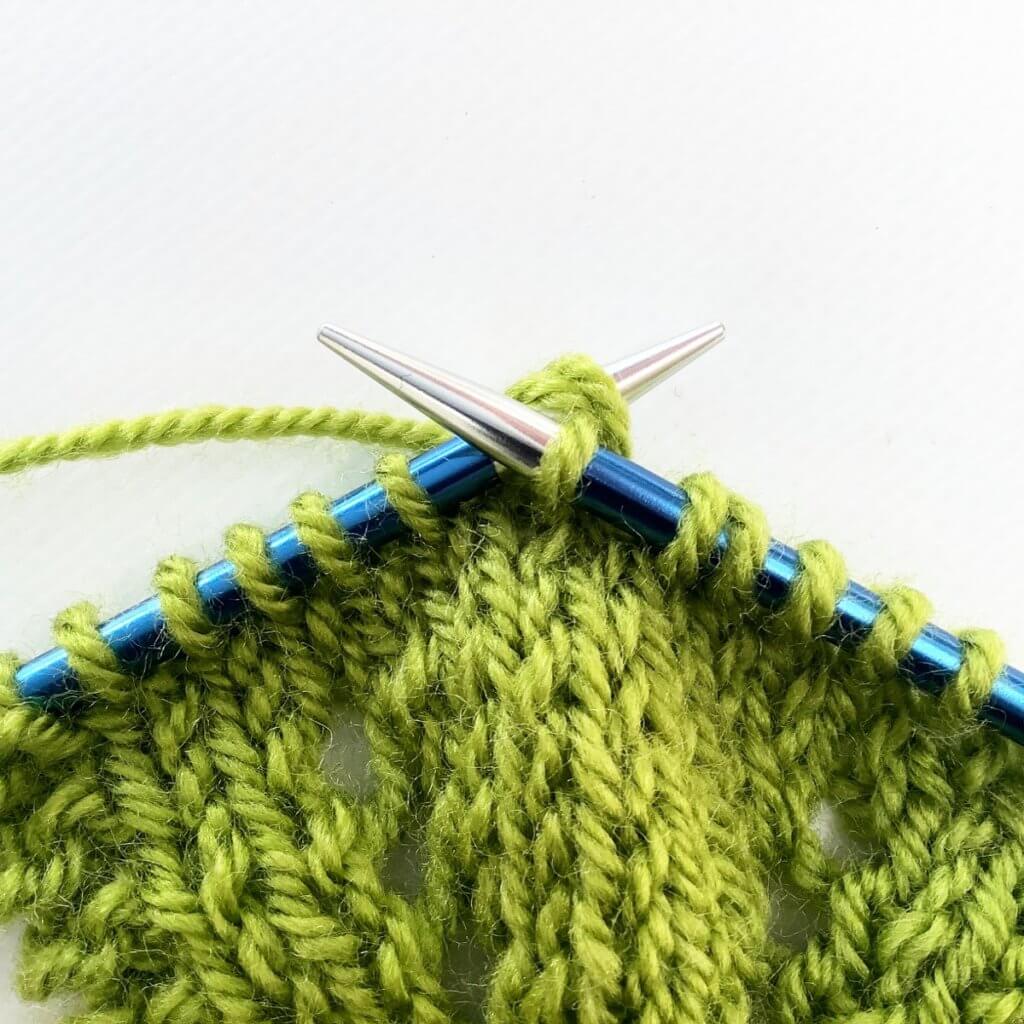
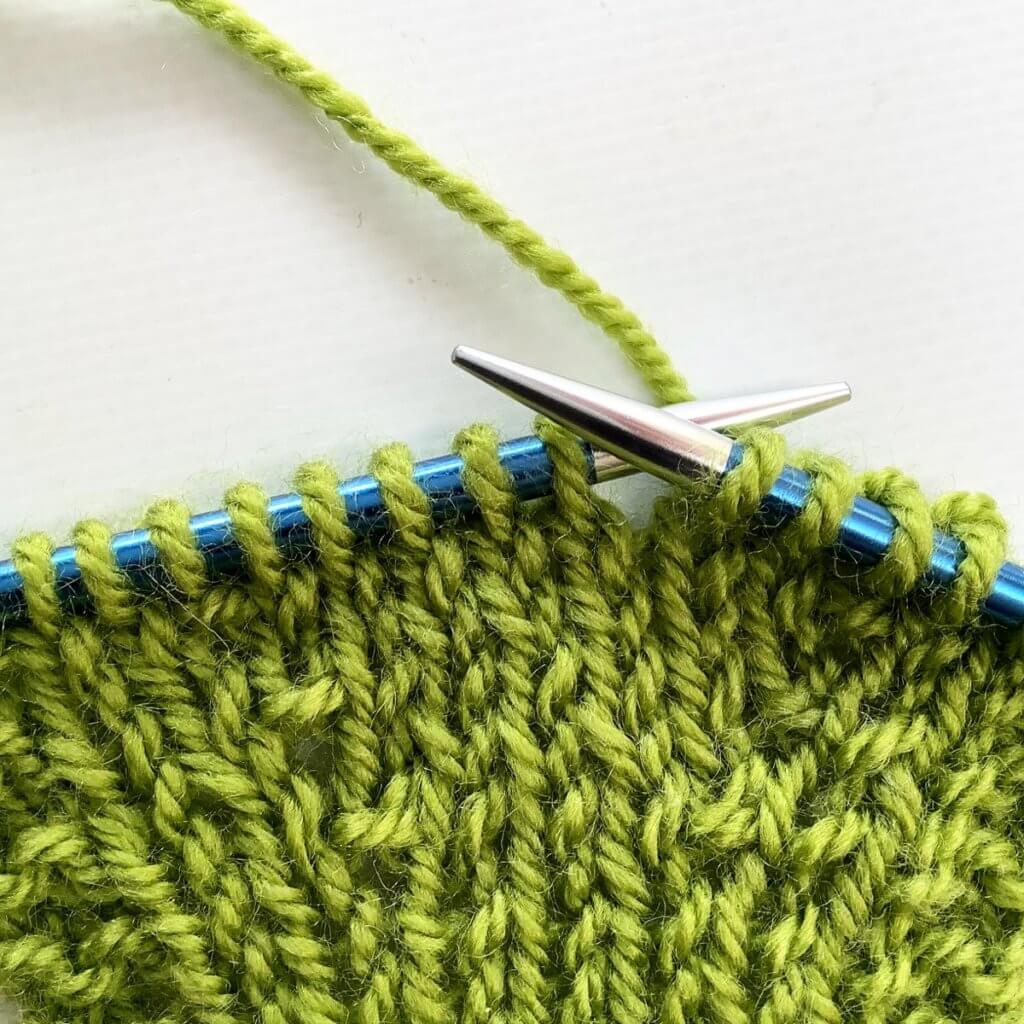
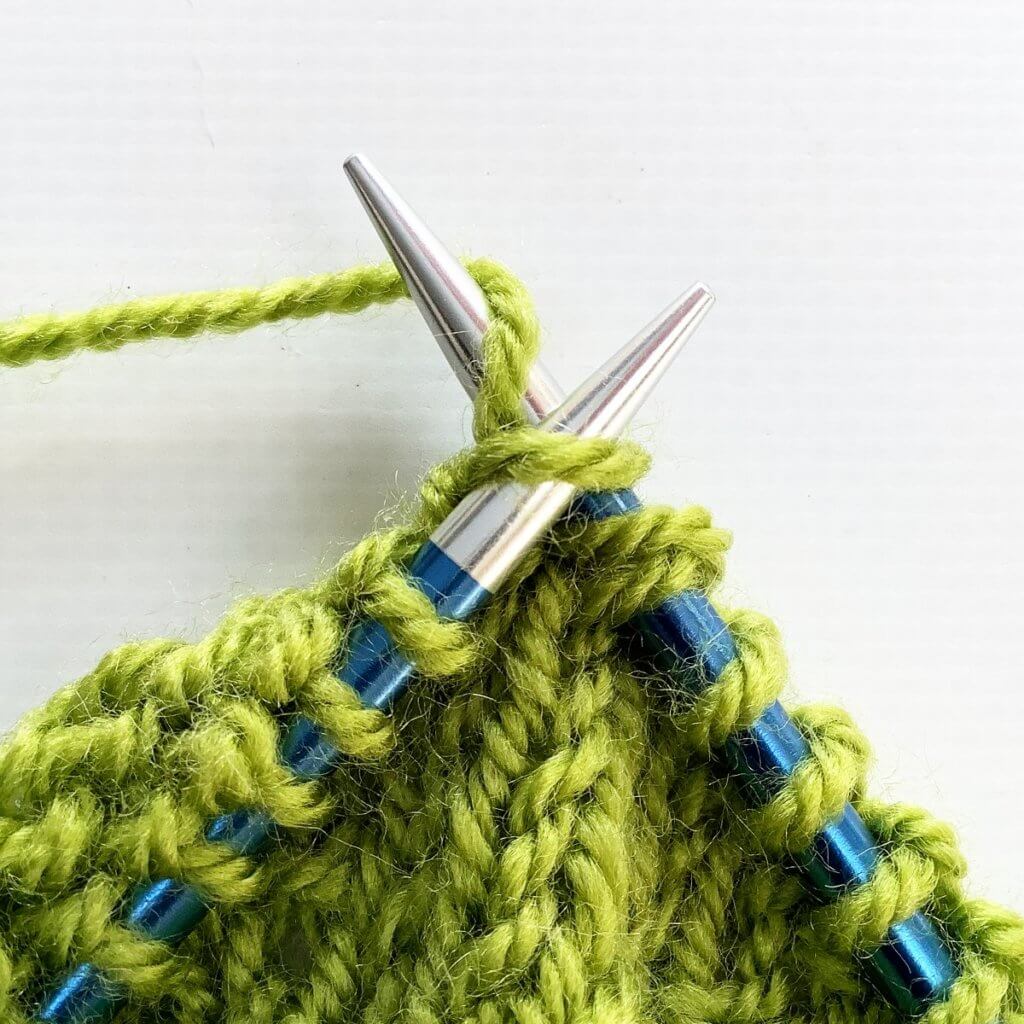
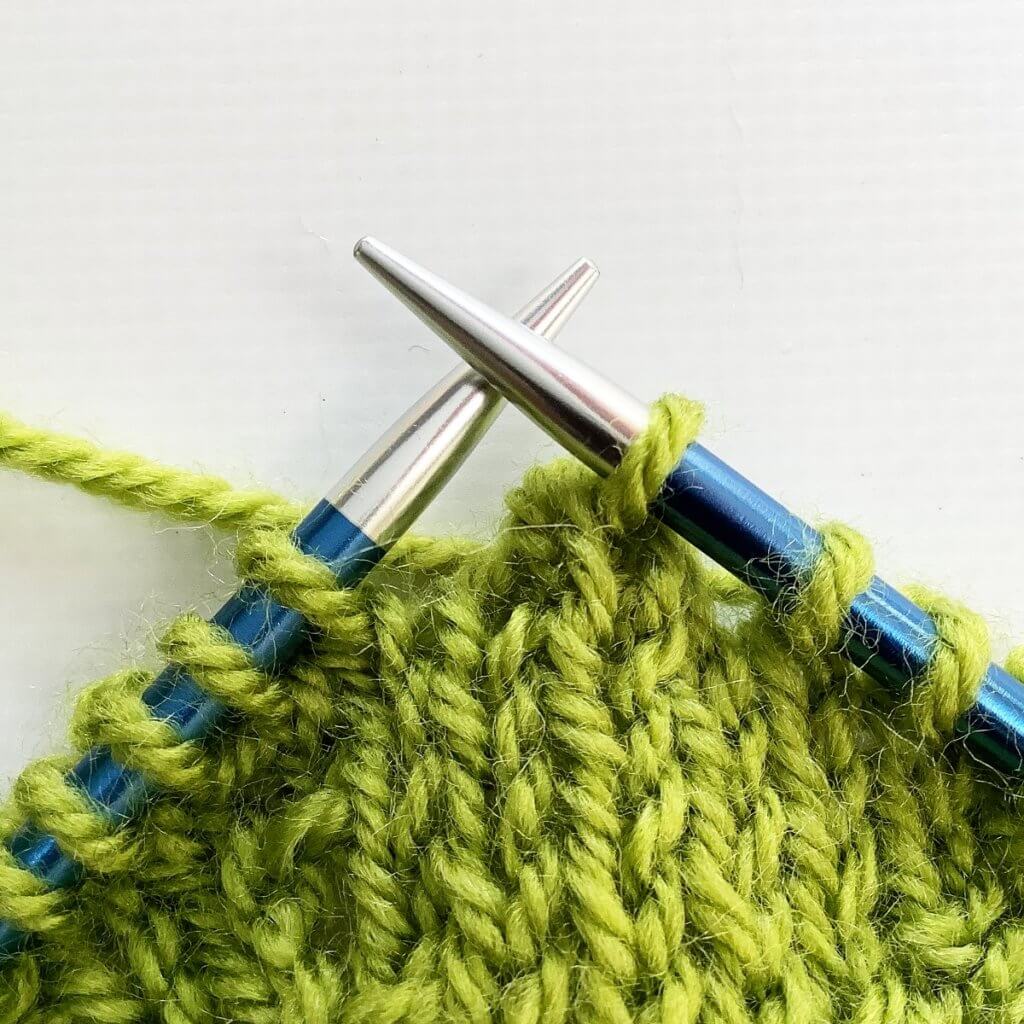
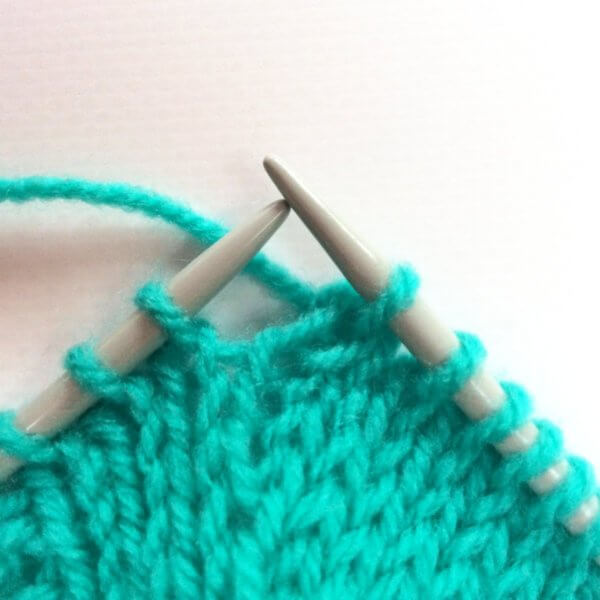
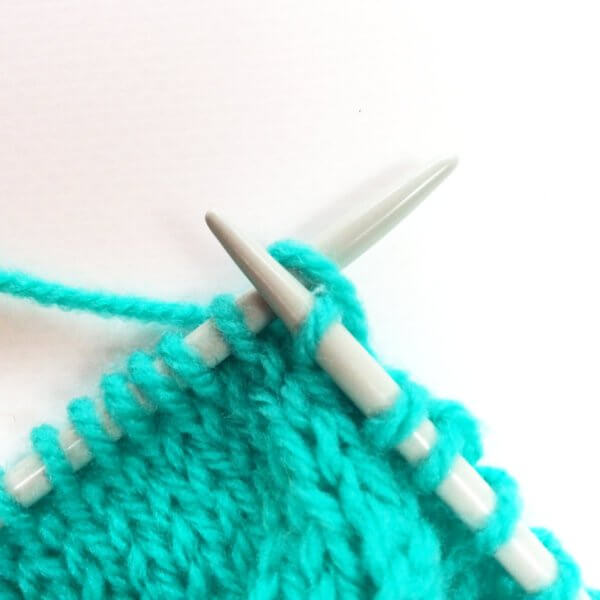
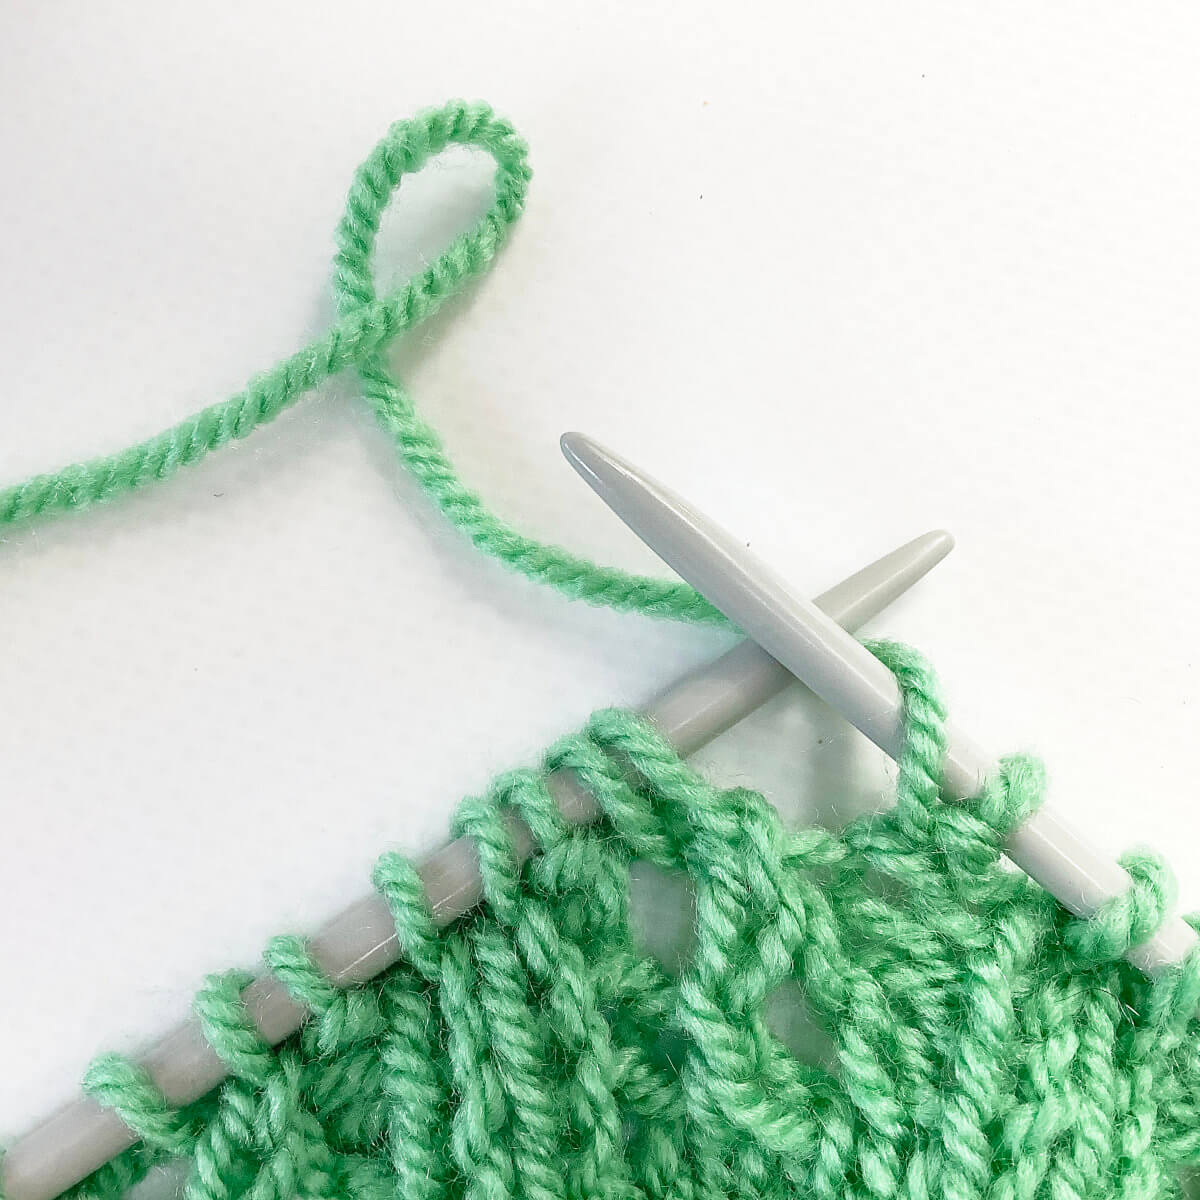
- To finish the decrease, slip the original stitches of the left-hand needle.
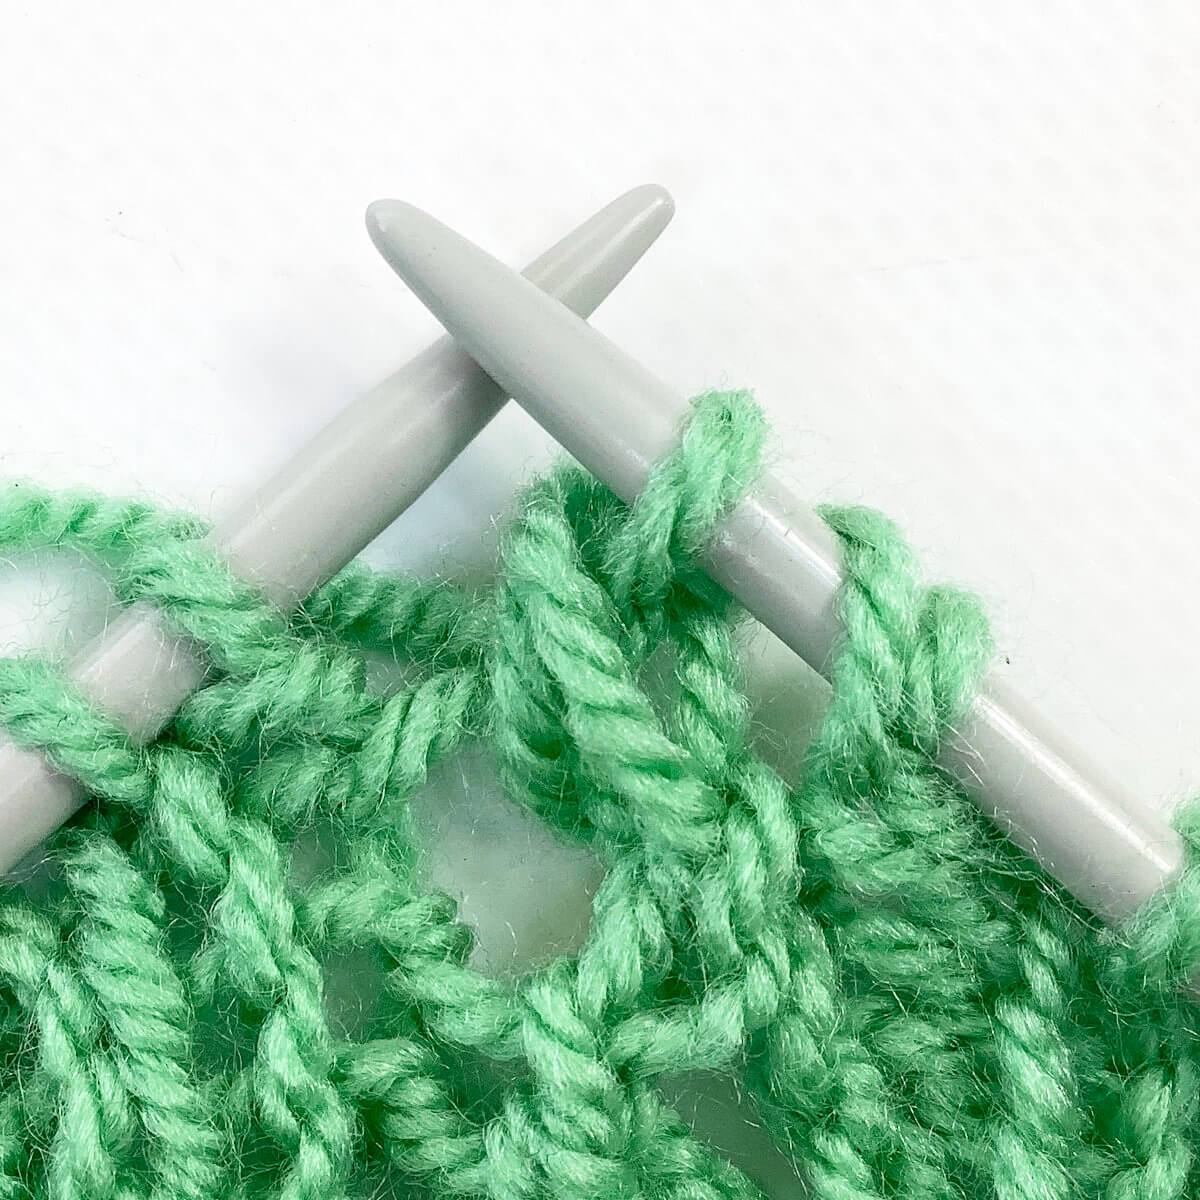
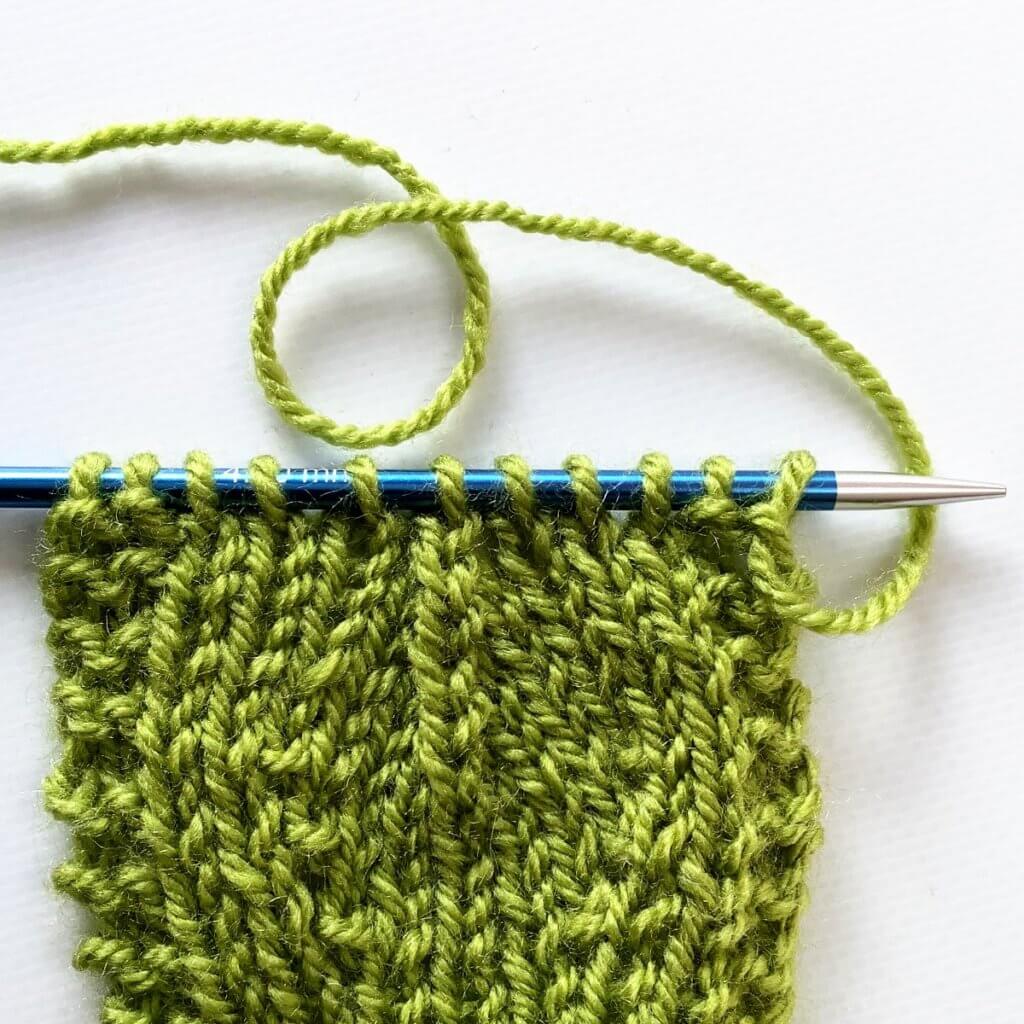
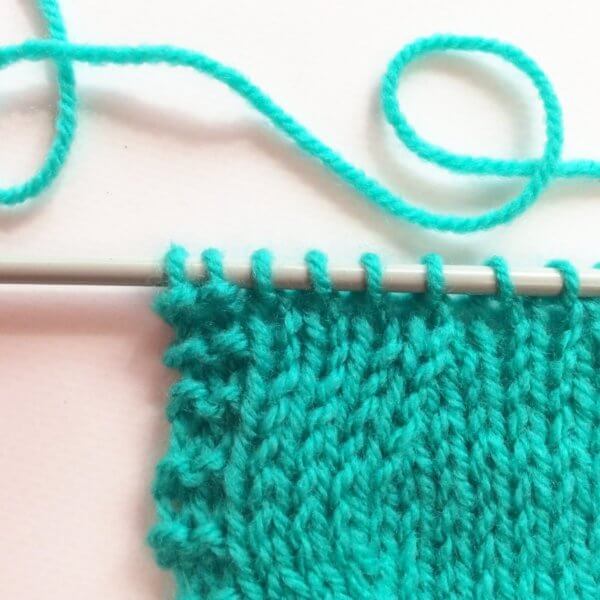
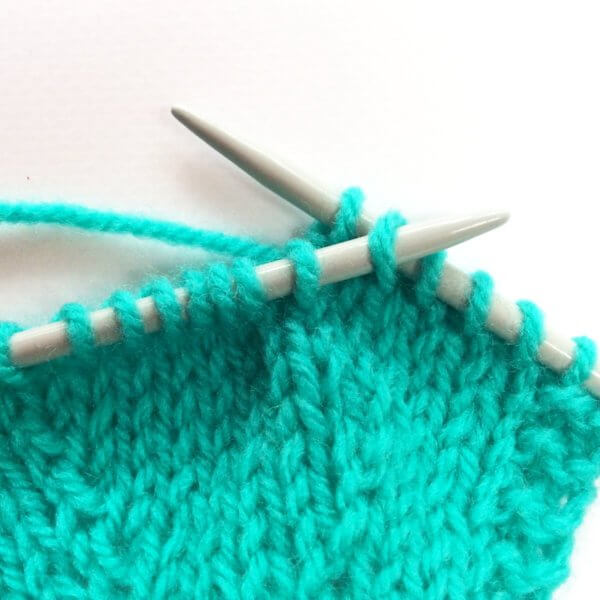
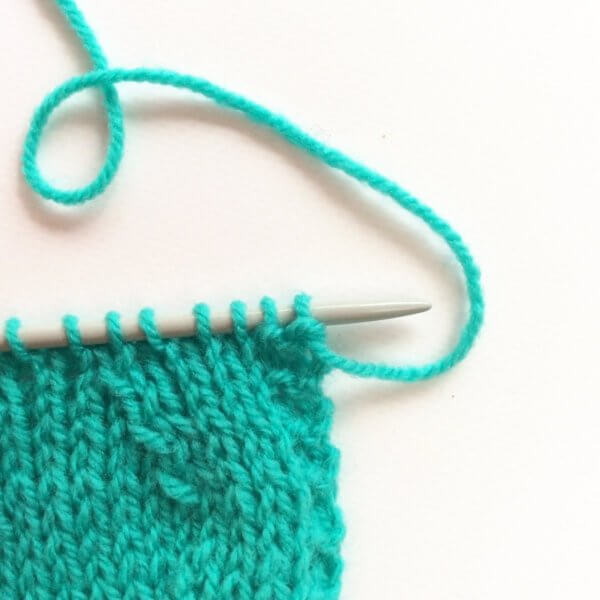
And this is how to work the k2tog tbl decrease!

Thanks to my Patreon supporters for bringing you this freebie! Creating quality patterns and tutorials is a lot of work and resource-intensive. However, I find it important to give you free content like this tutorial. Thanks to the generous support of my Patreon supporters, I can make it happen. Thank you, patrons! Click here to join, or click here to read more about La Visch Designs on Patreon.
tutorial – working a k2tog tbl Read More »