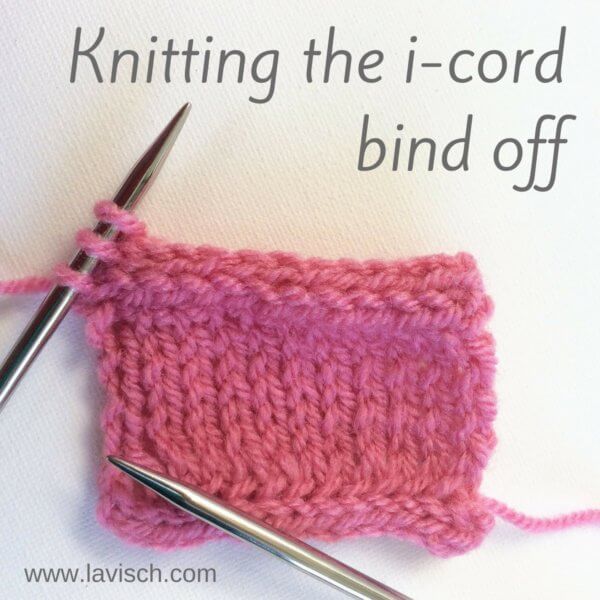
In a previous post I’ve already shown you how to cast-on your knitting project with an i-cord cast-on. And of course it would be nice to be able to bind-off with a matching i-cord bind-off finishing. Fortunately, we can!
The i-cord bind-off is usually knit over 3 to 5 stitches. In this example I’m going to show the version made over 3 stitches. In short, instructions would look something like this:
I-cord bind off: Cast-on 3 sts, *k2, k2tog tbl, sl 3 sts just worked back to LH needle, pull yarn tight across back of sts; rep from * until 3 sts remain.
Next: K2tog tbl, k1, sl 2 sts to LH needle, k2tog tbl and fasten off.
The i-cord bind-off step by step
You can start casting off as soon as the last row of your work has been knit, and after your work has been turned when working flat back and forth.
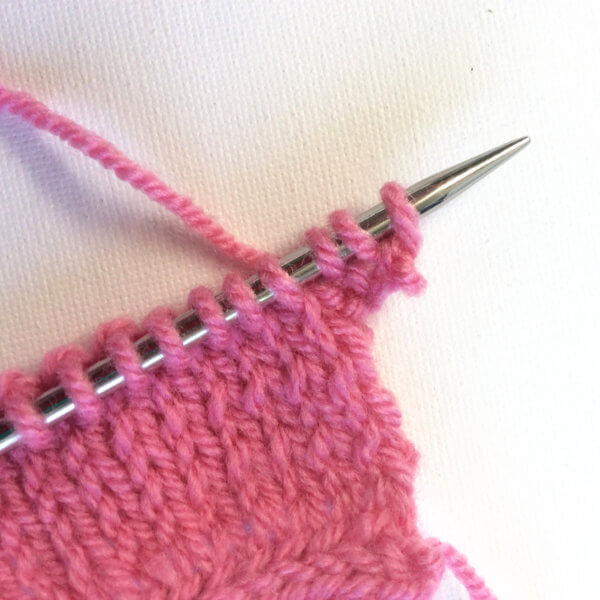
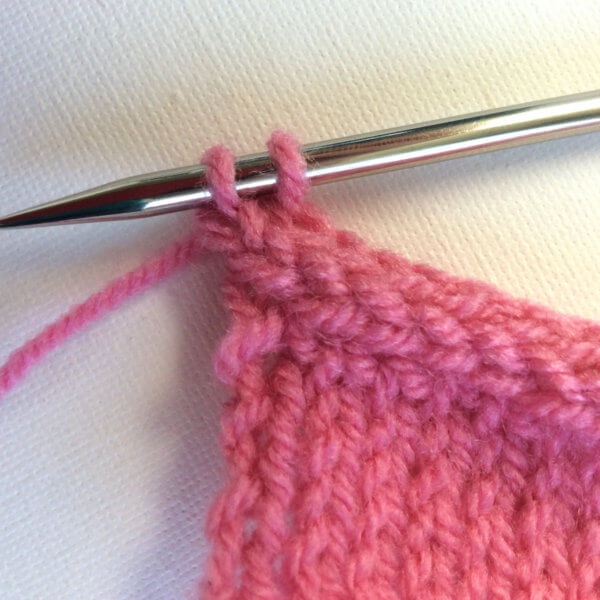
1. With the right side facing, cast-on 3 stitches. I used the knitted-on method.
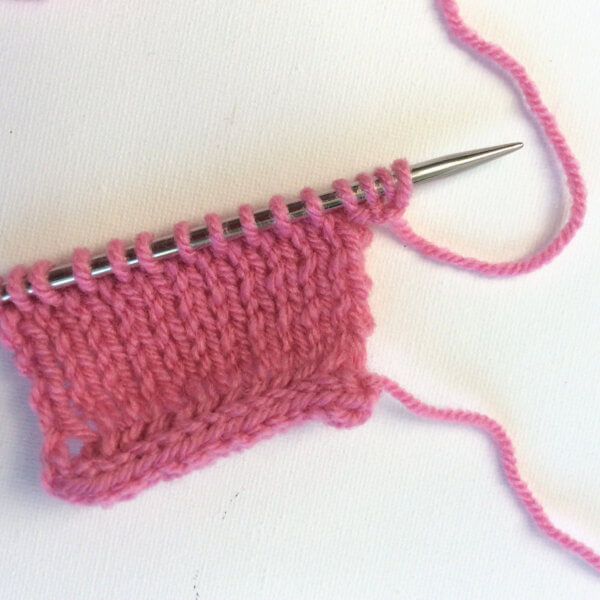
2. Knit 2 stitches.
3. Knit 2 stitches together through the back loop.
4. Move the 3 stitches on the right needle back to the left hand needle one by one.
5. Pull the yarn tight and make sure that it is behind your work.
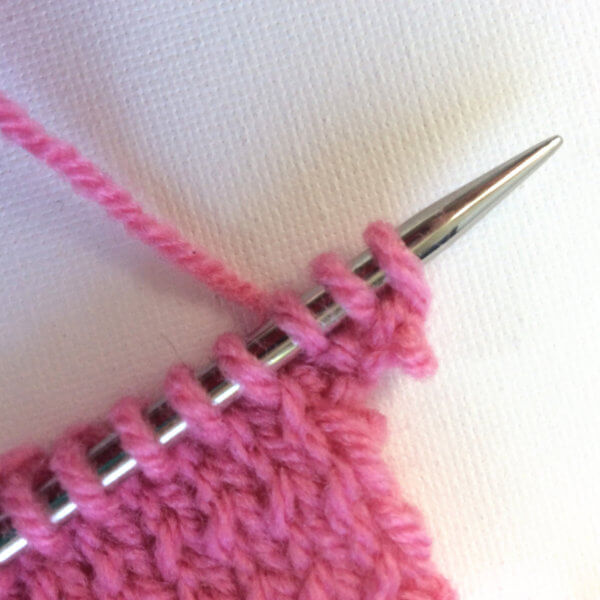
6. Repeat steps 2 to 5 until 3 stitches to bind-off remain.
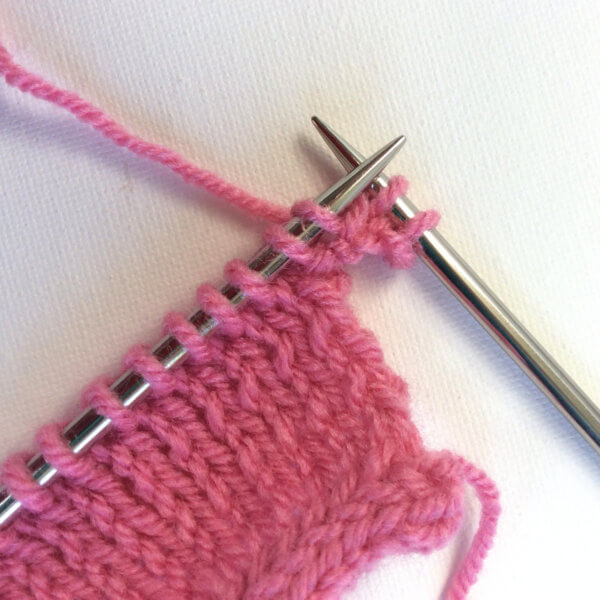
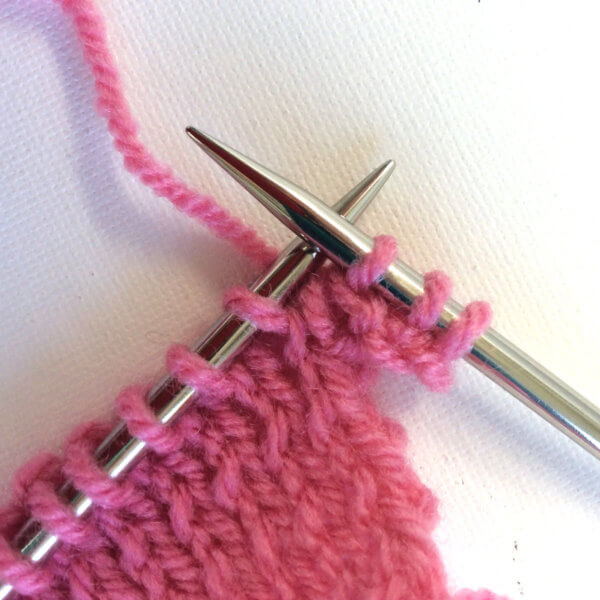
7. Knit 2 stitches together through the back loop.
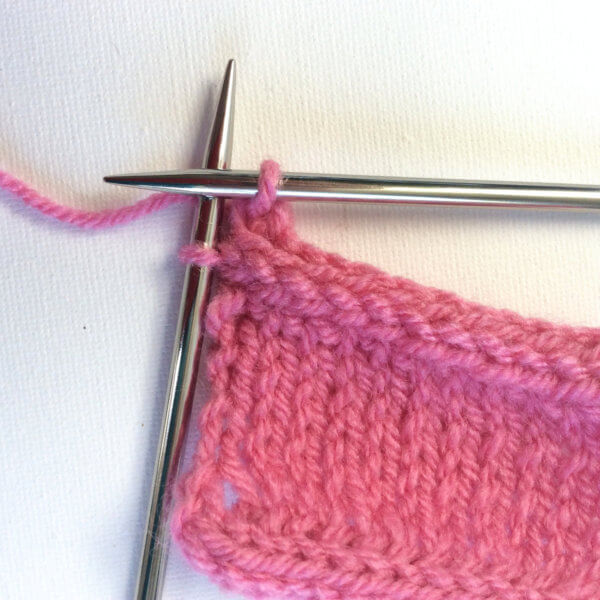
8. Knit 1 stitch.
9. Move the 2 stitches on the right needle back to the left hand needle one by one.
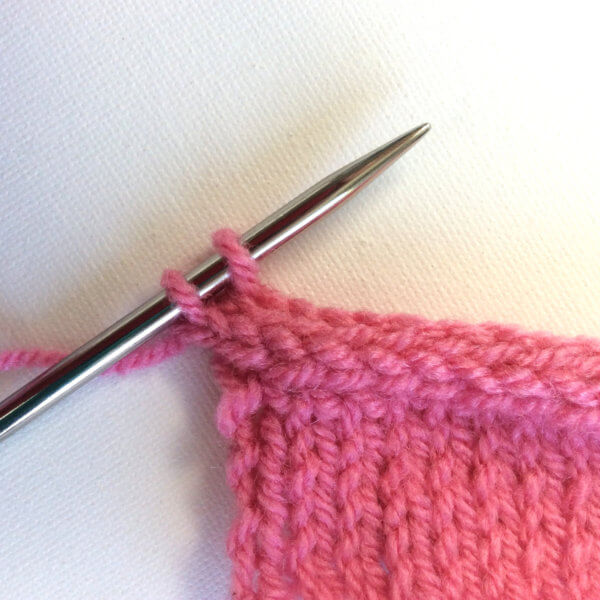
10 Knit 2 remaining stitches together through the back loop and fasten off.
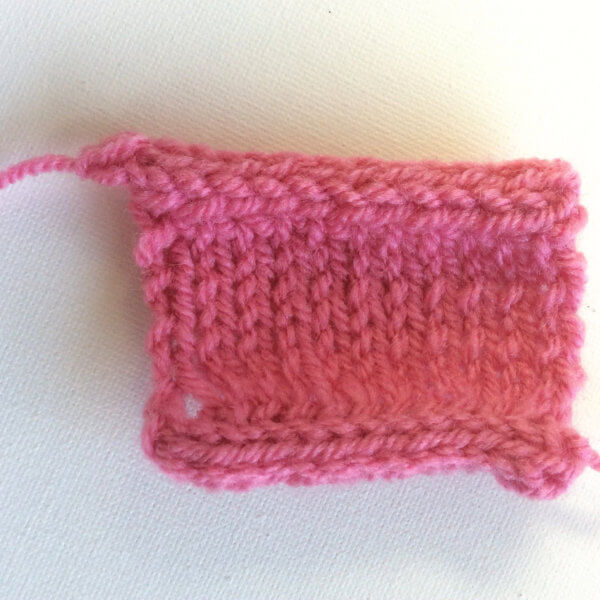
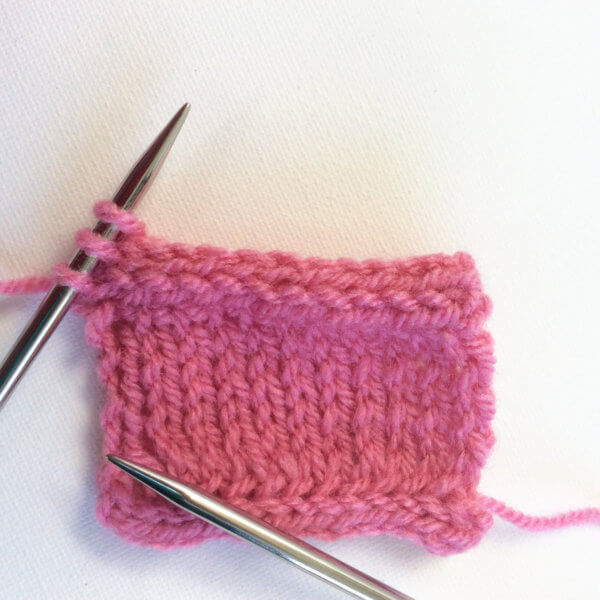
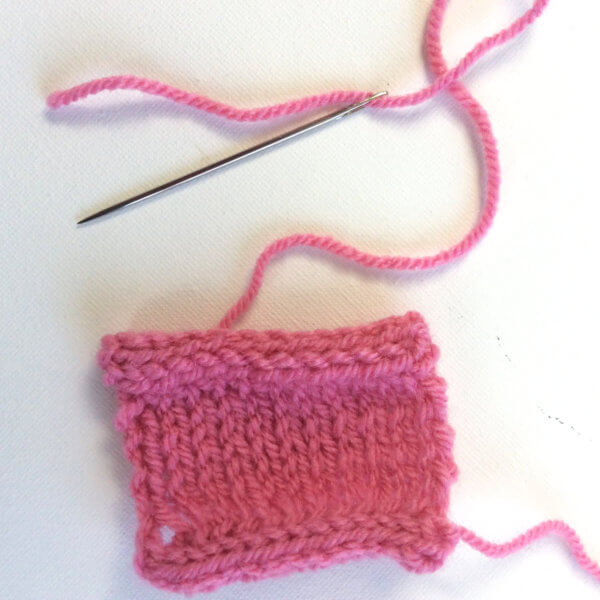
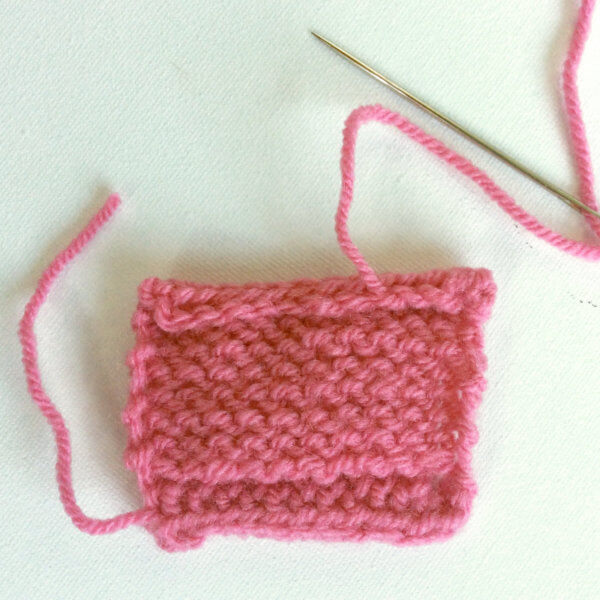
The “ear” where the yarn was fastened off, can be reduced by using a tapestry needle to pull it into the i-cord tube. Front and back of the work then look as follows:
Tip 1
It can be very nice to knit the i-cord bind-off in a contrasting color to the rest of your project. It may however happen, that the main color shines through in the i-cord BO. To avoid that, I would recommend to first knit a row in the contrast color, before starting the i-cord bind-off.
Tip 2
An i-cord bind-off edge on a piece worked in stockinette stitch is very pretty. As you know however, stockinette tends to curl…. A lot. An i-cord bind-off is usually not sufficient to prevent curling. For this you will have to look at other methods, such as garter stitch or rib. So if you purely want the effect of a stockinette stitch edge to your work, you better have a look at a folded hem.


