
In this new design, I’m using mosaic slip-stitch patterning in the border. The beauty of this type of colorwork is that it is worked with a single color in a single row. In other words: An RS and a WS row are worked in the main color (MC). After working these two rows, the MC is dropped, and an RS and a WS row are worked with the contrast color (CC) yarn while slipping the sts indicated.
However, I didn’t want to use the CC yarn in the garter stitch border of 3 stitches on each side of the shawl. This caused the gaps to happen that you can see at the bottom dot:
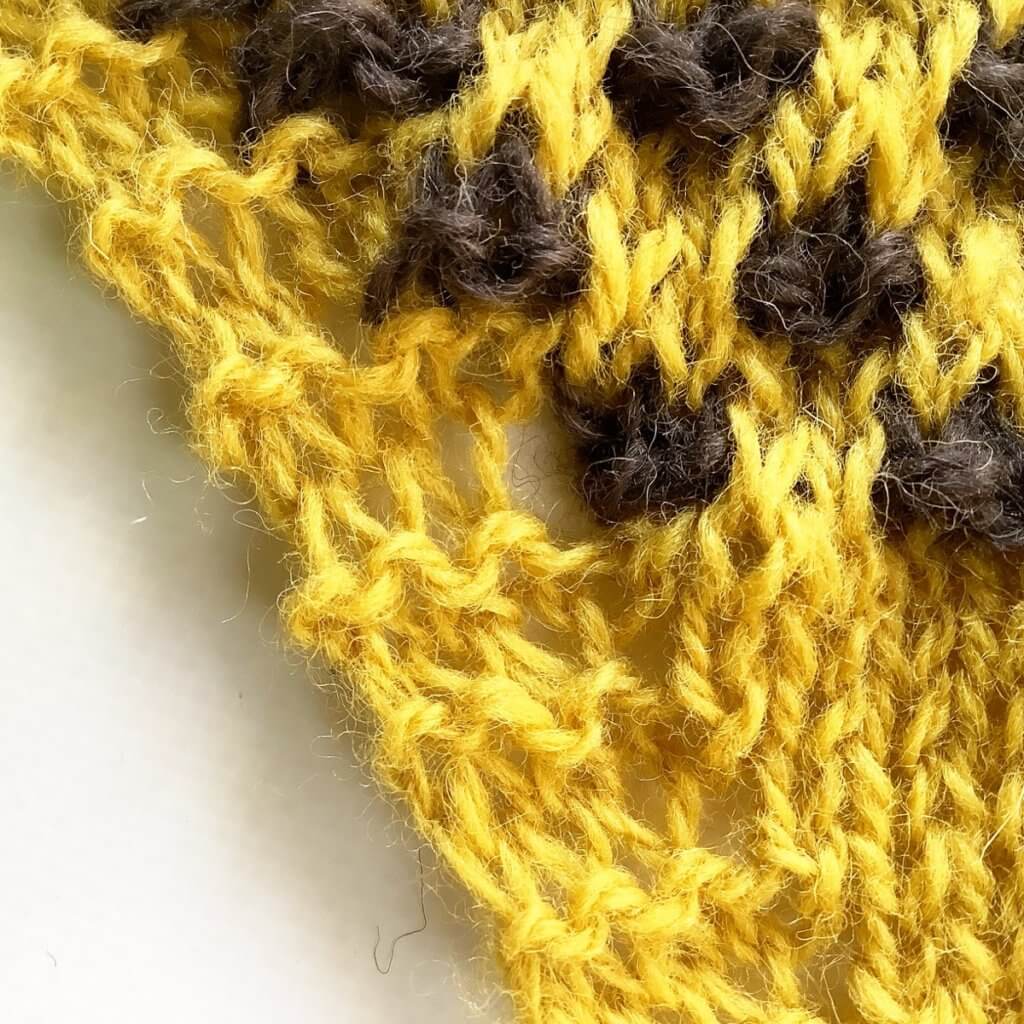
So, of course, I had to think of a way to prevent these! I settled on a “wrap & turn” like approach, similar to w&t as in working traditional short-rows. Read on for the step by step how-to!
Materials used
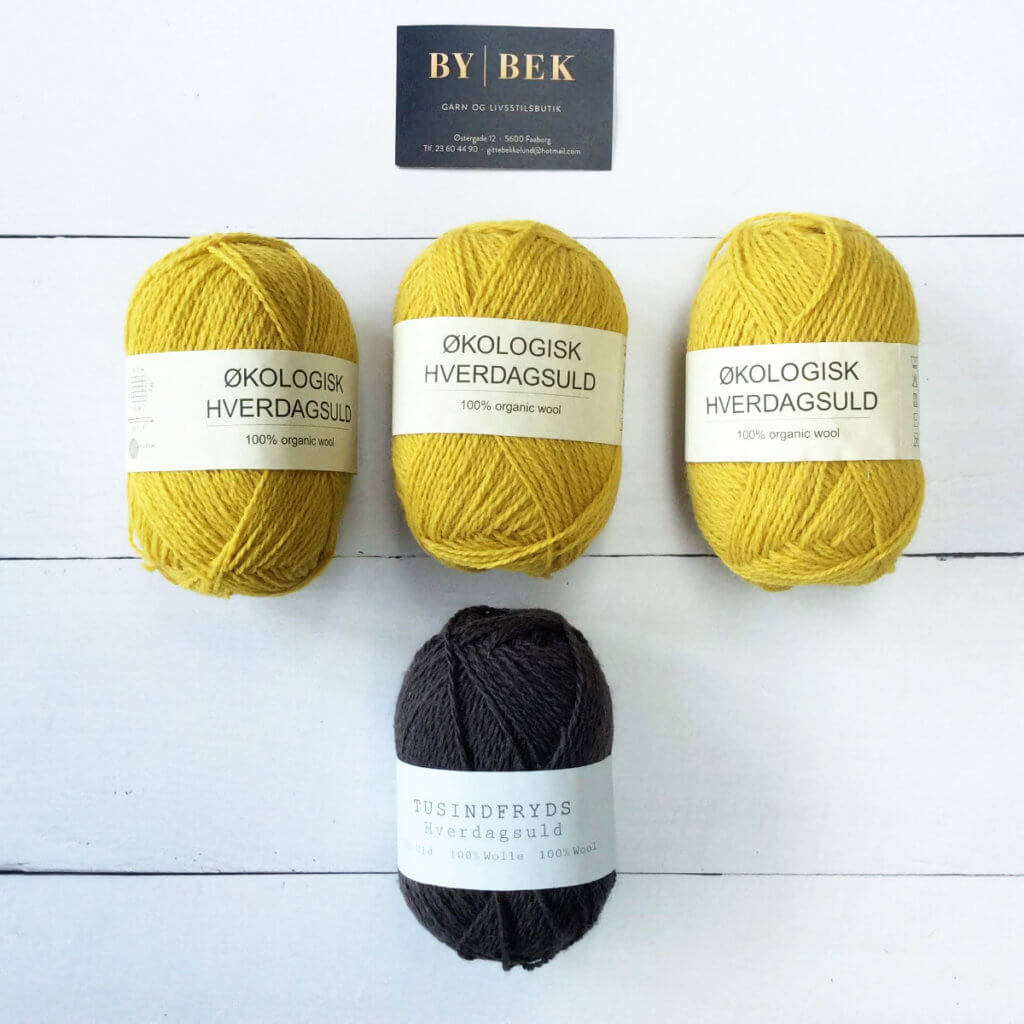
Yarn: The yellow yarn is Økologisk Hverdagsuld (“organic everyday wool”) by Camarose Dk. The brown is HverdagsUld by Tusindfryd. I got these at the lovely yarn store “By Bek” in Fåborg, Denmark when I was there on vacation.
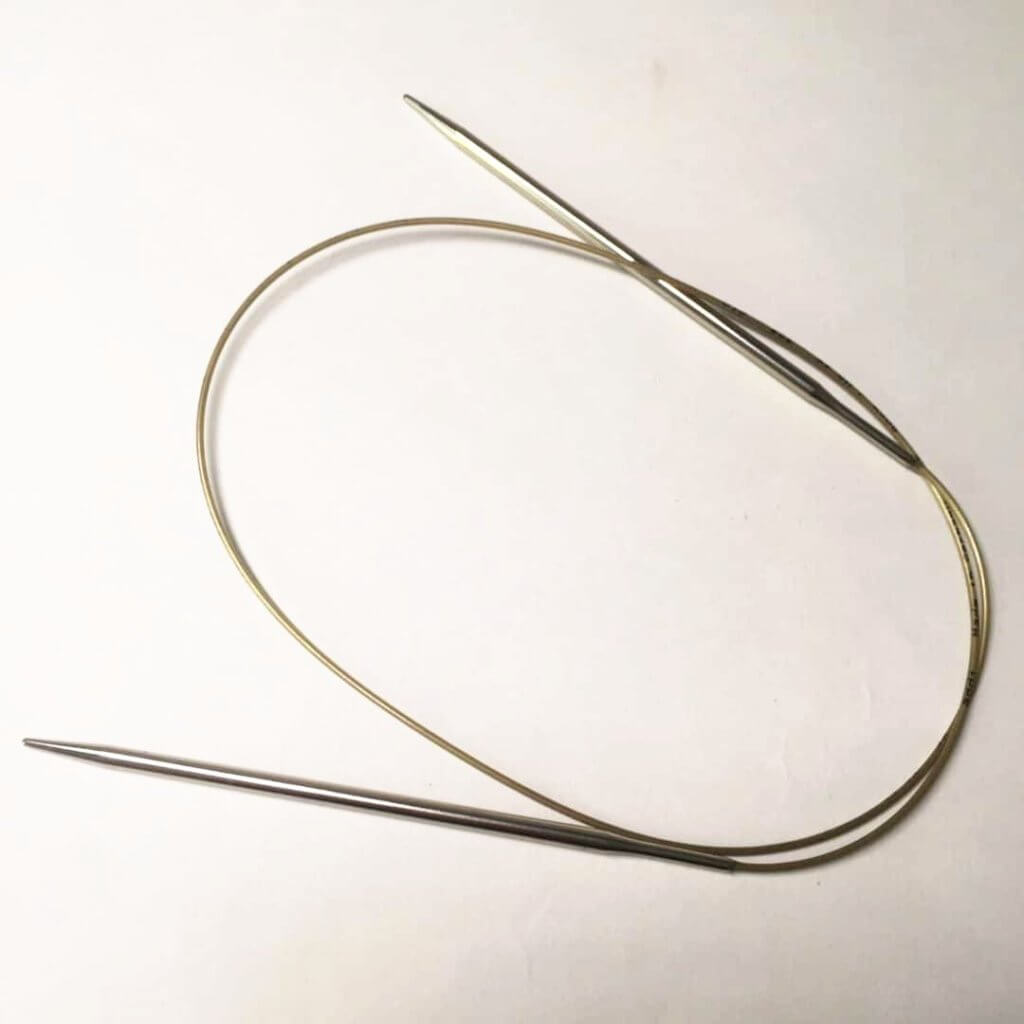
Needles: * Addi Circular Needles, pictured here in the 4 mm (US 6) size, with 80 cm (32 inches) cable.
Preventing gaps on the right step by step
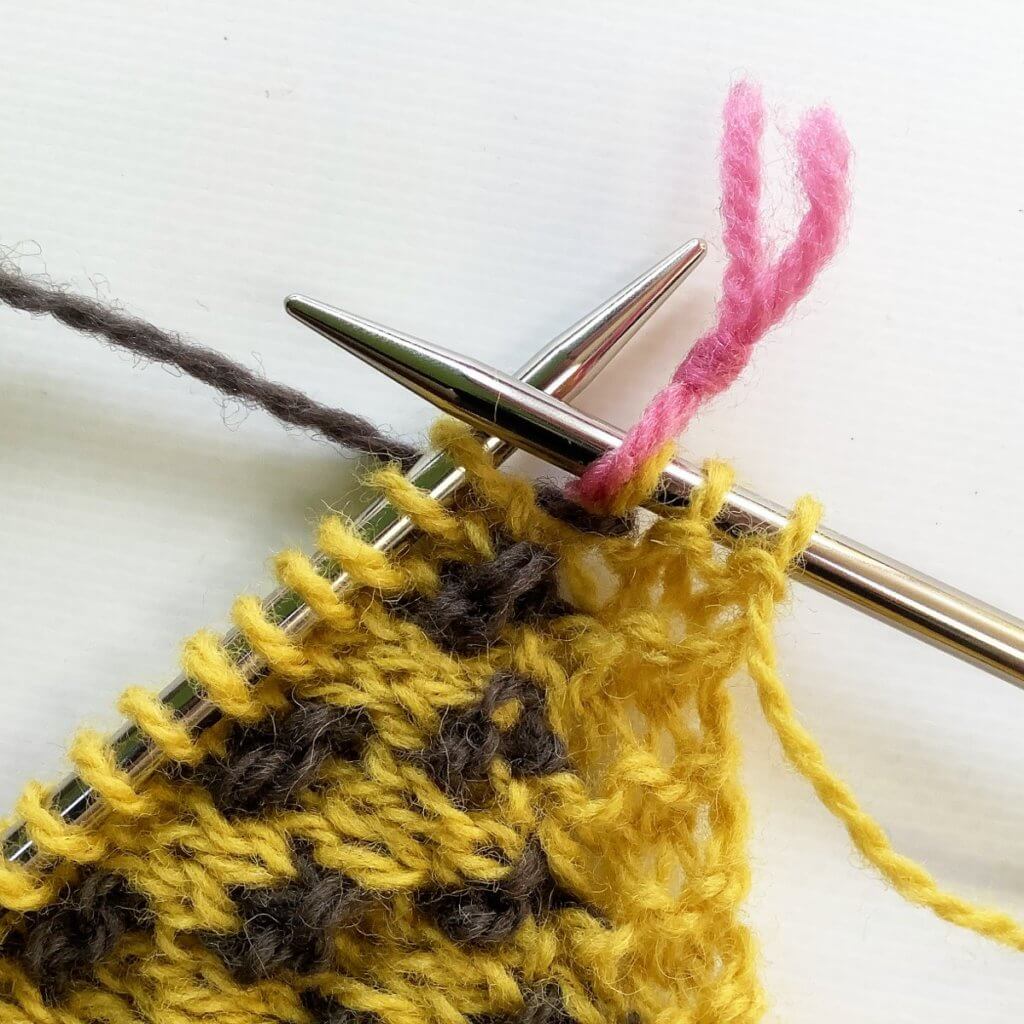
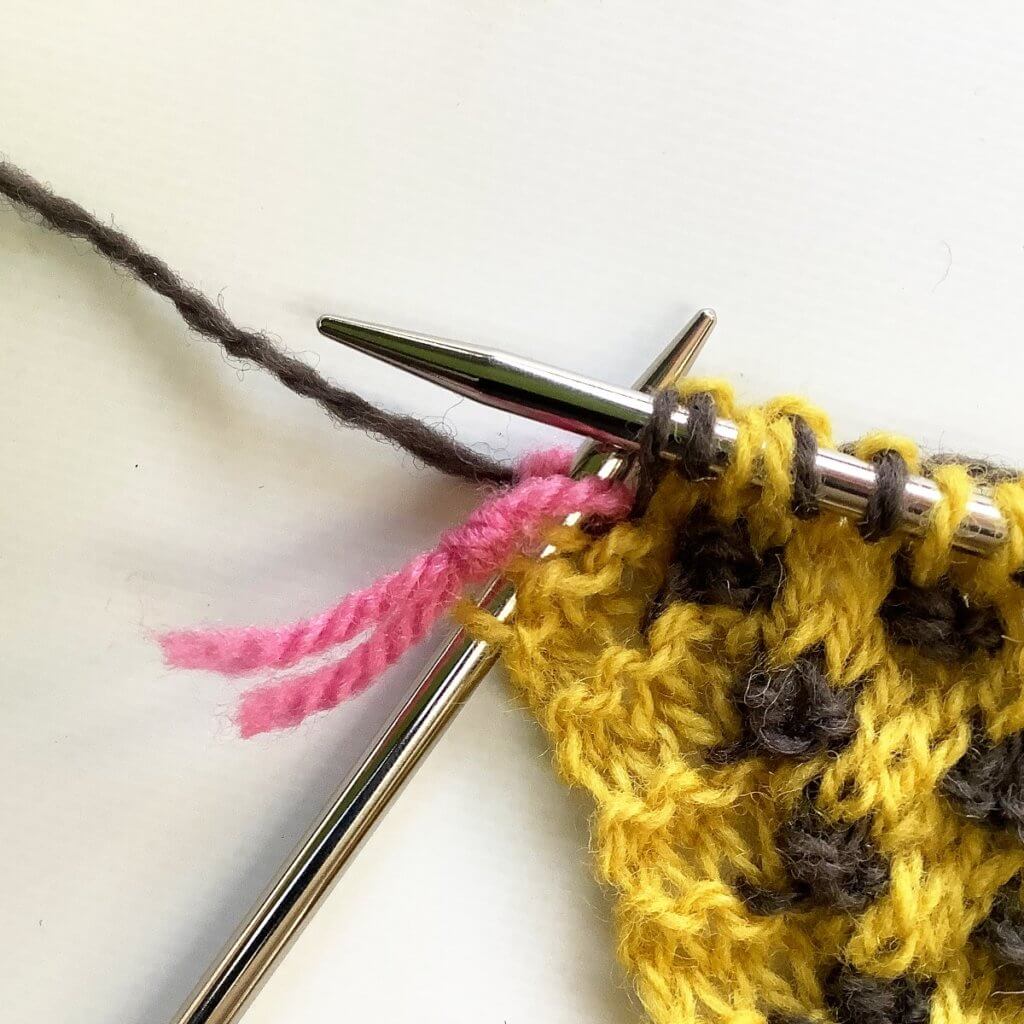
1. In this row, I’m about to start the RS row using the CC yarn. The CC yarn tail is located 3 stitches in from the edge of the work, at the WS of the fabric.
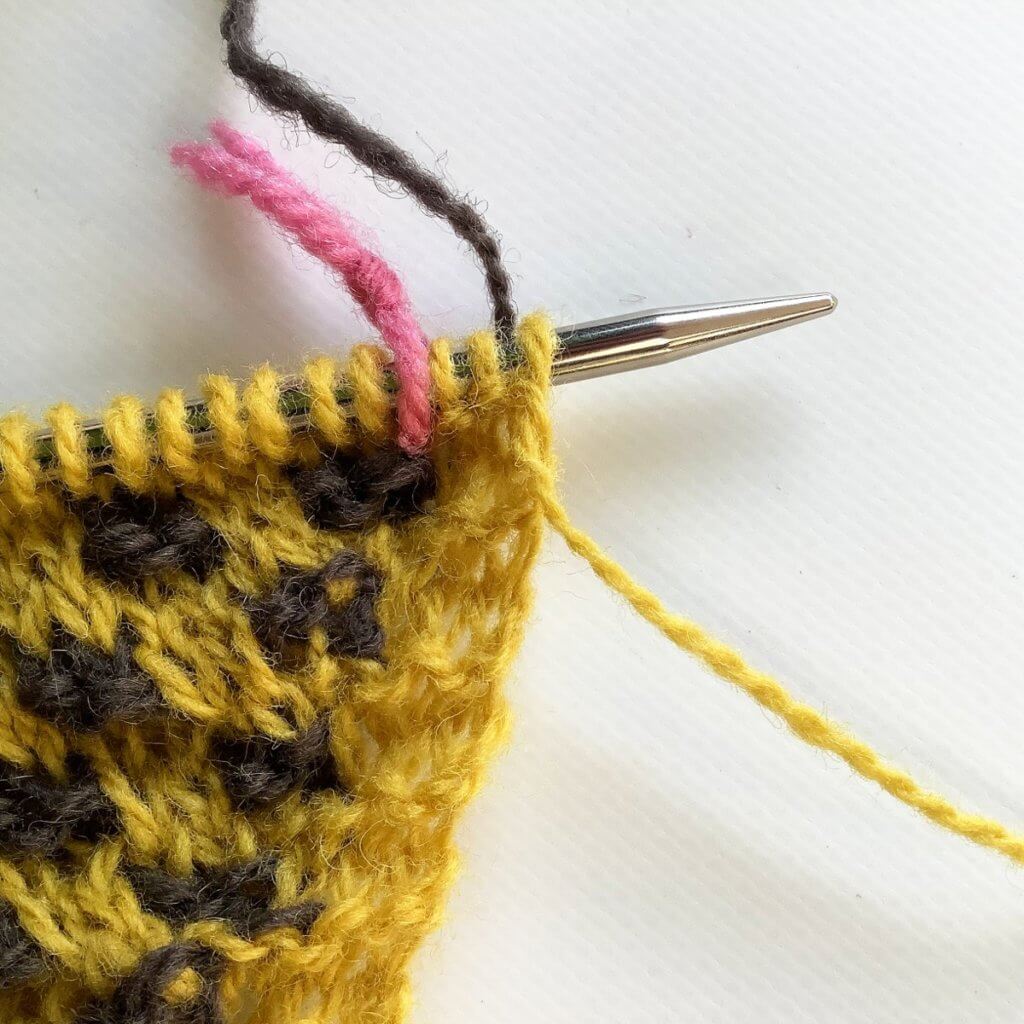
2. First, we have to reach that CC yarn tail. To do so, slip the 3 MC stitches purlwise as well as the stitch marker to the right-hand needle.

3. Next, bring the CC between the needles to the front of the work.
4. Slip the stitch marker and the first of the MC stitches back the left-hand needle.
5. Now move the CC yarn between the needles back again to the WS of the work.
6. Now slip the remaining MC edge stitch and the stitch marker back to the right-hand needle and continue with the instructions in the remainder of the row.
Preventing gaps on the left step by step
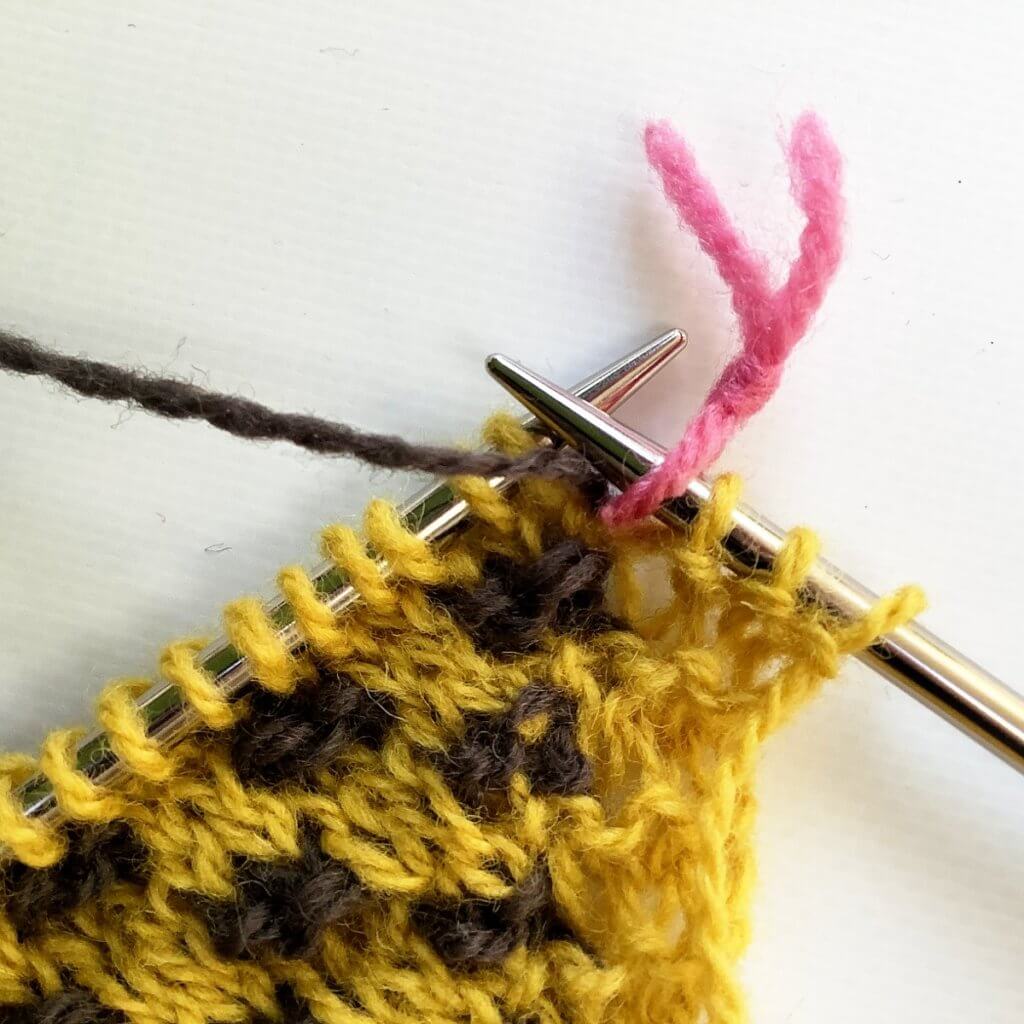
1. In this row, I’m nearing the end of the RS row using the CC yarn. Stop right before the 3 MC edge stitches, the CC yarn tail as at the back of the work at WS.
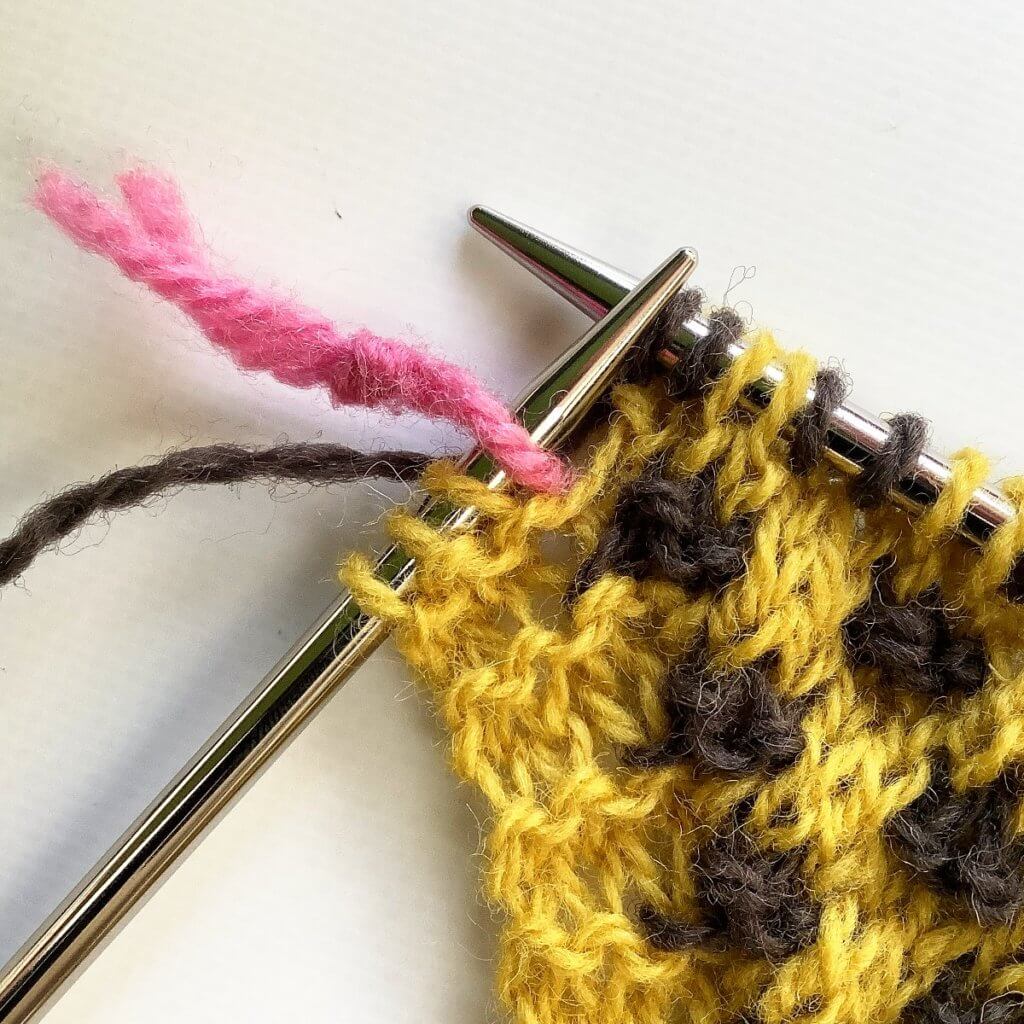
2. First, we slip both the stitch marker and the first of the MC edge stitches (purlwise!) to the right-hand needle.
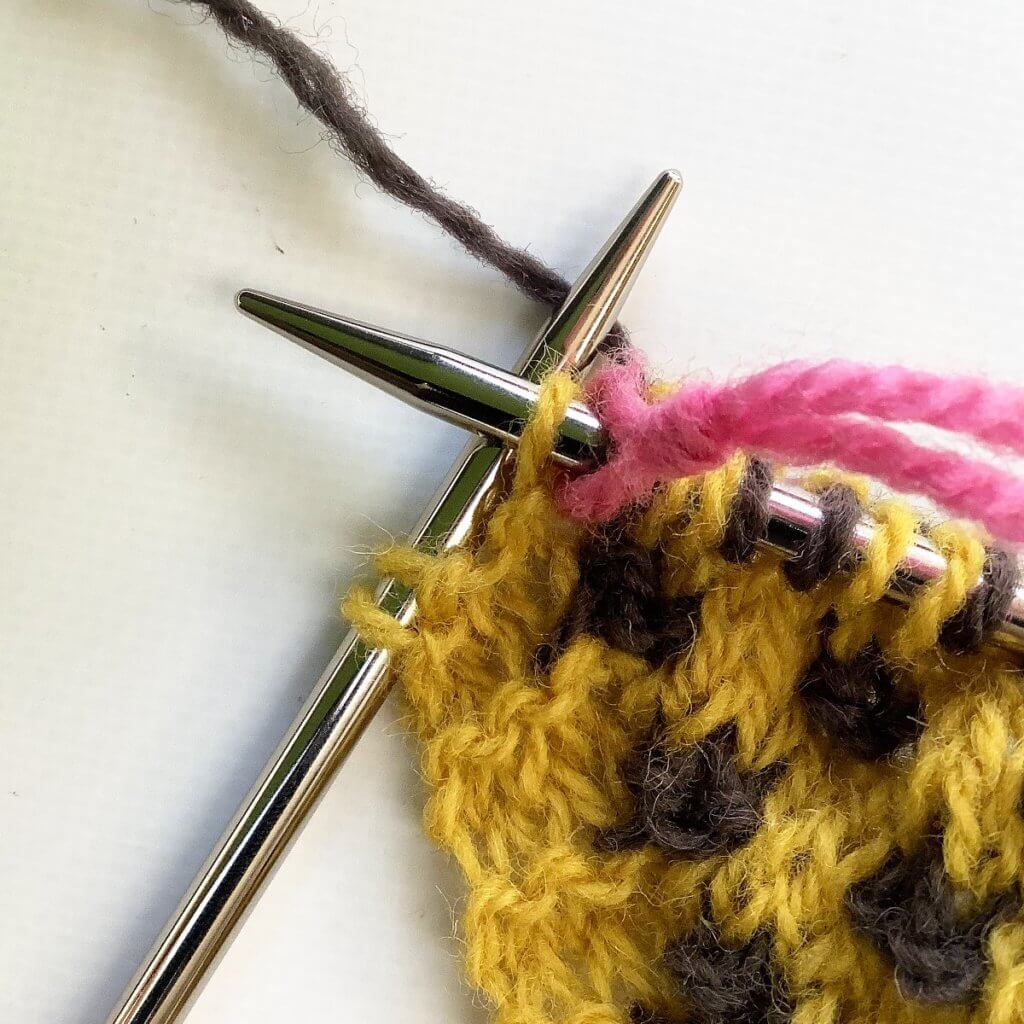
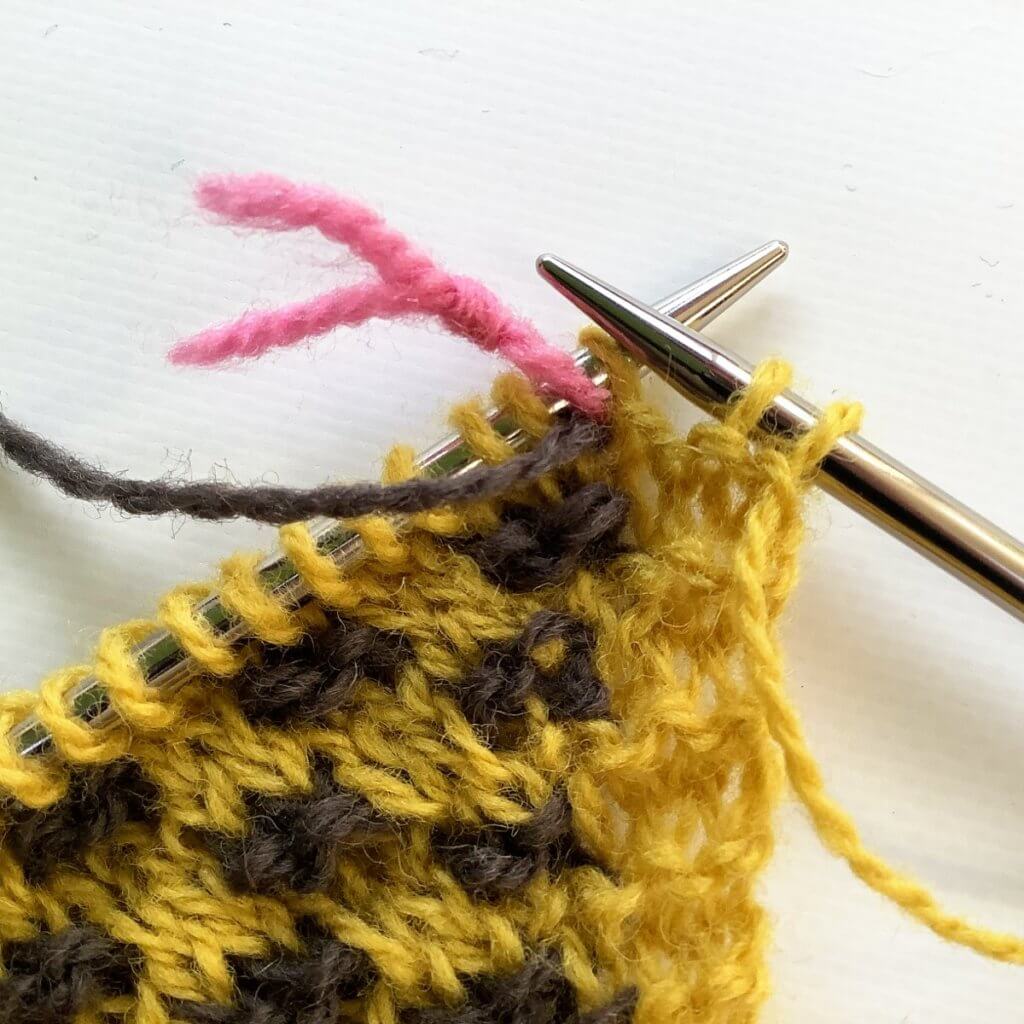
3. Next, we bring the CC between the needles to the front of the work. (My apologies that this picture is a tad blurry! Didn’t notice until it was too late to redo).
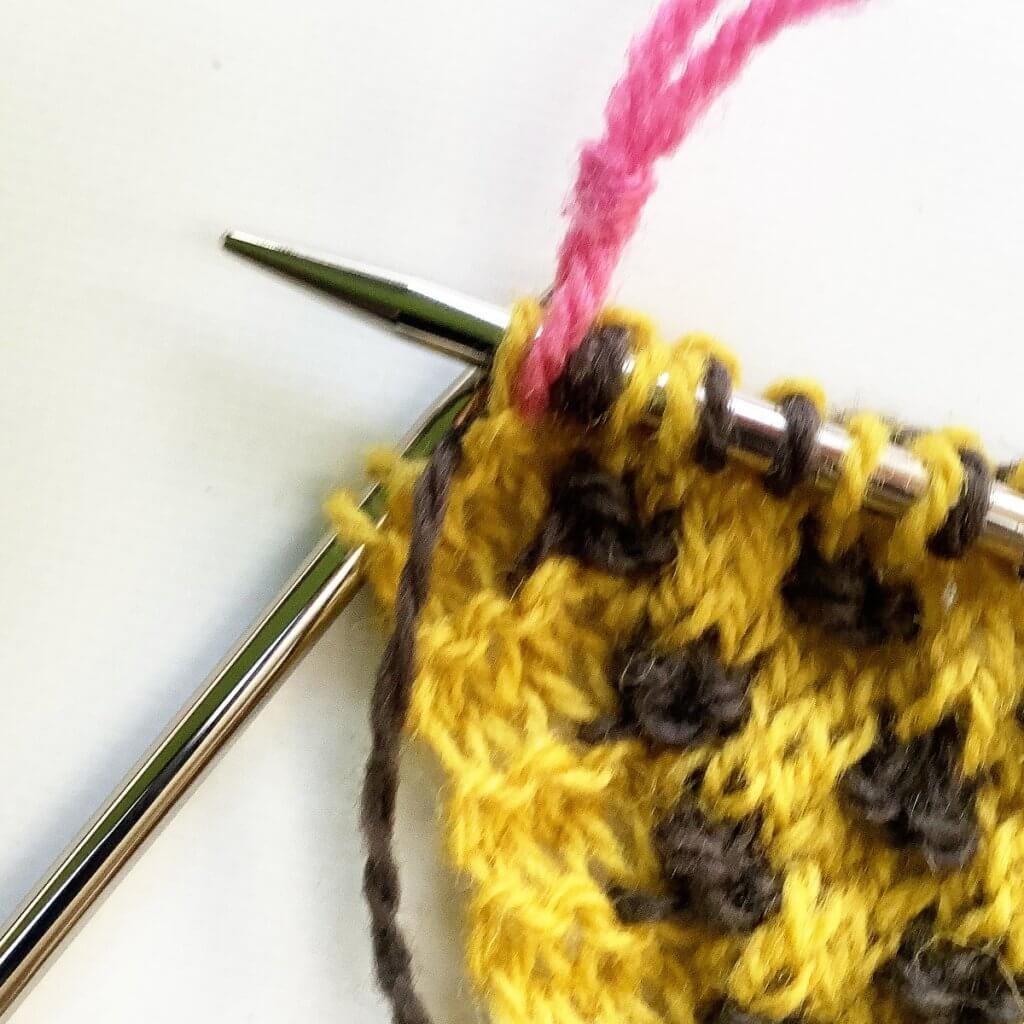
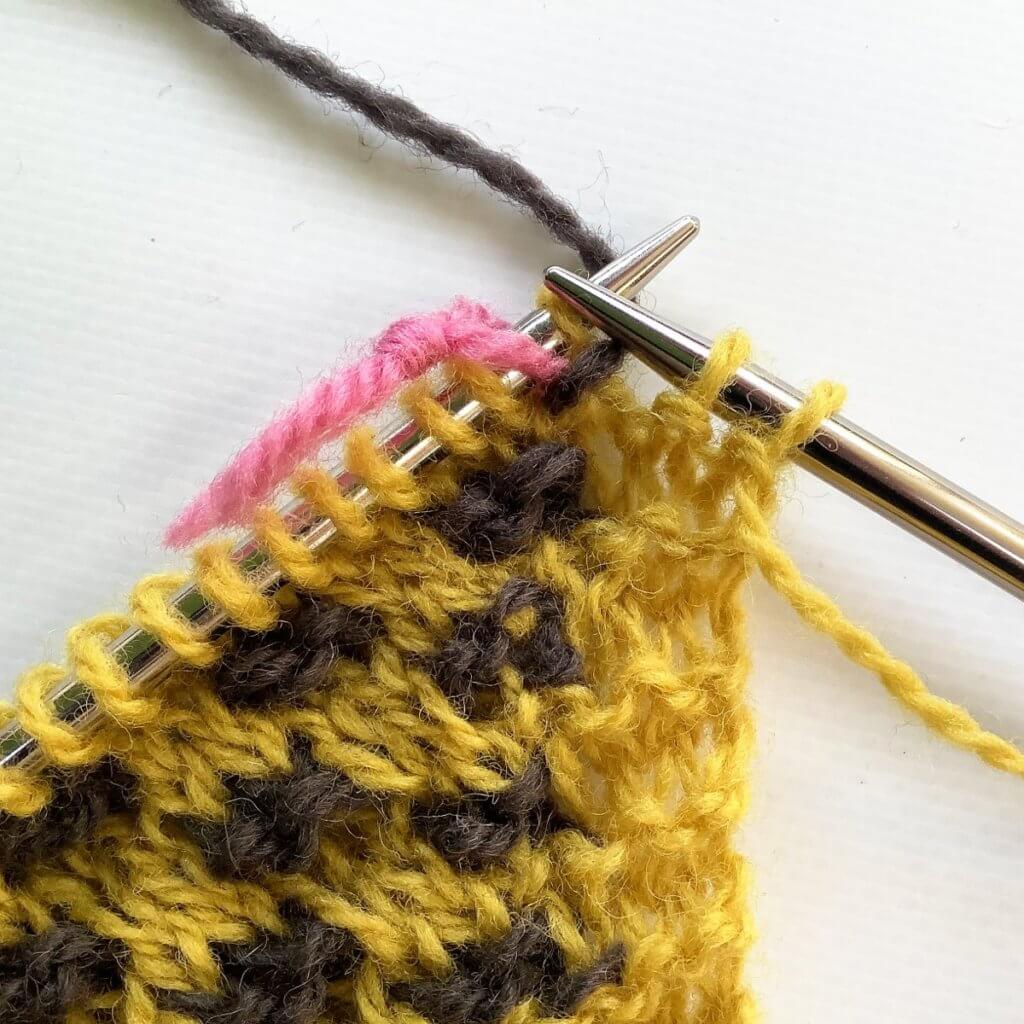
4. Slip the stitch marker and the first of the MC edge stitches back the left-hand needle.
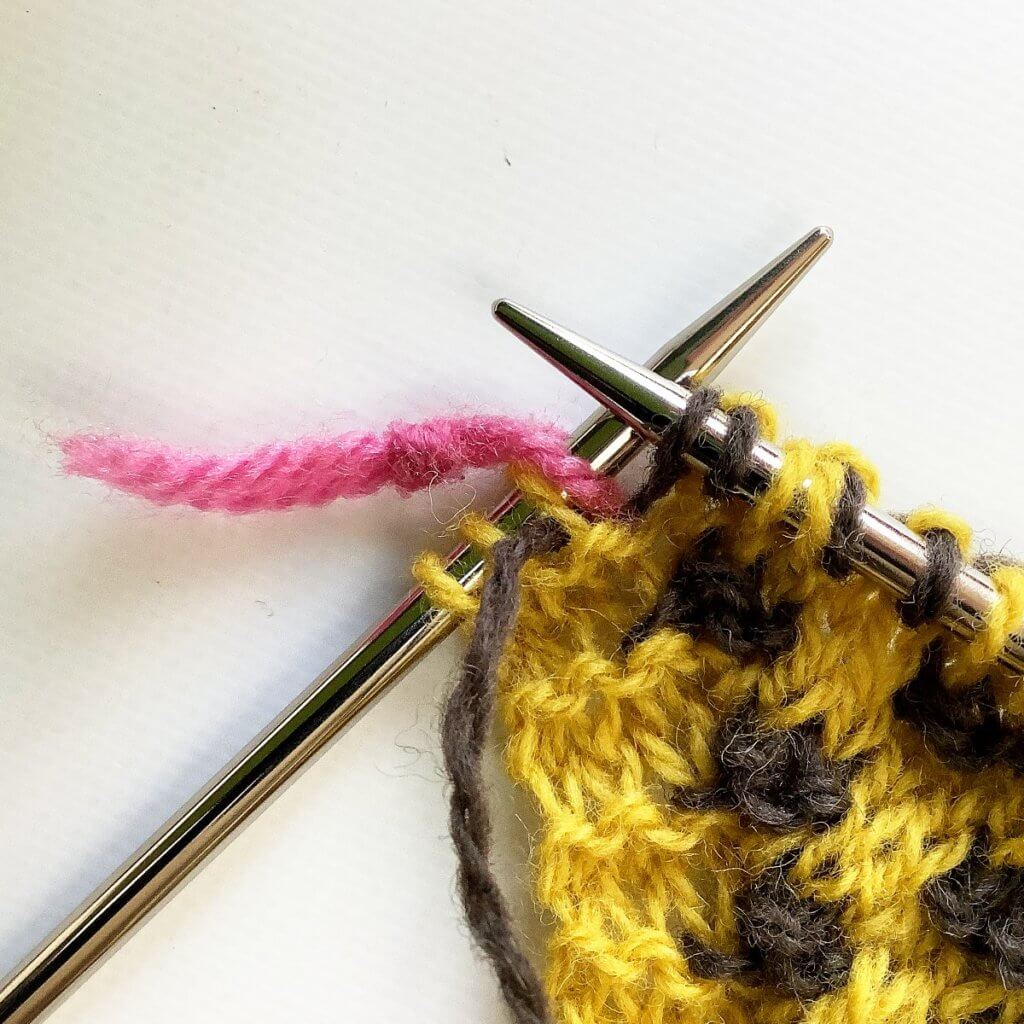
5. Now move the CC yarn between the needles back again to the WS (the back) of the work.
And now you’re ready to continue with the instructions for your pattern for the remainder of the row!

Thanks to my Patreon supporters for bringing you this freebie! Creating quality patterns and tutorials is a lot of work and resource-intensive. However, I find it important to give you free content like this tutorial. Thanks to the generous support of my Patreon supporters, I can make it happen. Thank you, patrons! Click here to join, or click here to read more about La Visch Designs on Patreon.


