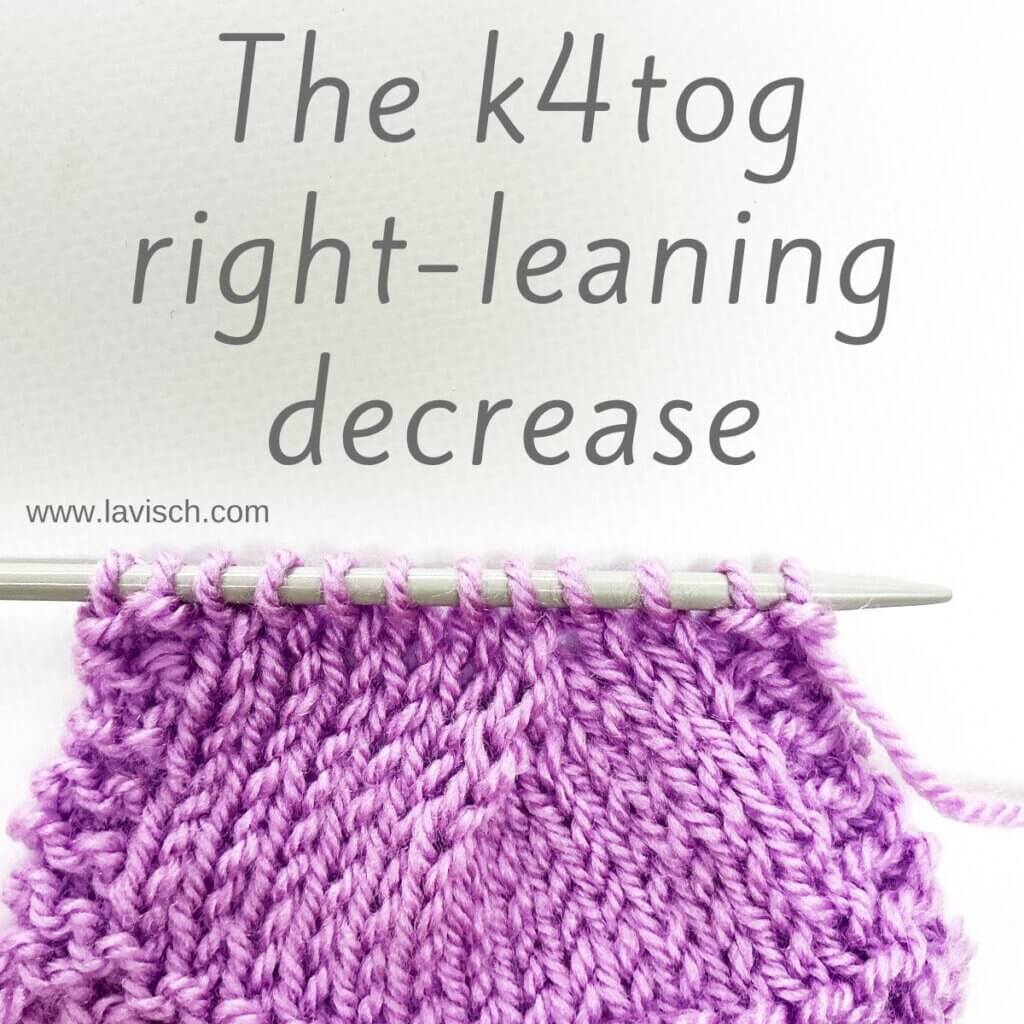
On this website, I’ve already posted a lot of tutorials about different types of decreases. Well, I encountered a stitch pattern that uses various triple decreases. In other words: Decreases in which 4 stitches are reduced to a single remaining stitch. In this tutorial, I will show you the “k4tog” right-leaning triple decrease. The abbreviation stands for “knit 4 stitches together”. It’s a common way to reduce the number of stitches in your project and make it narrower. Together with its matching left-leaning decreases, it can be found in lace patterning.
Below you can find how to work this decrease, so get your materials and follow along!
Materials


Yarn: Paintbox Yarns Simply DK, a good value, good quality 100% acrylic yarn, here in the color Tea Rose.
Knitting needles: This is a pair of straights that I picked up at the second-hand store when I started knitting, brand unknown.
Working a k4tog step by step
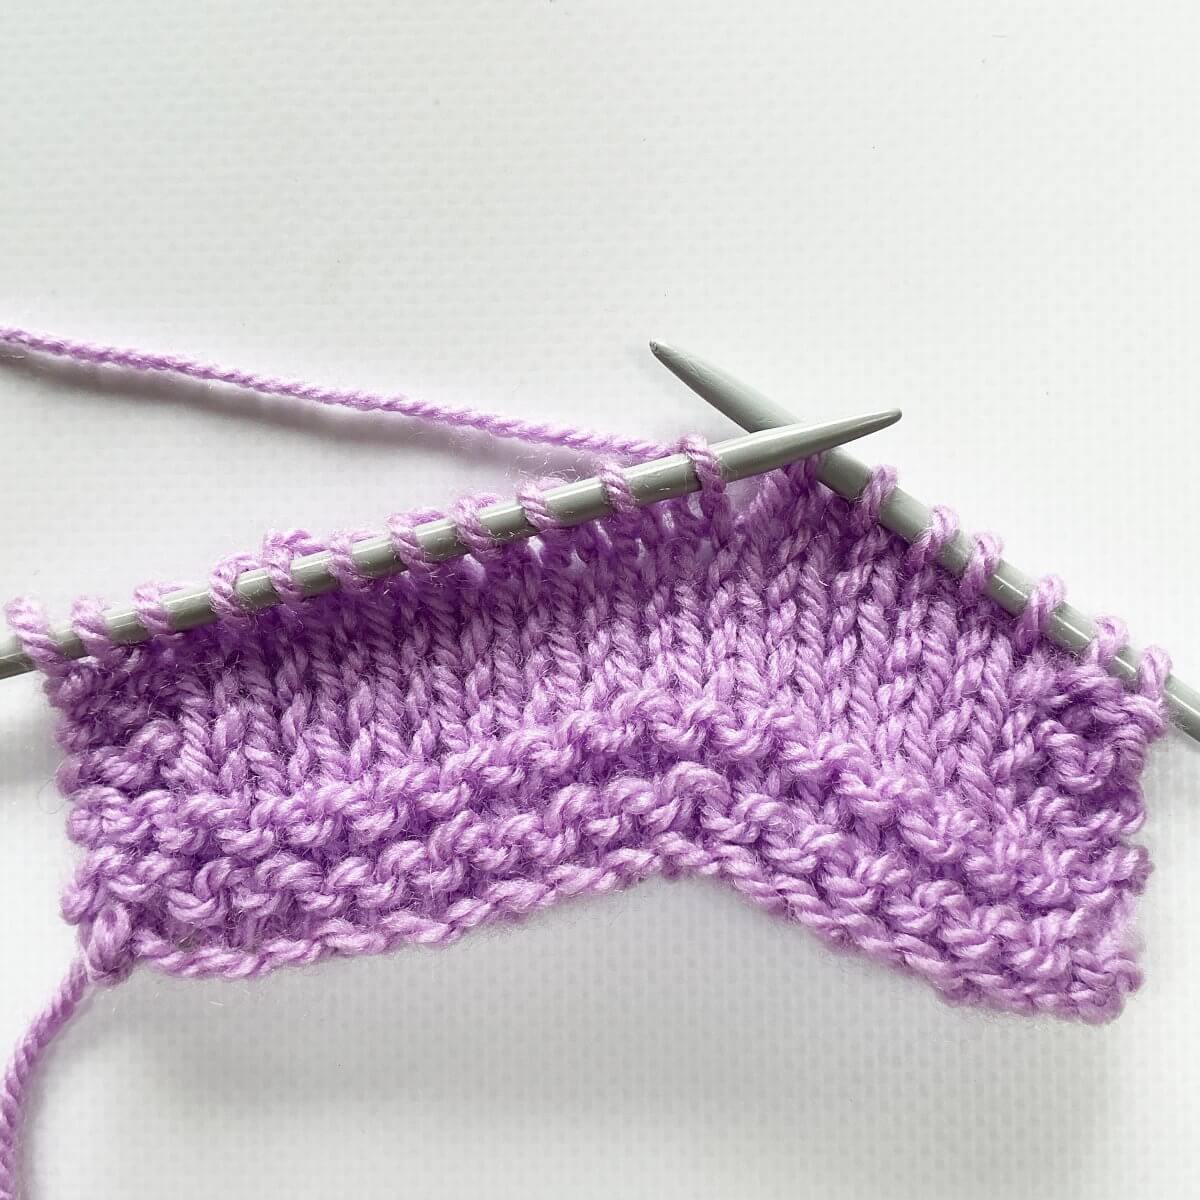
- First, work your way across the row until you’ve reached the point where you want to make the decrease. In this case, I want to work the triple decrease 5 stitches in after the garter stitch edge.
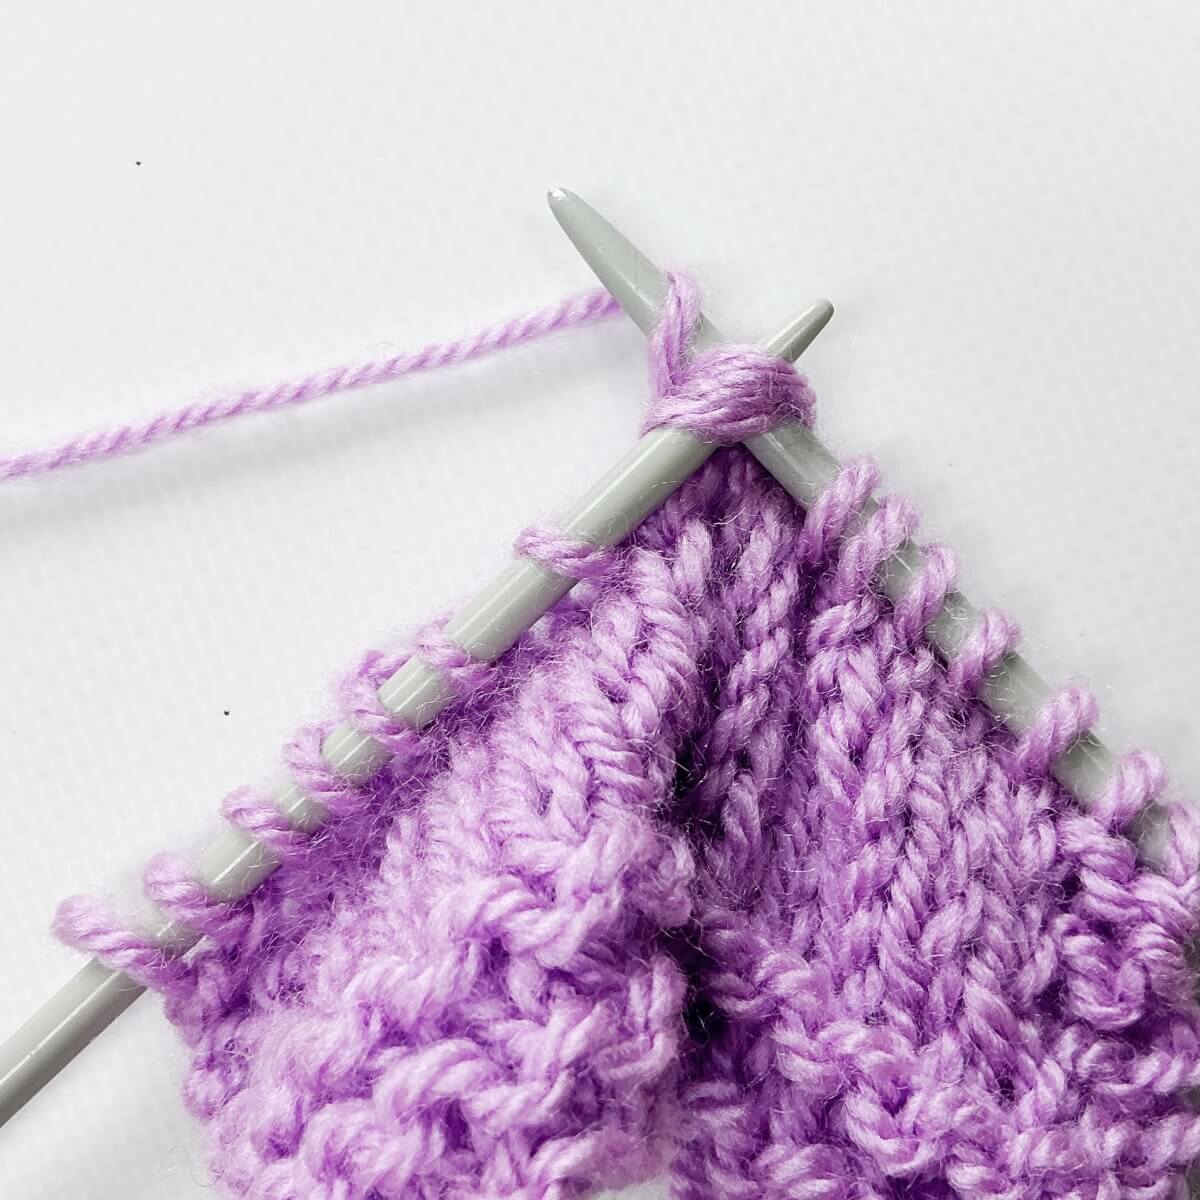
- Next, insert the tip of the right-hand needle into the first 4 stitches at the same time as if to knit. This is easier when using very sharp needles. I also find it helps to pull the fabric below the 4 stitches down a bit, as pictured here, to open up the loops that are on the needle.
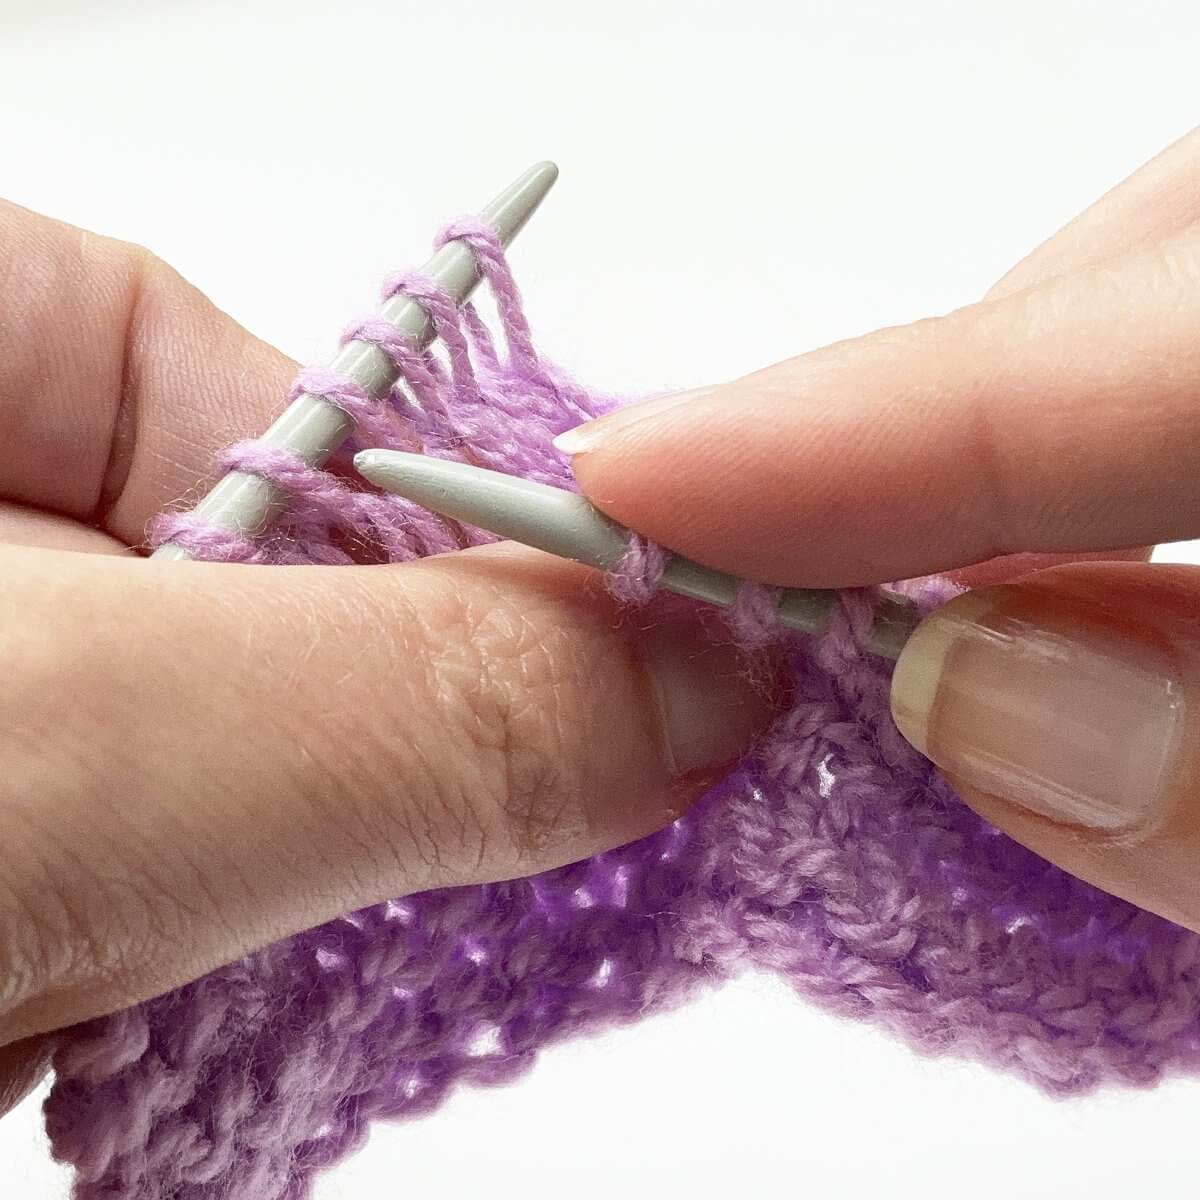
- In this step, I’ve inserted the right-hand needle into the 4 stitches.
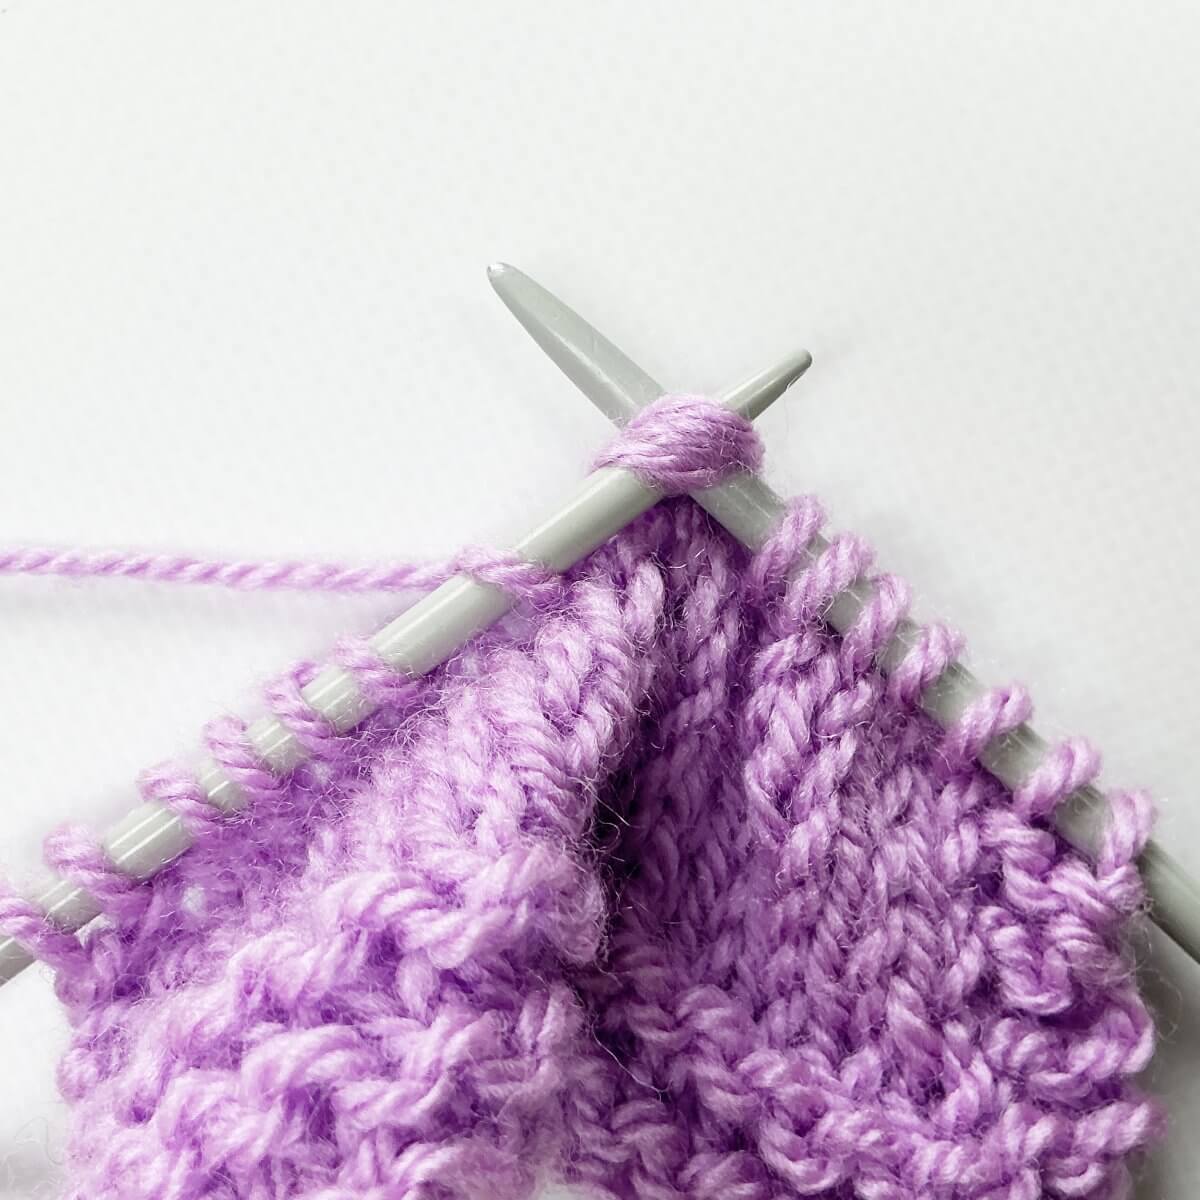
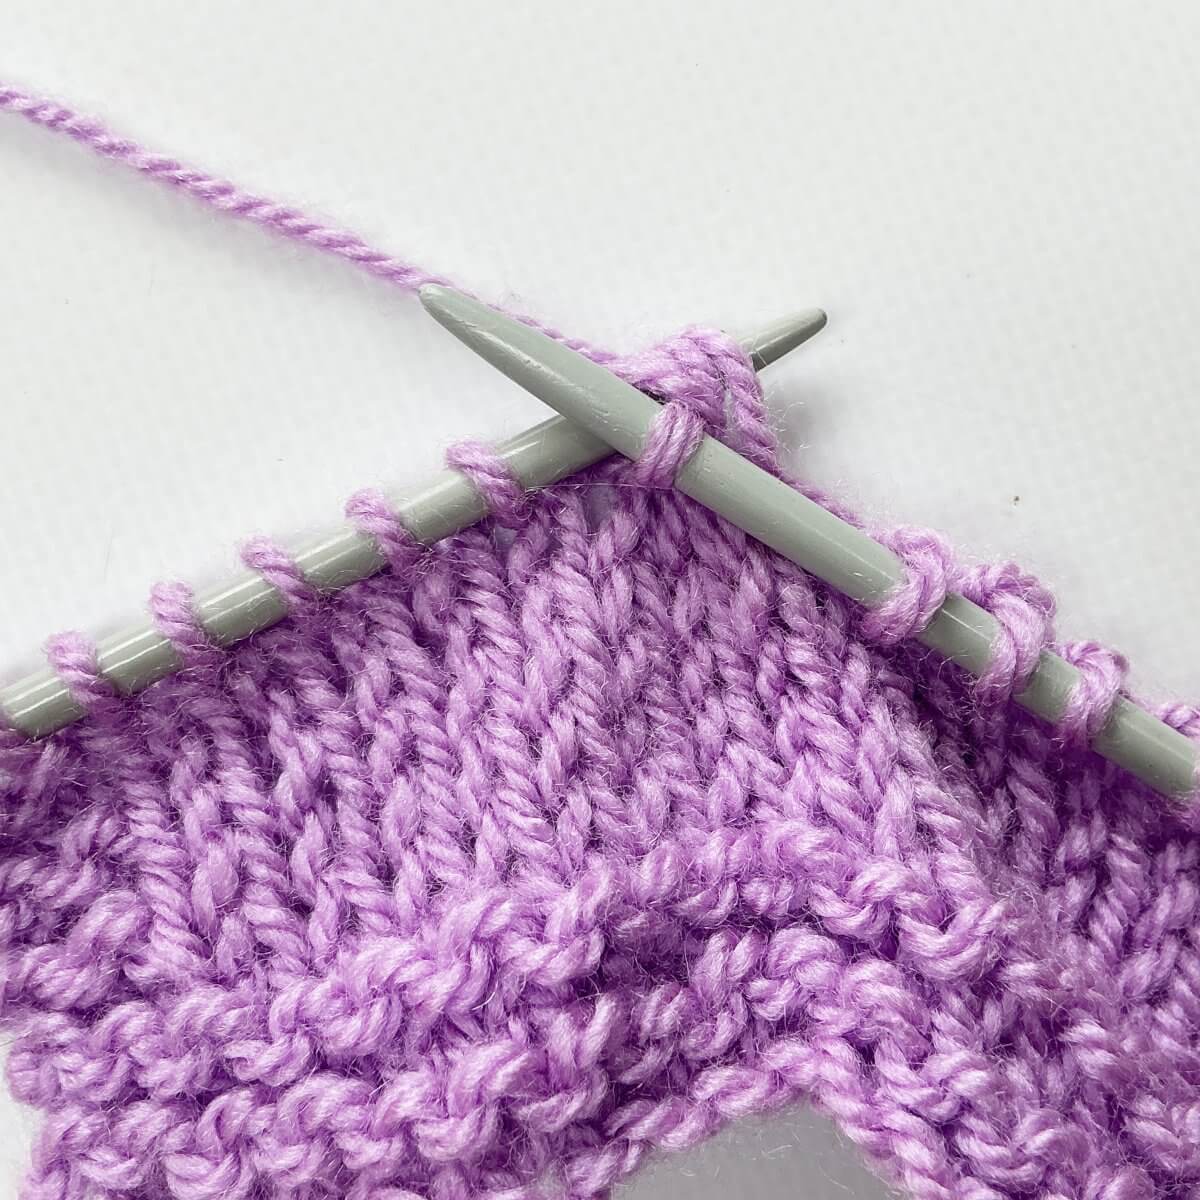
- Wrap the yarn around the needle…
- …and pull it through the stitches you inserted the right-hand needle in.
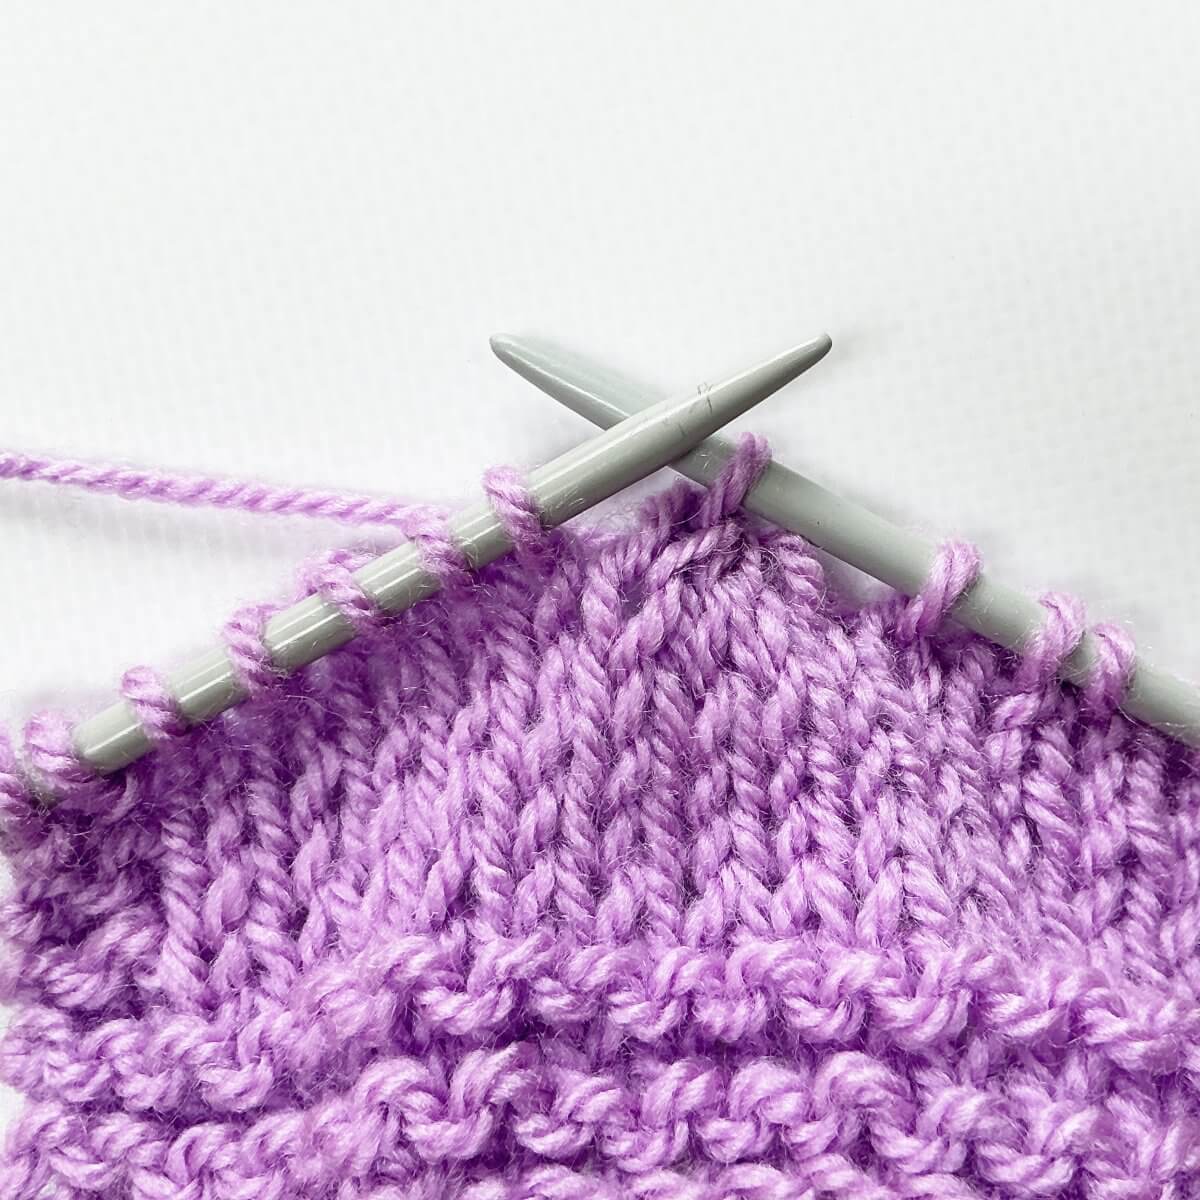
- To finish the k4tog decrease, slip the original stitches off the left-hand needle.
The below picture shows how it looks after 1 more decrease row has been worked. The second decrease was started 2 stitches in from the garter stitch edge. As you can see, another one wasn’t possible without dipping into the edge stitches if I wanted to stay in the decrease line you see forming. And that’s all there is to it!


Thanks to my Patreon supporters for bringing you this freebie! Creating quality patterns and tutorials is a lot of work and resource-intensive. However, I find it important to give you free content like this tutorial. Thanks to the generous support of my Patreon supporters, I can make it happen. Thank you, patrons! Click here to join, or click here to read more about La Visch Designs on Patreon.


