
Recently, I shared with you how to work the slightly left-leaning sl2-k2tog-p2sso decrease. Of course, there is also a centered triple decrease that’s slightly right-leaning: The sl3-k1-p3sso decrease! This abbreviation is short for slip 3, knit 1, pass 3 slipped stitches over. The result is a tidy, symmetrical-looking line that subtly favors one side. In this tutorial, we’ll walk step-by-step through how to work the sl3-k1-p3sso decrease. Let’s pick up our needles and see how to work this decrease!
Materials


Yarn: Paintbox Yarns Simply DK, a good value, good quality 100% acrylic yarn, here in the color Tea Rose.
Knitting needles: This is a pair of straights that I picked up at the second-hand store when I started knitting, brand unknown.
Working a sl3-k1-p3sso step by step
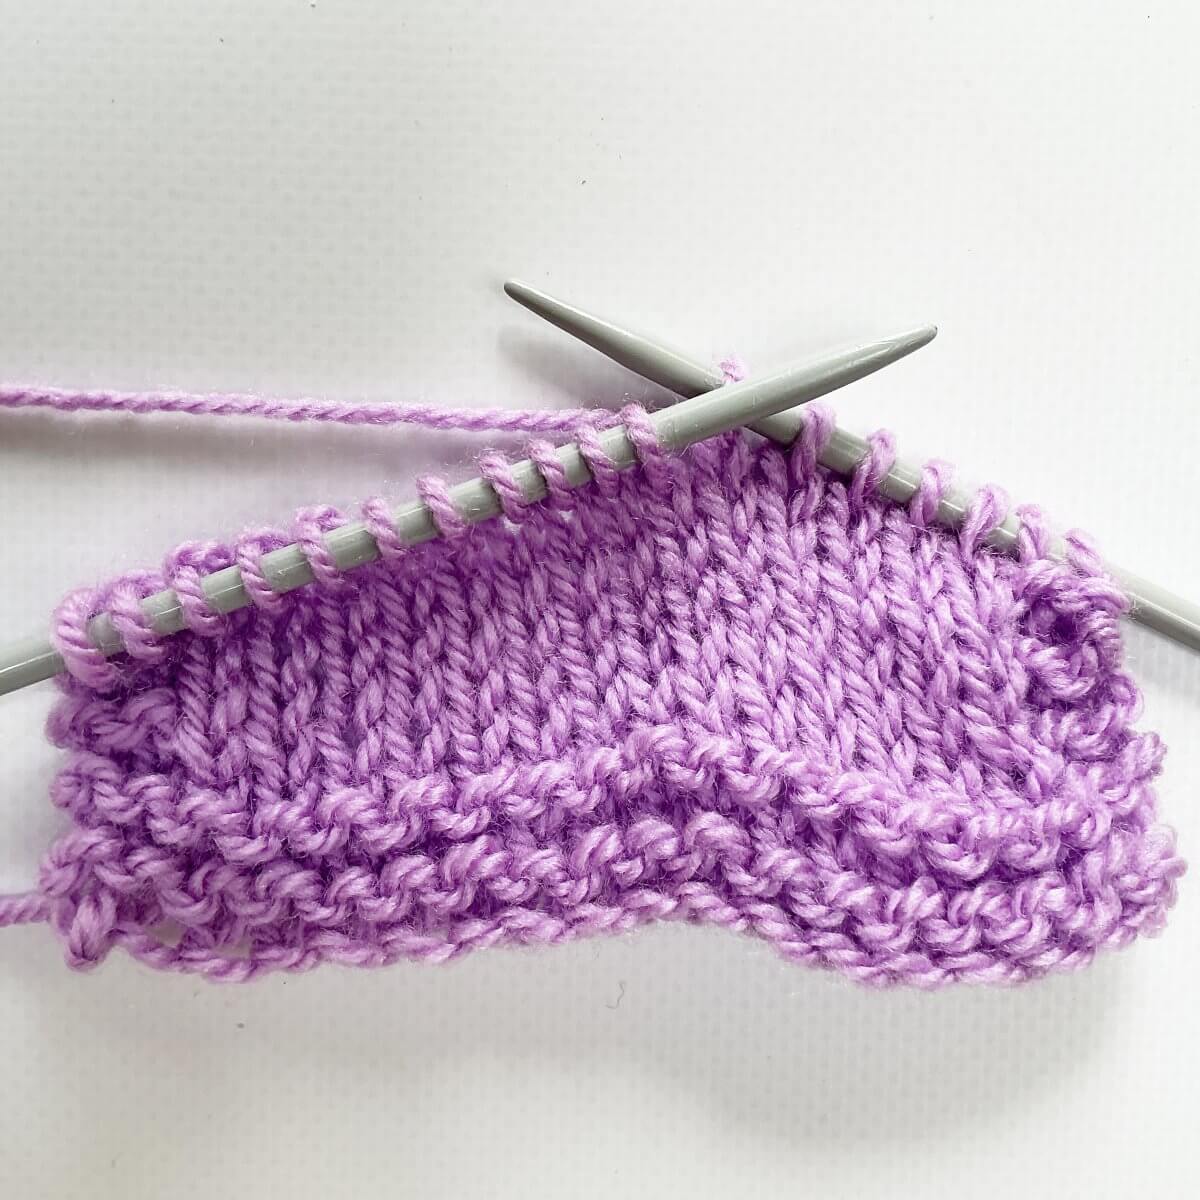
- First, work your way across the row until you’ve reached the point where you want to make the decrease. In this case, I want to work the triple decrease 5 stitches in after the garter stitch edge.
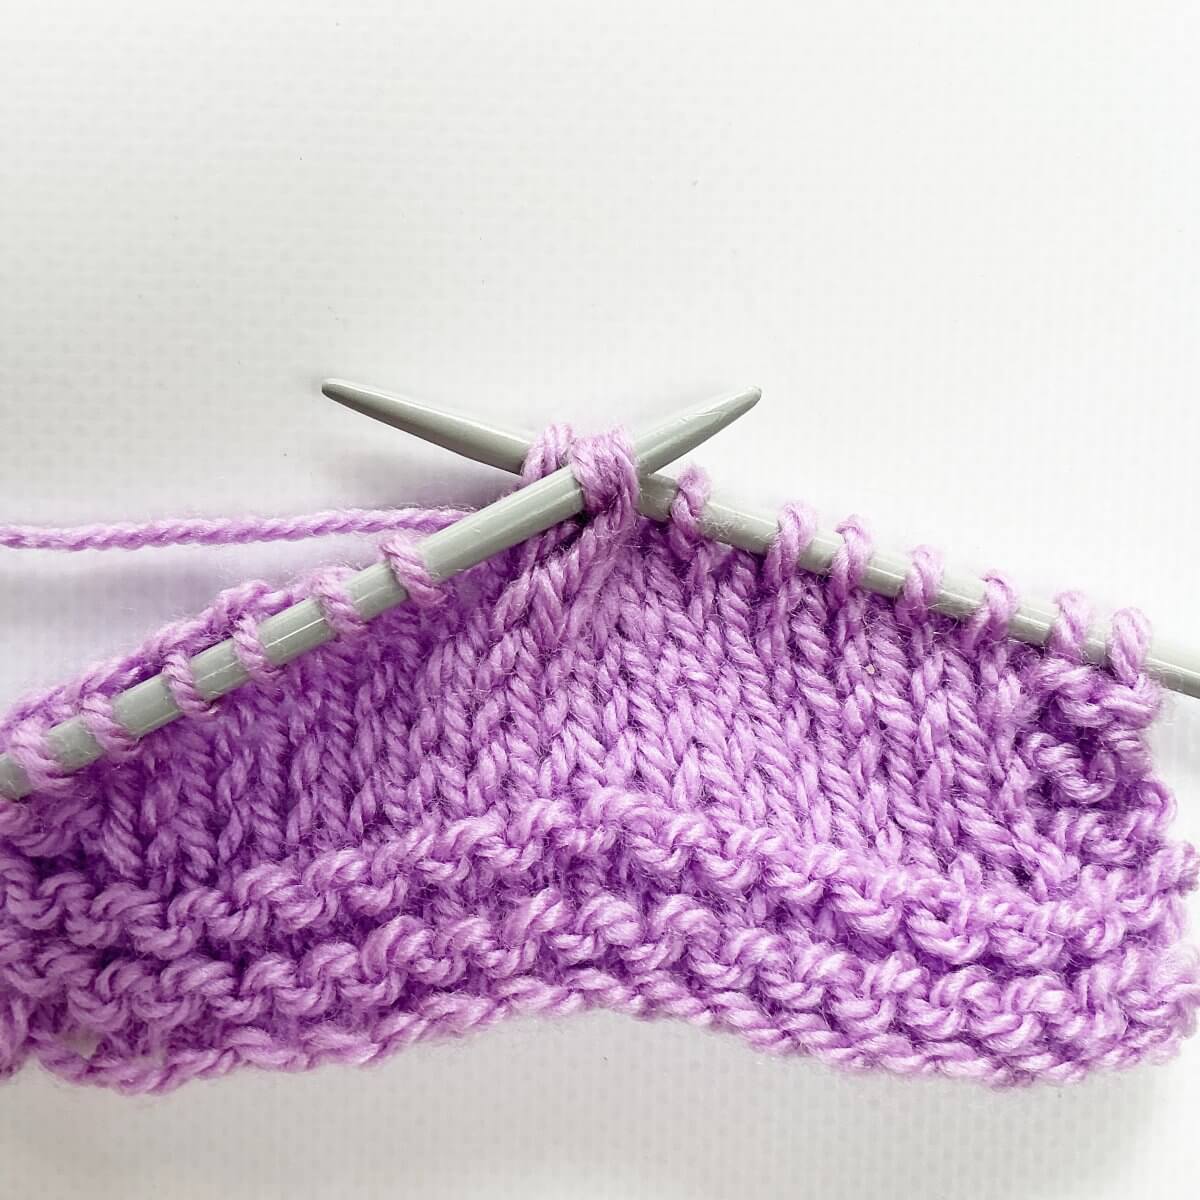
- Next, insert the tip of the right-hand needle into the first 3 stitches at the same time as if to knit.
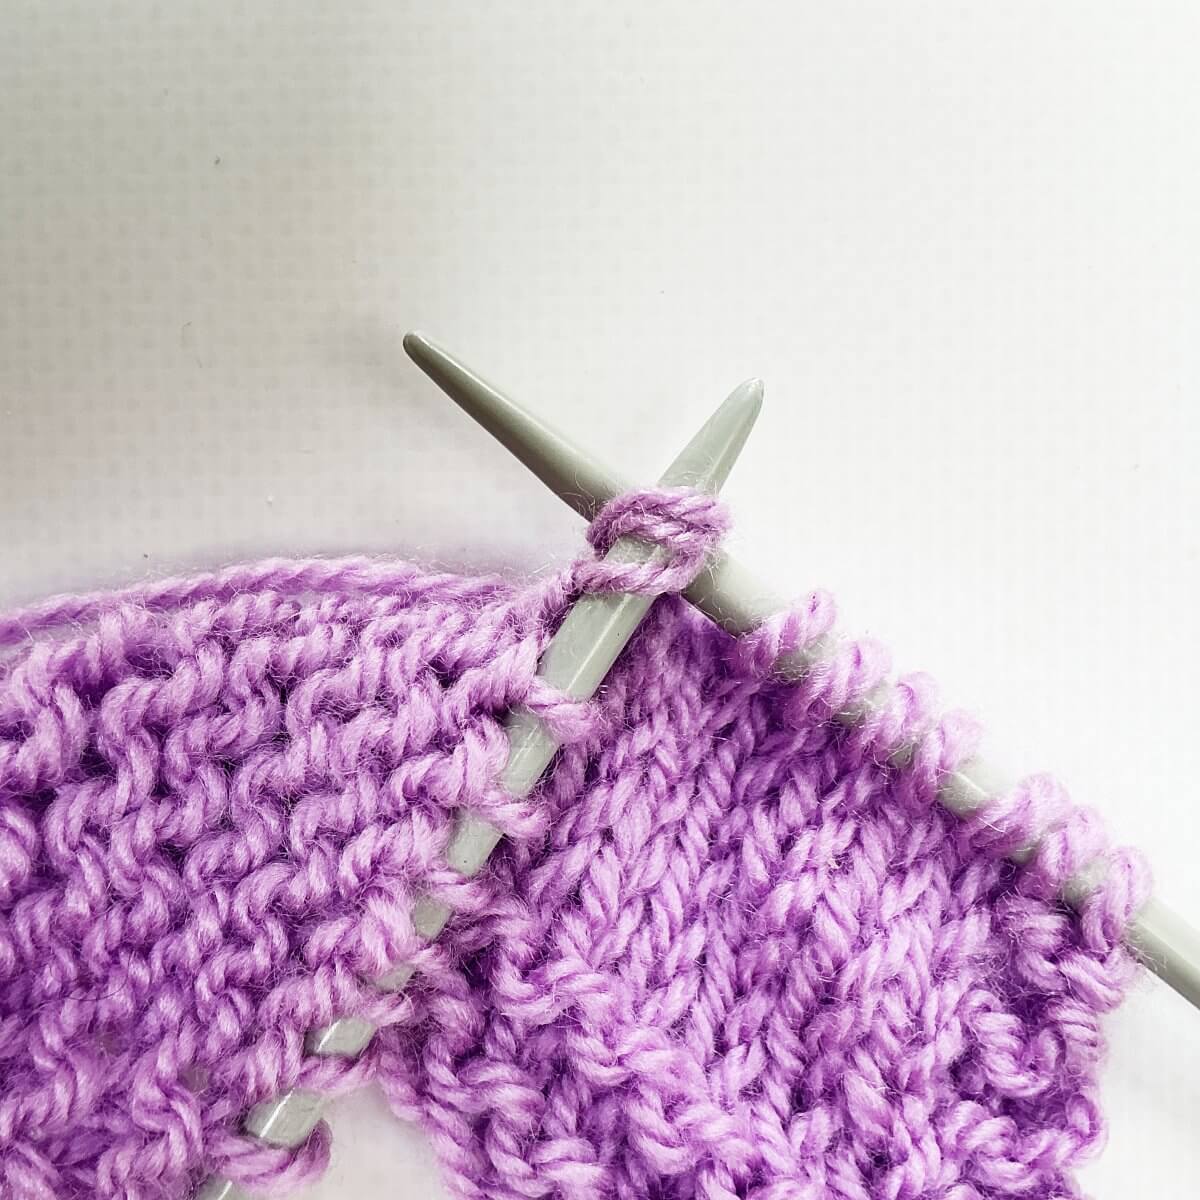
- Pass these stitches to the right-hand needle.
This step changes the orientation of the stitches, influencing how they appear when the decrease has been finished.
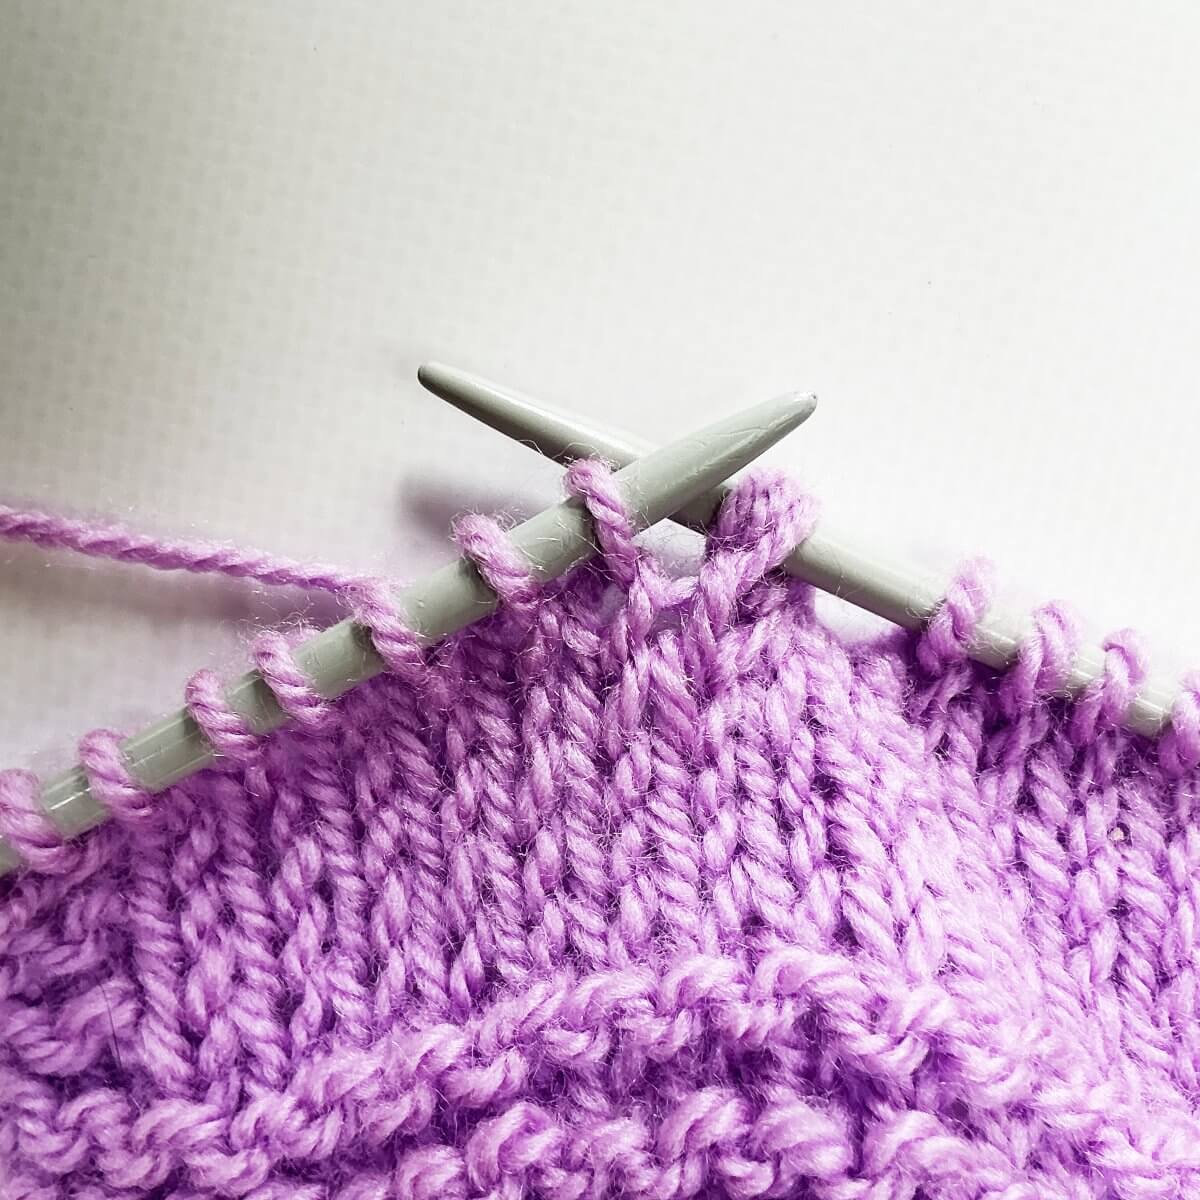
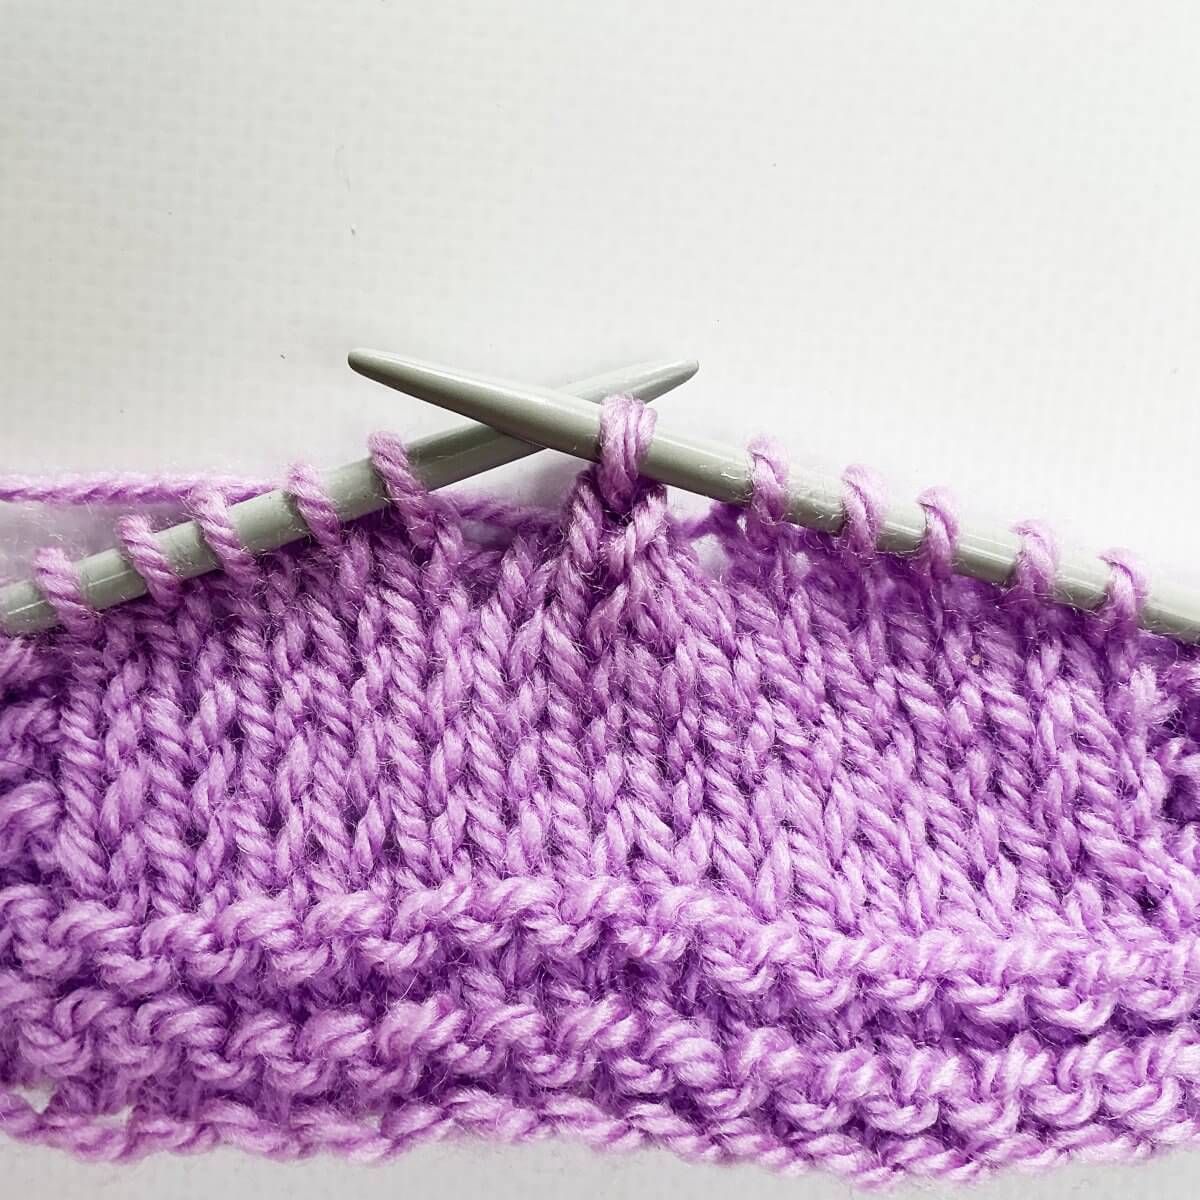
- Now knit the next stitch.
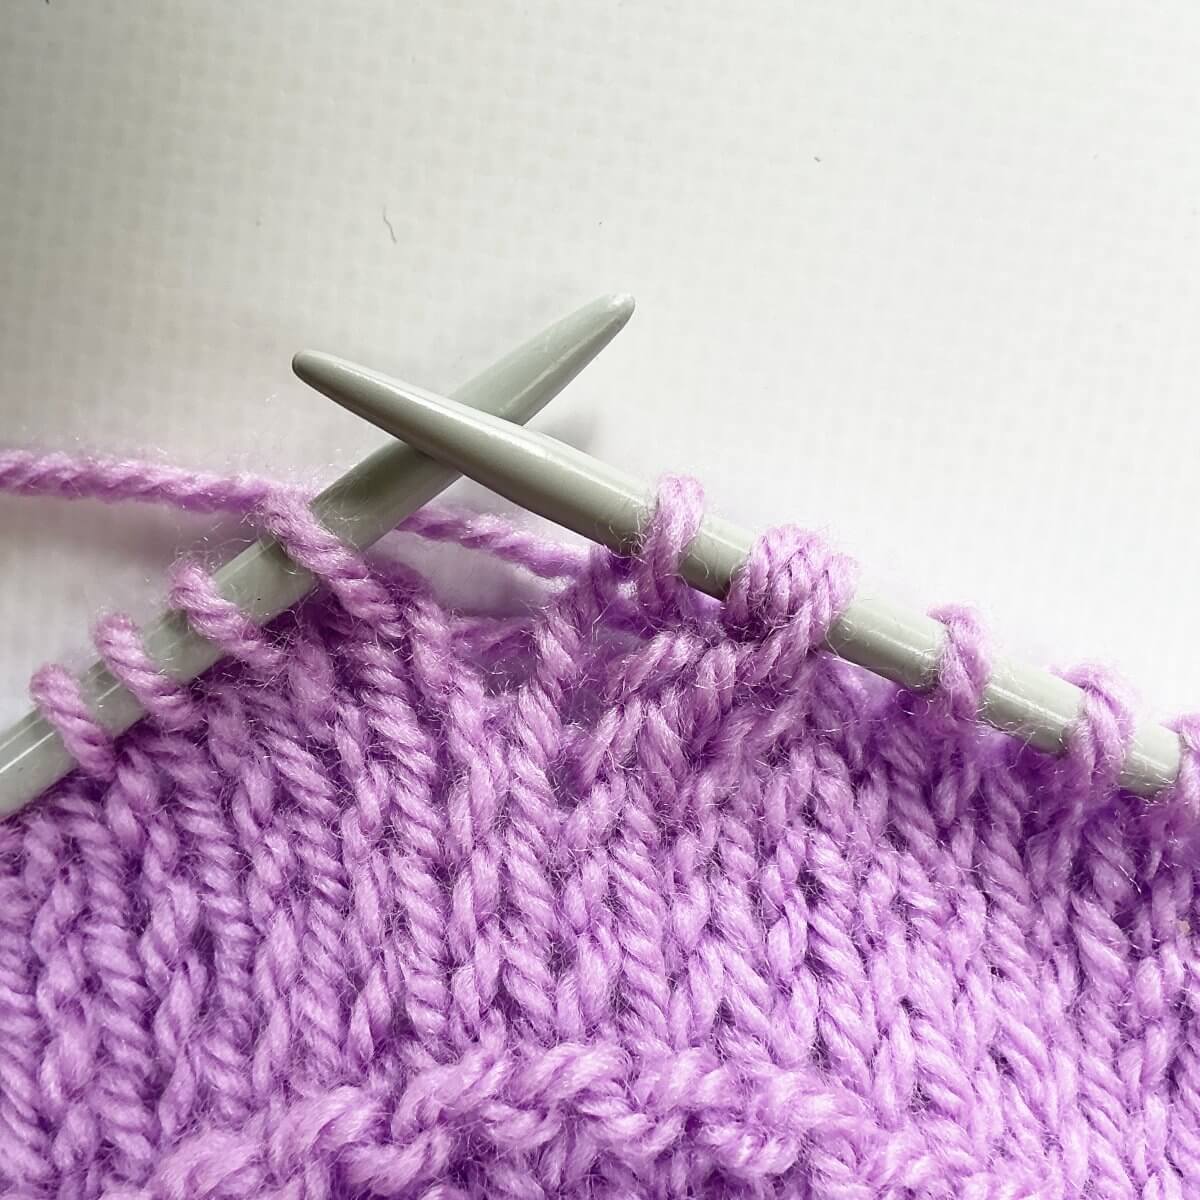
- To finish the triple decrease, we will be passing the initially slipped stitches over the knit stitch. First, insert the left-hand needle into those 3 stitches….
- …. then pass them over the other stitch.
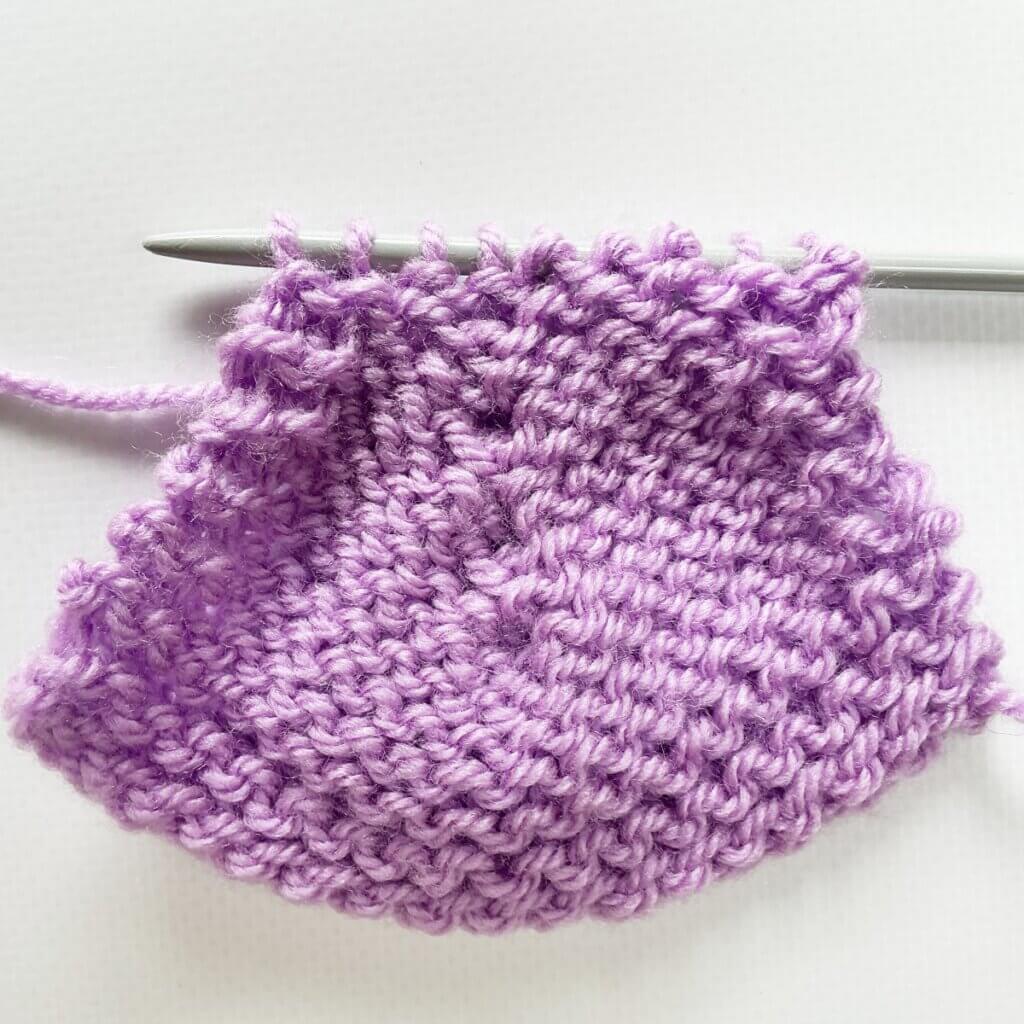
The result
The below pictures show how it looks after 2 more decrease rows have been worked. First from the right side, then from the wrong side of the fabric. Please note that in order to have any subsequent decreases line up correctly, any new decrease has to be started 2 stitches before the stitch on top of the resulting one from the previous decrease. And that’s all there is to it!


Thanks to my Patreon supporters for bringing you this freebie! Creating quality patterns and tutorials is a lot of work and resource-intensive. However, I find it important to give you free content like this tutorial. Thanks to the generous support of my Patreon supporters, I can make it happen. Thank you, patrons! Click here to join, or click here to read more about La Visch Designs on Patreon.


