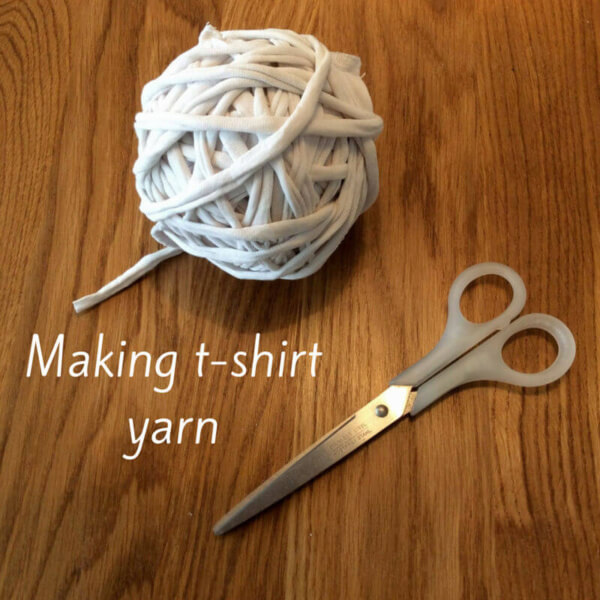
You are probably familiar with the cute Zpagetti type yarns that are available in so many colors. Really perfect for making crochet baskets and rugs for example. It is however less known that it is very easy to make this kind of yarn yourself! In this post I am going to show you exactly how you can make T-shirt yarn or “tarn” yourself.
The only things needed are a sharp pair of scissors and a pile of old t-shirts. A good reason to get rid of those piles of old clothing cluttering your closet, that aren’t worn anymore anyway. It is not a problem if your shirts have prints, it gives color and character to your t-shirt yarn.
T-shirts without side seams give the best result, because they can be cut in a continuous smooth yarn. A shirt with seam can of course also be used, it only means that the seams will present themselves as thicker pieces in your tarn. Usually this won’t be a problem.
Making t-shirt yarn step by step
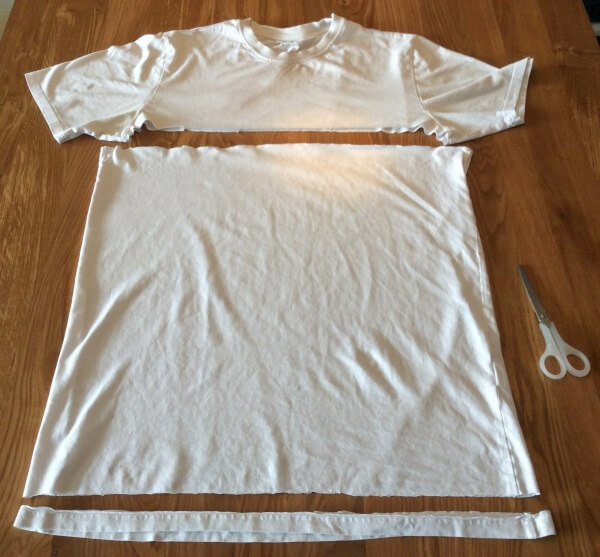
1. Cut any markings and care instructions from the shirt and lay it down flat. Make sure the shirt is relatively wrinkle-free, to make it easier to cut straight.

2. Cut with sharp shears the bottom hem and the top part with the sleeves off the shirt.
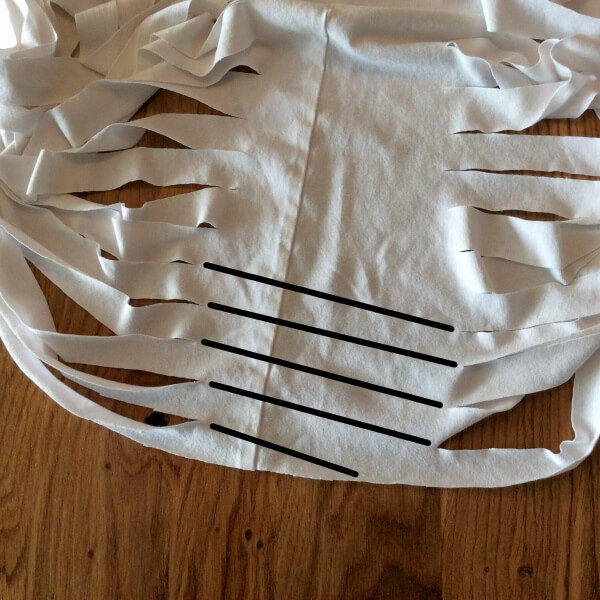
3. Turn the shirt sideways and cut it from the side into strips about 1 to 2.5 cm (½ to 1 inch) wide. Do not completely cut of the strips, stop cutting when you are about 5 cm (2 inch) from the end.
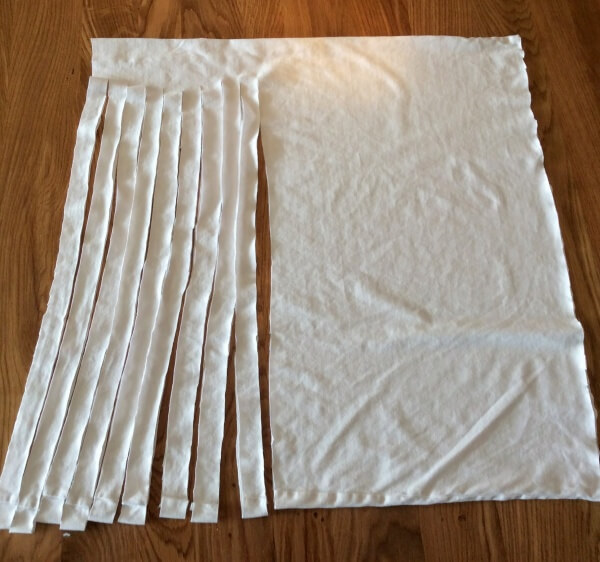
4. Continue until the entire shirt has been cut into strips.

5. Lay the shirt down as pictured below, so that the uncut part lies in the middle. Cut this piece diagonally as indicated by the black lines in the picture. This makes sure that the shirt is cut in a large spiral rather than in small loops.
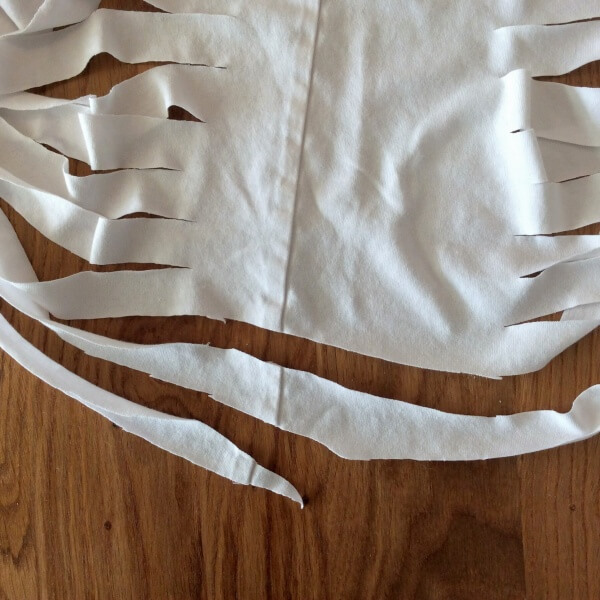
6. This looks like this:
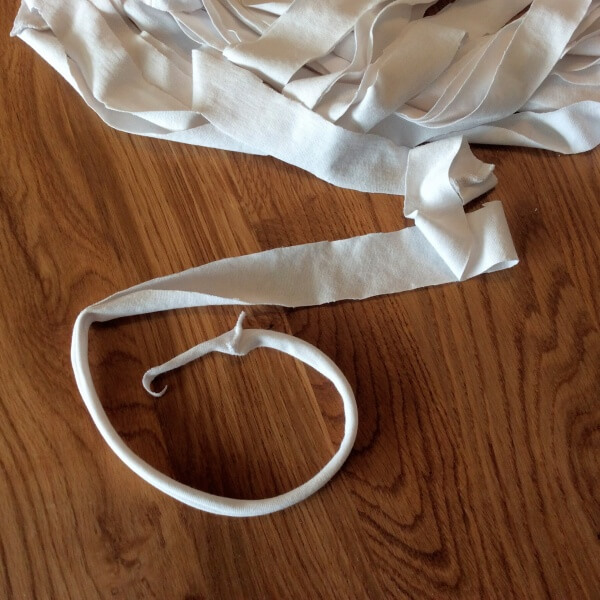
7. The last step is is the magical part: Grab the strip and firmly stretch it out over every centimeter / inch. This stretches out the fabric and makes it roll into the familiar t-shirt yarn.
8. Roll your tarn in a ball and it is ready for use!
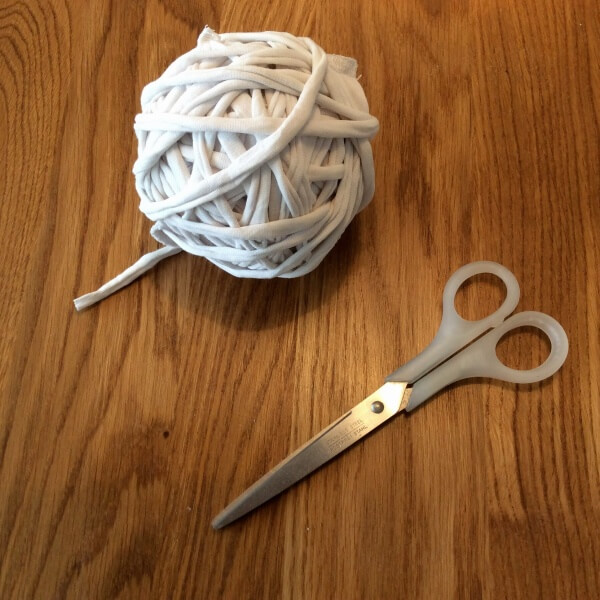
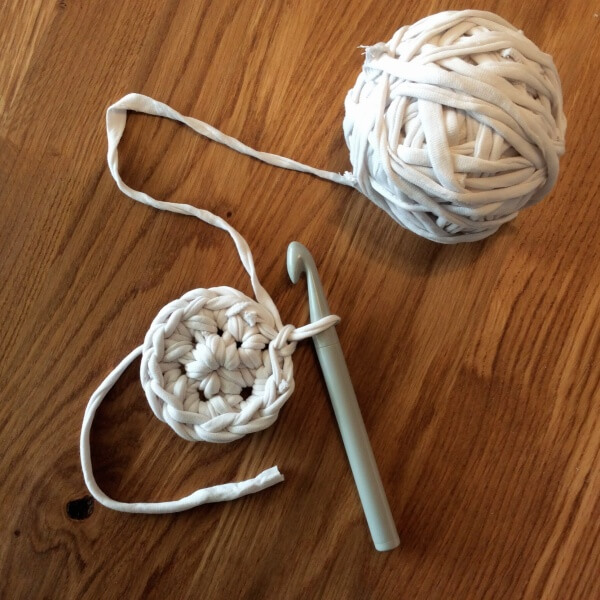
I think I will be making a small storage basket with my ball of tarn. A size 12 mm hook is just the right size for my homemade t-shirt yarn!