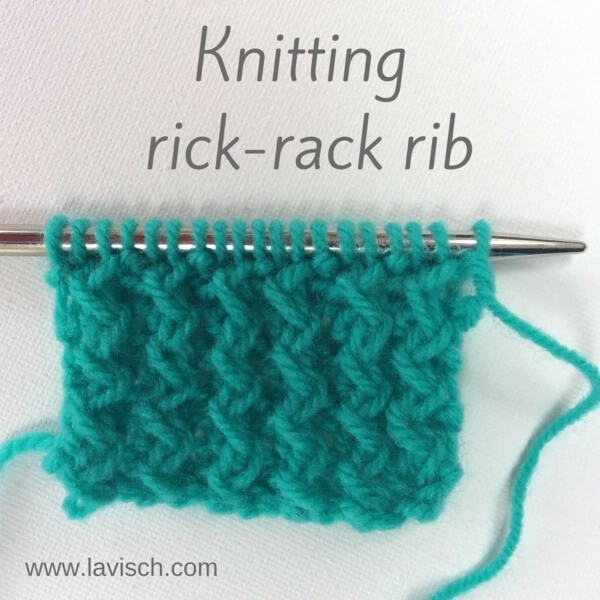
tutorial: knit rick rack rib in the round
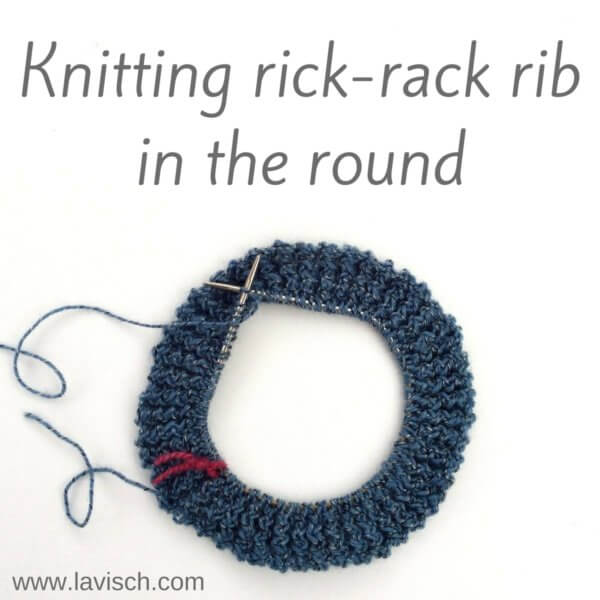
I’ve written it before in this tutorial on how to knit the rick rack rib flat: sometimes a less boring finishing of a project than plain old 2×2 rib is just what the doctor ordered. In this post, I’m going to show you how to knit rick rack rib in the round.
As with the flat worked version of this stitch, the characteristic zig-zag texture is obtained by the knitting the stitches in a different order than they appear on the needle. Rick rack rib worked in the round is knitted as a multiple of 3 stitches. The main difference with the flat worked version is, of course, that there are no WS rows when working the round.
In short, the instructions for this stitch worked in the round consist of the following 2 rounds:
Round 1: *Purl 1, skip the first stitch, knit in the back loop of the second stitch (do not slip this stitch off the needle), knit into the front loop of the first stitch and now slip both knitted stitches of the needle; repeat from * to end of the round.
Round 2: *Purl 1, skip the first stitch, knit in the front loop of the second stitch (do not slip this stitch off the needle), knit into the front loop of the first stitch and now slip both knitted stitches from the needle; repeat from * to end of the round.
Repeat rounds 1 and 2 to the desired height.
How to knit rick rack rib in the round step by step
Round 1
1. Purl 1 stitch.
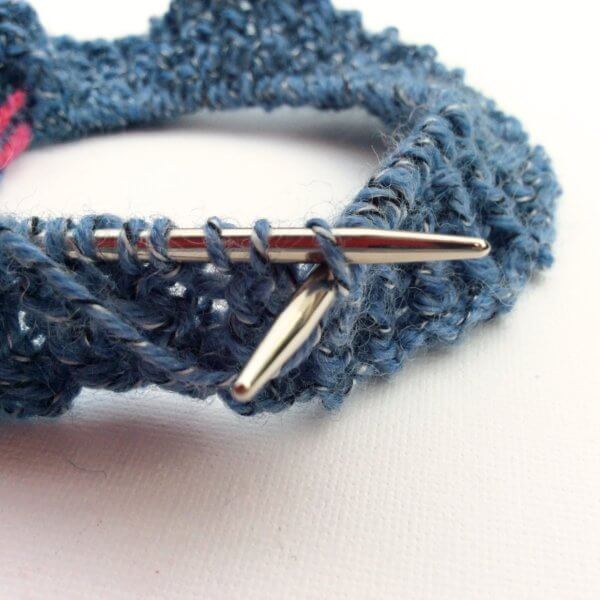
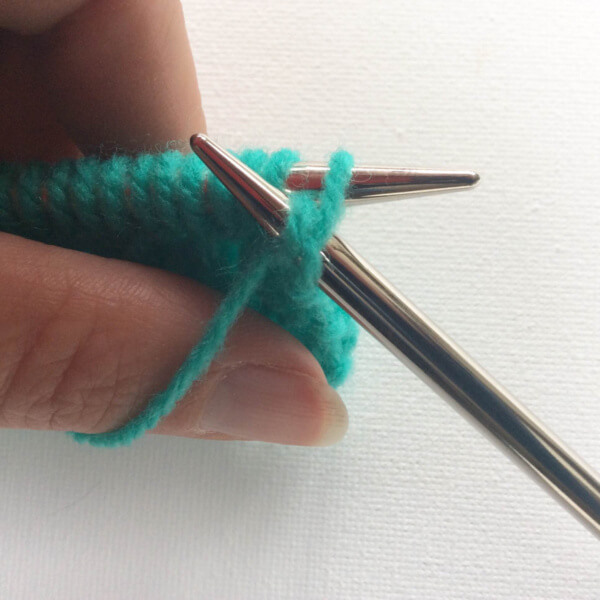
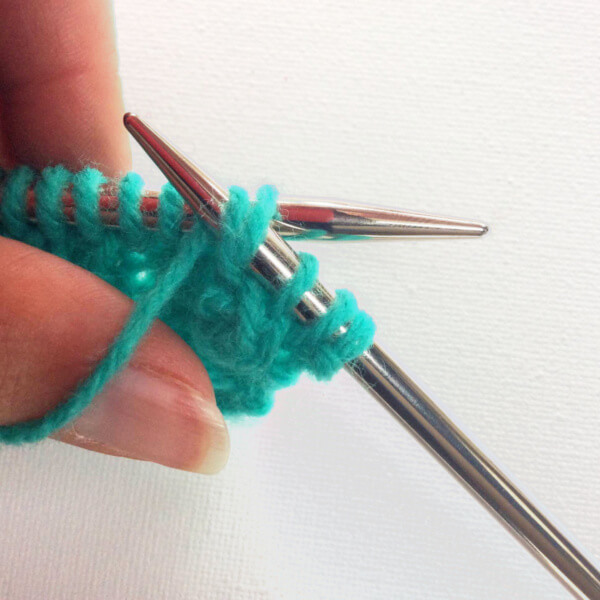
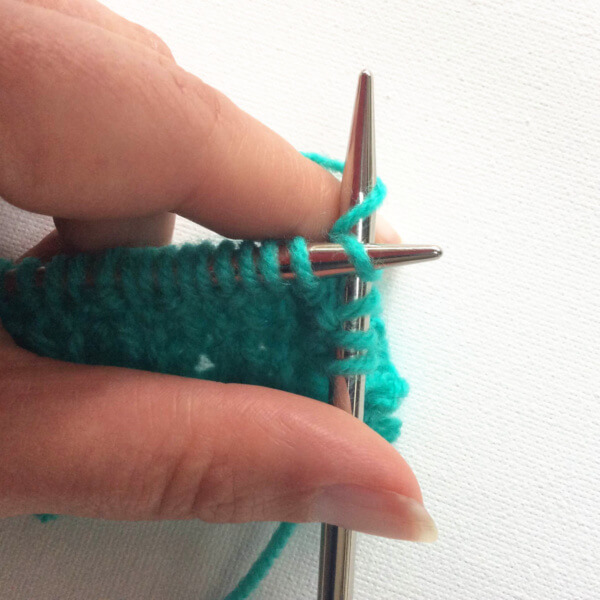
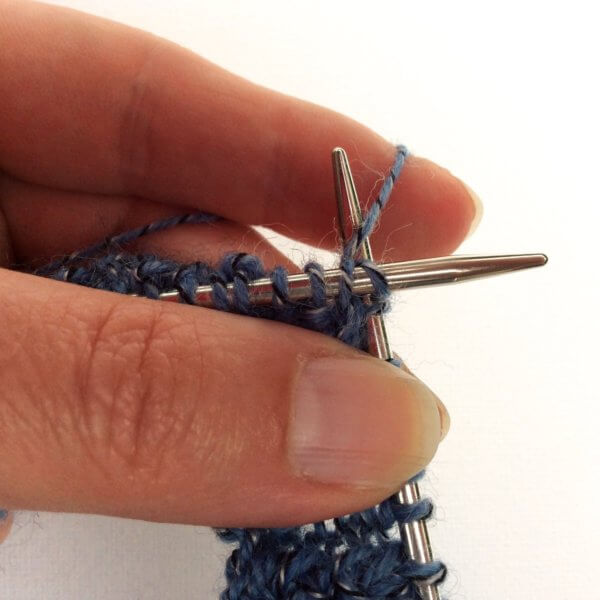
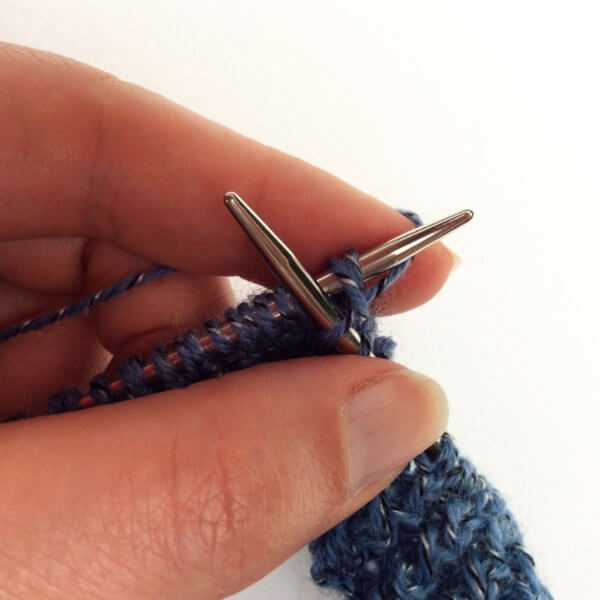
2. Skip the first stitch and insert your needle int the second stitch on the needle in the back loop.
3. Wrap the yarn around the needle as usual…
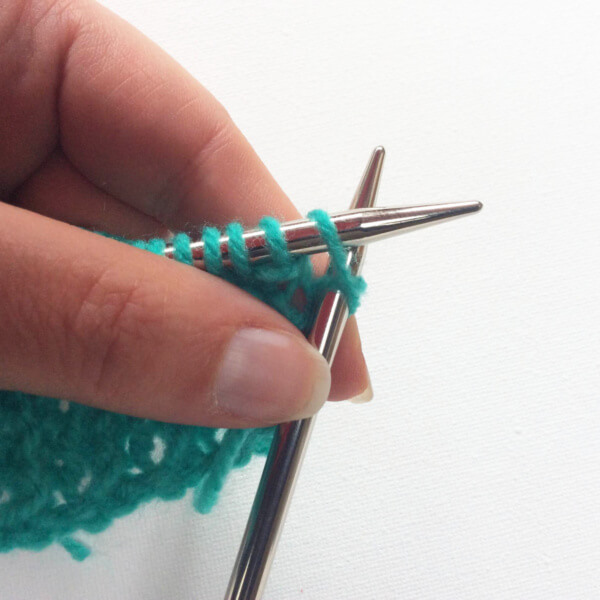
4. … and pull through to complete knitting this stitch. Do not slip this stitch off the left-hand needle just yet!
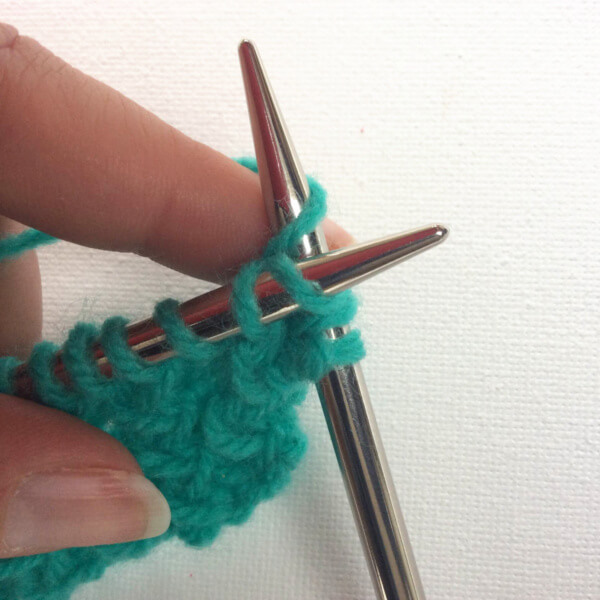
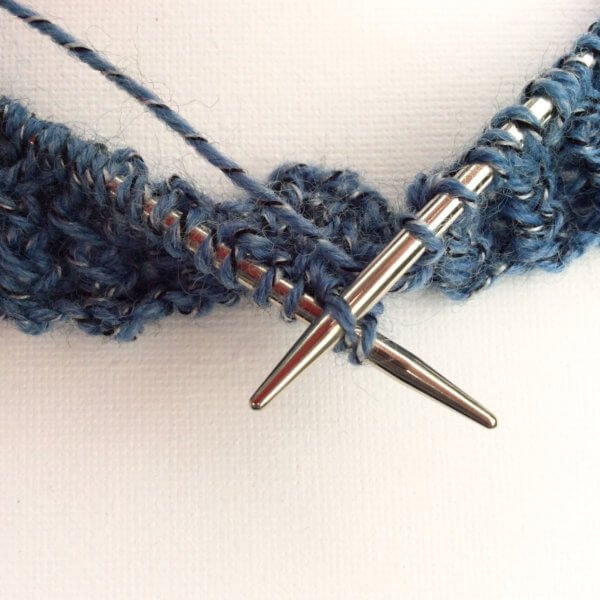
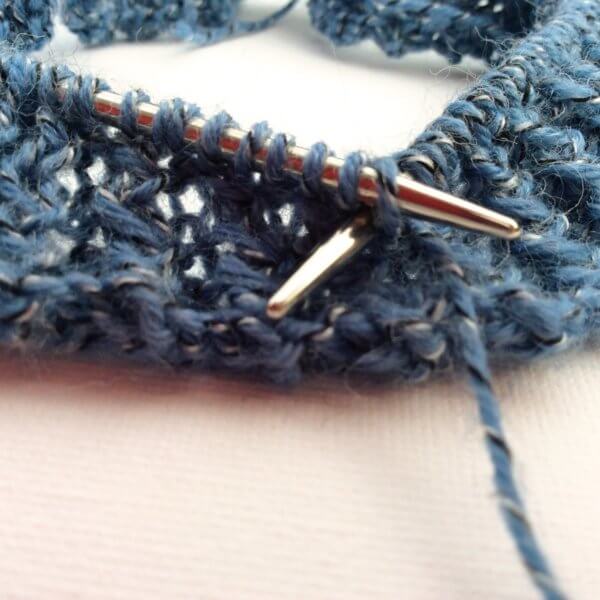
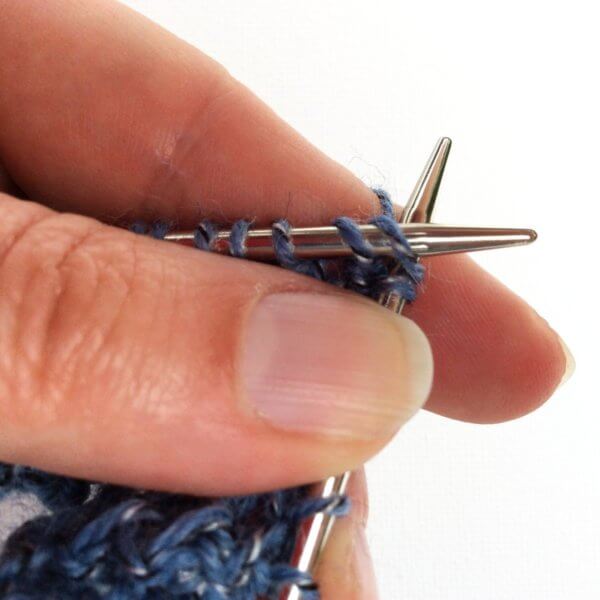
5. Knit into the front loop of the first stitch that you skipped in step 2.
6. Then slip both knitted stitches from the needle. Do you see how the 2 stitches combined slant to the left?

7. Repeat steps 1 to 6 the end of the round.
Round 2
8. Purl 1 stitch.
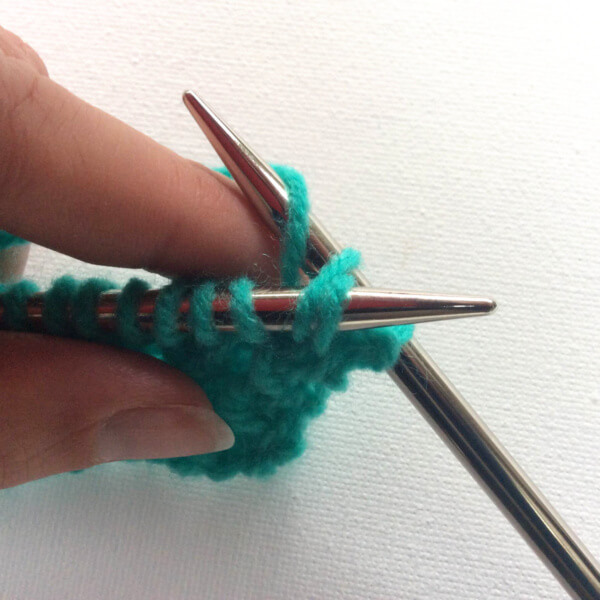
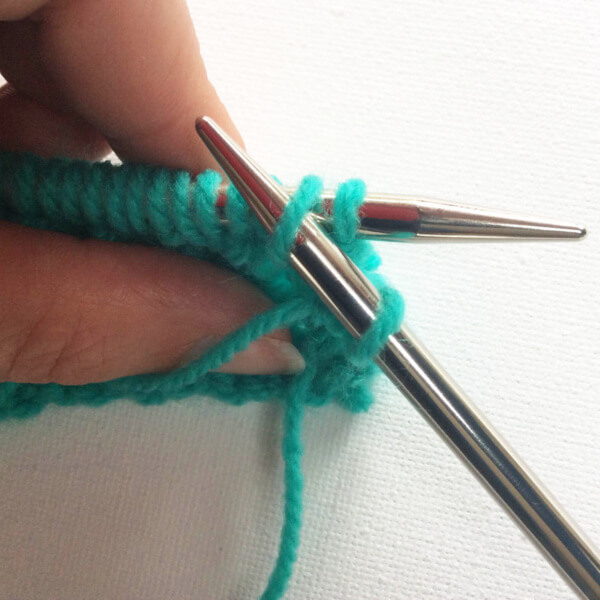
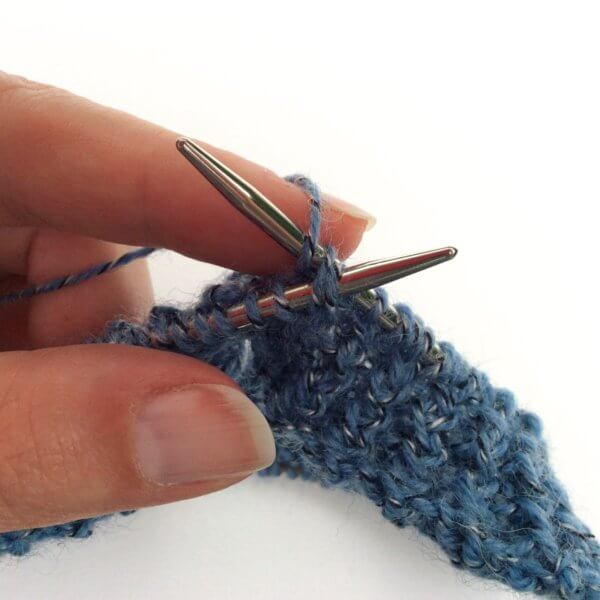
9. Skip the first stitch and insert the needle as if to knit in the second stitch on the left-hand needle. This can be a tad fiddly!
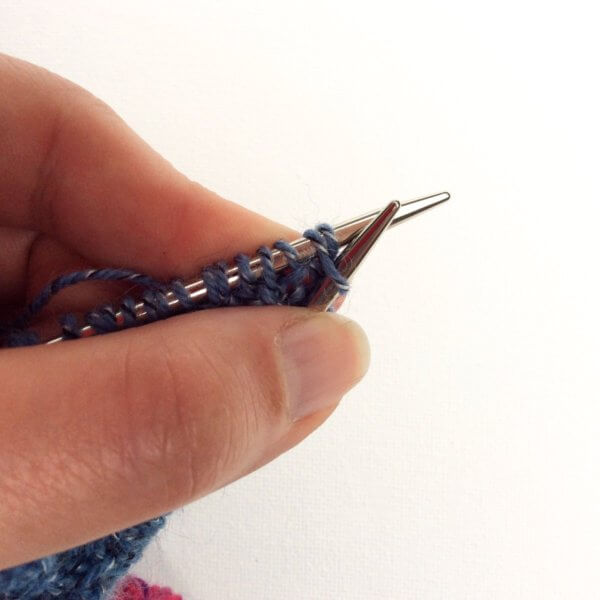
10. Twist the right-hand needle so that is behind the left-hand needle and wrap the yarn around.
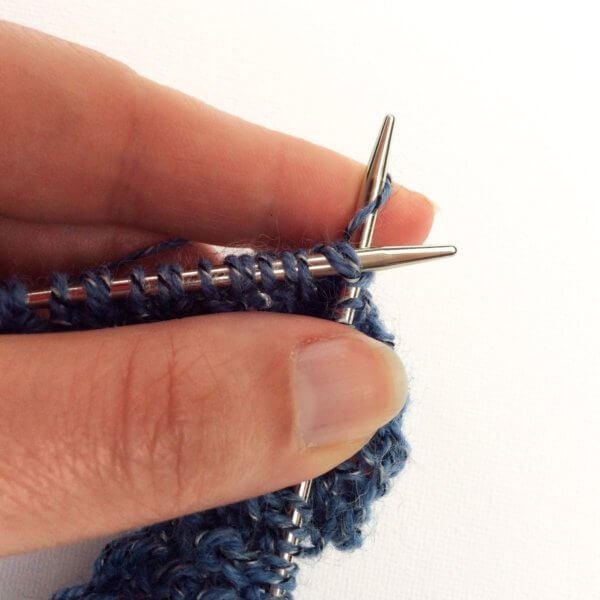
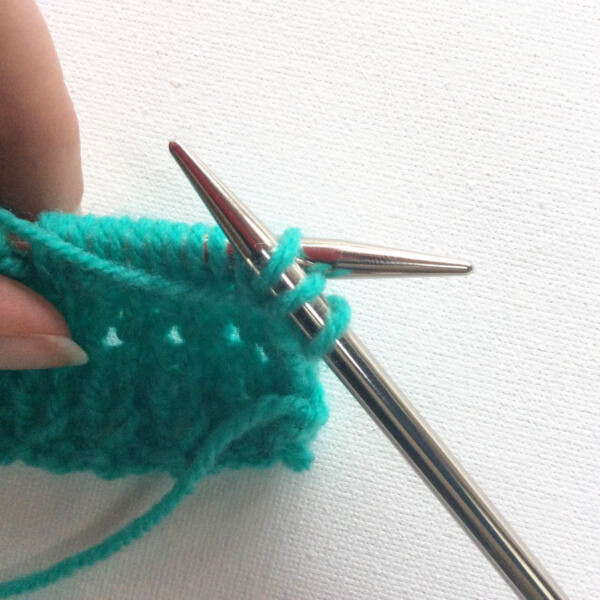
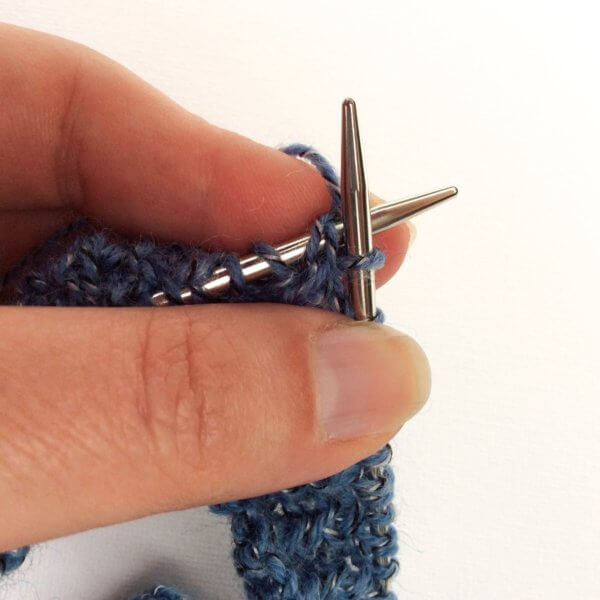
11. Next pull the yarn through, but do not slip this stitch off the needle just yet!
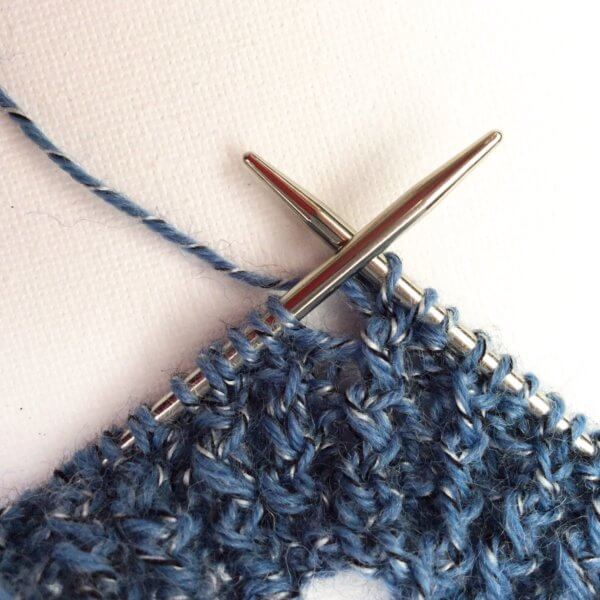
12. Knit the first stitch that you skipped in step 9….
13. ….then slip both knitted stitches from the needle. The 2 knitted stitches combined in this round produce a right-slanting result!
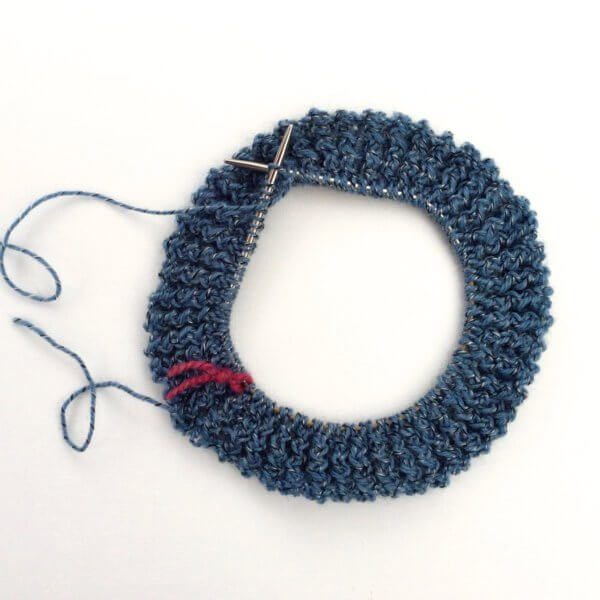
14. Repeat steps 8 to 13 to the end of the round. And this is how to knit rick rack rib in the round!
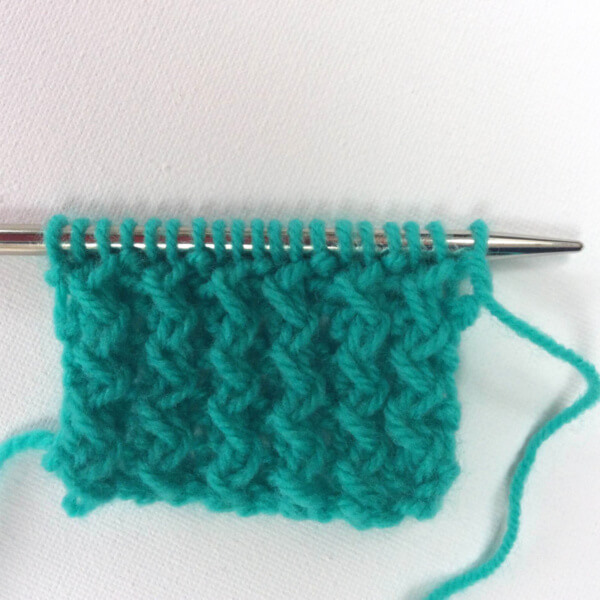
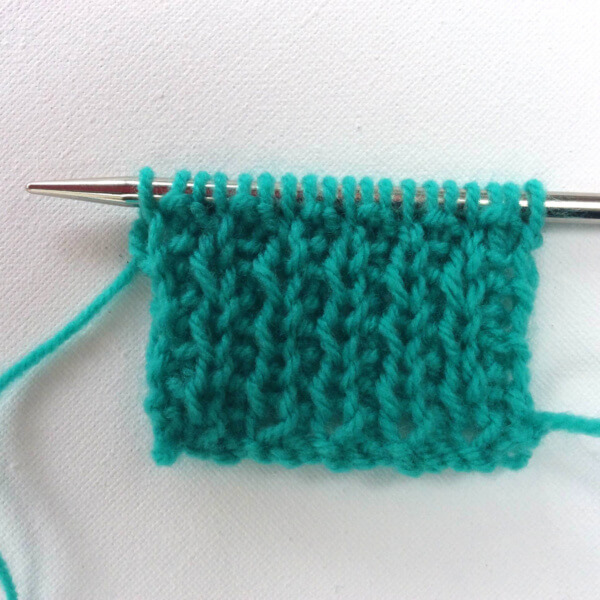
On the outside of the work, it will look something like this:
In case your project ends with rick-rack rib, you can bind-off after row 2 by binding off in purl 1, knit 2 pattern.
tutorial: knit rick rack rib in the round Read More »