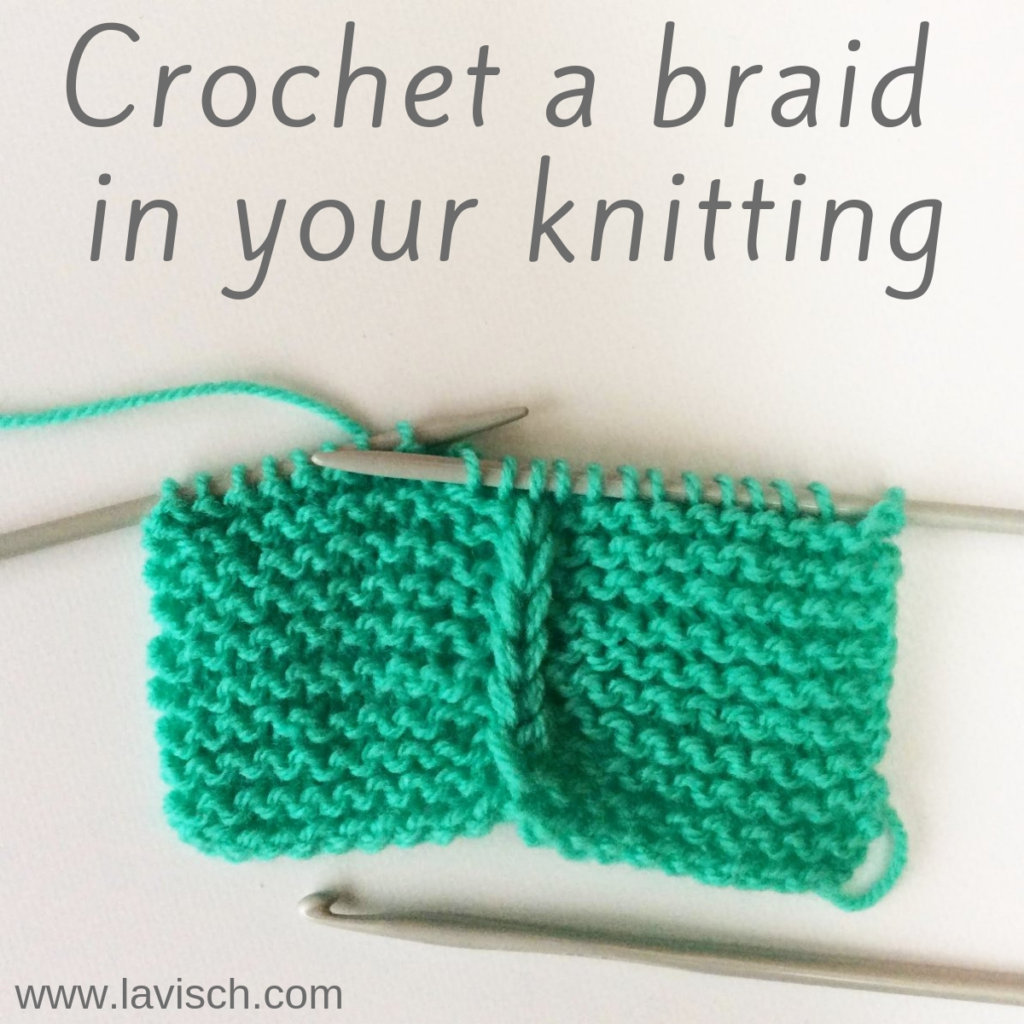
Perhaps you’ve seen some examples of this technique floating around the net. Knitted pieces with parallel stripes of stitches that are much bigger than the surrounding ones in either garter stitch, or reverse stockinette. In this tutorial, I show you how to crochet a braid in your knitting. This will include step by step instructions on what I did to achieve a similar result. And I will, of course, also share with you what I found out and would do differently next time I use this technique.
Crochet a braid in your knitting step-by-step
1. Cast-on any number of stitches using your preferred method. For this little swatch, I used the knitted-on cast-on, which is also known as the cable cast-on.

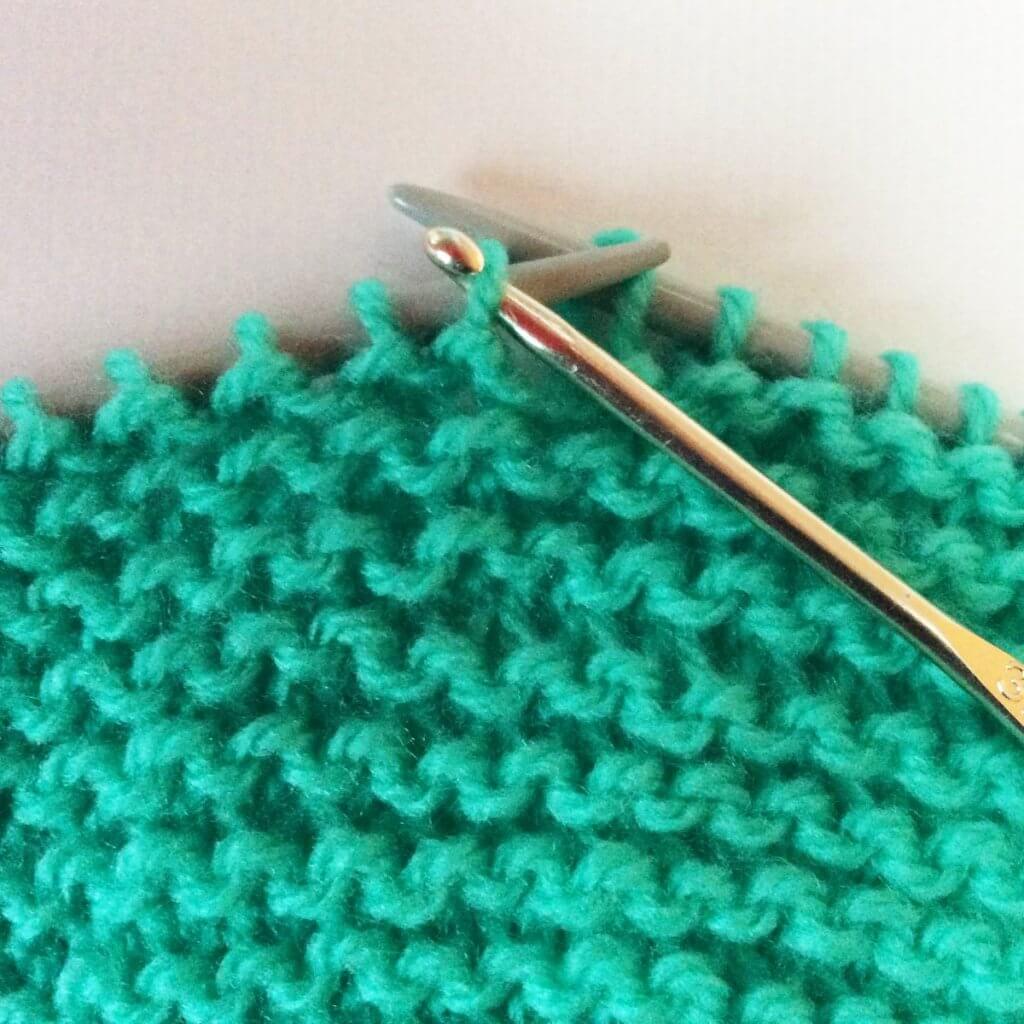
2. Next, knit across the row and put a yarnover at every place in in the piece where you want to position the braid. I did mine where the needle is pointing. It can be handy to place a stitch marker on each side of the yarnover. This makes it easier to determine which stitch to drop down later on. I didn’t do that here, because it’s only 1 stitch in the exact middle of the swatch. No issues in keeping my place!

3. Now knit until the piece has the desired height/length. Make sure to work the number of rows that is a multiple of the number of strands you want to make the braid with. A multiple of 2 for a 2-strand braid and 3 for a 3-strand braid. Next, locate the stitch that’s directly above the yarnover in your first row. This is where the stitch markers can come in useful.
4. Drop the stitch down until you’ve reached the yarnover/cast-on edge. Use

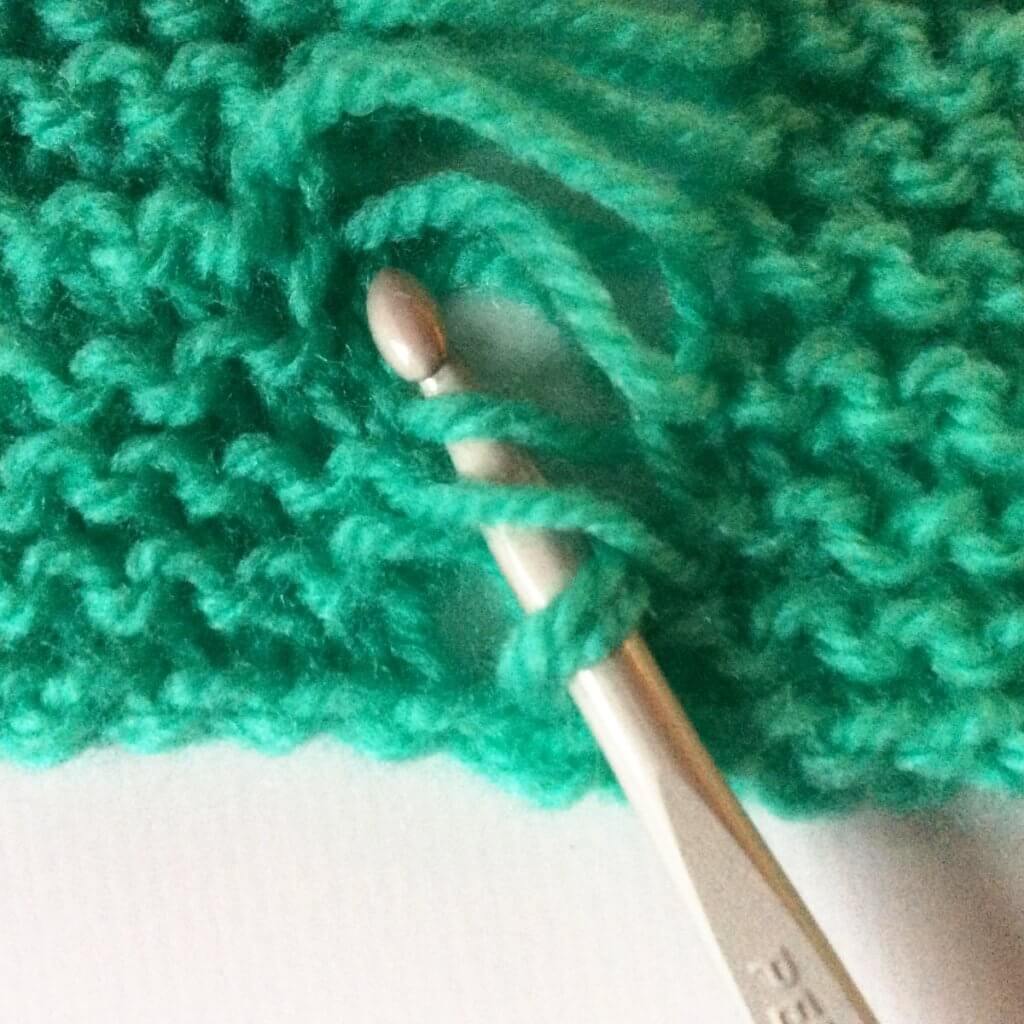
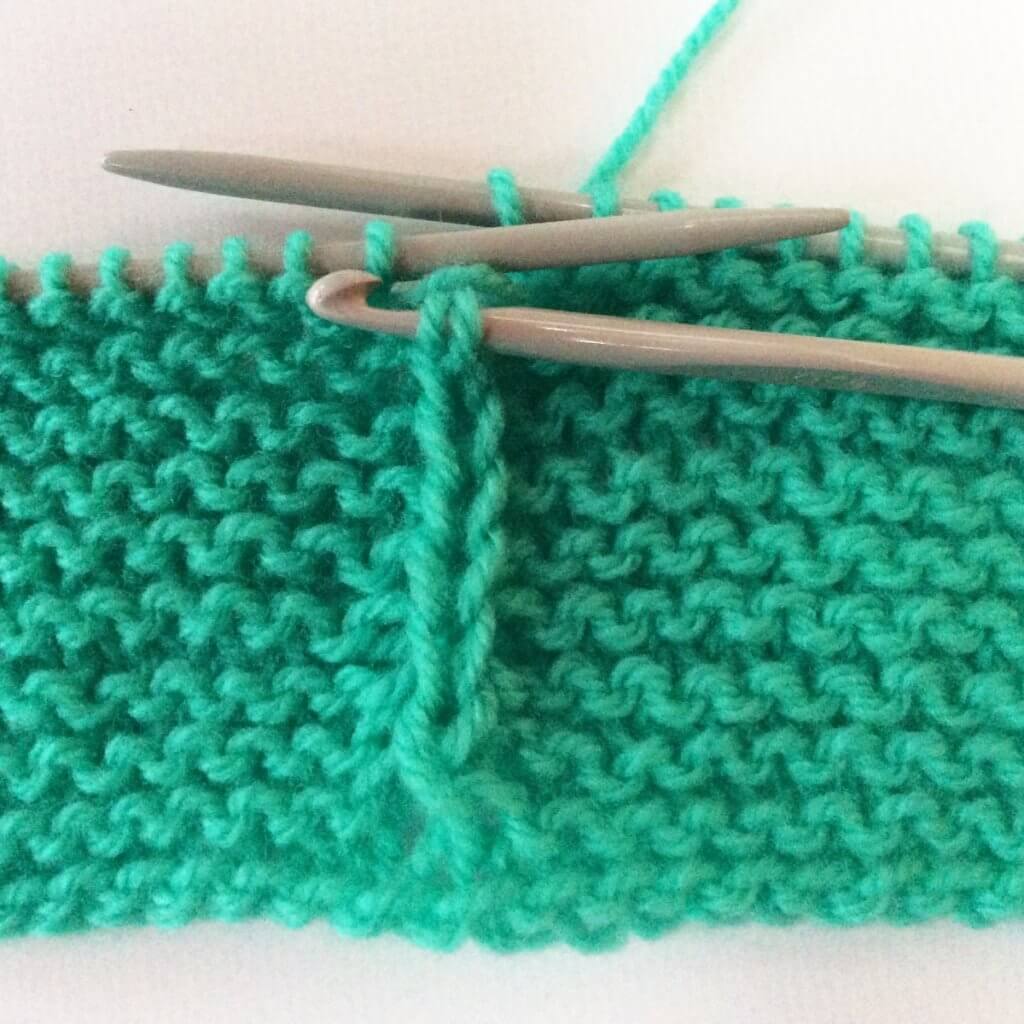
5. Now we’re going to take a crochet hook and work our way back up the piece using multiple strands of yarn. In this example I’m doing 2 strands together. To start, we have to pick up the 2 strands of yarn directly above the cast-on edge. I’m picking them up twisted, to ensure that the tension of this first bit of braid is not looser than the following ones. To do so, I inserted my crochet into the work as pictured, and then twisted the hook clockwise.

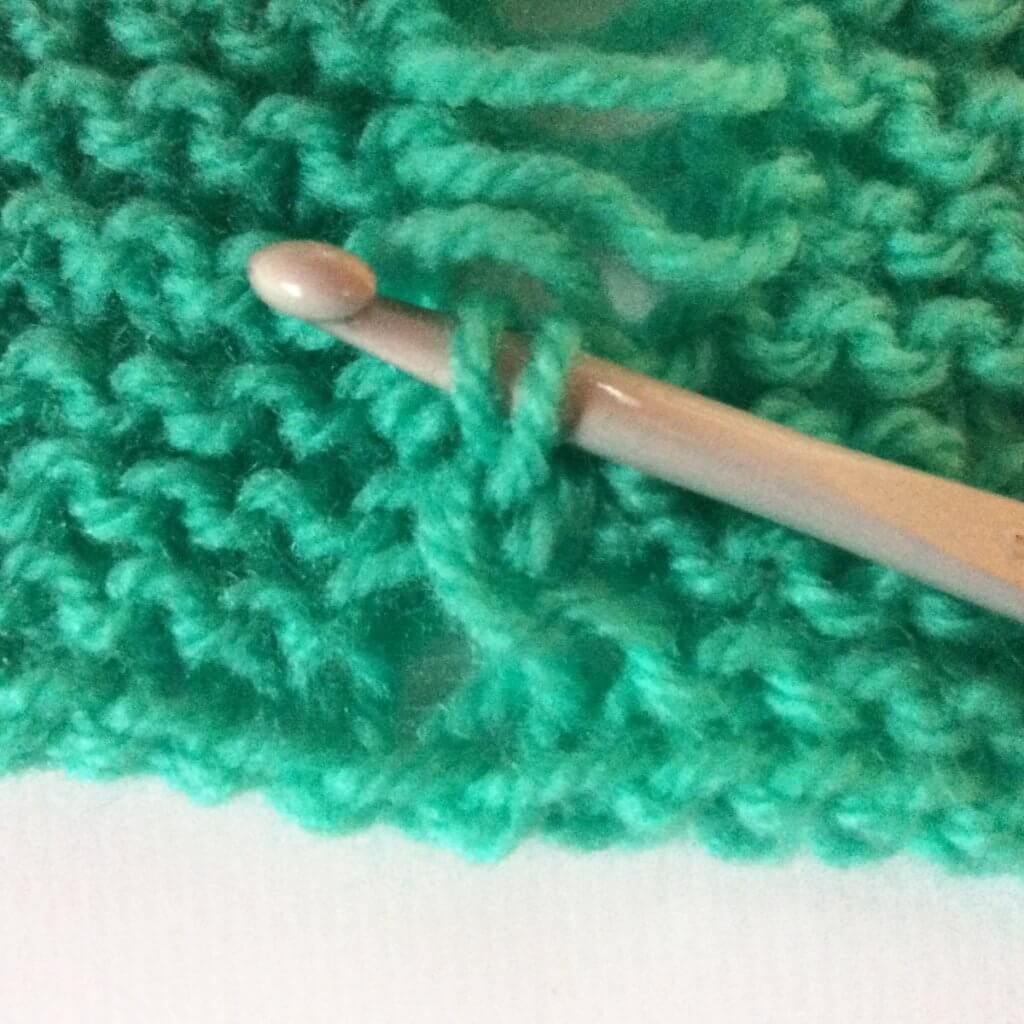
6. Next, insert your hook below the next 2 strands and pull them through the loop on the hook to form a stitch.
7. This is how it looks:
8. Keep on inserting your hook below the next 2 strands and pulling them through the loop on the hook. Repeat until there are no more loose strands in the piece to work back up.
9. Now you can place the last loop back on the needle. Knit
Things I’d do differently next time
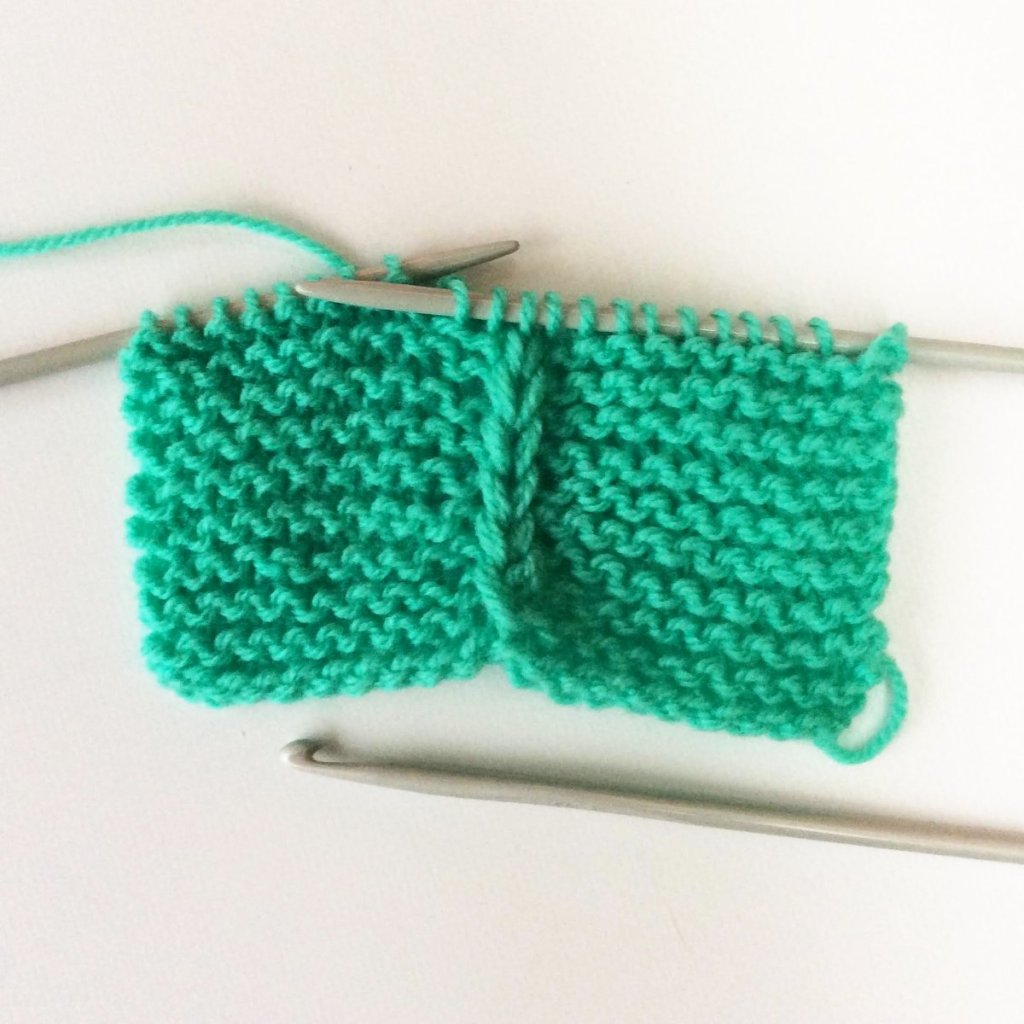
When I was working on this little swatch, I thought of a couple of things I would do differently next time. I didn’t feel the braid was fat enough against the background of garter stitch. Perhaps a 2-strand braid works better against a background of reverse stockinette.
I did try out a 3-strand braid, for the picture, see below. With this one, however, I noticed that the fabric started pulling around the braid. To counter this I would suggest not working 1 yarnover in the first row, but a double one instead. Just drop the extra loop on the following row and work regular stitches per your stitch pattern in the ones after that.
When there are 2 columns of stitches dropped to free up strands for the braid, I expect the braid itself will also be more volumineus. Which is a good thing, because it will make it stand out better against the background.

Thanks to my Patreon supporters for bringing you this freebie! Creating quality patterns and tutorials is a lot of work and resource-intensive. However, I find it important to give you free content like this tutorial. Thanks to the generous support of my Patreon supporters, I can make it happen. Thank you, patrons! Click here to join, or click here to read more about La Visch Designs on Patreon.

")

