dyeing with natural dyes: part 3 – the dye bath
This post is part 3 in a series about dyeing wool with natural dyes. This part is all about the various steps in preparing the dye bath.
The steps to go through are as follows:
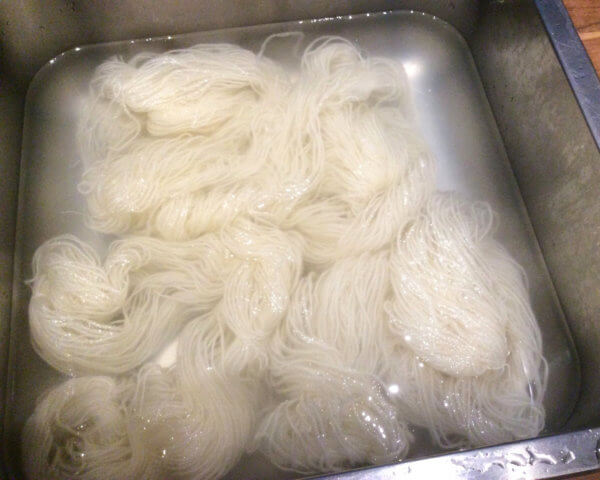
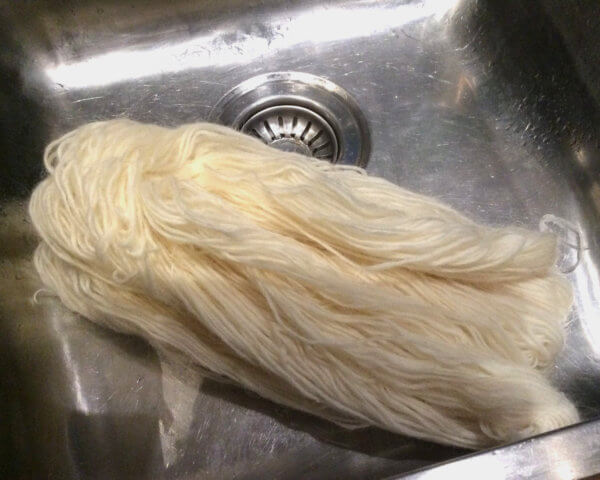
a. Washing the wool
b. Mordanting
c. Preparing the dye
d. Dyeing your wool
Today we are going to make the dye bath! In this experiment I’m going to dye with madder. Below I want to tell you some more about this first.
Madder
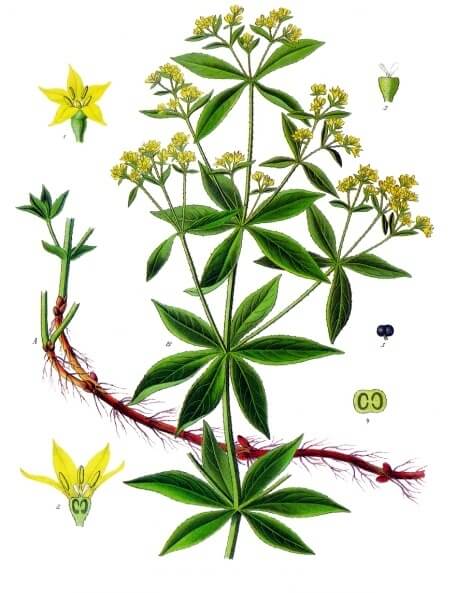 Madder (Rubia tinctorum) has been used as a dye for many thousands of years. The reason? It is one of the most light-resistant red dyes of natural origin. It was and is used for the coloring of textiles and leather. In the fifteenth century, the Netherlands was the main producer of the madder. Particularly in Zeeland there were many fields of madder plants in the 19th century. At least until synthetic dyes became available.
The plant is about 60-90 cm high and has small yellow flowers. Below ground are the rhizomes, which can go as deep as 50-100 cm. The roots are the part that is of interest for dyeing. Madder is harvested about three years after planting, because only then the roots are big enough. After drying, the roots are ground to small pieces or powder.
c. Making the dye bath
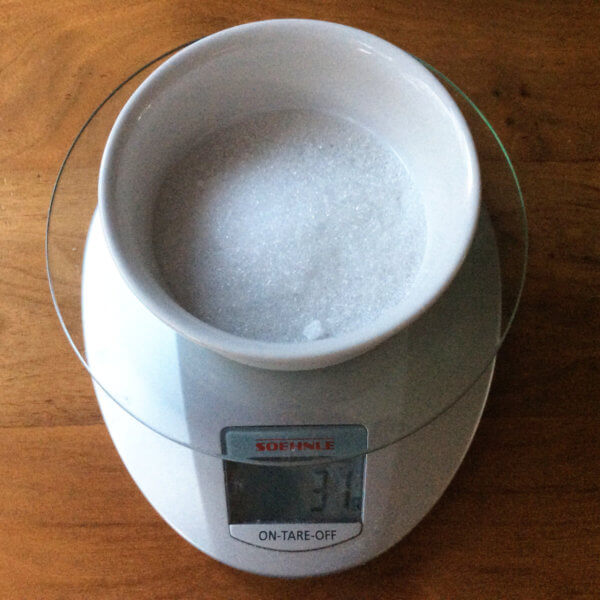
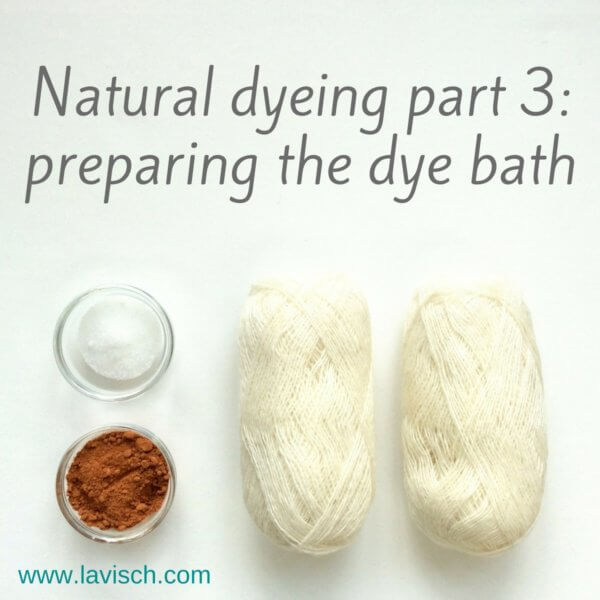
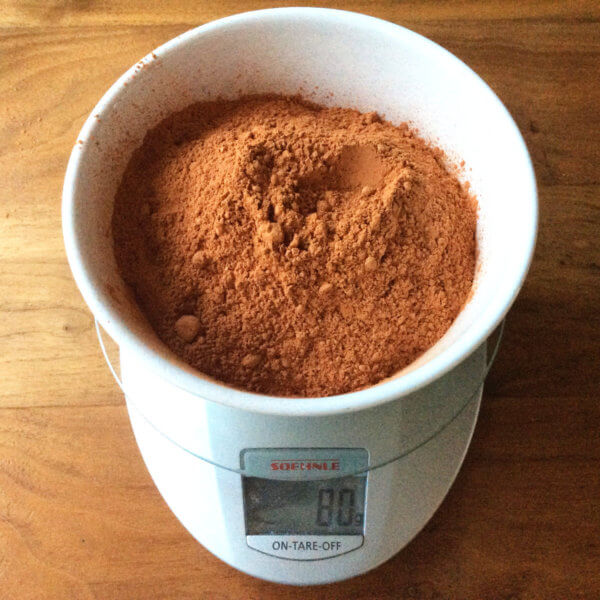
In order to dye with madder root, you need about 25-50 g of powder per 100 g of wool. The precise amount depends upon the desired strength of the dye bath. For my wool (weighing in at 200 g dry weight) I will use a total of 80 g of madder powder. Here are the steps I followed:
1. Weigh your dye stuff, powdered madder root in my case.
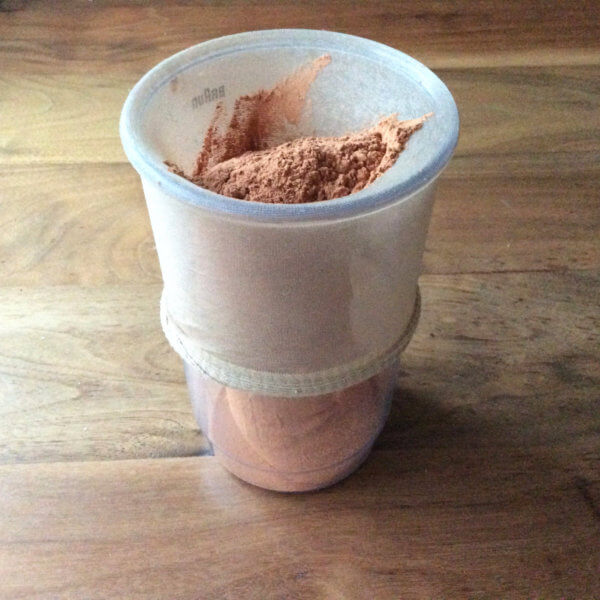
2. Put your dye stuff in an old bit of pantyhose or make a “tea bag” from it by other means. You want the dye stuff in it to have adequate space to absorb moisture and to release its dye to the water. The dye stuff “tea bag” makes it easier later on to remove it out of your dye bath. It also has the great benefit of not having to remove any pieces or powder out of your wool.
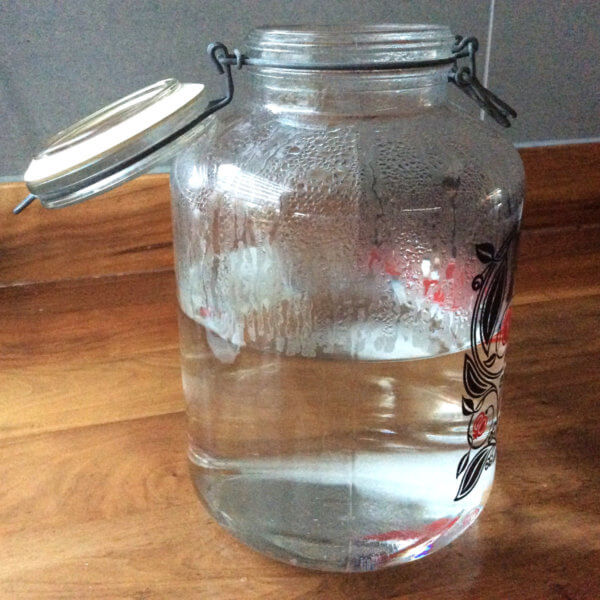
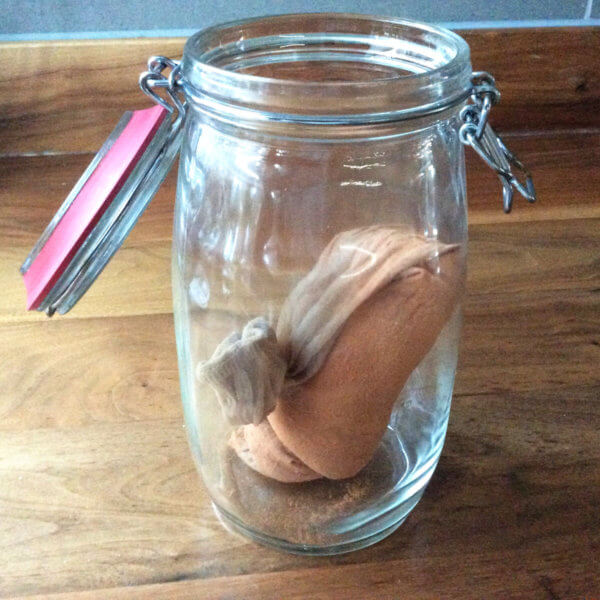
3. Put the dye bag in a glass jar and cover with boiling water. I understand that madder provides a brighter shade of red when using “hard” water. Do you have soft water? Then add some chalk in the form of calcium carbonate to your dye bath.
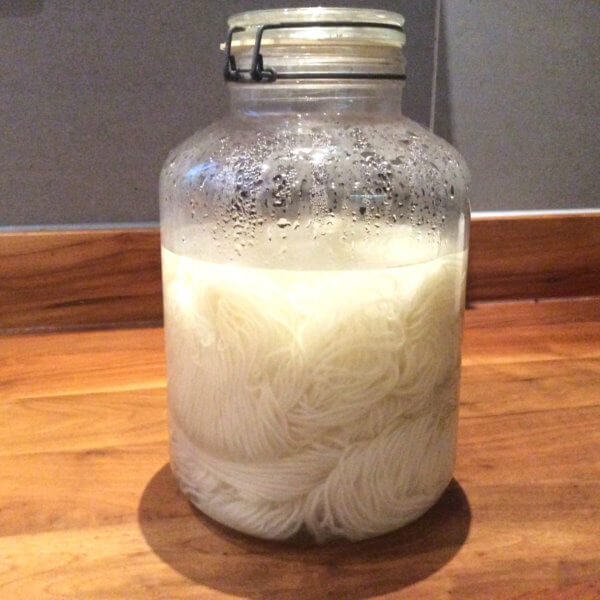
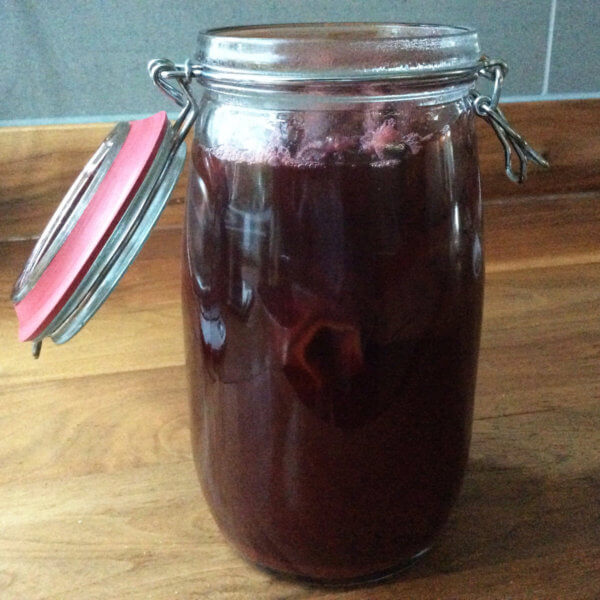
4. Allow the dye bath to soak overnight. This is how mine looks after one night of patience:
Now it’s finally time to dye! More on this in my next post.
dyeing with natural dyes: part 3 – the dye bath Read More »