This post is part 4 in a series in which I tell you all about what is involved in dyeing wool with natural dyes. In the previous steps, we have already washed our wool, mordanted the yarn and prepared our dye bath. Now it is finally time to dye!
The steps to go through are as follows:
a. Washing the wool
b. Mordanting
c. Preparing the dye
d. Dyeing your wool
As with mordanting, you can dye either warm or cold. The end result may differ between the two methods, it is a matter of experimentation to see what you like best. The advantage of hot dyeing is, of course, that it is relatively fast. After about an hour in the hot dye bath you’ve already got result. However, it also uses much more energy. That’s why I’m using the cold dyeing method in this example.
d. Dyeing yarn!
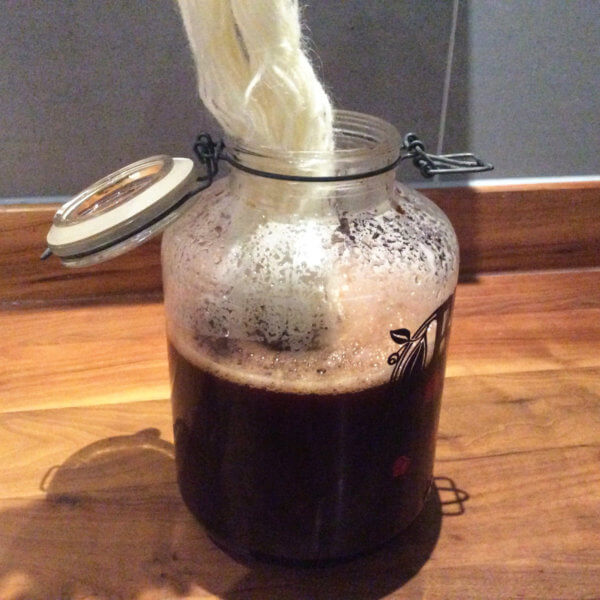
1. In the case your mordanted yarn is dry, you have to soak it first in water again. In wet wool dye distributes itself much more uniformly. About half an hour of soaking is usually enough. If the wool is still slightly wet, you can skip to step 2. If you intent to have a more random coverage, than by all means do not pre-soak your yarn of course! Freedom in variations is one of the nice things about dyeing yarn yourself.

2. Put the mordanted wool in the pot or pots with the dye bath. Fill if necessary with a little water to completely cover the wool. Stir gently if necessary to get the wool well into the dye bath.
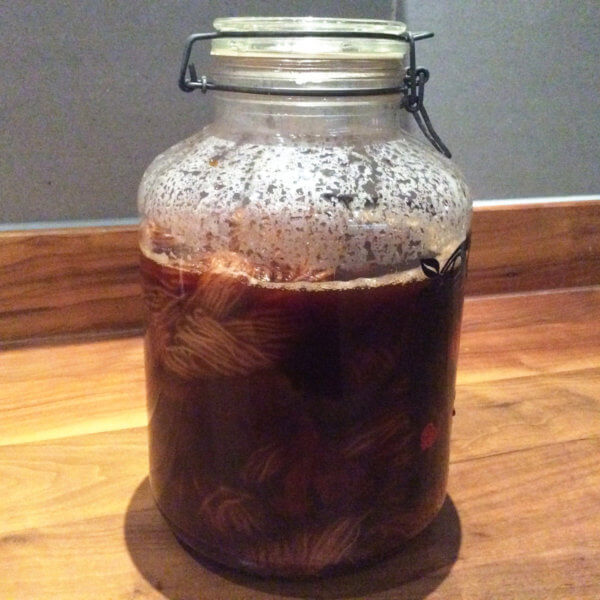
3. Let the wool soak about 24 hours (or longer if desired) in the dye bath. An hour more or less does not matter very much. You can dye your skeins of wool in varying tints of the same color, by removing them after different numbers of hours in the dye bath.
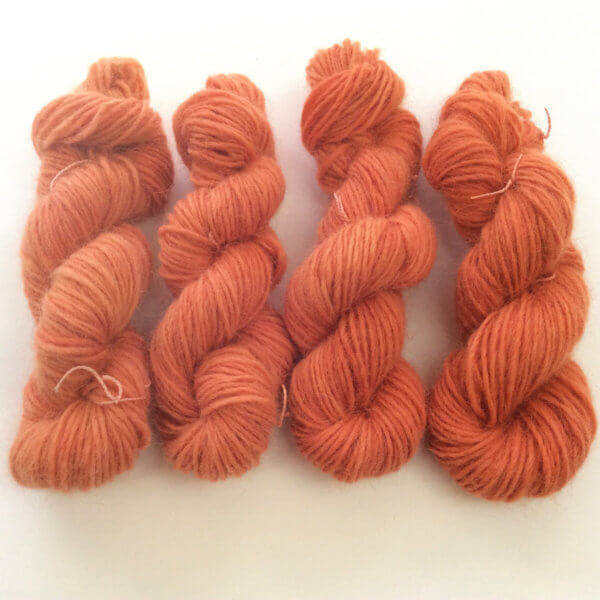
4. I have removed my skeins of wool after respectively 12, 16, 20 and 24 hours in the dye bath to see how the differences turn out. On the left is 12-hour in the dye bath, on the right is at the 24 hour mark.
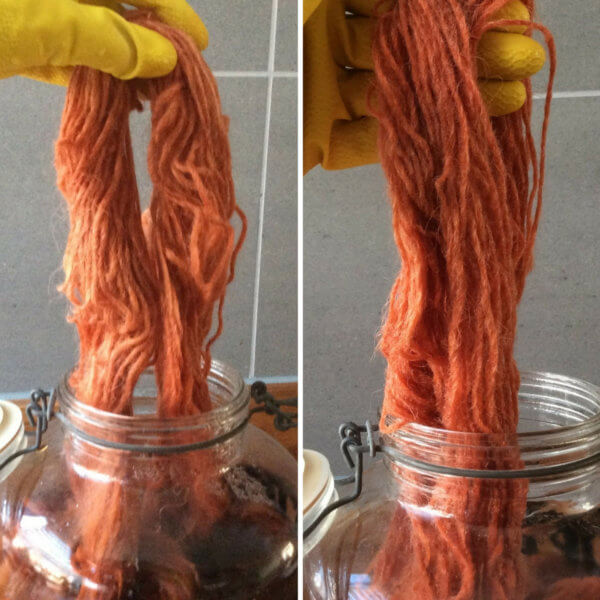
Rinse the wool off with lukewarm water, add a dash of vinegar kitchen to fix the color. Rinse as long as necessary until the water runs clear. Remember to put on rubber gloves, if you do not want to stain your hands!
5. Then you can squeeze the water out of the dyed wool and hang to dry.
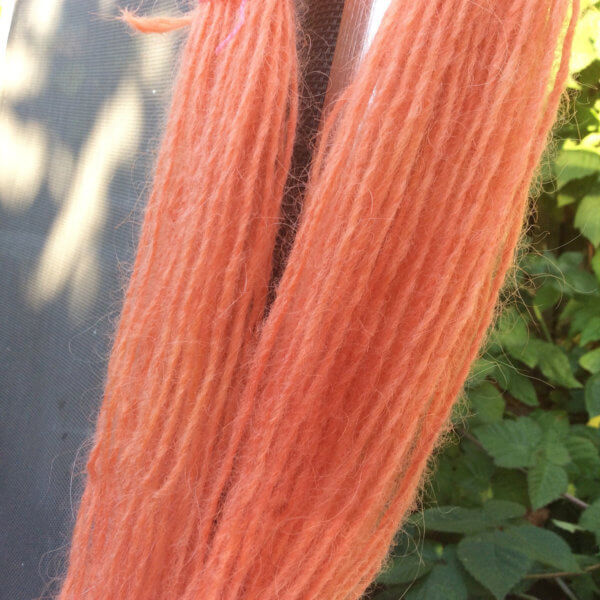
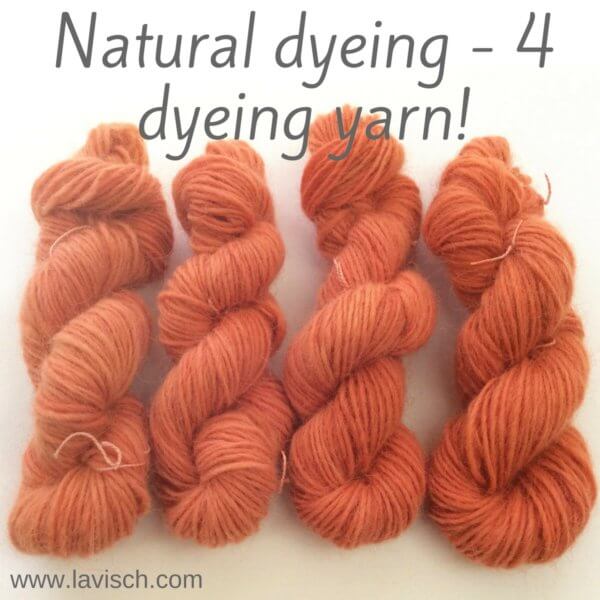
And this is how my wool looks like after it has completely dried up:
As you can see there is a difference between 12 and 24 hours in the dye bath. However, four hours between the skeins is apparently too short to see a lot of difference between successive skeins. Learned something!
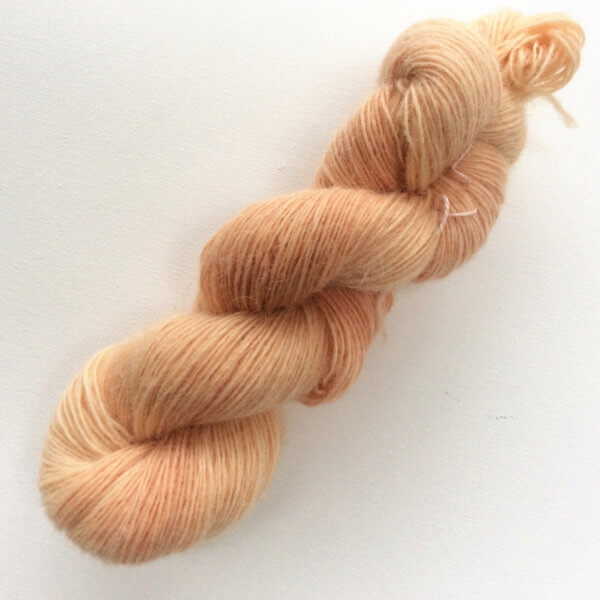
The second dye bath
The above coral pink color I obtained by allowing my wool to soak in the first extract of the madder, the so-called first dye bath. To see if more pink shades were possible, I made a new dye bath containing the same madder by soaking them again for one day. In this dye batch I then soaked another mordanted skein of wool for 24 hours. And this lovely blush-colored yarn was the result:
Lots of fun to dye with plant-based dyes! I will definitely do this more often and am already saving up onion skins for my next natural dye project!


