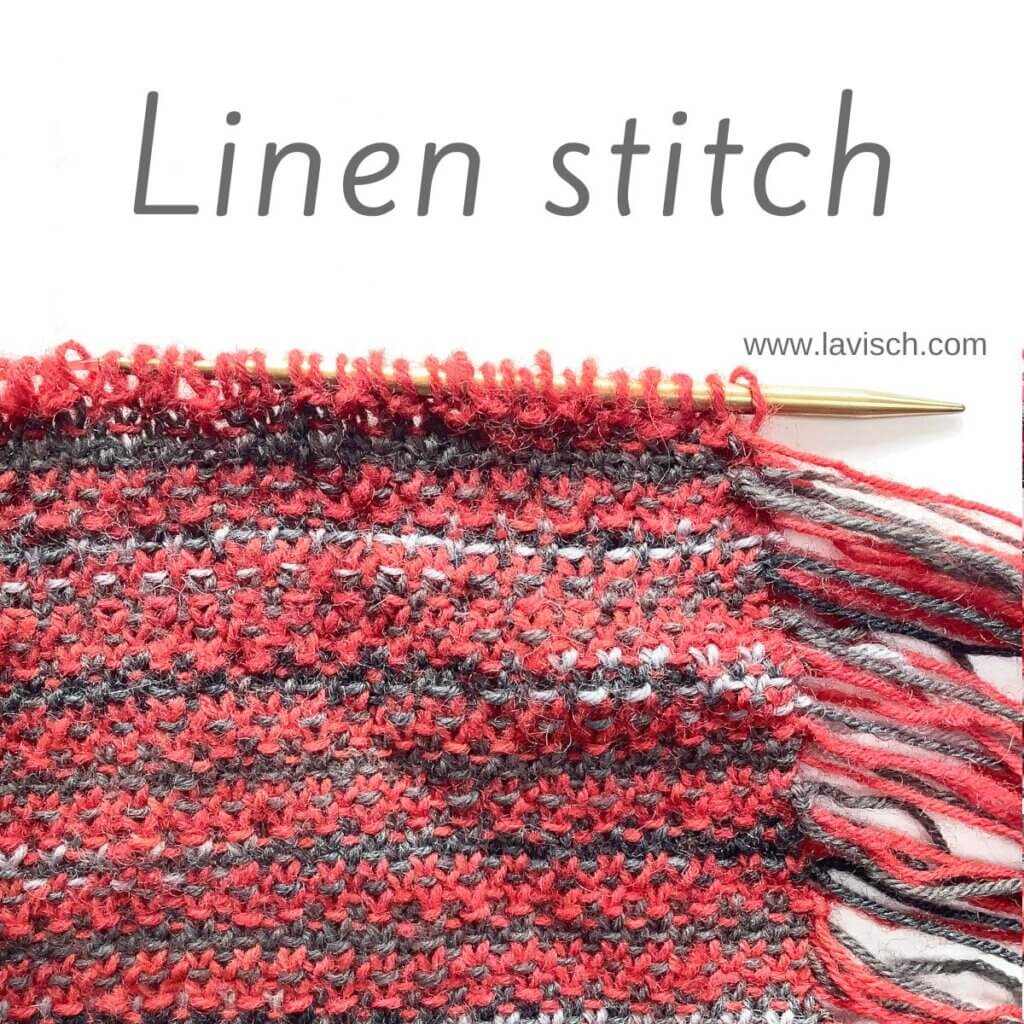
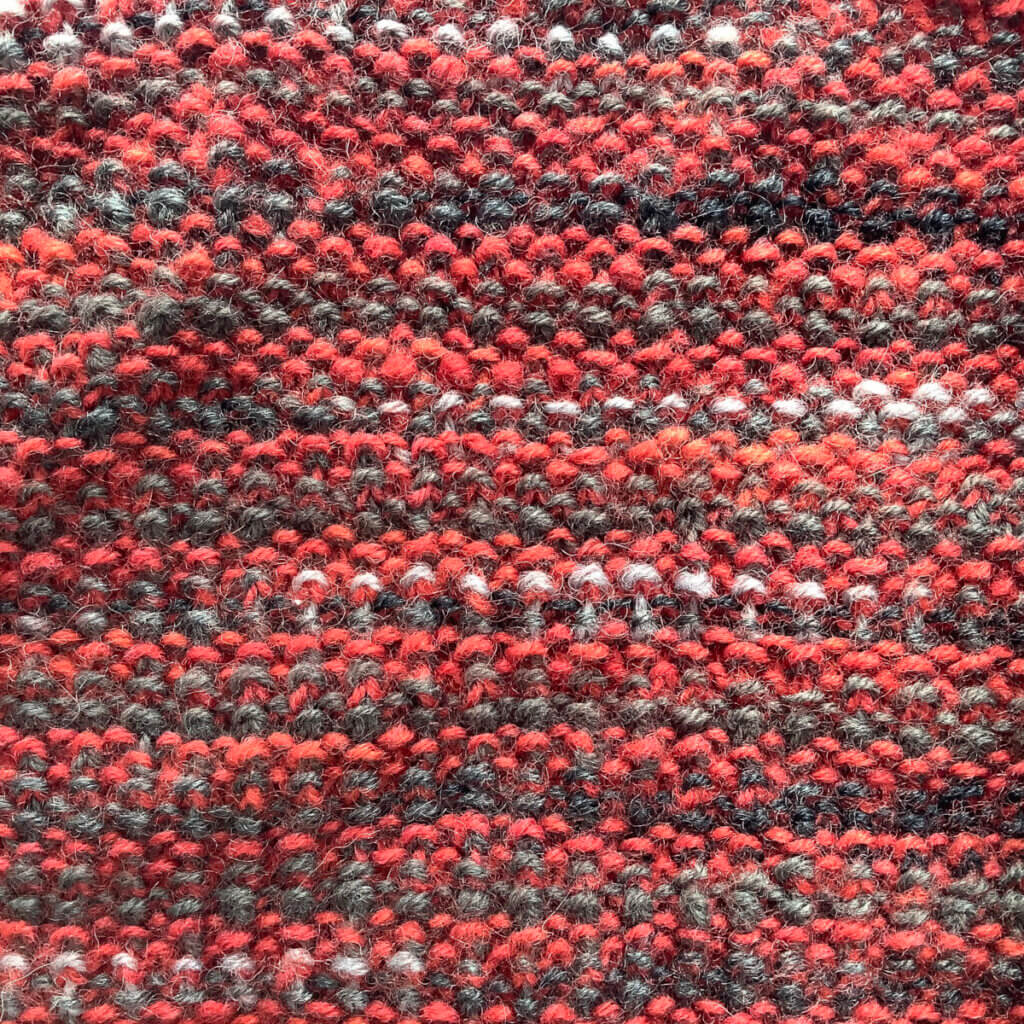
Back in 2011 I decided to cast on a stole using the linen stitch. It’s named like that, because it looks similar to a woven linen fabric. The stitch uses simple slipped stitches to achieve that effect. This also means that the fabric it creates is rather dense and may turn out very tight during knitting. To counter that effect, go up needles sizes from what you would usually use for that weight of yarn. In the project pictured, I used 4.5 mm (US 7) size needles, there is nothing loose about this fabric!
The patterning can, of course, be worked in a single color. But because of the slip stitches, very lovely effects can be achieved by using 2 or more colors. The general advice for changing yarn colors, with the linen stitch, is to change colors at the beginning of every odd-numbered row. In the project pictured, I’m working 3 rows of each color in the following sequence: gray, red, variegated black & gray’s, red. As a sidenote, in this project I cut the yarn with every row for instant fringe at the sides of my stole.
The stitch pattern requires any odd number of stitches, and is worked over 2 rows, when not taking color sequences into account.
Materials used
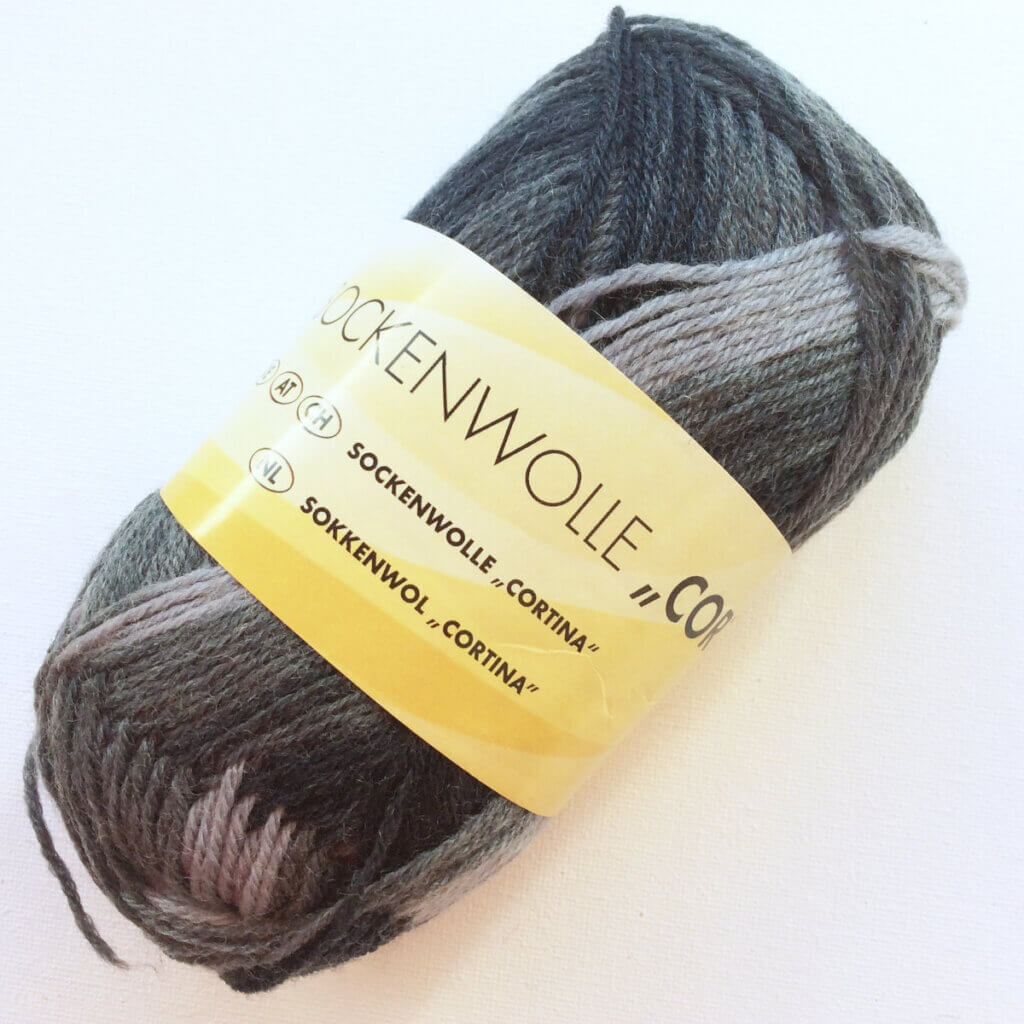
Yarn: Zettl Sockenwolle Cortina, a light fingering sock yarn (75% Wool, 25% Nylon) per 209 m (229 yds) / 50 g. Pictured here in a gray variegated colorway, also red and solid gray were used in the project shown.
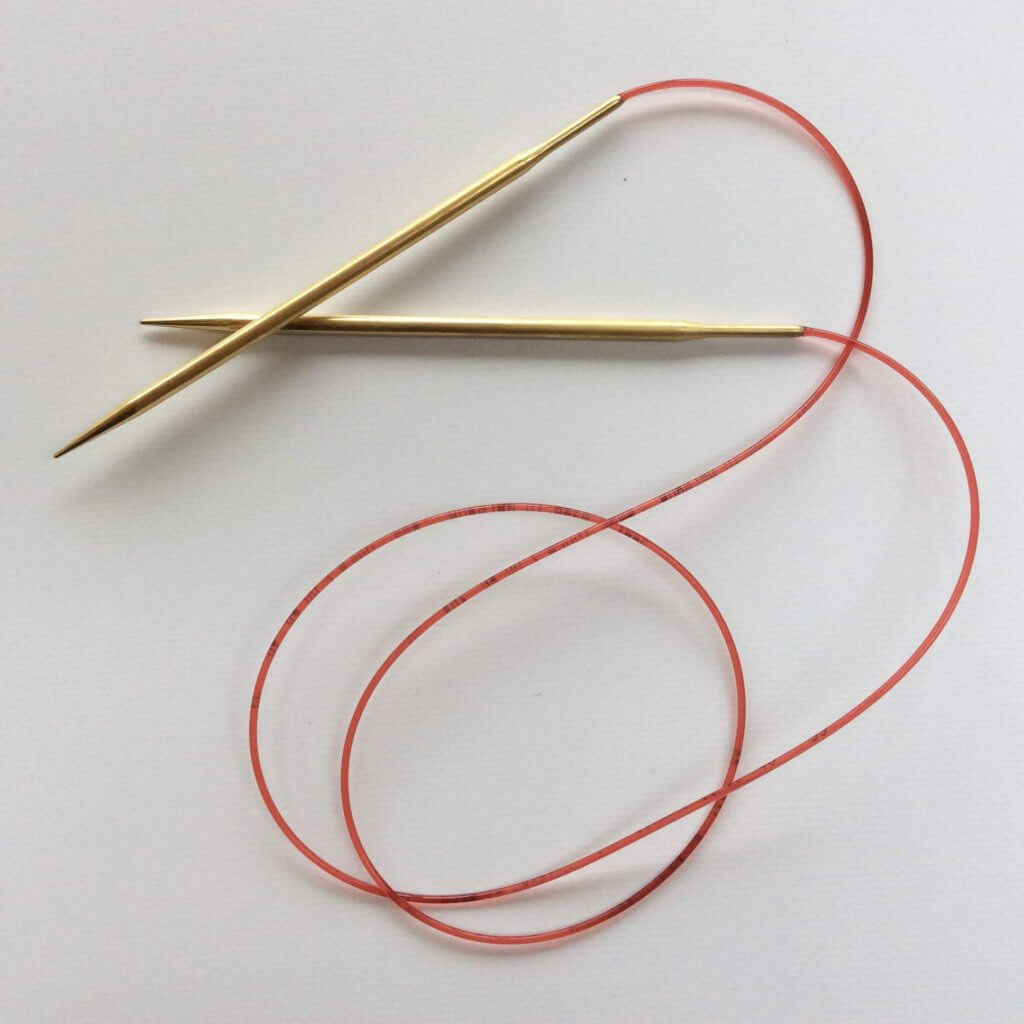
Needles: Addi Lace Circular Needles. In this project, I used the 4.5 mm (US 7) size.
Stitches used
- k – knit
- p – purl
- RS / WS – right side / wrong side
- rep – repeat
- sl – slip the indicated stitch purl-wise to the right-hand needle
- st(s) – stitch(es)
- wyib – with the yarn held in the back of your project
- wyif – with the yarn held in the front of your project
Linen stitch
Row 1 (RS): * K1, sl 1 wyif; rep from * to 1 st before end, k1.
Row 2 (WS): Sl 1 wyib, * p1, sl 1 wyib; rep from * to end.
Repeat rows 1-2 for pattern until desired length.
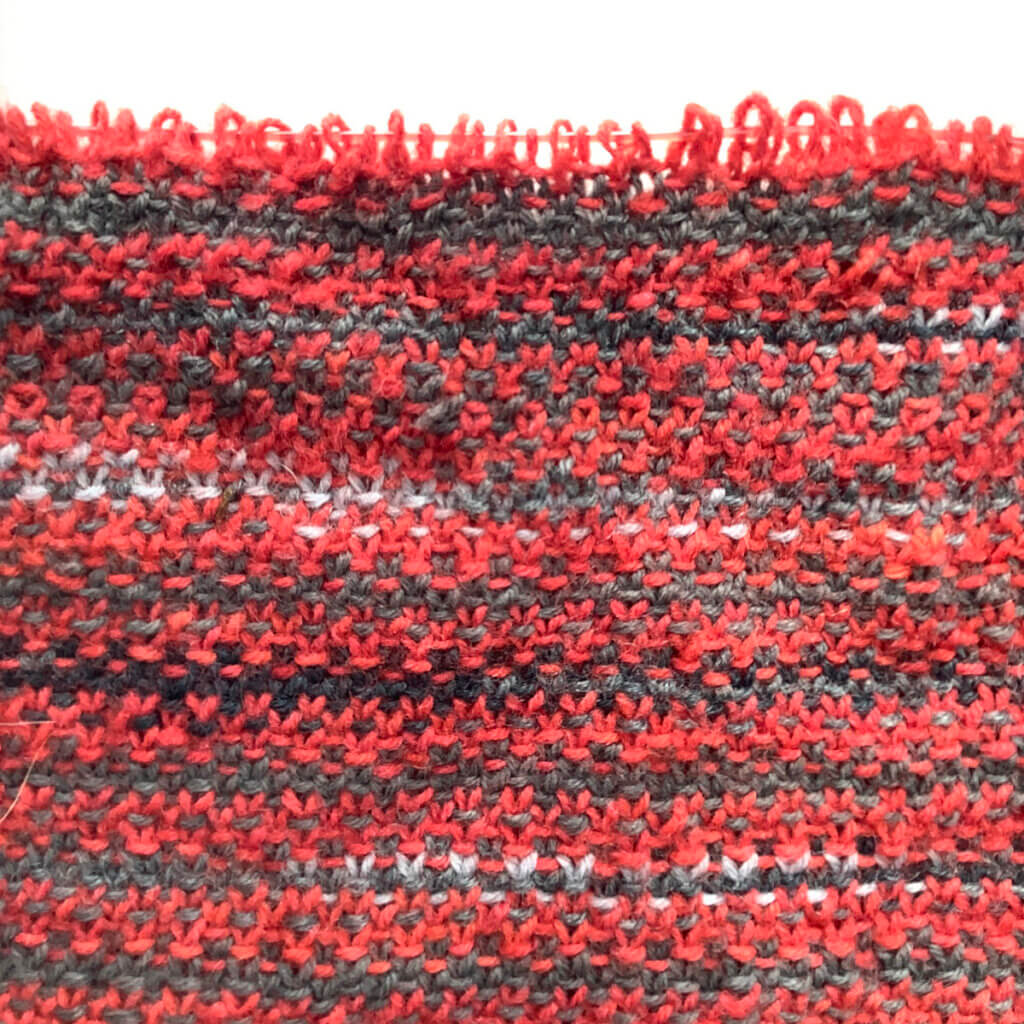
In the below pictures, you see the patterning first from the right, and then also from the wrong side of the fabric:

Thanks to my Patreon supporters for bringing you this freebie! Creating quality patterns and tutorials is a lot of work and resource-intensive. However, I find it important to give you free content like this tutorial. Thanks to the generous support of my Patreon supporters, I can make it happen. Thank you, patrons! Click here to join, or click here to read more about La Visch Designs on Patreon.


