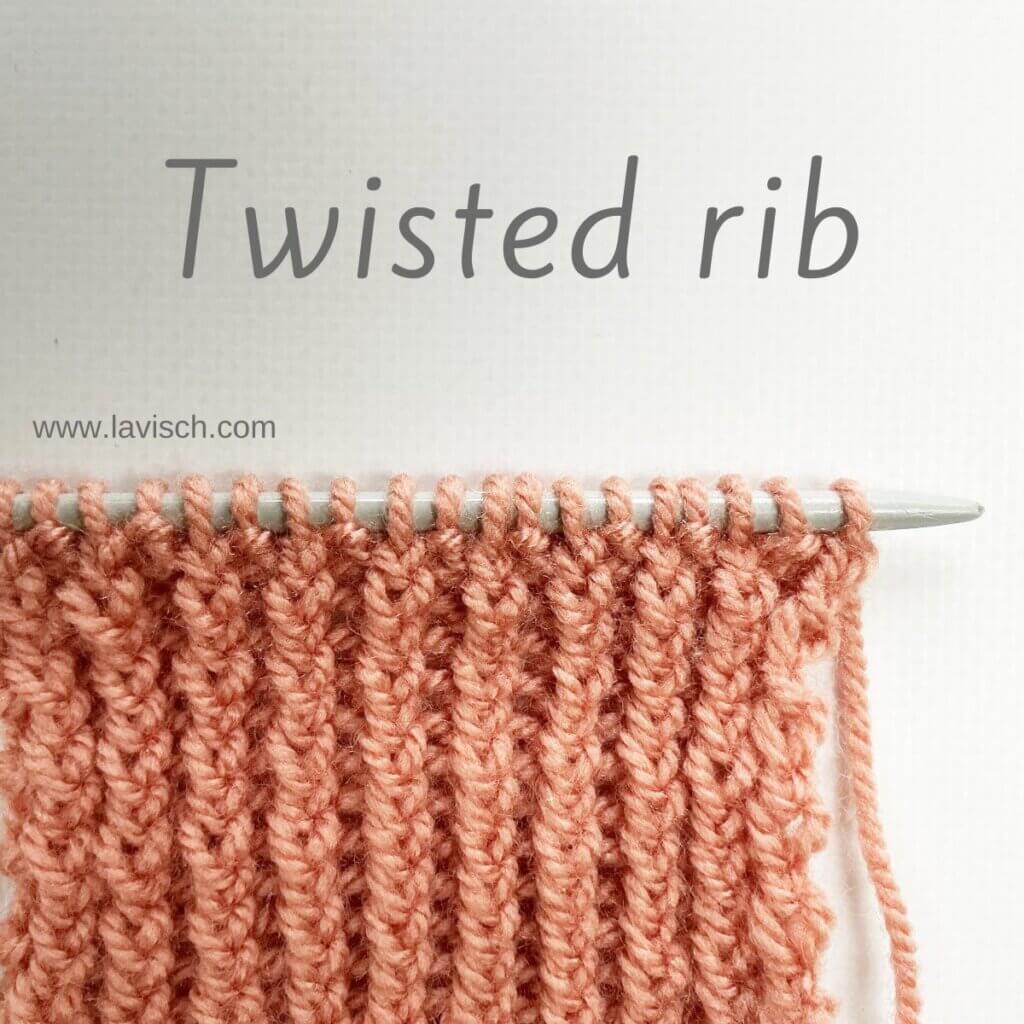
Twisted rib is a ribbing technique that creates a crisp texture by intentionally twisting the knit stitches as you work them. It’s commonly used for cuffs, hems, and necklines where you want strong definition and elasticity without the relaxed look of standard rib. In regular ribbing (like k1, p1), you work the knit stitches through the front loop, allowing the stitch to sit open and relaxed. In twisted rib, however, you work them through the back loop (tbl). This small change crosses the legs of the stitch. This tightens it and makes the column of stitches stand out more sharply. The trade-off is that twisted rib is less elastic and slightly slower to knit than regular rib.
Personally, I use twisted rib quite a lot in garments, because I really like the way it looks.
Materials used


Yarn: Paintbox Yarns Simply DK, a good value, good quality 100% acrylic yarn, here in the color 155 Vintage Pink.
Needles: This is a pair of straights that I picked up at the second-hand store when I started knitting, brand unknown.
Stitches used
k – knit
p – purl
RS / WS – right side / wrong side
tbl – through the back loop
1×1 twisted rib instructions
Row 1 (RS): *K1 tbl, p1; rep from * to end.
Row 2: (WS): *K1, p1 tbl; rep from * to end.
Work these 2 rows for the pattern. When working in the round, you can just repeat row 1 for every round.
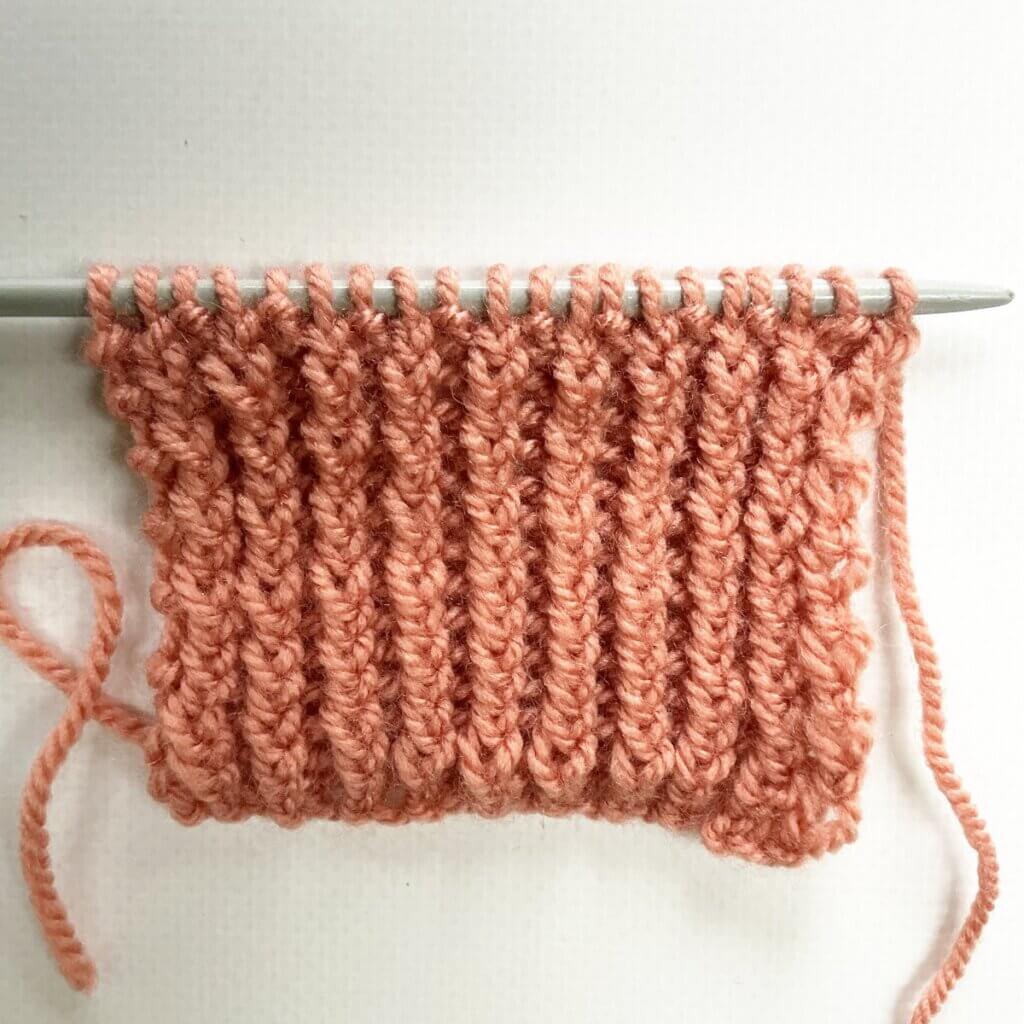
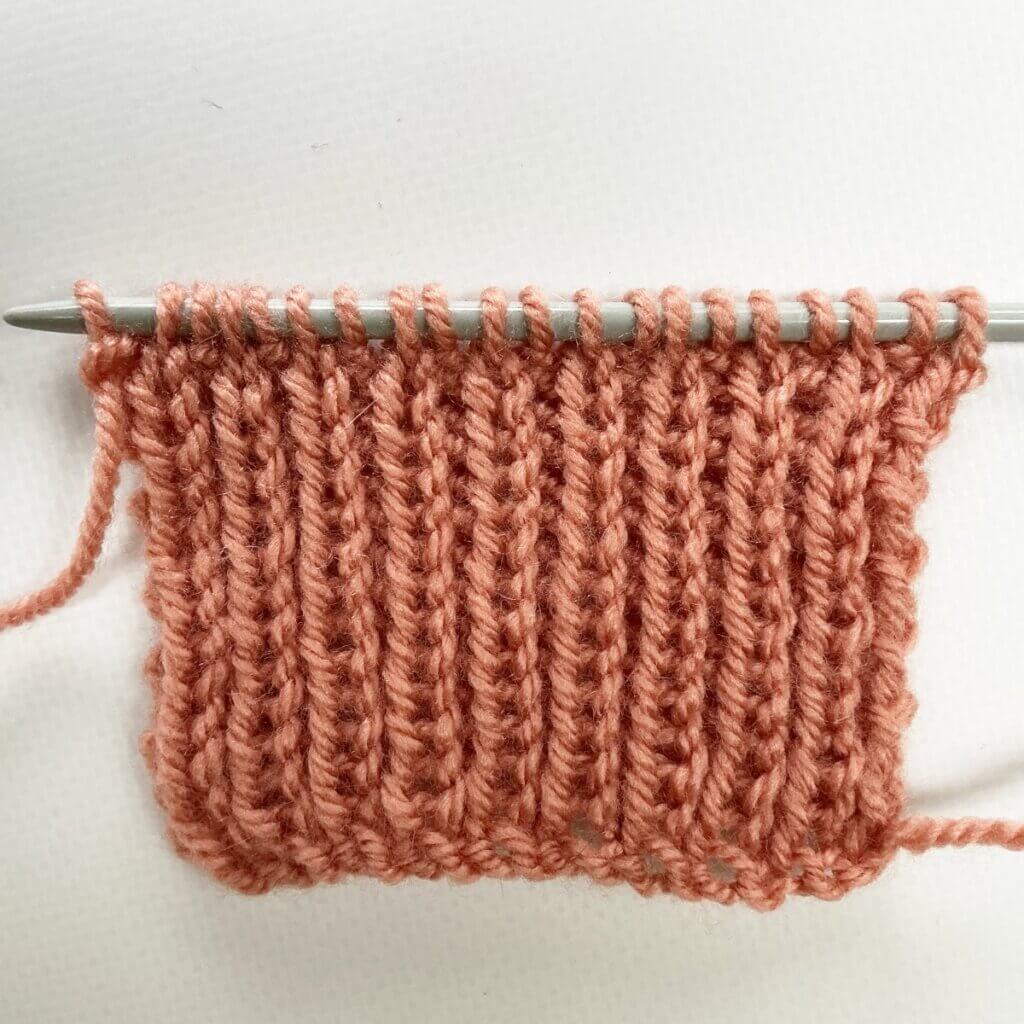
Below, you can see how this stitch pattern looks: First as seen from the right side, and then from the wrong side of the fabric.

Thanks to my Patreon supporters for bringing you this freebie! Creating quality patterns and tutorials is a lot of work and resource-intensive. However, I find it important to give you free content like this tutorial. Thanks to the generous support of my Patreon supporters, I can make it happen. Thank you, patrons! Click here to join, or click here to read more about La Visch Designs on Patreon.


