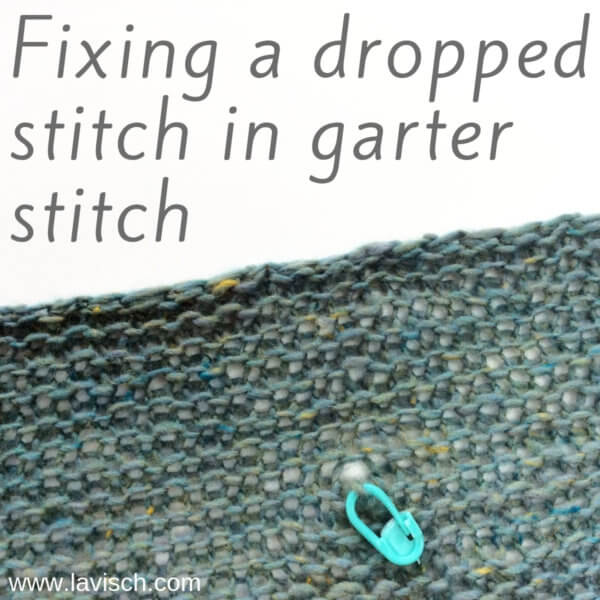
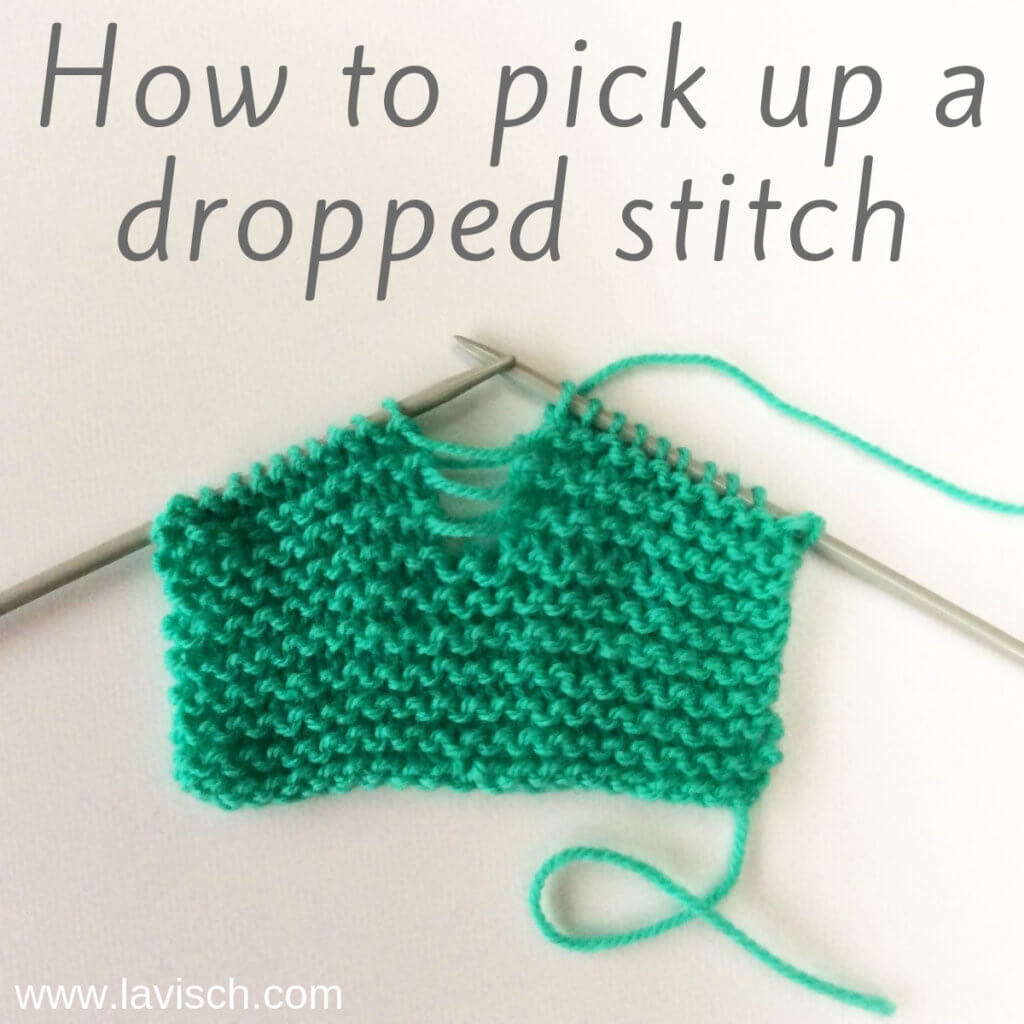
tutorial – how to pick up a dropped stitch
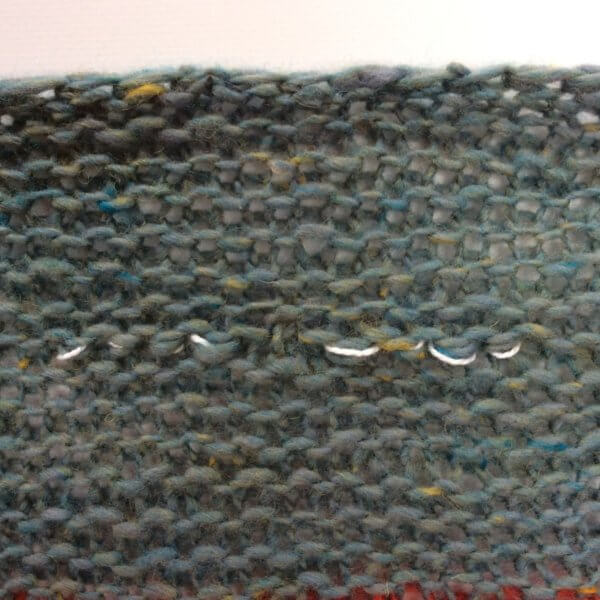
It happens to all of us: dropping a stitch in the middle of your knitting… When using a somewhat sticky yarn it’s usually just a matter of placing the stitch back on the needle and continue as before. When using a smooth, slippery yarn, it can however be that the dropped stitch runs down in your work, leaving a wake loose threads behind. The same can happy with a less smooth yarn, if it isn’t detected at first that a certain stitch has escaped from the needles.
Don’t panic, though! Picking up a dropped stitch in plain
Pick up a dropped stitch step-by-step
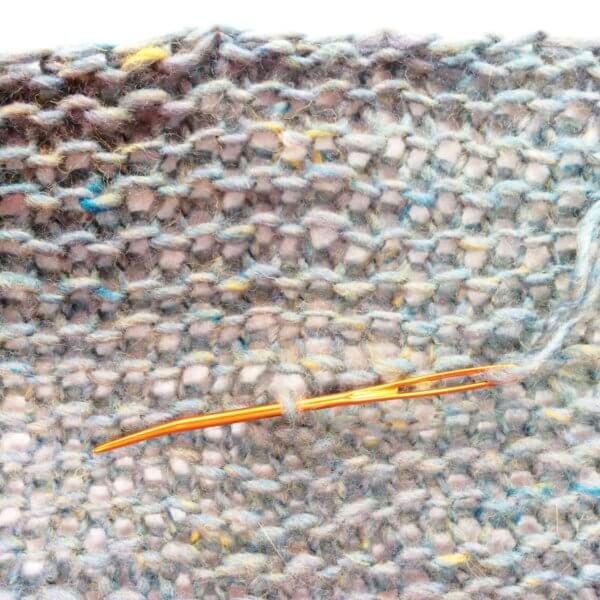
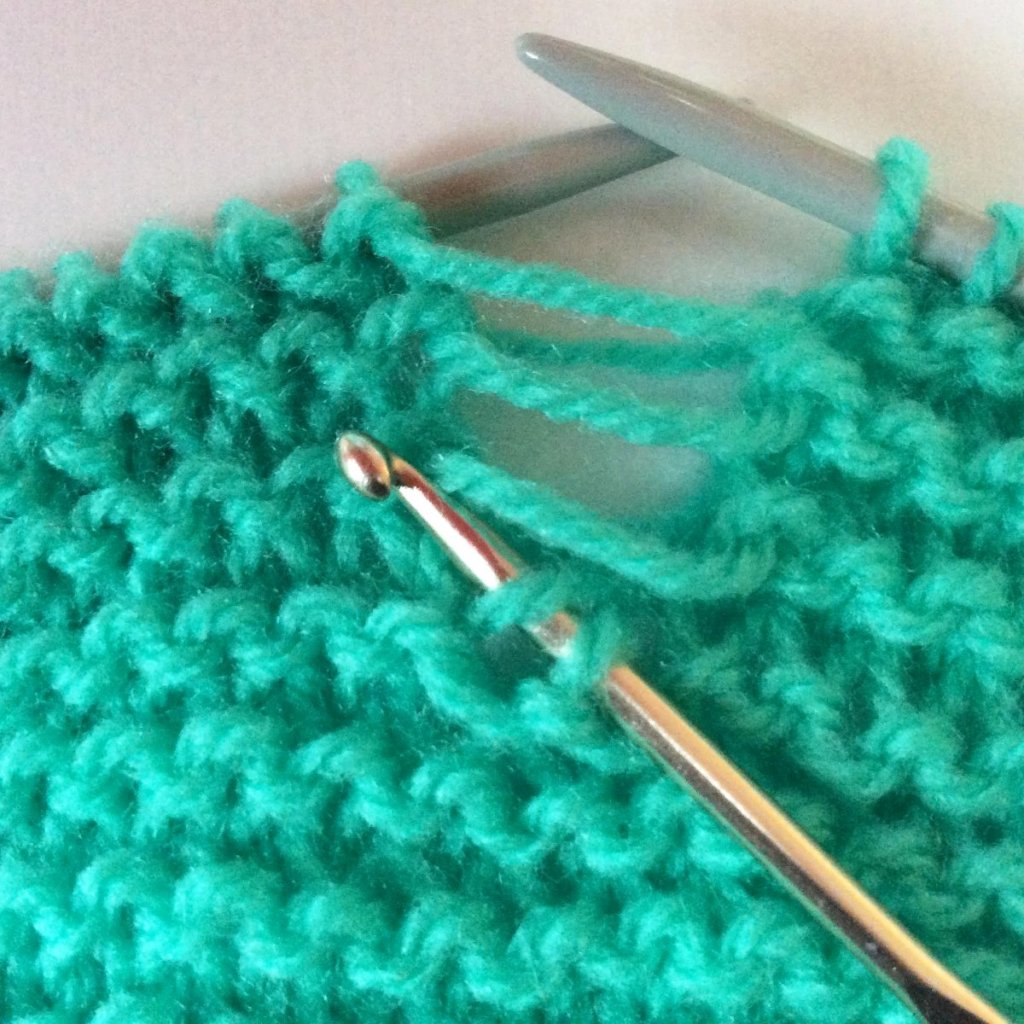
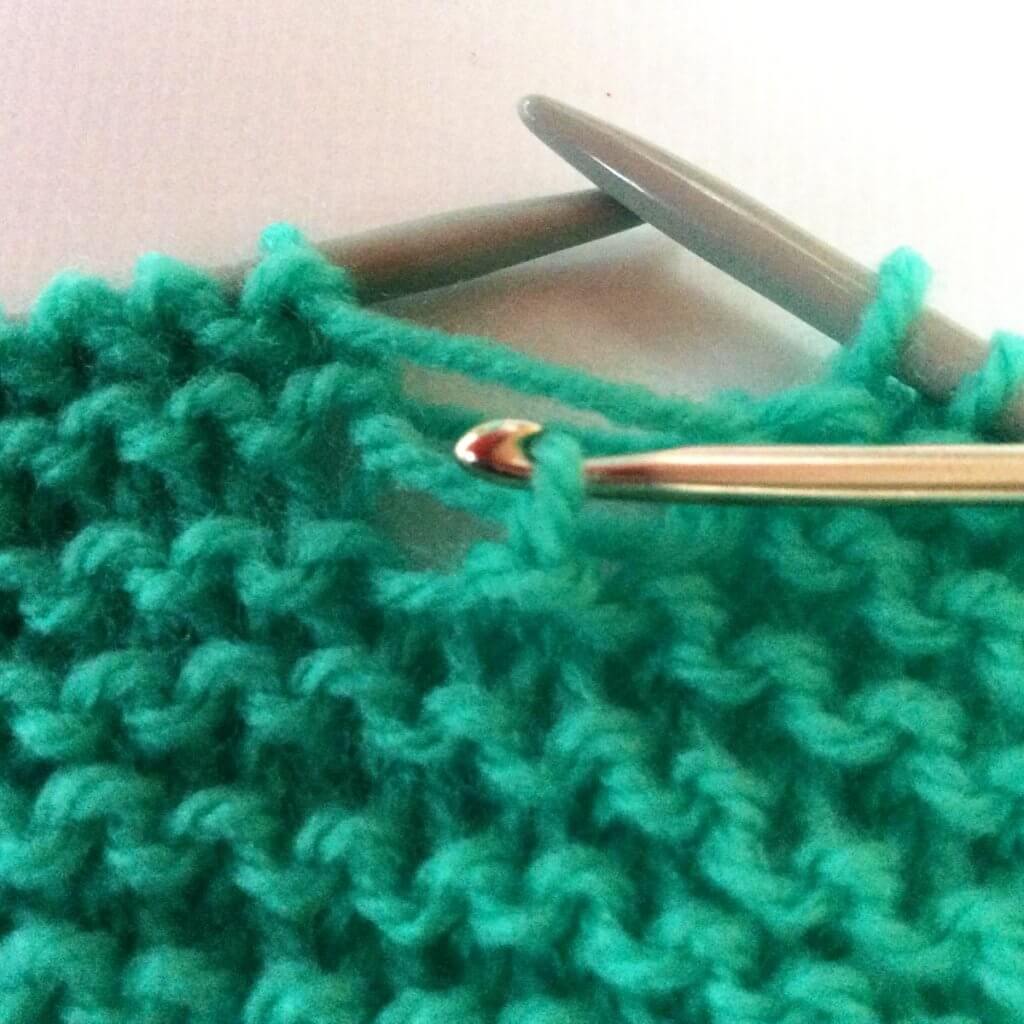
1. First, get your crochet hook and catch that run-away stitch before it runs down even further! Pay attention to the stitch itself and the one directly below: see that it has a purl bump directly below the captured stitch? This means that in this swatch (in garter stitch) the next stitch to be worked is to be a knit stitch. For that reason, I insert my crochet hook from the front to the back through the stitch.
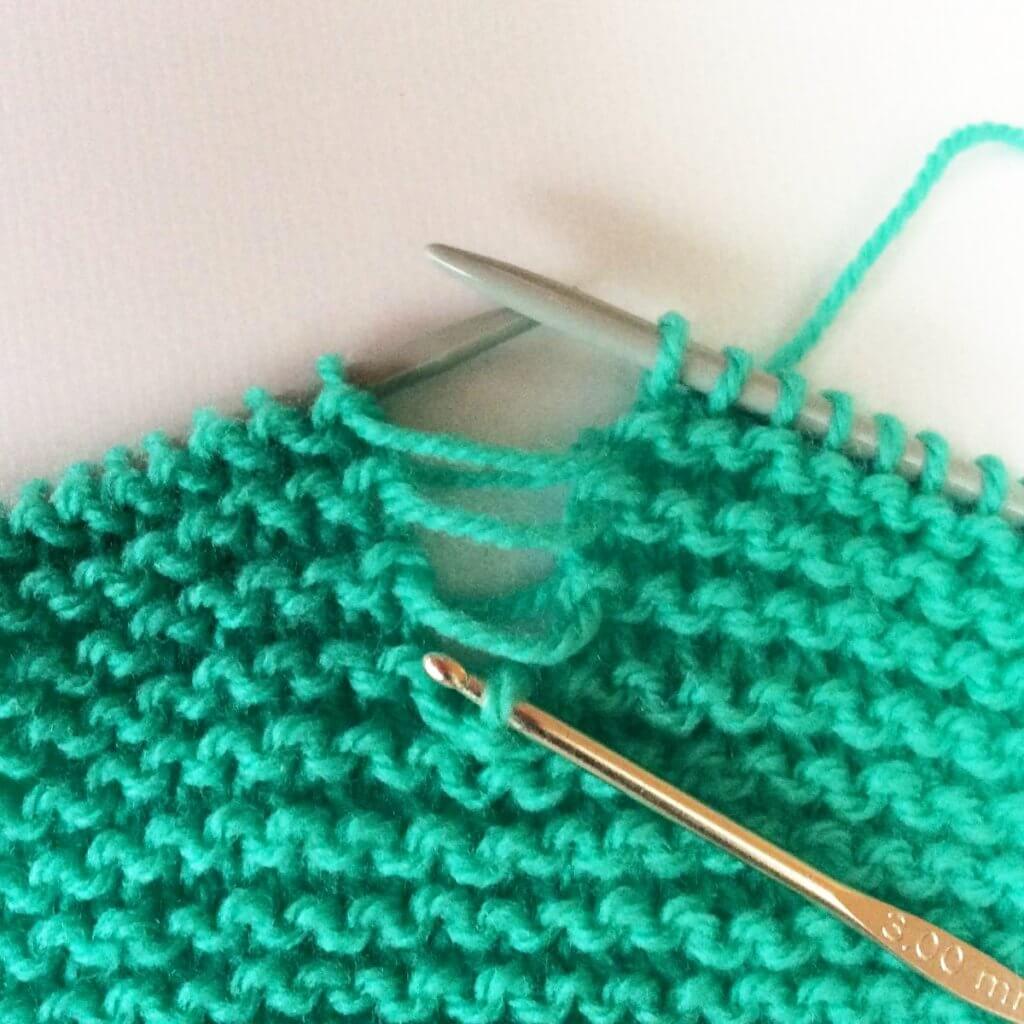
2. Next, grab the loose thread directly above and pull it through the first stitch on the hook.
3. In this picture you see how this looks once the crochet hook has been removed. Now, if we were picking up a dropped stitch in stockinette fabric we would just repeat steps 1 and 2. We are, however working in garter stitch, so a few more steps are needed.
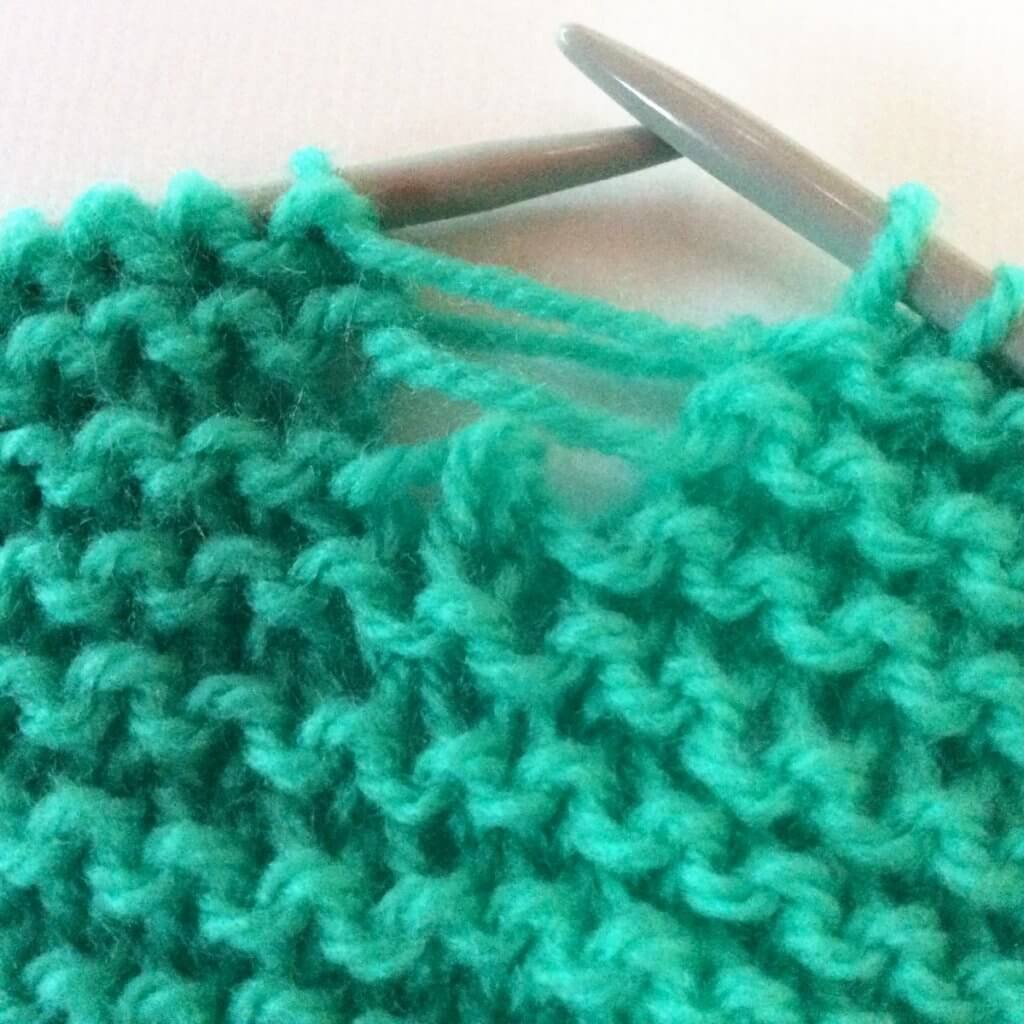
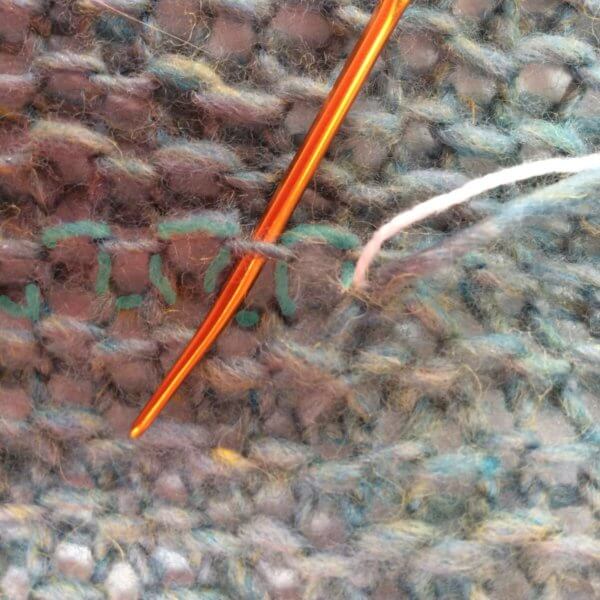
4. For the next stitch to be laddered back up, we need to work a purl stitch. To start, I move the next loose thread
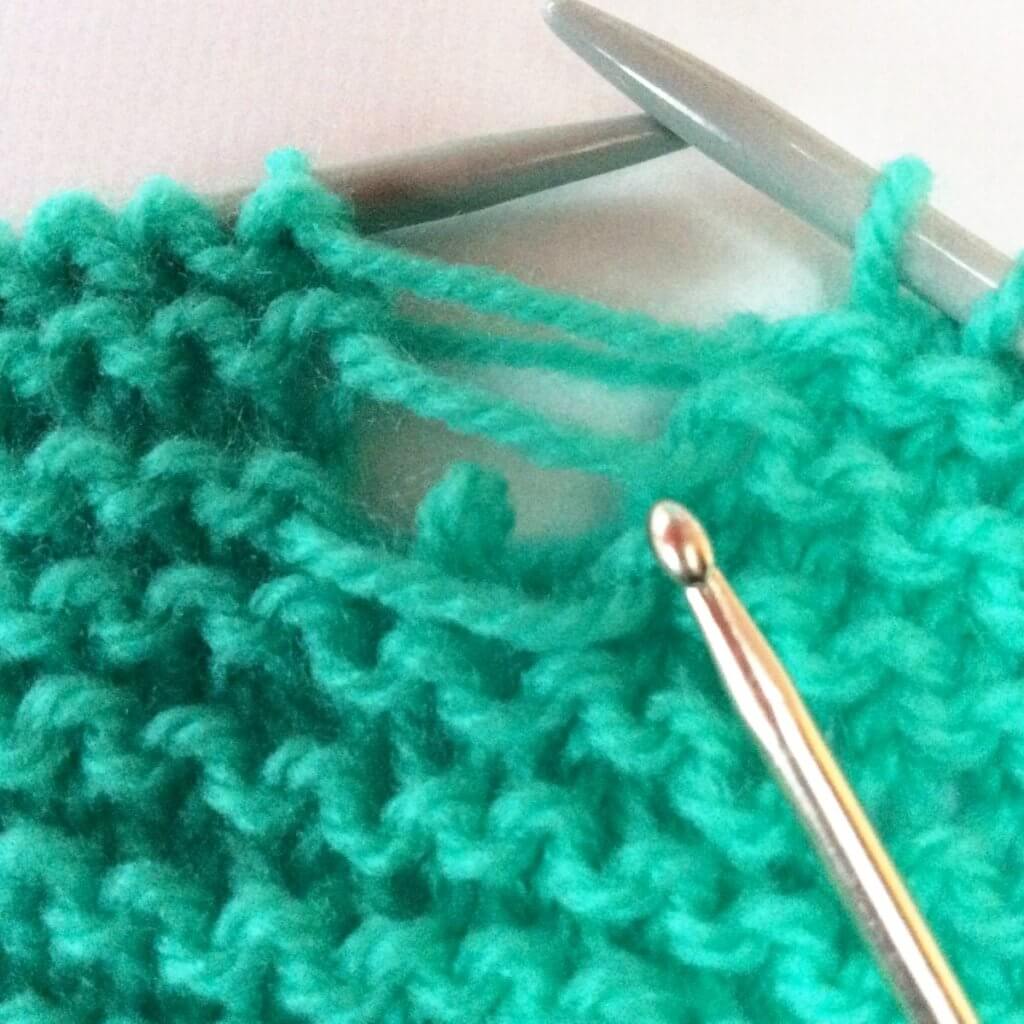
5. Next, insert the crochet hook into the stitch from the back to the front, grab the loose thread and pull it through the stitch on the hook.
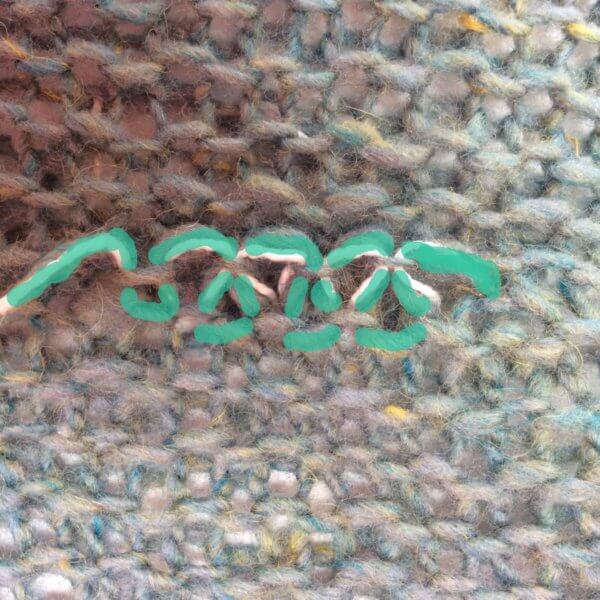
6. Now we have made a lovely purl stitch! You can recognize it by the purl bump (horizontal) directly below the loop on the hook.
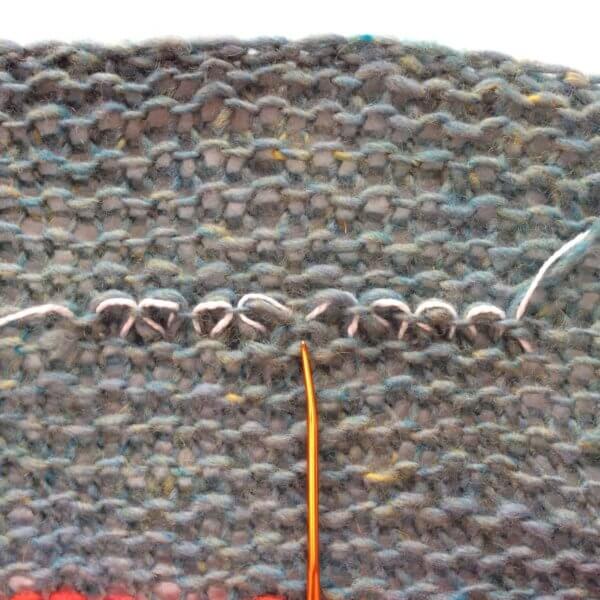
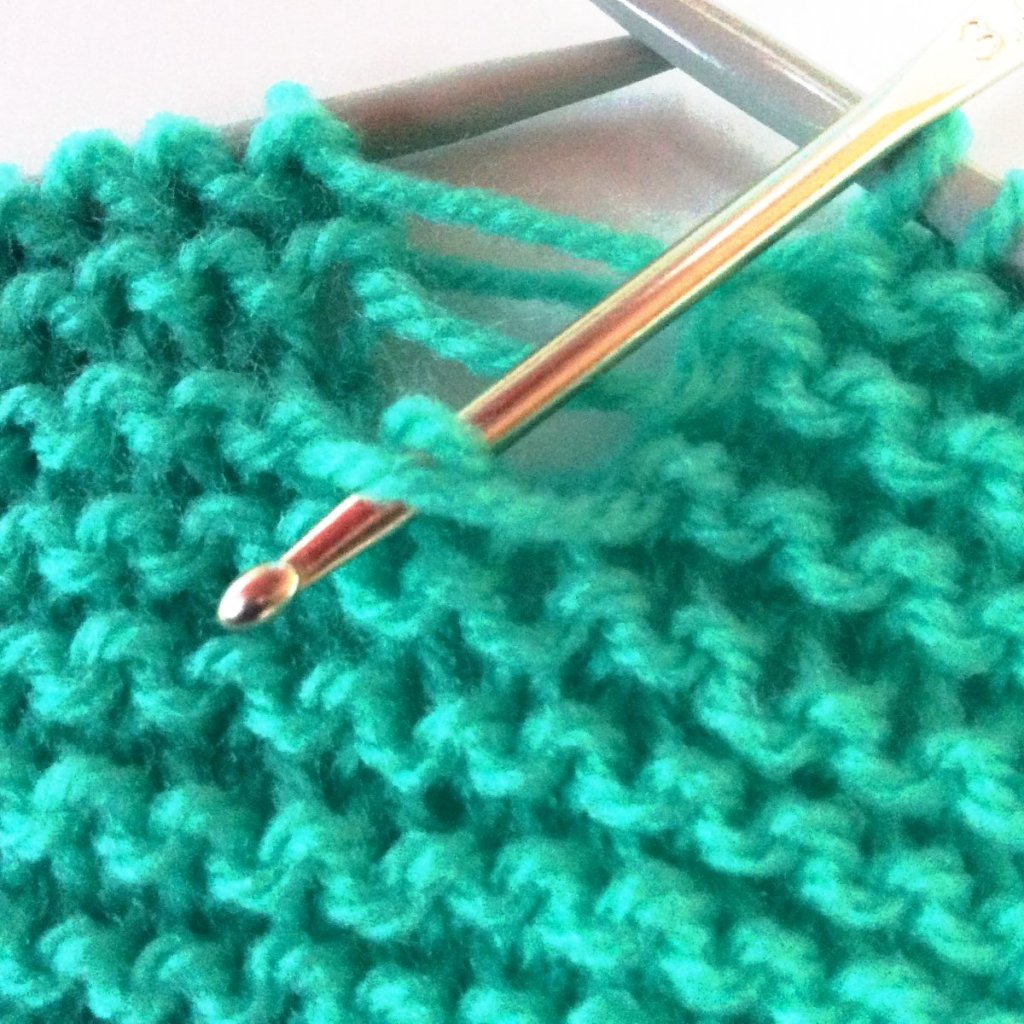
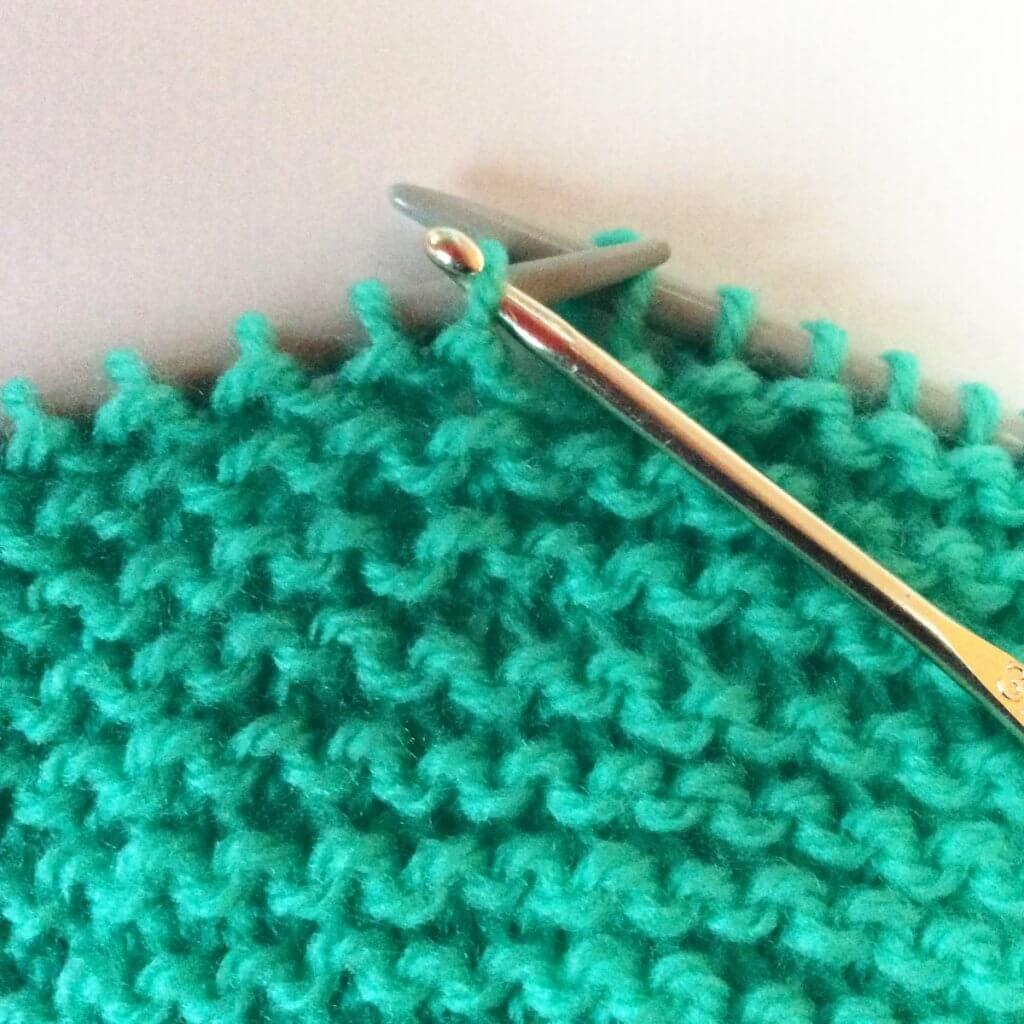
7. Repeat steps 1-6 as often as needed to work your way back up and place the dropped stitch back on the needle. And that’s how to pick up a dropped stitch!
Some more thoughts
In this example in garter stitch, I started with a knit stitch. If the stitch had run down another row, though, I would have had to start with a purl stitch instead. In other words: steps 4-6 followed by steps 1-3 instead of the other way around. This is why it’s so important to learn how to read your knitting!
Also, laddering a stitch back up can cause some pulling and unevenness in the fabric. This usually evens out with blocking though. If you have a lot of difference in the tension, you can also tease the stitches back to approx. the same size using a spare knitting needle.

Thanks to my Patreon supporters for bringing you this freebie! Creating quality patterns and tutorials is a lot of work and resource-intensive. However, I find it important to give you free content like this tutorial. Thanks to the generous support of my Patreon supporters, I can make it happen. Thank you, patrons! Click here to join, or click here to read more about La Visch Designs on Patreon.
tutorial – how to pick up a dropped stitch Read More »