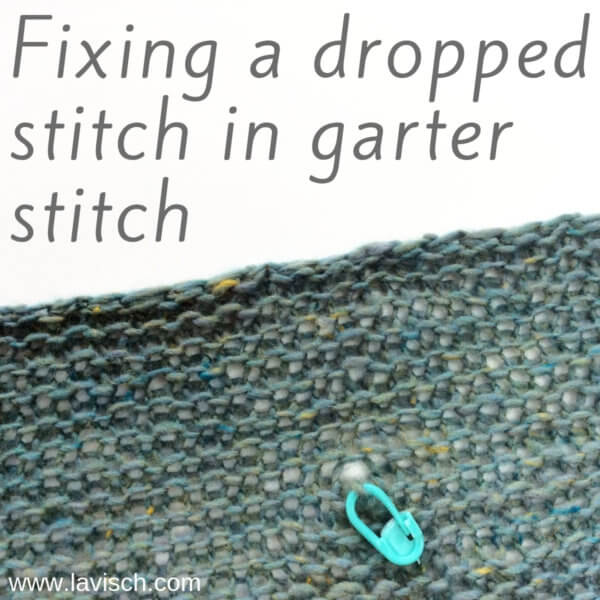
When I finished my Sirac stole, blocking was, of course, needed to let that cable & lace panel shine. And that was when I saw it… A dropped stitch, smack in the middle of one of the garter stitch panels. I must have knit through part of the strand, breaking it when brought under tension with the blocking. Or I just missed it. Whatever the cause, I needed to fix this!
To start, I just secured the dropped stitch with a locking stitch marker to prevent it from laddering down. I worked this particular project in a sticky kind of wool, but under tension, all yarn will ladder down in knitting. So, better safe than sorry and use that stitch marker!
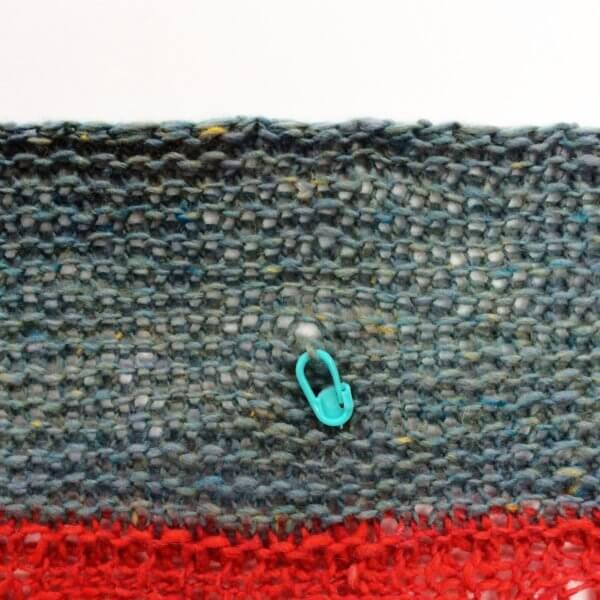
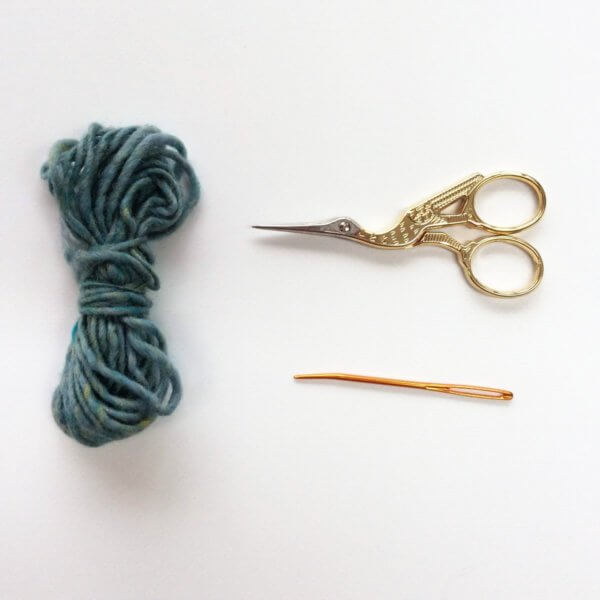
After the project was completely dry, I could remove it from the blocking mats and fix the stitch. If the project was still on the needles, I would just have worked it back up with a crochet hook. This project was already bound off and blocked. Therefore I went with a duplicate stitch approach instead. For this you need some of the yarn remaining from your project, a darning needle (I like the blunt tipped kind best for this kind of work), and some scissors:
Fixing a dropped stitch in garter stitch step-by-step
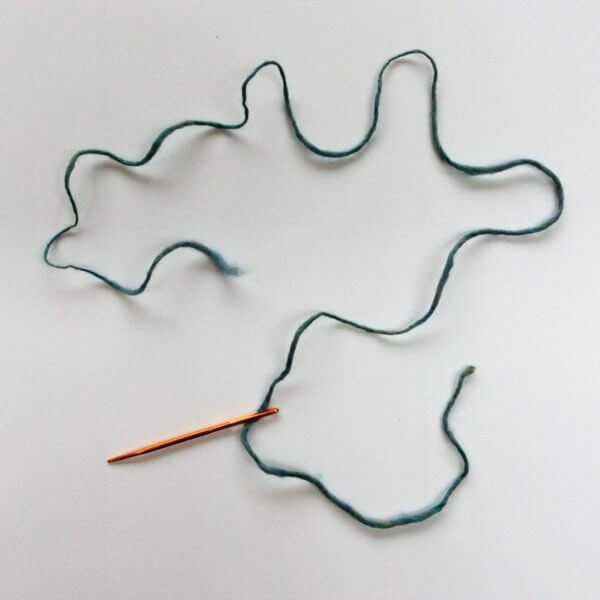
Normally I would use a contrasting yarn in a tutorial, so you can see better what I’m doing. In this case, however, I used the project yarn for the repair. To make it a tad better to see, I’ve held it double with some white crochet cotton and I’ve added some coloring during photo editing.
1. Start with threading a length of the yarn through the darning needle. Approx. 60 cm (24 inches) should be enough for single dropped stitches like this one.
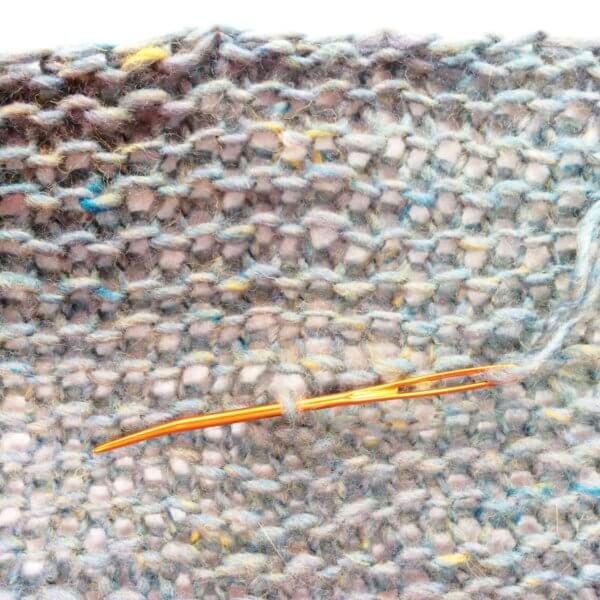
2. First, thread your needle through the dropped stitch to secure it. Make sure you pull about half the length of yarn through the stitch.
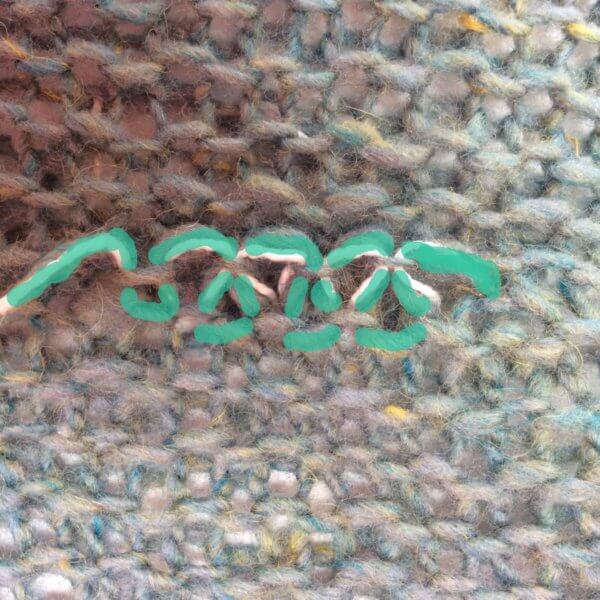
3. Now, with half the length of the yarn, I’m going to follow the route of the yarn in the stitches on the row the dropped stitch should have been worked in. I’ve made these stitches turquoise in the picture below, to make it a tad easier to see.
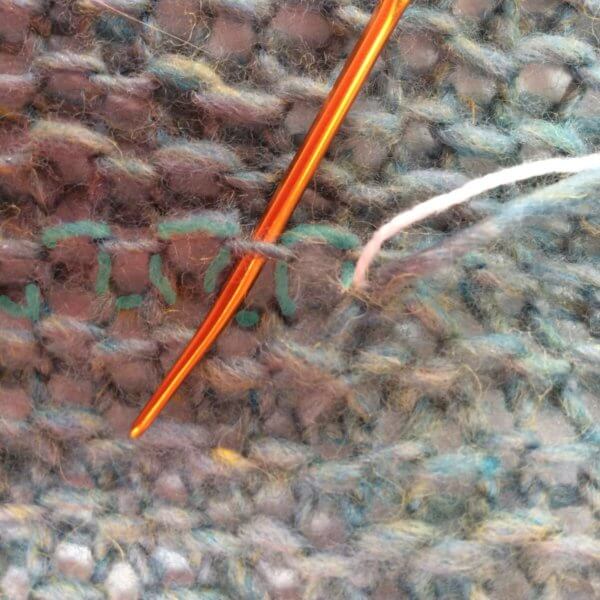
4. In this picture, the side left of the dropped stitch is all done, on the far left you see the little bit of yarn tail that remains.
5. Next, repeat threading the yarn through the stitches on the right of the dropped stitch, using the other end of the piece of yarn. Below you see the result, with the yarn needle indicating the place of the dropped stitch.
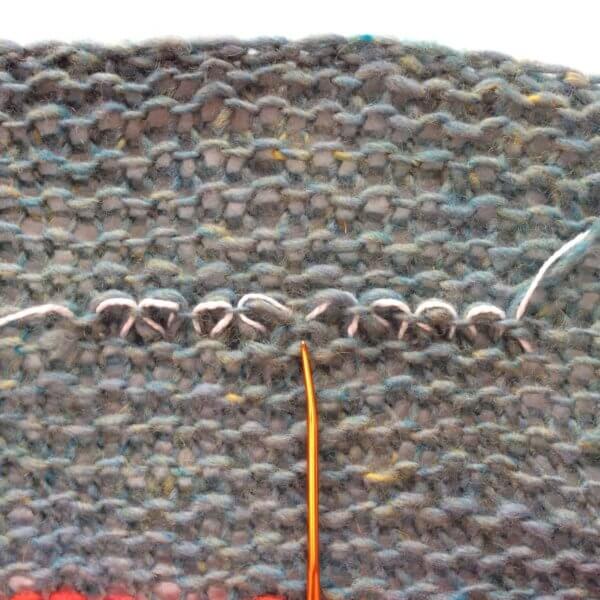
And this is how it looks on the other side of the work:
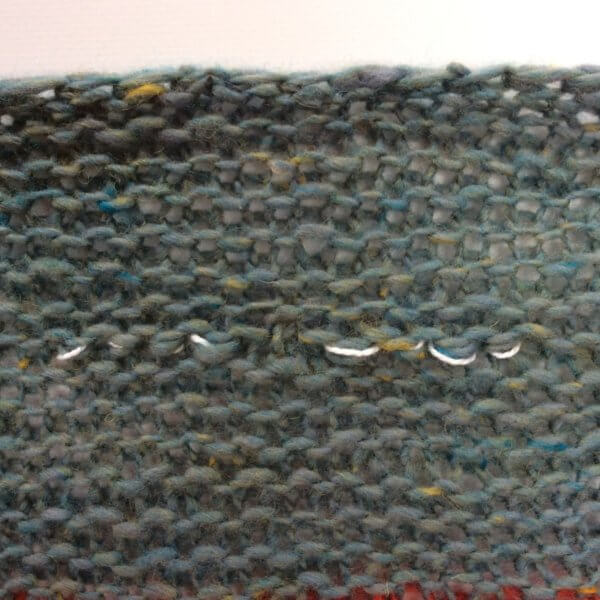
After removing the contrasting cotton thread, this is how it looks like from the right side of the work:
And yes, I know that I should have threaded the new yarn over the dropped stitch as well, to imitate the purl bar of garter stitch fabric. Now it looks a bit like a single stockinette stitch in all that garter stitch. Learn from my mistake! I know I will with any future dropped stitches in garter stitch fabric.

Thanks to my Patreon supporters for bringing you this freebie! Creating quality patterns and tutorials is a lot of work and resource-intensive. However, I find it important to give you free content like this tutorial. Thanks to the generous support of my Patreon supporters, I can make it happen. Thank you, patrons! Click here to join, or click here to read more about La Visch Designs on Patreon.


