If you’ve ever worked some sort of patterning in your knitting, you know it can happen easily: a short distraction. And when your attention is somewhere else a purl stitch is worked instead of knit stitch, or vice versa. It may even be that you won’t notice it until several more rows or rounds have been worked.
Personally, I have a very big aversion against ripping out my work, just because I made a little mistake a couple of rows back. I mean, it certainly is an option, but I consider it to be more of a last resort type of option.
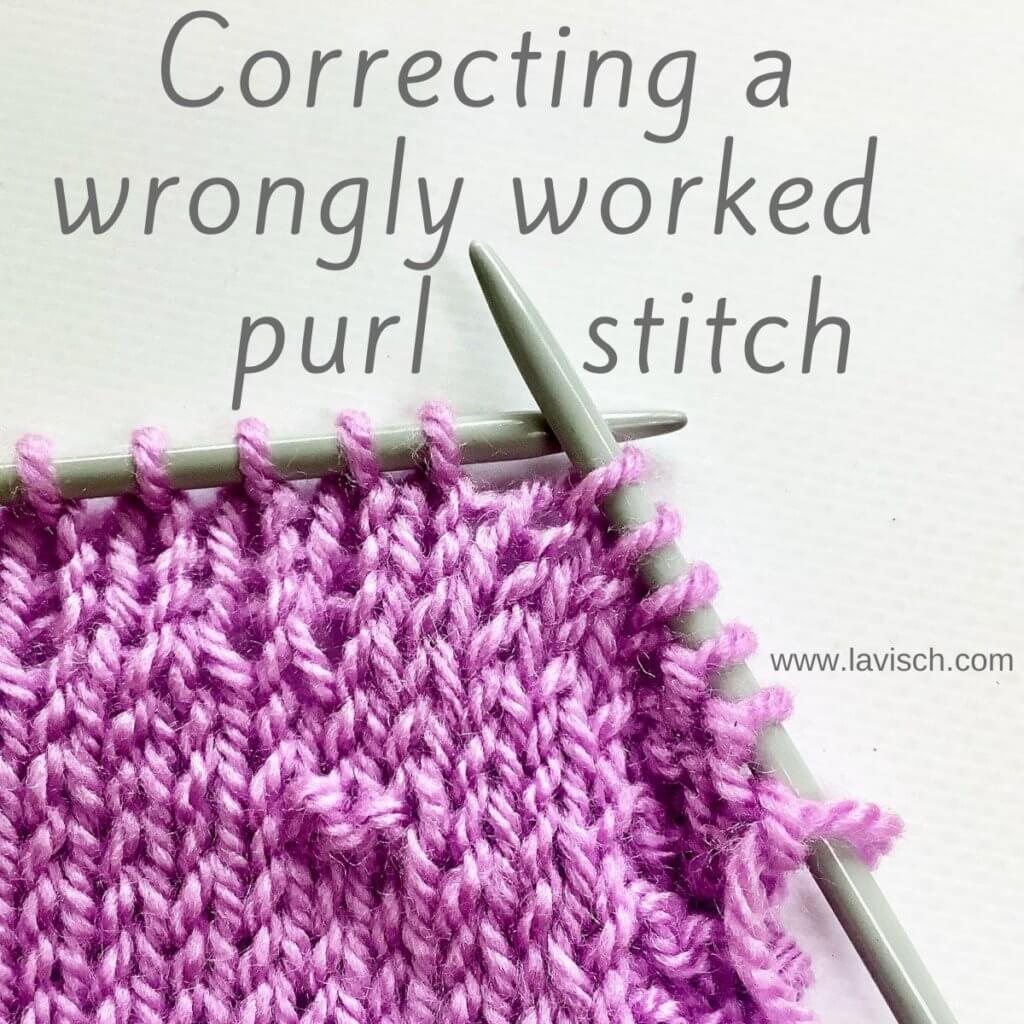
So, in this tutorial I’ll show you how to deal with a wrongly worked purl stitch that should have been a knit stitch.
Materials used


Yarn: * Paintbox Yarns Simply DK, a good value, good quality 100% acrylic yarn, here in the color 142 Tea Rose.
A crochet hook in the same size or slightly smaller than your knitting needles. For example this * Pony Aluminum Crochet Hook in size 4 mm.
Fixing the wrongly worked stitch step by step
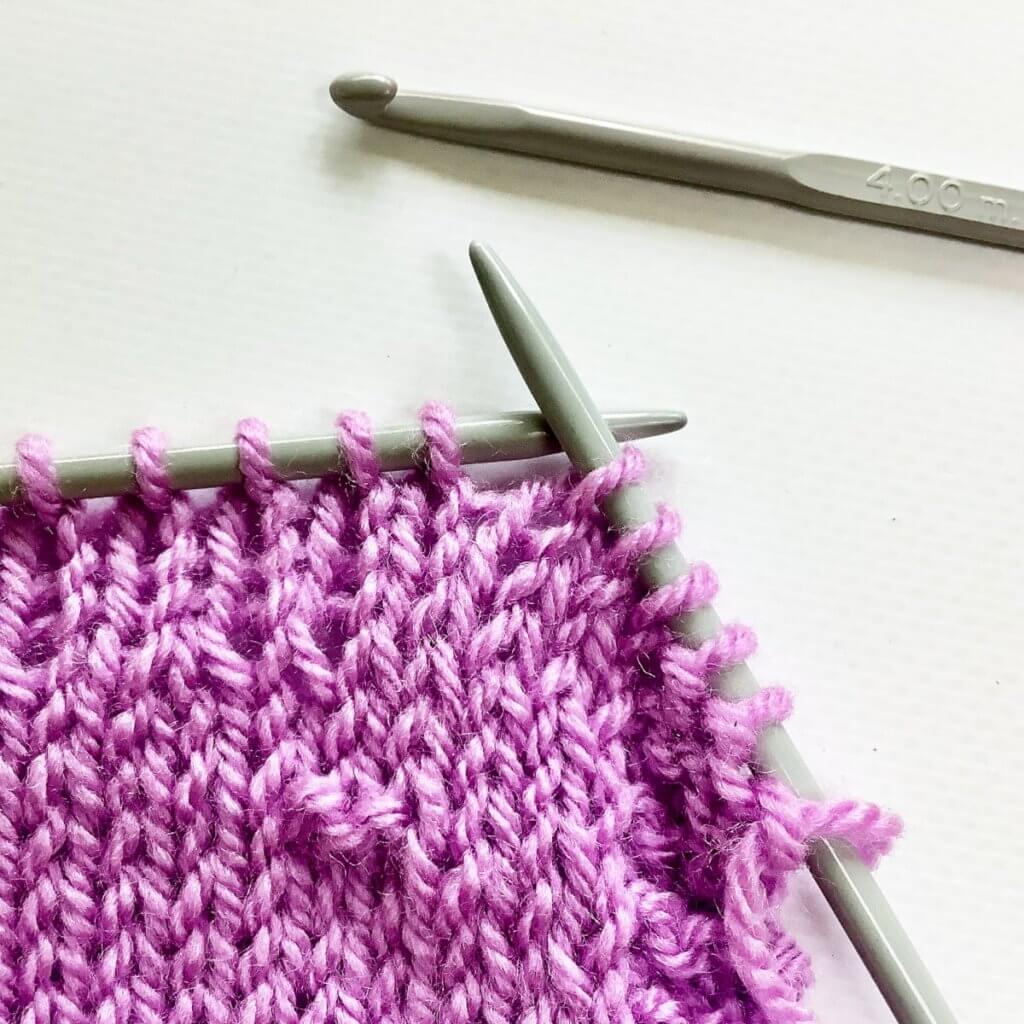
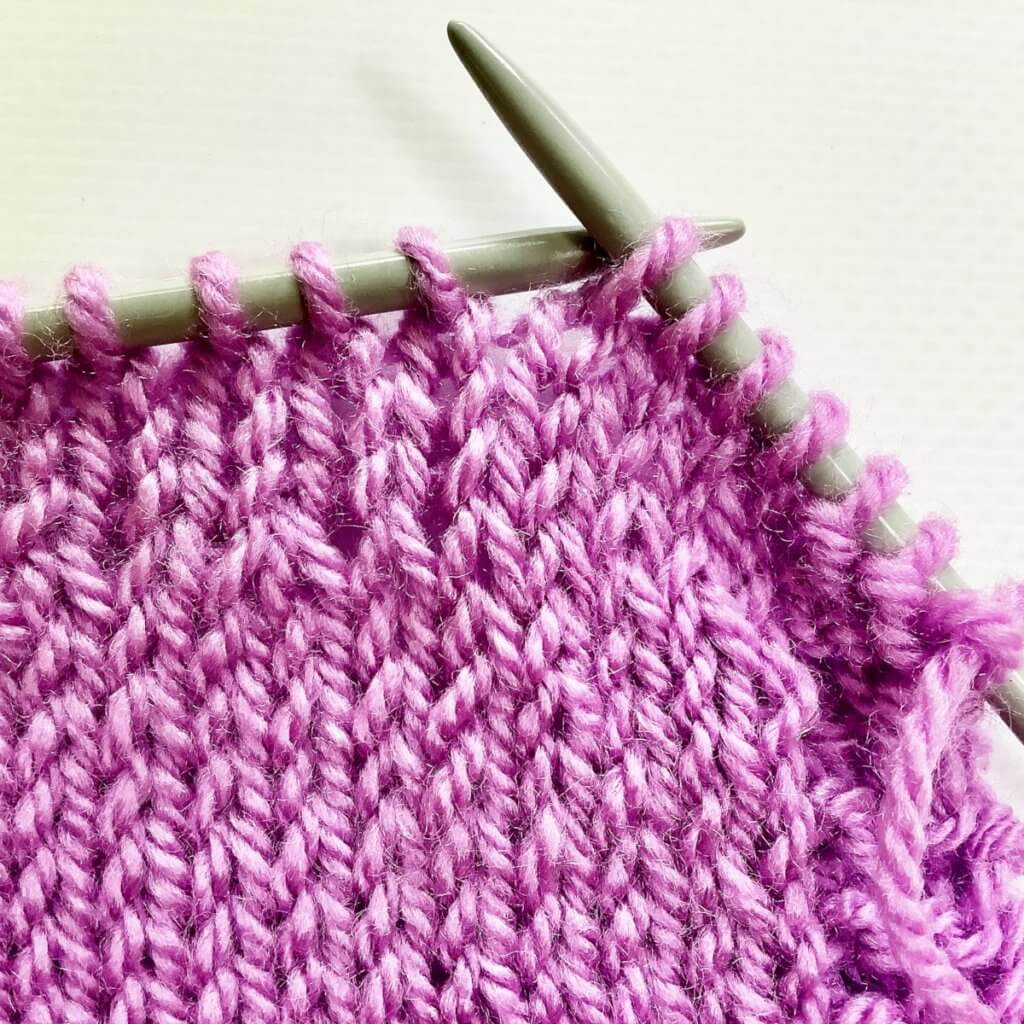
In this example, 2 stitches next to each other are purled instead of knitted in the stockinette fabric. Since there are only 2, I correct them one by one and not at the same time.
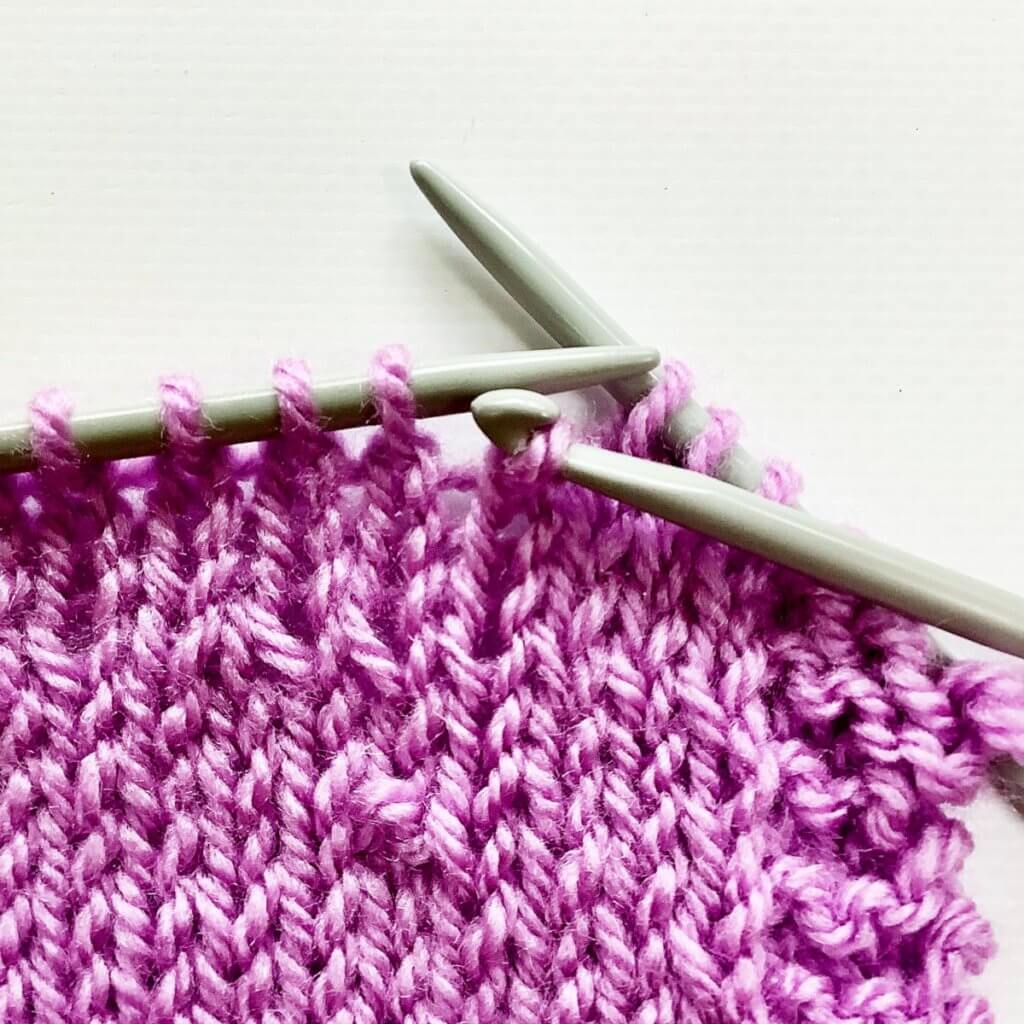
1. First, slip the stitches purl-wise from the left-hand needle to the right-hand needle, until you reach the first wrong stitch.
2. Drop this stitch and ladder down up to and including the purl stitch.
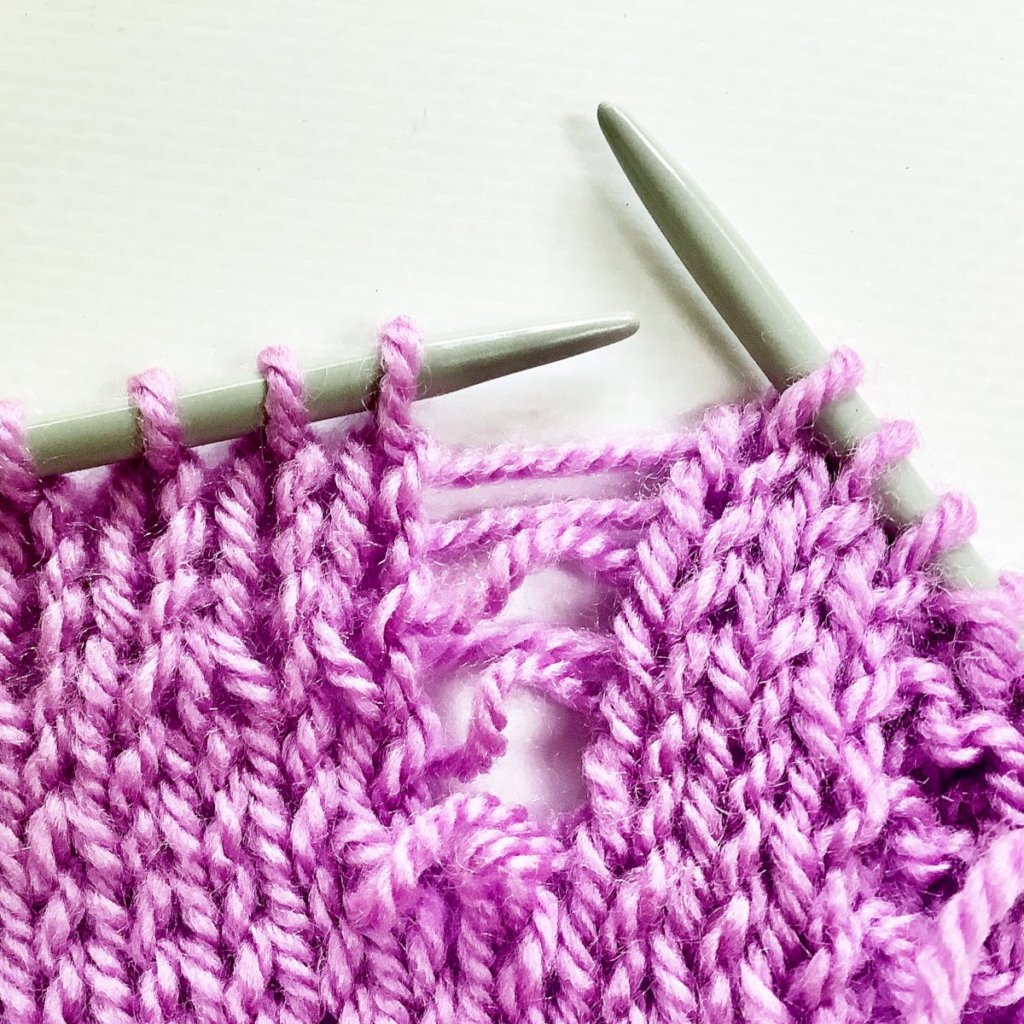
3. Since we want to create stockinette stitch fabric, we now insert the crochet hook through the correct stitch directly below the laddered-down purl stitch from the front to the back.
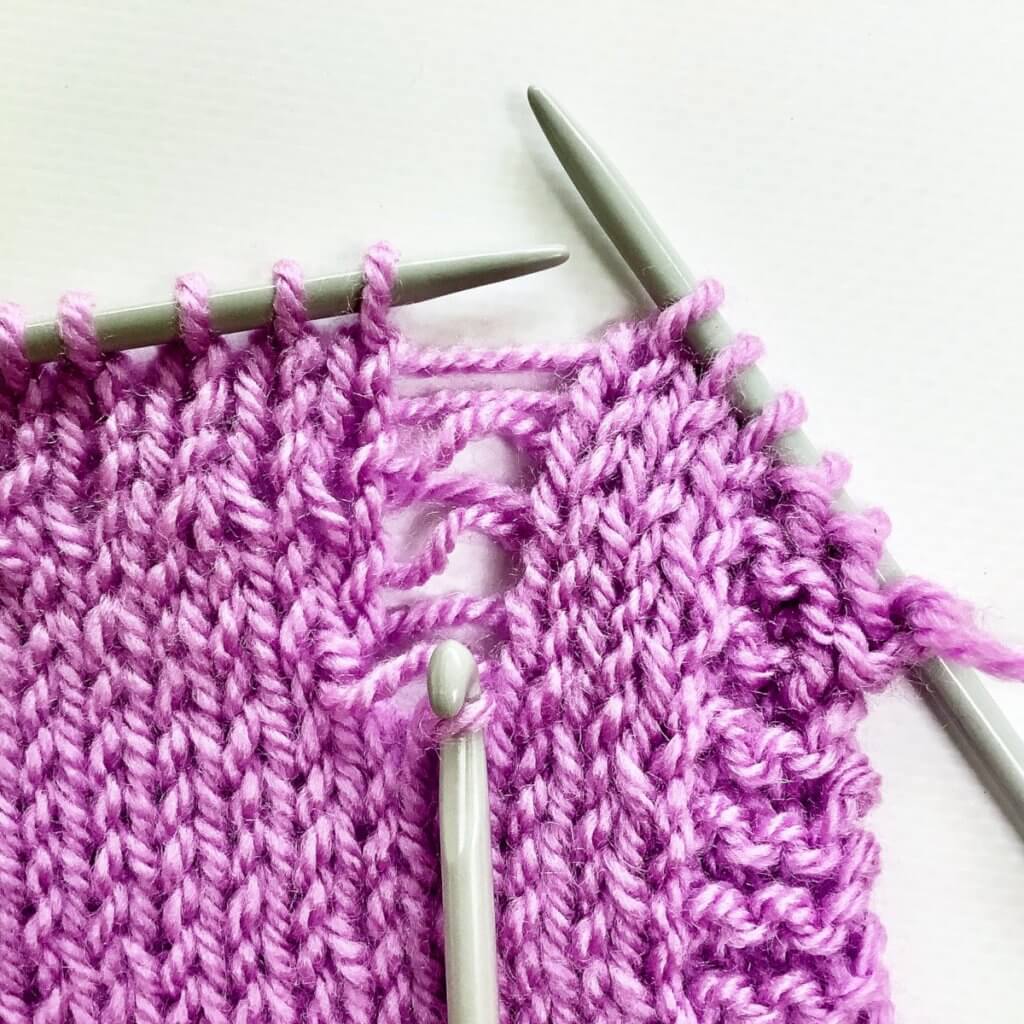
4. Next, ladder your way up again by inserting the crochet hook underneath the horizontal thread directly above the hook, and pulling the thread through the loop already on the hook to make a new knit stitch. Repeat this until all horizontal threads have been worked. After this you can place the stitch back unto the knitting needle.
5. Next, repeat steps 1 to 4 for the next wrongly worked purl stitch. The result should look something like this:
But what if I need to fix a knit into a purl?
Good question! Well, as you know the wrong side of a knit stitch is a purl stitch and vice versa. So, the easiest way to fix the reverse situation as pictured in this tutorial, is to just turn your work so the wrong side is facing! This way you’ve got the exact situation as pictured here.
If you do want to ladder up a purl stitch, do the following:
1. To start, move the next horizontal thread directly above the stitch from the back to the front of the work.
2. Next, insert the crochet hook into the stitch from the back to the front, grab the loose thread and pull it through the stitch on the hook.
If you’d like pictures with these last steps, take a look at the second part of my tutorial on how to fix a dropped stitch in garter stitch.

Thanks to my Patreon supporters for bringing you this freebie! Creating quality patterns and tutorials is a lot of work and resource-intensive. However, I find it important to give you free content like this tutorial. Thanks to the generous support of my Patreon supporters, I can make it happen. Thank you, patrons! Click here to join, or click here to read more about La Visch Designs on Patreon.


