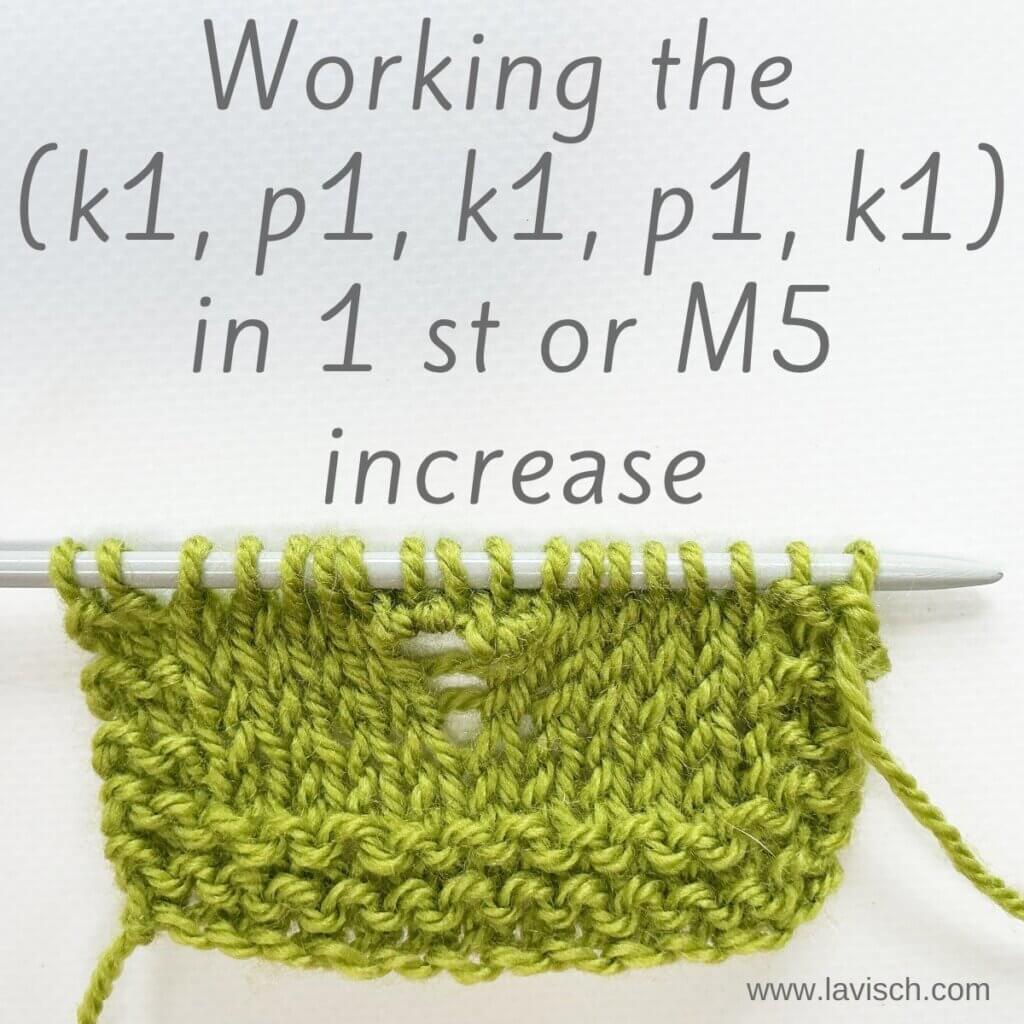
In one of my new shawl patterns, I used the (k1, p1, k1, p1, k1) in 1 stitch or M5 increase. So, time for a new tutorial! With this increase, 1 stitch is increased to 5 by working [k1, p1] twice in the same loop, followed by another k1. That said, if you’d like to increase 7 or even 9 stitches instead of 5, just work more repeats of [k1, p1] into the original stitch.
Let’s get our materials and get started!
Materials used


Yarn: Paintbox Yarns Simply DK, a good value, good quality 100% acrylic yarn, here in the color Lime.
Knitting needles: This is a pair of straights that I picked up at the second-hand store when I started knitting, brand unknown.
Working the (k1, p1, k1, p1, k1) increase step by step
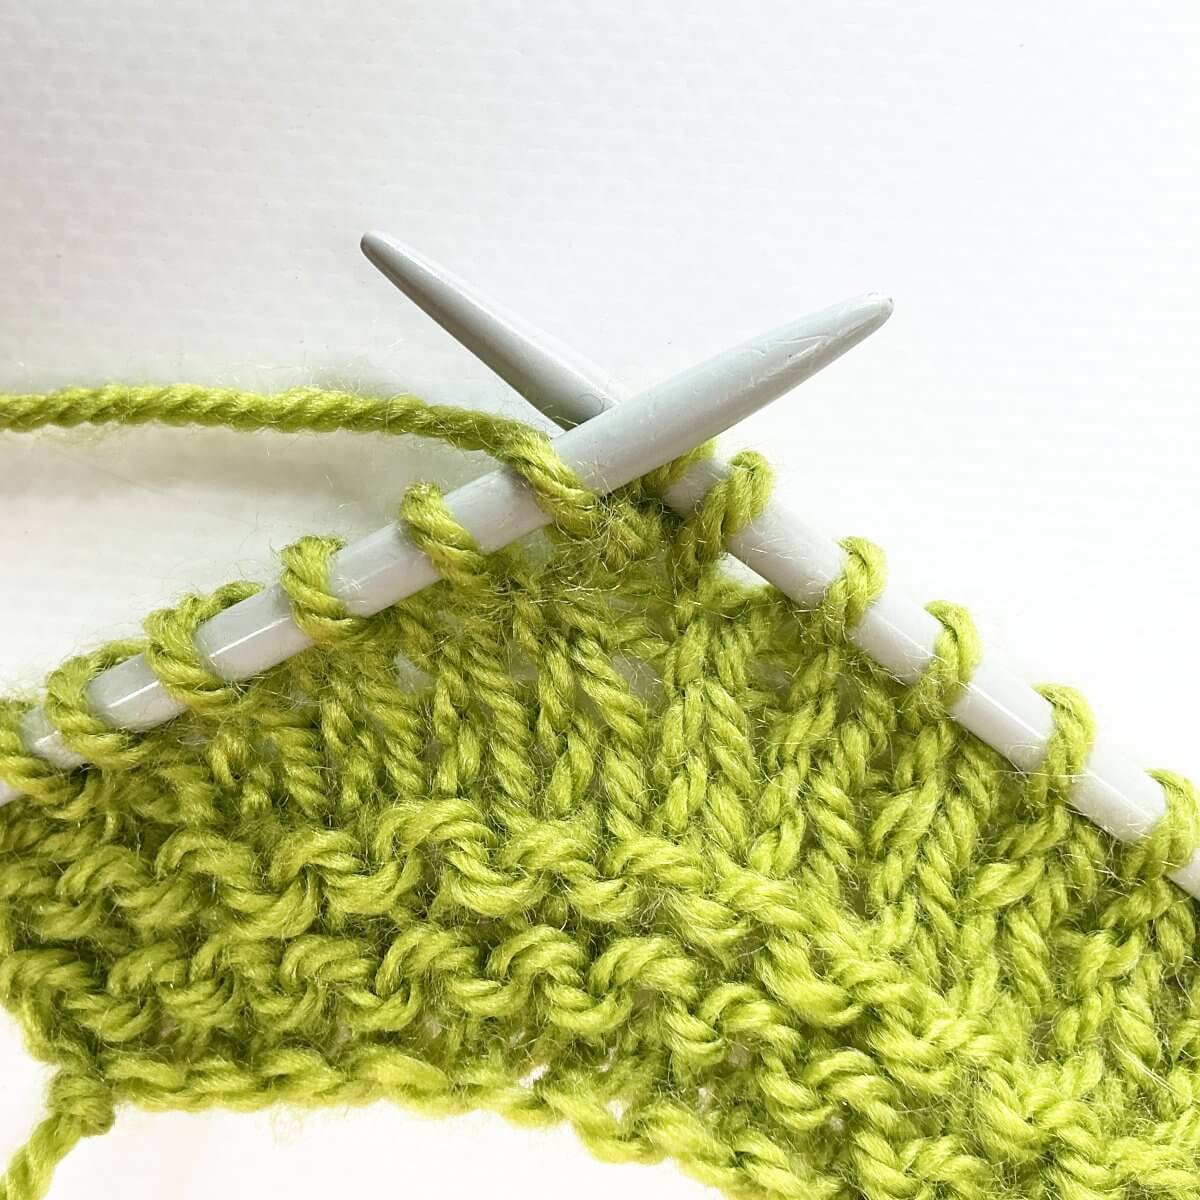
- To start, work as instructed by your pattern until the point where you want to make the increase.
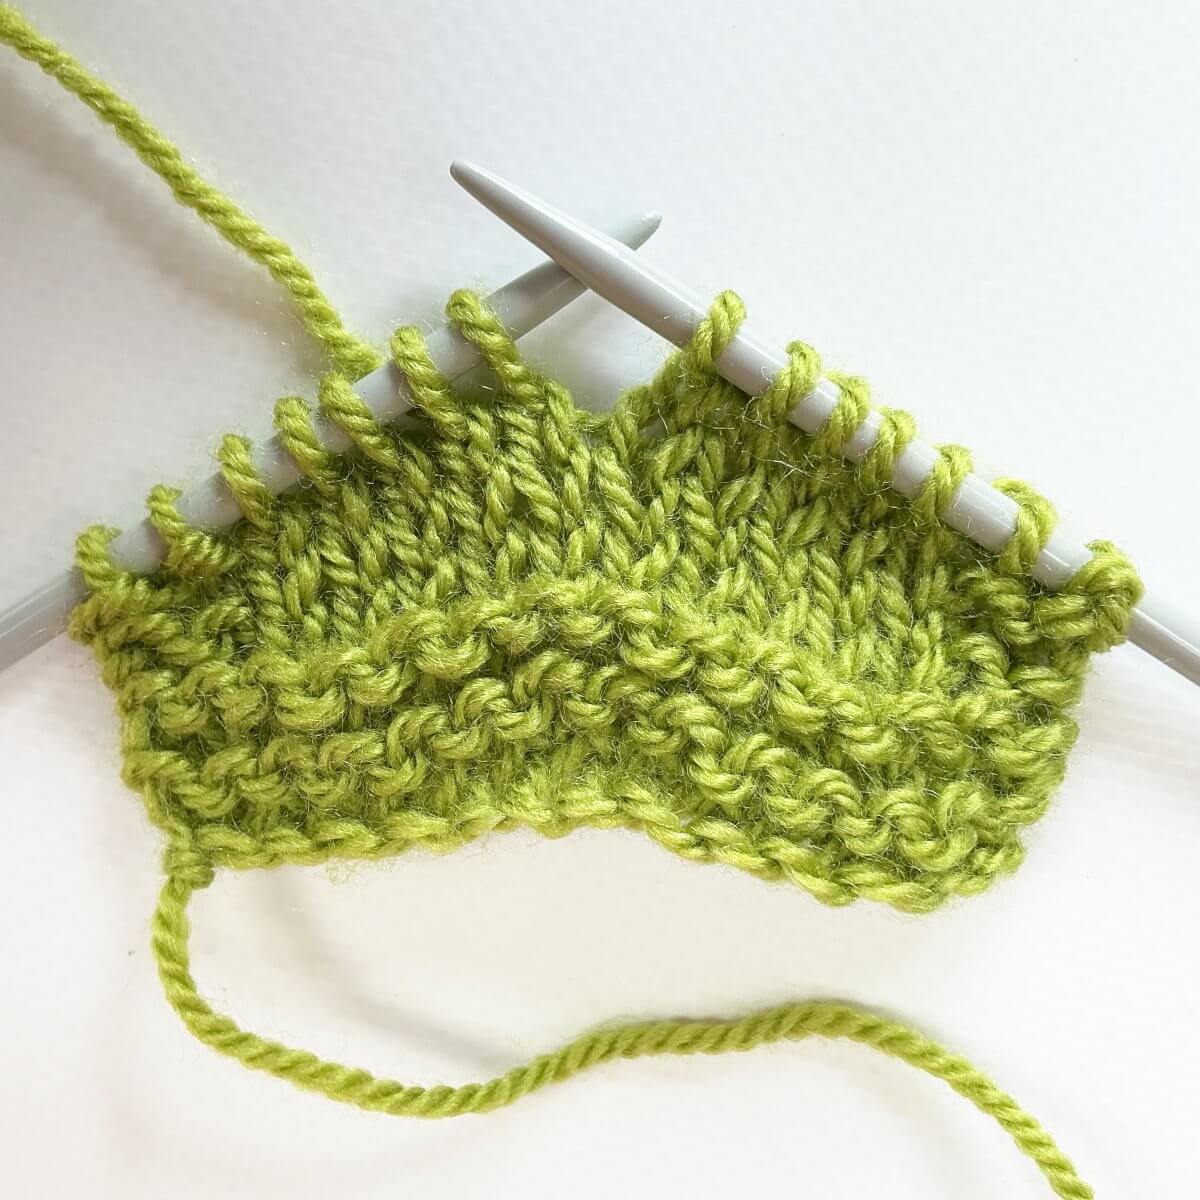
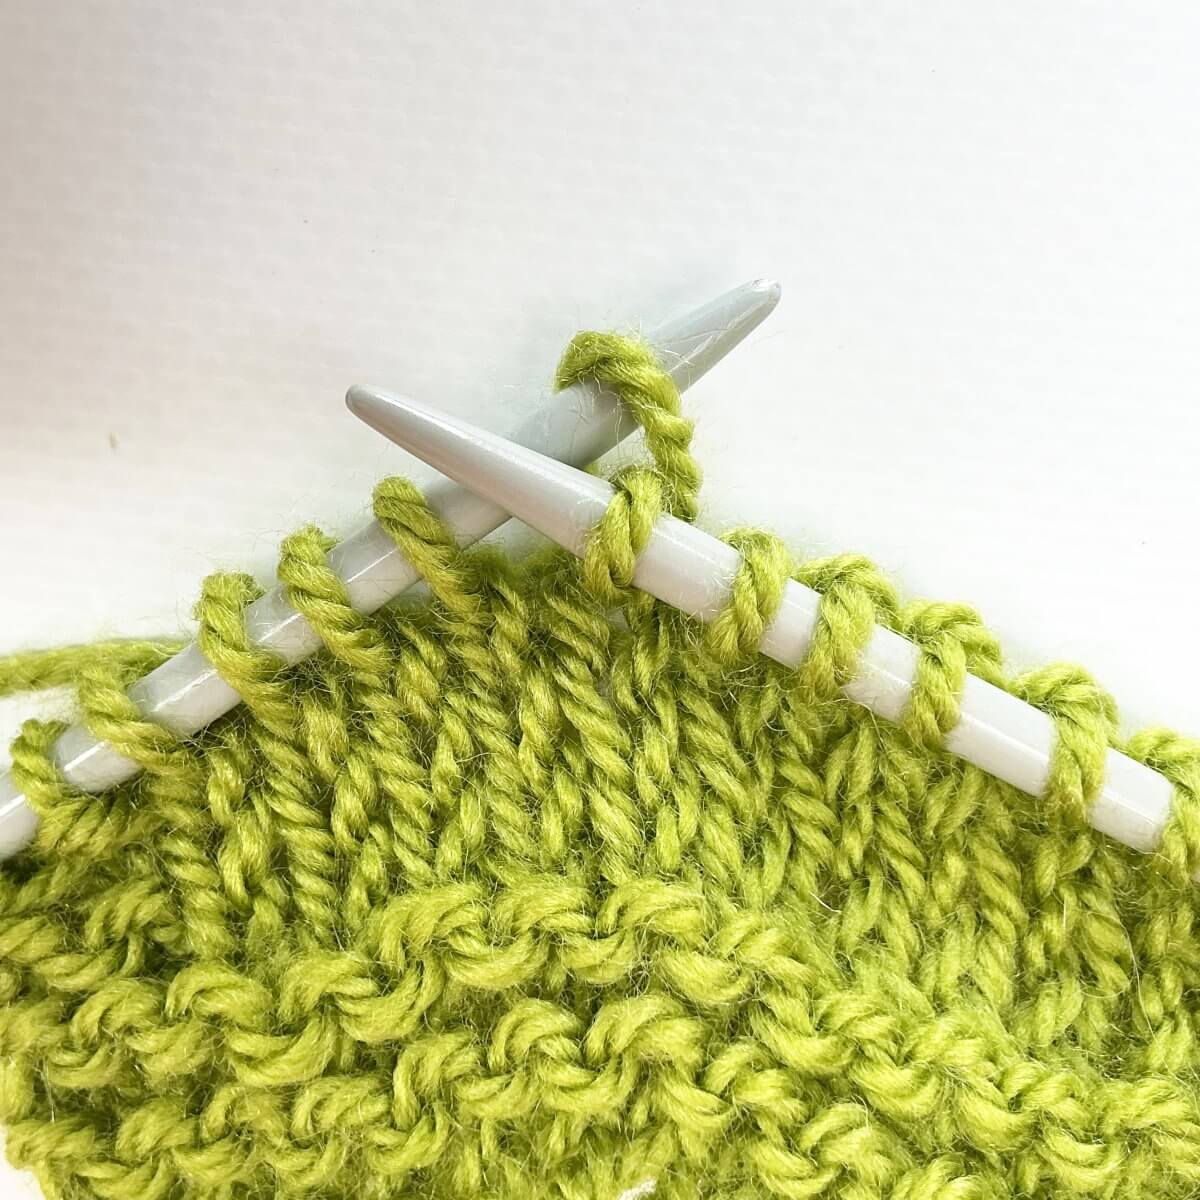
- First, insert your right-hand needle into the first stitch on the left-hand needle as if to knit.
- Next, wrap the yarn around the needle …
- … and pull it through to work a k1. Do not slip the loop off the needle yet!
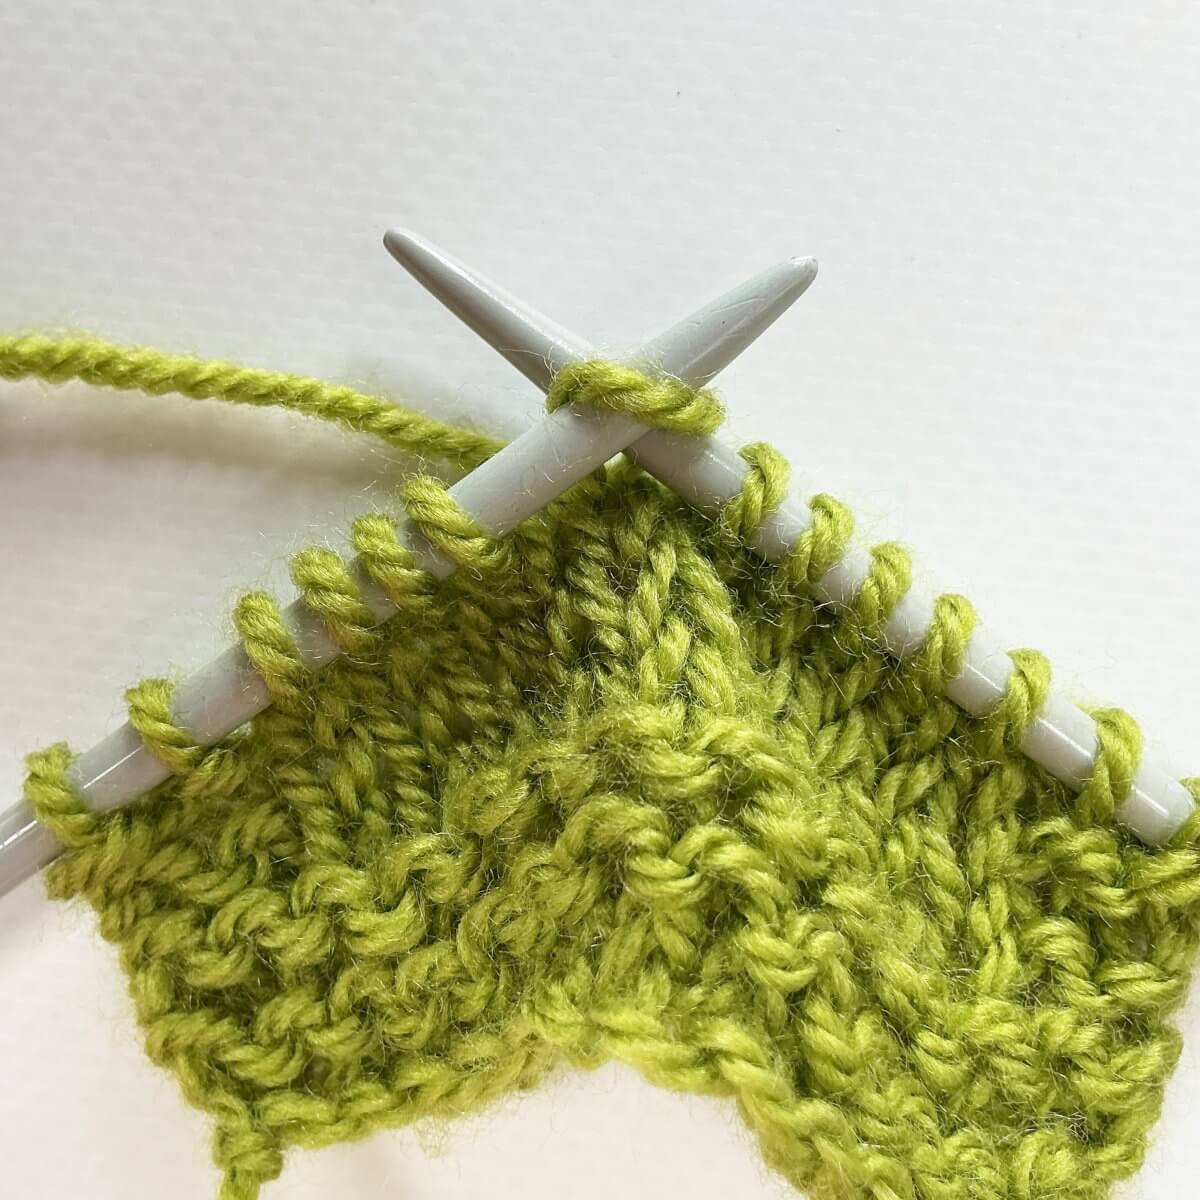
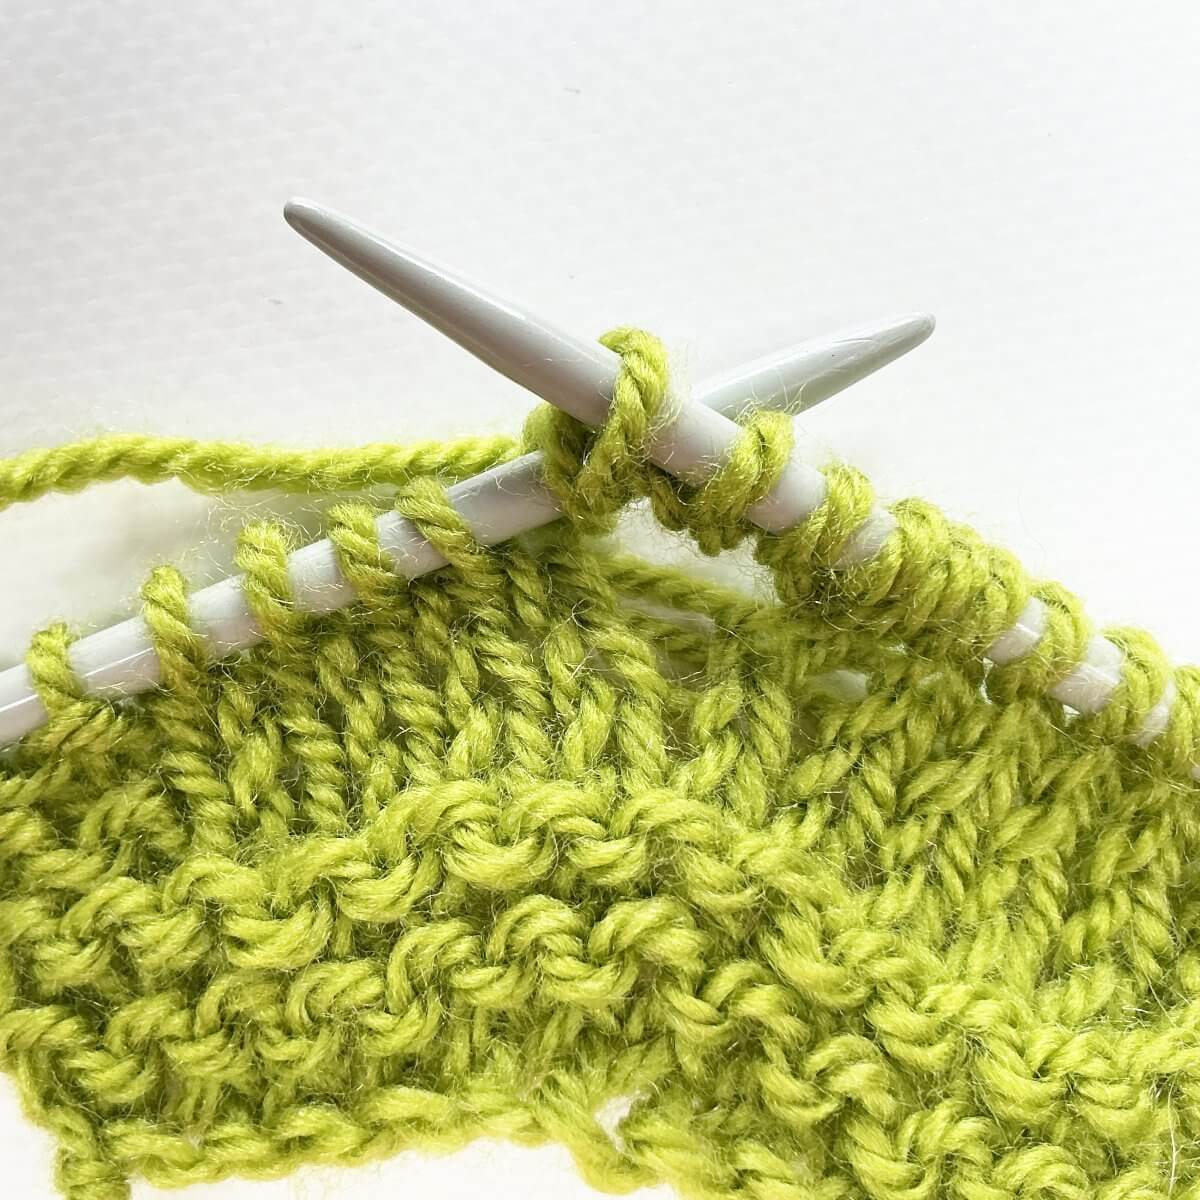
- Next, move the yarn to the front of the work.
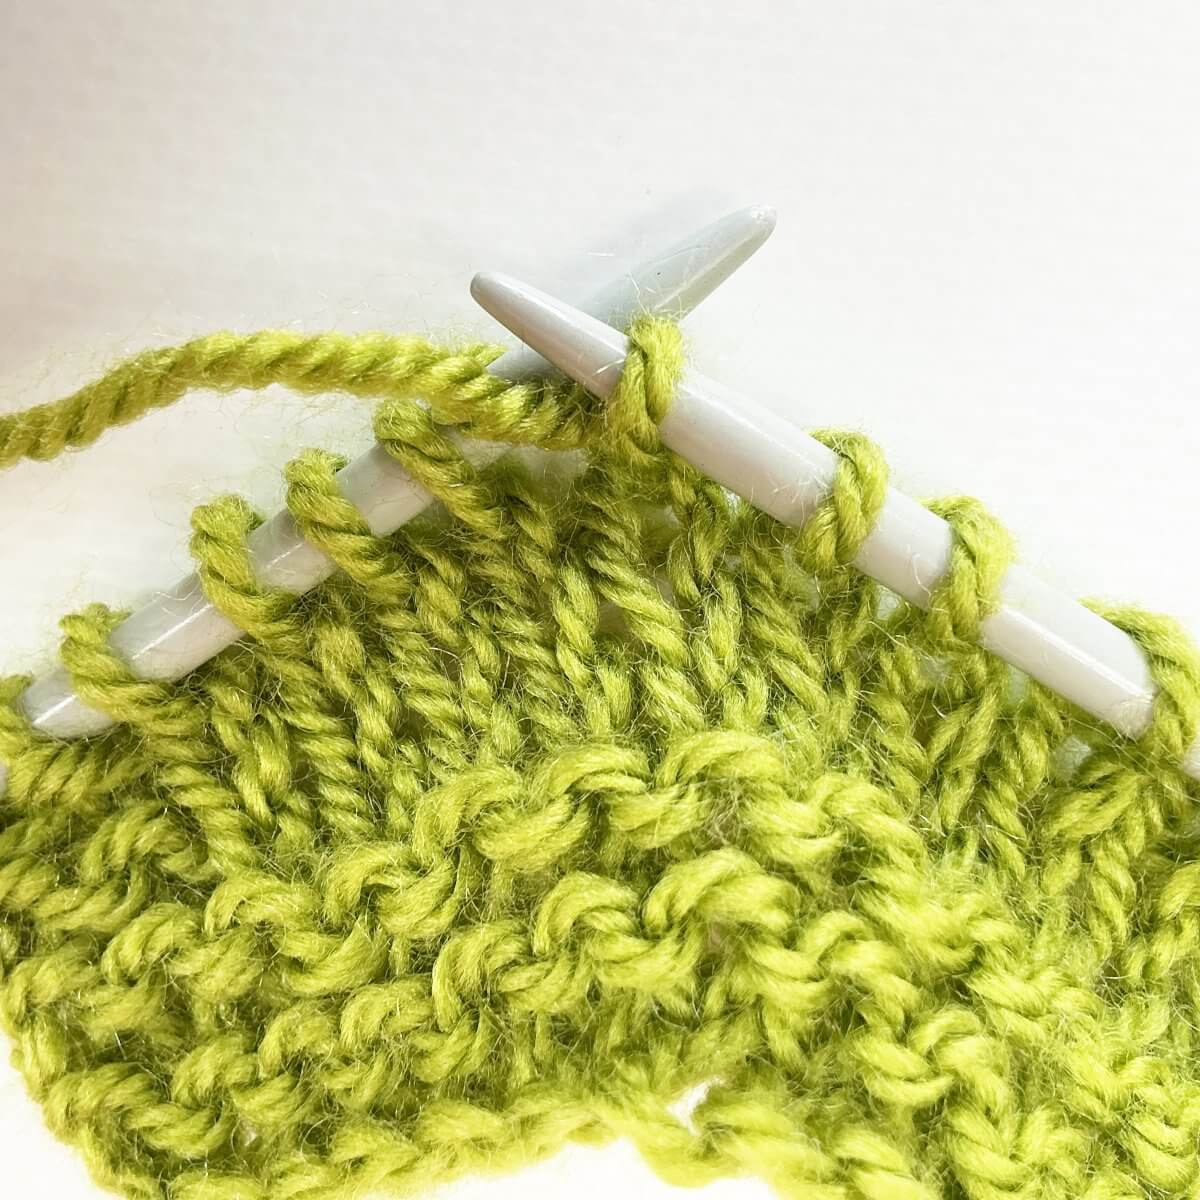
- Insert the needle into the stitch as if to purl…
- ….wrap the yarn around the needle.
- .. and pull it through to work a k1. Do not slip the loop off the needle yet!

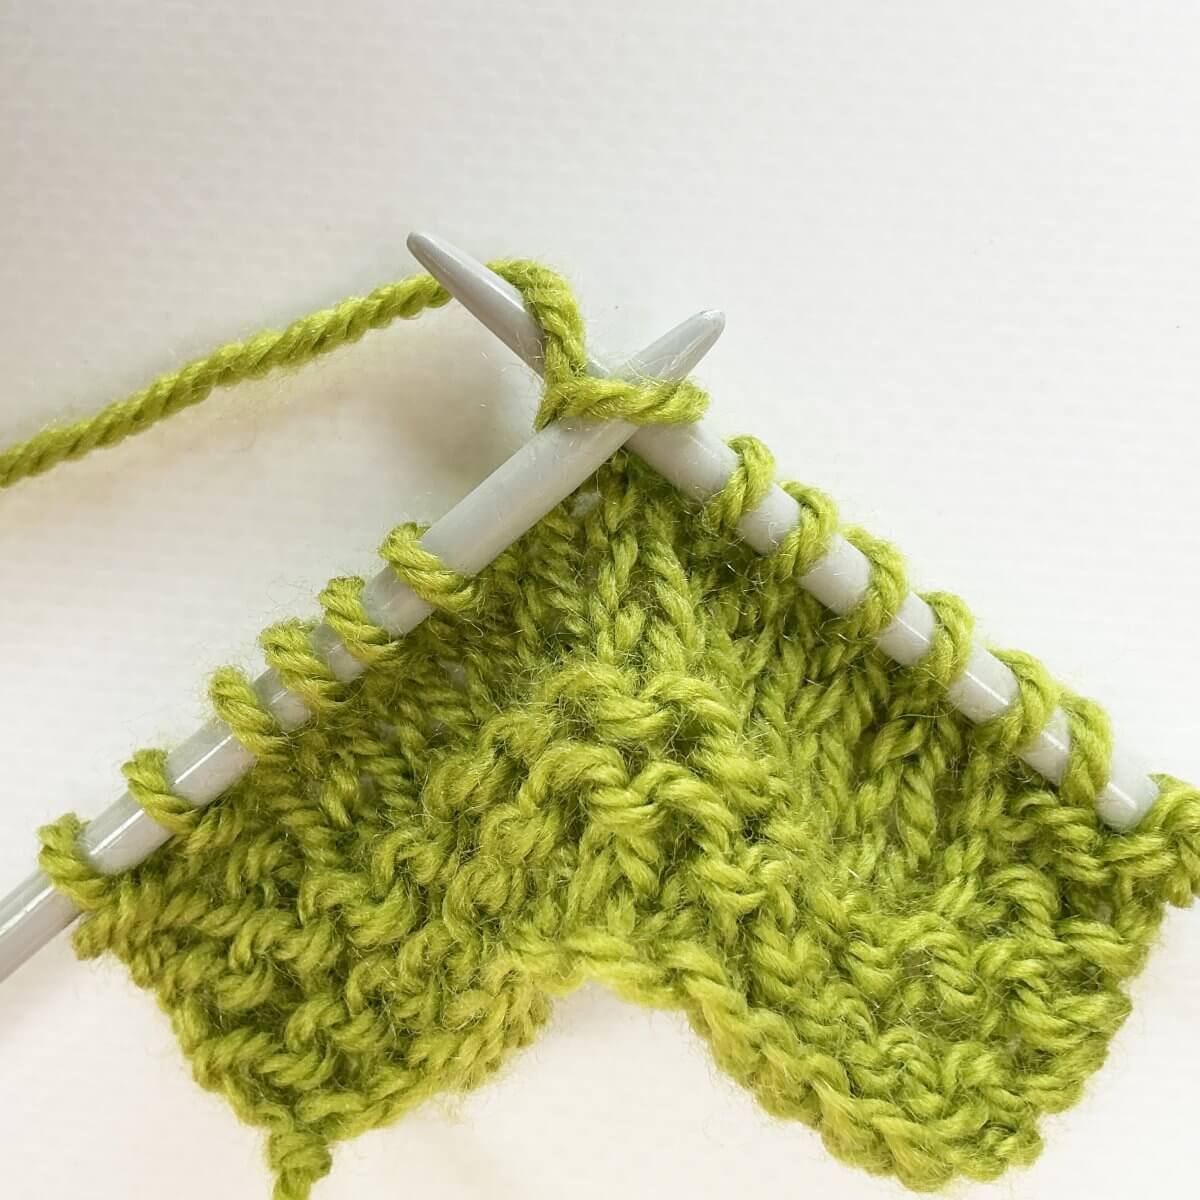
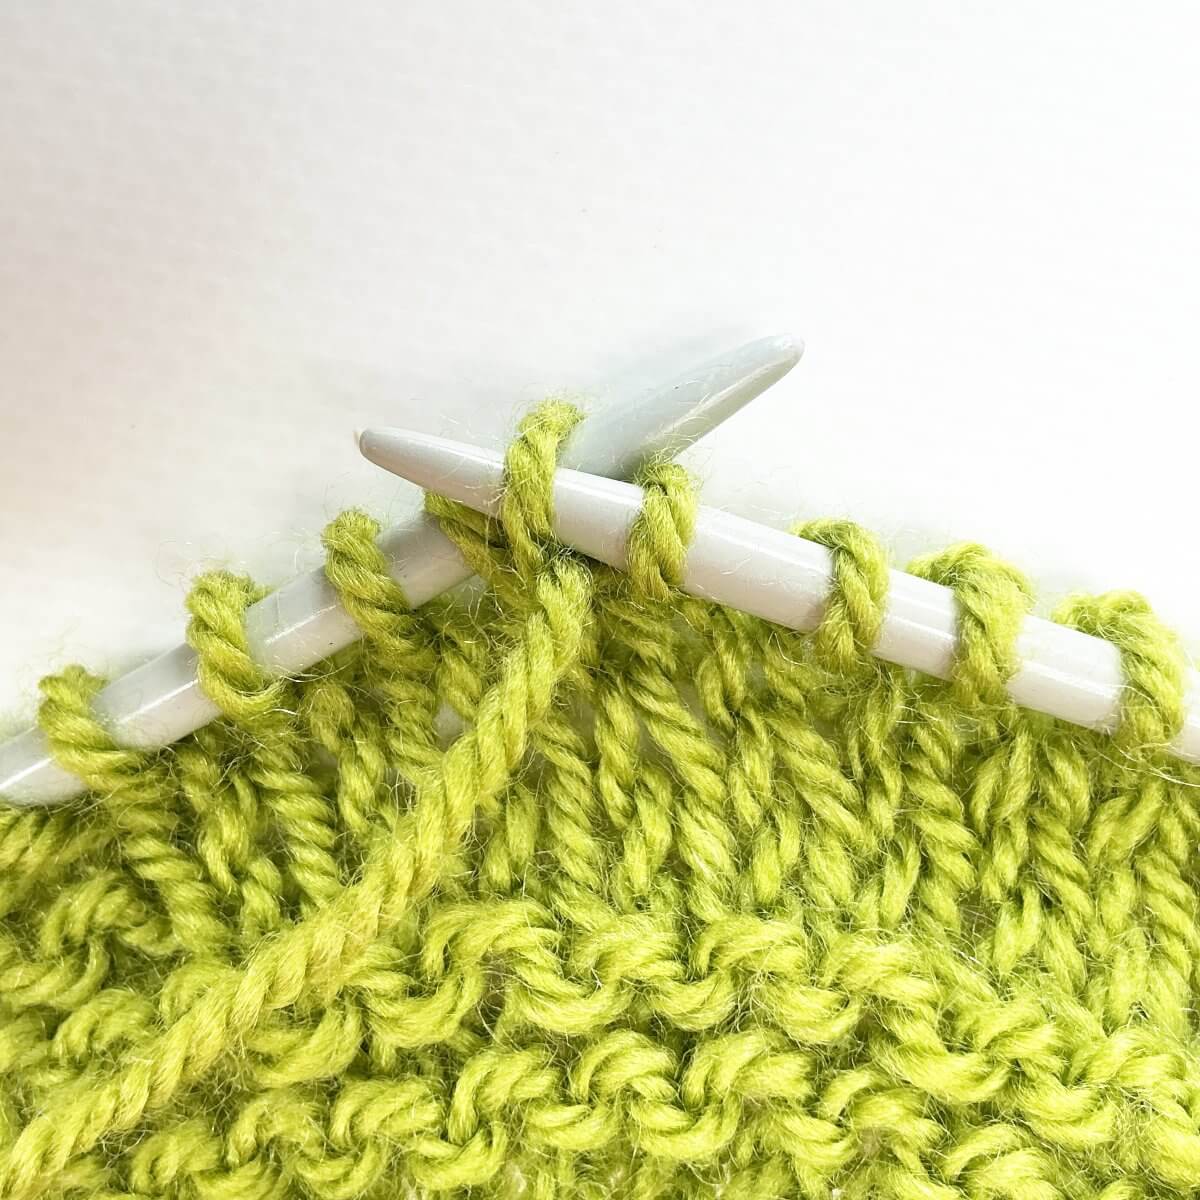
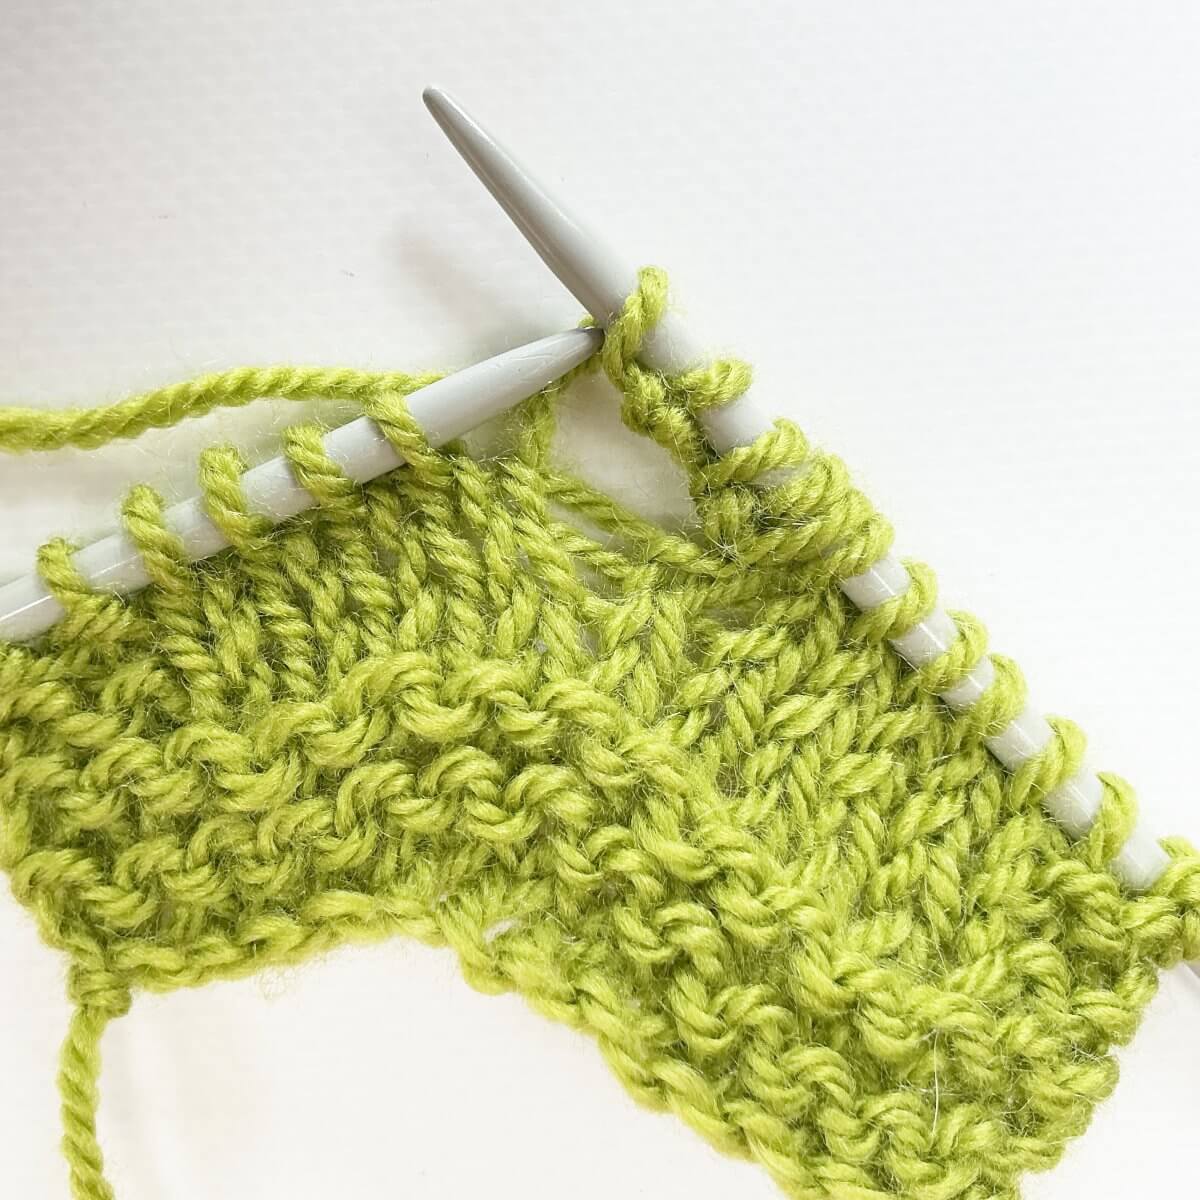
- Next, move the yarn back to the back of the work.
- Repeat steps 2 to 9 once more, followed by steps 2 to 4 once more to create all the extra stitches needed.
- After this, you can slide the original stitch off the left-hand needle to conclude the increase.
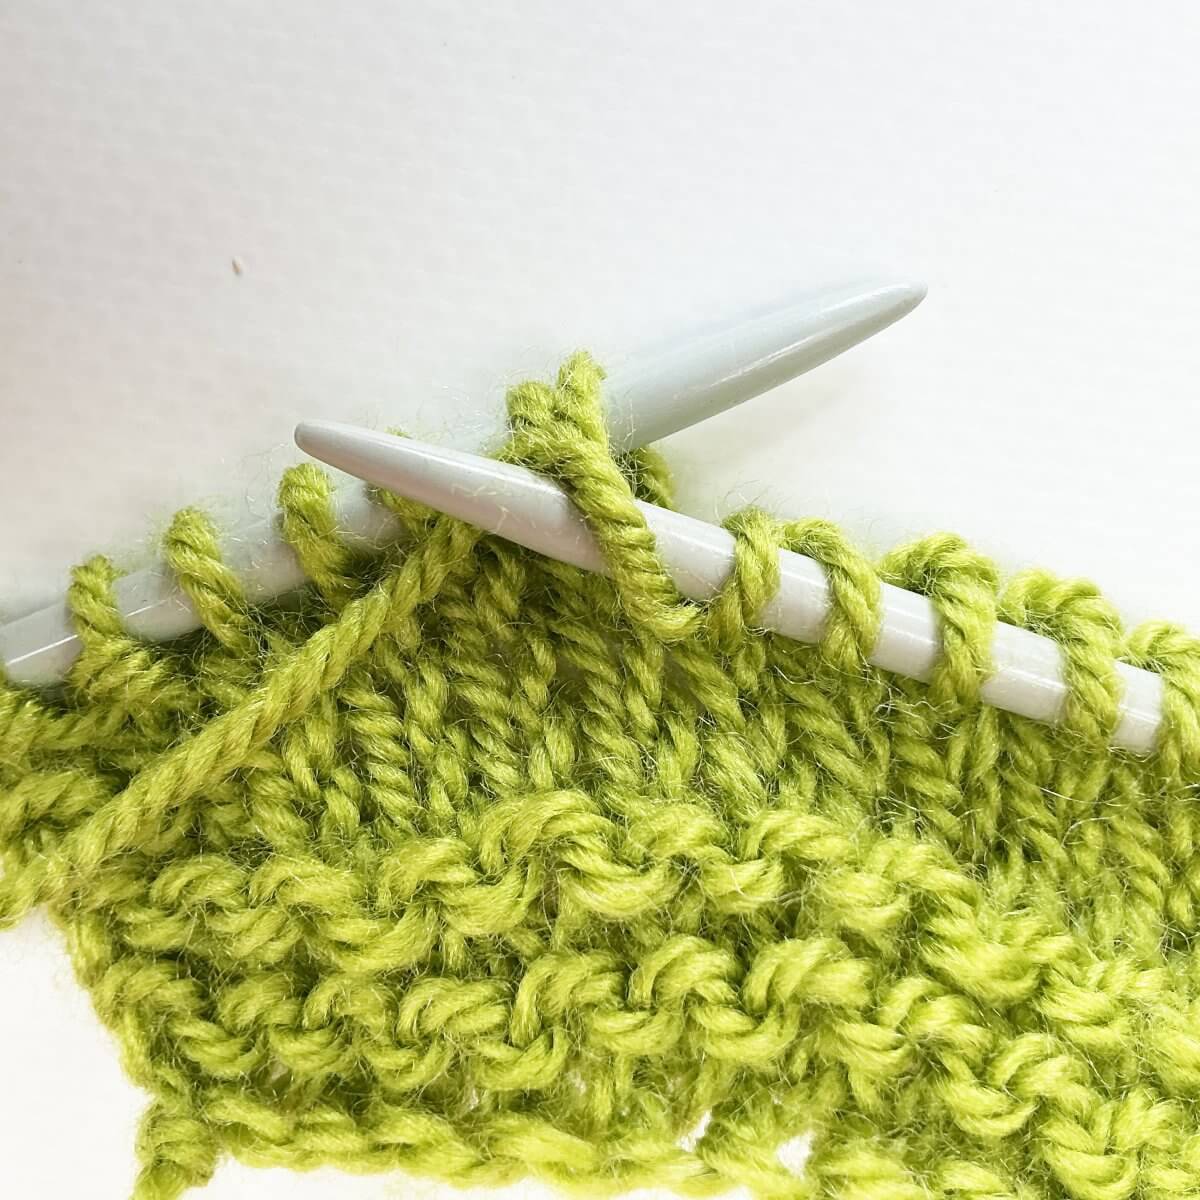
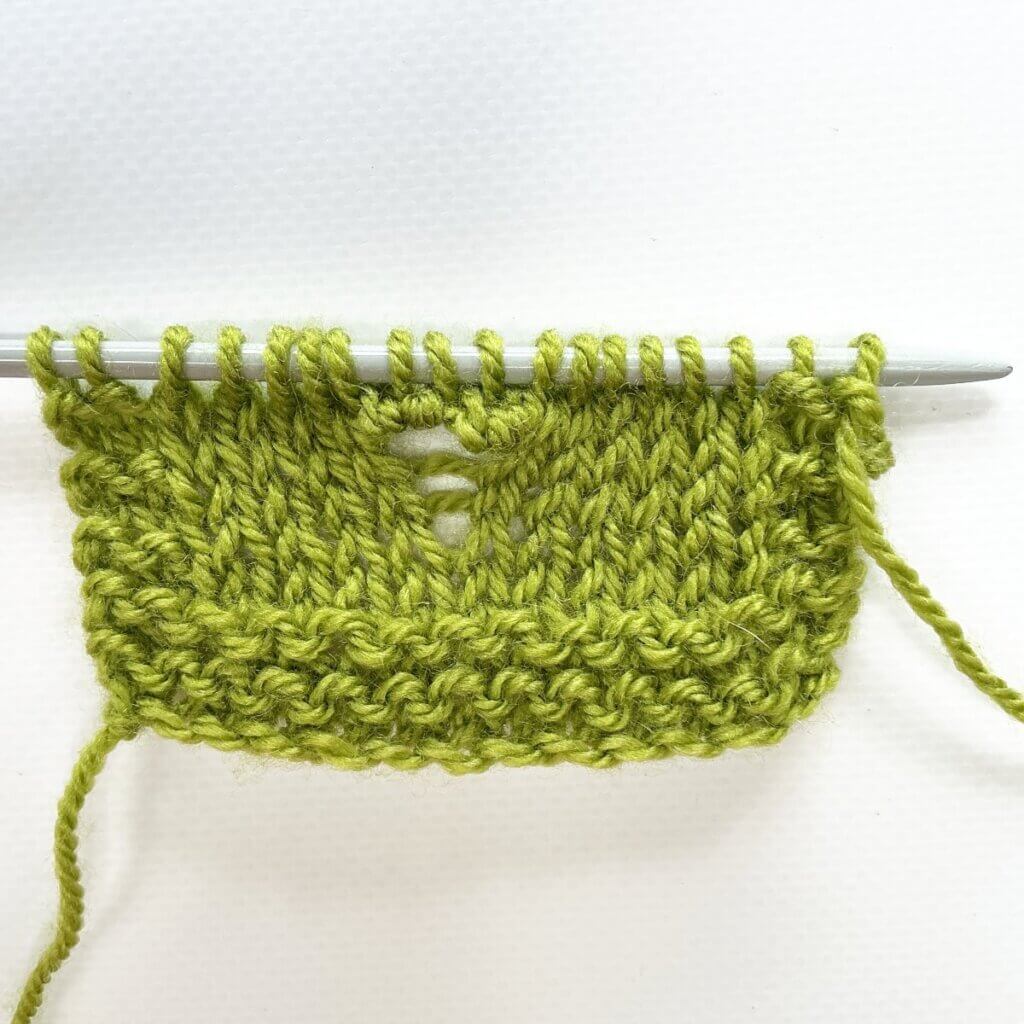
The result
In the picture below, I’ve also worked a wrong-side row after the row with the (k1, p1, k1, p1, k1) in 1 stitch increase. Please also keep in mind that here, I made the increase in a stockinette fabric. Usually, It would be used somewhere in lace patterning.

Thanks to my Patreon supporters for bringing you this freebie! Creating quality patterns and tutorials is a lot of work and resource-intensive. However, I find it important to give you free content like this tutorial. Thanks to the generous support of my Patreon supporters, I can make it happen. Thank you, patrons! Click here to join, or click here to read more about La Visch Designs on Patreon.


 increase")