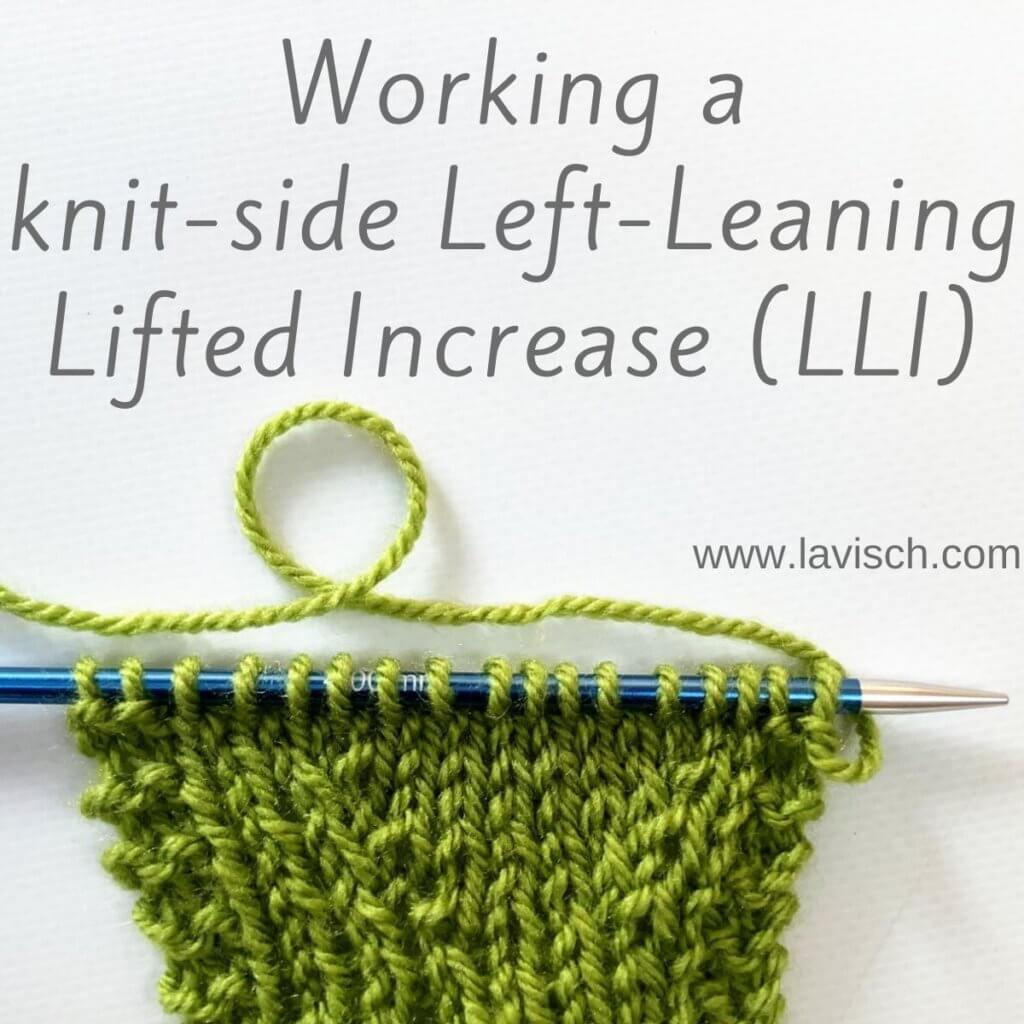
In a previous tutorial, I already showed you how to work a Right Leaning Lifted Increase on both knit- and purl-side of your project. That means it’s now time to focus on the Left-Leaning counterparts! The knit-side version of the Left-Leaning Lifted Increase is usually named the somewhat shorter Left Lifted Increase. This is abbreviated as LLI. The purl-side version is called the same, only with “purl” added after it: Left Lifted Increase (Purl) with the abbreviation LLIP. I will focus on the latter in another tutorial.
With left-leaning I mean that the increase leans to the right, relative to the surrounding “normal” stitches. Pair it together with its right-leaning companion to symmetrically increase the number of stitches on your project.
What is a lifted increase?
Basically, it’s exactly how it’s called: an increase that is worked from a stitch below the one just worked on the right-hand needle. This stitch is lifted to be able to work into it.
Materials


Yarn: * Paintbox Yarns Simply DK, a good value, good quality 100% acrylic yarn, here in the color 128 Lime Green.
Needles: * KnitPro Zing Fixed Circular Needles. In this tutorial, I used the 4 mm (US 6) size with a cable length of 80 cm (32 inches).
Working a knit-side Left-Leaning Lifted Increase step by step
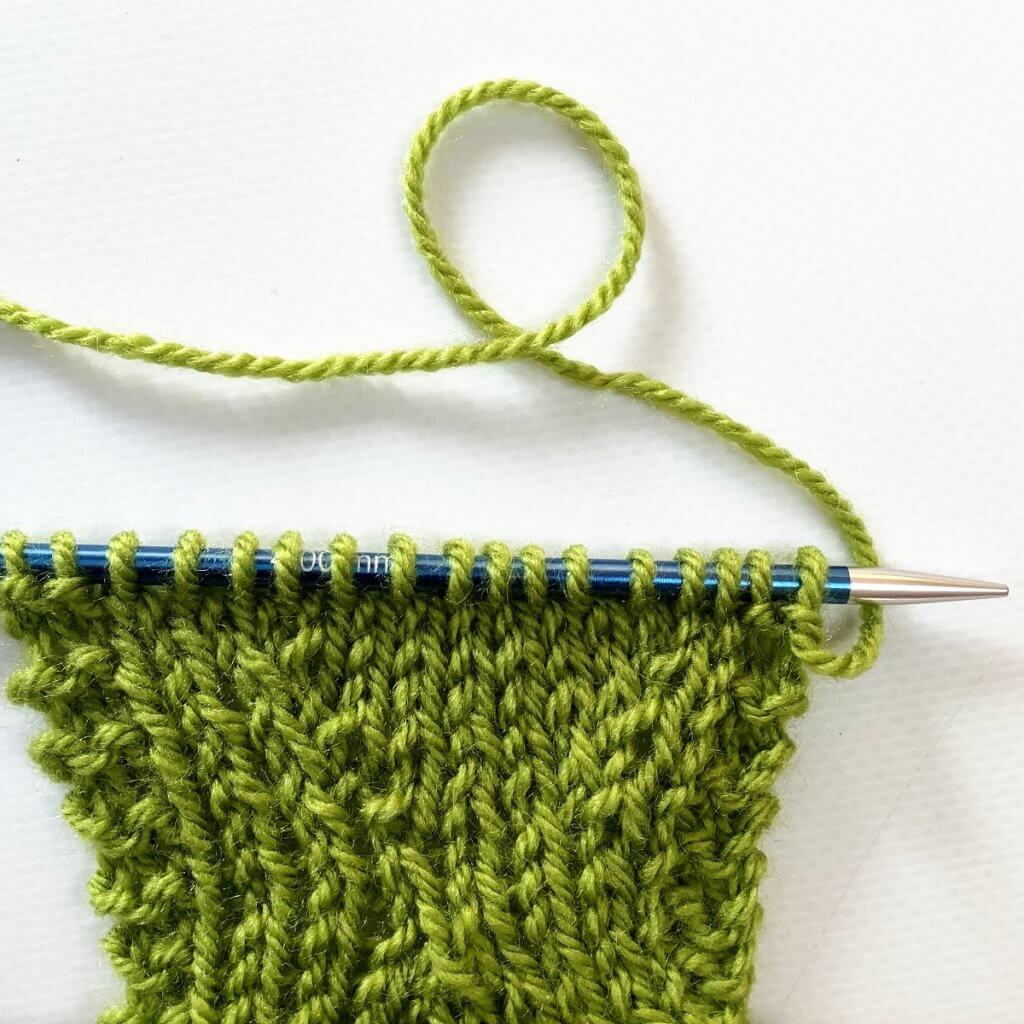
1. First, work your way across the row until you’ve reached the point where you want to make the increase. In this case, I want the increase 2 sts in from the garter stitch border on the right.

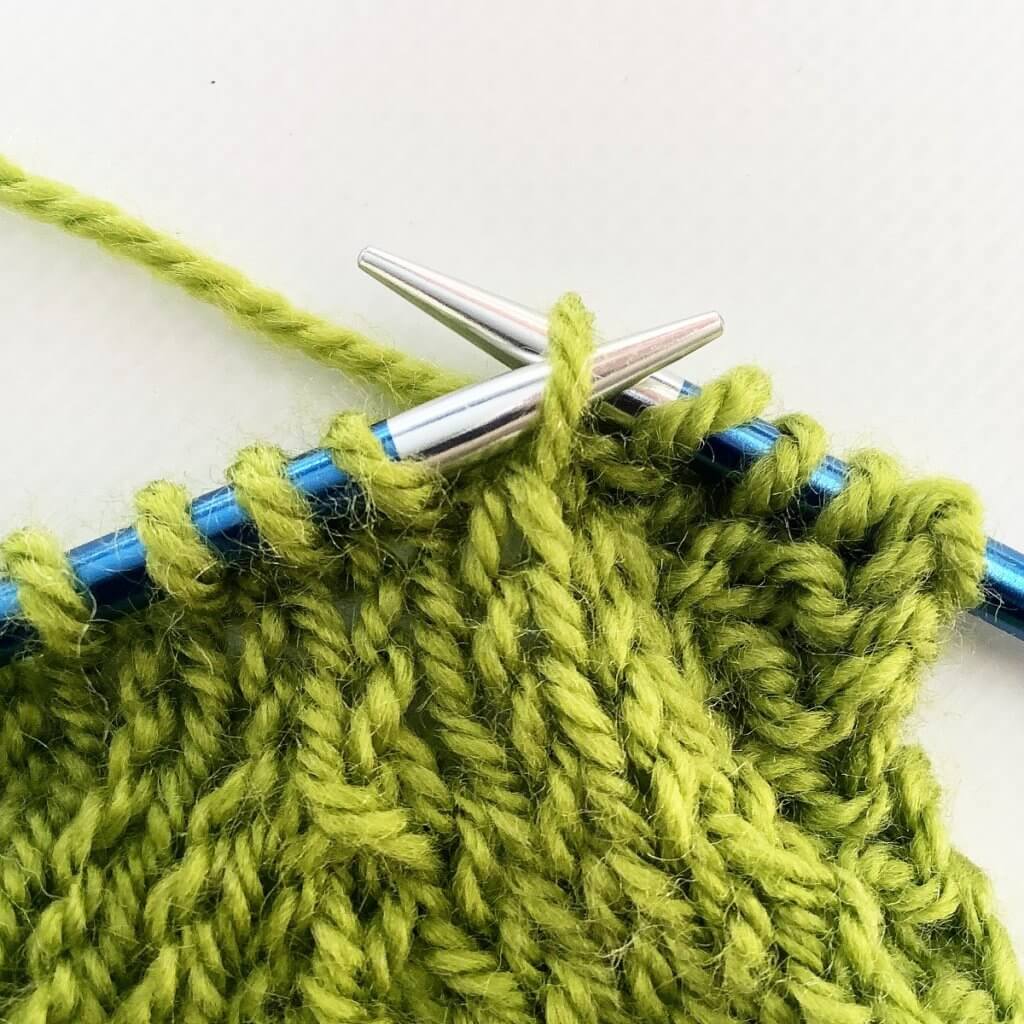
2. To make the increase a left-leaning one, we have to lift the left-side of a stitch unto to the needle to work into it. This means we will work the increase 2 stitches below the last stitch knit. In other words: You’re not looking at the stitch below the loop on the needle, but the one below it. I’ve indicated this stitch with the tip of the third needle pictured below.

3. To start the decrease, insert your left-hand needle from back to front into the left leg of the stitch as identified above. Note that the stitch mount is different from usual. The right leg of the stitch is not in front of the needle but in the back.

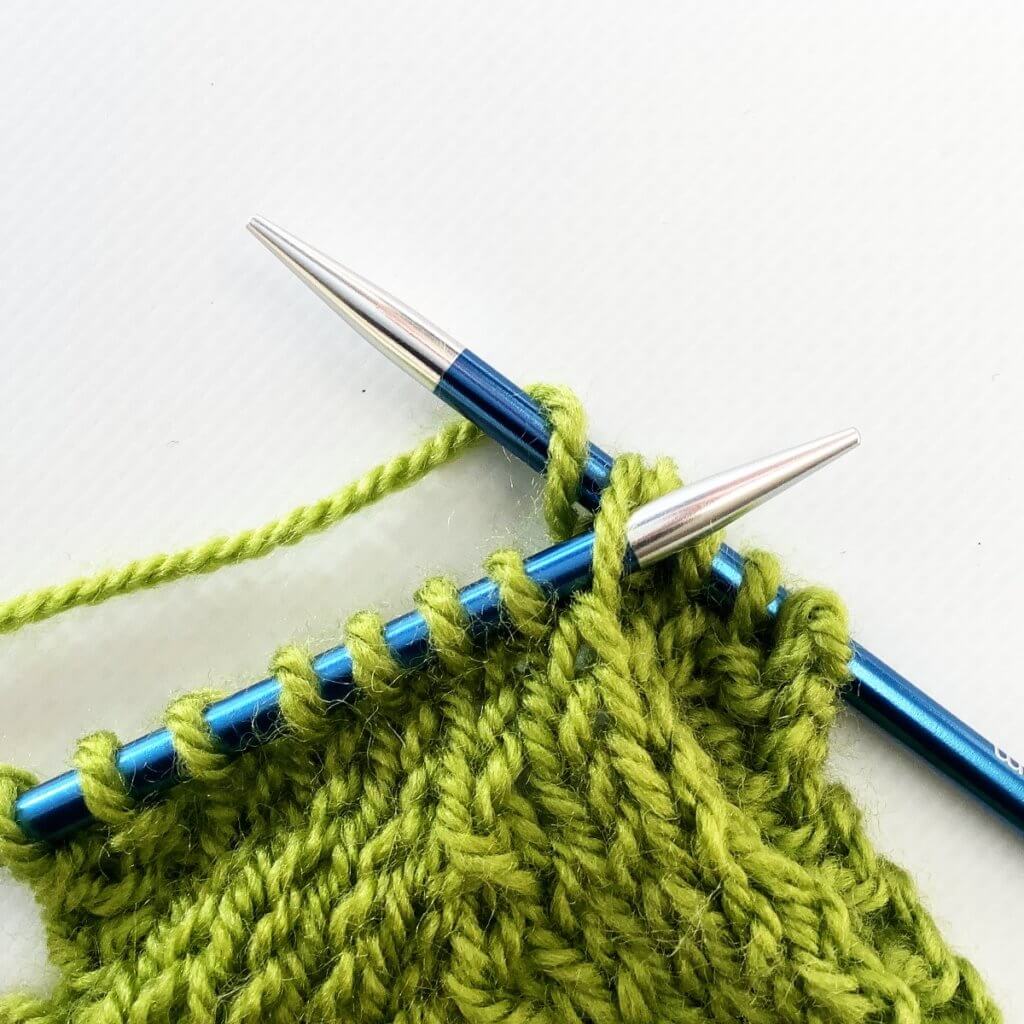
4. We don’t want to have a twisted result. So, we now untwist the stitch by inserting the right-hand needle into the back loop.
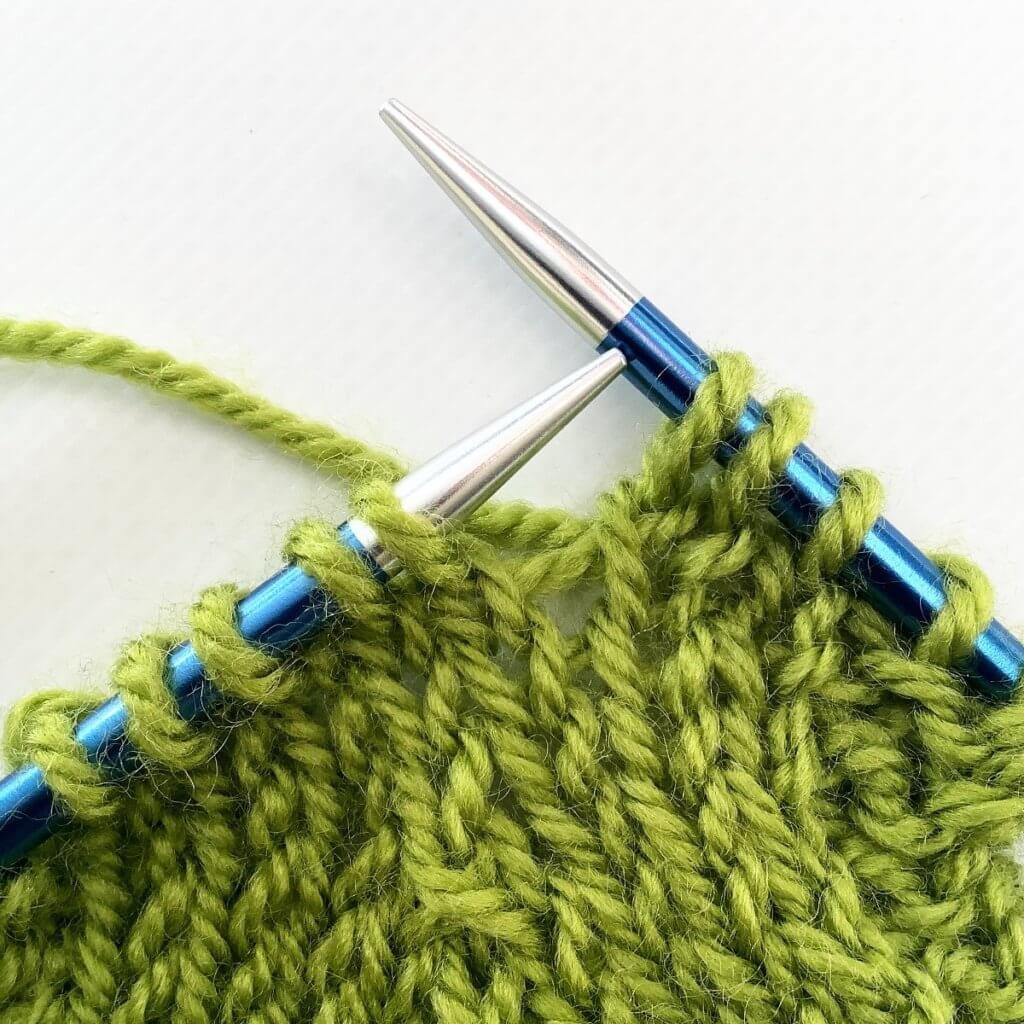
5. Wrap the yarn around the needle…
6. … and pull it through the stitch.

7. Complete the new stitch by slipping the worked stitch off the needle as usual. You have now increased one stitch.
The below picture shows how it looks after 2 more increase rows have been worked. Increases are worked 2 stitches in from both garter stitch edges.

Thanks to my Patreon supporters for bringing you this freebie! Creating quality patterns and tutorials is a lot of work and resource-intensive. However, I find it important to give you free content like this tutorial. Thanks to the generous support of my Patreon supporters, I can make it happen. Thank you, patrons! Click here to join, or click here to read more about La Visch Designs on Patreon.


