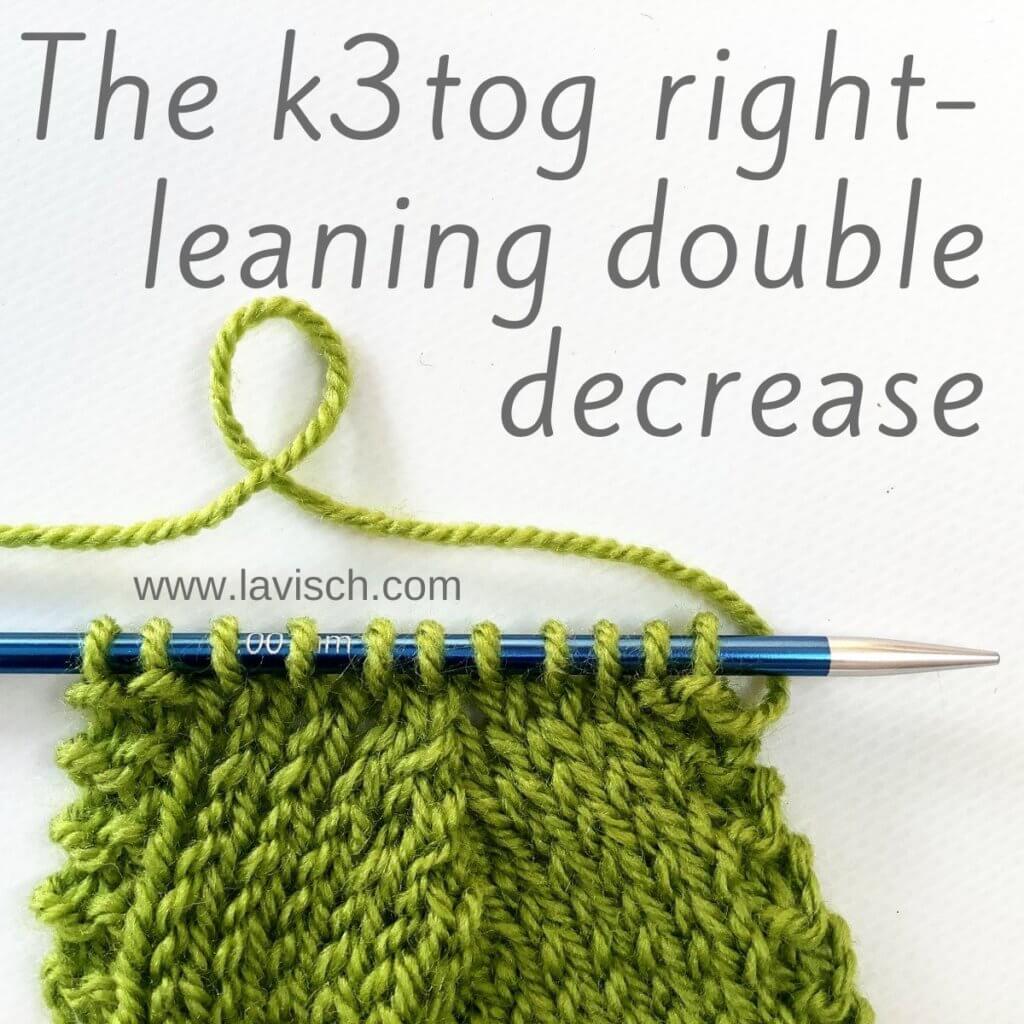
In a previous post, I showed you how to work the sl1-k2tog-psso left-leaning double decrease. In this tutorial, I will tell you all about the matching right-leaning double decrease, the one abbreviated with “k3tog”. This stands for “knit 3 stitches together”. It’s a common way to reduce the number of stitches in your project and make it narrower. With its matching left-leaning decrease it’s often found in lace patterning. Also not unimportant: the k3tog is a very easy to work double decrease which gives a lovely texture to your knitting.
Below you can find how to work this decrease, so get your materials and follow along!
Materials


Yarn: * Paintbox Yarns Simply DK, a good value, good quality 100% acrylic yarn, here in the color 128 Lime Green.
Needles: * KnitPro Zing Fixed Circular Needles. In this tutorial, I used the 4 mm (US 6) size with a cable length of 80 cm (32 inches).
Working a k3tog step by step
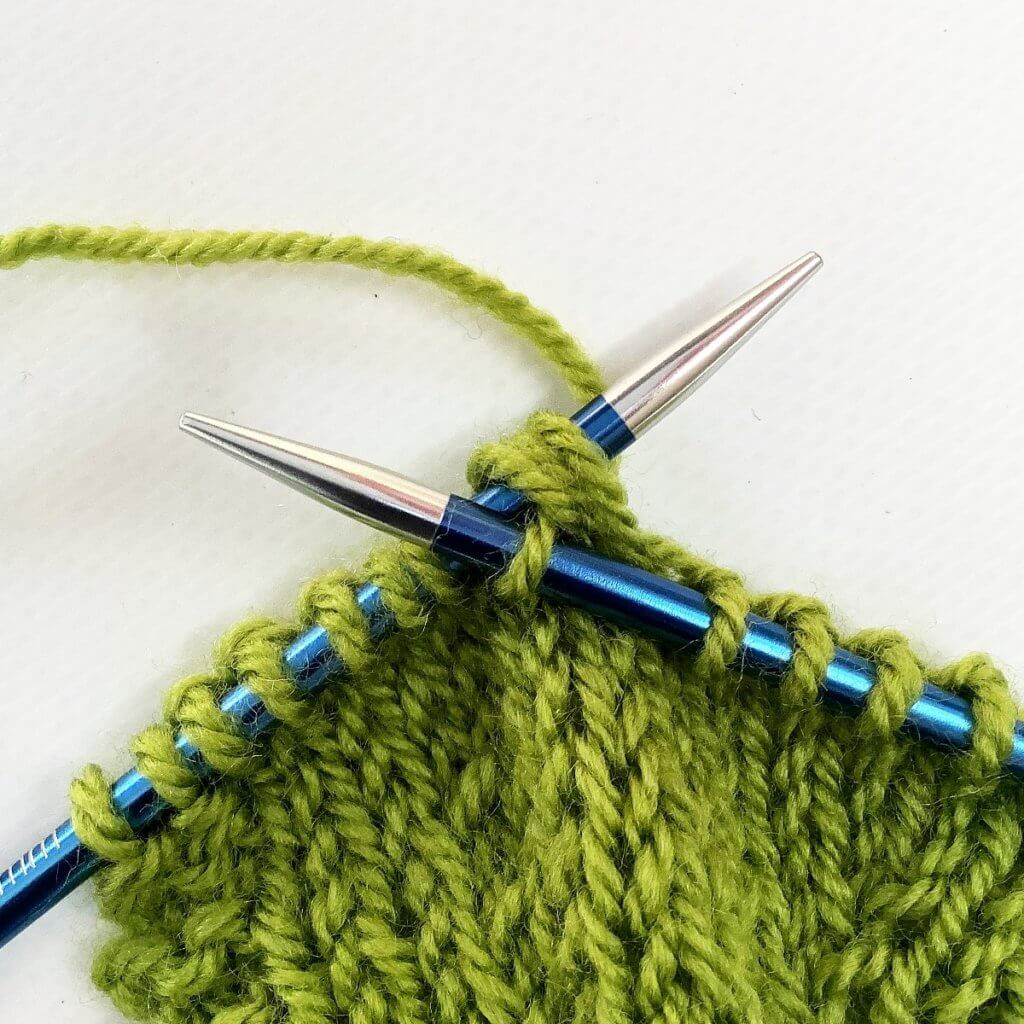
1. First, work your way across the row until you’ve reached the point where you want to make the decrease. In this case, I want to work the double decrease over the 3 stitches in the middle of the swatch.
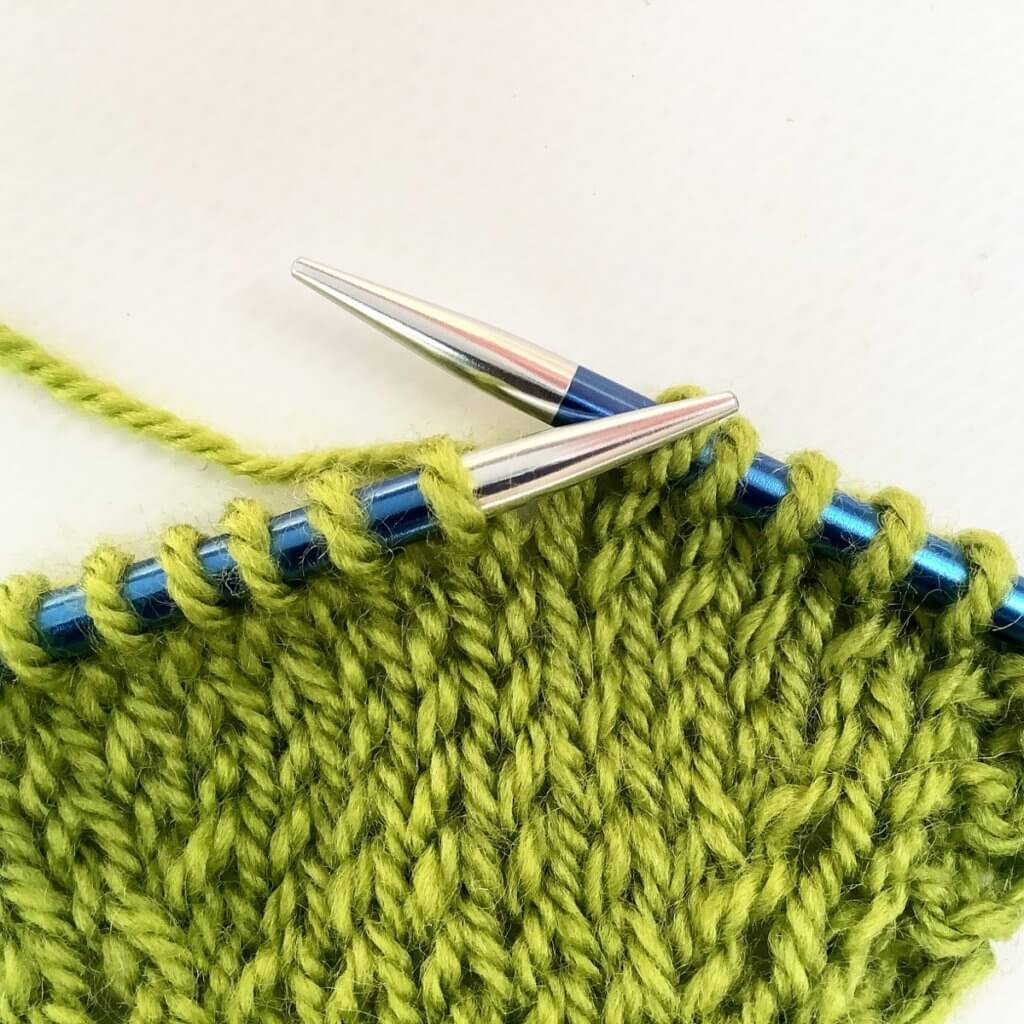
2. Next, insert the tip of the right-hand needle into the first 3 stitches at the same time as if to knit.
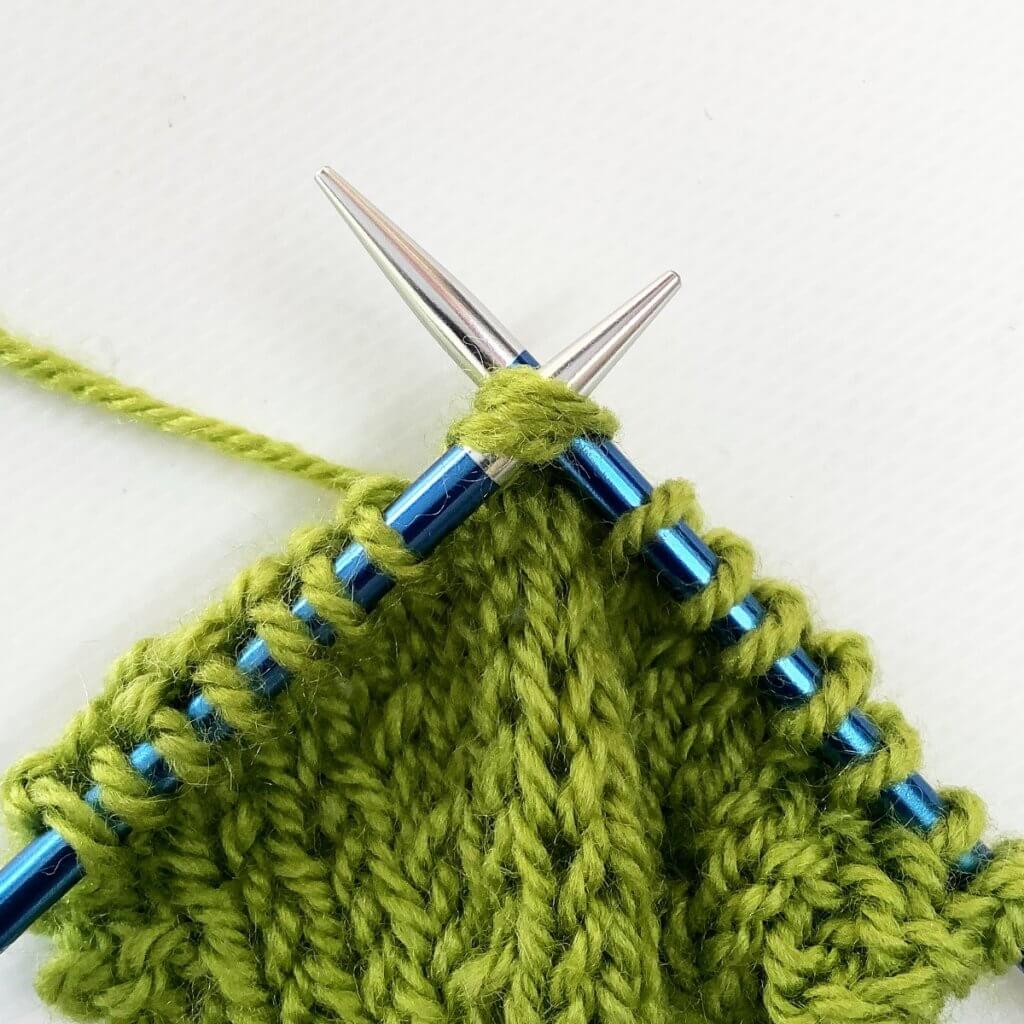
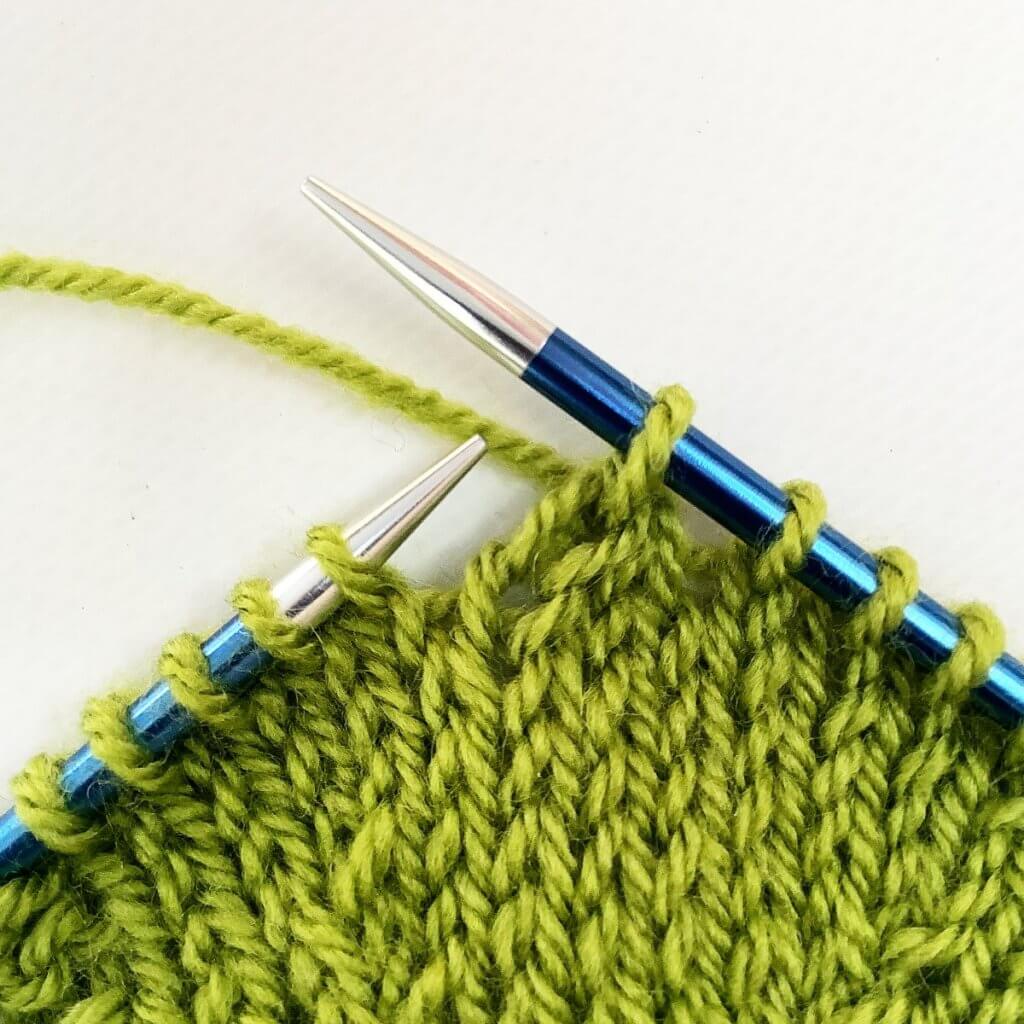
3. Wrap the yarn around the needle…
4. …and pull it through the stitches you inserted the right-hand needle in.
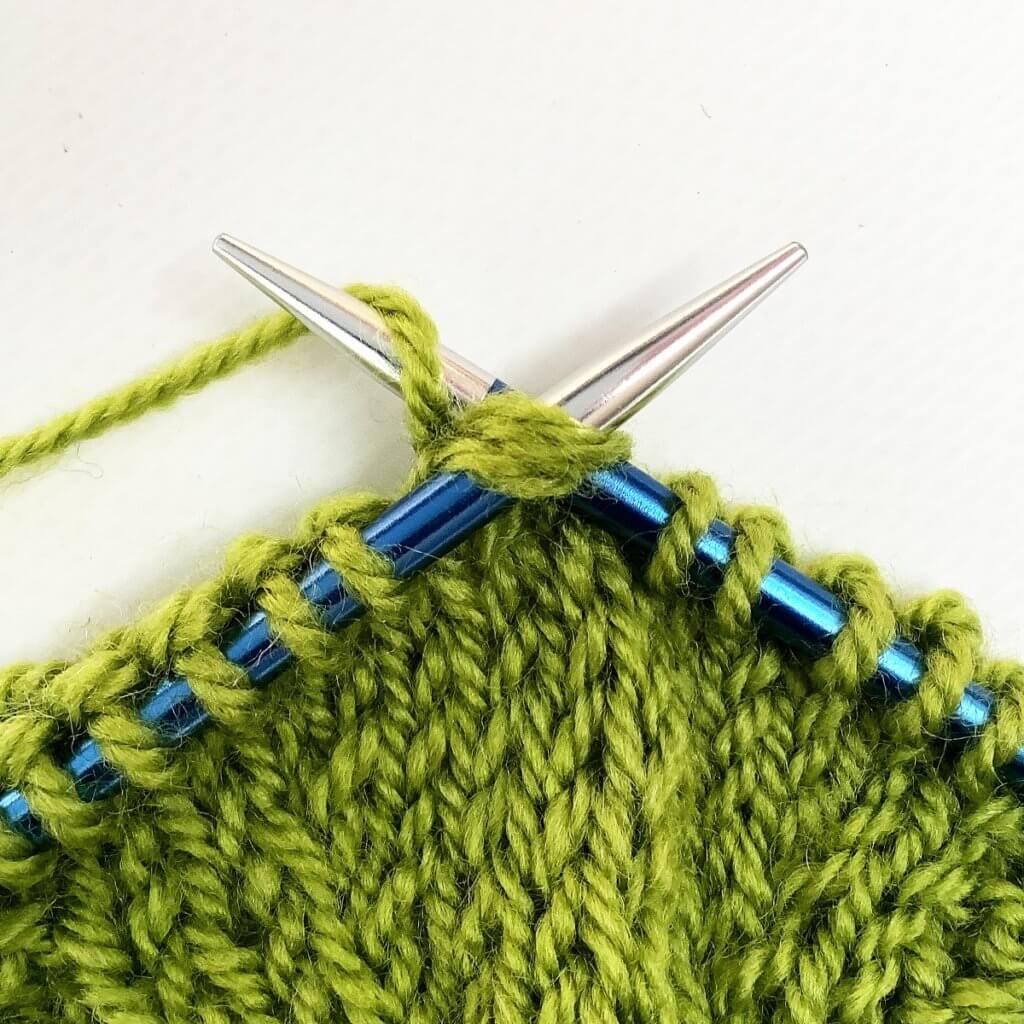
5. To finish the k3tog decrease, slip the original stitches of the left-hand needle.
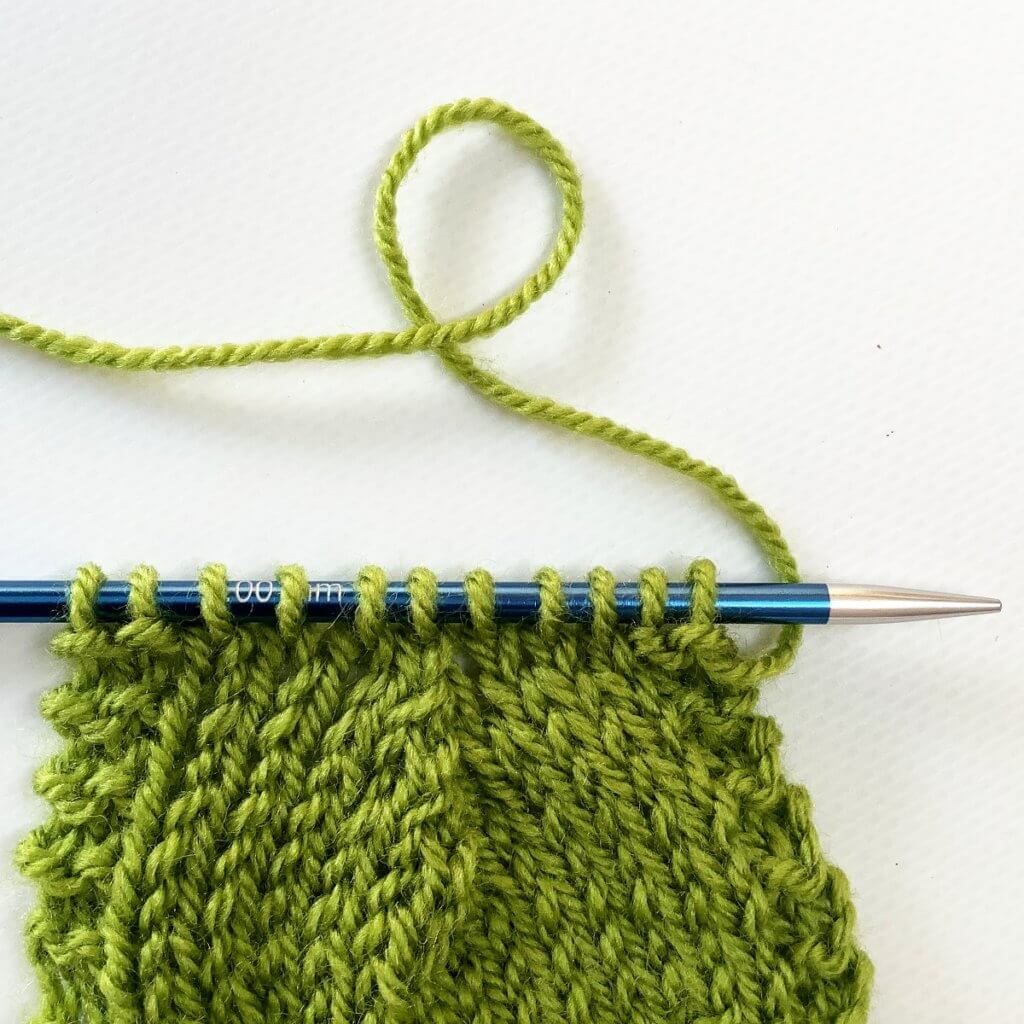
The below picture shows how it looks after 2 more decrease rows have been worked. Please note that the bottom half of the swatch pictured shows the sl2-k1-p2sso centered double decrease I showed you in a previous tutorial.
And that’s all there is to it!

Thanks to my Patreon supporters for bringing you this freebie! Creating quality patterns and tutorials is a lot of work and resource-intensive. However, I find it important to give you free content like this tutorial. Thanks to the generous support of my Patreon supporters, I can make it happen. Thank you, patrons! Click here to join, or click here to read more about La Visch Designs on Patreon.


