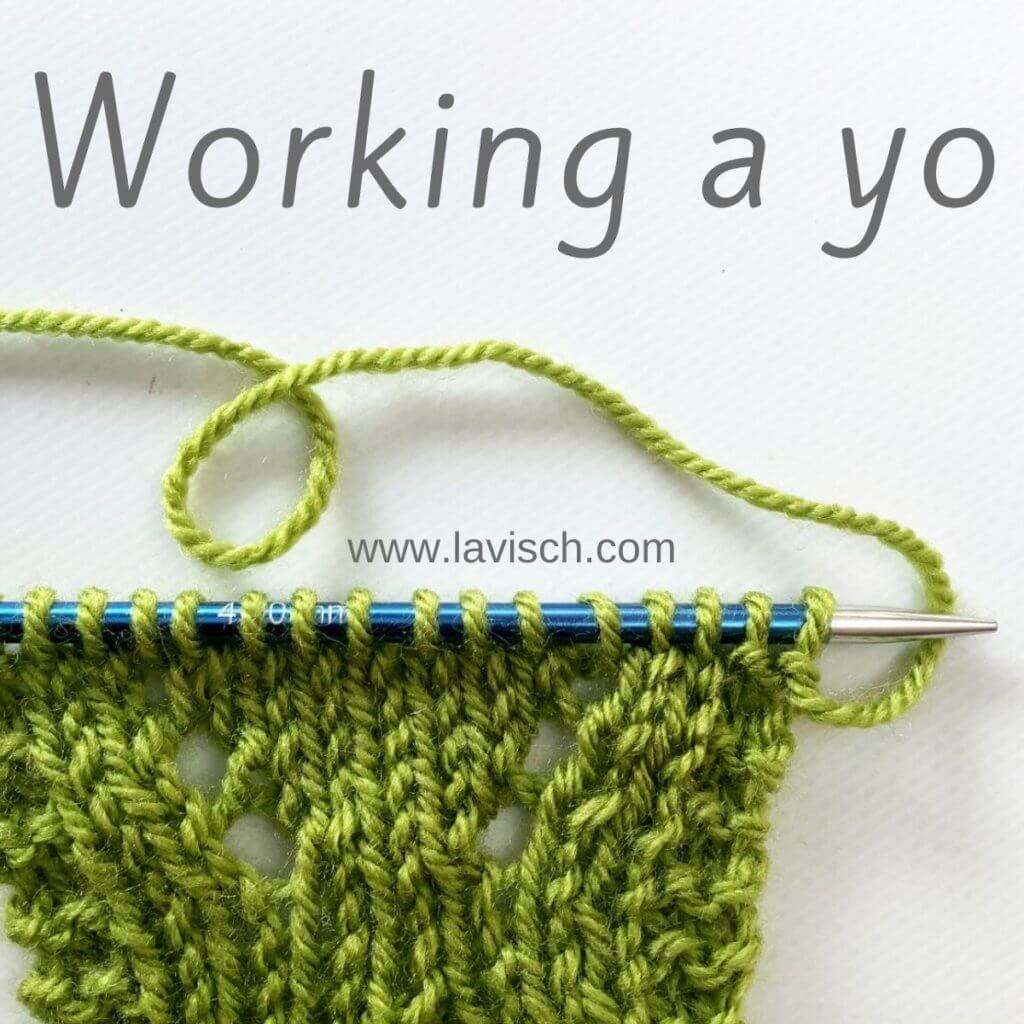
A yarn over (abbreviated as “yo”) is a simple way to increase stitches and deliberately make a little hole in your knitting. On its own, it can be used to add shaping to your knitting project. When combined with strategically placed decreases it makes lace, either as a single design element or as all-over patterning. Yarn overs also have other applications. Think for example off simple buttonholes, when paired with a k2tog decrease.
This tutorial will give you step by step instructions on how to work the “yarn over” increase.
Materials used


Yarn: * Paintbox Yarns Simply DK, a good value, good quality 100% acrylic yarn, here in the color 128 Lime Green.
Needles: * KnitPro Zing Fixed Circular Needles. In this tutorial, I used the 4 mm (US 6) size with a cable length of 80 cm (32 inches).
Working a yo step by step
I’ve continued with the little swatch I used with my previous tutorial on working the sl2-k1-p2sso centered double decrease.
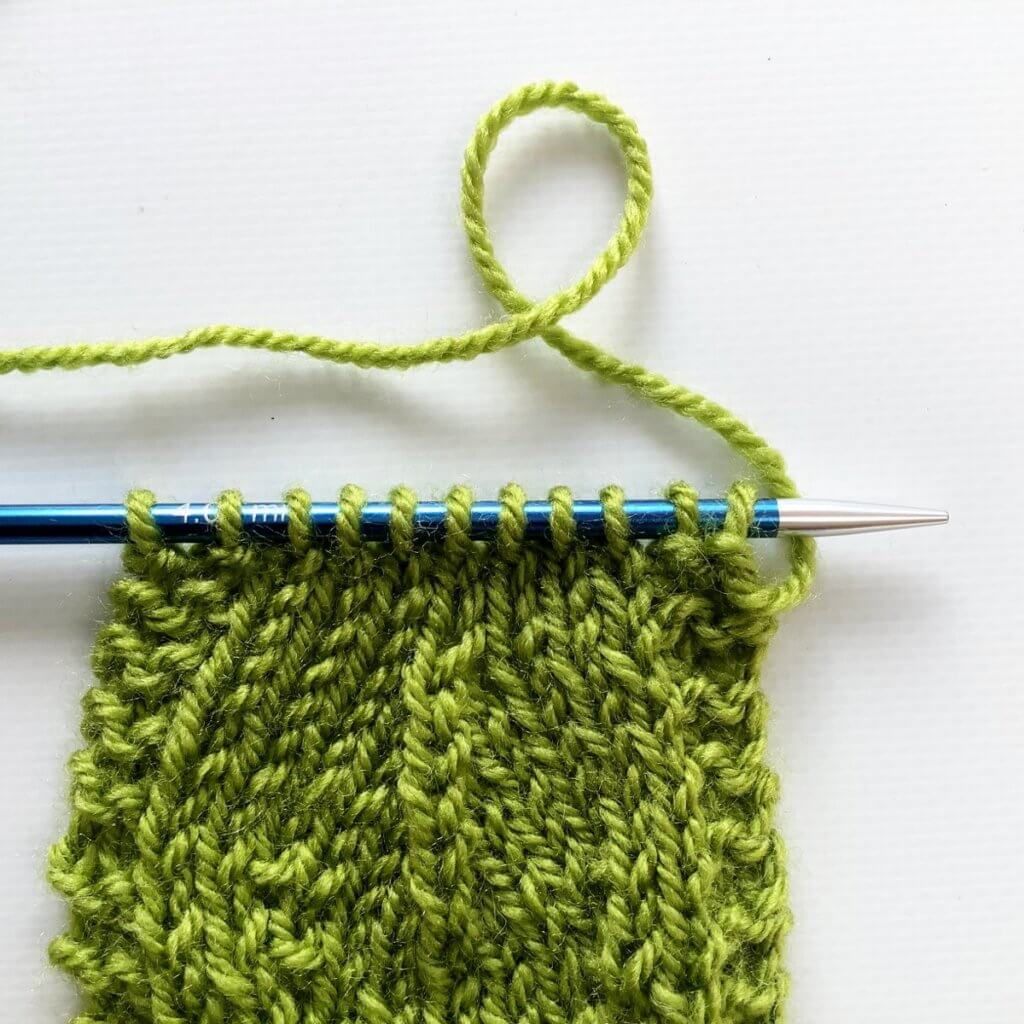
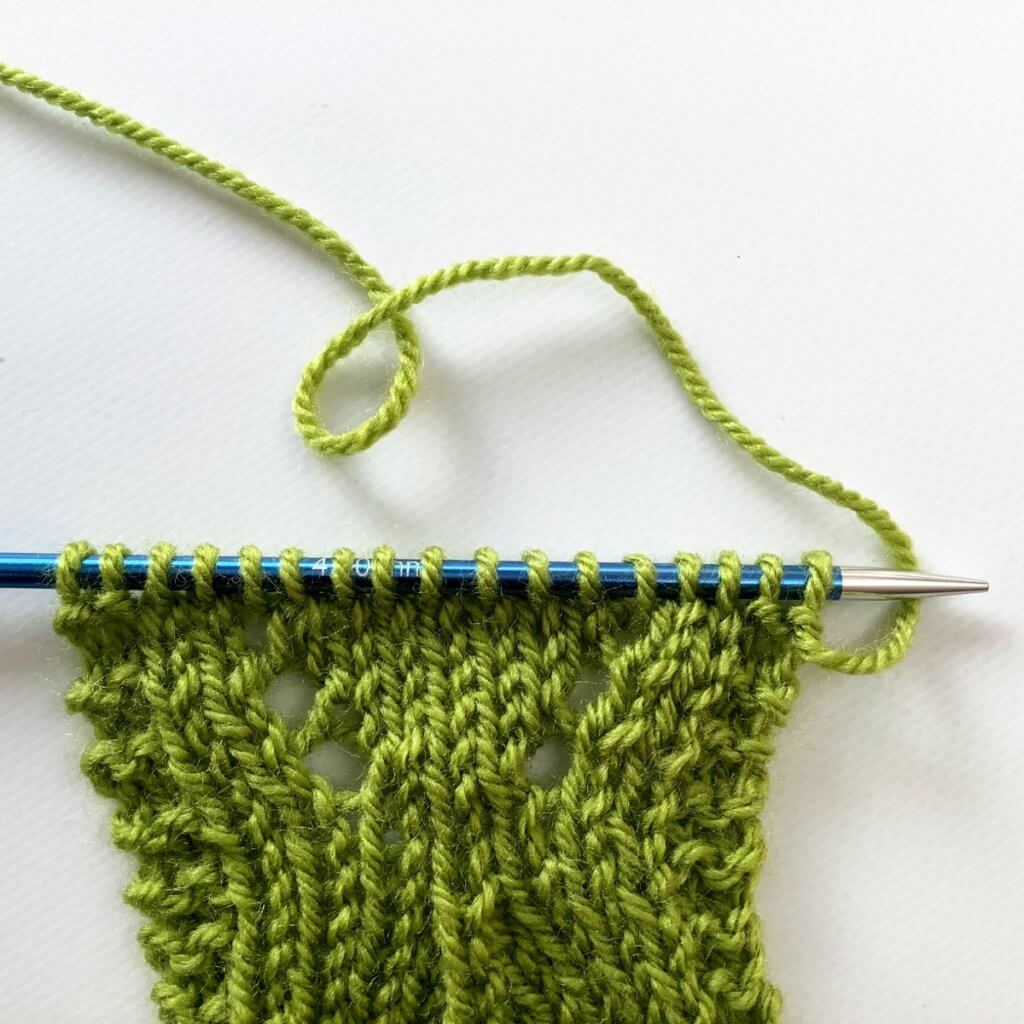
1. First, work your way across the row until you’ve reached the point where you want to make the increase. In this case, I will be making the yo increase 2 sts in from each of the garter stitch borders.
2. To make the yo, move the working yarn from the back to the front between the needles and then over the right-hand needle back to the back of the work.
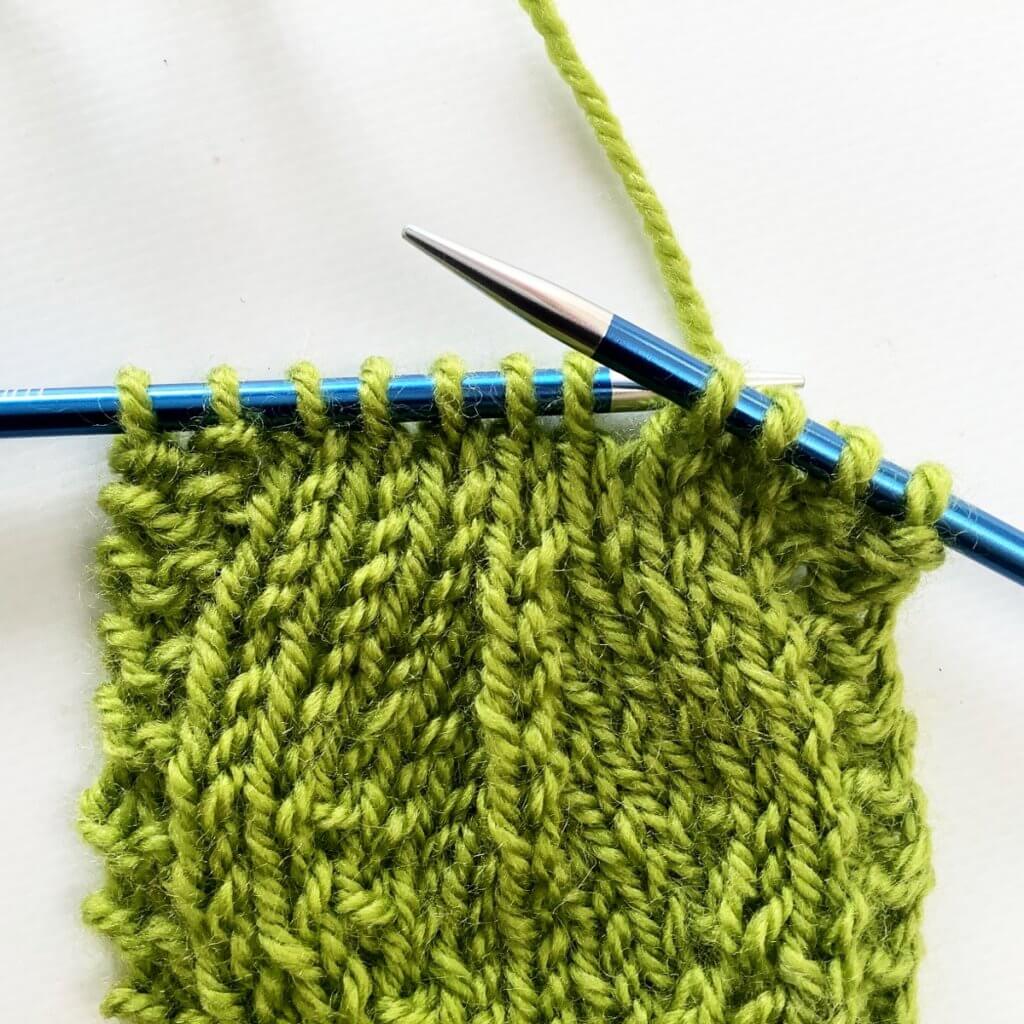
If you’d be wanting to make the yo in reverse stockinette, the working yarn would already be at the front of the work, So, in that case, it would just be a matter of wrapping the yarn over and around the needle, and back to the front of the work.
When wanting to make a yarn over between a knit and a purl stitch or vice versa, you’d have to make adjustments regarding where you’re moving the yarn from and to. The main thing to remember is that you want to wrap the working yarn over and around the needle, before bringing it to the correct position for continuing your knit.
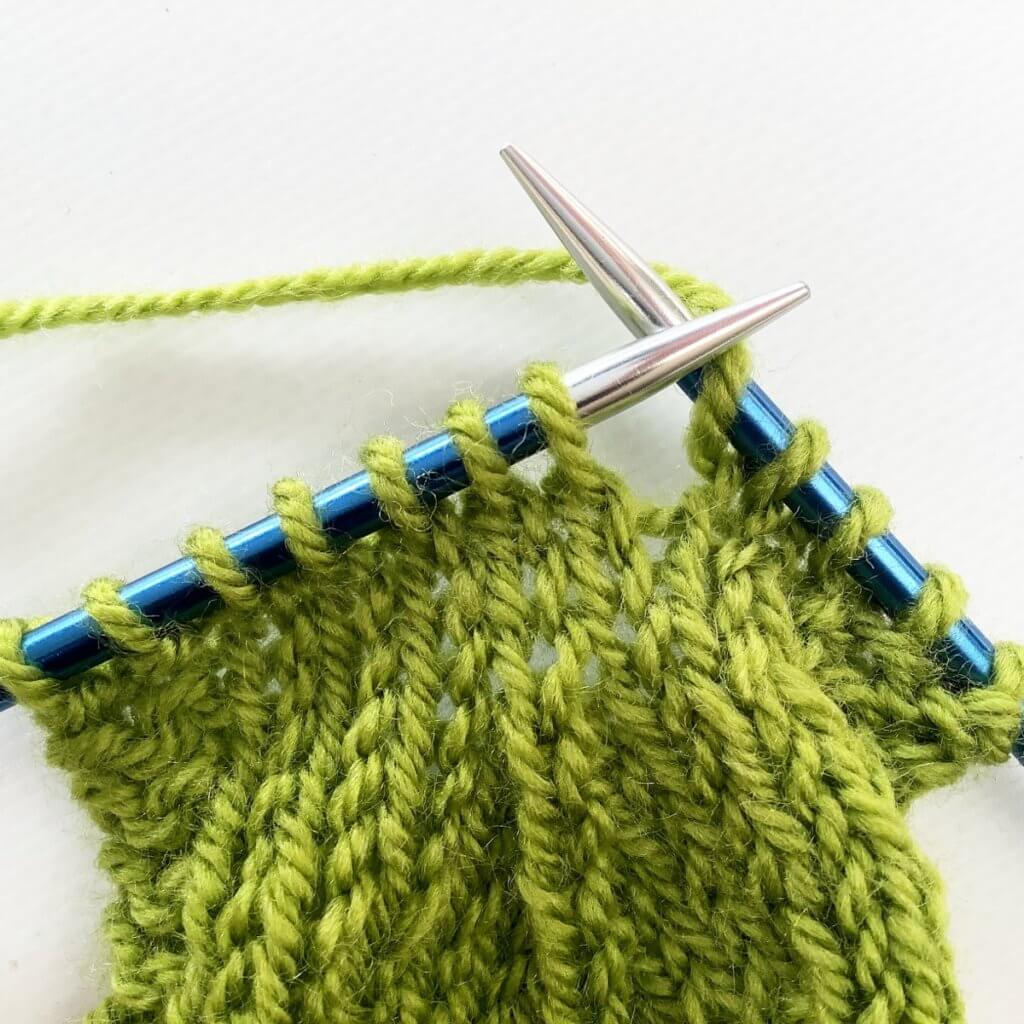
3. And below, you can see how it looks when 2 more rows with yarn over increases have been worked.
And that’s all there is to it!

Thanks to my Patreon supporters for bringing you this freebie! Creating quality patterns and tutorials is a lot of work and resource-intensive. However, I find it important to give you free content like this tutorial. Thanks to the generous support of my Patreon supporters, I can make it happen. Thank you, patrons! Click here to join, or click here to read more about La Visch Designs on Patreon.


