The long tail cast-on method is one that is often used, because of the neat edge it makes. Also, it’s both firm and slightly elastic, making it quite suitable for a range of projects. It can be a bit tricky to get the hang of, but once you get the hang of it, it’s pretty fast to work.
The main challenge with this cast-on is that it uses its yarn tail together with the working yarn. In other words: if you don’t leave the tail long enough you may run short of yarn to cast-on all needed stitches. This is especially bothersome when casting on many stitches. A rule of thumb is to leave a yarn tail that is 3 to 4 times as long as the width you want your work to become. A somewhat more reliable guesstimate can be made by casting on 10 stitches, unravel those and leave a yarn tail in that length, multiplied as many times as needed to arrive at the number of required stitches. Plus a bit extra, of course, to weave in later on.
Another way to deal with it is not to calculate or guess anything, but just use 2 different strands of yarn. This can be from 2 different balls of yarn, or both ends of the same ball if you can find the end in the center.
Shall we go see how the cast-on is worked?
Materials used


Yarn: * Paintbox Yarns Simply DK, a good value, good quality 100% acrylic yarn, here in the color Marine.
Needles: * KnitPro Zing Fixed Circular Needles. In this tutorial, I used the 4 mm (US 6) size with a cable length of 80 cm (32 inches).
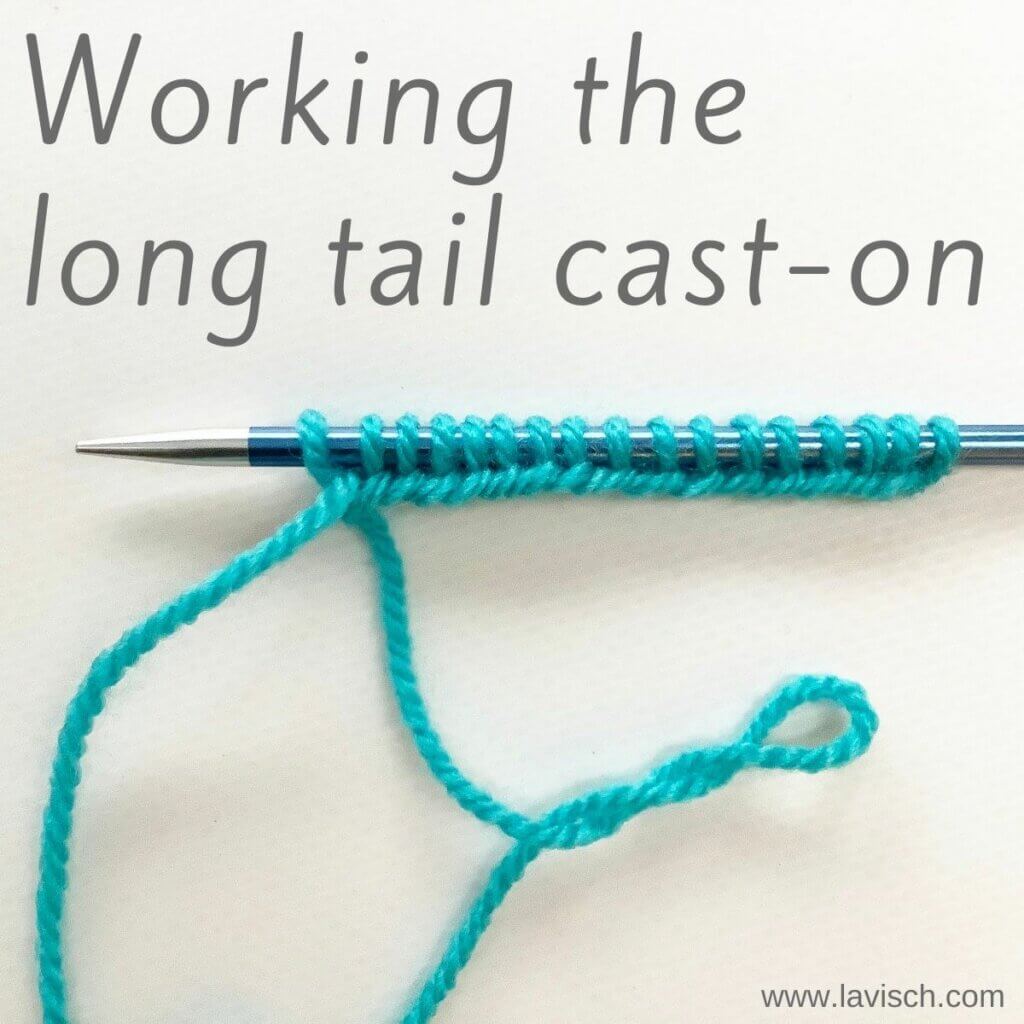
Working the long tail cast-on step by step
Let’s get started on this long tail cast-on!
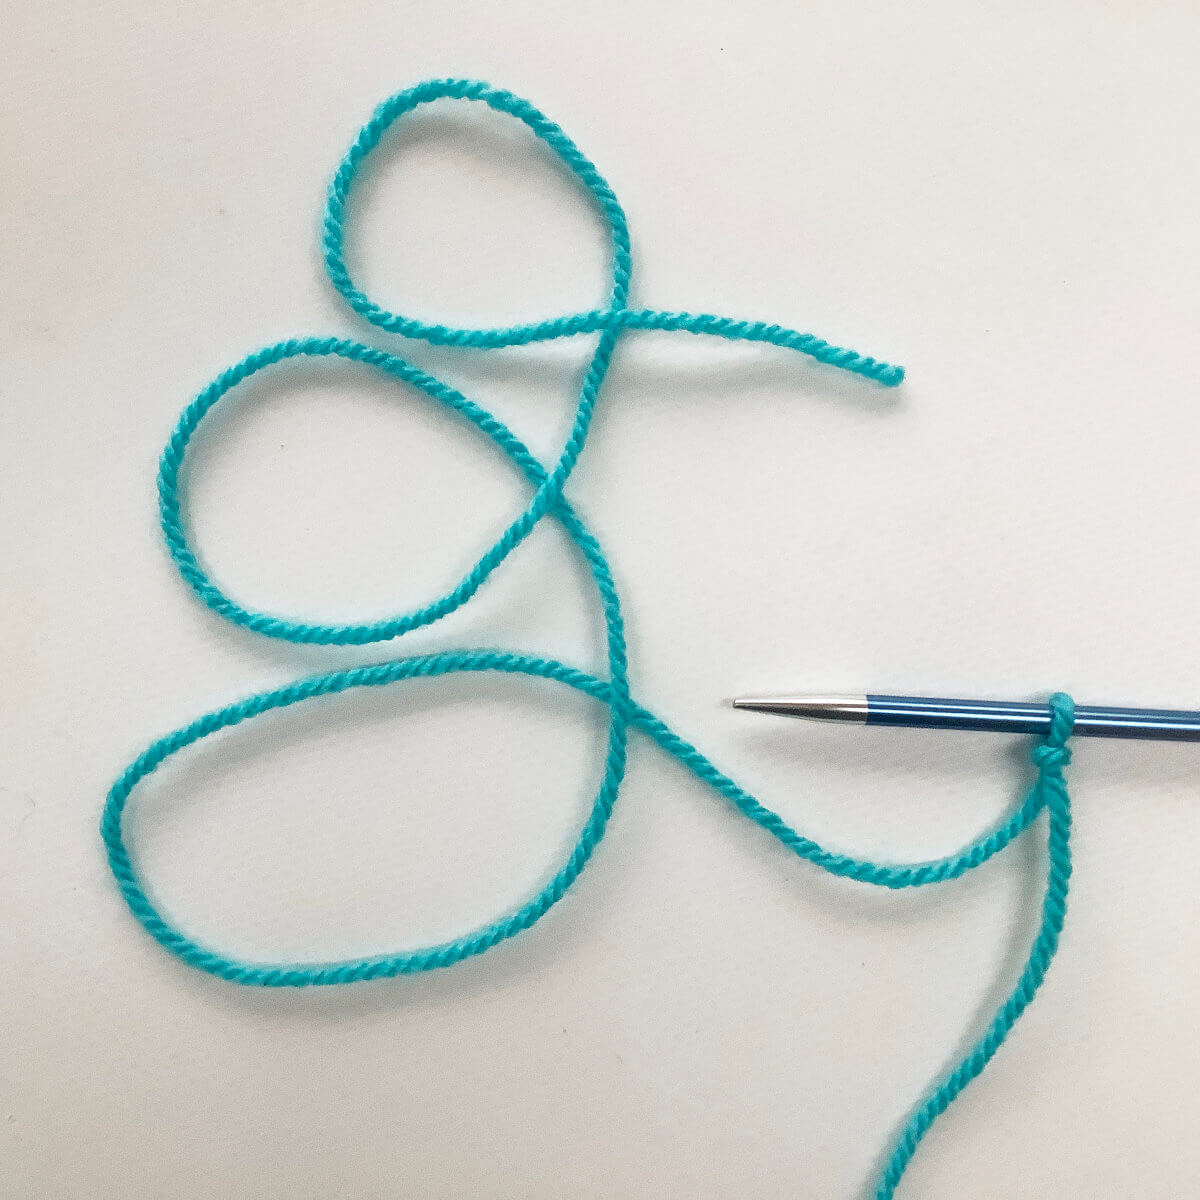
- Start by making a slip knot.
Place the slip knot on the right-hand needle.
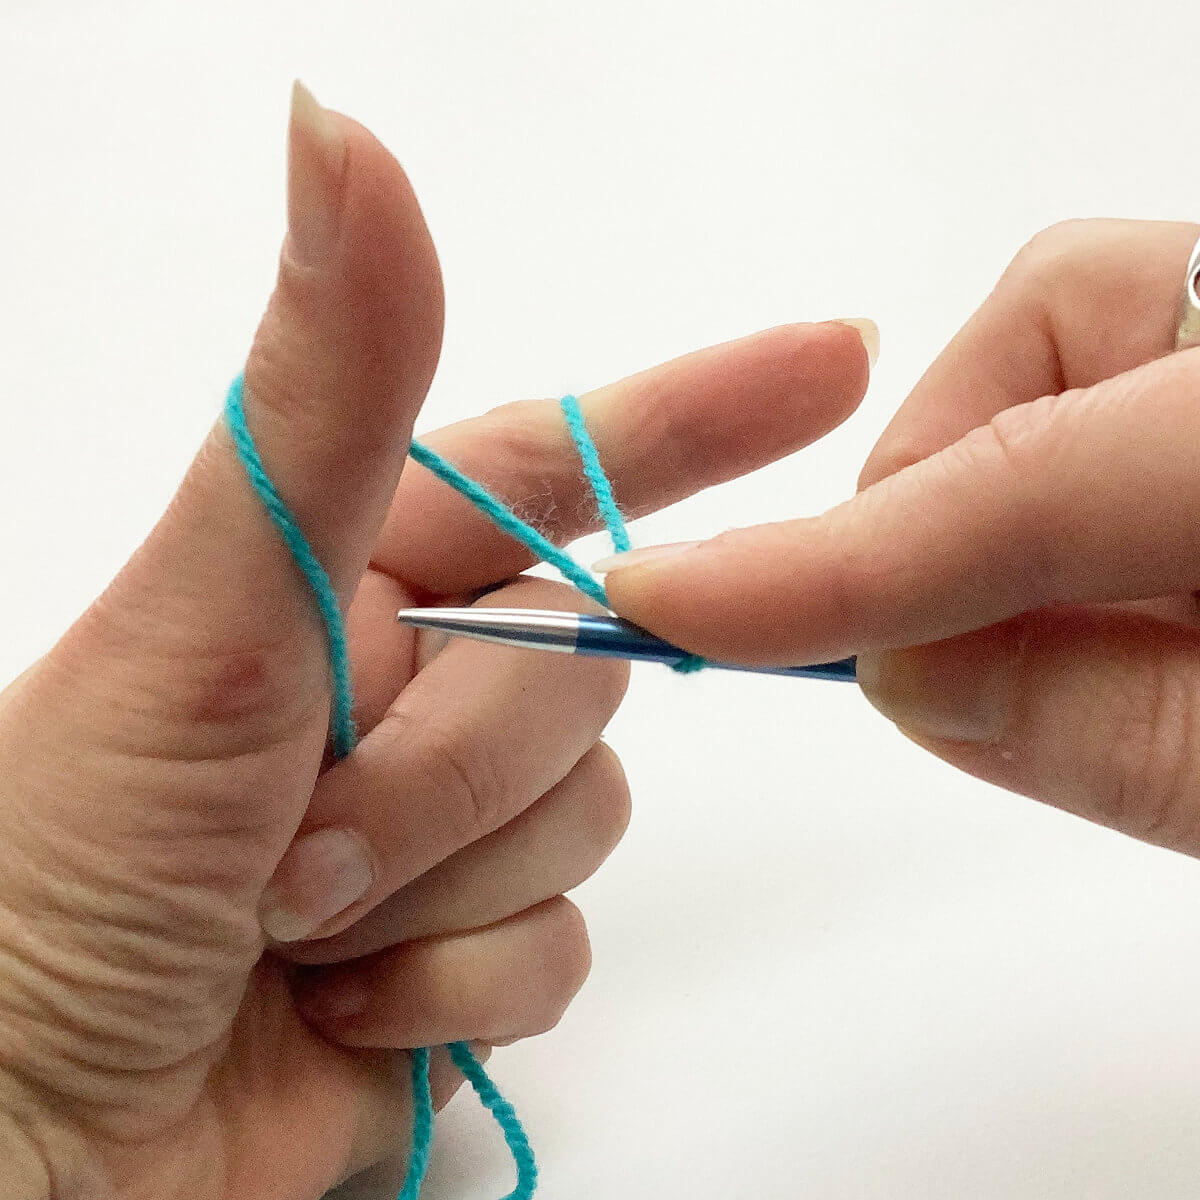
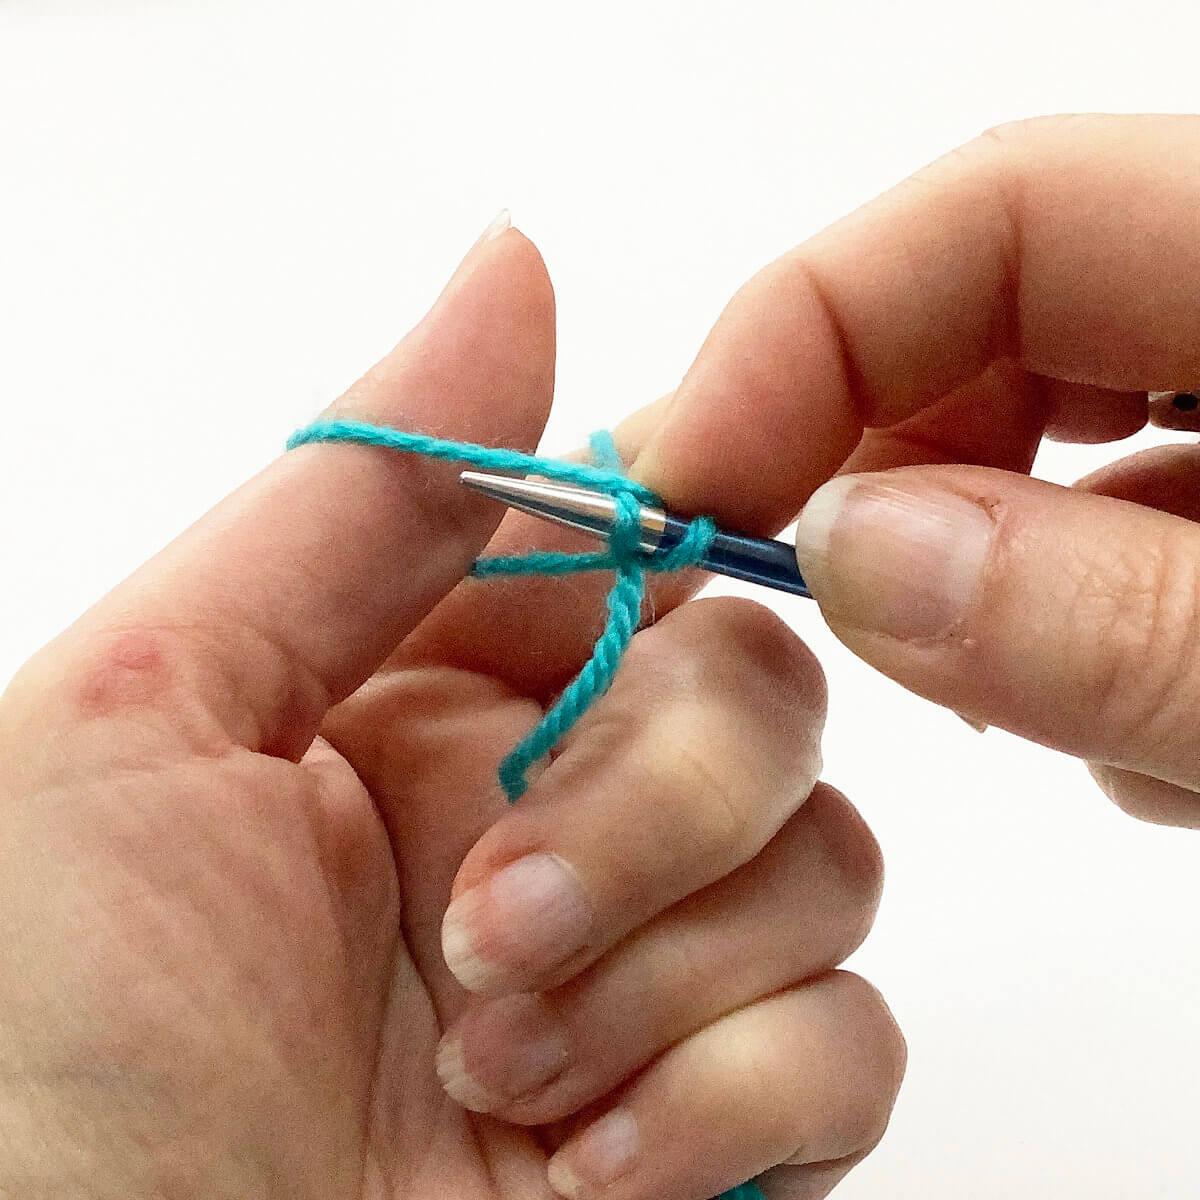
- Next, place your left thumb and index finger between the strands as shown while you hold the ends of both strands of yarn in your left hand with your other fingers.
Just try it, it’s really less tricky than it sounds!

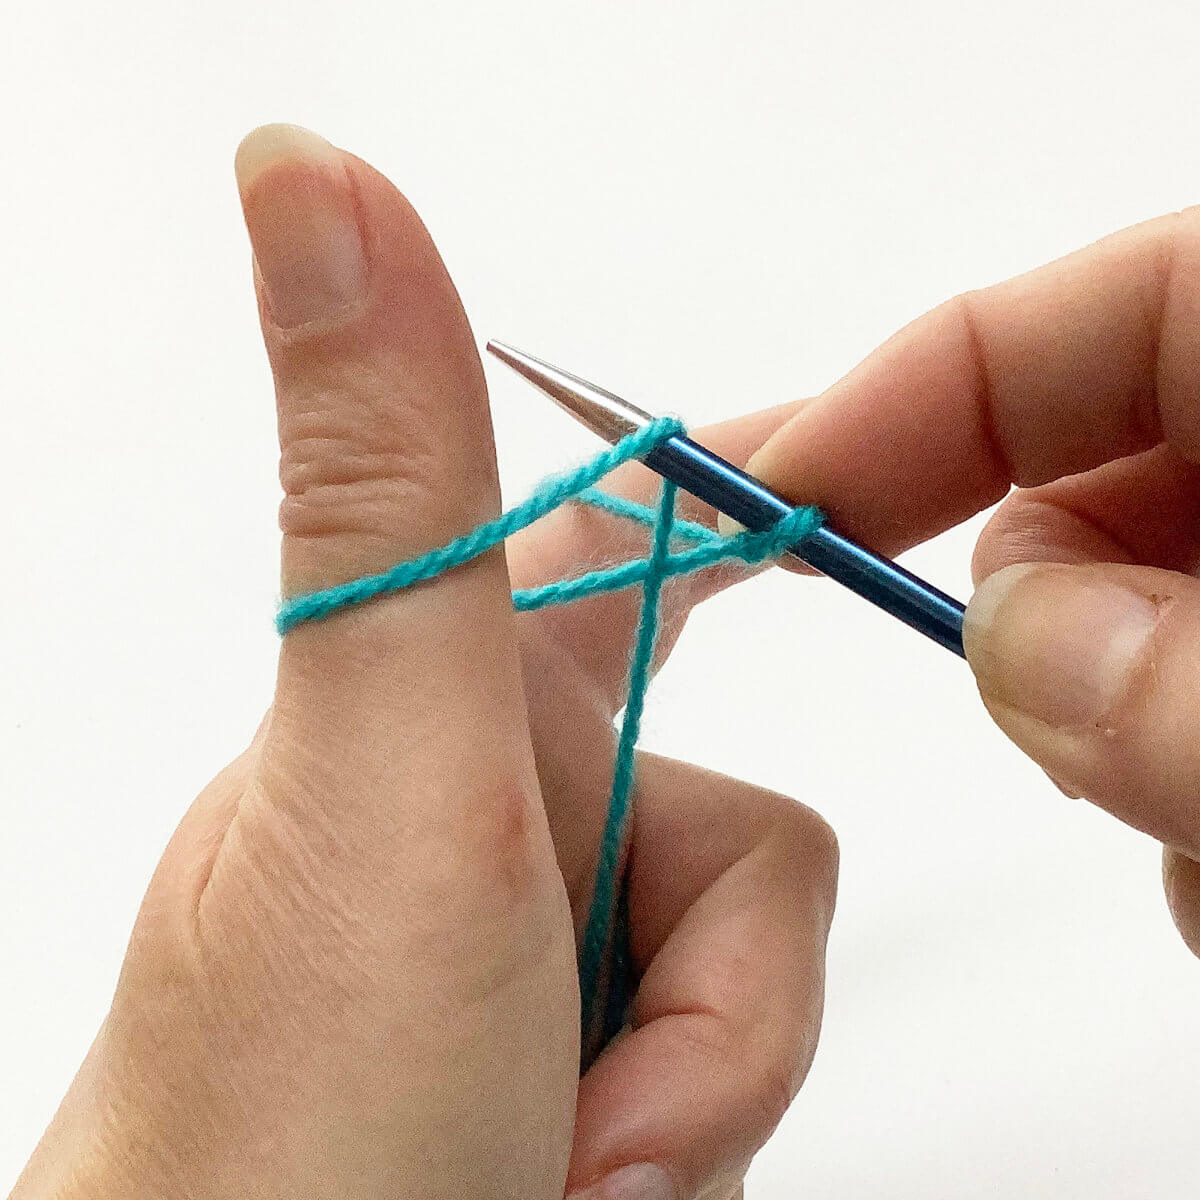
- In this next picture I’ve rotated my left-hand upwards, while moving my right hand down.
Doing this, the yarn basically makes a “v” between my thumb and index finger, making it possible to dip the tip of the needle underneath the strand of yarn you see going around my thumb.
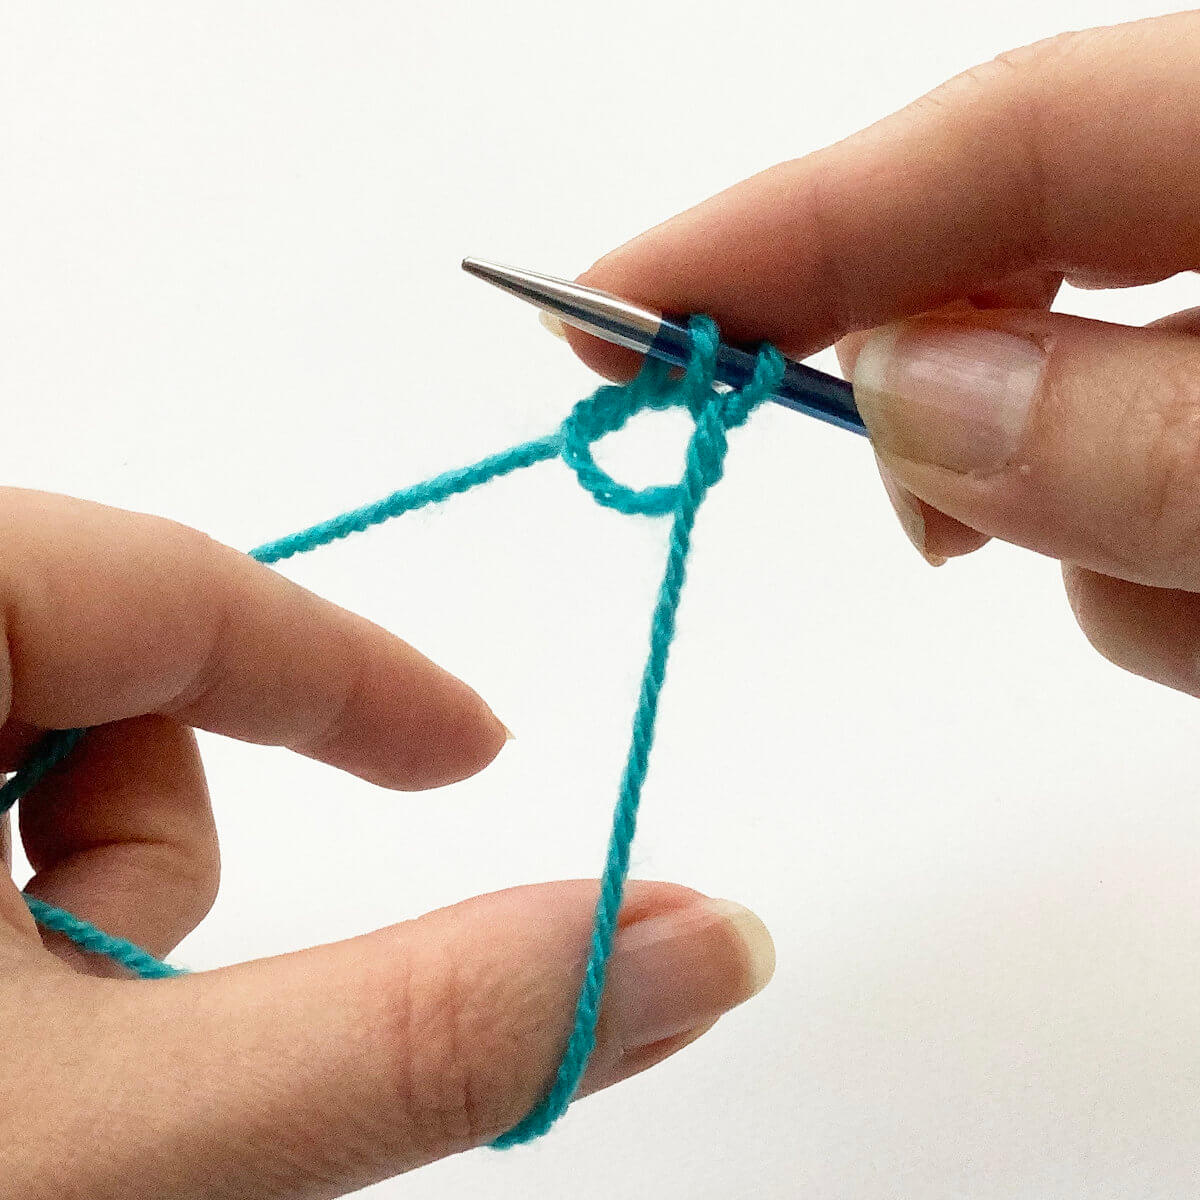
- Here I’ve caught that strand by passing the needle under the yarn that goes around my thumb.
- Next, bring the needle over the top of the strand of yarn going around your index finger, and dip below it from right to left.
Now we’ve caught this strand too, it’s time for the next step.

- Now we pull the last caught strand through the “thumb loop”.
This picture shows this step pretty well.
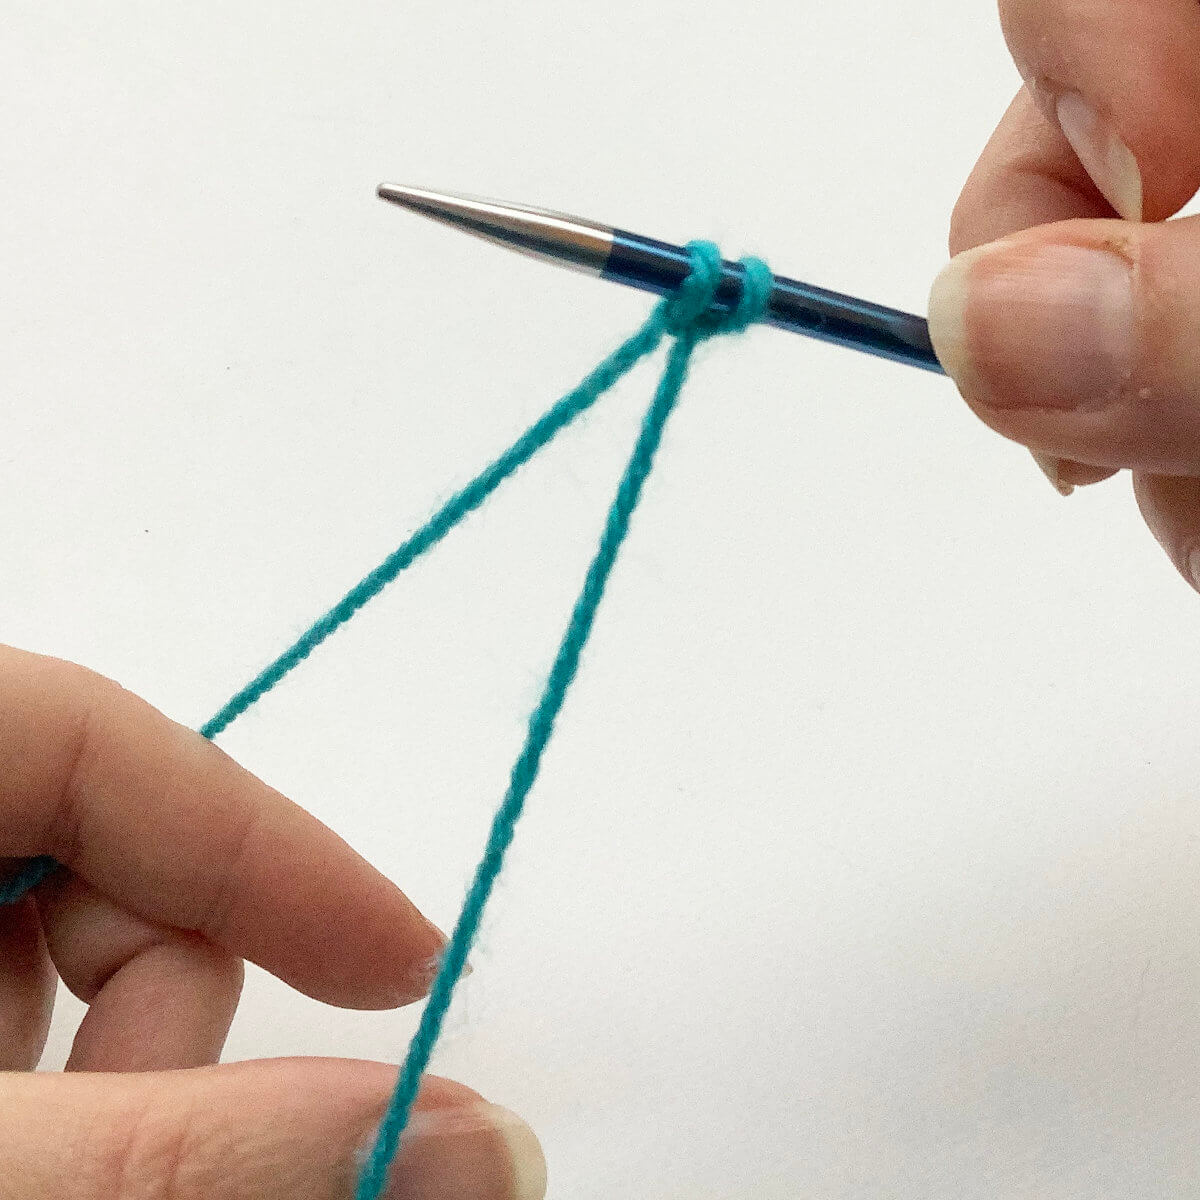
- To finish the new stitch, gently draw out your thumb from the loop …
- … and tighten the stitch a bit by pulling on the strands.
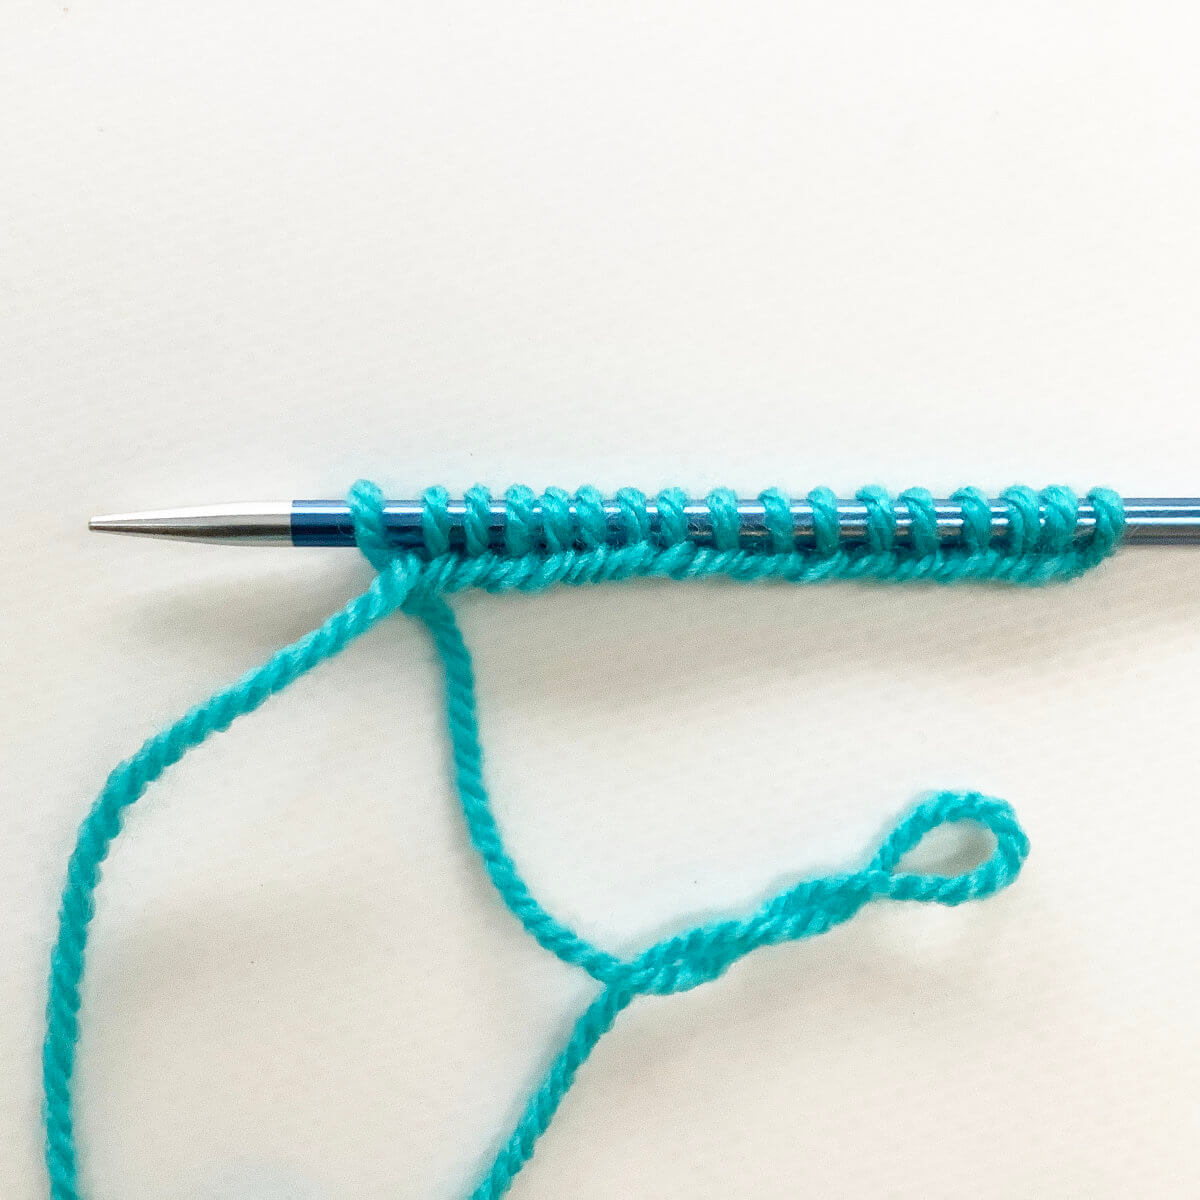
- Repeat steps 2 to 8 as often as needed to arrive at the desired number of stitches.
This is my result working the long tail cast-on:

Thanks to my Patreon supporters for bringing you this freebie! Creating quality patterns and tutorials is a lot of work and resource-intensive. However, I find it important to give you free content like this tutorial. Thanks to the generous support of my Patreon supporters, I can make it happen. Thank you, patrons! Click here to join, or click here to read more about La Visch Designs on Patreon.


