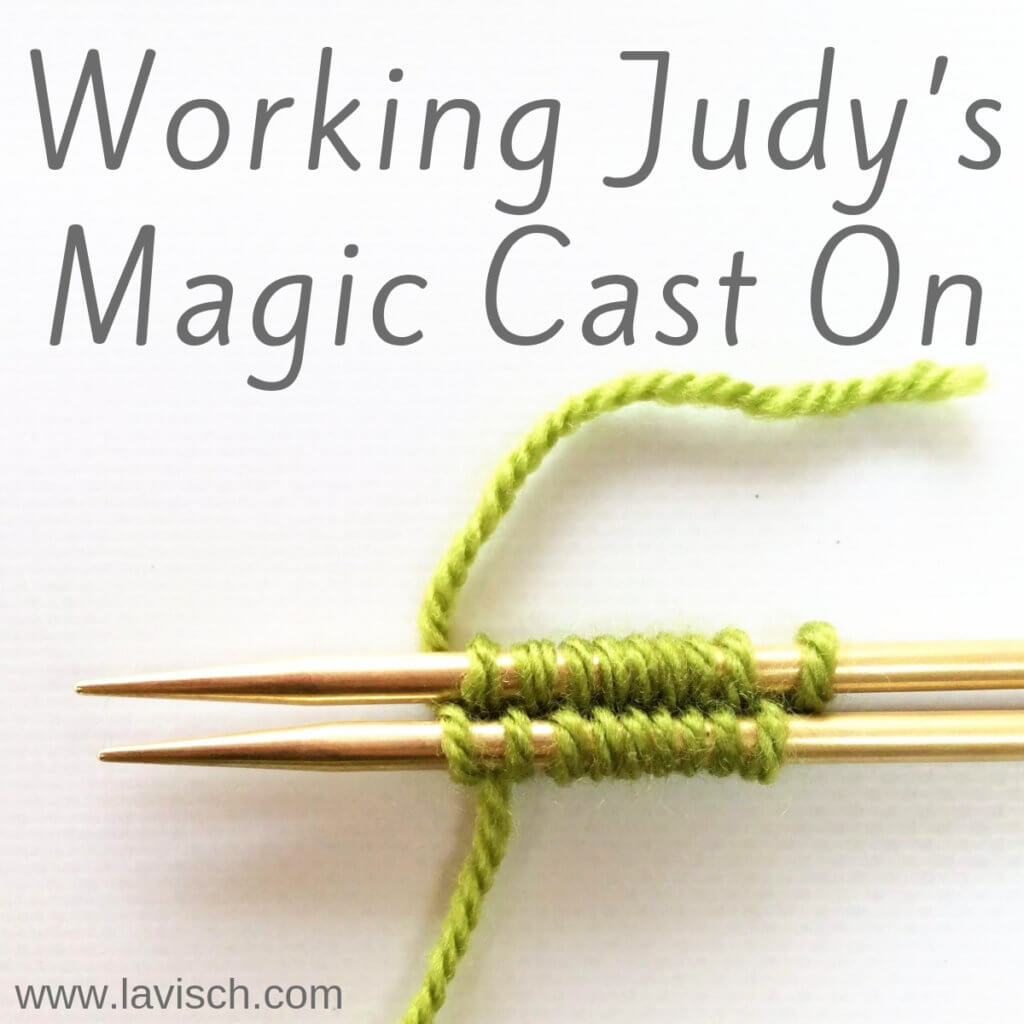
Perhaps you’ve heard about Judy’s Magic Cast On: a truly magic and invisible cast on for toe-up socks. This cast on was first devised by Judy Becker and shared in her article on Knitty. It’s a very clever cast on, as it creates a truly seamless start of your work. As Judy shares in her article, this cast on can be used for a wide range of projects and not just for socks. It can be used for anything that requires knitting in the round and a neat, seamless start.
Since I’m such a fan of this technique, I’m giving you my take on this cast on in this tutorial.
Materials used

Yarn: * Paintbox Yarns Simply DK, a good value, good quality 100% acrylic yarn, in the color 128 Lime Green.
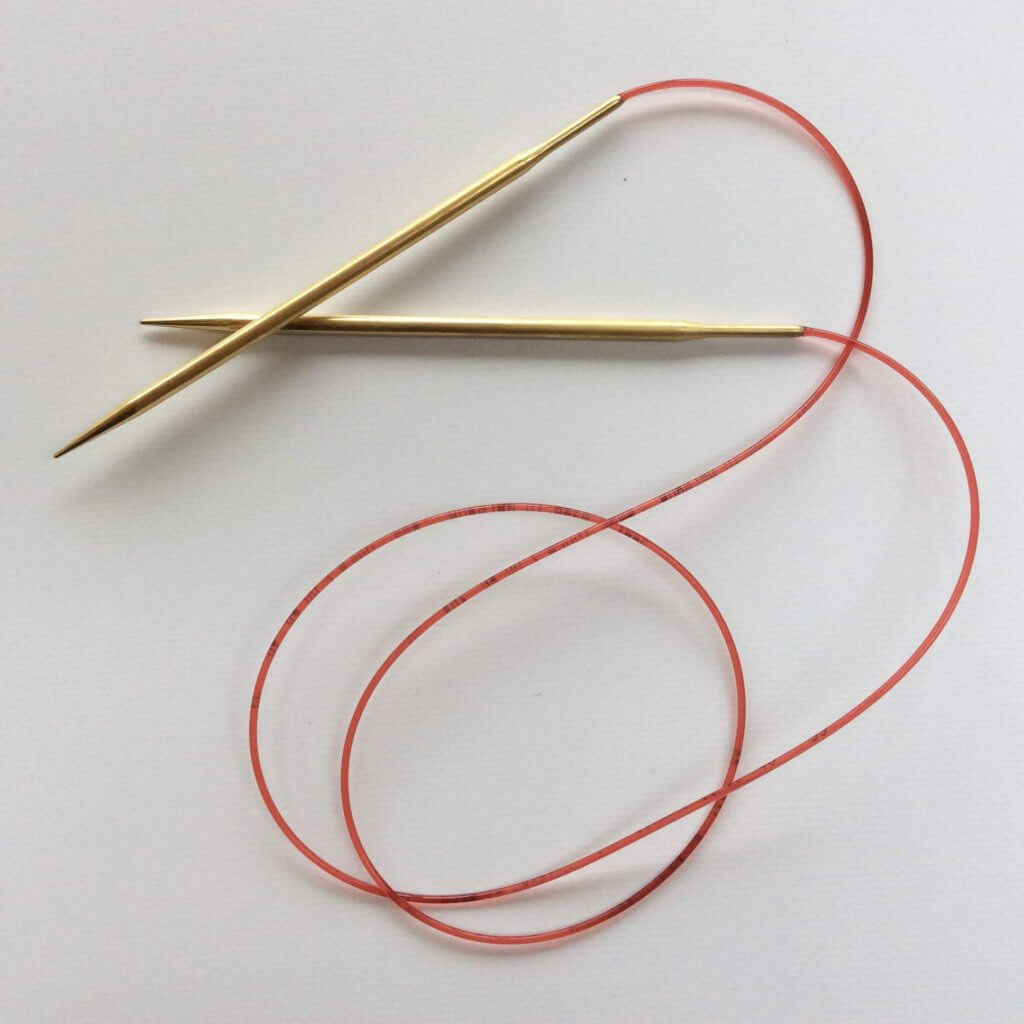
Needles: * Addi Lace Circular Needles, in this tutorial I used the 4 mm (US 6) size with a cable length of 100 cm (40 inches). I would like to advise using at least a cable length of 80 cm (32 inches) to facilitate magic loop knitting.
Working Judy’s Magic Cast On step by step
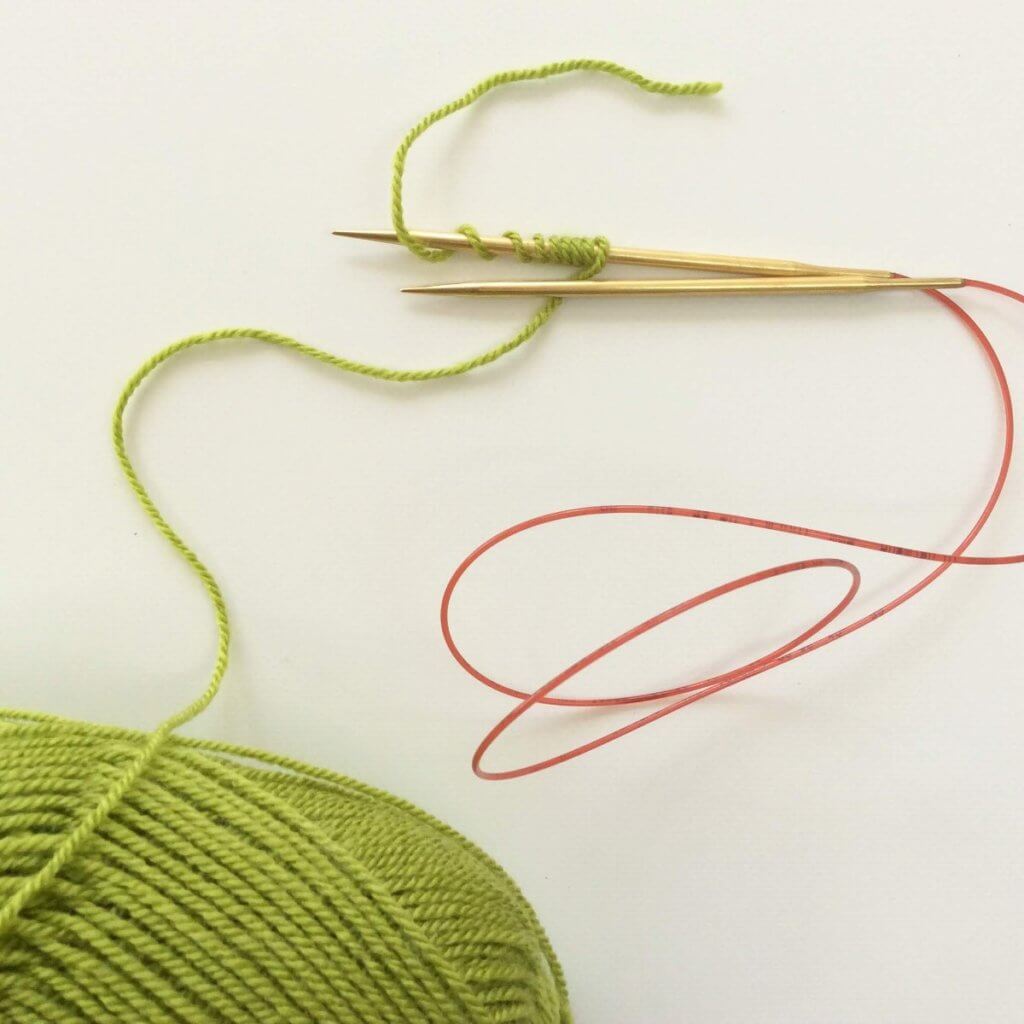
1. This cast on is worked with both the yarn tail and the working yarn. This means, that to start, we need to estimate a sufficient length of yarn tail. One method to do this is to wrap the yarn around your needle once for every stitch to cast on, and then give yourself approx. 15 cm / 6 inches extra so you’ll have enough to weave in later.
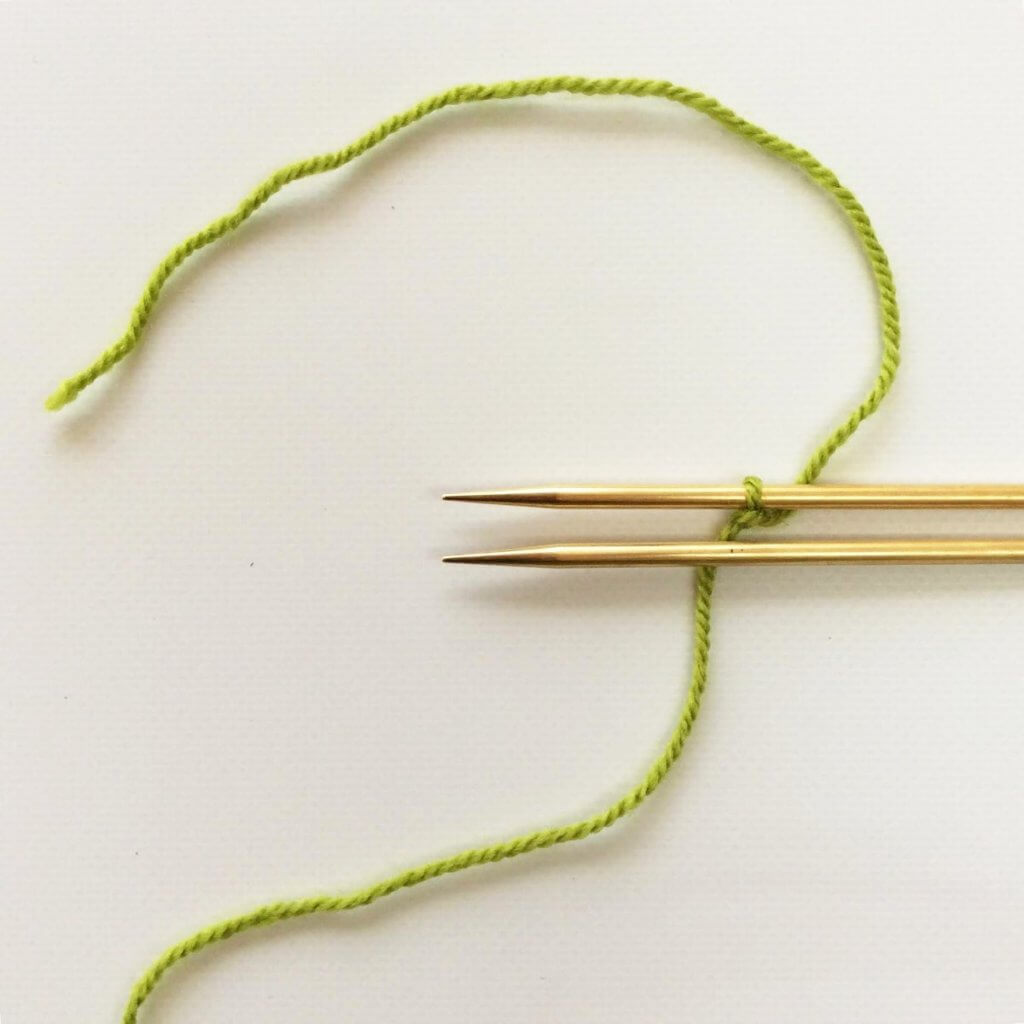
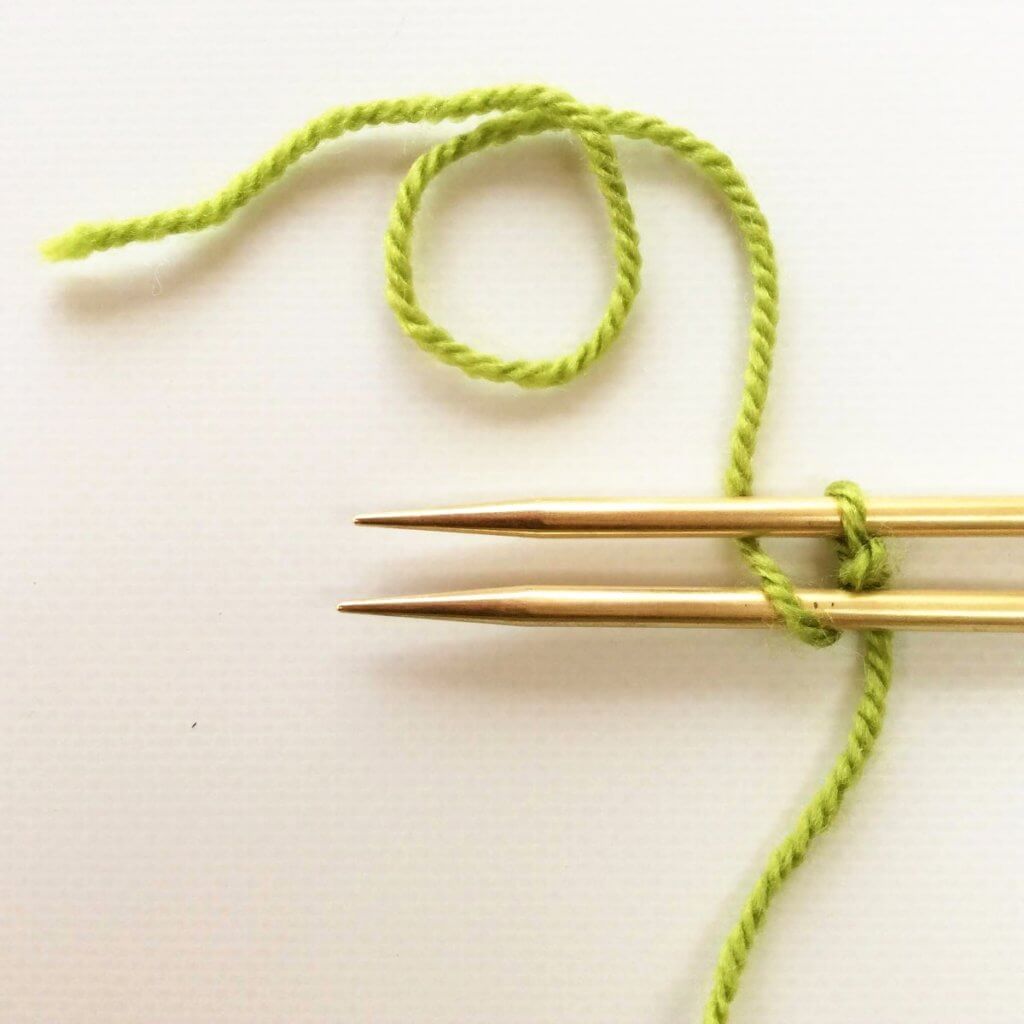
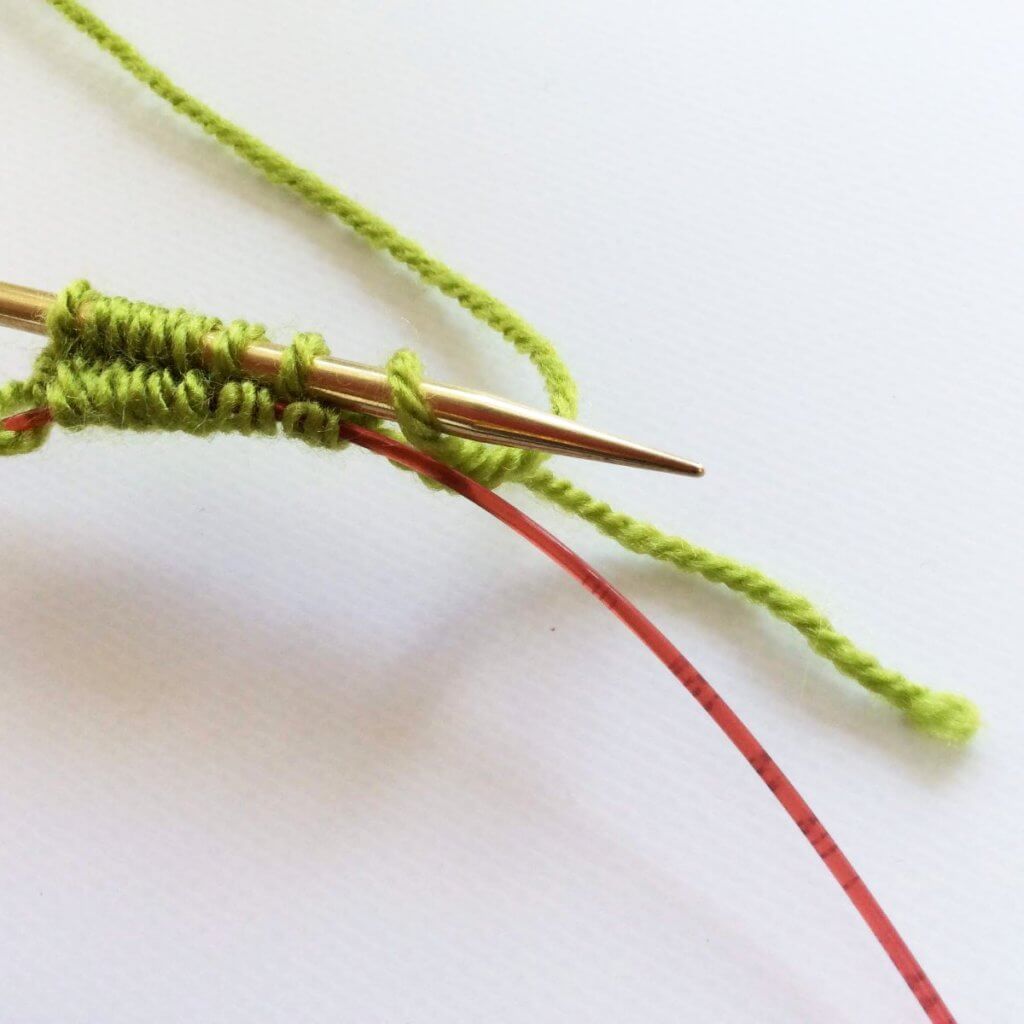
2. Make a slipknot leaving a yarn tail as determined in the previous step and place it around the top needle. Pull to tighten this first loop/cast on stitch. Arrange the yarn in such a way, that the yarn tail is above the top needle and the working yarn is below the bottom needle as pictured.
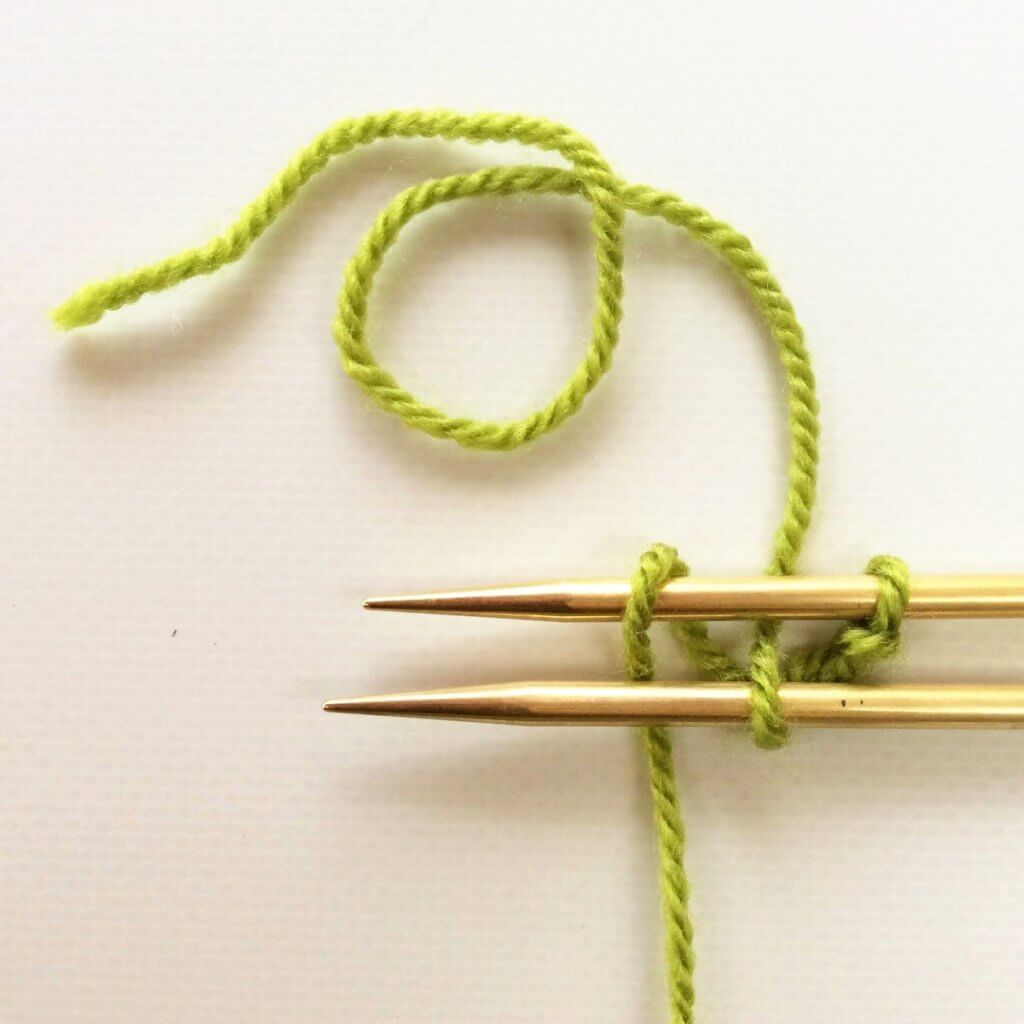
3. Now move the yarn tail downwards, under and then over the bottom needle and next underneath the top needle to bring it back to its starting position. You now have cast on a loop on the bottom needle.
4. Next, take the working yarn and move it under and then over the top needle and next underneath the bottom needle to bring it back to its starting position. You now have cast on a loop on the top needle.
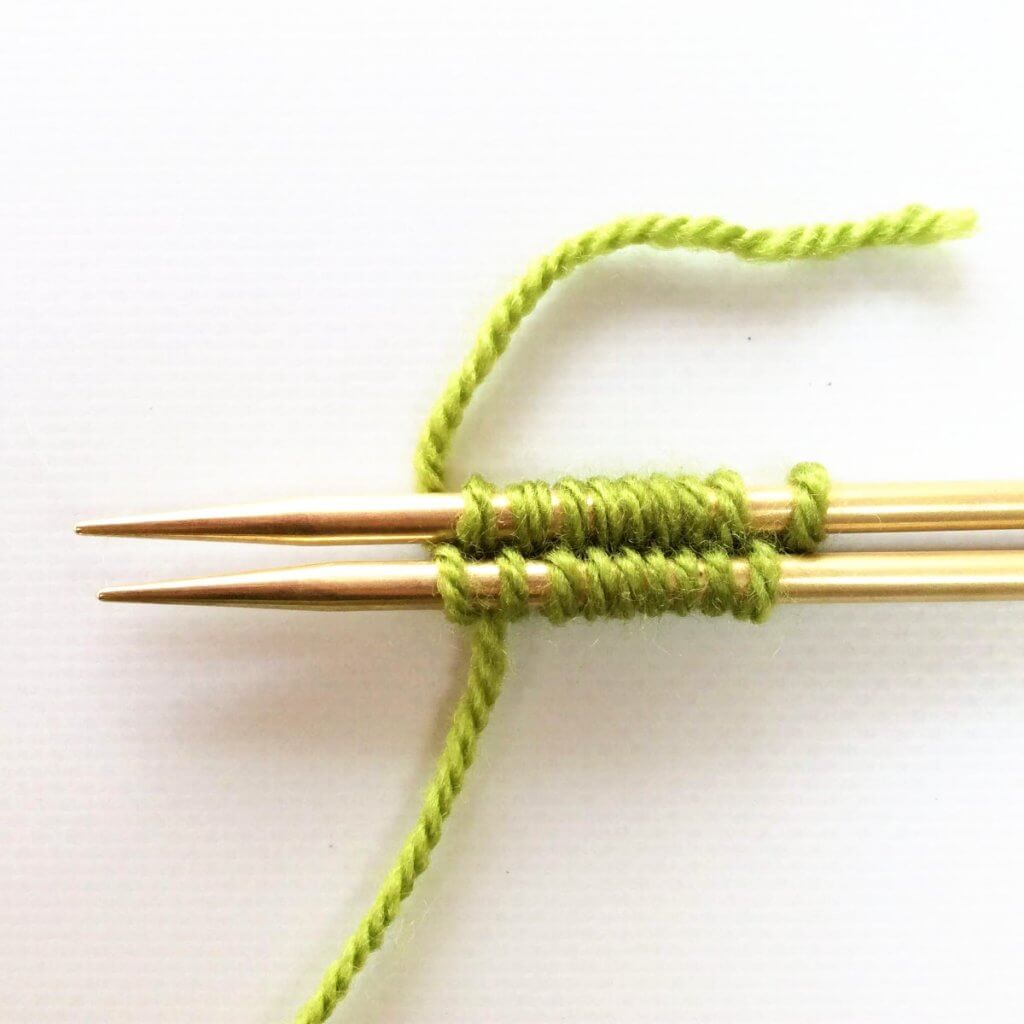
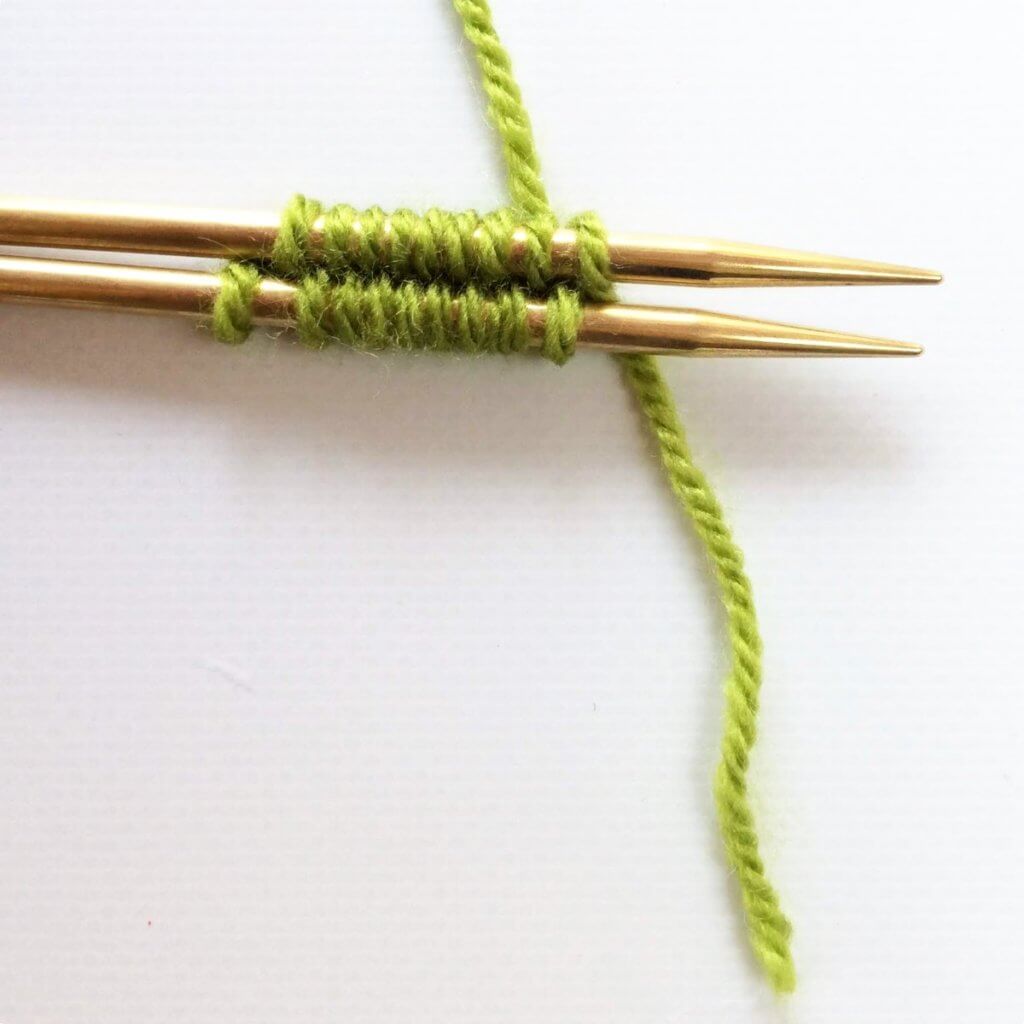
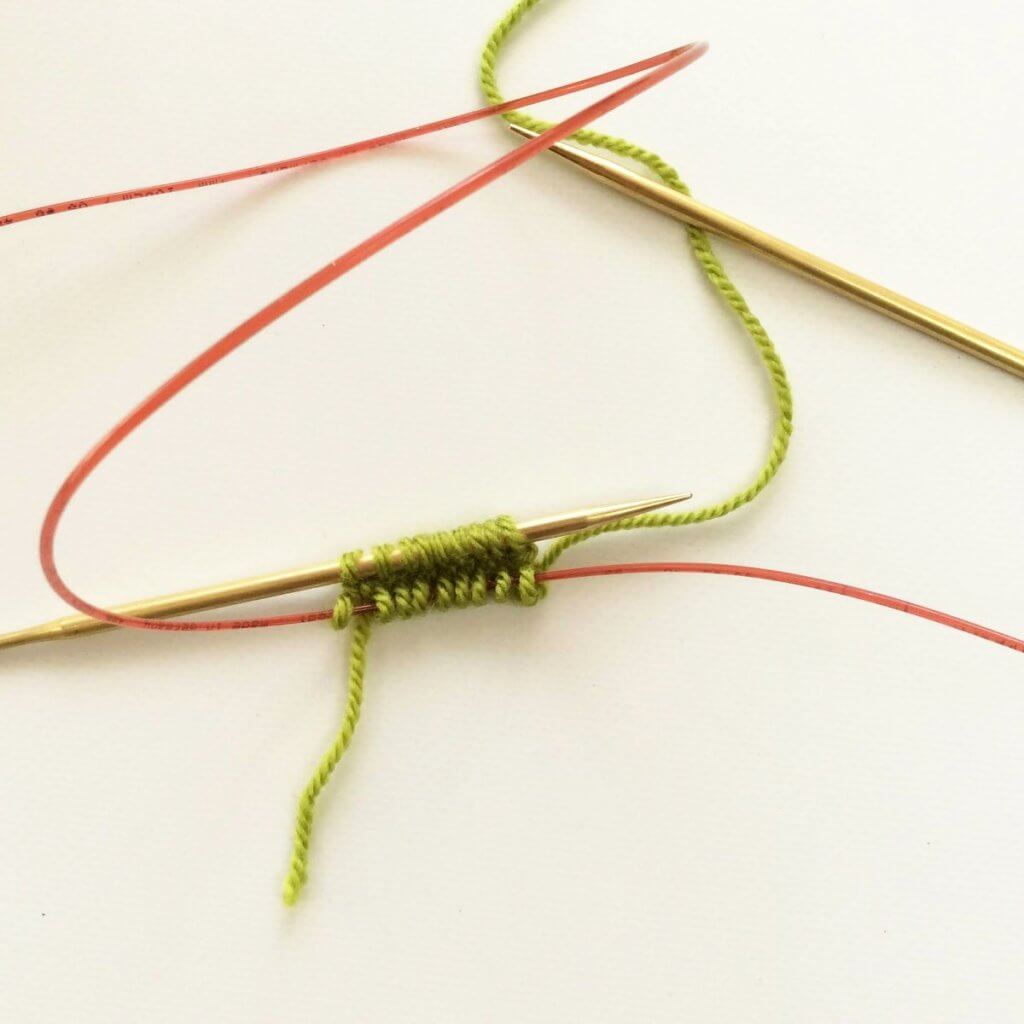
5. Repeat steps 3 and 4 until you’ve cast on the required number of stitches. Take care not to tighten these stitches too much, since this will encourage a little bump to form on each side of the cast on stitches. In this picture, a total of 18 stitches, 9 stitches per needle, have been cast on. (And yes, I really should have used a slightly longer yarn tail….)
Working the first round after the cast on
There are some peculiarities with the first round after the stitches are cast on using Judy’s Magic Cast On. Read on to find out more!
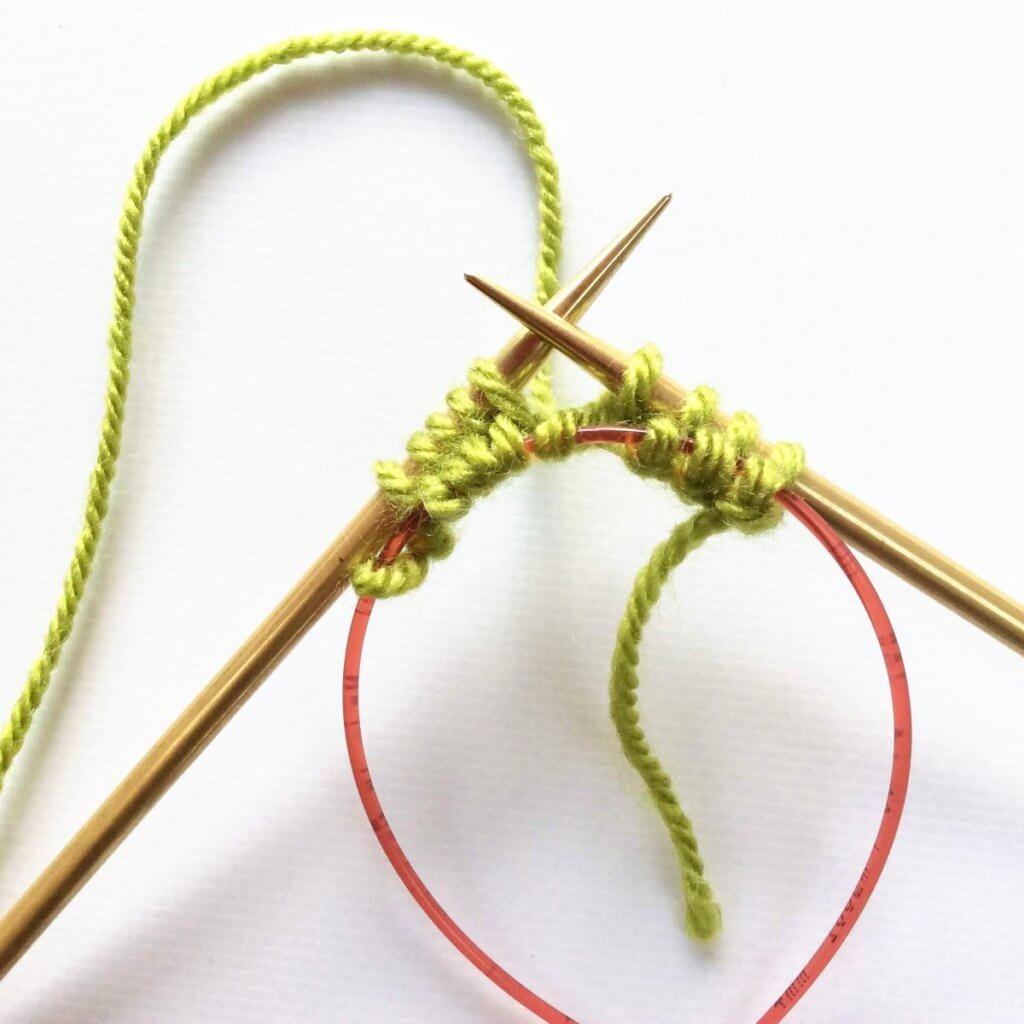
1. Turn the needles so that the bottom needle is now on top and ready to serve as your main (left-hand) needle.
2. Pull out the other needle to place its stitches on the cable and to use the tip as your working (right-hand) needle to knit into all the stitches on the main needle, magic loop style. Make sure that the yarn tail lies between the working yarn and the main needle. This way you can lock the yarn tail in place once you start knitting.
3. Knit the stitches on the main (left-hand) needle. If the first stitch loosens up a bit, just tighten it back up by softly pulling the yarn tail.
4. Next, turn your work so that the working yarn is on the right again.

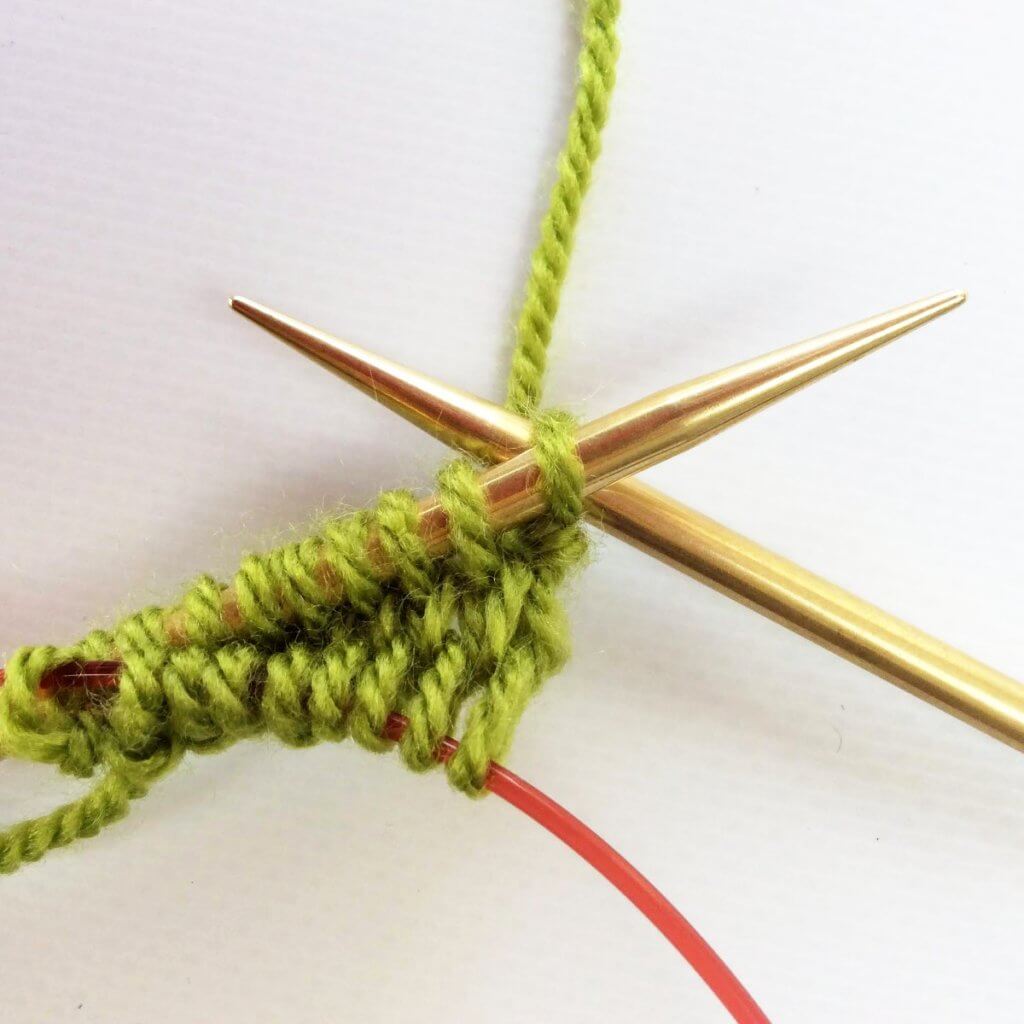
5. Pull gently on the left-hand cable loop to pull the needle into the stitches and the former bottom needle is now on top and ready to serve as your main (left-hand) needle.

6. Likewise, pull out the other needle to place the stitches just worked on the cable, and to use the tip as your working (right-hand) needle to knit into all the stitches on the main needle, magic loop style.
7. Work the second set of the cast on stitches. Only this time, knit them through the back loop to correct their stitch mount.
The result
Once all the above steps are followed, this is the result. You’re now ready to continue with your knitting in the round (using magic loop) as described in your pattern.

And this is how to work Judy’s Magic Cast On and the first round after casting on!

Thanks to my Patreon supporters for bringing you this freebie! Creating quality patterns and tutorials is a lot of work and resource-intensive. However, I find it important to give you free content like this tutorial. Thanks to the generous support of my Patreon supporters, I can make it happen. Thank you, patrons! Click here to join, or click here to read more about La Visch Designs on Patreon.


