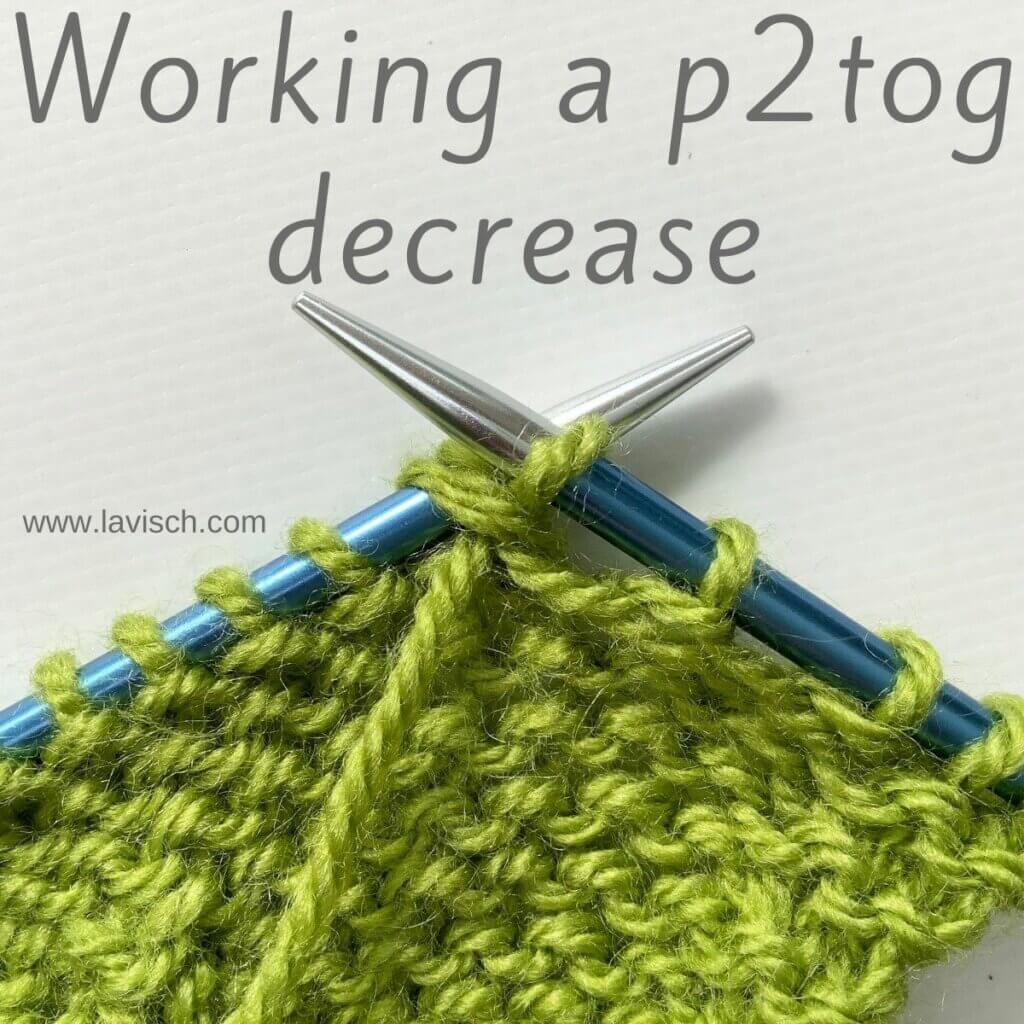
In a previous post, I already showed you how to work the right-leaning decrease, in which 2 stitches are reduced to one: the one abbreviated with “k2tog”. This stands for “knit 2 stitches together”. It’s a very easy and very common way to reduce the number of stitches in your project and make it narrower. It’s also often used in lace knitting.
But what when your lace also requires decreases to be worked on the wrong side of the fabric? This is where the purled decrease p2tog comes in! This decrease is worked on the wrong side and looks just like a k2tog when the result is viewed on the right side of the fabric. It’s a pretty straight-forward decrease to work; purl 2 stitches together, to decrease the total number of stitches by one. It is just like making a regular purl stitch but you work through two stitches instead of one.
Below you can find how to work this decrease step by step, so get your materials and follow along!
Materials


Yarn: * Paintbox Yarns Simply DK, a good value, good quality 100% acrylic yarn, here in the color 128 Lime Green.
Needles: * KnitPro Zing Fixed Circular Needles. In this tutorial, I used the 4 mm (US 6) size with a cable length of 80 cm (32 inches).
Working a p2tog step by step
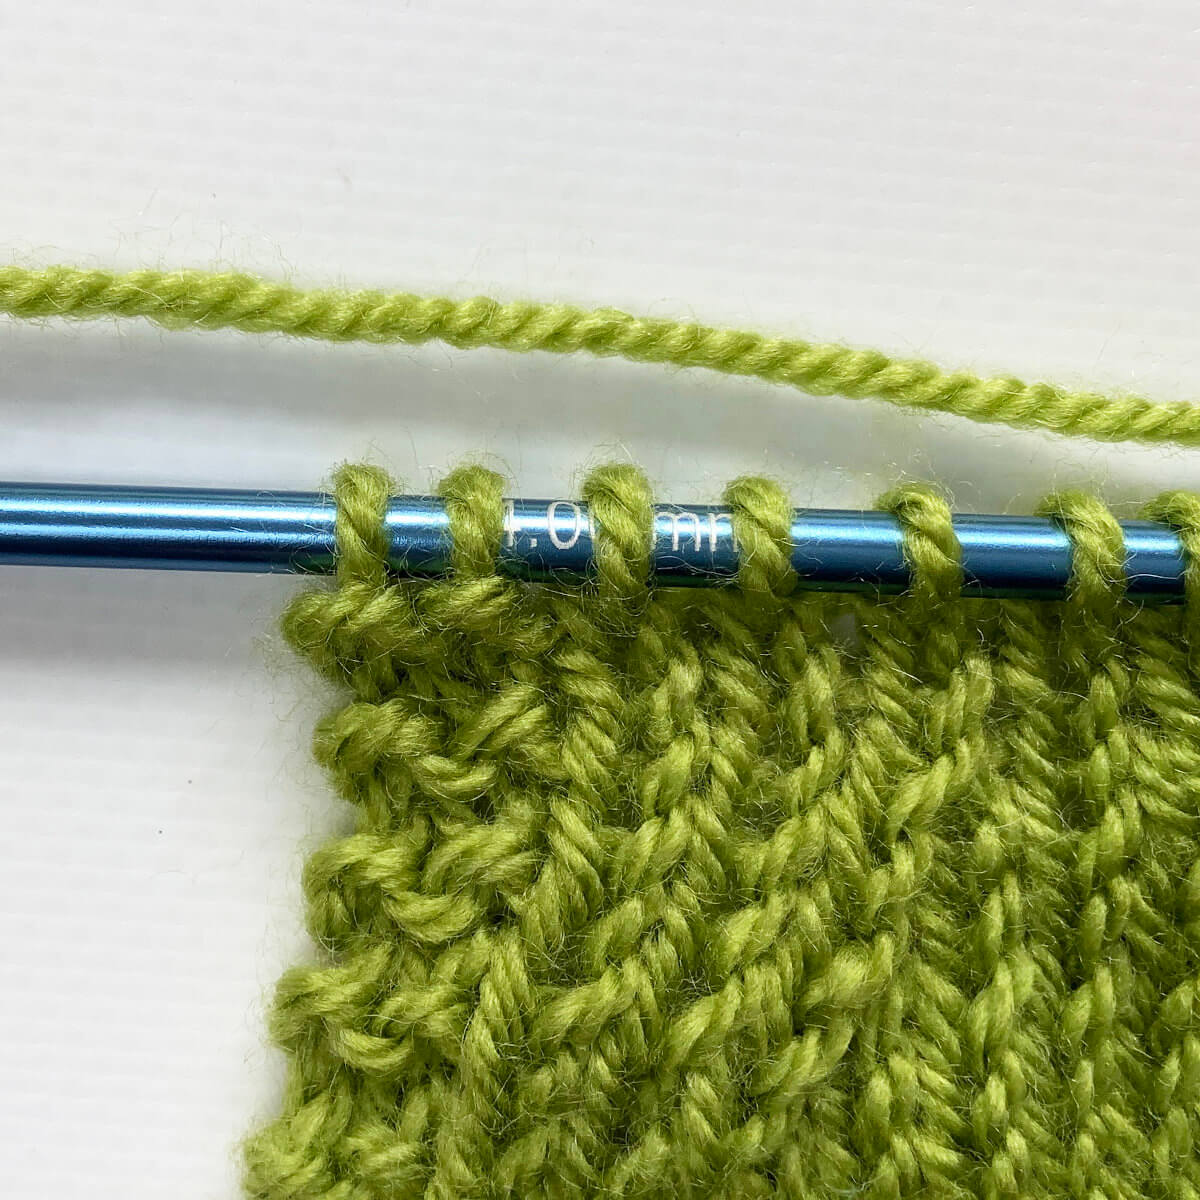
- Work your way across the row until you’ve reached the point where you want to make the decrease.
In this case, I want to work the decrease 4 stitches in from the right side of the swatch.
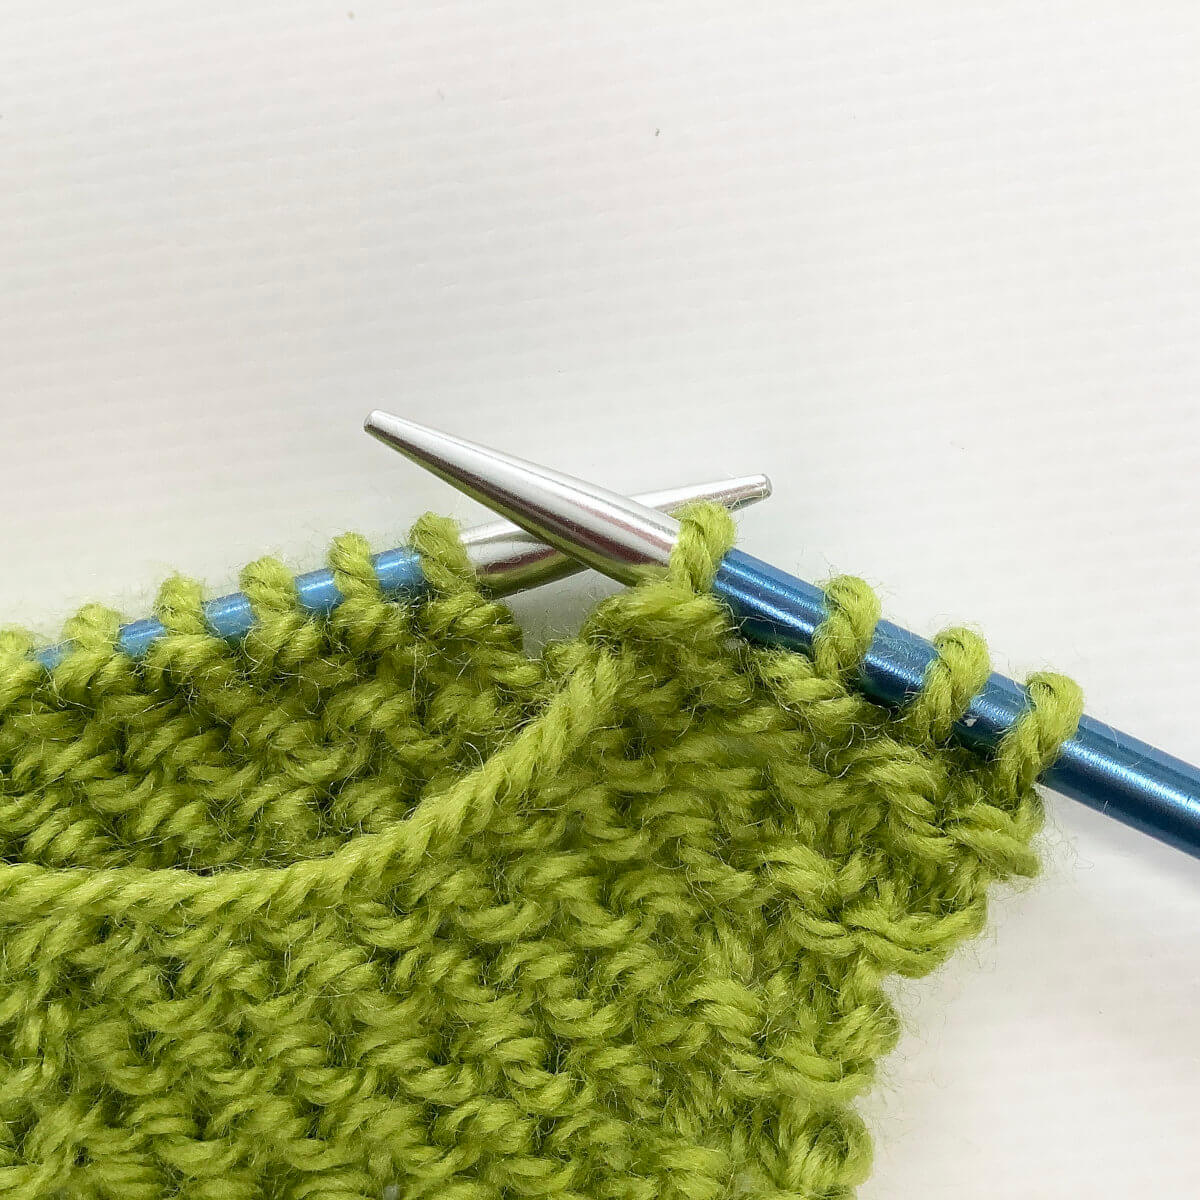
- Insert the needle
Now insert the needle purl wise through the first two stitches on the left-hand needle and wrap the working yarn around the right-hand needle.
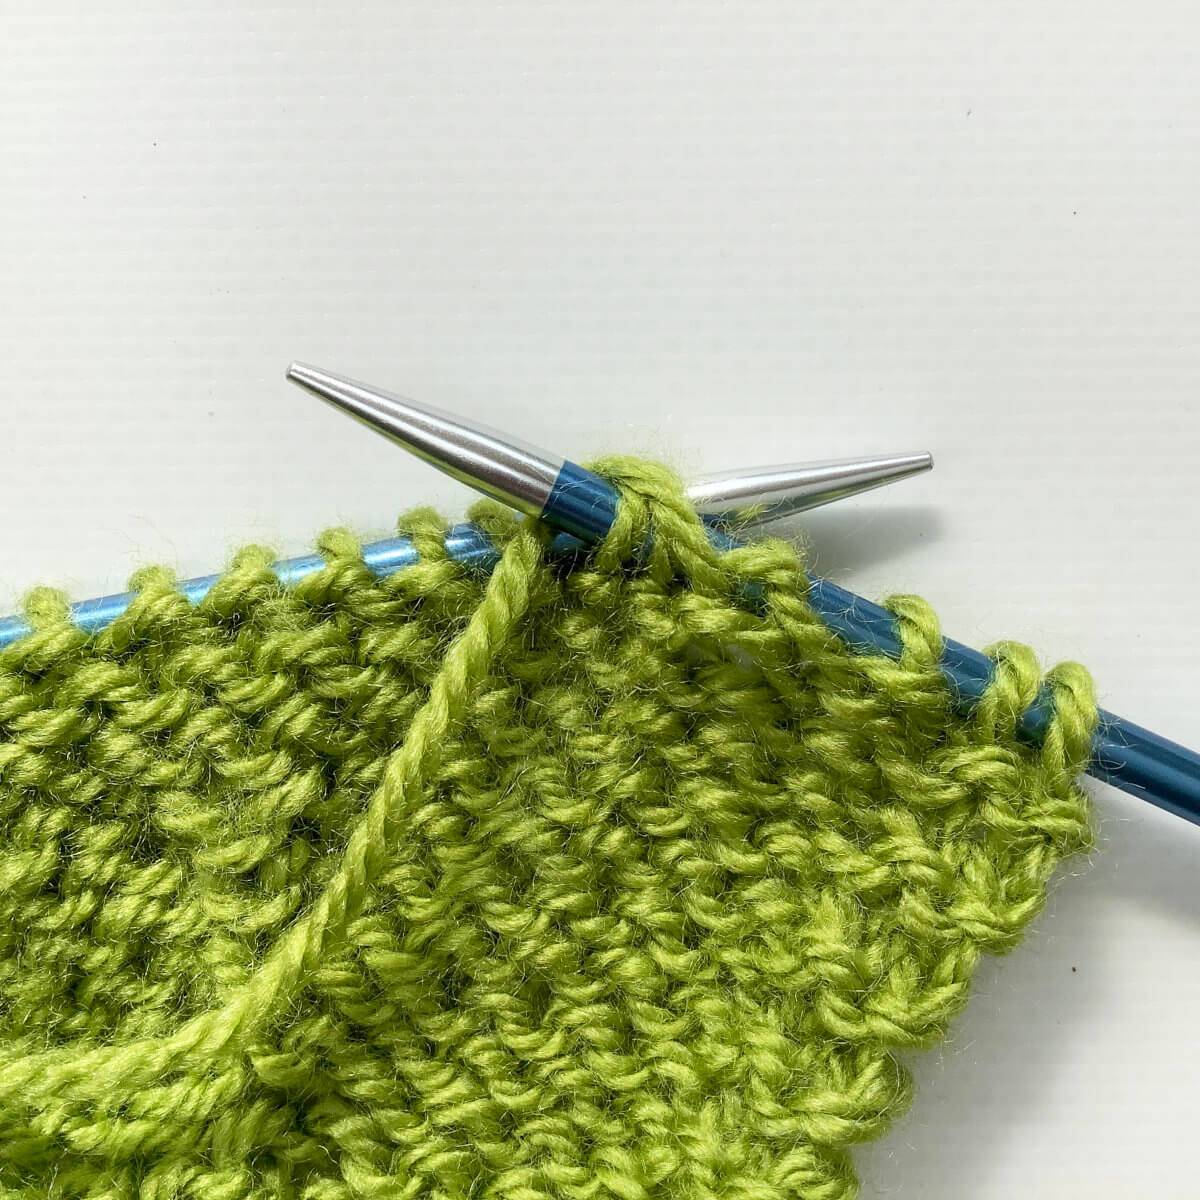
- Pull the yarn through the two stitches…

- … and slip the two stitches worked of the needle to complete the decrease
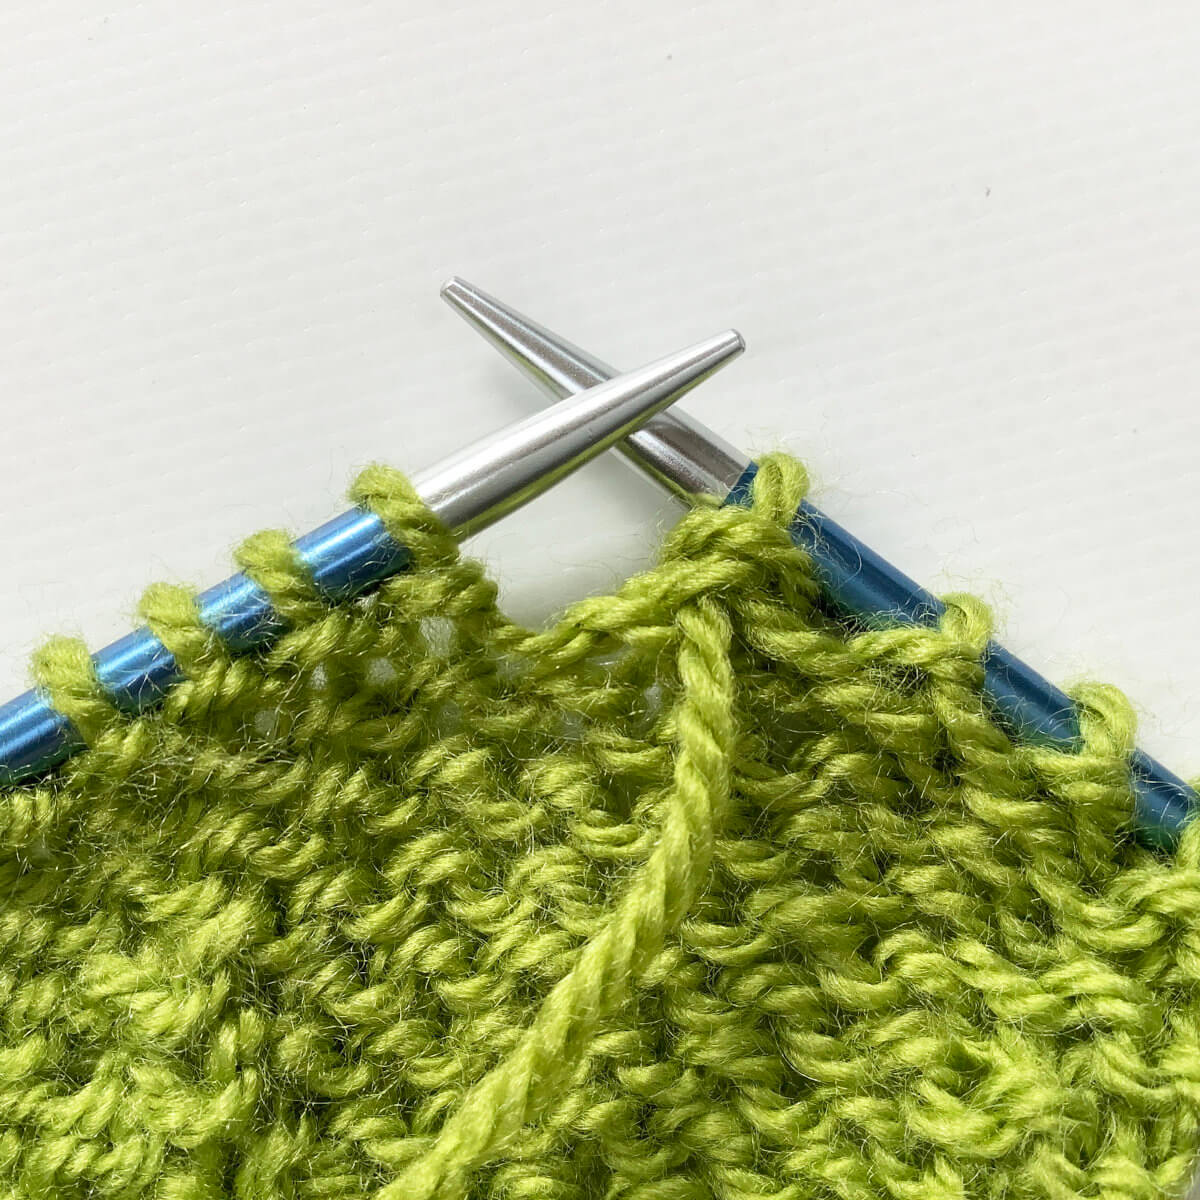
- The result
When viewed from the right side of the fabric, this decrease looks exactly look a k2tog!

Thanks to my Patreon supporters for bringing you this freebie! Creating quality patterns and tutorials is a lot of work and resource-intensive. However, I find it important to give you free content like this tutorial. Thanks to the generous support of my Patreon supporters, I can make it happen. Thank you, patrons! Click here to join, or click here to read more about La Visch Designs on Patreon.


