For a recent project, I’m working an applied border around a pi-shawl. Nearing the end of the border, it seems that there will be yarn left. This could be used to work a couple of more rounds in the body of the shawl. From forum posts, I understood that it is possible to “unzip” an applied border from its project. It could then be reapplied later on. But how to go about removing an applied border, exactly, remains elusive.
So, in the name of science, I tried it out on a swatch. In this post, I’ll show you exactly what I did to remove the knitted-on border, ready to be reattached later on.
Materials used


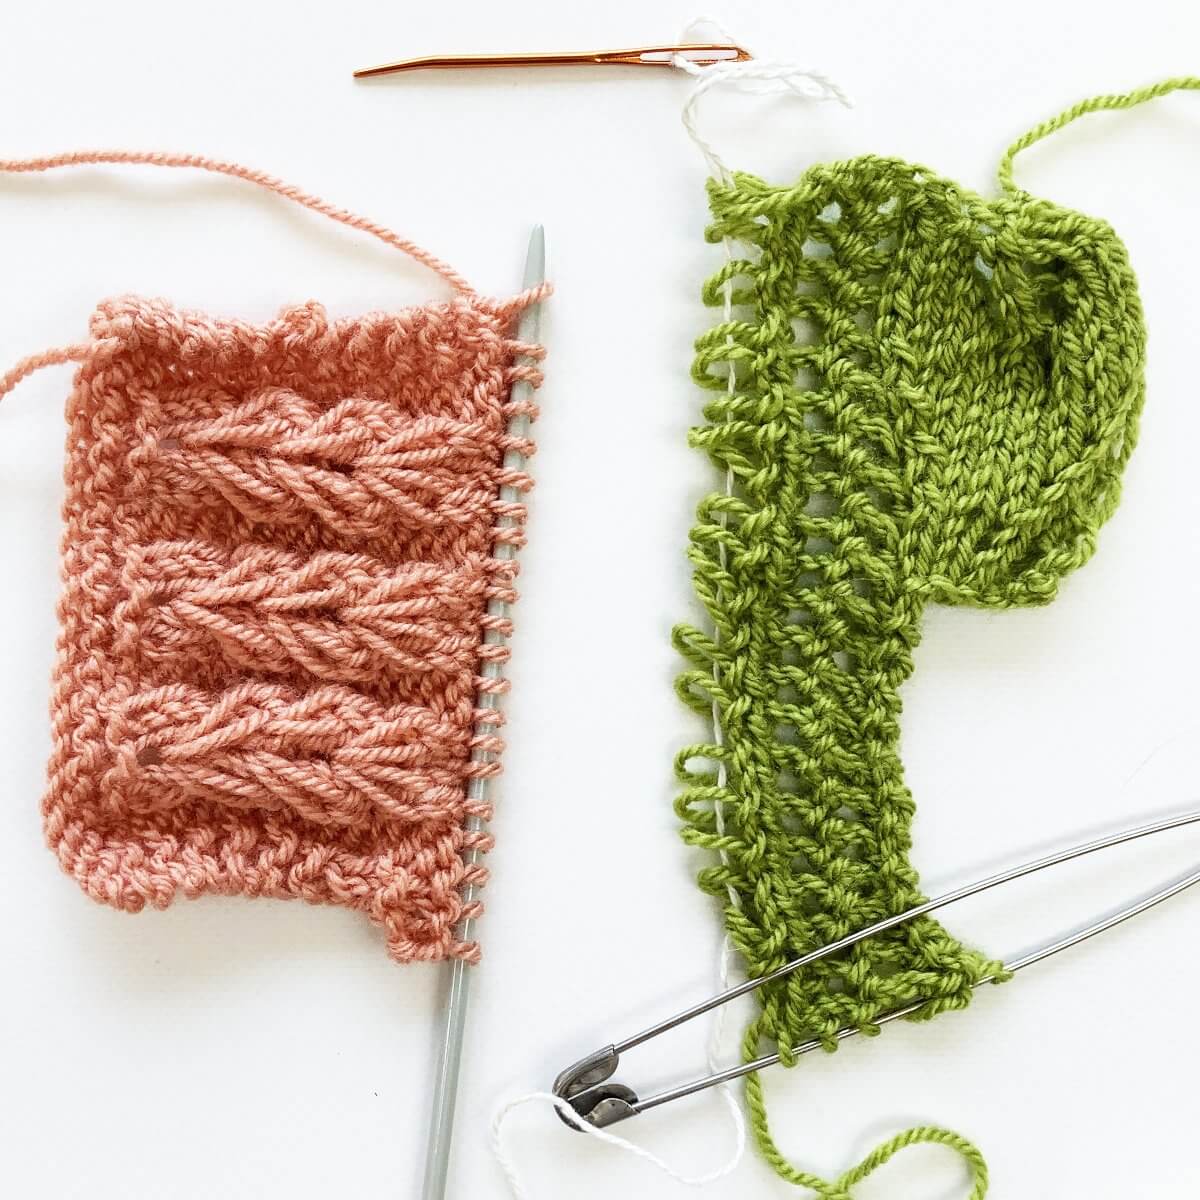
Yarn: Paintbox Yarns Simply DK, a good value, good quality 100% acrylic yarn, here in the colors Lime and Vintage Pink.
Other tools: Some spare knitting needles, and a crochet hook in the same size or slightly smaller than your knitting needles. For example, this Pony Aluminum Crochet Hook in size 4 mm. I also used a darning needle, a length of smooth crochet cotton, and a stitch holder.
Removing the applied border step by step
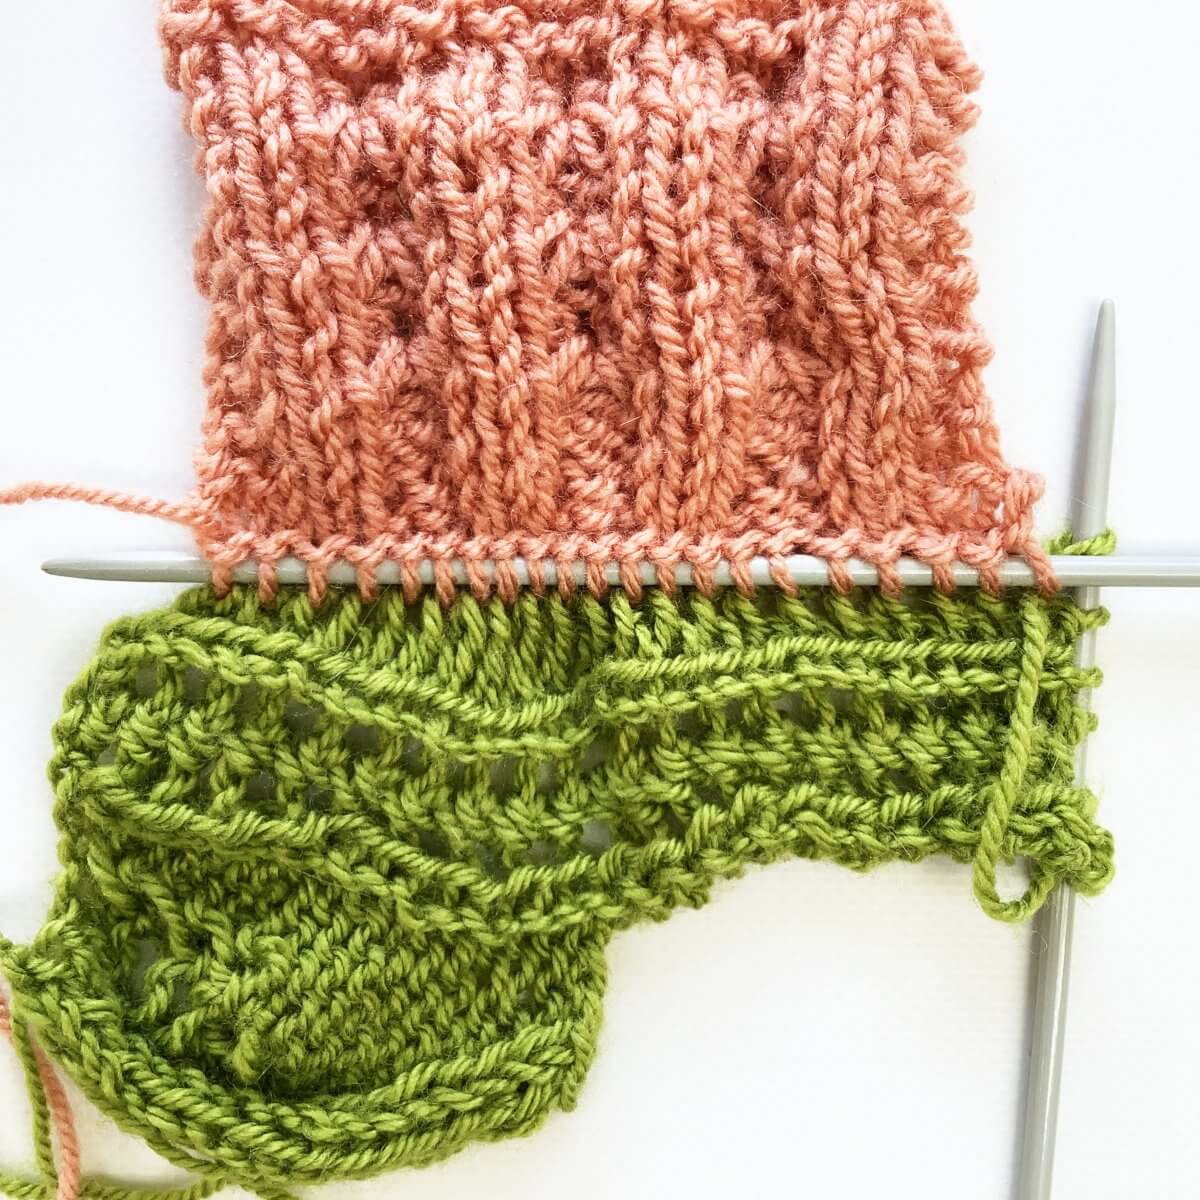
- For this tutorial, I used a swatch I had already lying around. It was originally used to show the ribbed heart stitch. With the applied border, I started out with one repeat of the leaf border I’m working on the big round project. After that I condensed it a bit down to reduce the amount of knitting.
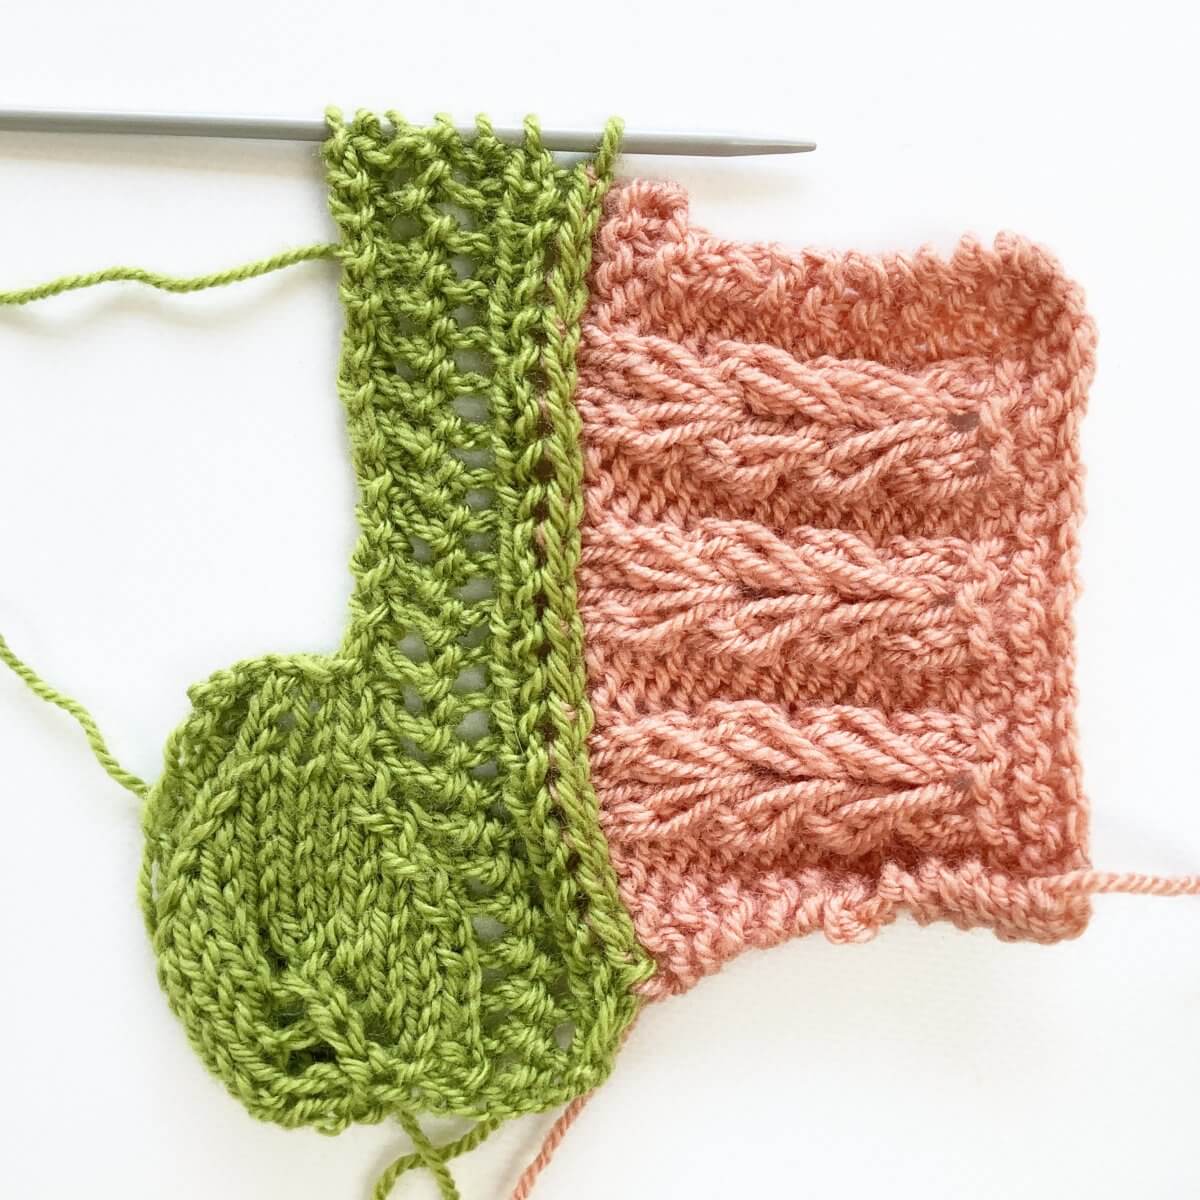
- Before unzipping the connecting stitches between body and border, I first want to put at least one set of stitches on a holder. This prevents it from unraveling where I don’t want it. To do so, I first flipped the entire piece, so the wrong side of the body is pointing up.
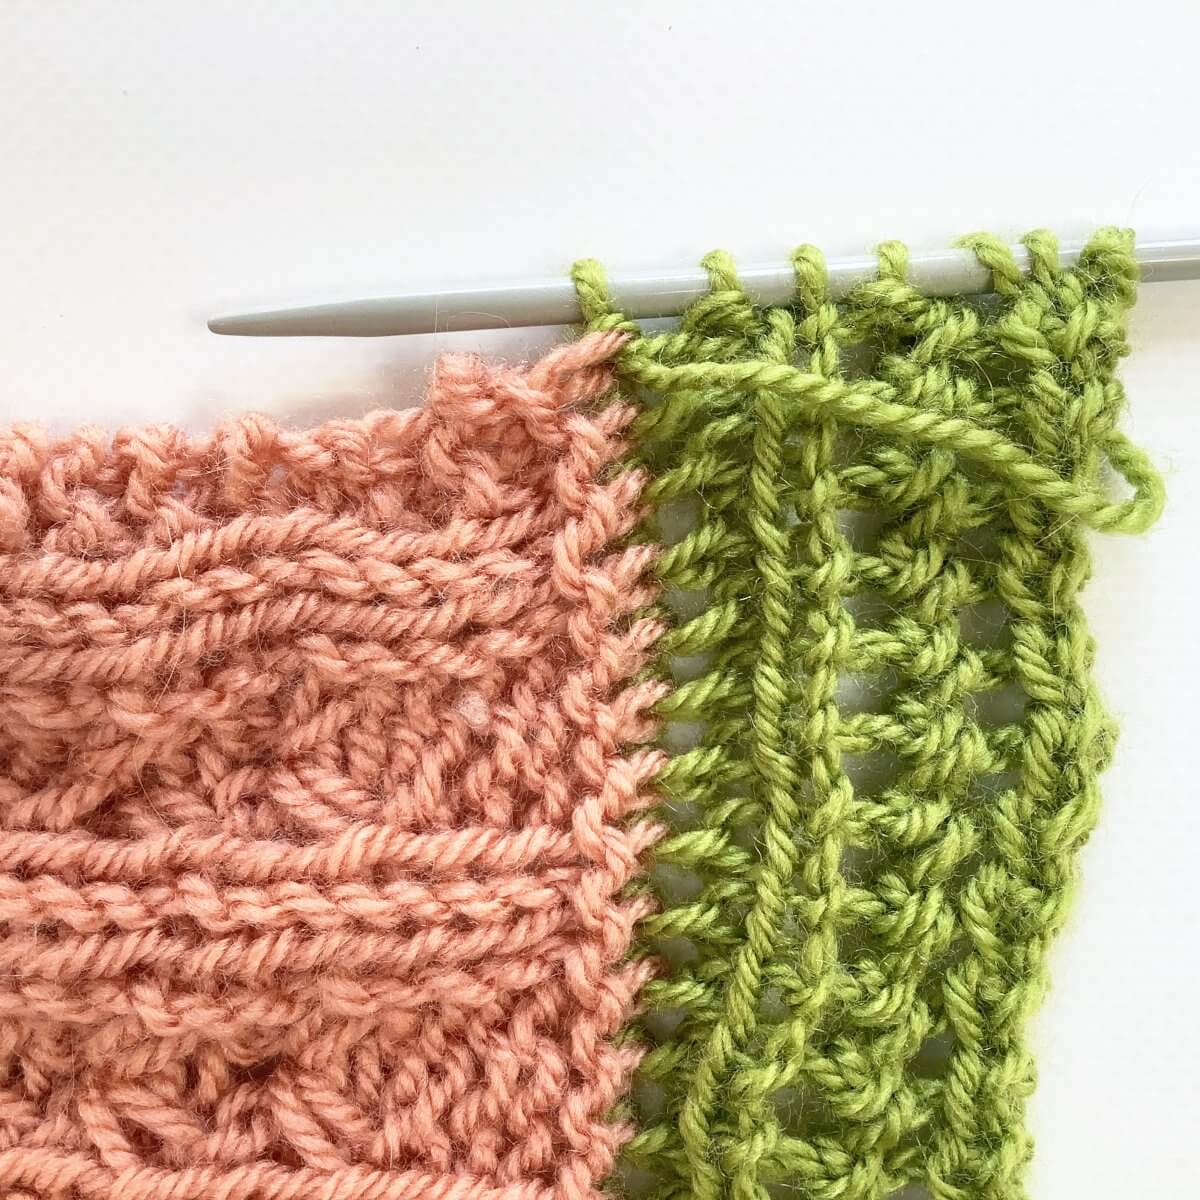
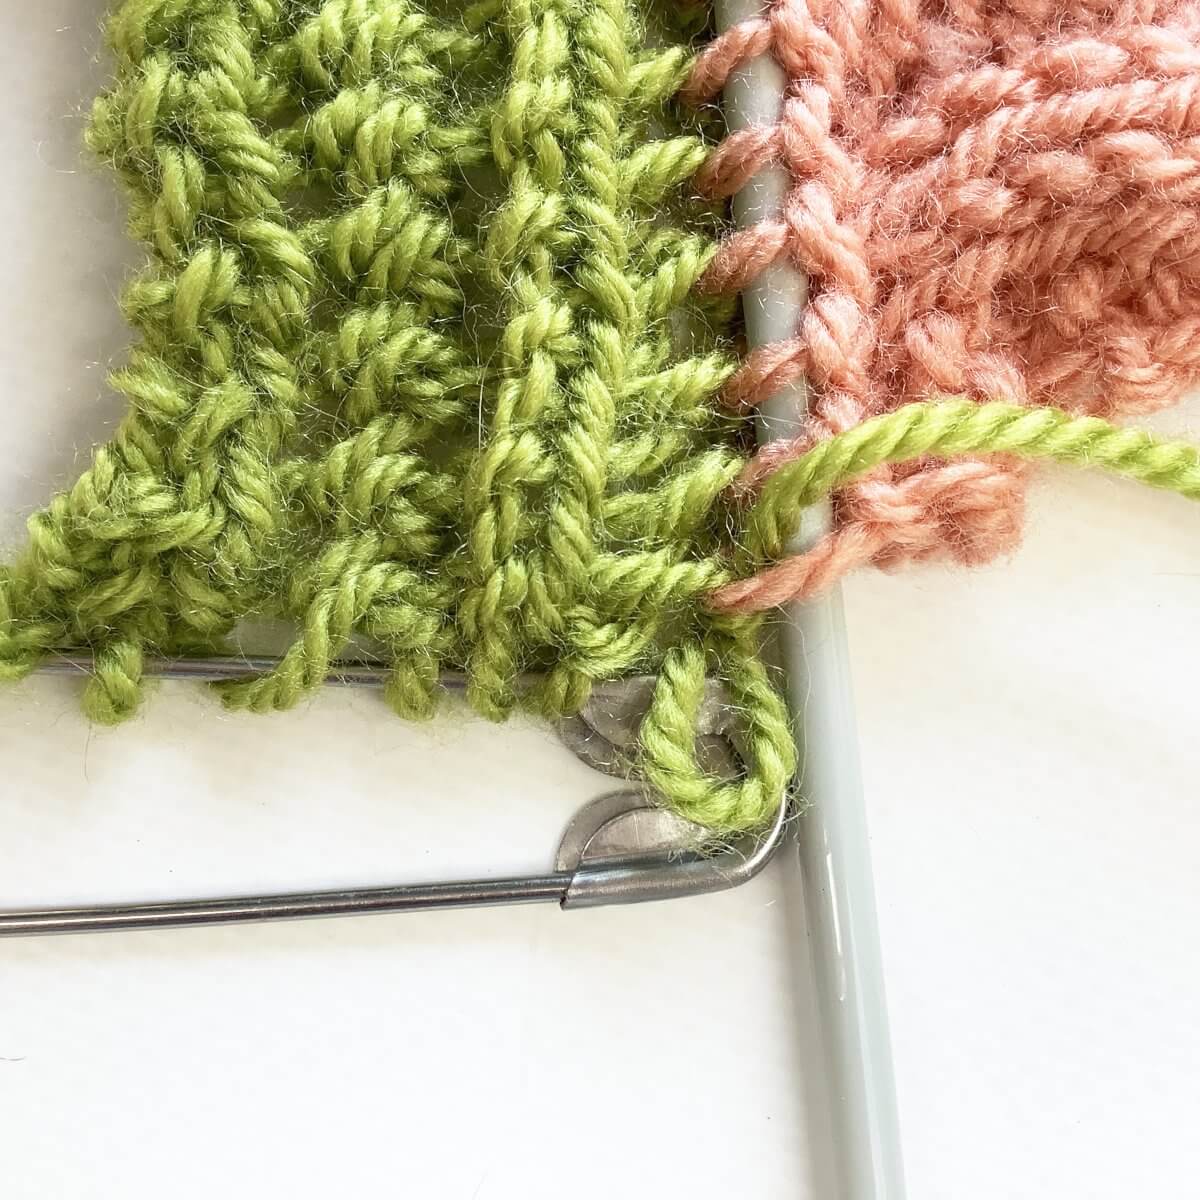
- See those pink stitches hugging the green ones? I’m inserting my knitting needle underneath the leg on the right.
- This is how it looks when all pink stitches have been placed on the knitting needle.
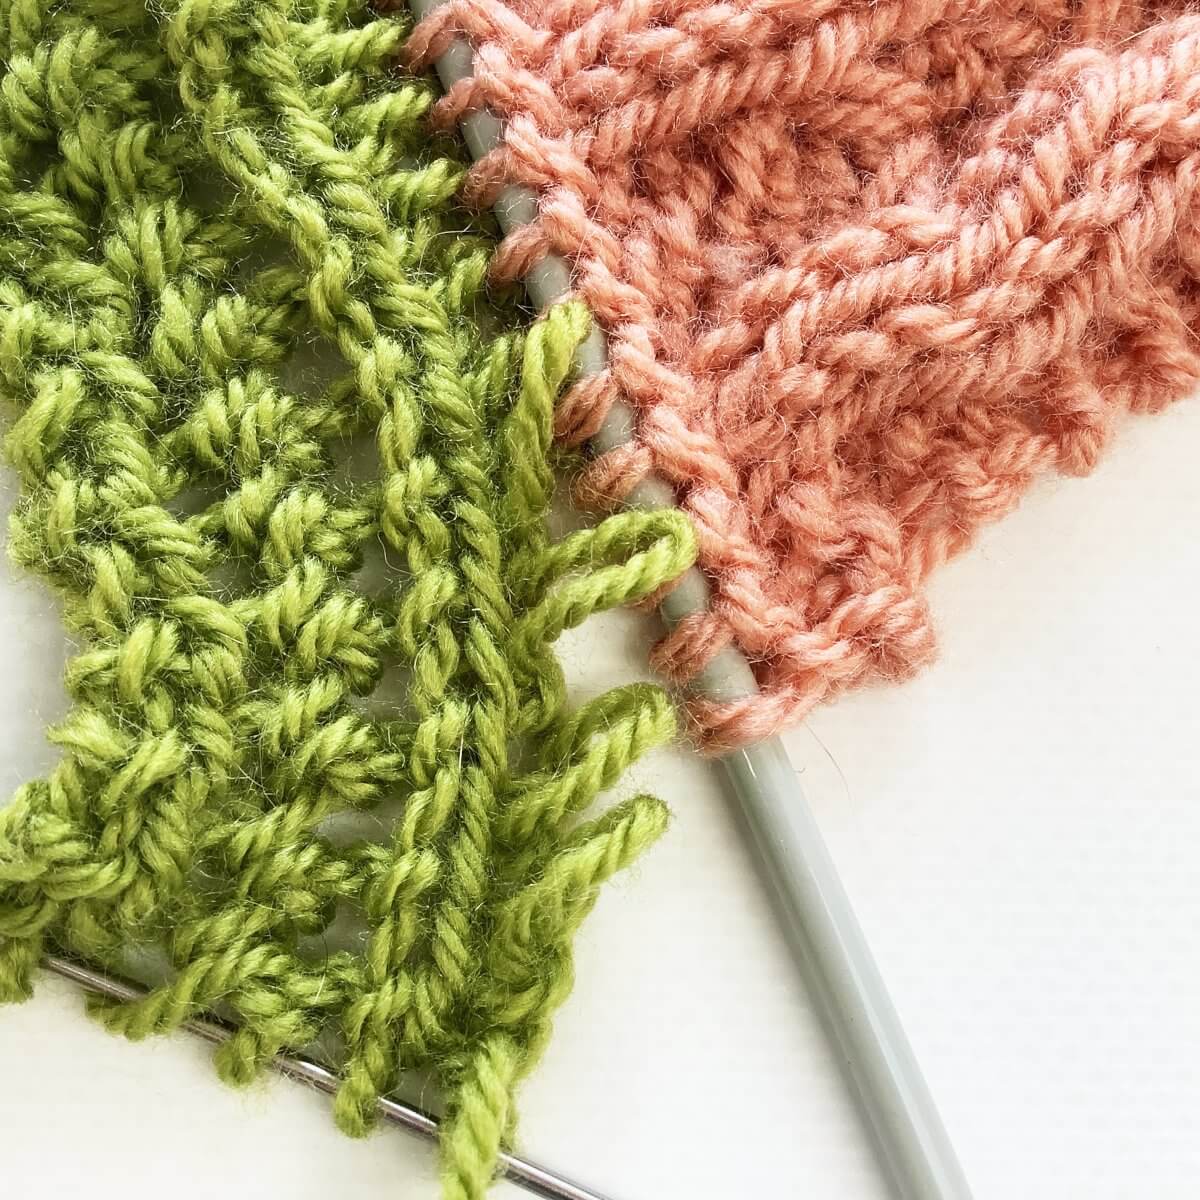
- Next, I rotated the piece a bit, so now the life border stitches are facing me. I placed them on a stitch holder, except for the very last stitch, that threads through the first pink stitch on the knitting needle.
- Carefully work this stitch loose, by using the crochet hook to hook underneath the horizontal bar of green yarn just above and to the left of the first pink stitch on the knitting needle in the picture above.
You’ll see that you’ll get slightly large loose loops of live border stitches.
- Of course, we don’t want those stitches to unravel either, so I caught them with my darning needle and some waste yarn.
Please note, that in this picture, I’ve flipped the piece again. Now it’s with the right side of the body facing up.

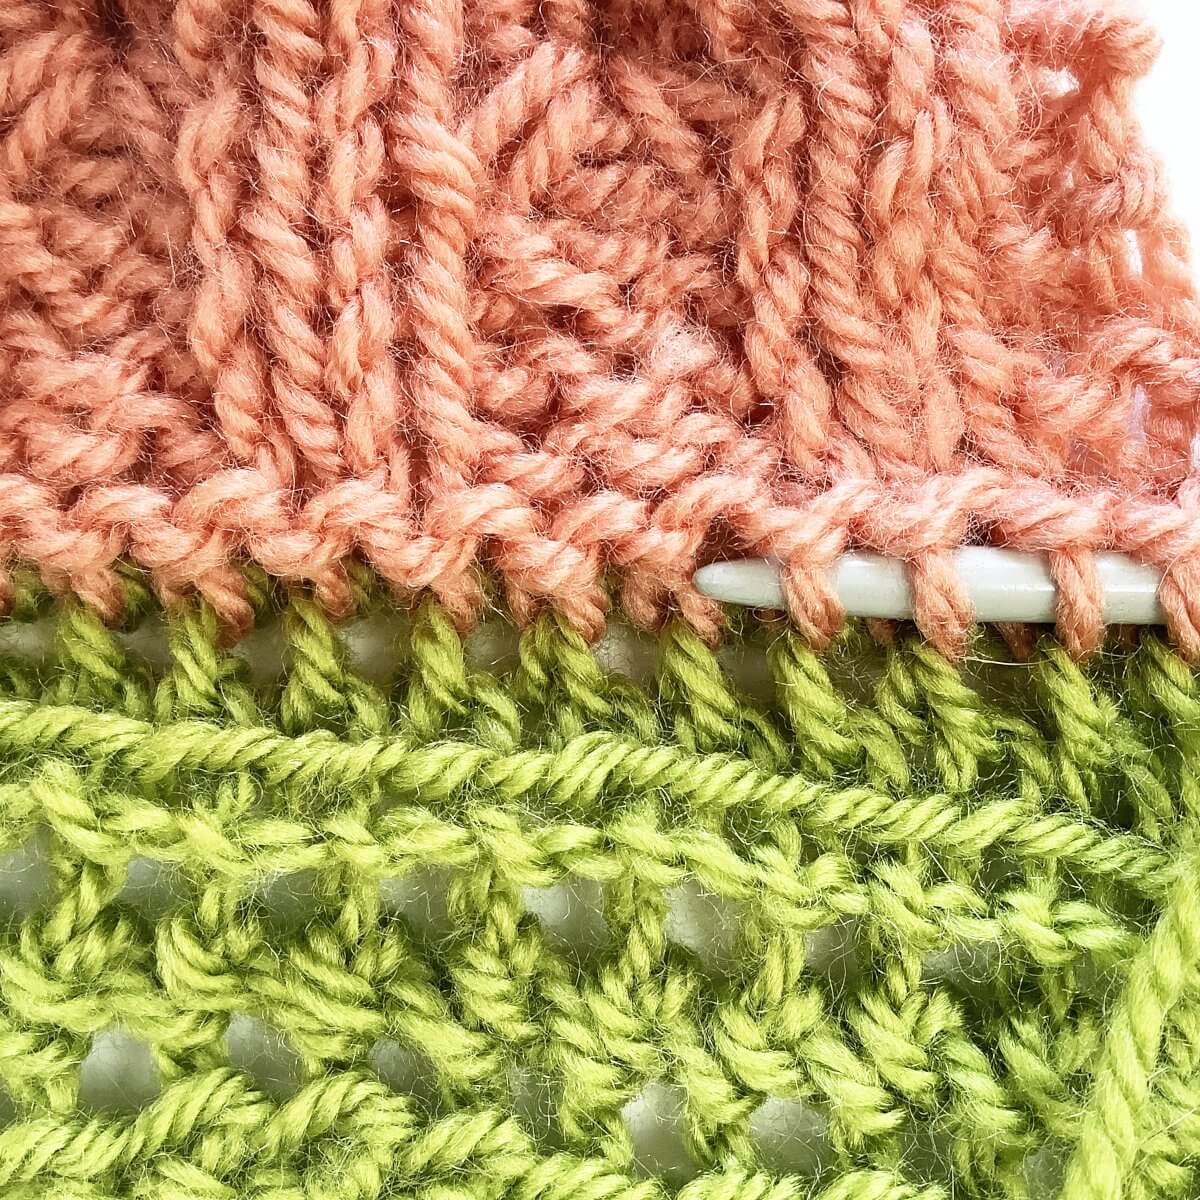
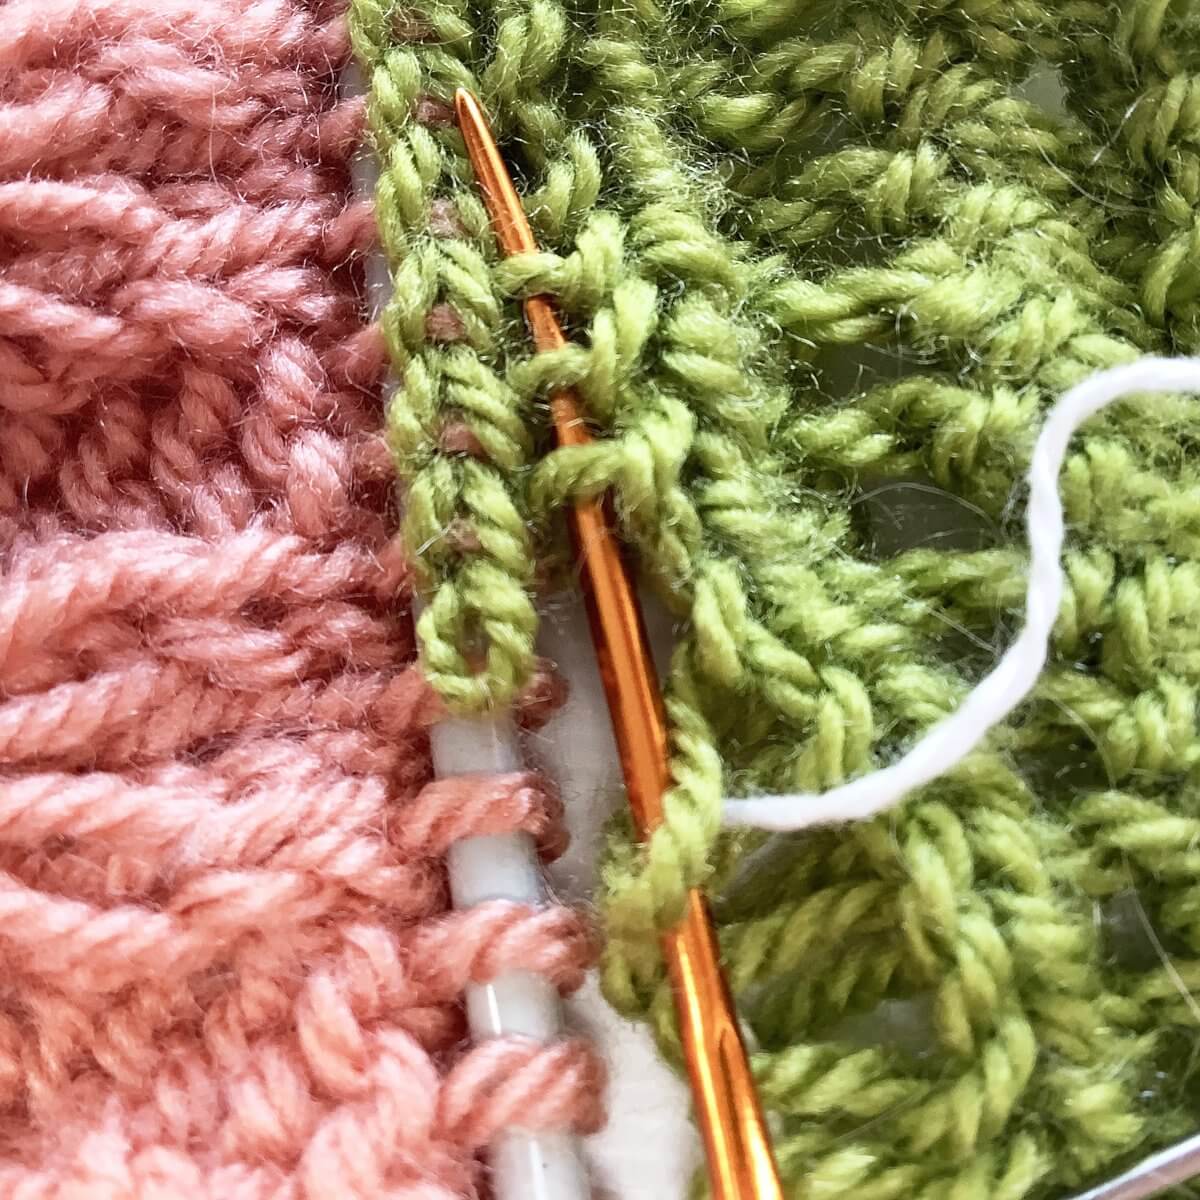
- In this upwards orientation, I now also see that I can place the green border stitches on the waste yarn, before actually pulling everything loose.
Just insert the darning needle underneath the upwards leg of the green stitches. This is directly to the right of the stitches that connect the border to the body.
- After securing all stitches, and pulling the connecting stitches loose, you have the below situation. Ready to continue with your plans for the project!
In my case, I will work extra rows in the pink part to simulate what I want to do with the big round project.
So, this is how to go about removing an applied border! The tutorial in which I show you how to reattach the border can be found here.

Thanks to my Patreon supporters for bringing you this freebie! Creating quality patterns and tutorials is a lot of work and resource-intensive. However, I find it important to give you free content like this tutorial. Thanks to the generous support of my Patreon supporters, I can make it happen. Thank you, patrons! Click here to join, or click here to read more about La Visch Designs on Patreon.


