There are many ways to join two pieces of knitted fabric together. In this post, I’ll tell you all about working the backstitch seam. It’s a sturdy kind of seam, worked from the wrong side of the fabric. This type of seam creates a seam allowance. Because it’s not worked right at the edge of the fabric, this technique can also be used to slightly change the fit of a garment by changing the seam allowance. Do take care to not make your seam allowance too big, say about 1 cm or 3/8 inches. Because it will make a ridge at the inside of the garment.
In this tutorial, I’m using a contrasting yarn to make it easy to view what exactly I’m doing in the various pictures. However, if you want the seam to be less visible, make sure to use a yarn that matches the knitted fabric.
Materials used


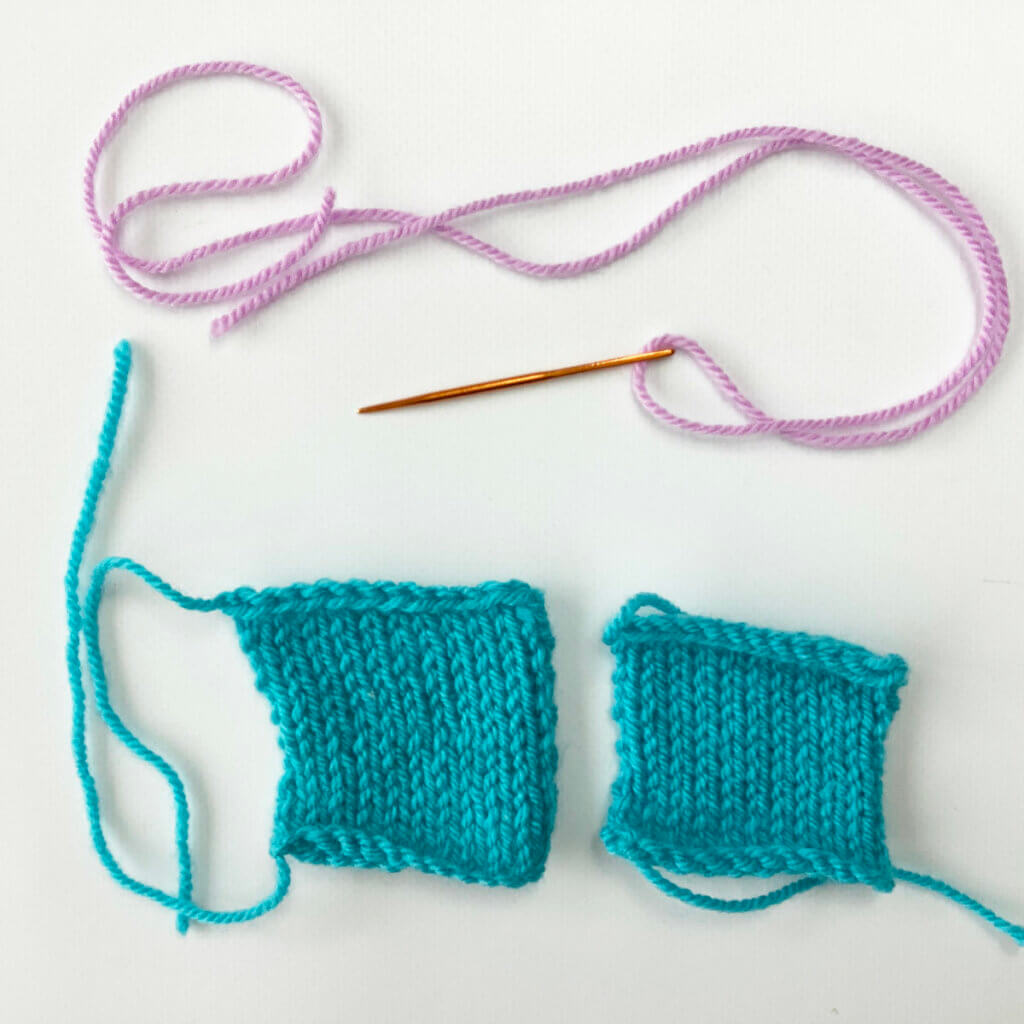
Yarn: Paintbox Yarns Simply DK, a good value, good quality 100% acrylic yarn, here in the color Marine Blue. I also used a bit of Tea Rose.
Darning needle: Hiya Hiya Darn It Yarn Needle, or any other tapestry needle, threaded with yarn. You will need a length of yarn about three times longer than the length of the seam.
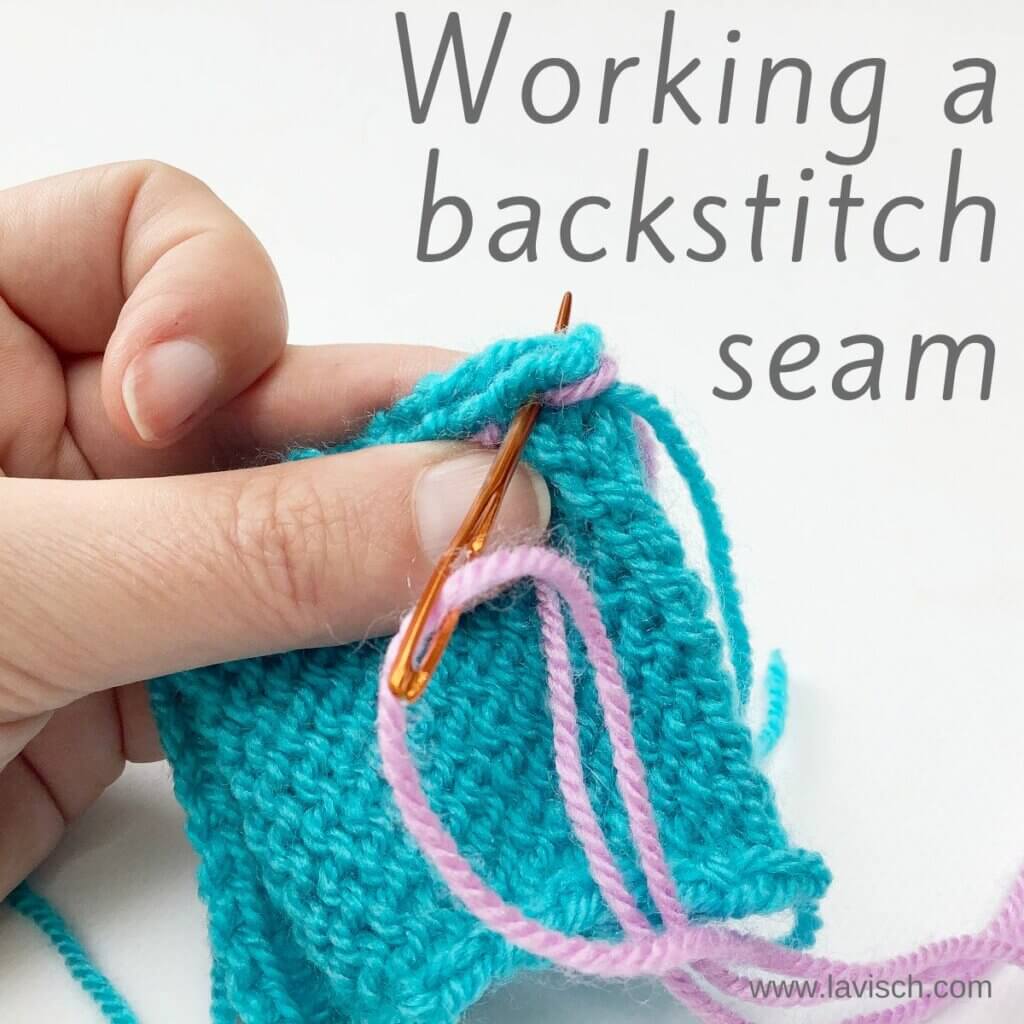
Working a backstitch seam step by step
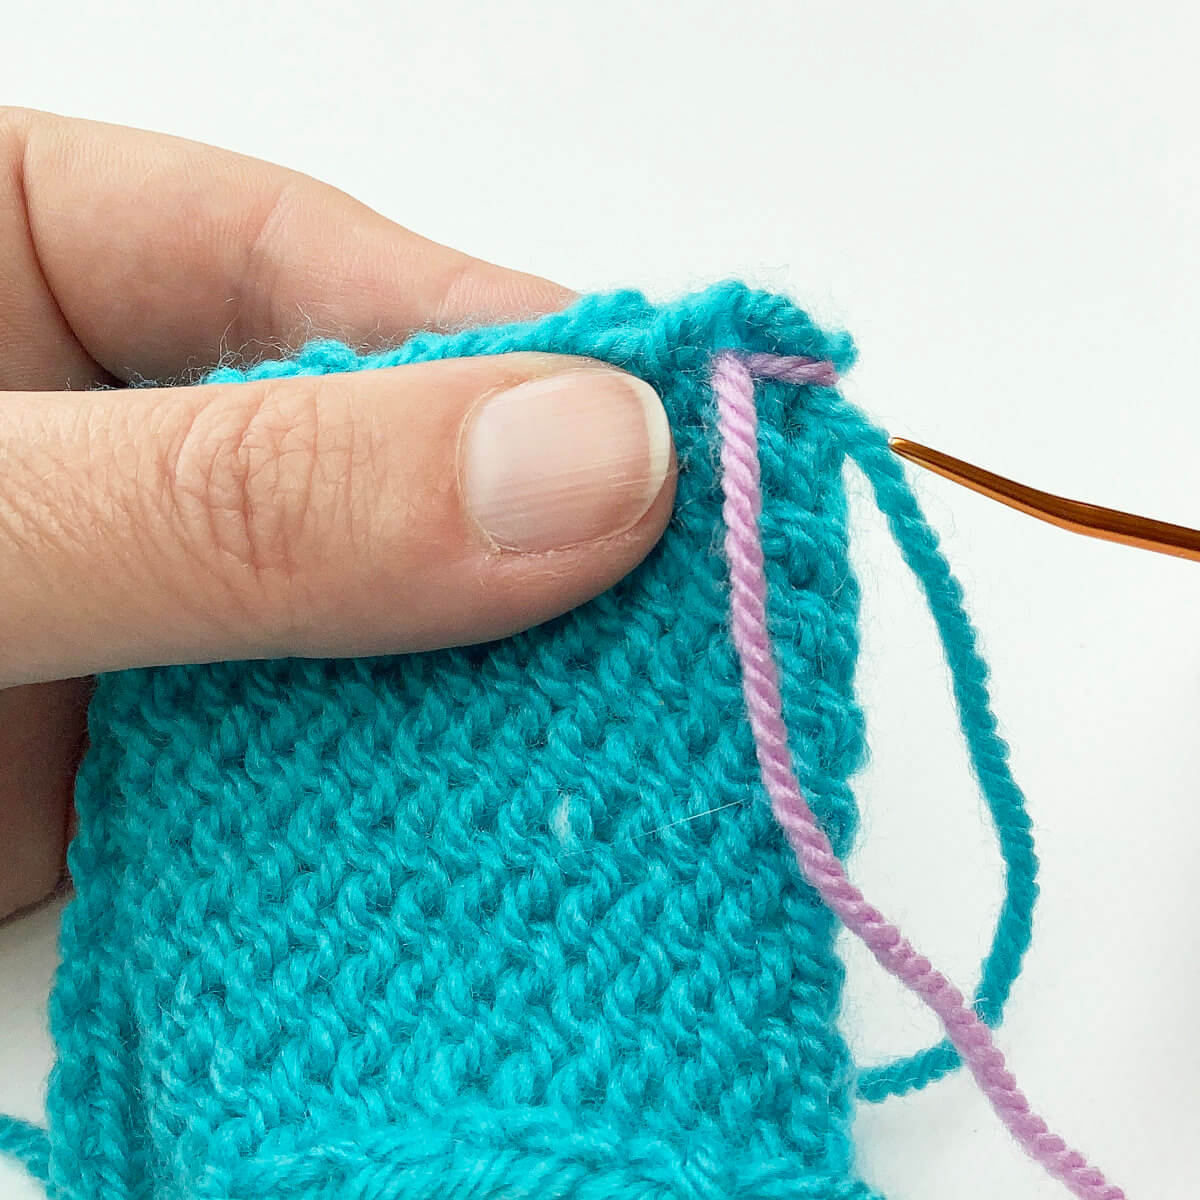
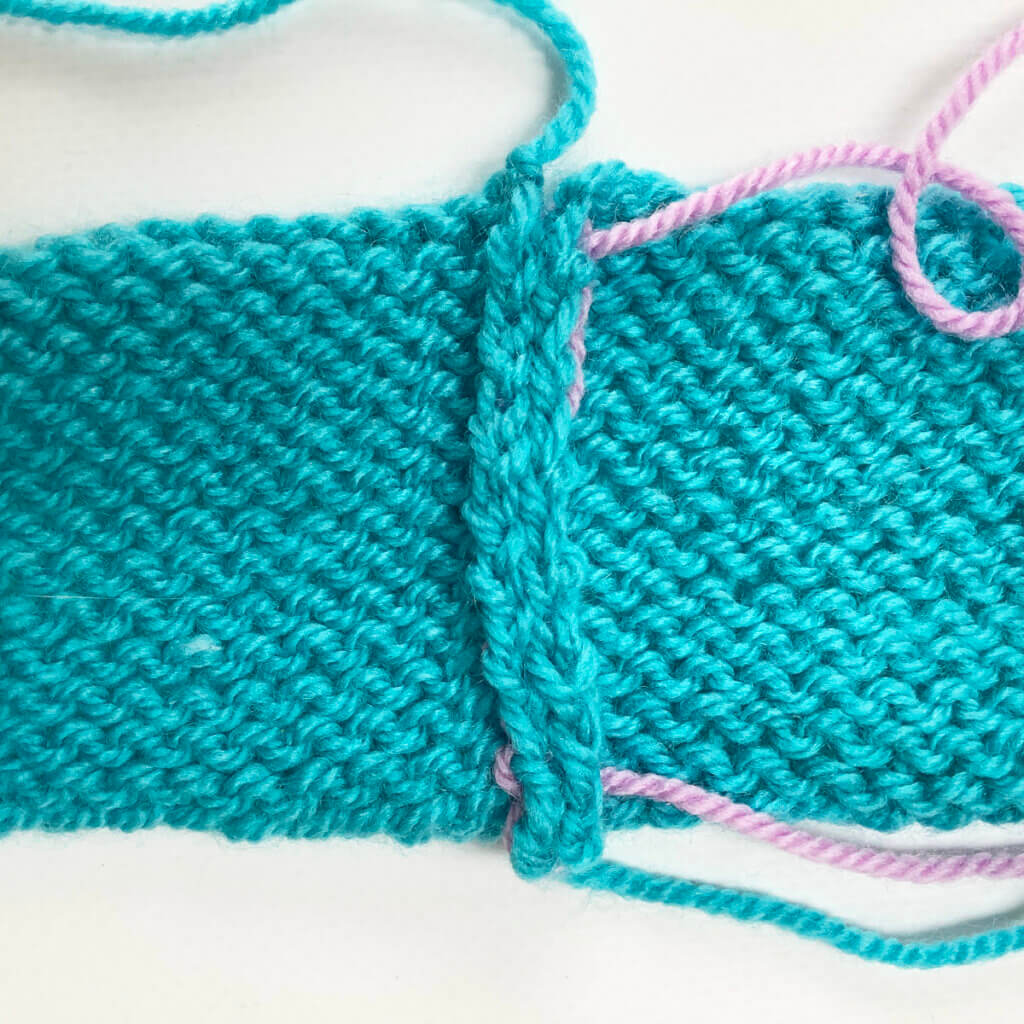
In this tutorial, I’m using 2 turquoise swatches to show you how to seam them together using a backstitch seam with the lilac yarn. This seaming technique is worked with the wrong side of the fabric facing, to have the seam on the inside of the piece.
- First, line up the edges of the pieces to be seamed together.
As said, here I’m working with the swatches with their right sides together.
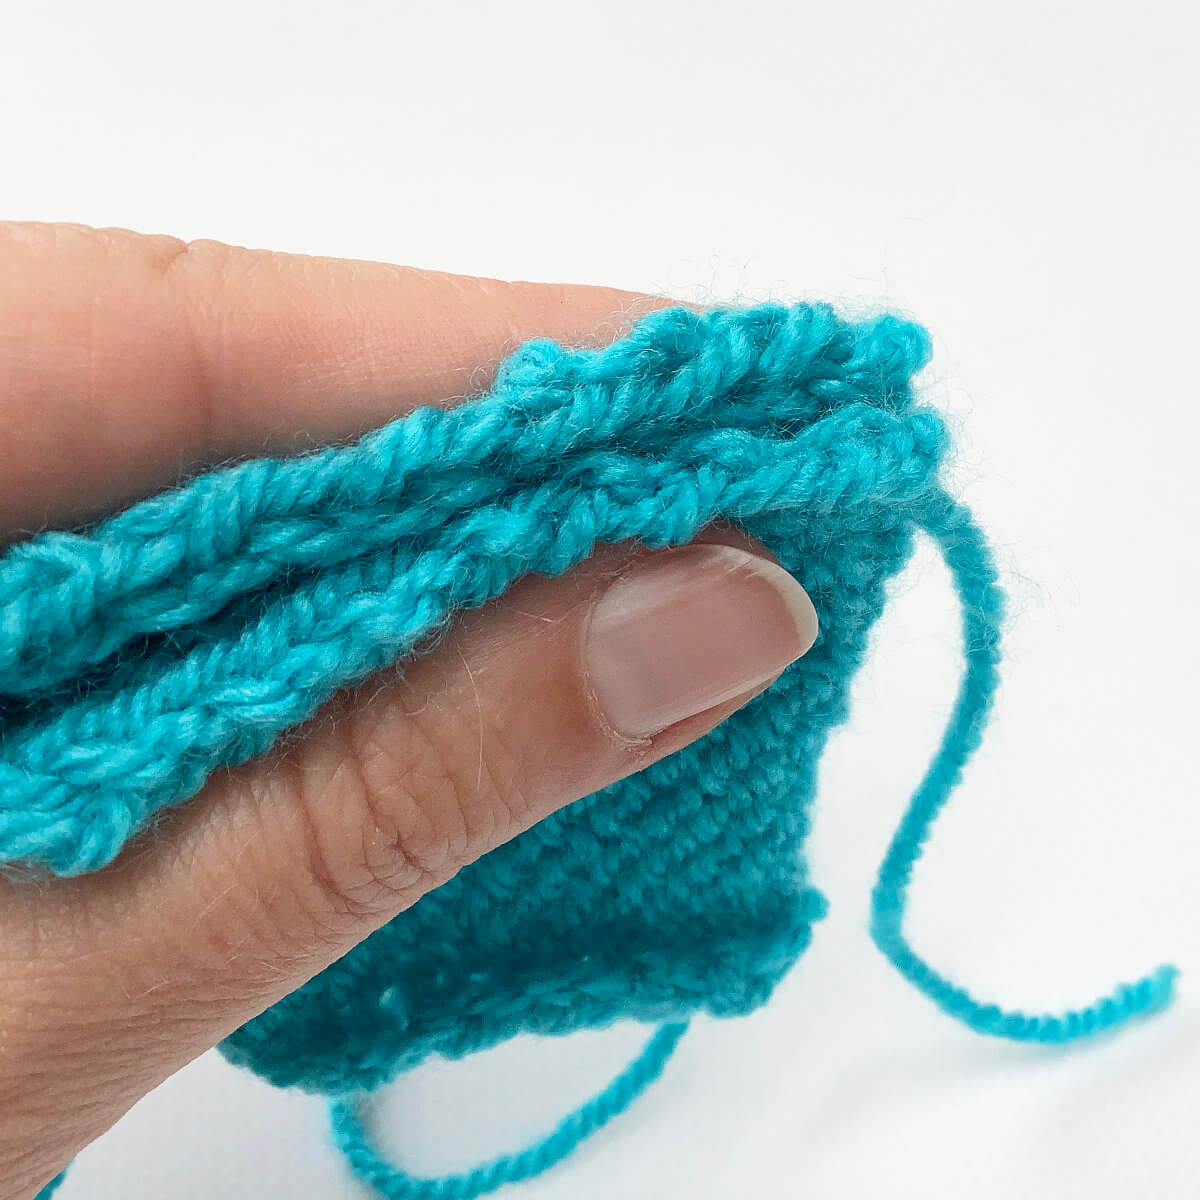
- First, we secure the seam by taking the needle and seaming yarn around the edge of the fabric. To do so, insert the needle from back to front underneath the strands of the edge stitches in both pieces of fabric.
- To finish this step, insert the needle once again from back to front underneath the strands of the edge stitches in both pieces of fabric, and pull the yarn through.
Take care to leave a yarn tail long enough to weave in later.
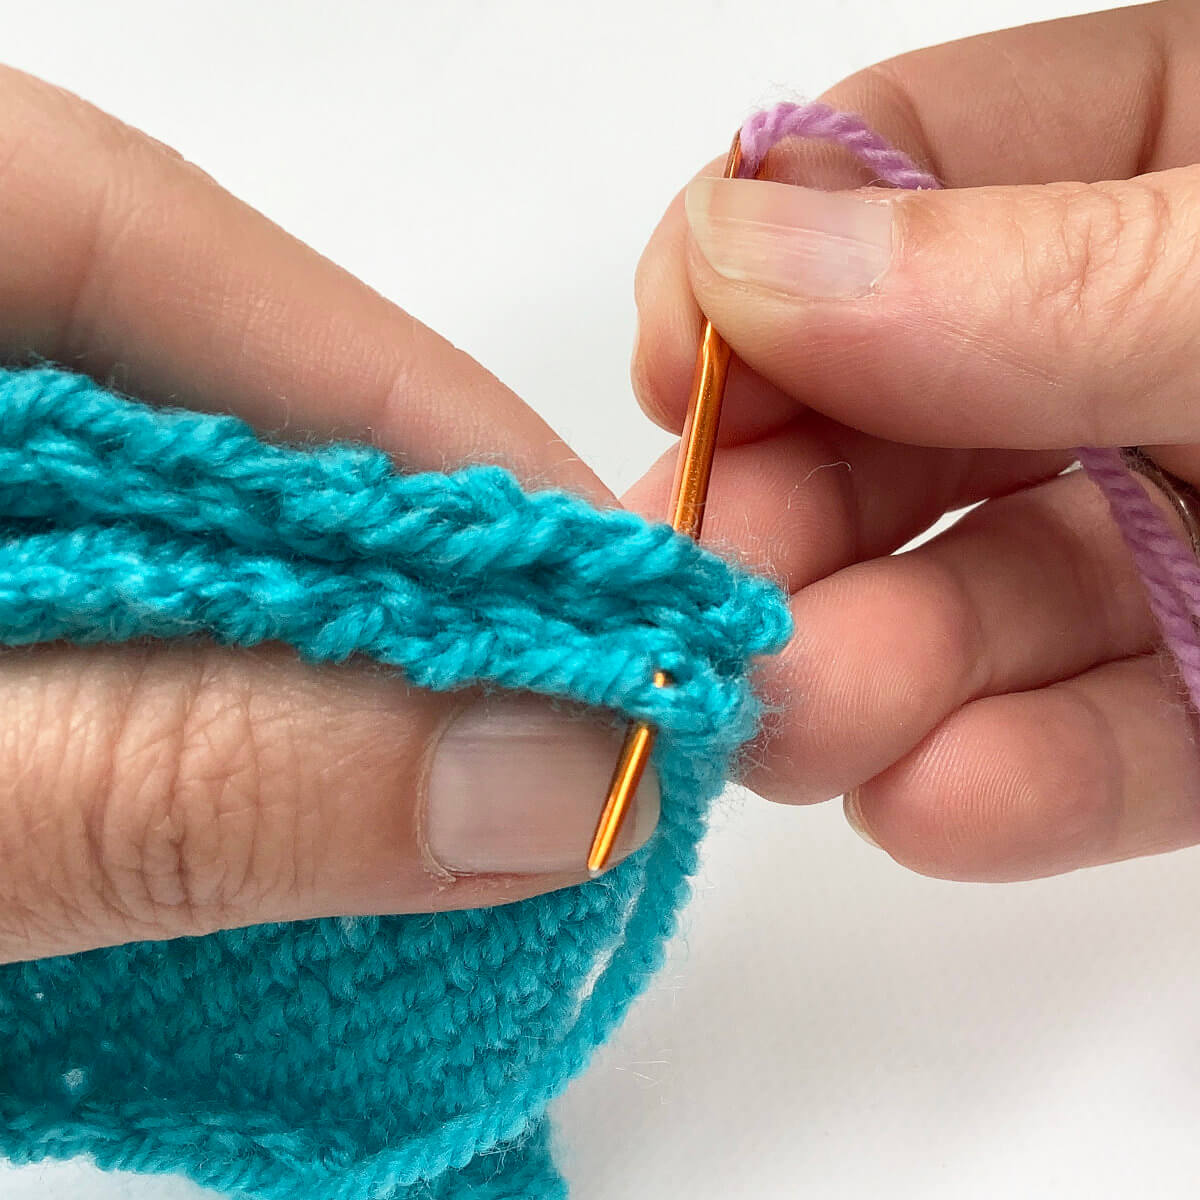
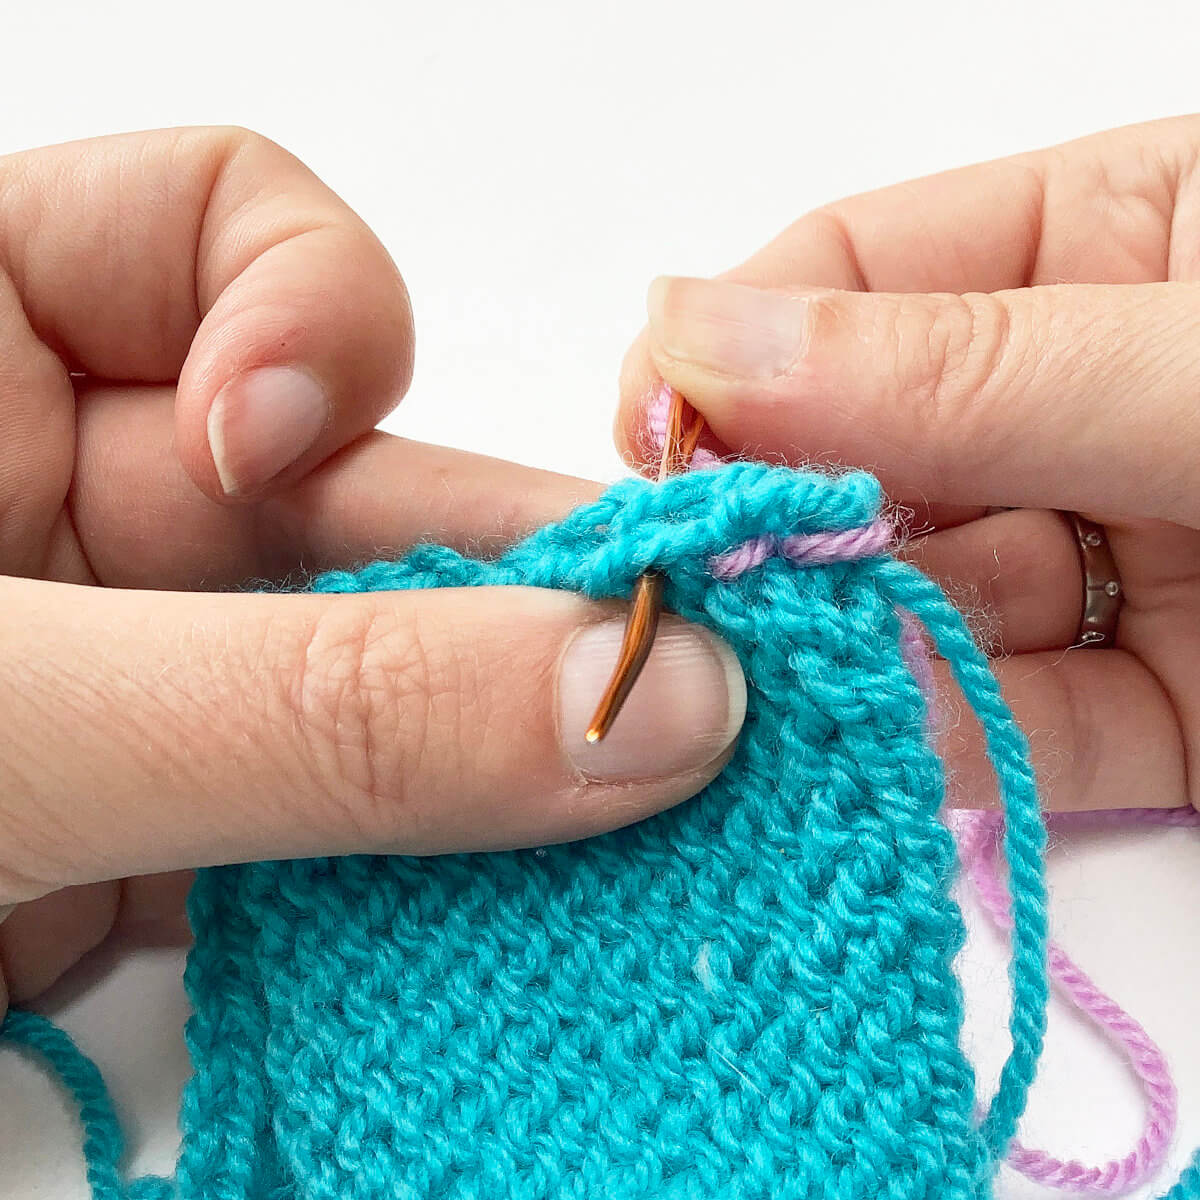
- Next, insert the needle from back to front underneath the strands of the next stitch to the left.
This should be approx. 1/2 cm or 1/4 inch from where the yarn came out of the fabric before. If you’re working with a very fine-gauge fabric, you could consider skipping a stitch instead of going through the next one.
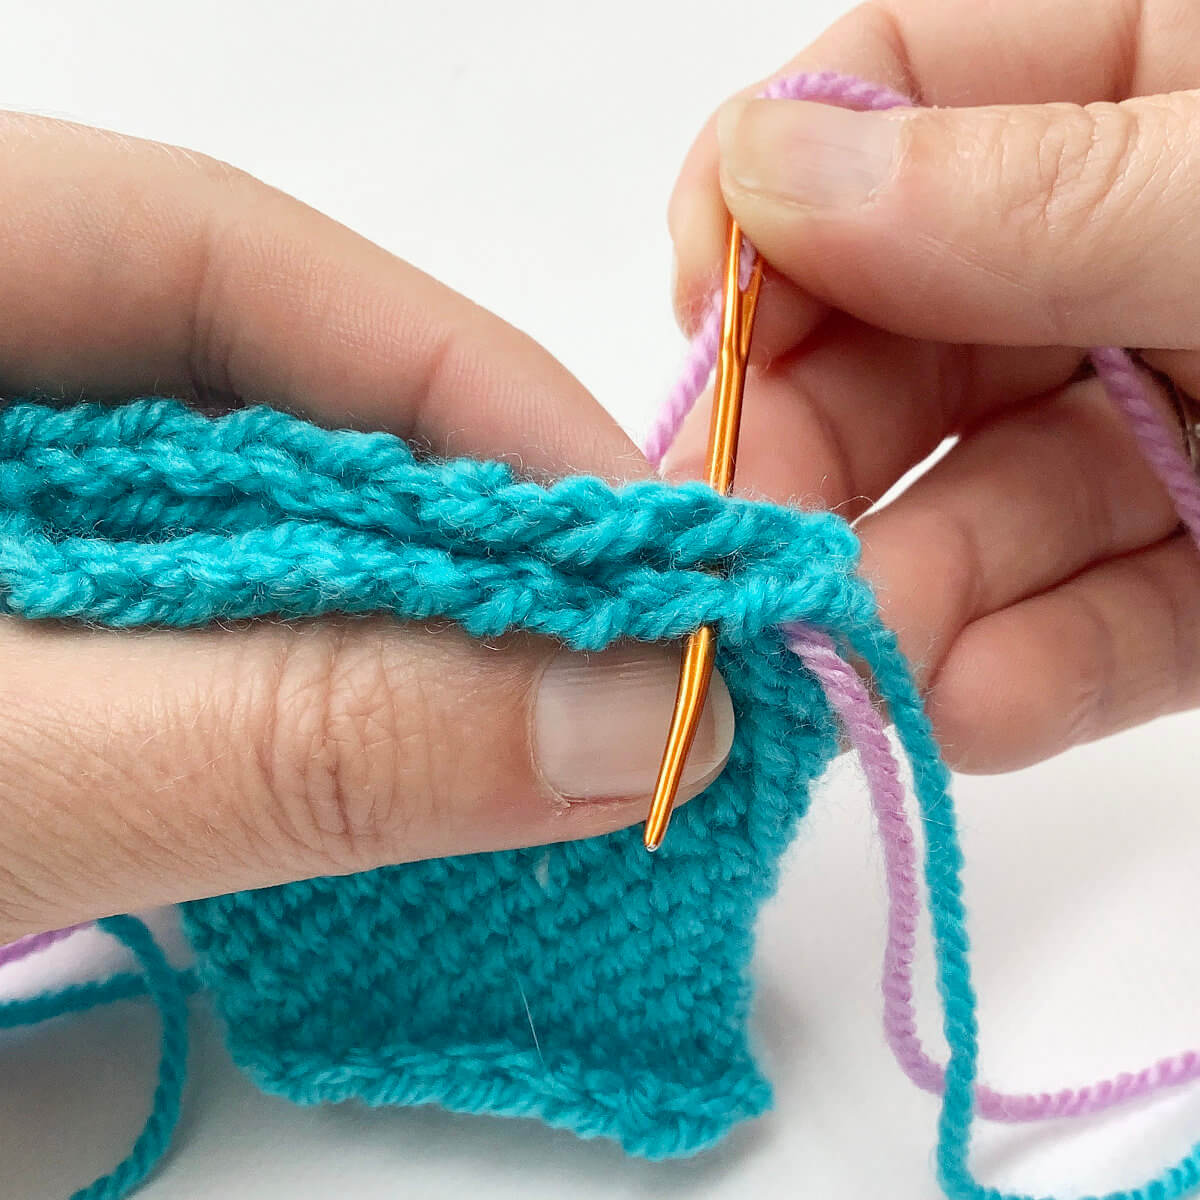
- Pull the yarn through.
This is how it looks:
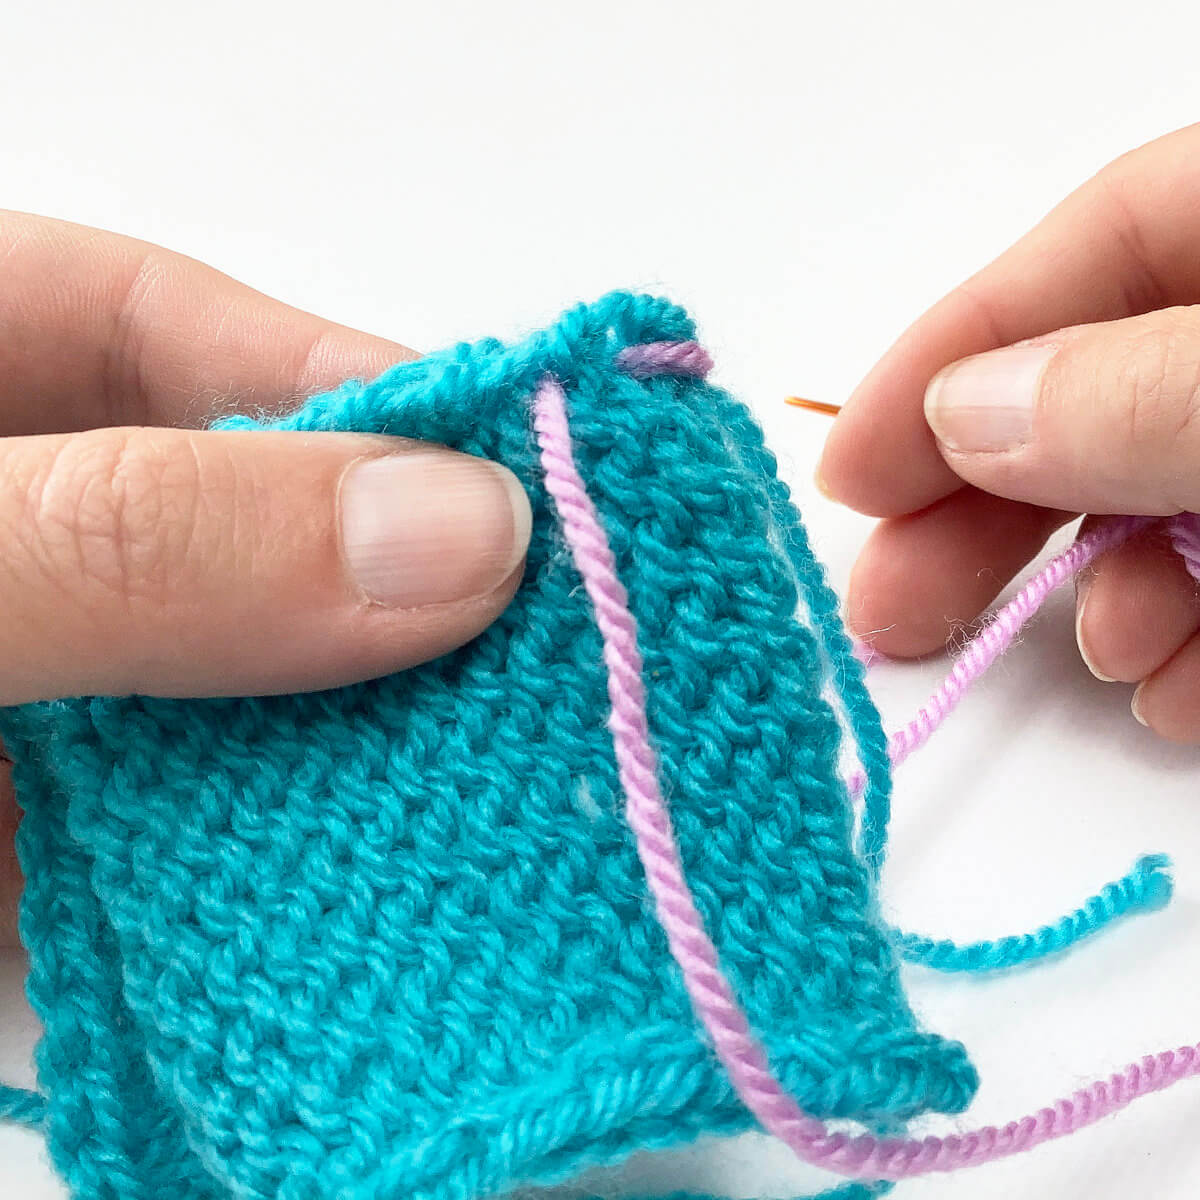
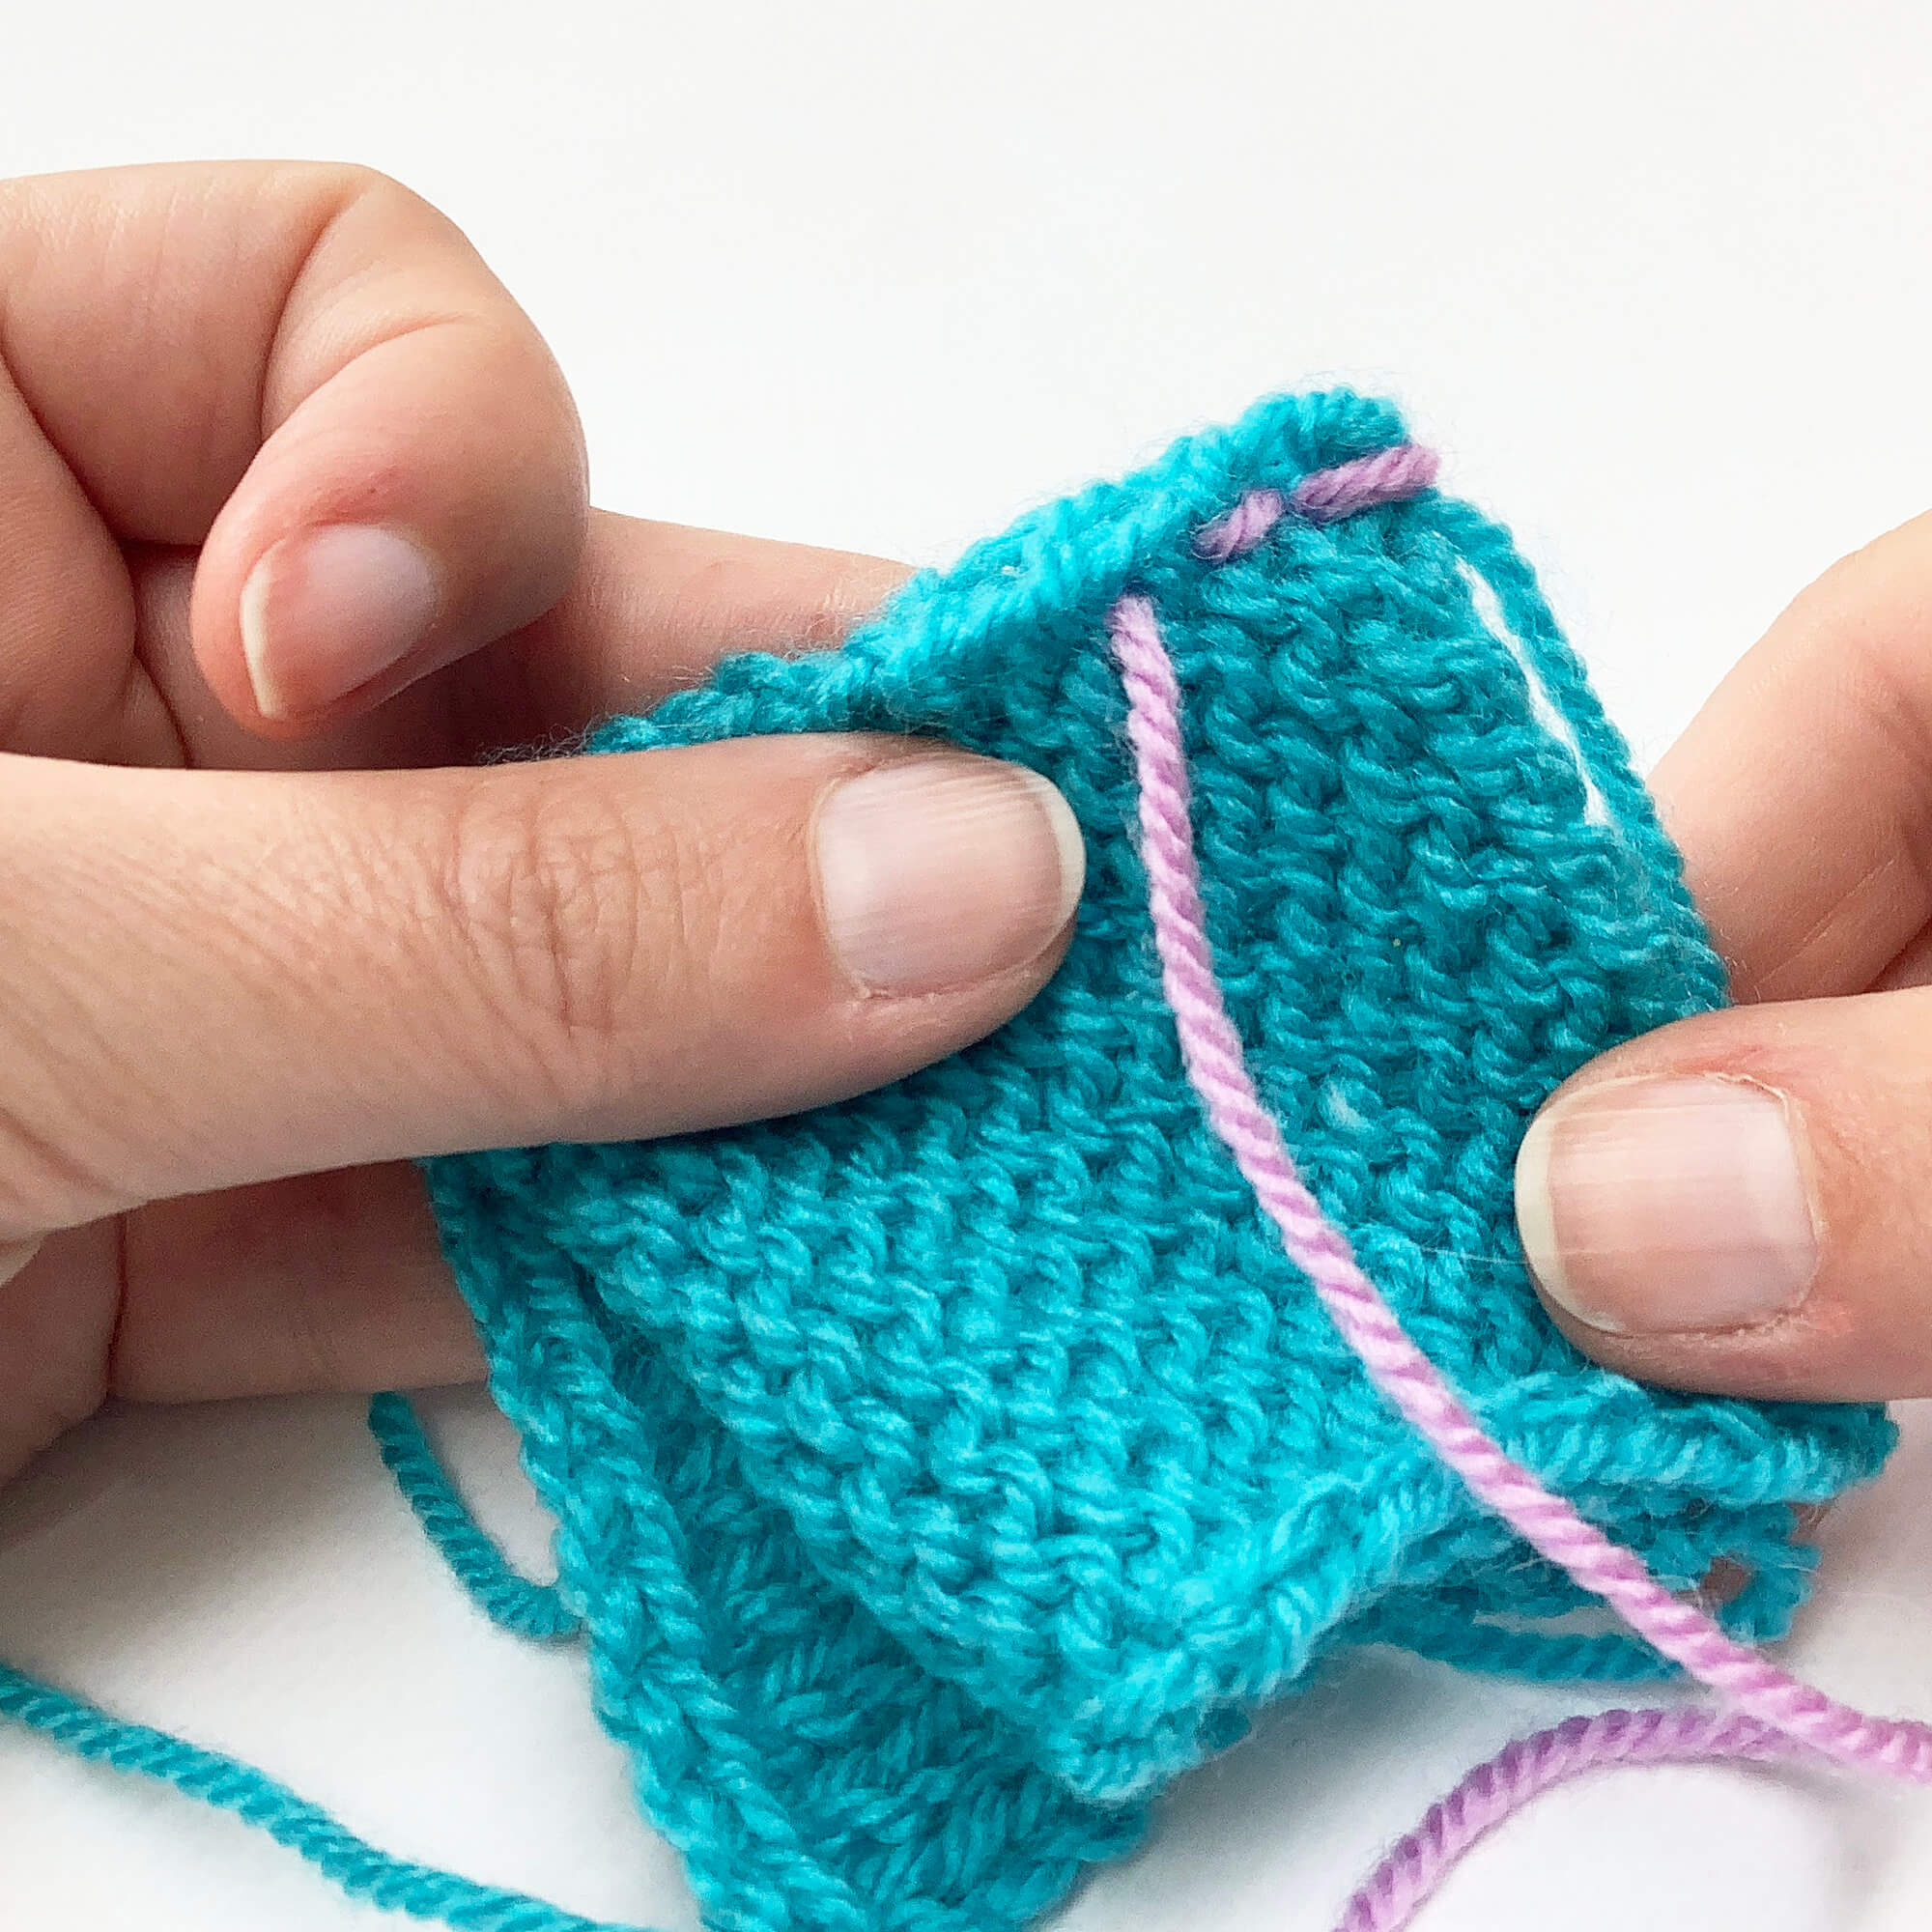
- Next, insert the yarn needle from front to back into the point where it last came out of the fabric…
- … when behind the fabric, back up about 5 cm / 1/4 inch (1 or more stitches) and insert it through the fabric again from back to front.
- Pull the yarn through.
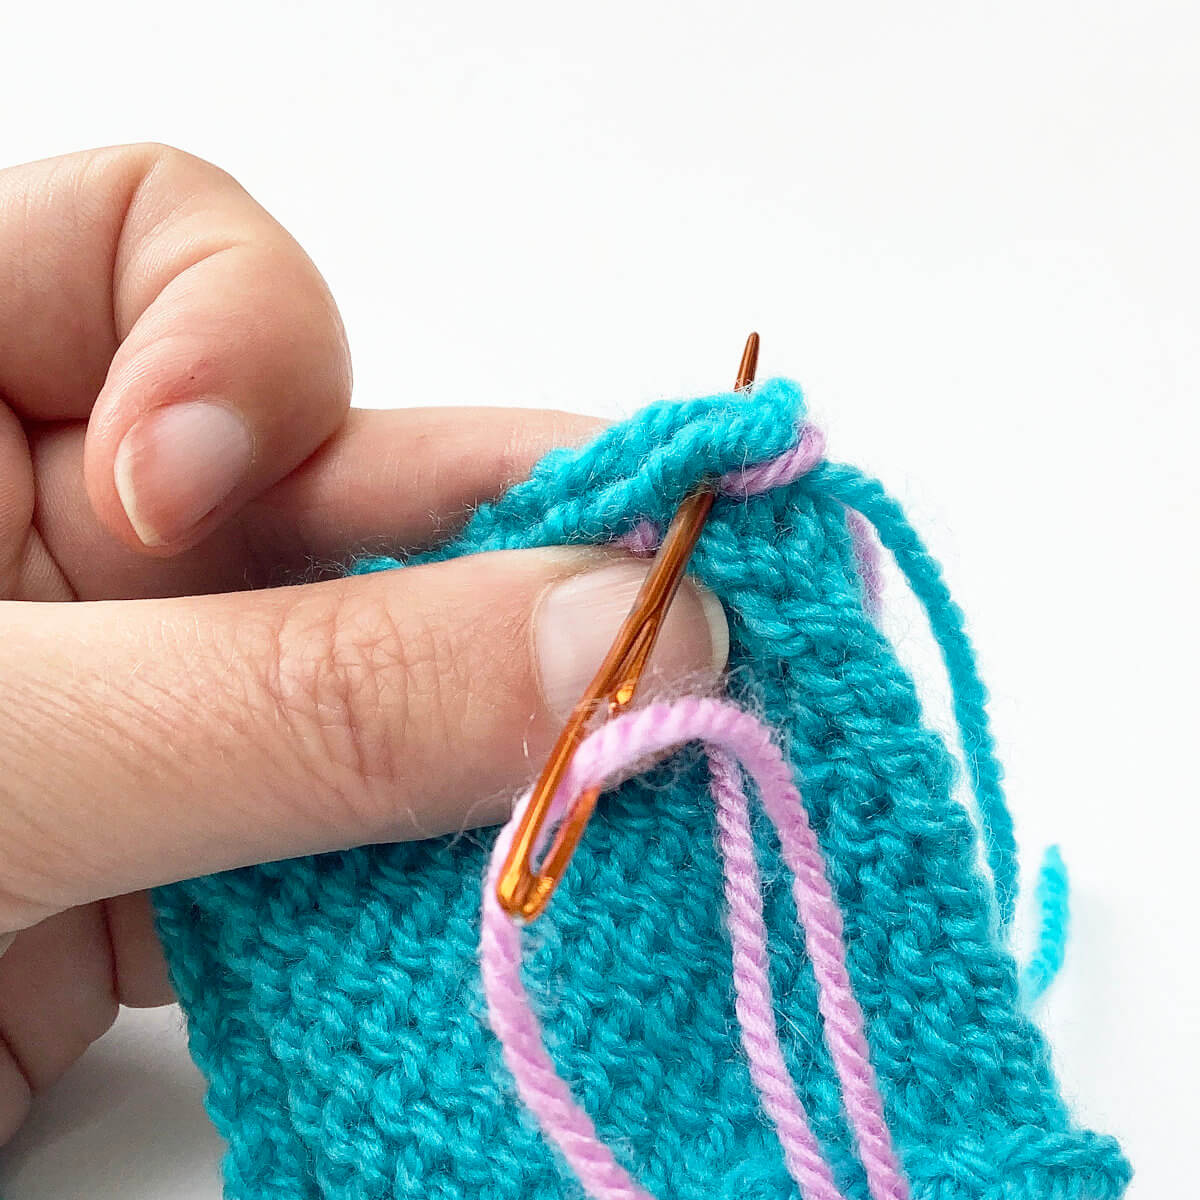
- Repeat steps 6, 7 and 8, each time moving to the left, until the entire edge has been worked.
To complete it, just break the yarn and pull the end through the last remaining loop before weaving in the ends.
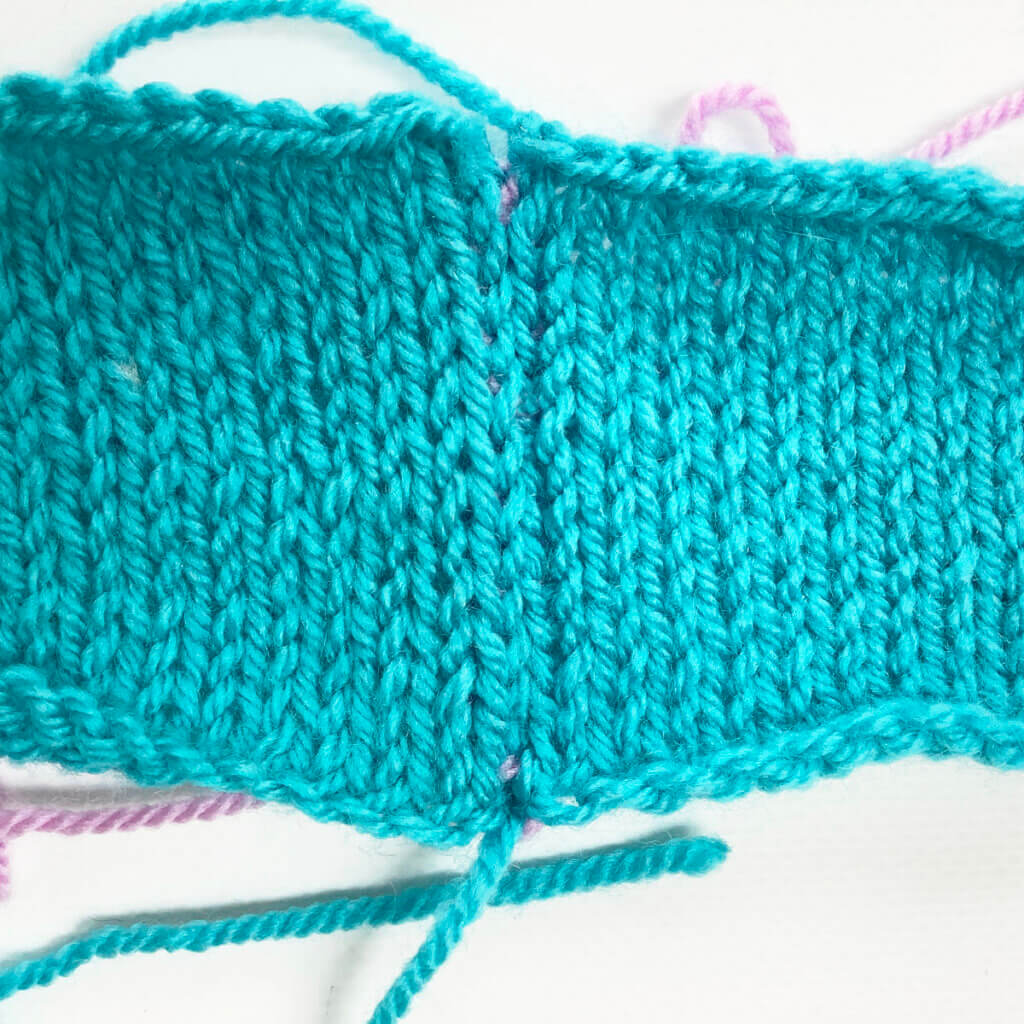
- When turning the piece around, it looks like this:
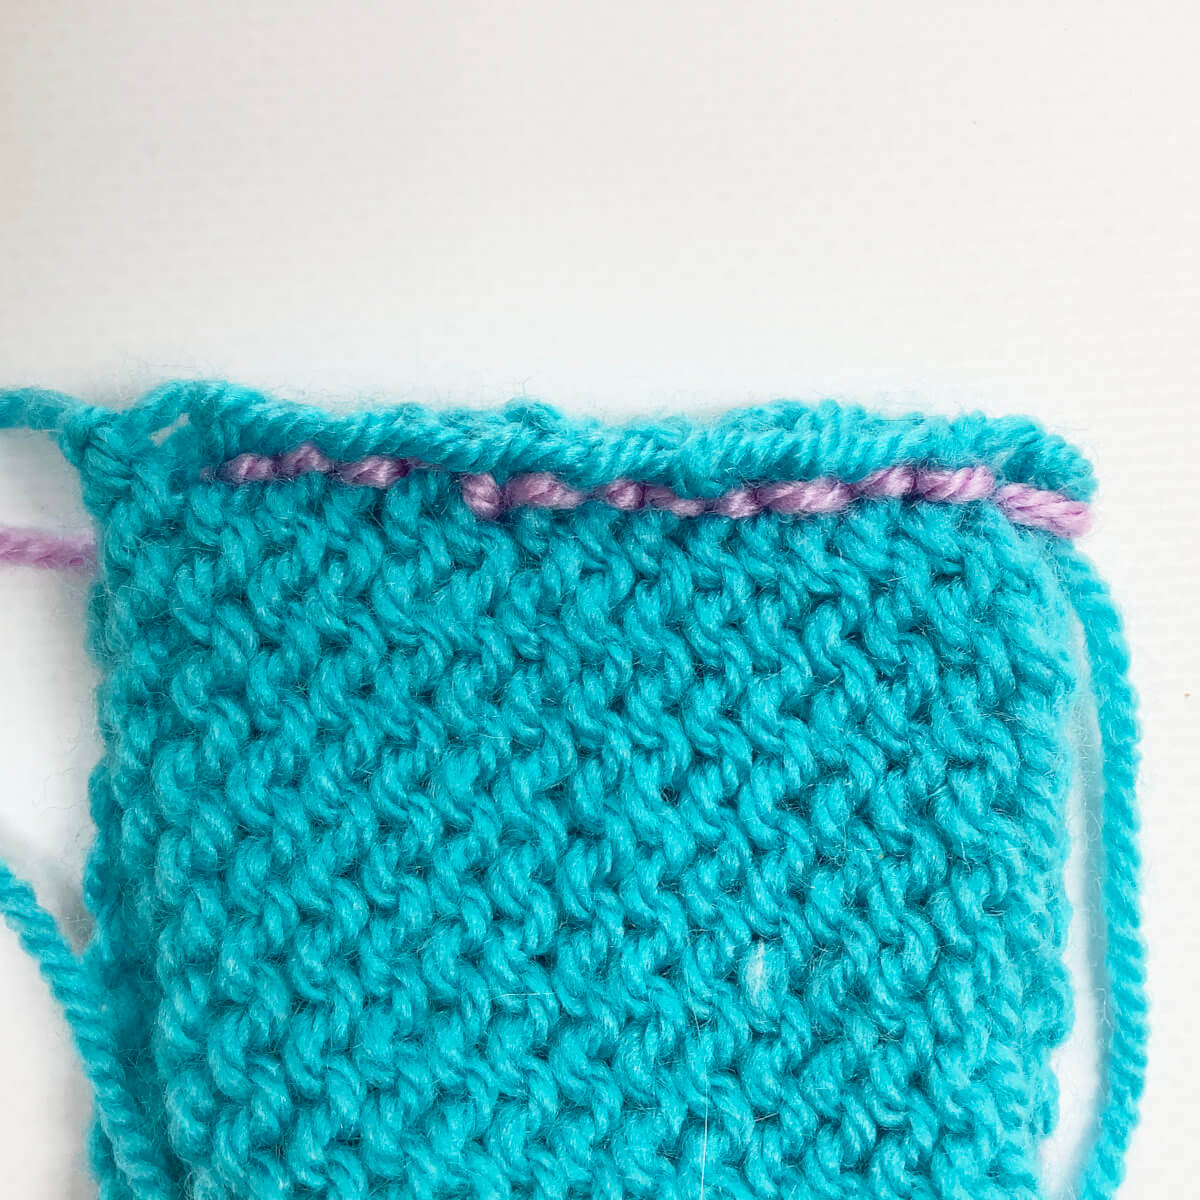
The result when viewed flat
Viewed from the wrong side of the fabric
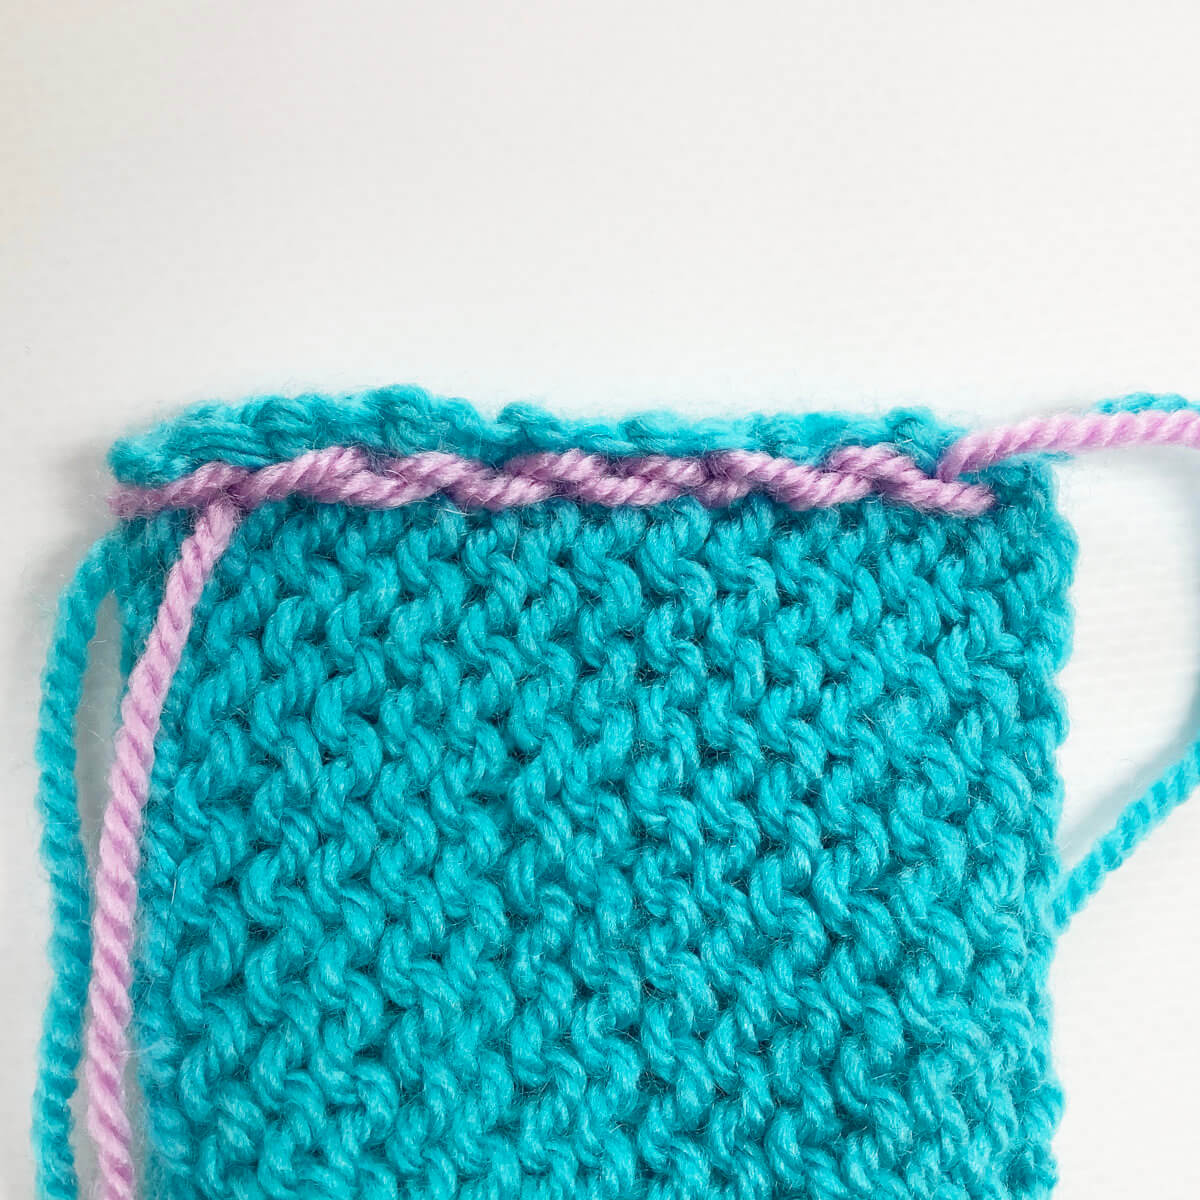
Viewed from the right side of the fabric:

Thanks to my Patreon supporters for bringing you this freebie! Creating quality patterns and tutorials is a lot of work and resource-intensive. However, I find it important to give you free content like this tutorial. Thanks to the generous support of my Patreon supporters, I can make it happen. Thank you, patrons! Click here to join, or click here to read more about La Visch Designs on Patreon.
 bust darts")
")

