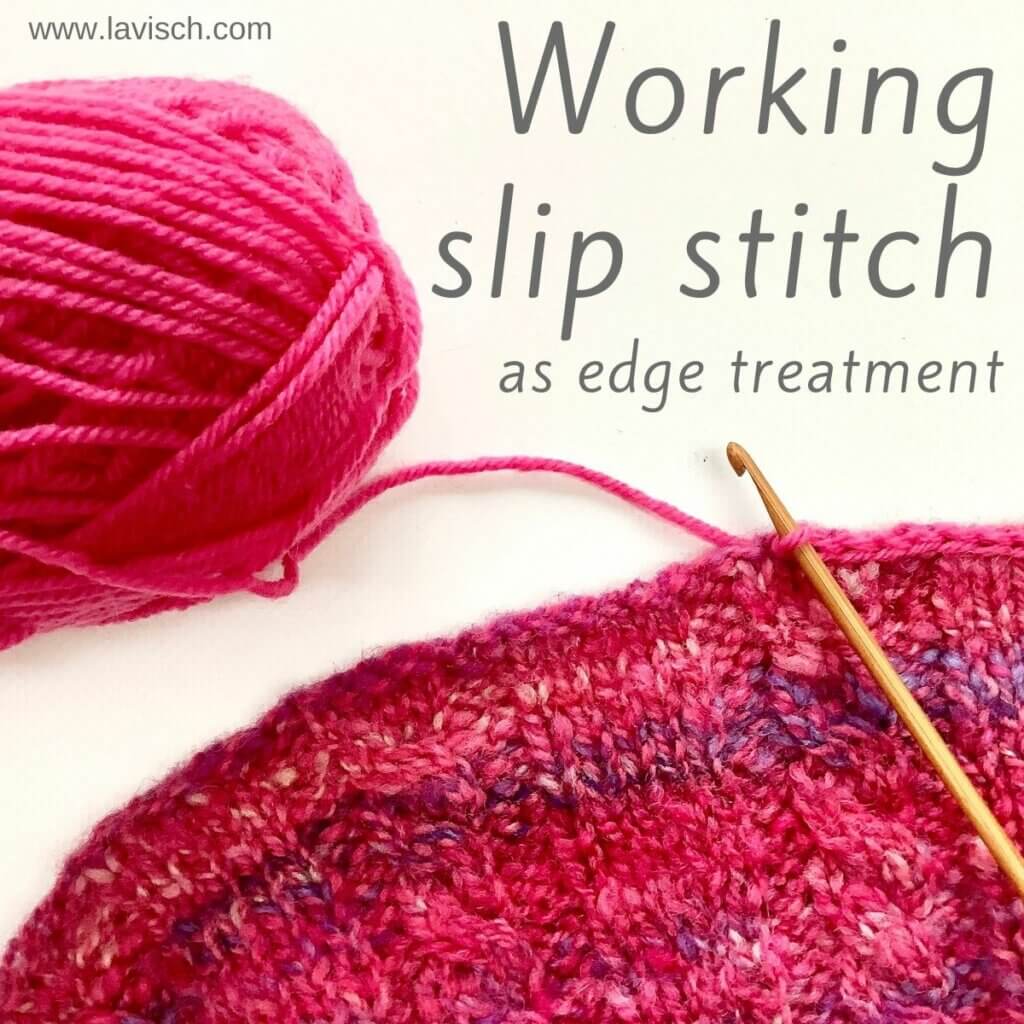
In my previous tutorial, I showed you how I went about fixing my mr Greenjeans cardigan to make it more wearable. As part of the fix, I also worked slip stitching along all outer edges of the cardigan, to tie the new contrasting yarn together better with the original elements of the garment. For this reason, I worked the slip stitch with the right side facing. Doing something similar with the same yarn as used in the rest of the project, could be done to make the edges look a tad neater.
Another application for slip stitching as edge treatment would be to work it on the inside (wrong side facing) of the garment. In particular, along the edge of the back neck, and possibly also the shoulder seam. Doing this with a non-stretchy yarn can help prevent stretching and sagging of these edges, if the garment is prone to that.
So, let’s get started!
Working slip stitch step by step
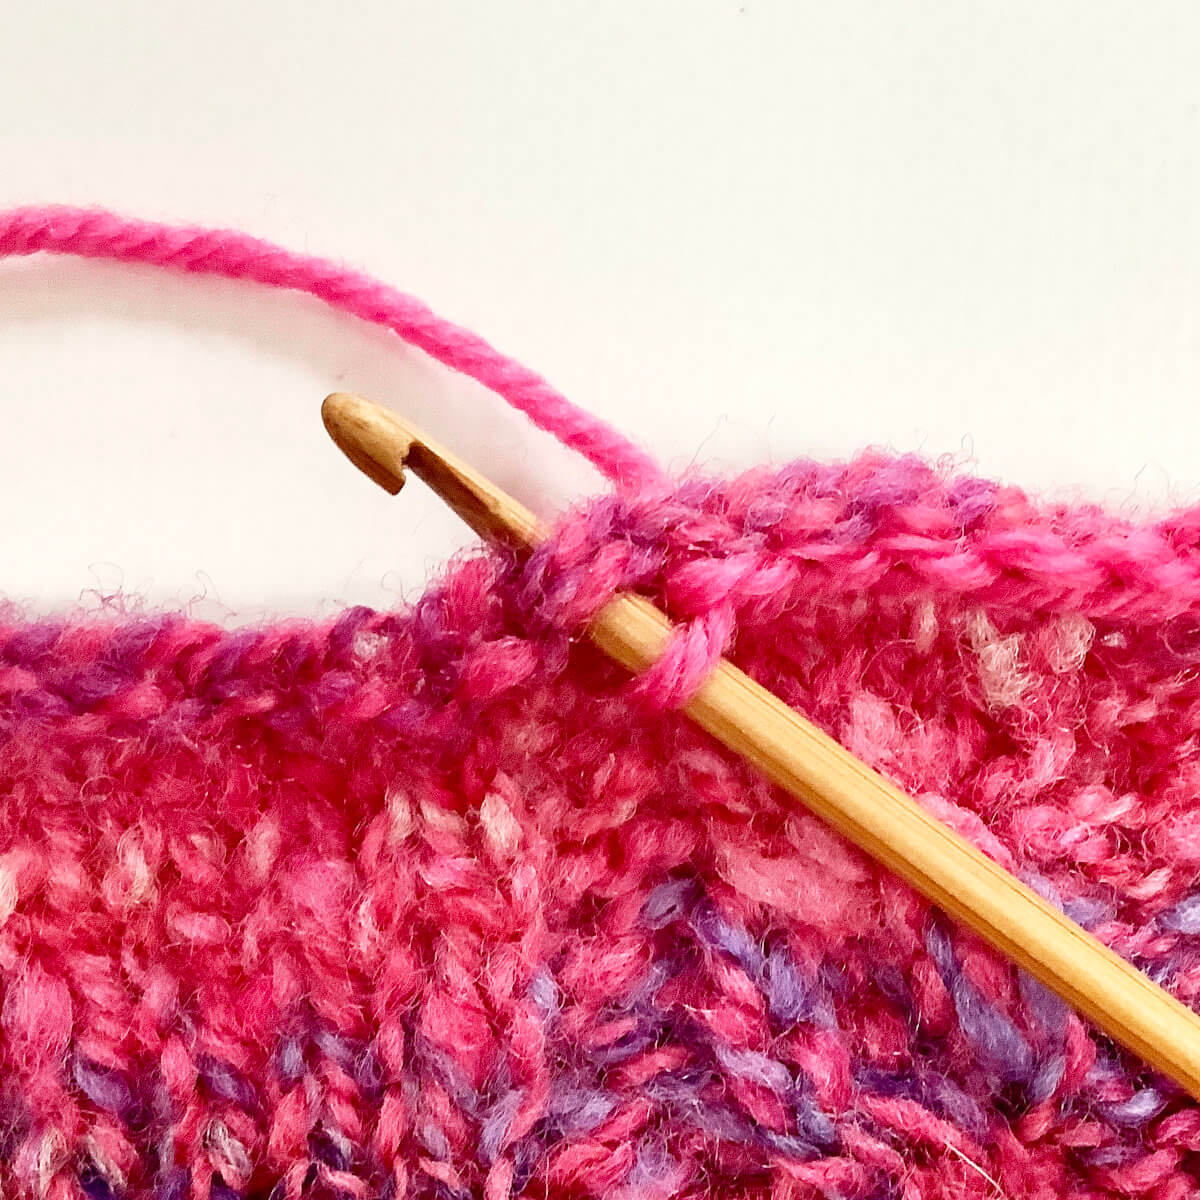
- Insert a crochet hook into the stitch at the edge of the fabric.
On both cast-on and bind-off edge, each stitch looks like a little “V”. Insert the hook underneath both strands of the V.
- Wrap the yarn around your hook…
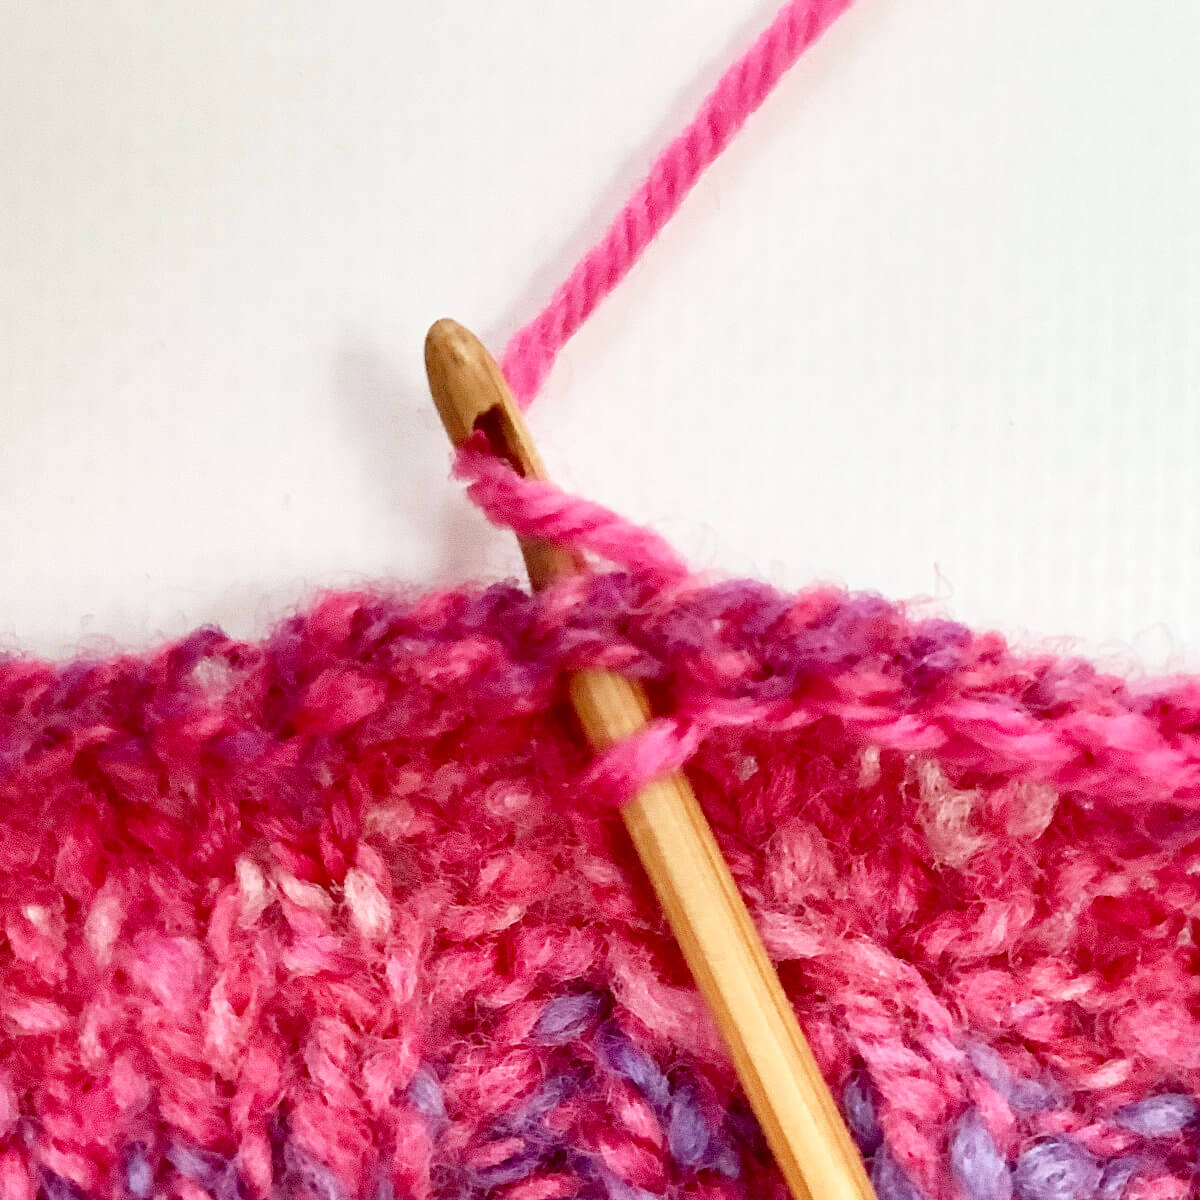
- … and pull it through.
You now have 2 loops on your hook.
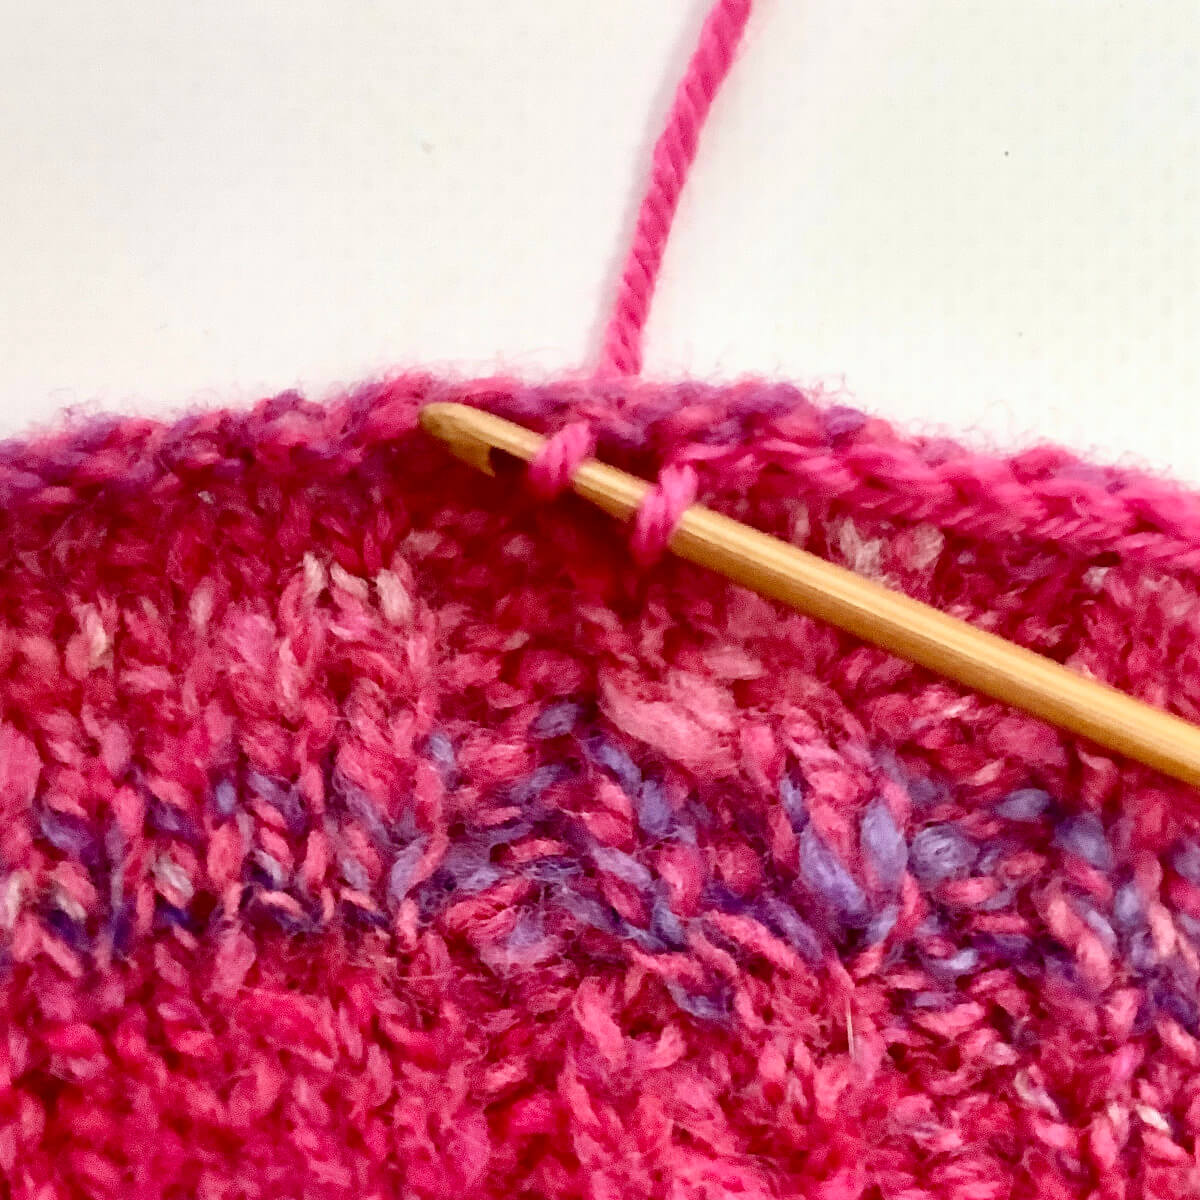
- To finish, pull the loop that is nearest to the tip of your hook through the other loop.

- Repeat steps 1-4 until you run out of edge to work!
Note that you may want to work 3 slip stitches in the stitch that sits right at the corner of the fabric, to “turn” that corner.
This is the result when viewed from the right side of the fabric:
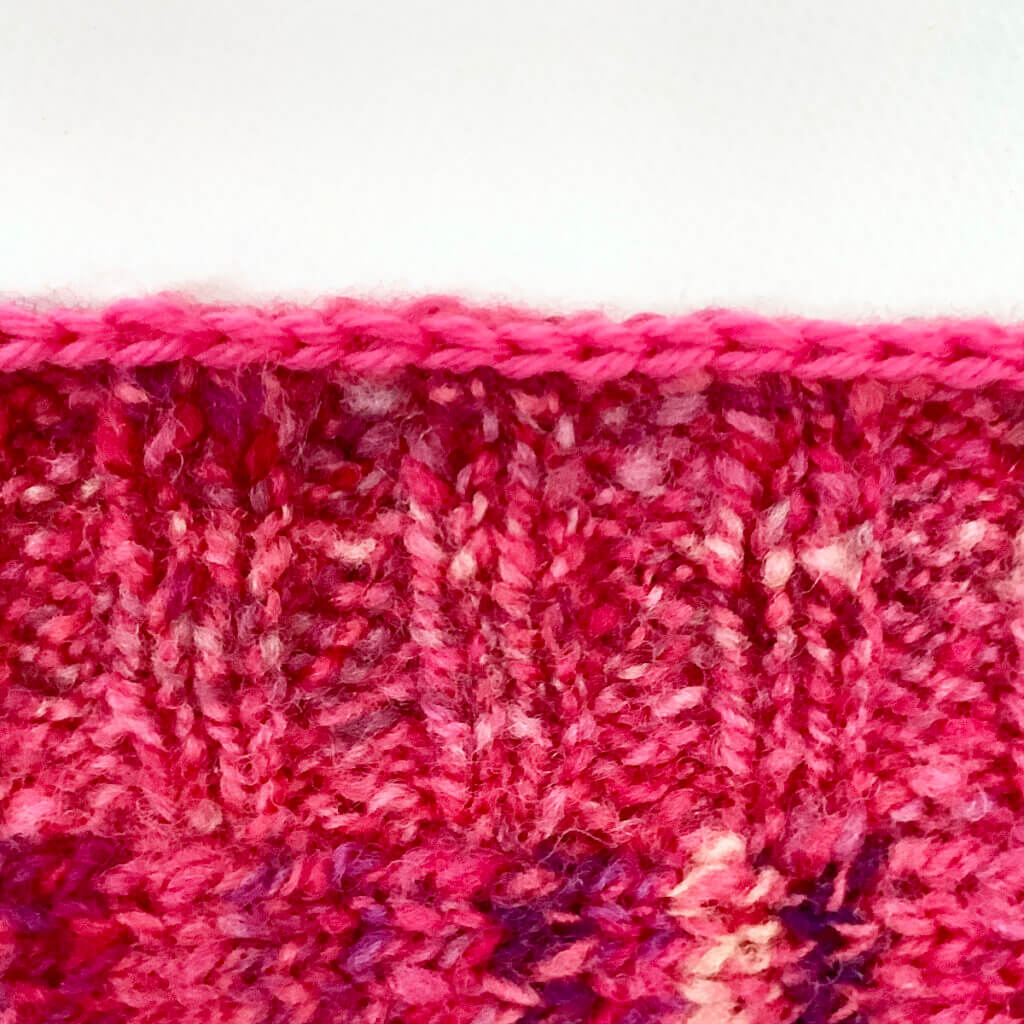
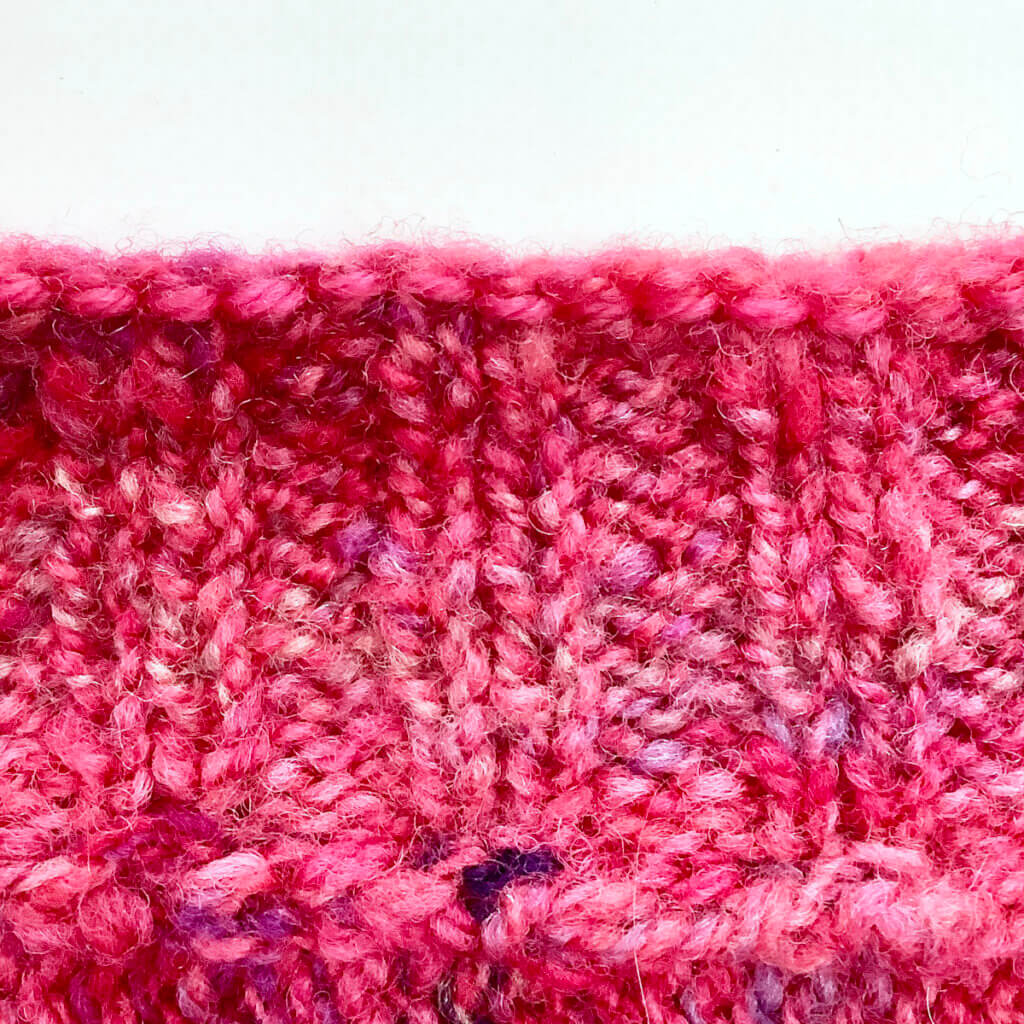
Neat, isn’t it? Below, you can see the very same piece of fabric, viewed from the wrong side. The horizontal line of stitches in the contrasting pink is almost invisible.

Thanks to my Patreon supporters for bringing you this freebie! Creating quality patterns and tutorials is a lot of work and resource-intensive. However, I find it important to give you free content like this tutorial. Thanks to the generous support of my Patreon supporters, I can make it happen. Thank you, patrons! Click here to join, or click here to read more about La Visch Designs on Patreon.


