The purl through the back loop stitch (or ptbl for short) is a variation of the purl stitch. It creates a twisted stitch by slightly turning the stitch while you work it. I’ve used the ptbl in some of my patterns, for example in the Art Deco shawl pattern.
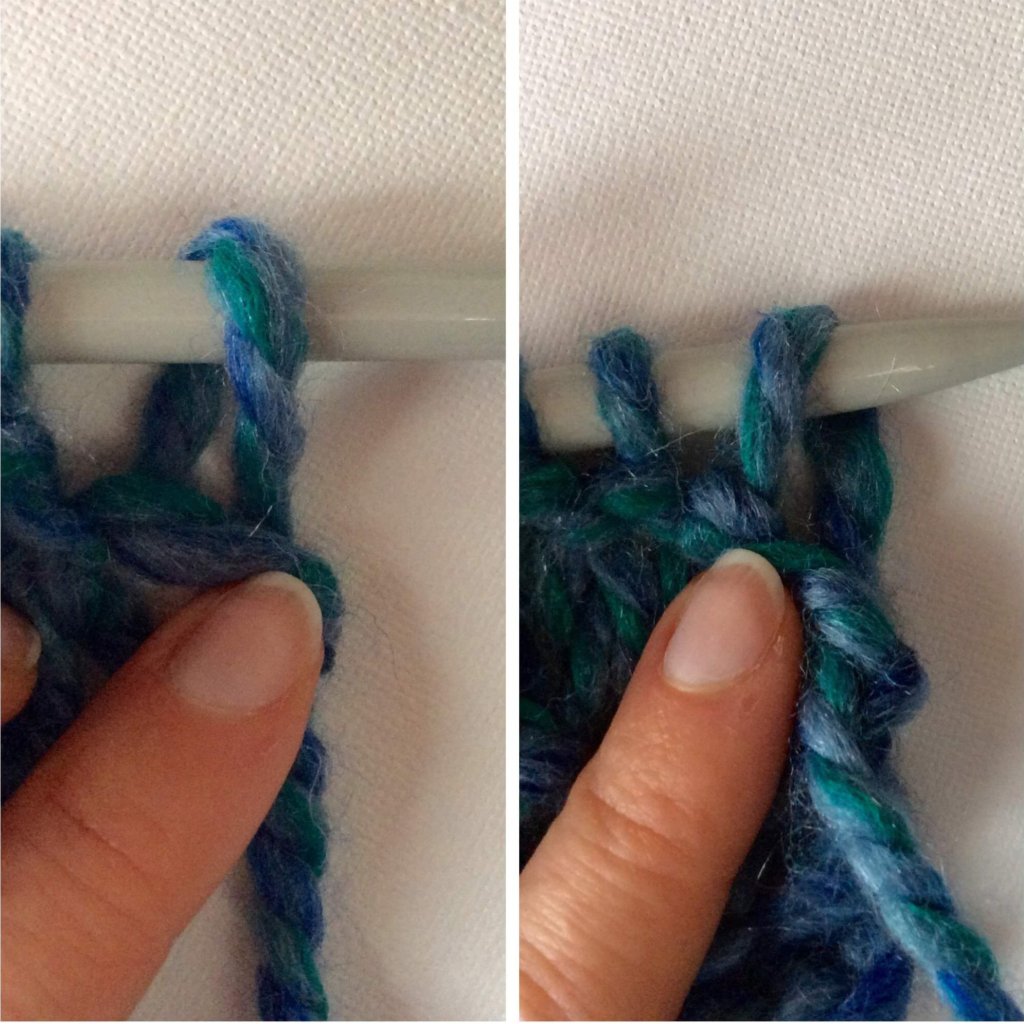
And while it isn’t a hard stitch to work, it can be a tad tricky if you’re not familiar with how to work into that back loop of a stitch. So, for that reason, it’s a good idea to get that straight. If you look at the picture below, you can see that the first stitch on the needle consists of a loop of yarn, straddling the needle. The “leg” facing is what we call the “front loop”. Likewise, the “leg” at the back of the work is the “back loop” one.
Materials used
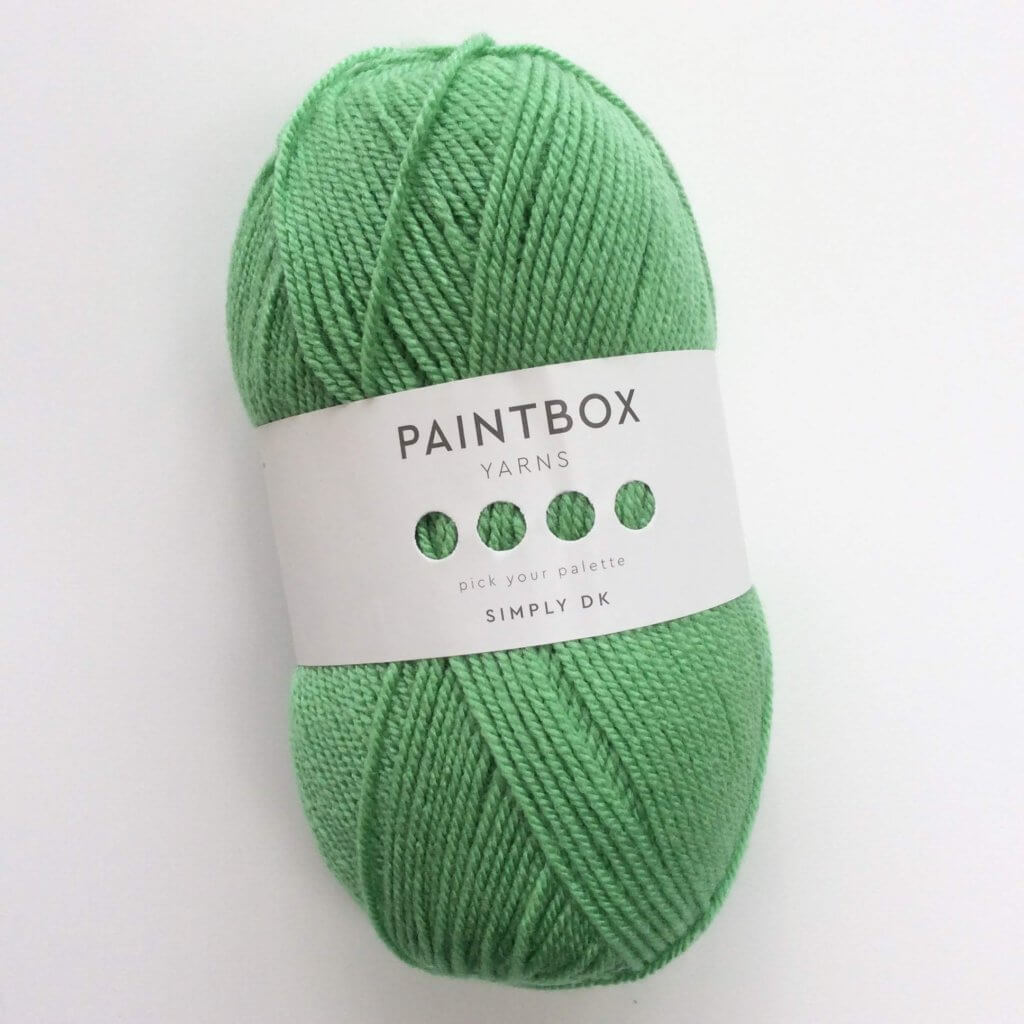

Yarn: * Paintbox Yarns Simply DK, a good value, good quality 100% acrylic yarn, here in the color 125 Spearmint Green.
Needles: * KnitPro Zing Fixed Circular Needles. In this tutorial, I used the 4 mm (US 6) size with a cable length of 80 cm (32 inches).
Working a ptbl step by step
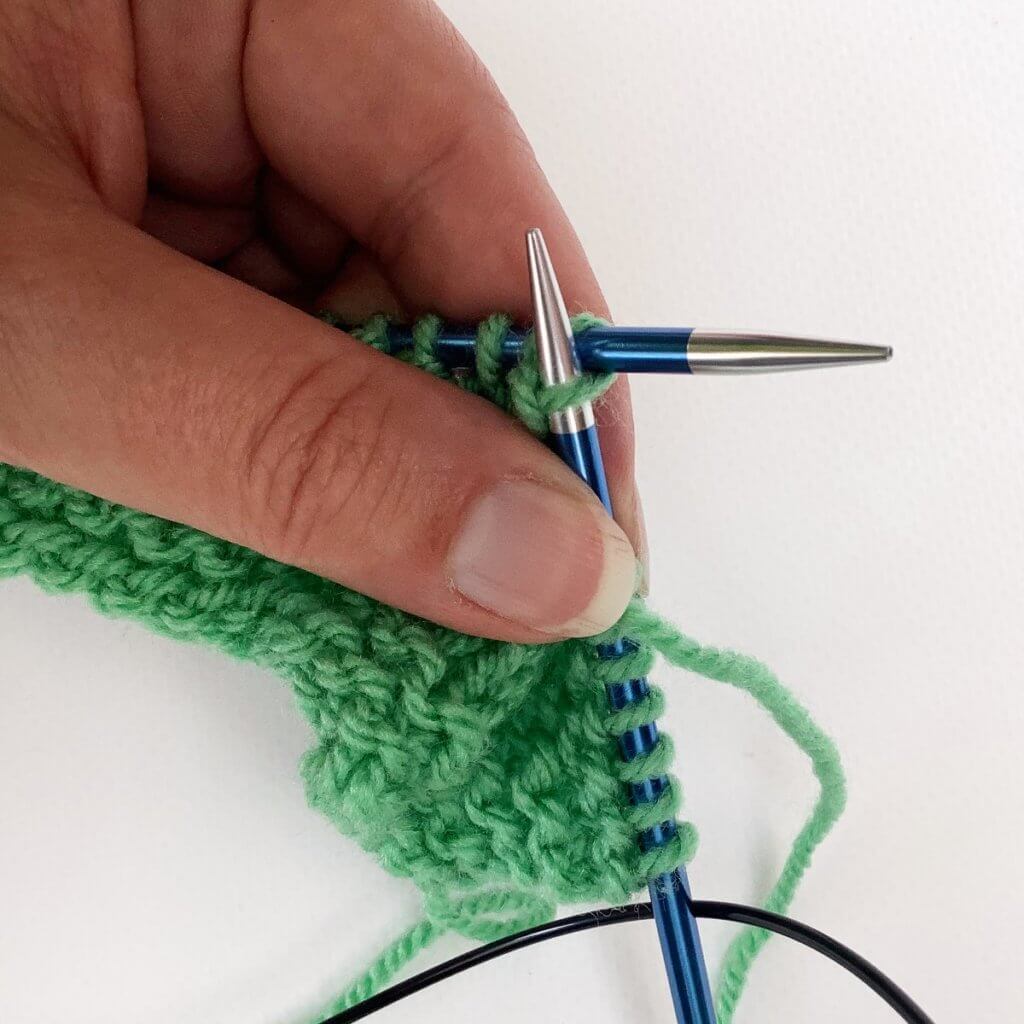
1. First, we have to make sure that the working yarn is at the front of the work since we’ll be working a purl stitch.
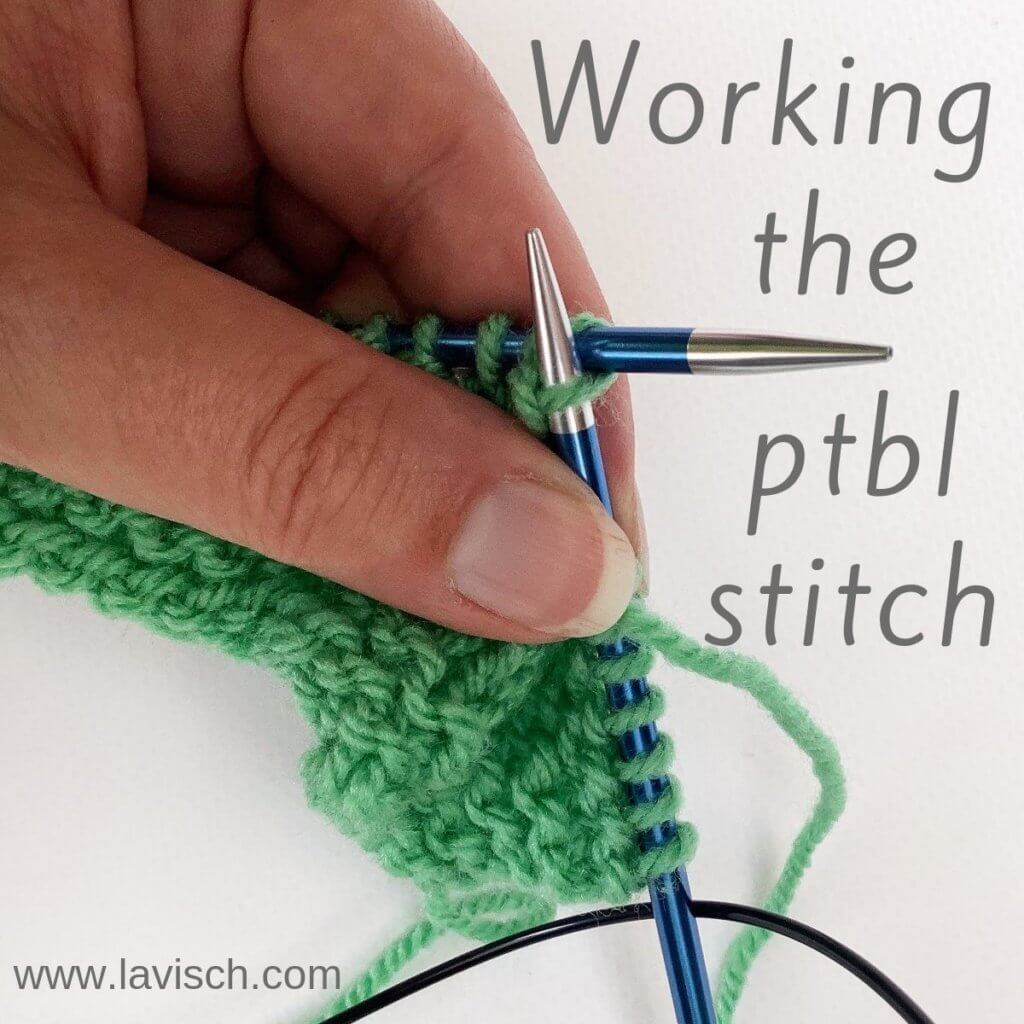
2. Next, insert the right-hand needle purlwise into the back leg or loop of the stitch. To do this, it is important to know the difference between knitwise and purlwise when talking about that back loop. To insert the needle knitwise you’d insert the needle away from the tip of the left-hand needle. In the same vein, to insert the needle purlwise you’d insert the needle towards the tip of the left-hand needle!
In the picture below the needles have become a bit twisted due to me holding everything with my left hand and the camera in the other. But if you take another look at the picture with the blue yarn above you can see exactly what I mean!
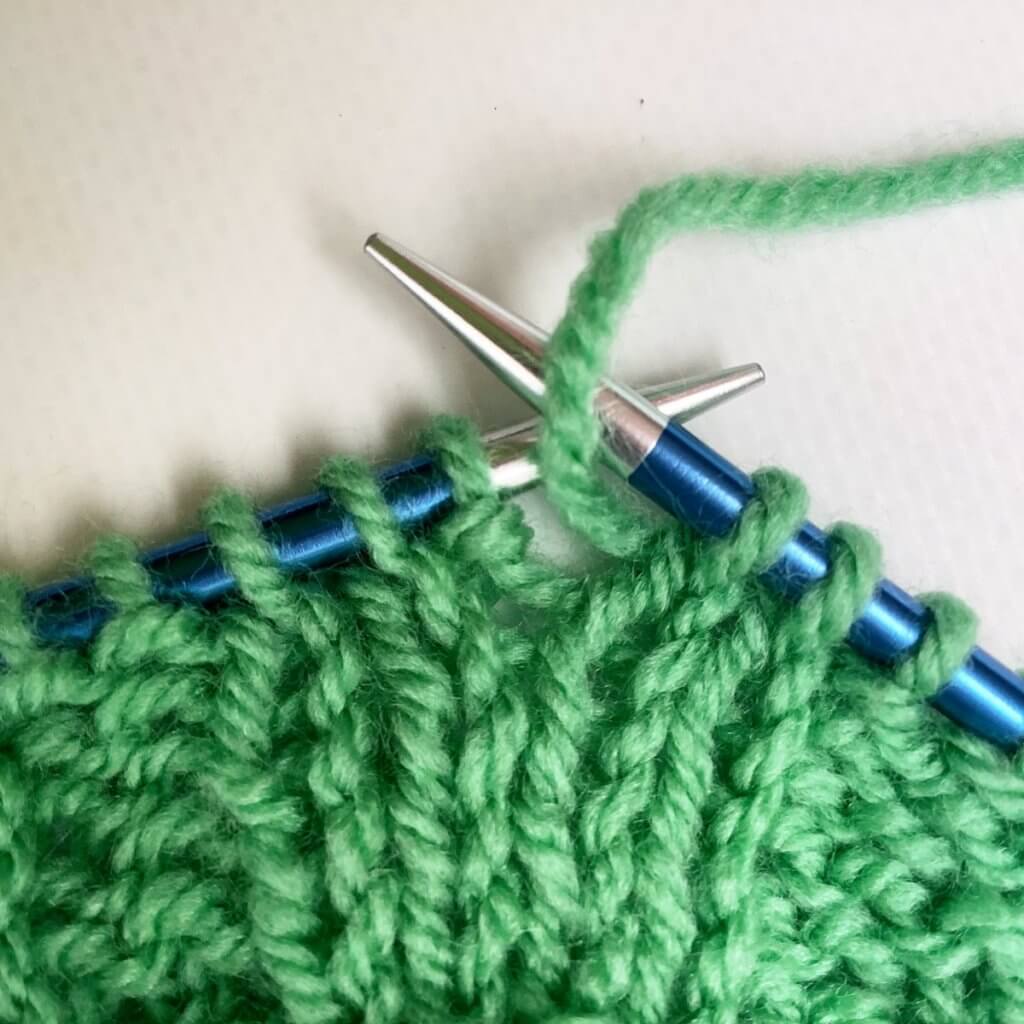
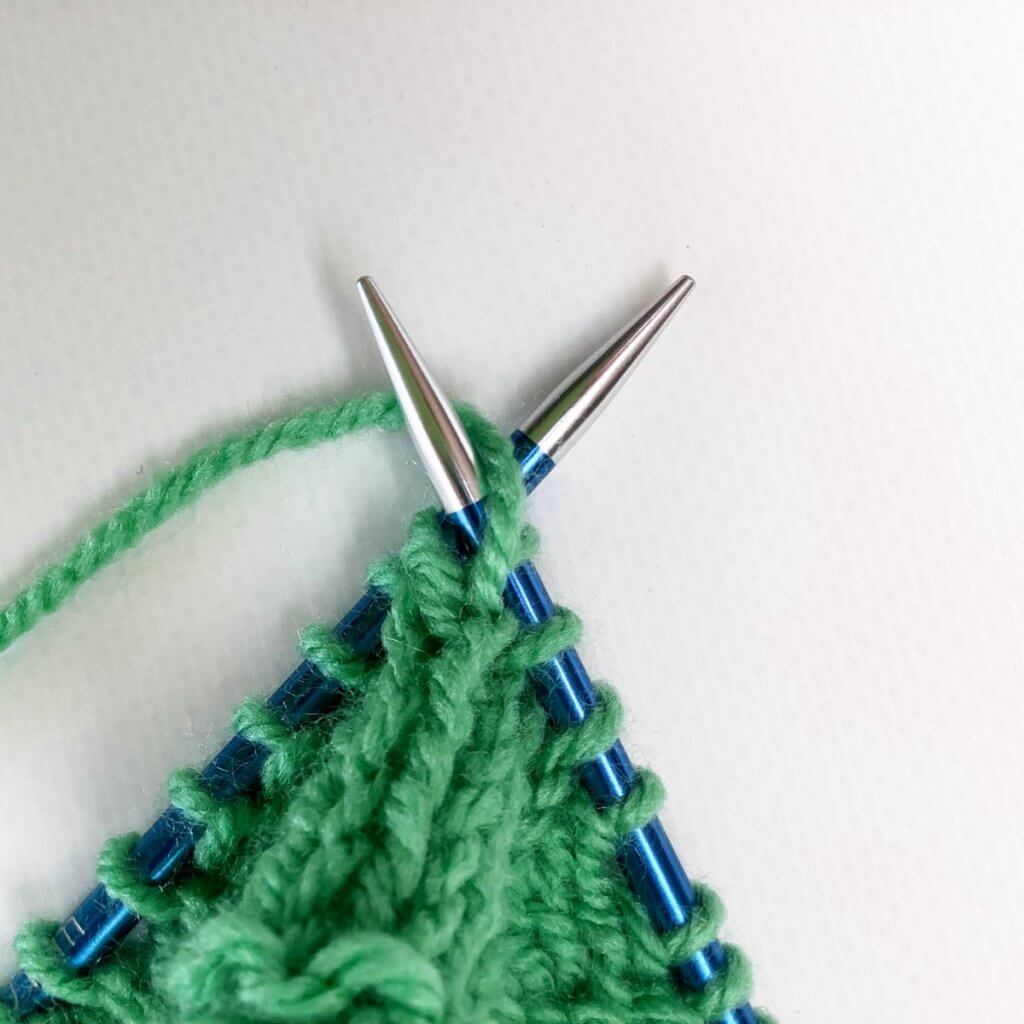
3. Now wrap the yarn around the needle…
4. … pull it through and slip the resulting stitch from the left-hand needle to complete your ptbl stitch.
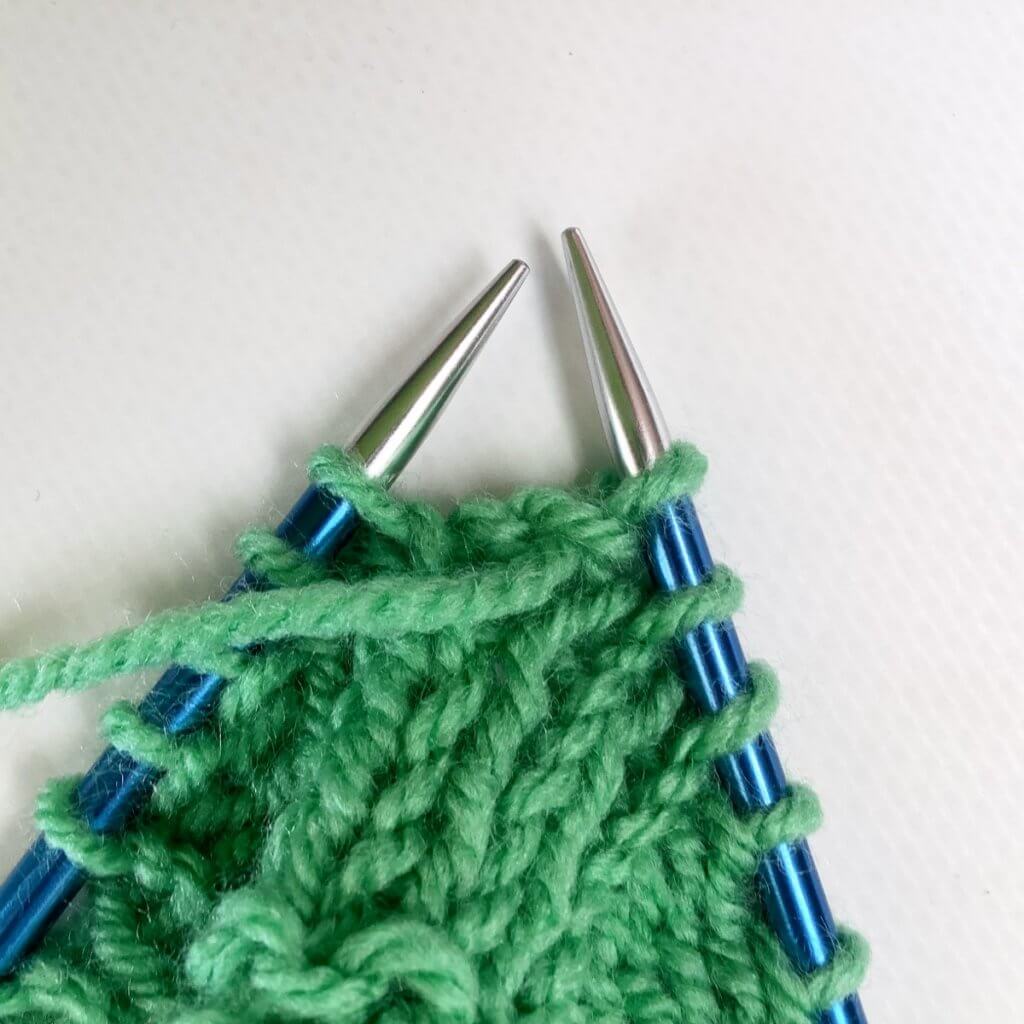
And that’s all there is to it! Not that hard, right?

Thanks to my Patreon supporters for bringing you this freebie! Creating quality patterns and tutorials is a lot of work and resource-intensive. However, I find it important to give you free content like this tutorial. Thanks to the generous support of my Patreon supporters, I can make it happen. Thank you, patrons! Click here to join, or click here to read more about La Visch Designs on Patreon.


