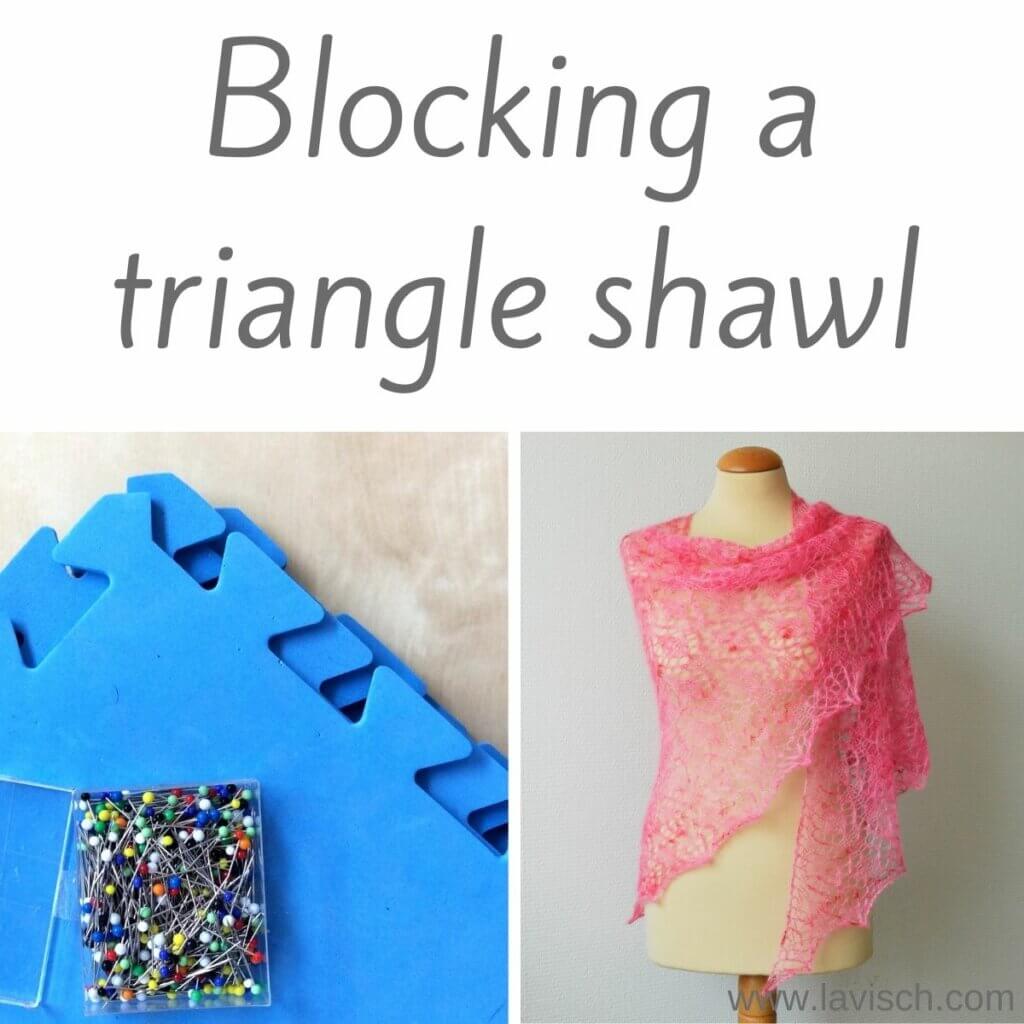
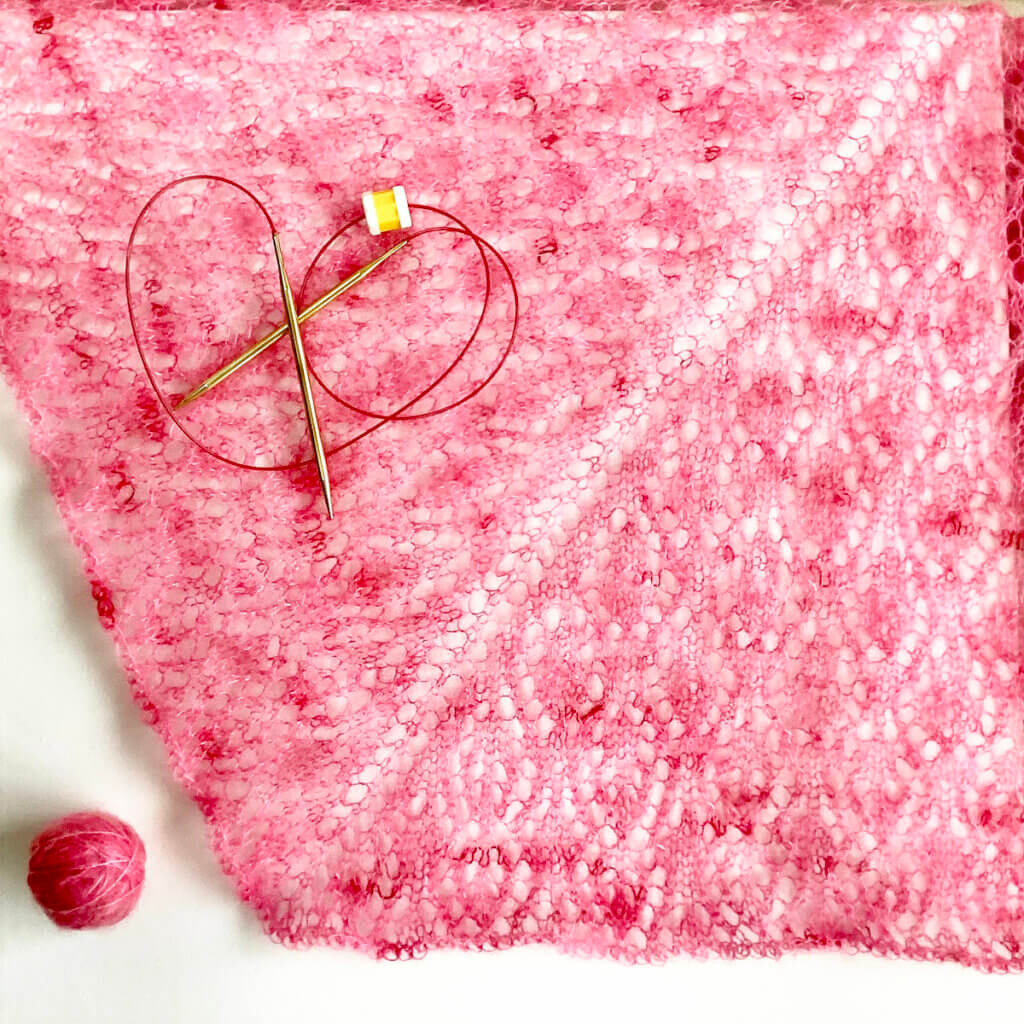
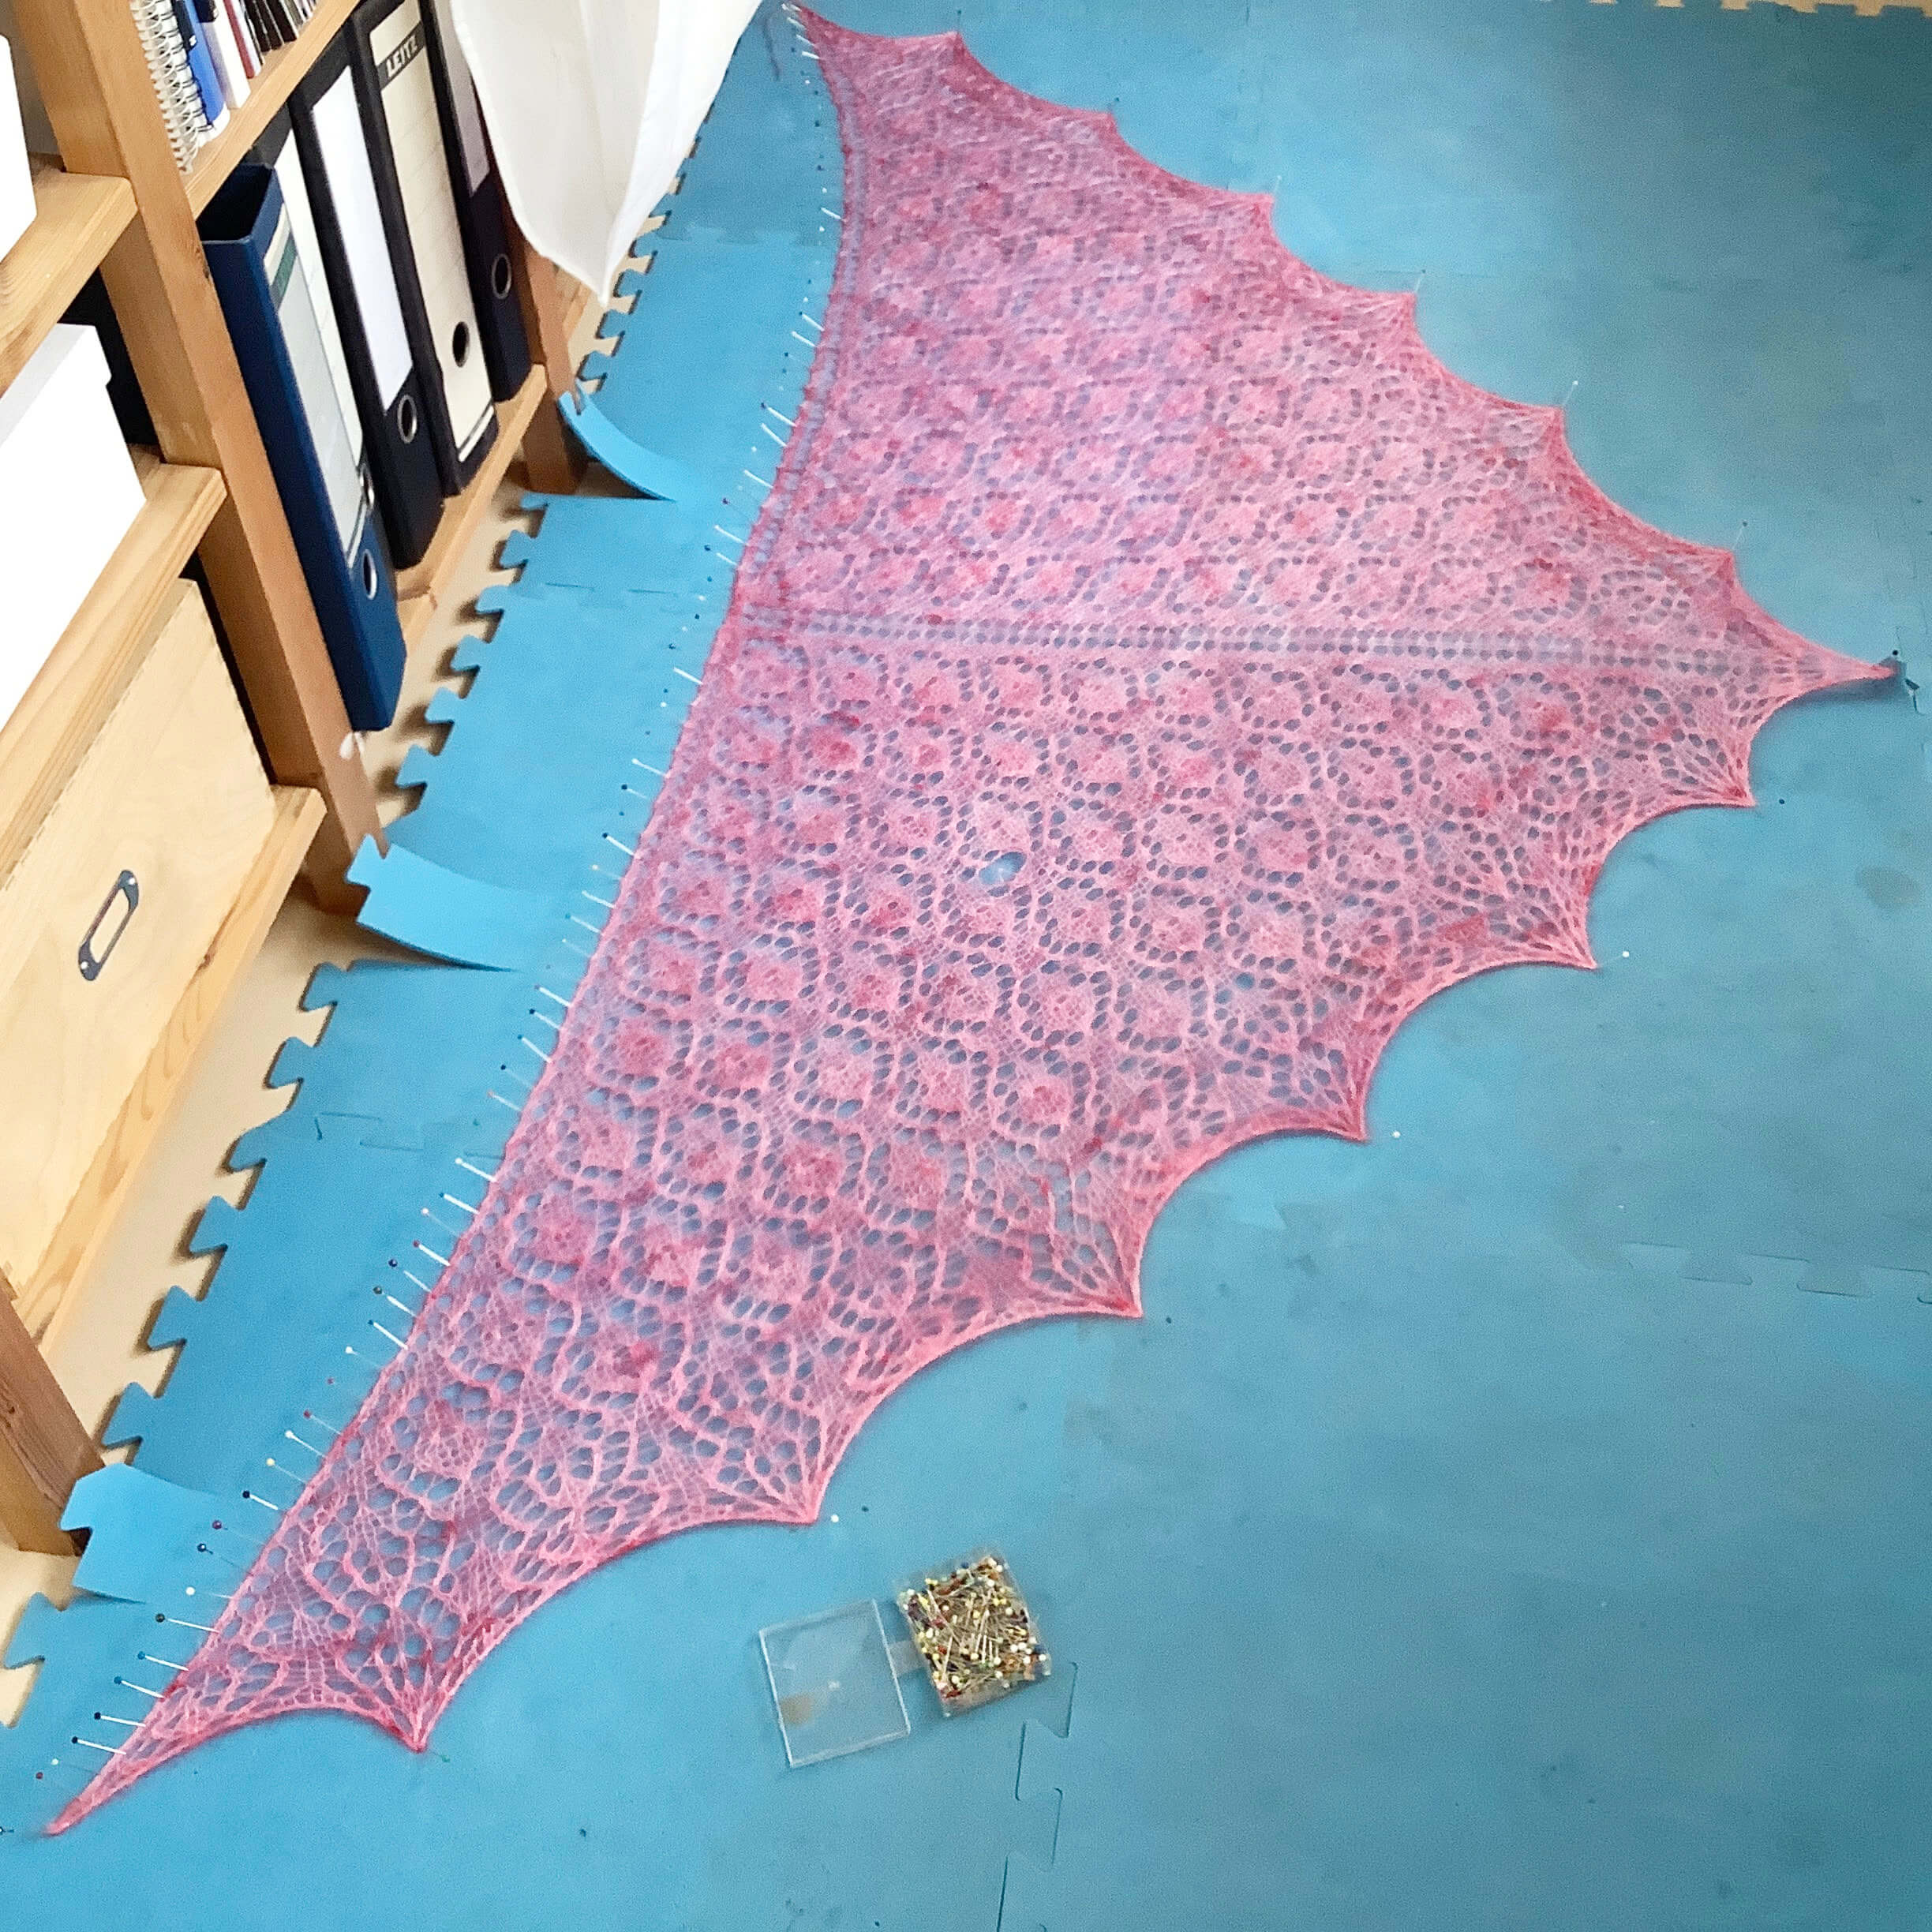
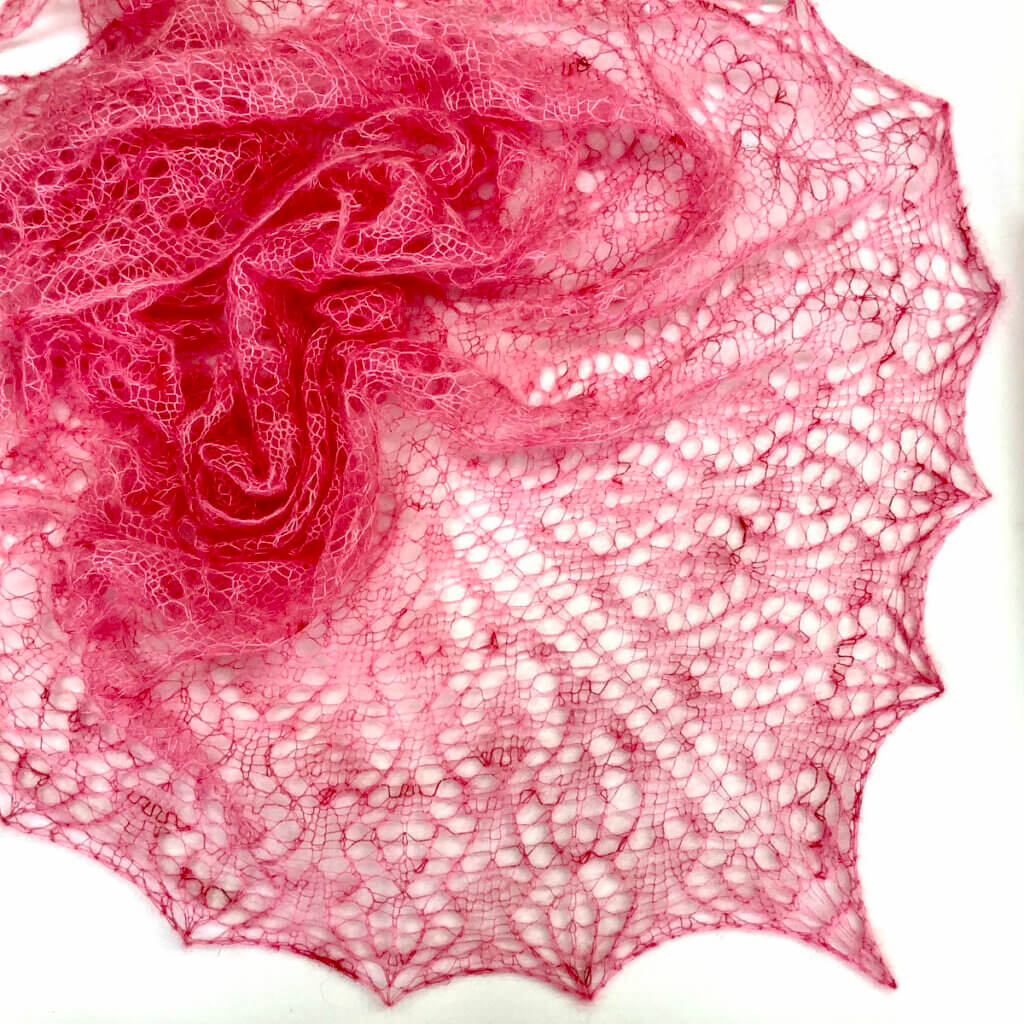
The top-down triangle must be the shawl shape I knit most often. So, it would be good to share with you how I go about blocking this type of triangle shawl. In this tutorial, I will be showing you how I blocked my Strawberry Finch. This one has all-over lace patterning, pulled into points at the bottom edge into points during blocking. In the below picture you can this shawl before blocking.
What is blocking?
Before we go into details, it’s good to get clear what I mean exactly with “blocking”. Blocking is nothing more than shaping your knit or crochet pieces when moist or wet. Think of finished items or components to sew together afterwards. By blocking them, you can not only even out stitches, but also bring the item to the intended dimensions. The latter of course within reason!
For a sweater or sweater components blocking usually is nothing more than washing the item(s) and patting them gently into shape. Lace shawls, on the other hand, benefit from a rather vigorous blocking by pinning it stretched out as much as possible. After the piece has dried, it will hold its shape until the next washing.
Please note, that not all fibers are suited for the magic of blocking. Only natural fibers like wool, alpaca, cotton etc. as well as some viscose fibers can be blocked in the sense that the dimensions can be adjusted. On synthetics, like acrylic, the process of wet-blocking as described in this post has virtually no effect at all, besides evening out the stitches. Acrylics can be blocked (“killed”) by applying heat through steam blocking or ironing, but that’s an entirely different process.
Materials needed
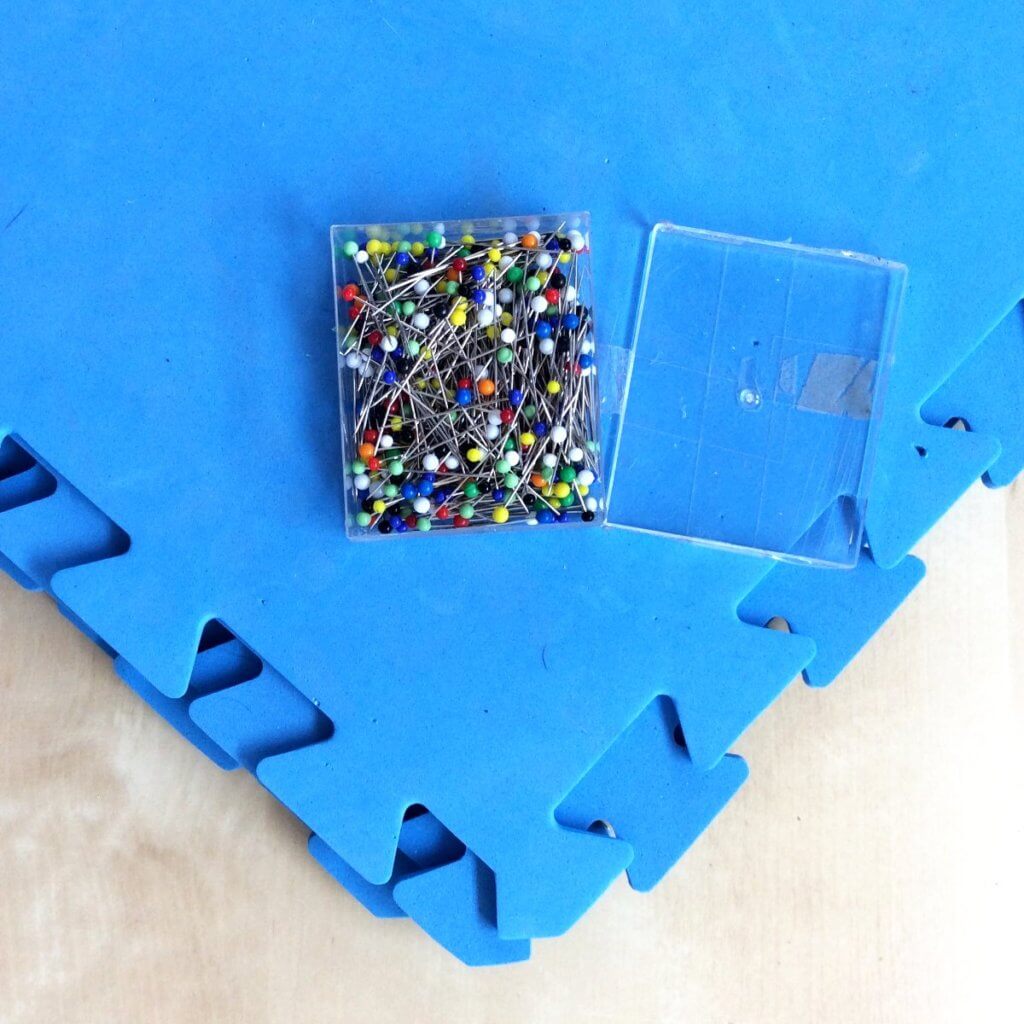
Since the subject of this post is the blocking of a lace triangle shawl, I go for a vigorous blocking using pins. I use the following materials:
- Blocking mats, these are usually foam mats that hold pins well. Think for example of insulation mats, mats for yoga or play tiles for children.
- Pins, I use regular pins, but other folks sometimes prefer stainless steel T pins.
- Wool wash.
- A towel large enough to comfortably hold your project.
Preparations
Before we can start with the actual blocking, we have to do some preparations. These mainly consist of giving your shawl a wash, since the FO must be a tad moist for the best blocking results. For completenes’s sake below how I go about it. If you’d like pictures of these steps, please visit the tutorial on blocking an asymmetrical shawl.
- First I fill the sink with some lukewarm to warm water and add a dash of wool wash. Put the shawl into the water and let it rest for about 10-15 minutes to make sure the fabric is completely saturated with water.
- Next, rinse the shawl. Don’t use cold water for this, as “shocking” warm wool may cause it to felt. If your yarn bleeds dye a bit, you can add a splash of vinegar to the rinse water to help fix it. After rinsing, gently squeeze excess water out of your project. Don’t wring it! This may damage the fibers, causing breakage.
- Spread out your towel and place the shawl on top of half of it. Fold the second half of the towel over your shawl and roll it up like a sausage. Squeeze the roll well to transfer most of the wetness from the shawl to the towel. With bigger projects, I find it helps to actually stand a bit on it.
Also, prepare your blocking mats by laying them down in the shape and size needed for your project. I prefer to do that in my workroom because it can be closed off against “helping” cats.
Blocking a triangle shawl step by step
Time to get started with the actual blocking!
- Spread out your project on the blocking mats.
Take care to do so in roughly the shape you want to block it in.
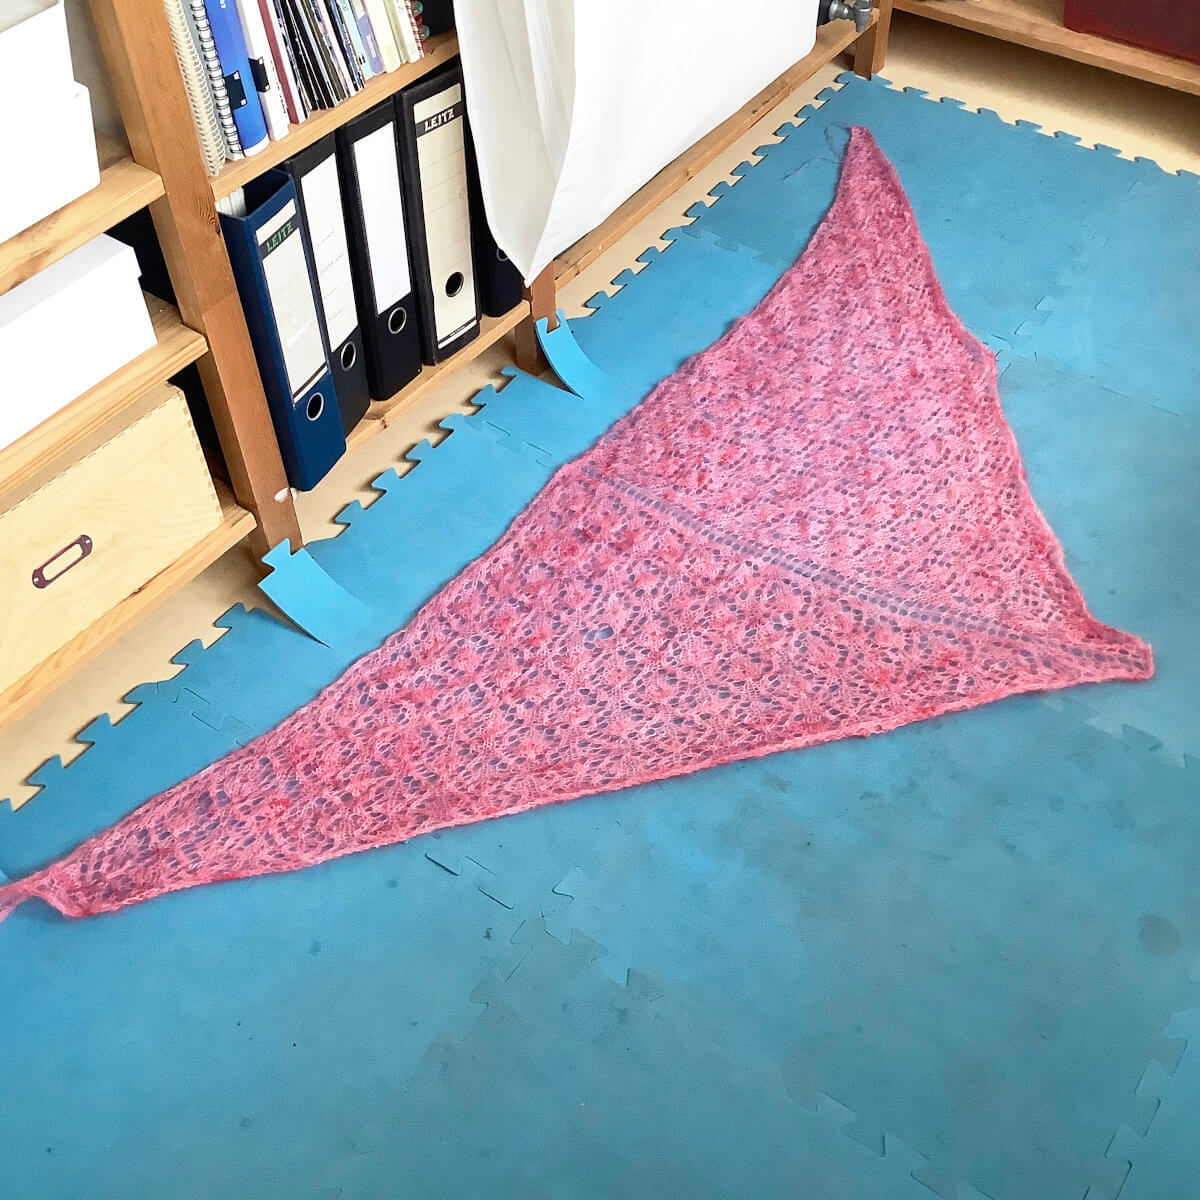
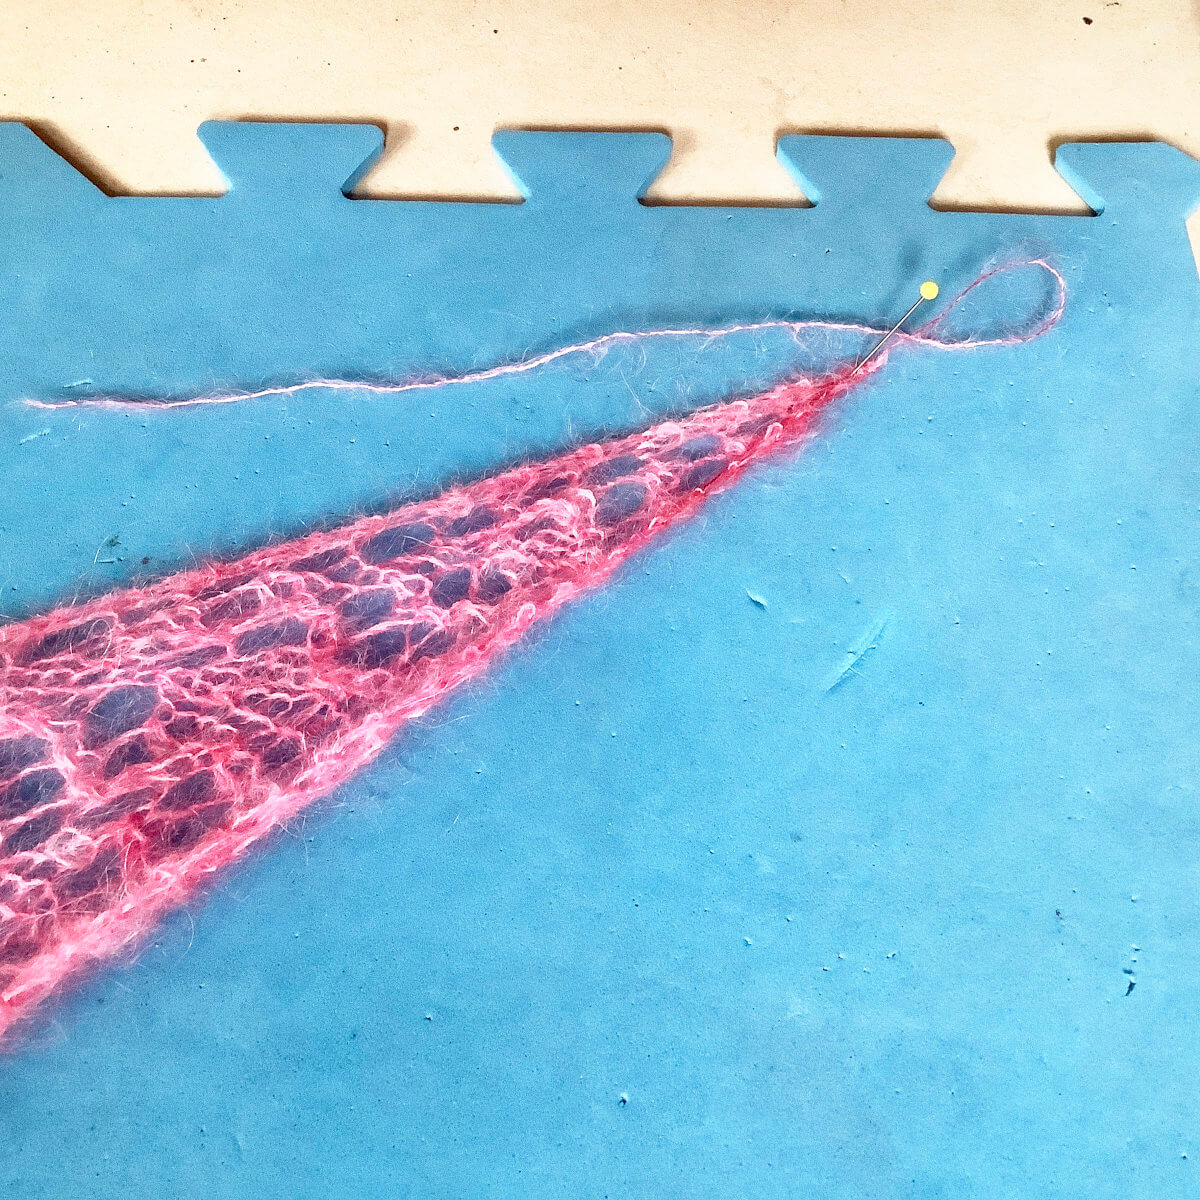
- Start by pinning the 2 outer corners.
You can stretch the upper edge of the shawl out for this, but don’t stretch it to the max., we still need some slack in the fabric to accommodate stretching it out in other directions.
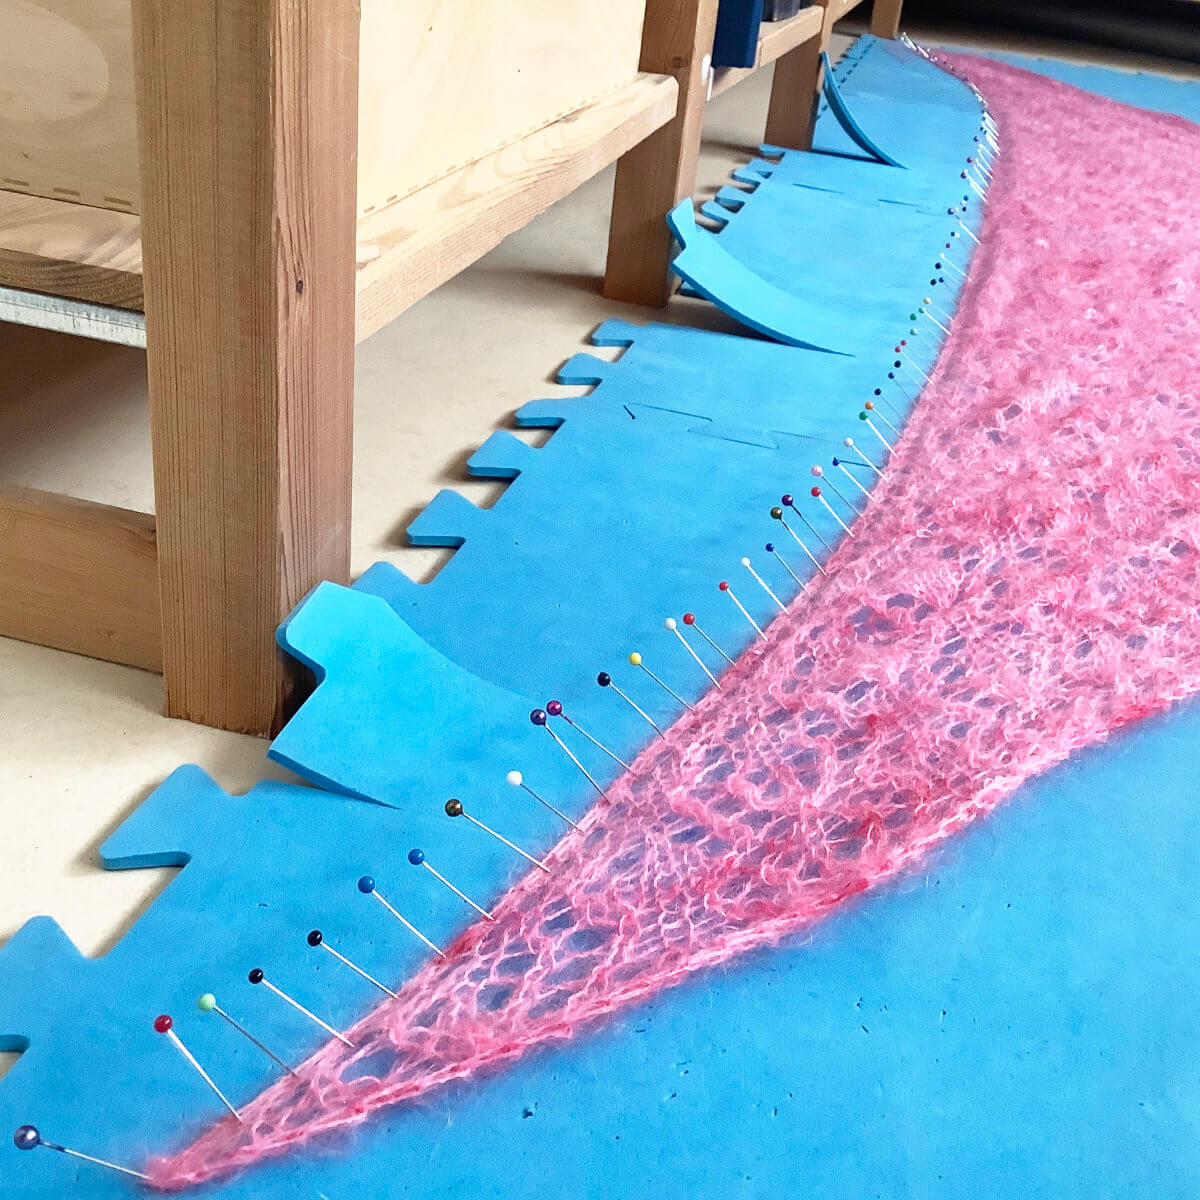
- Next, pin the entire upper edge of the shawl in a smooth curve, using approx. 1 pin every 1.25 – 2.5 cm (0.5 – 1 inch).
You can, of course, pin the upper edge in a straight line, but I find a slightly curved edge sits better on the neck and shoulders.
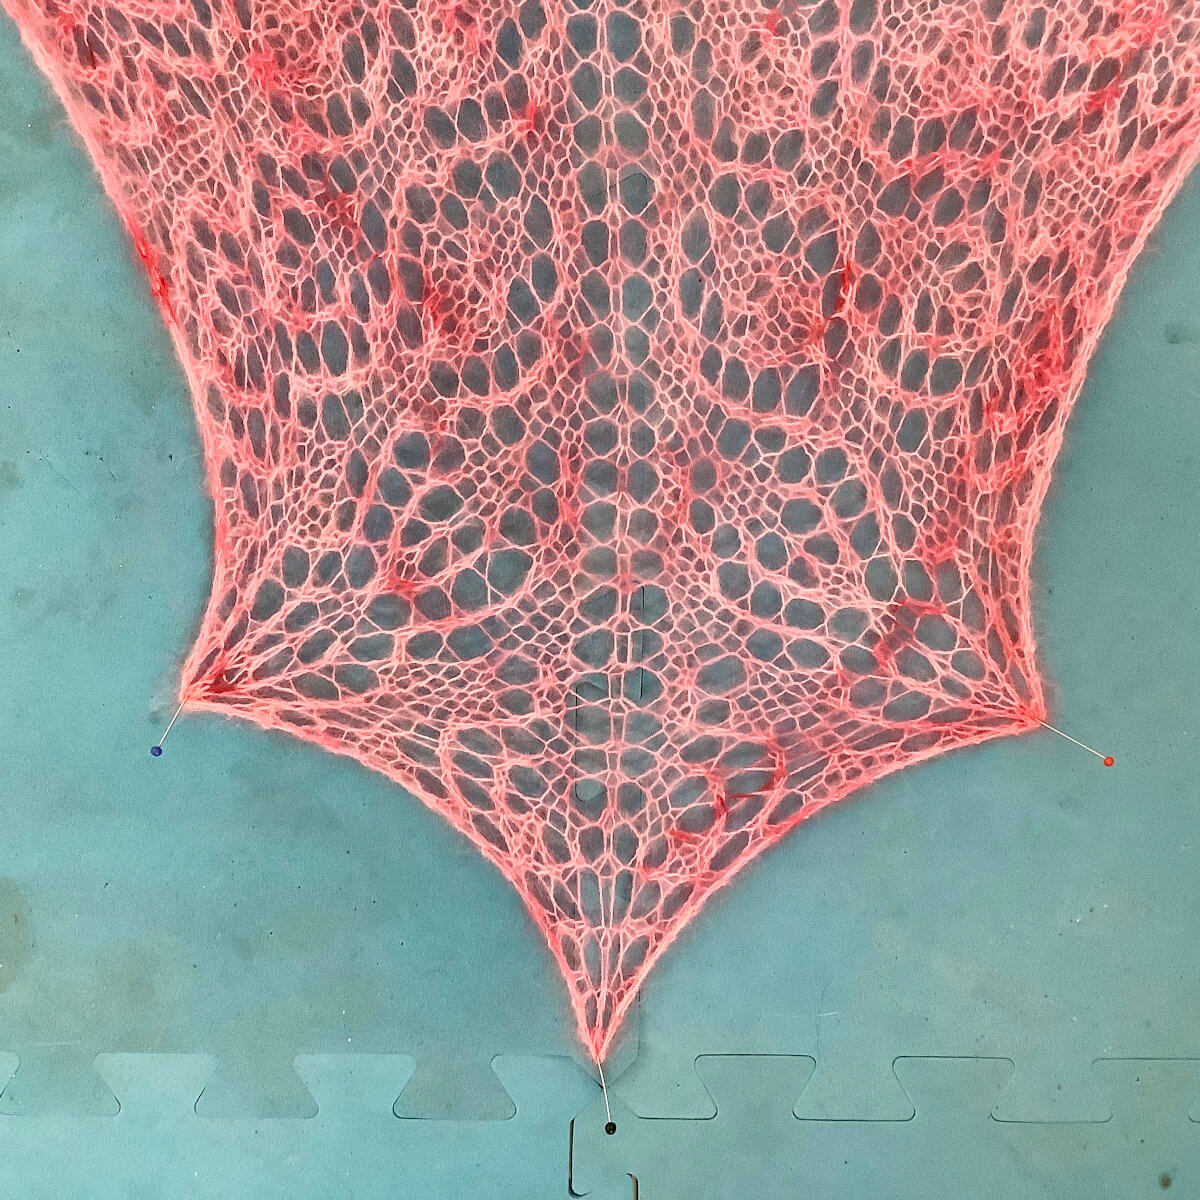
- Now pull down the bottom point and pin it to the mats.
Again, don’t stretch it to the max yet!

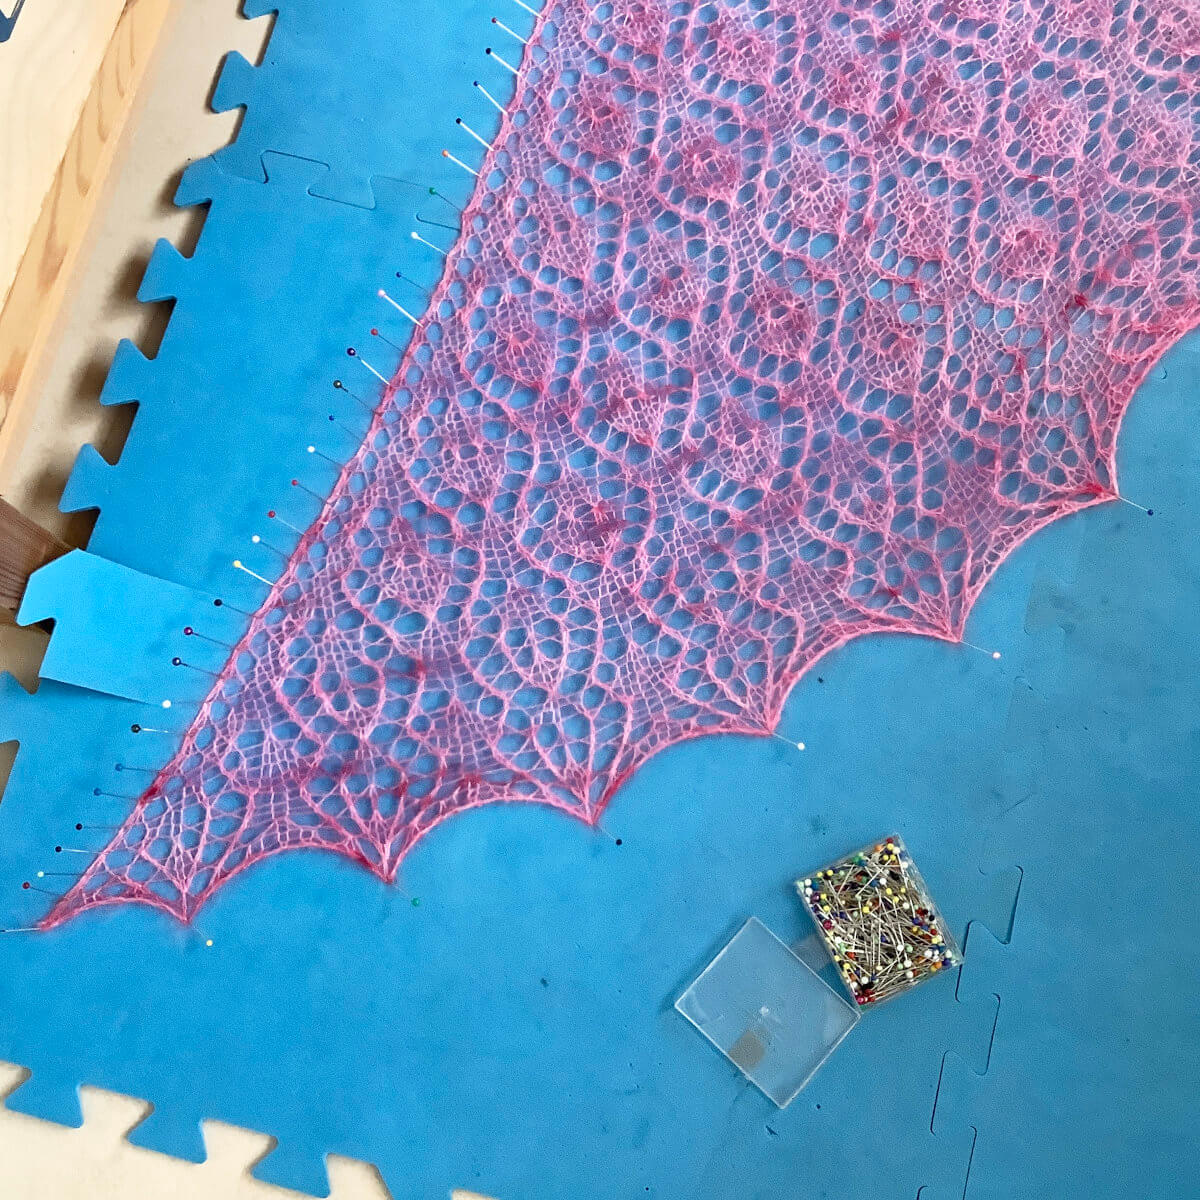
- Now pull a point on both the left and the right side down and pin them to the mats.
At this point, you can still keep some slack in the fabric of the shawl. Also, note that I pinned through the point of a leaf, but that I skipped one on either side.
- Move up 2 leaves and again pin them down symmetrically.
At this point you can ignore any tension differences, we will get to that later on.
- Continue as in step 5 and 6 until the whole bottom edge is pinned to the mats.
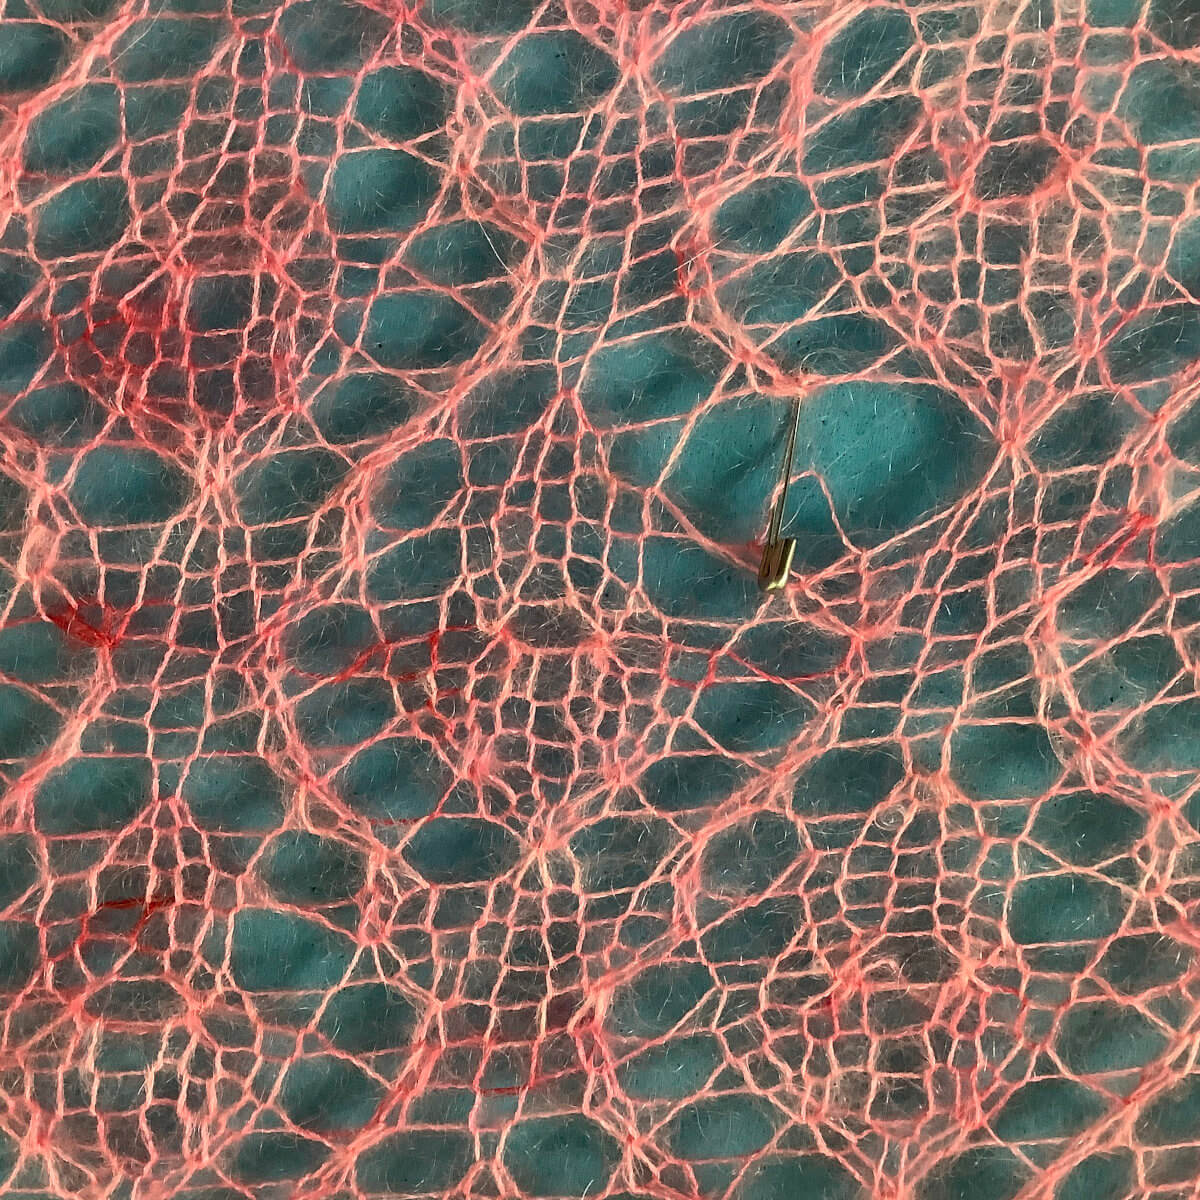
At this point I saw it, do you see it too?
- A hole in my shawl!
I must have caught the halo of the yarn there, instead of the thread itself. The tension of the blocking made it go poof. It happens…. Don’t stress, just catch the stitches with a safety pin. The shawl can be fixed after it’s dry.
- Back to pinning the bottom edge.
Now I’m pinning the points I skipped previously, adjusting the pins already there where needed, to achieve a smooth curve.
- The final step in blocking.
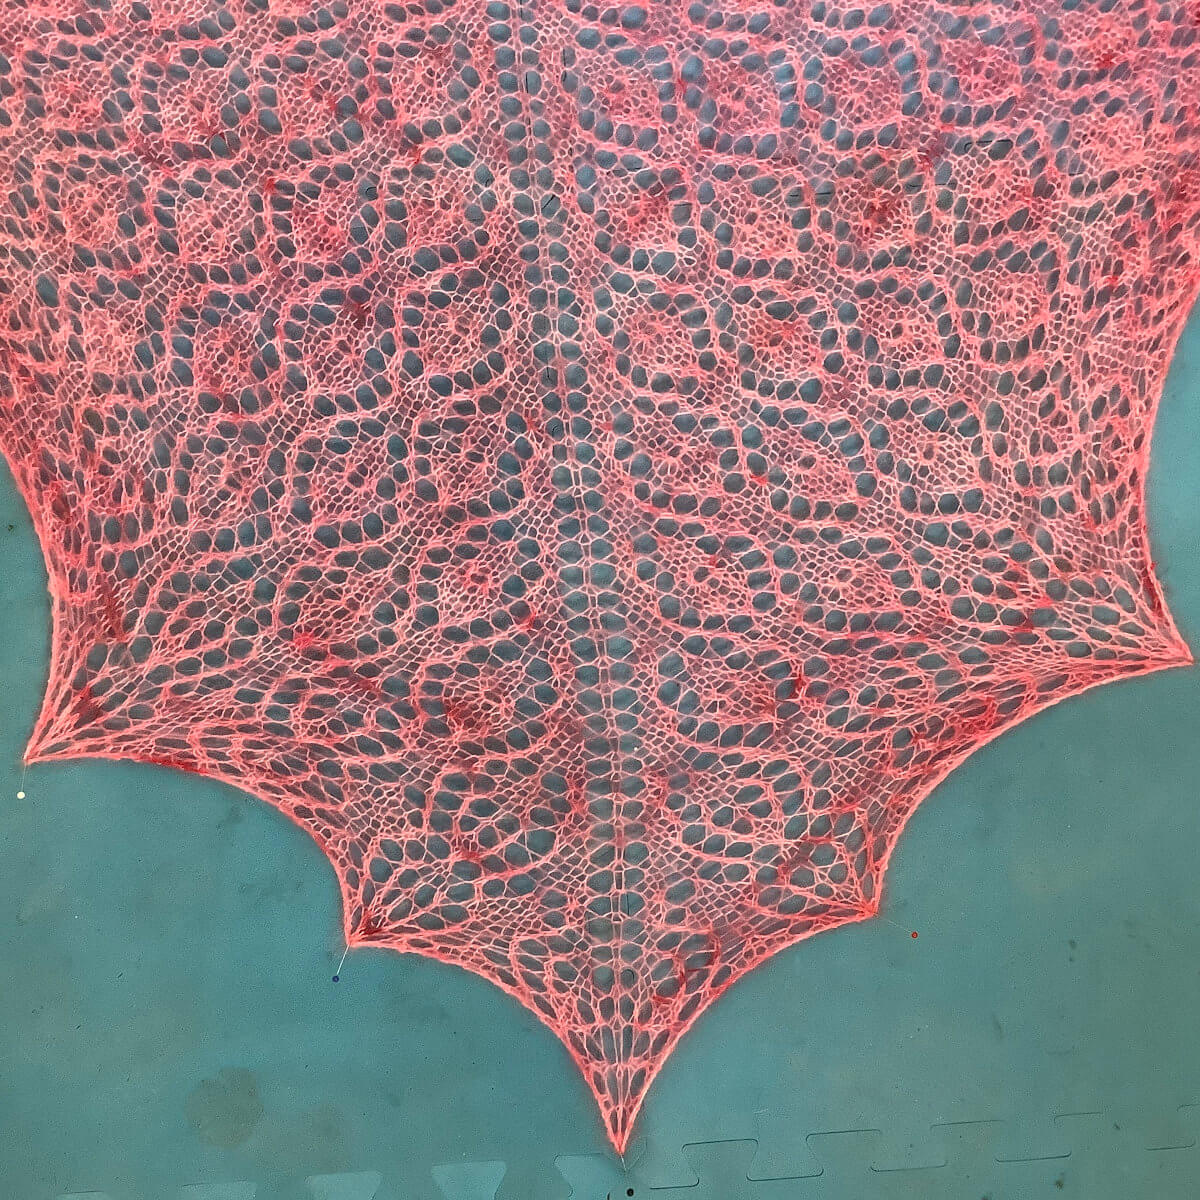
Finally, I go over the entire bottom edge again, making sure to pull it out to the max and keeping the edge in a smooth curve. I needed some weights to keep the mats in place, and keep them from buckling under the tension I’m putting the shawl under.
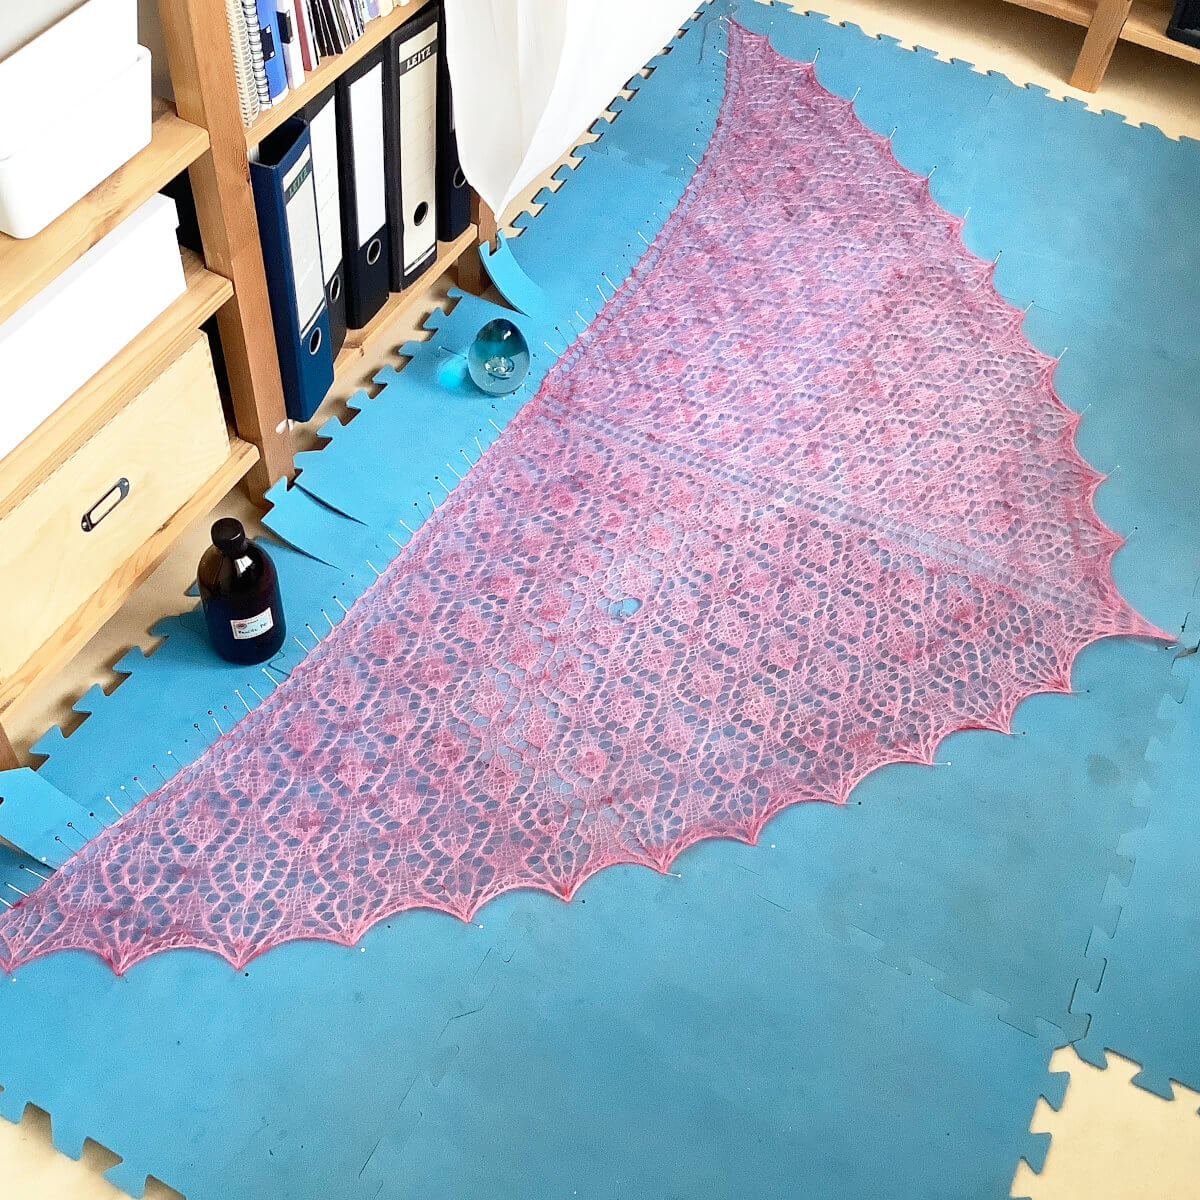
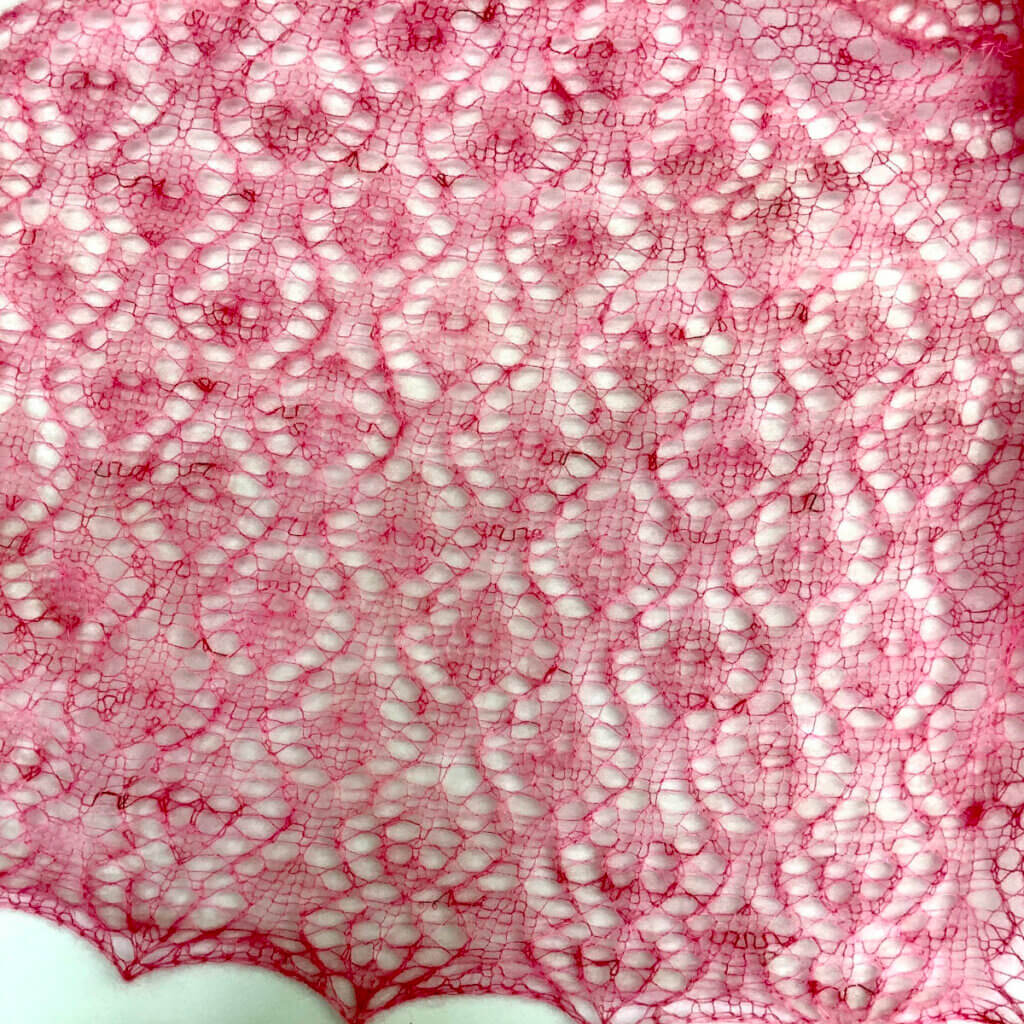
And the result is a beautifully blocked Strawberry Finch shawl! This how to go about blocking a triangle shawl.
And that hole?
I took a bit of extra yarn and did some duplicate stitch over a couple of stitches on the side of the hole. Then I caught the stitches in a manner very similar to how it should have been. The yarn ends I hid in those wavy decrease lines. Close up, you can see they’re a tad heavier than the other ones. But it’s quite invisible if you don’t know it’s there. Yay!

Thanks to my Patreon supporters for bringing you this freebie! Creating quality patterns and tutorials is a lot of work and resource-intensive. However, I find it important to give you free content like this tutorial. Thanks to the generous support of my Patreon supporters, I can make it happen. Thank you, patrons! Click here to join, or click here to read more about La Visch Designs on Patreon.


