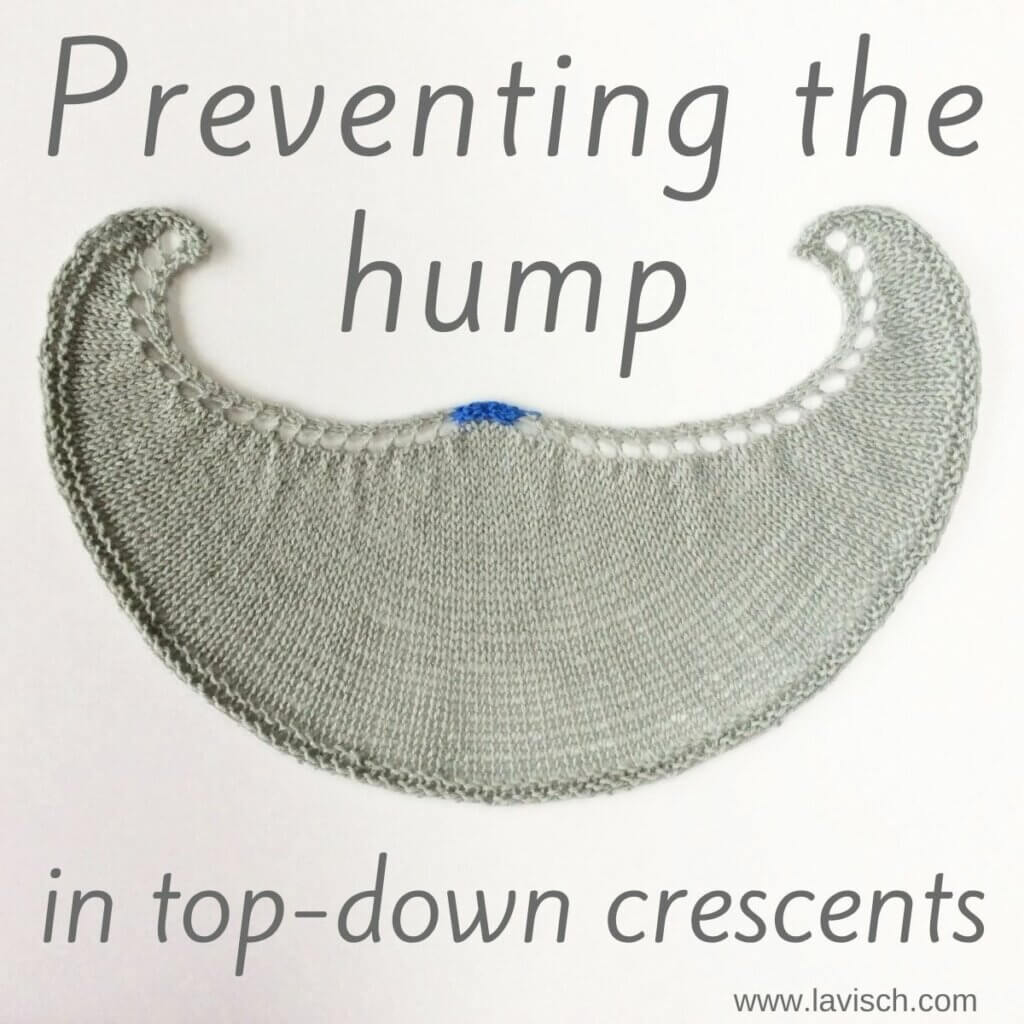
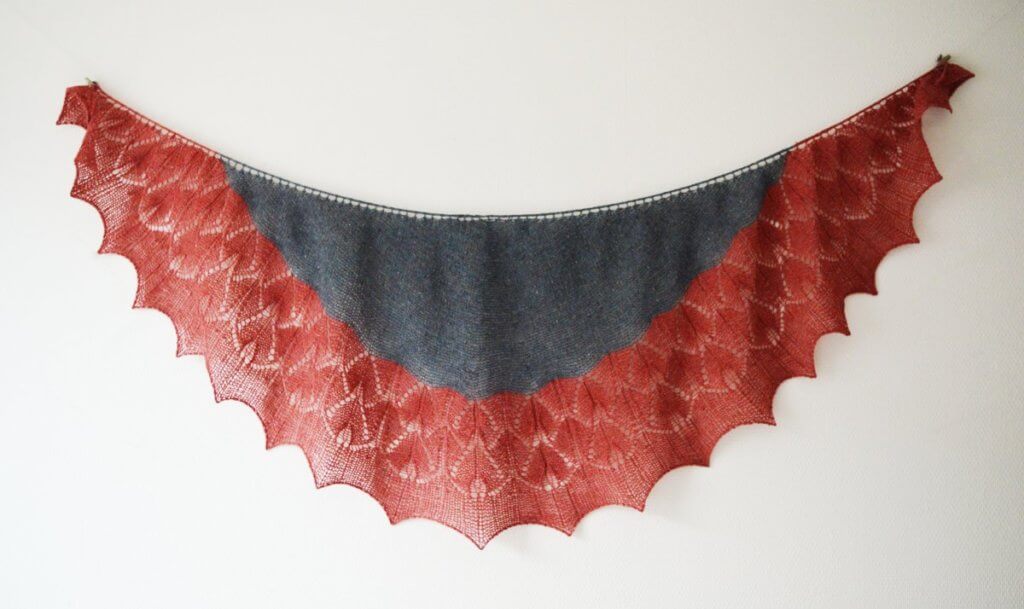
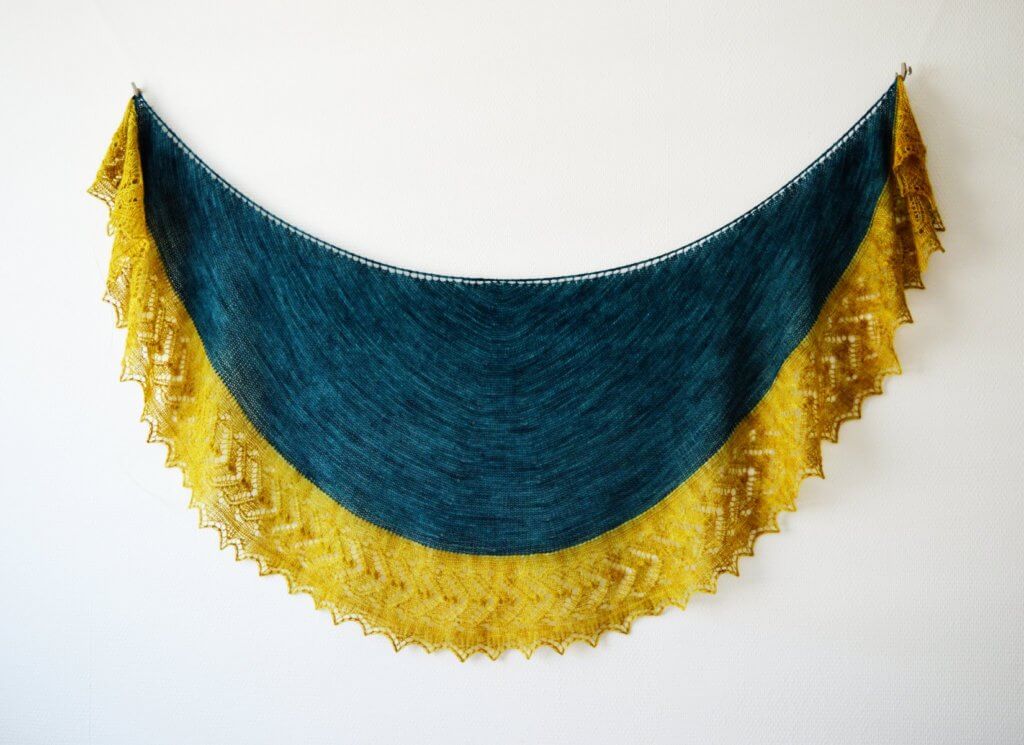
Crescent or sickle-shaped scarves/shawls are very popular and rightly so: because of their special shape, they stay better draped over the shoulders than traditional triangular scarves. I have designed and made several, take for example Art-Deco and Sunglow Forest as shown below.
The one thing that these shawls haven’t, is a well-know issue with this shawl shape: The Dreaded Hump.
In this tutorial I’ll show you how to construct a crescent-shaped shawl, without this “hump”.
Top-down crescent shawl construction
Before we go into details, it’s good to get clear what particular construction method I’m using. There are various ways to construct a crescent-shaped shawl. Some are worked from the bottom-up, some from the top-down, some with short rows and some without.
Here, in this tutorial I focus on the top-down construction in which increases are worked on both right side and wrong side rows. The stitch count is increased by 4 stitches at the edges on right-side rows and by 2 on wrong-side rows.
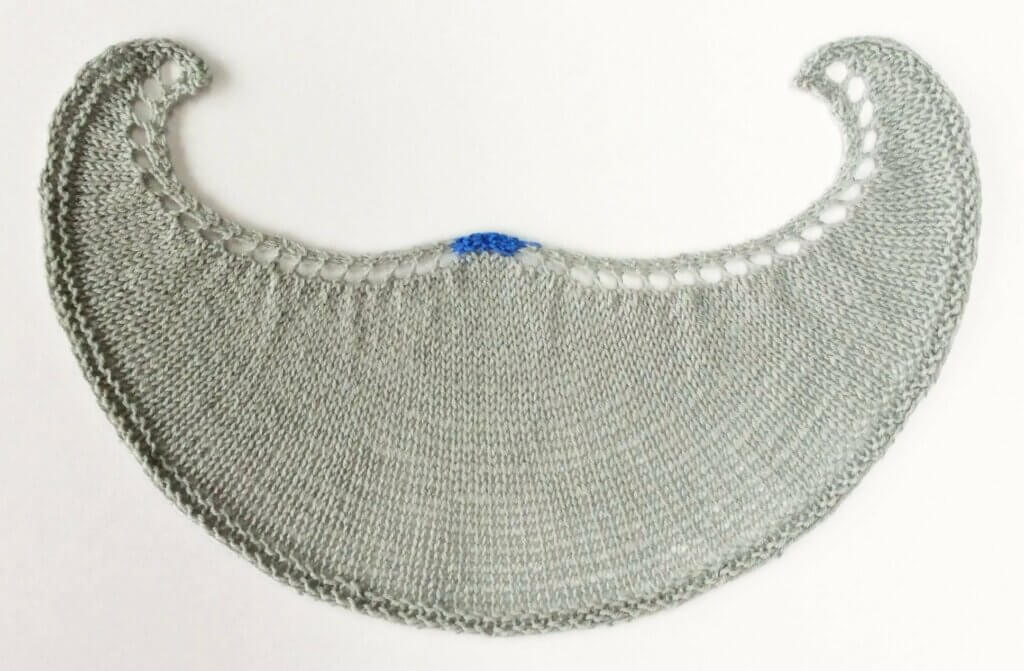
In order to know how to prevent the hump, we first must know why it appears in the first place. Take a look at the picture below:
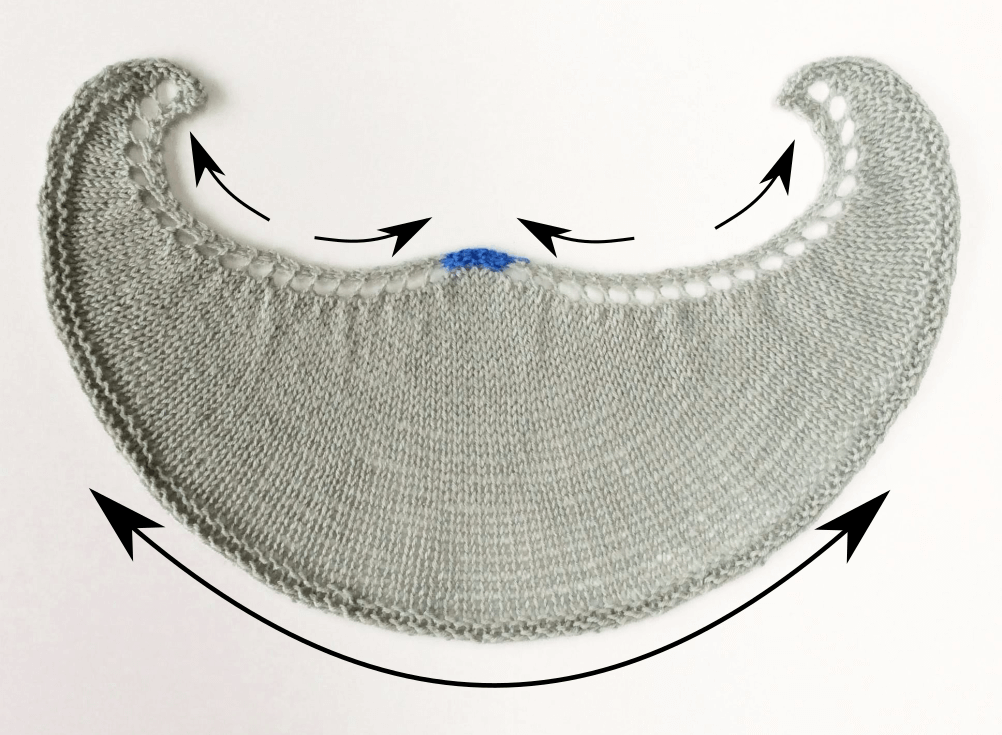
The fast increase ratio, located at the edges only, creates tension in the piece and pushes the fabric into a “hump” at the center edge. In other words: The increases at the outer edges, force the edges outwards. However, the bottom edge of the work only has so much give, ultimately pushing the center upwards creating a hump.
The solution to prevent the hump
The solution: creating more slack in the bottom edge of the shawl, to prevent the tension from pushing the work upwards! Like this:
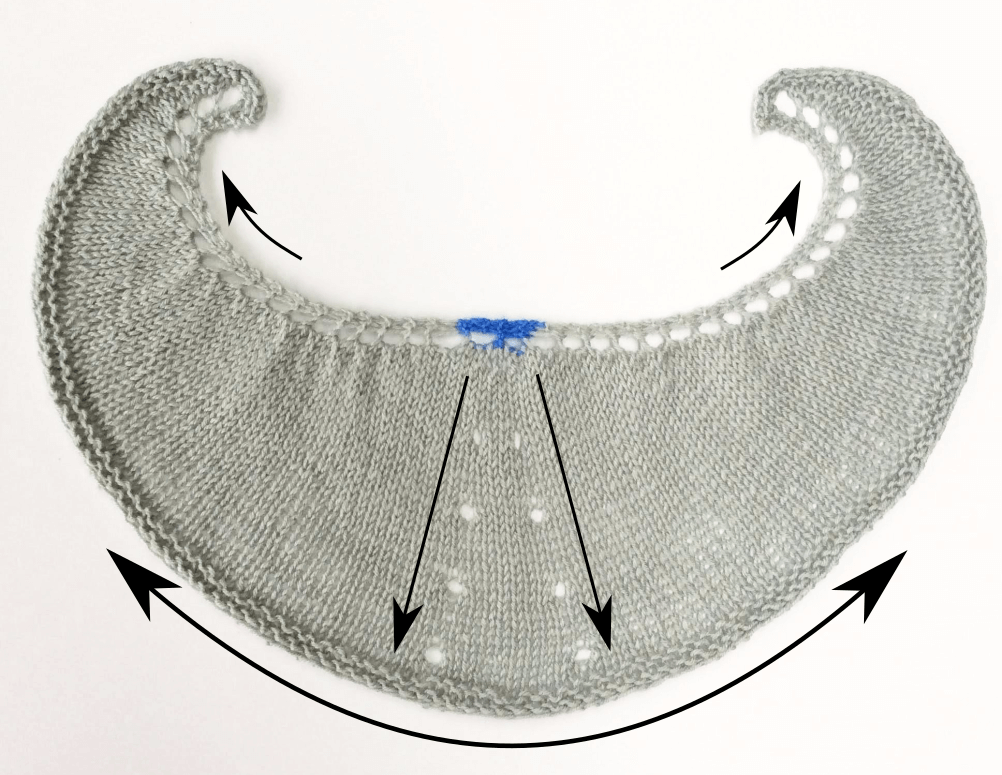
The secret: Strategically placing increases in the center of the shawl to create a pie-shaped wedge.
This gives enough extra fabric at the bottom edge of the work to prevent the hump from occurring! The type of increase is completely up to your own preference. In this example, a yarn over is used to make it very visible, in the Art Deco shawl the more discreet m1L and m1R increases are used. In a (reverse) stockinette fabric, extra increases once every 8 rows would do the trick.
Garter stitch has quite a different row gauge than stockinette does. The precise ratio of garter stitch to stockinette, however, depends greatly on the yarn used, and personal gauge. Perhaps the phase of the moon as well. Some sources say that the ratio of garter stitch to stockinette is 1:2. Others say it’s 3:5, 4:6 or even closer to a 5:7 ratio. Taking the latter as an example, this means that (for example) for every 26 rows per 10 cm/4 inches in stockinette there are 36 rows per 10 cm/4 inches in garter stitch when worked with the same yarn and needles. To know your exact ratio and thus the exact repeat for working a pie shaping row in garter stitch, swatching would be needed.
Based on the various possible ratios of garter stitch to stockinette, extra increases every 12 to 16 rows would do the trick in a garter stitch based fabric.

Thanks to my Patreon supporters for bringing you this freebie! Creating quality patterns and tutorials is a lot of work and resource-intensive. However, I find it important to give you free content like this tutorial. Thanks to the generous support of my Patreon supporters, I can make it happen. Thank you, patrons! Click here to join, or click here to read more about La Visch Designs on Patreon.


