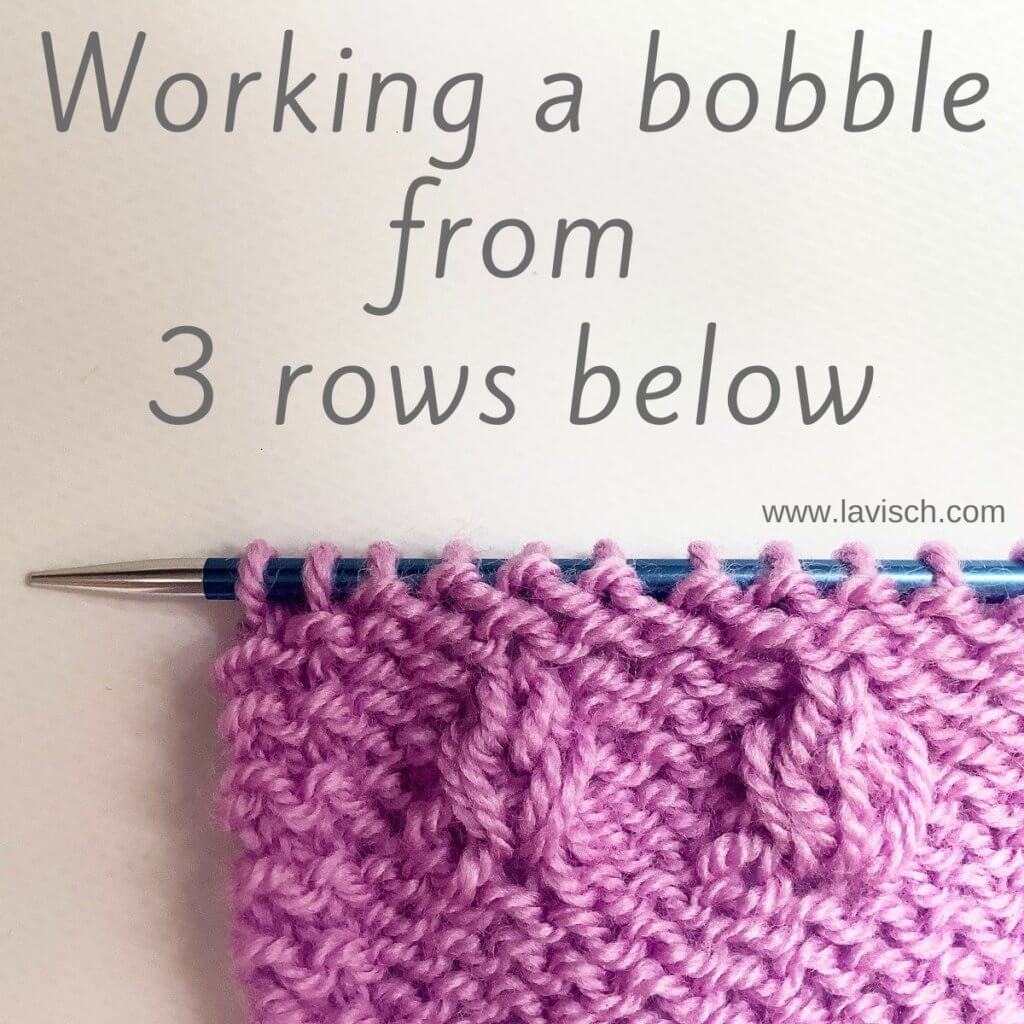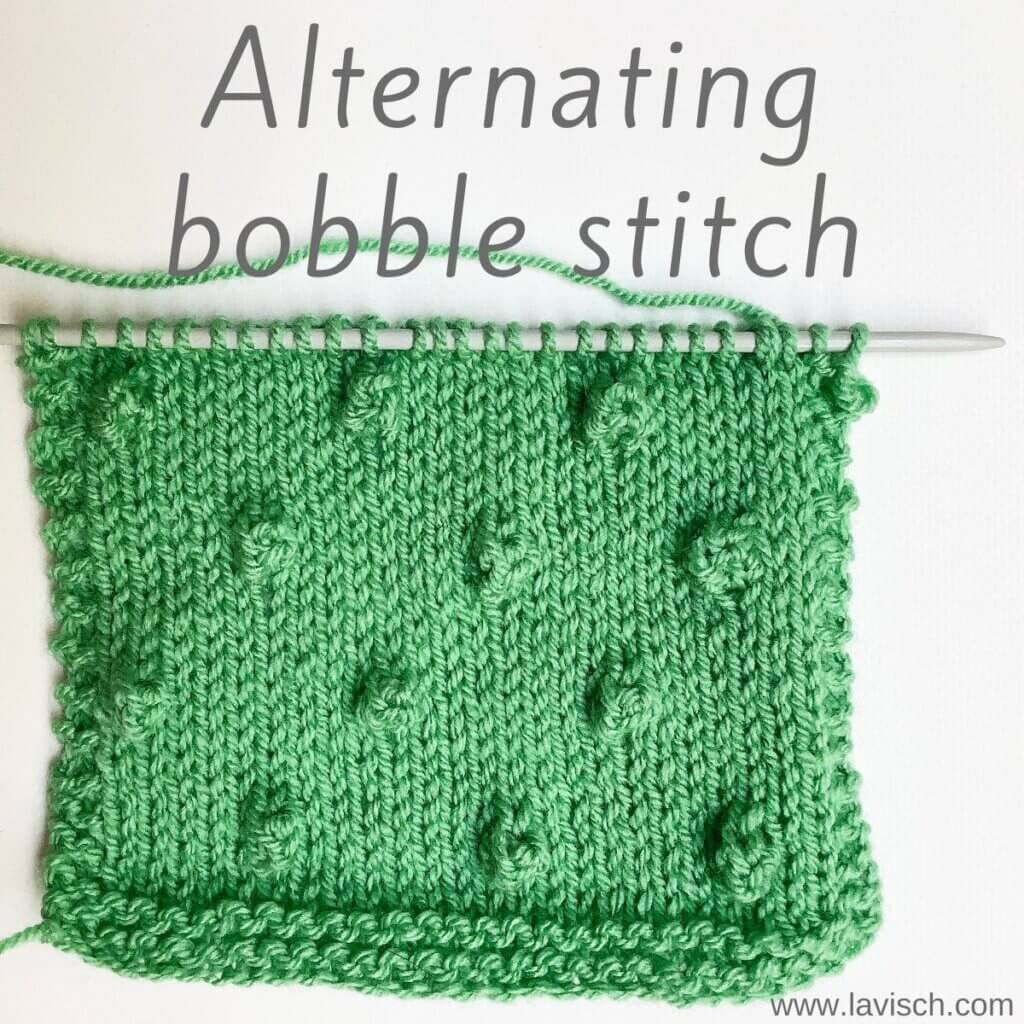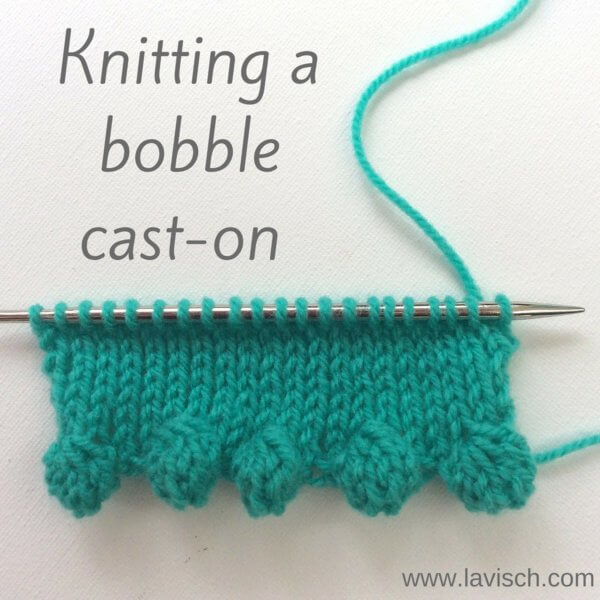
In the series of decorative ways to cast-on a knitting project, I present here the bobble cast-on method. You’re probably already familiar with bobbles as a way to give an interesting 3D texture to your knitting. I used it myself for that purpose in my Moerbei shawl design. It is also possible to make bobbles right on the cast-on edge. Officially, the bobble cast-on is not a “real” cast-on method, because you already cast-on and knit a row before you start the actual bobbles. However, this should not spoil the fun!
To be honest, the only difference between regular bobbles and the bobbles with a bobble cast-on, is that they are knit on the edge of the work. There are many different types of bobbles possible for this application, however, you want a reasonably “fat” bobble for the best result.
In short an instruction for such a bobble would be as follows:
Bobble of 5 stitches: Work [k1, yo, k1 , yo, k1] all in the same st. Turn work, p1, p1 tbl, p1, p1 tbl, p1. Turn and k5. Turn work, and p5. Turn work, k5, * pass second st on the right hand needle over the first stitch; rep from * until 1 st remains – 1 bobble made.
Below I’ll show you step by step how this looks when used at the cast-on edge of your knitting.
Knitting a bobble cast-on step by step
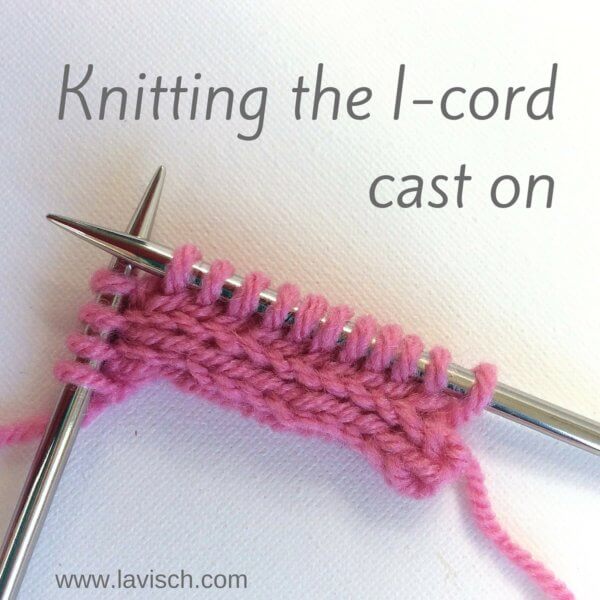
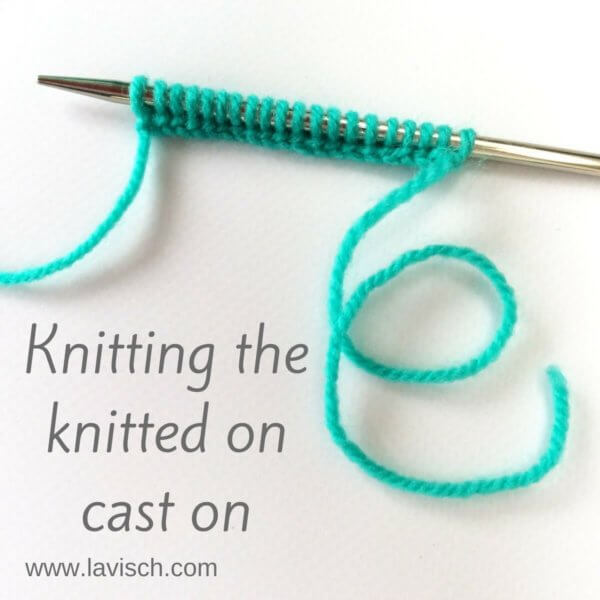
1. Cast-on the required number of stitches, here I used a multiple of 4 + 1 + 2×2 edge stitches for both sides of the work. The 4 stitches consist of 1 stitch for every bobble and 3 stitches distance between each bobble. To cast-on I used the knitted-on method, but any other method would work.
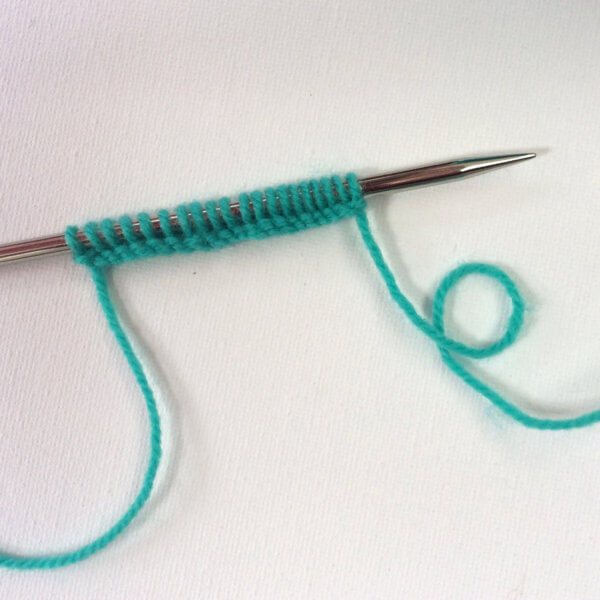
2. Purl 1 row and turn the work.
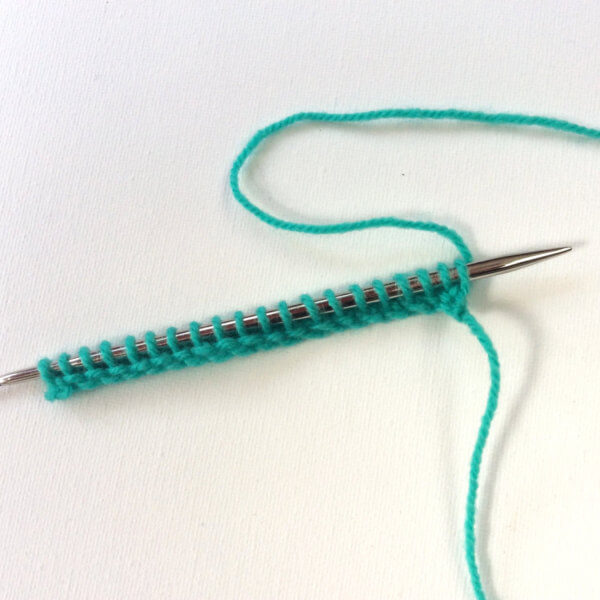
3. Knit 2 stitches for the edge to the side.
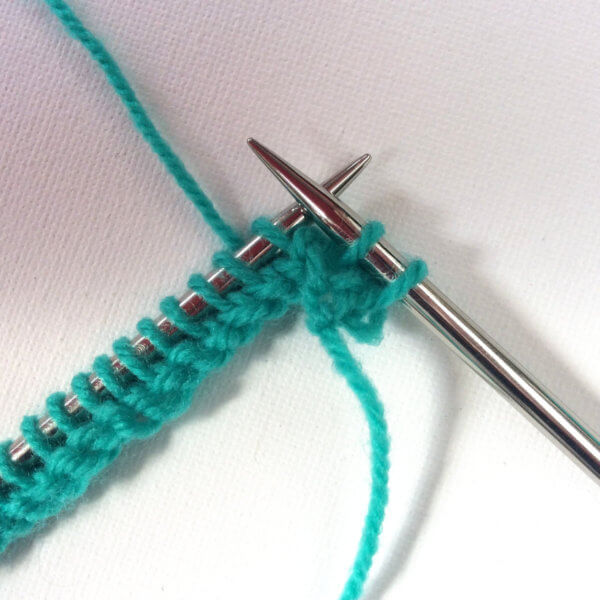
4. Work [k1, yo, k1 , yo, k1] all in the next stitch, without sliding it off prematurely. You now have 7 stitches on the right hand needle, we will knit the bobble over 5 of them.
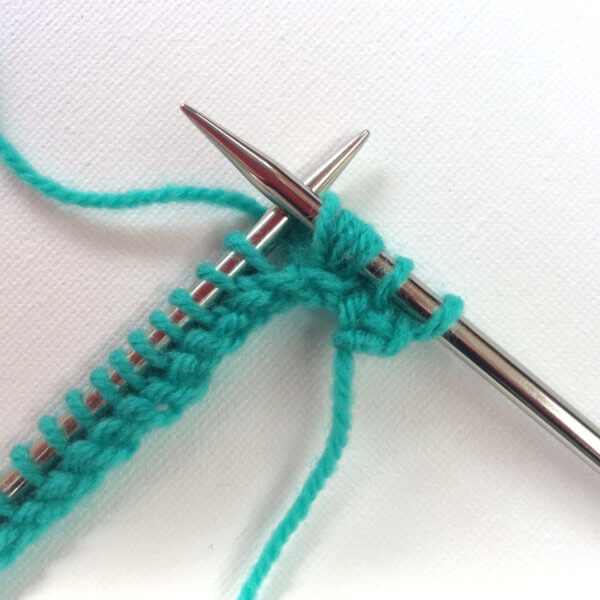
5. Turn work, p1, p1 tbl, p1, p1 tbl, p1. The “p tbl” stitches are worked to close up the yo’s of the previous row. This will make the outside surface of the resulting bobble smoother, this may require some practice!
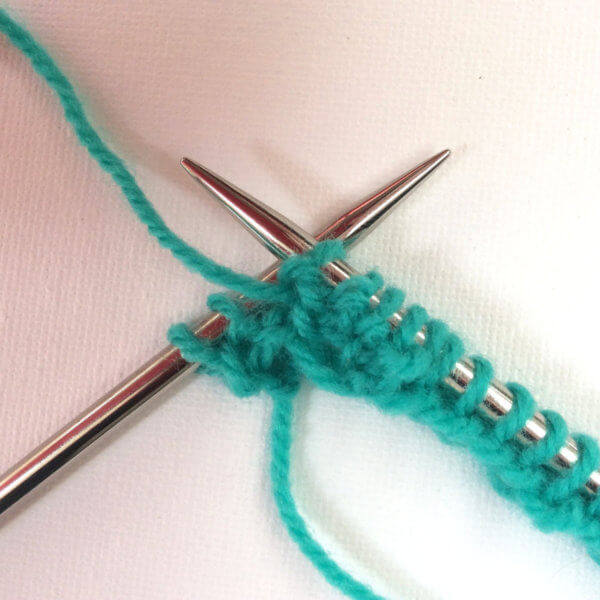
6. Again turn your work and knit 5 stitches.
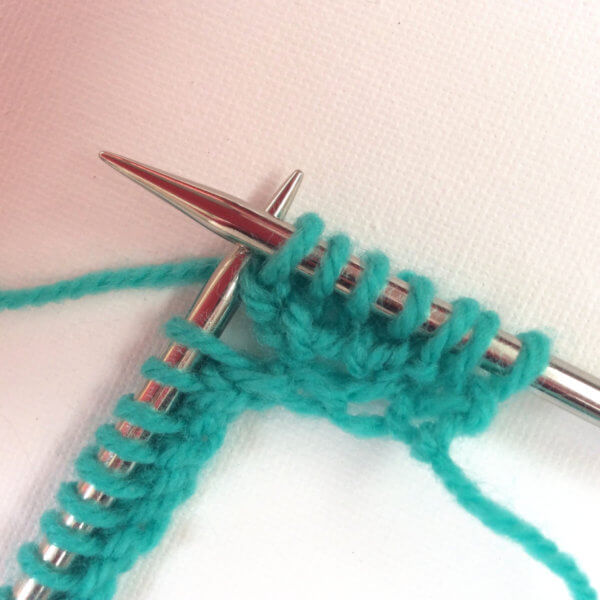
7. Next, turn work and purl 5 stitches.
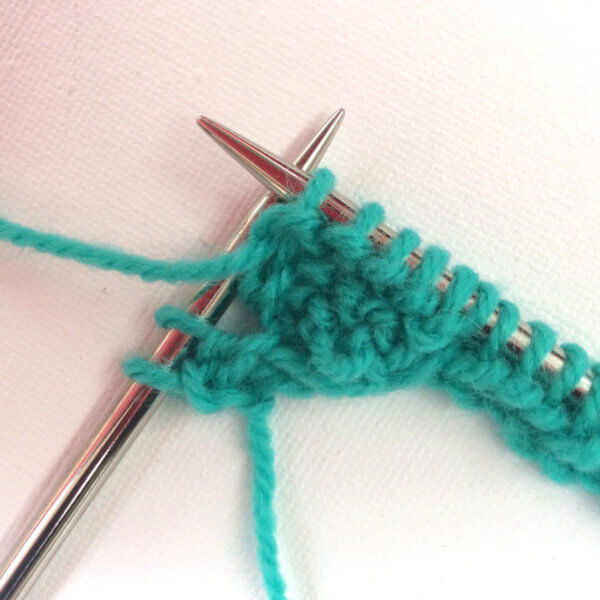
8. Turn work again and knit 5 stitches.
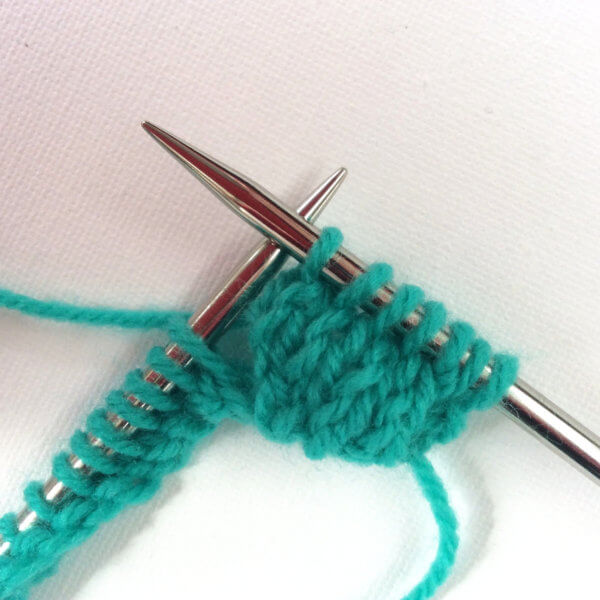
9. Now pass the second stitch on the right hand needle over the first stitch, repeat this until only 1 of the 5 bobble stitches remains. There are now only 3 stitches left on your right hand needle. You have now created one bobble! You can push it out a bit to the right side of the work to show it to its best advantage.
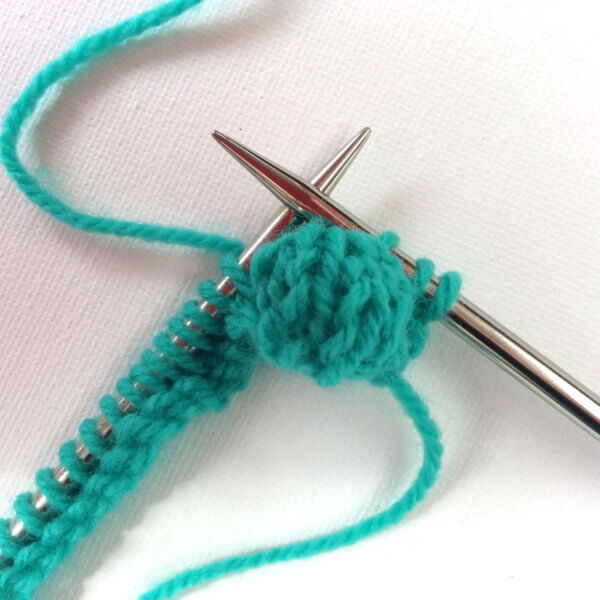
10. Next knit the 3 stitches which I had chosen as the distance between the bobbles.
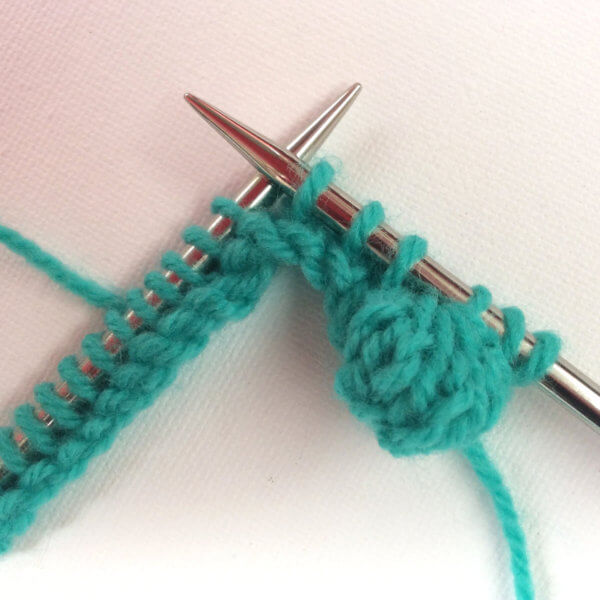
11. Repeat steps 4 to 10 until only 3 stitches remain on the left hand needle.
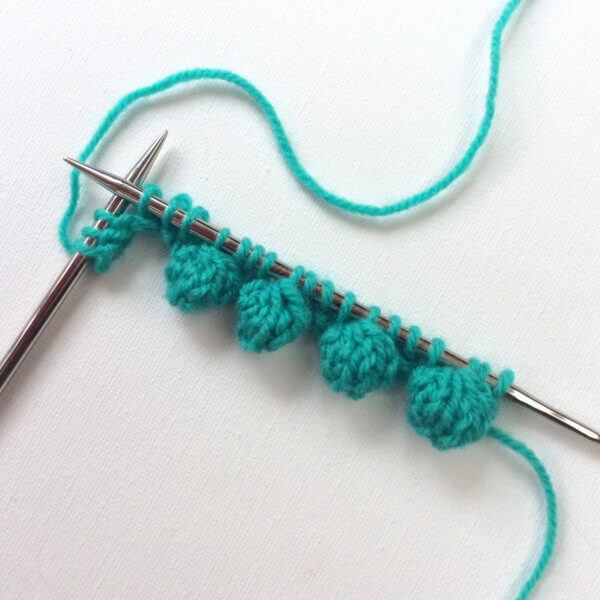
12. Repeat steps 4 to 9 once more for the last bobble and finish with knit 2 for the second set of edge stitches.
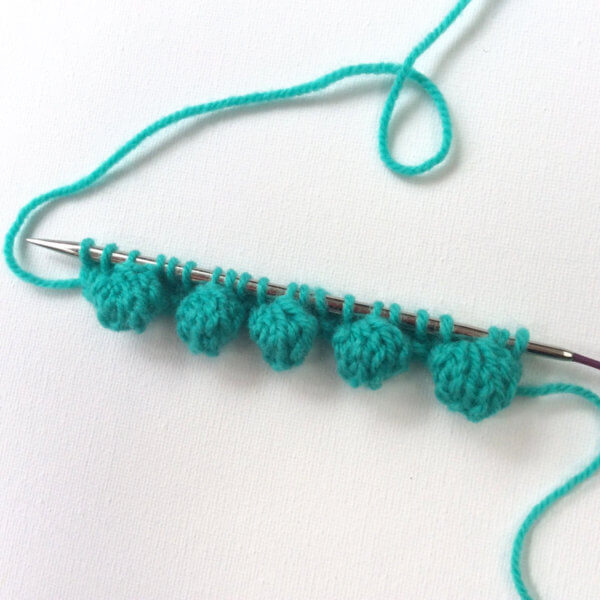
With this your bobble cast-on is finished!
This is how it looks after a few more rows in stockinette have been knit.
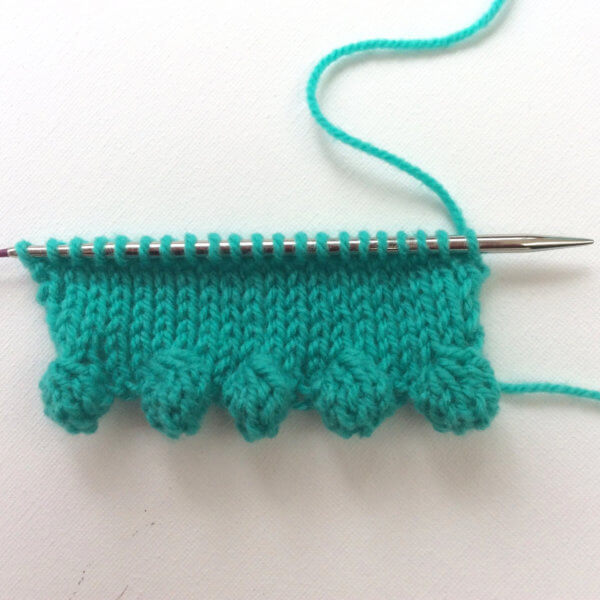
Pretty, isn’t it?
Stay tuned for the tutorial on the matching bobble bind-off!

