Bobbles are a lovely way to add texture to a knitting project. I’ve used them myself to add interest to an otherwise rather plain stockinette shawl body in my Moerbei shawl. They’re also rather popular as an extra design element on cabled sweaters.
In the basis a bobble is nothing more than a single stitch that is increased to a collection of stitches (usually 3, 5, or 7 stitches), worked back and forth and then decreased back again to a single stitch. There are, however, many ways to go about this.
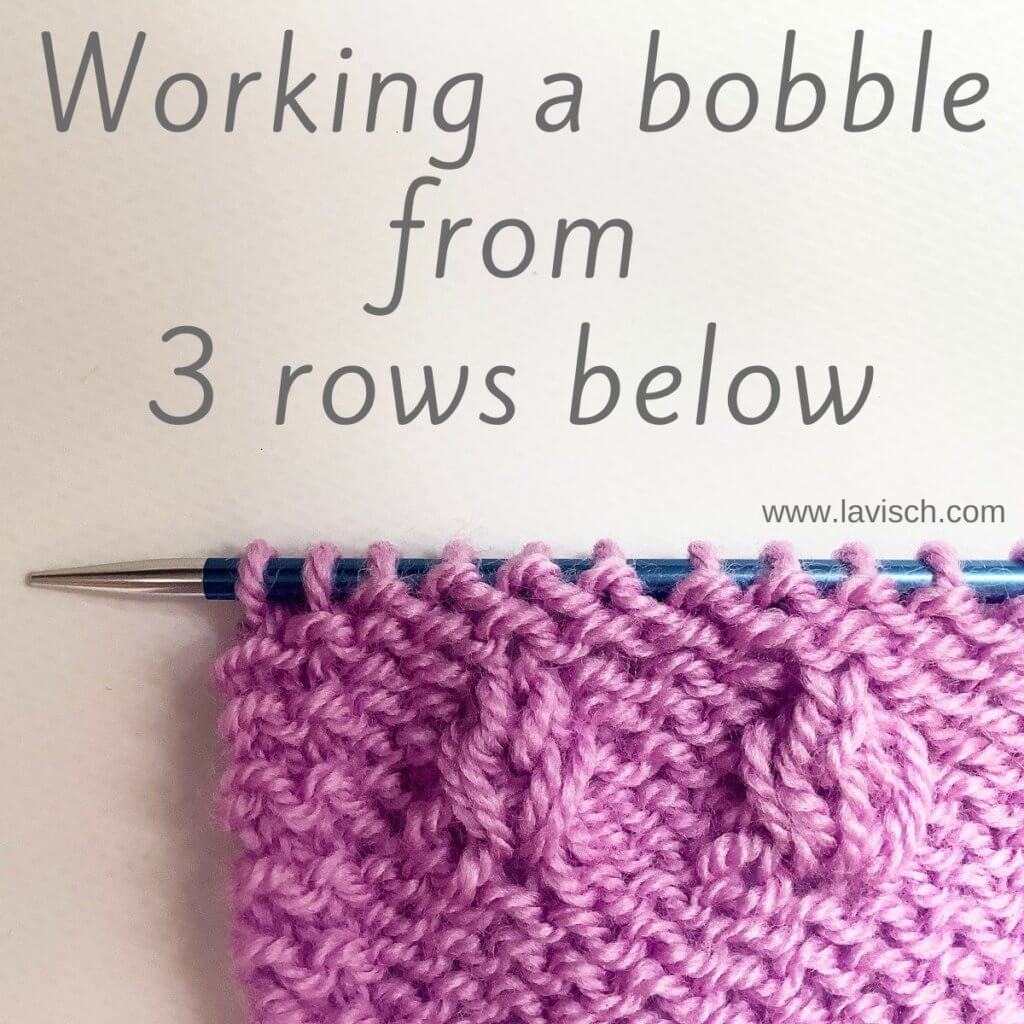
In this tutorial I’m focusing on a specific kind of bobble that is described in the Japanese Knitting Stitch Bible by Hitomi Shida. It’s worked in stockinette stitch on a background of reverse stockinette by working in a stitch 3 rows down. Read on for more details!
Materials used


Yarn: Paintbox Yarns Simply DK, a good value, good quality 100% acrylic yarn, here in the color 142 Tea Rose.
Needles: KnitPro Zing Fixed Circular Needles. In this tutorial, I used the 4 mm (US 6) size with a cable length of 80 cm (32 inches).
Working a bobble from 3 rows below step by step
1. First, work in your piece of knitting to the point where you want to make the bobble. Remember, this bobble is worked on a background of reverse stockinette, so the purl side is the right side of the work.
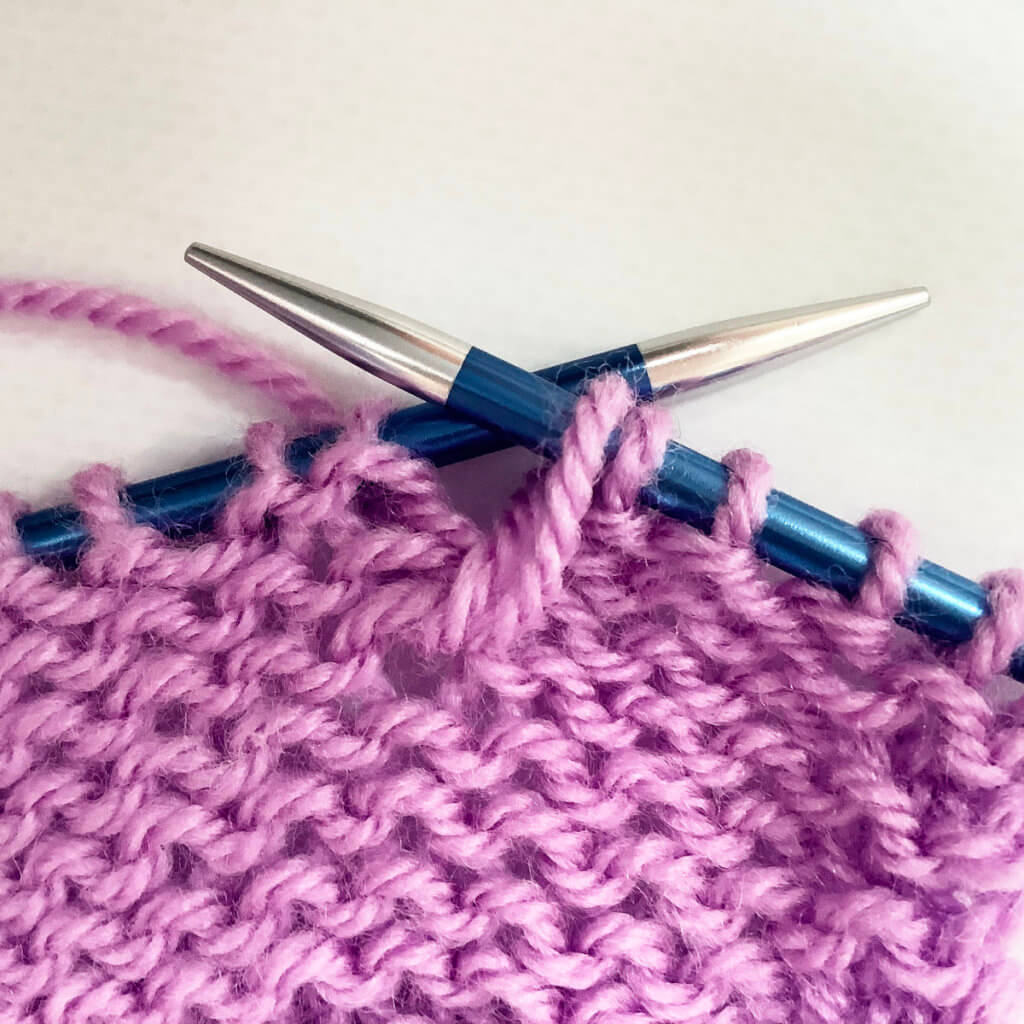
2. Next we have to insert the right-hand needle into the center of the stitch, 3 rows down from the next stitch on the needle. I’ve indicated it with the yarn needle.

3. Move the working yarn to the back of the work (we’re working the bobble itself in stockinette, not in reverse stockinette!) ….
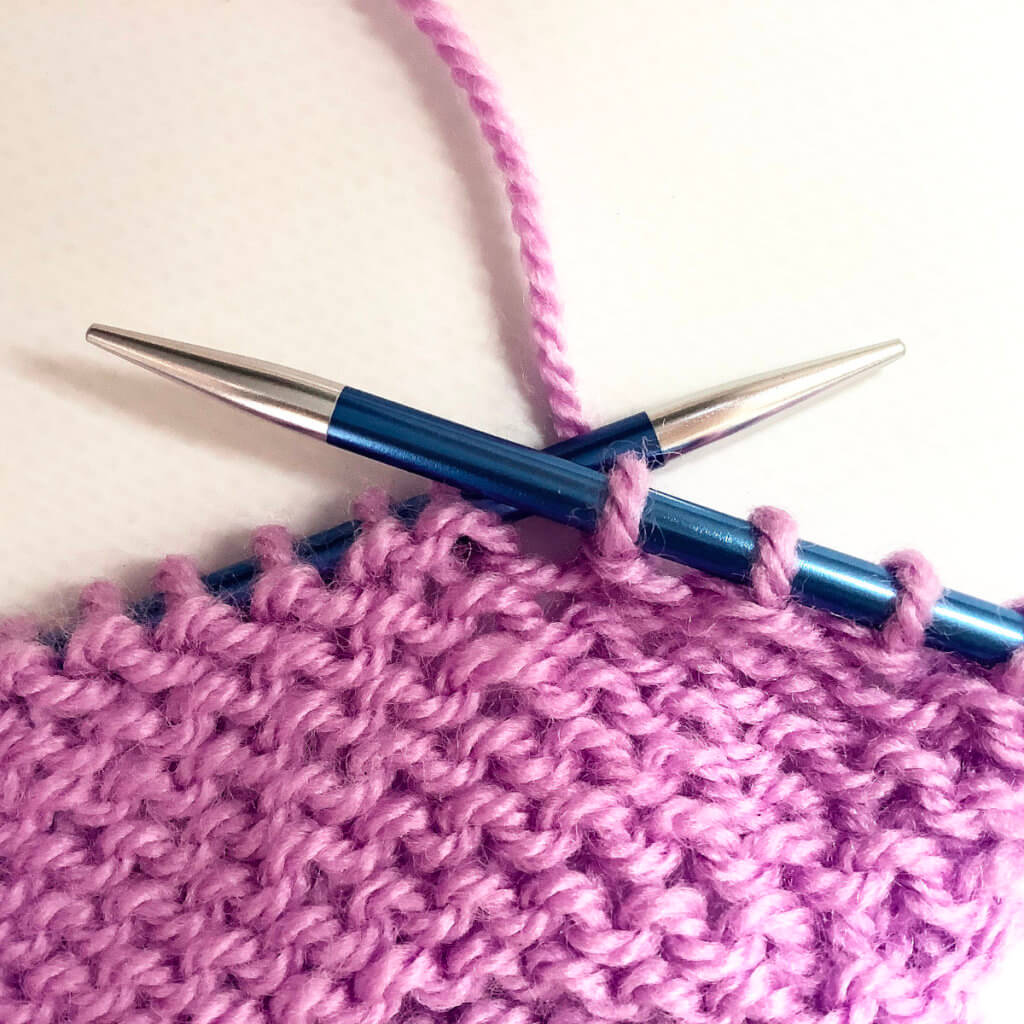
4. … and insert the right-hand needle right through the stitch to the back of the work!
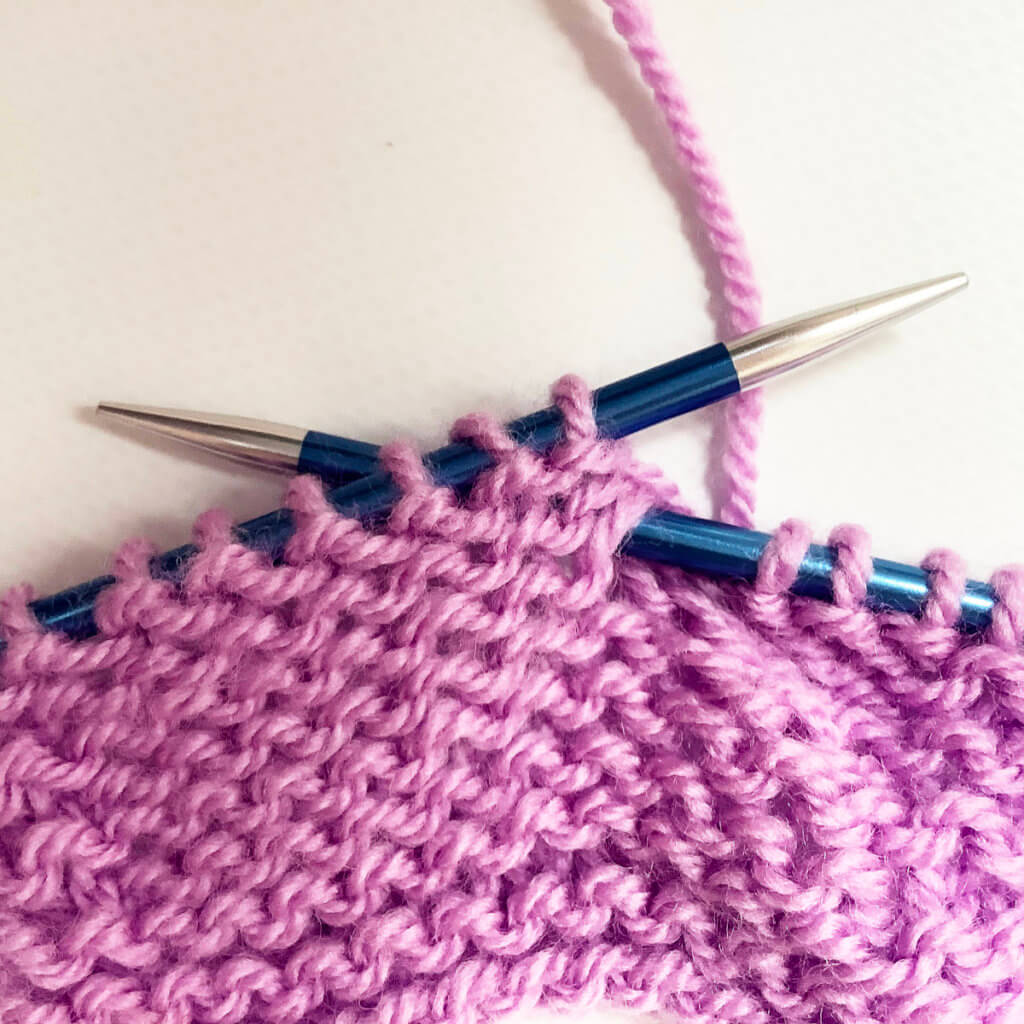
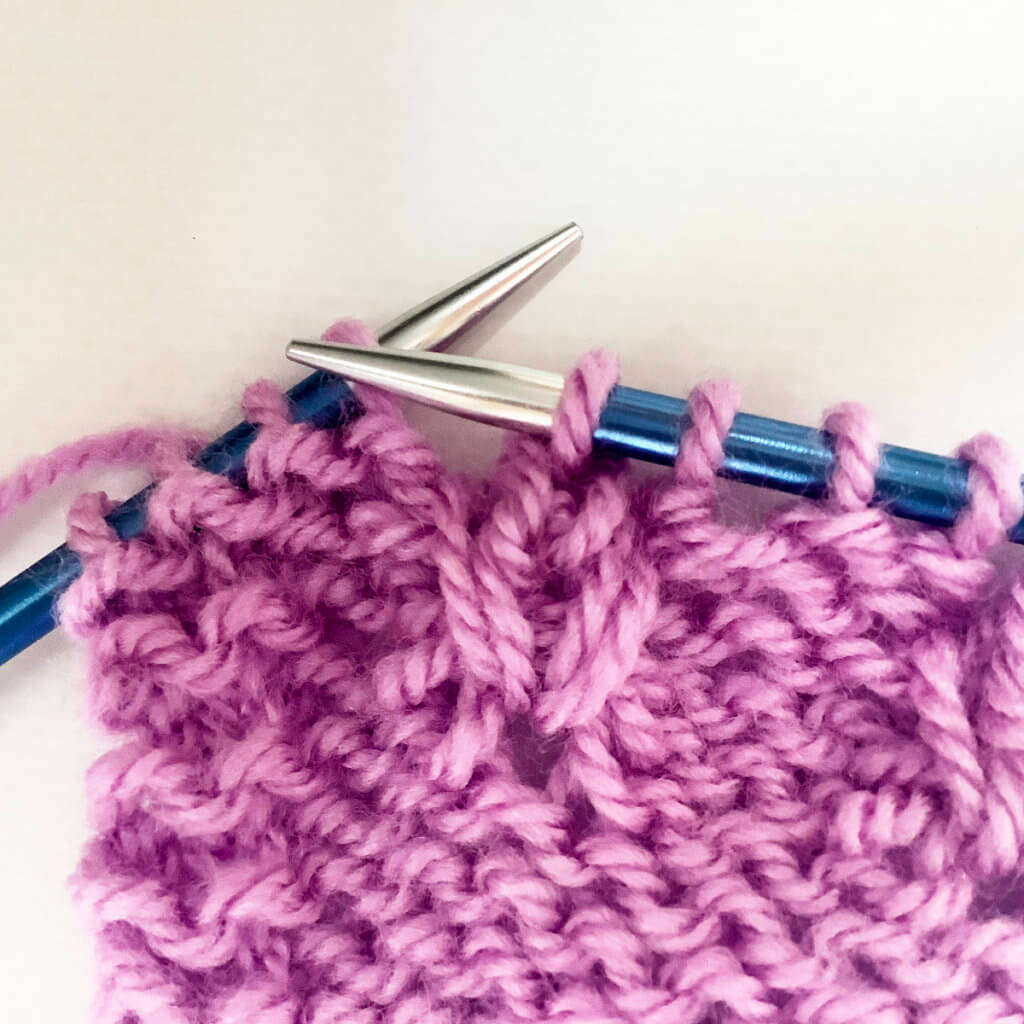
5. Now wrap the yarn around the needle and pull up a loop through the fabric.
6. Wrap the yarn around the needle to form a yarn over.
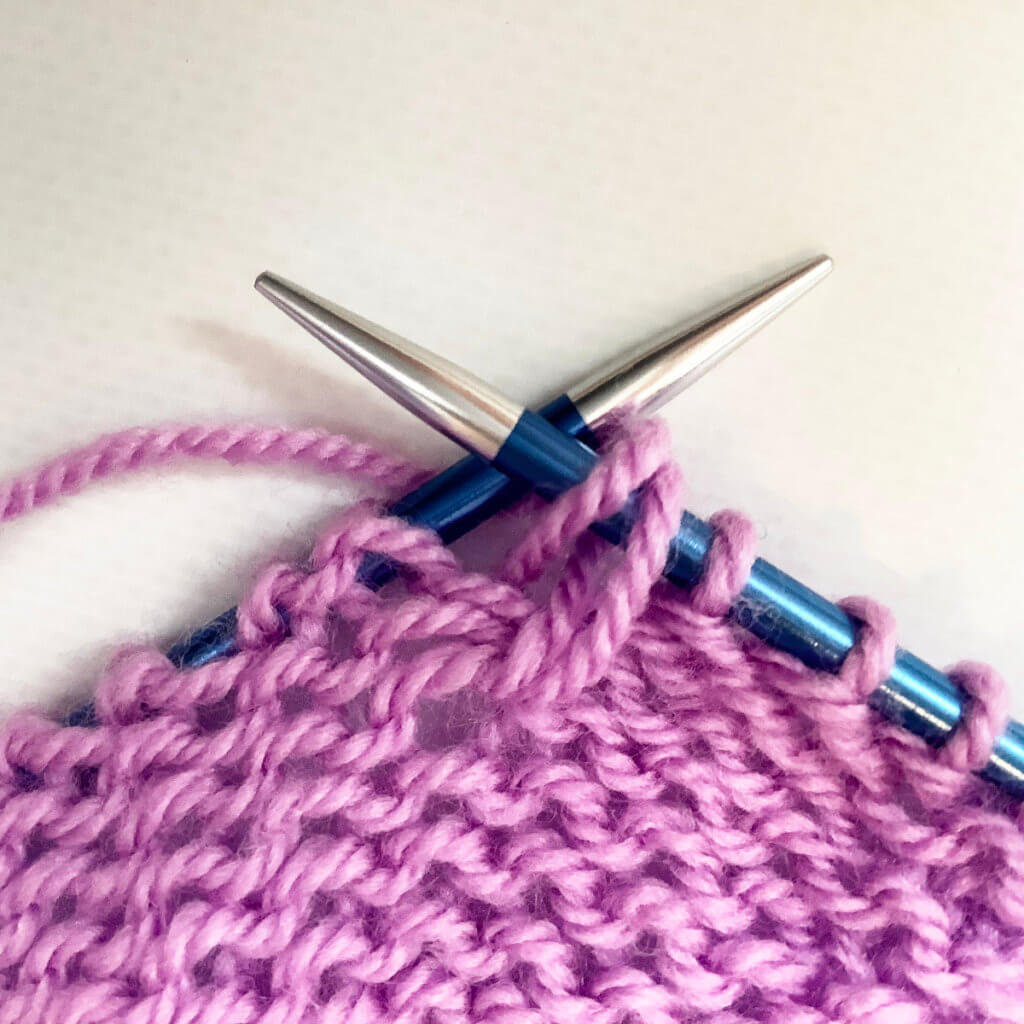
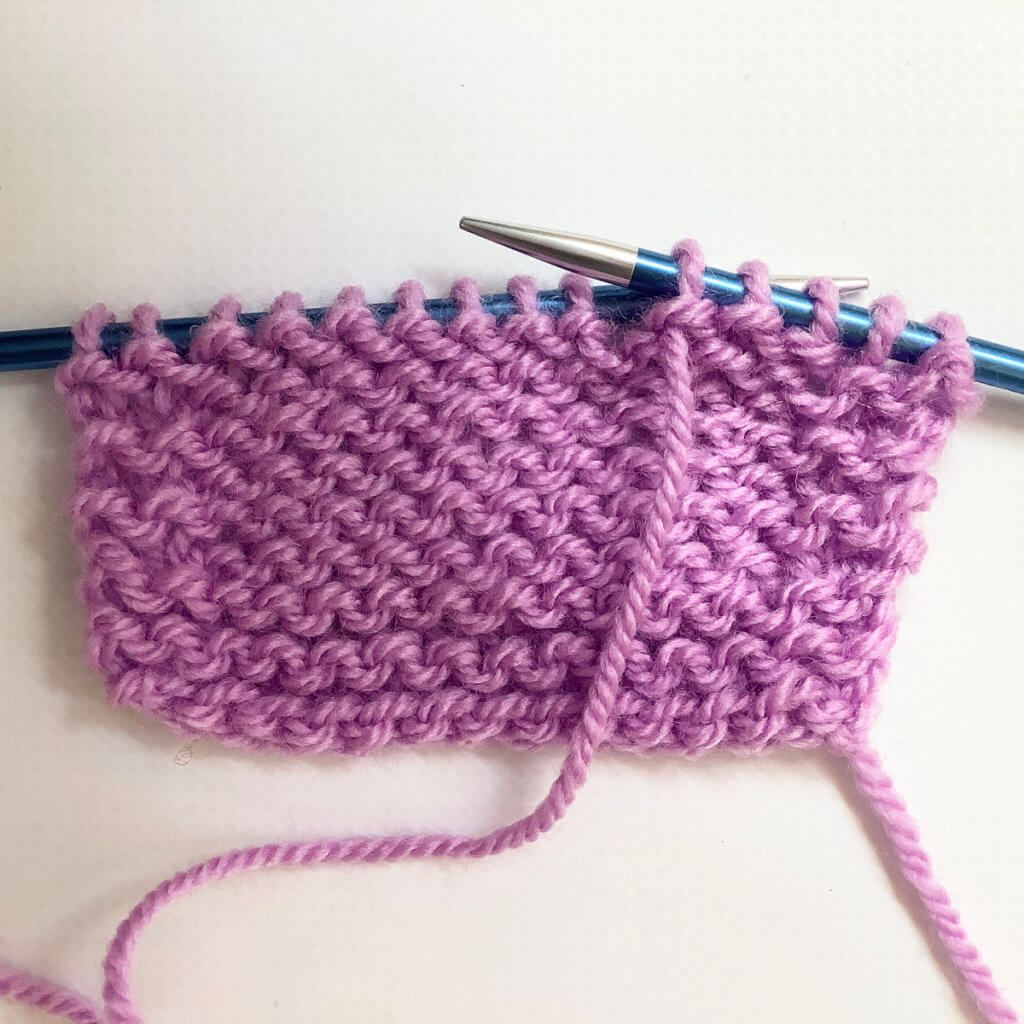
7. Repeat steps 4 and 5 once to make a 3 stitch bobble, or repeat steps 4 to 6 followed by steps 4 and 5 once again for a 5 stitch bobble. Pictured below is how it looks after working these steps for a 5 stitch bobble.
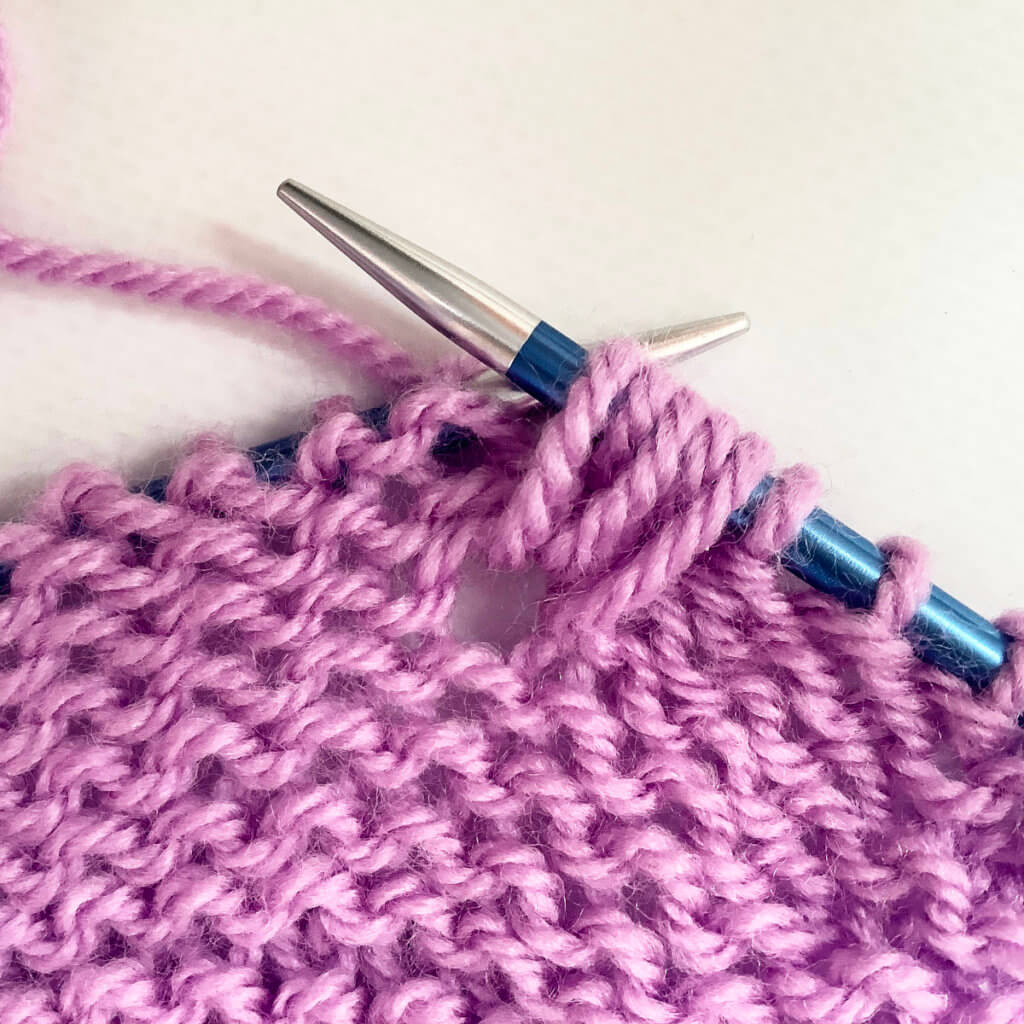
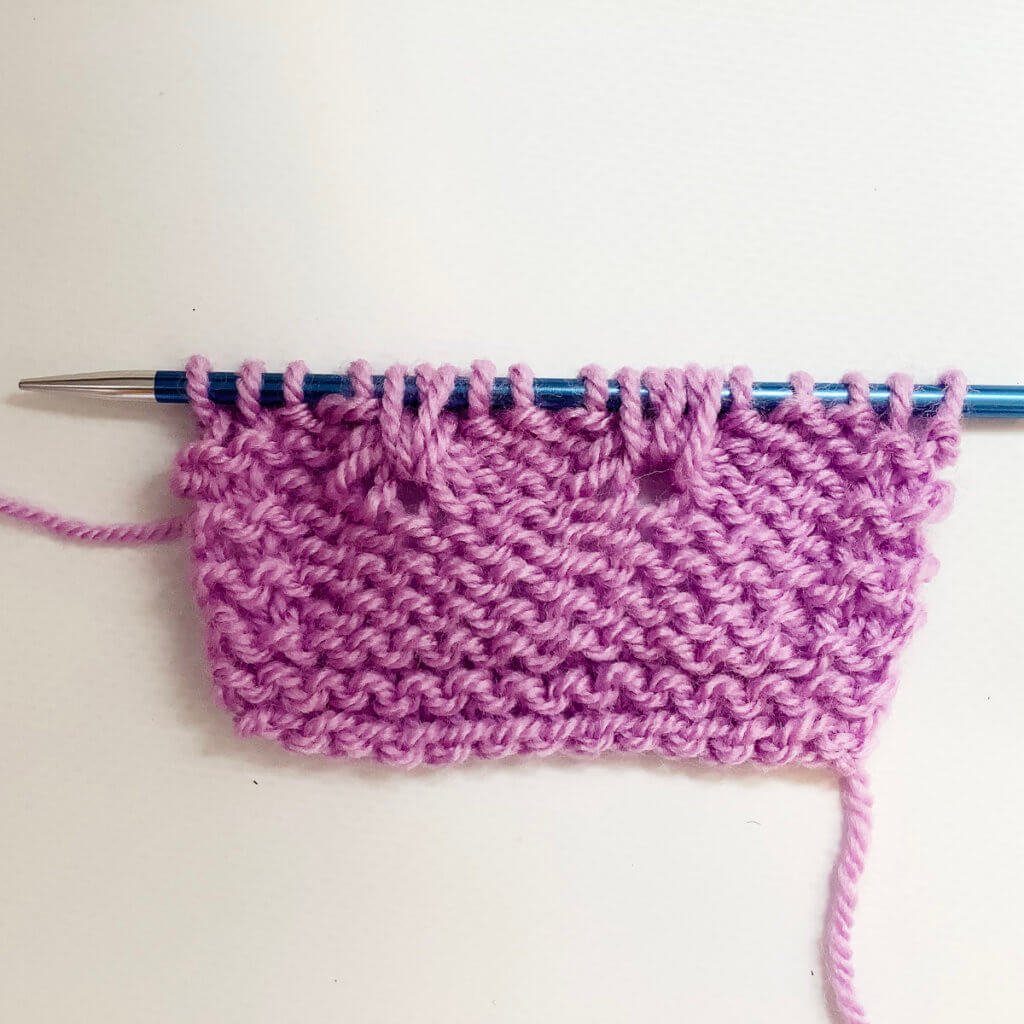
8. Next, drop the next stitch on the left-hand needle. It won’t ladder down below the bobble, because the stitch is secured by pulling the yarn through the fabric in the steps above.
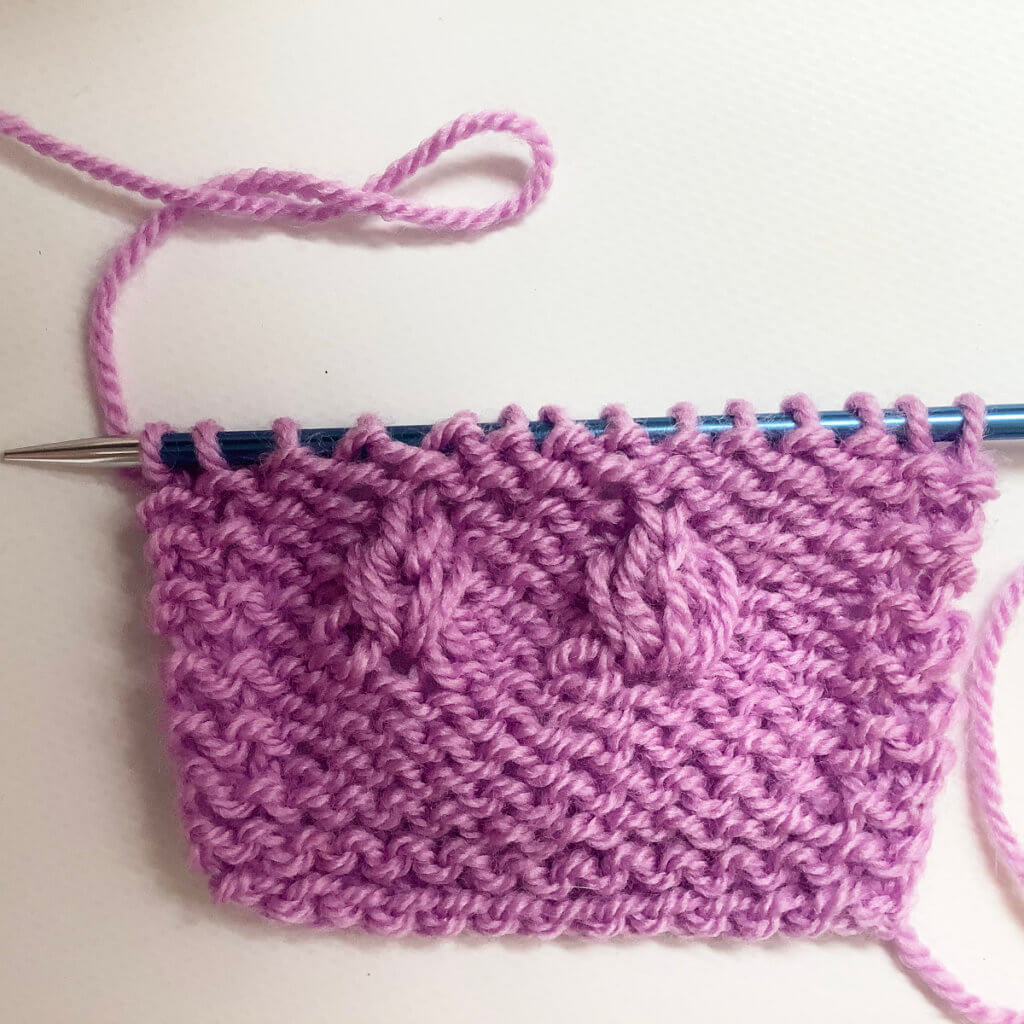
9. Now work in pattern to the end of the row. You can see in the picture below, that I worked a 5 stitch bobble on the right and a 3 stitch bobble on the left.
Onwards to the next row
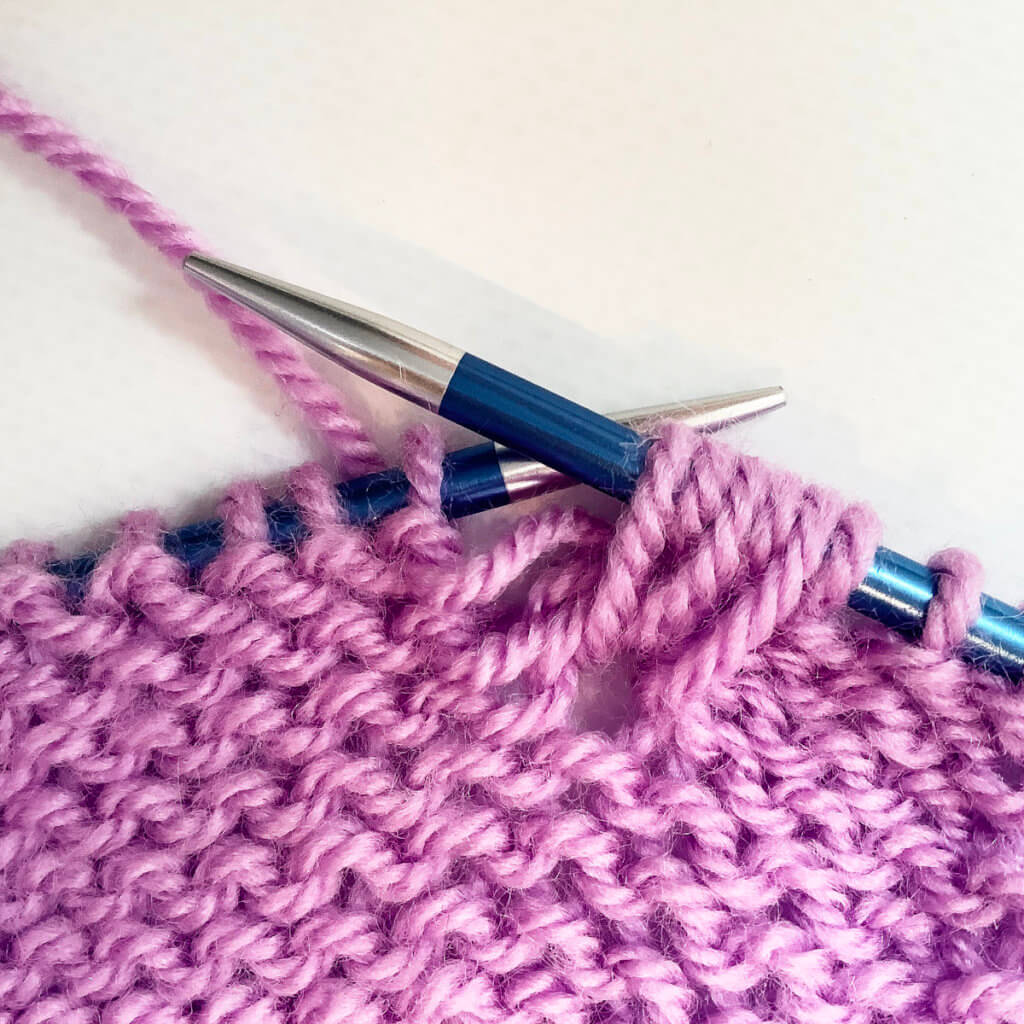
10. Turn the work and again work in pattern (knit) until you reach the bobble loops. Those we work in purl, because we’re looking at the wrong side of the work here.
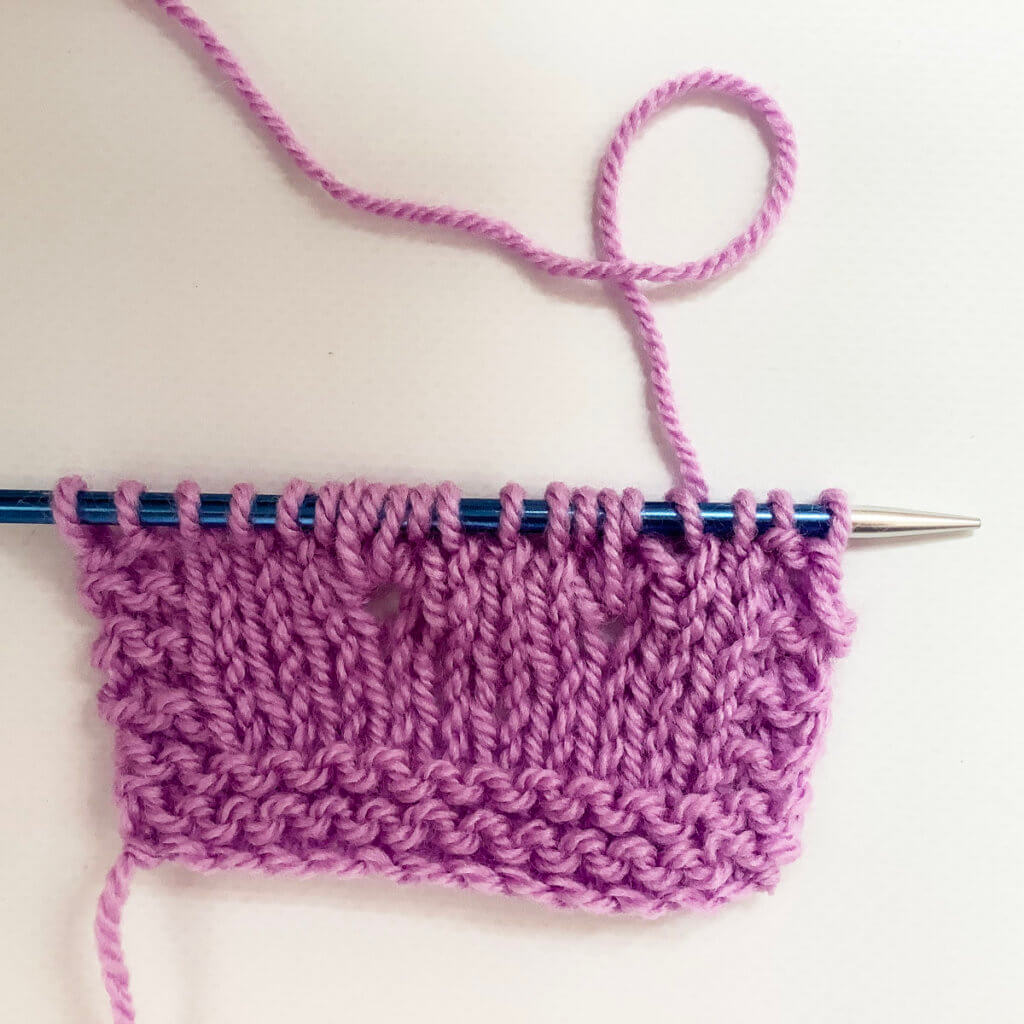
11. This is how it looks after working this row. You can see the bobble stitches more easily now, because they are purled.
12. Again work in pattern to the bobble stitches. Now we have to decrease these 5 stitches back to 1 stitch. To do so, I have slipped the first 3 stitches together knit wise to the right-hand needle, worked a k2tog, and then passed the 3 slipped stitches over the result of the k2tog. This is the result of that decrease:
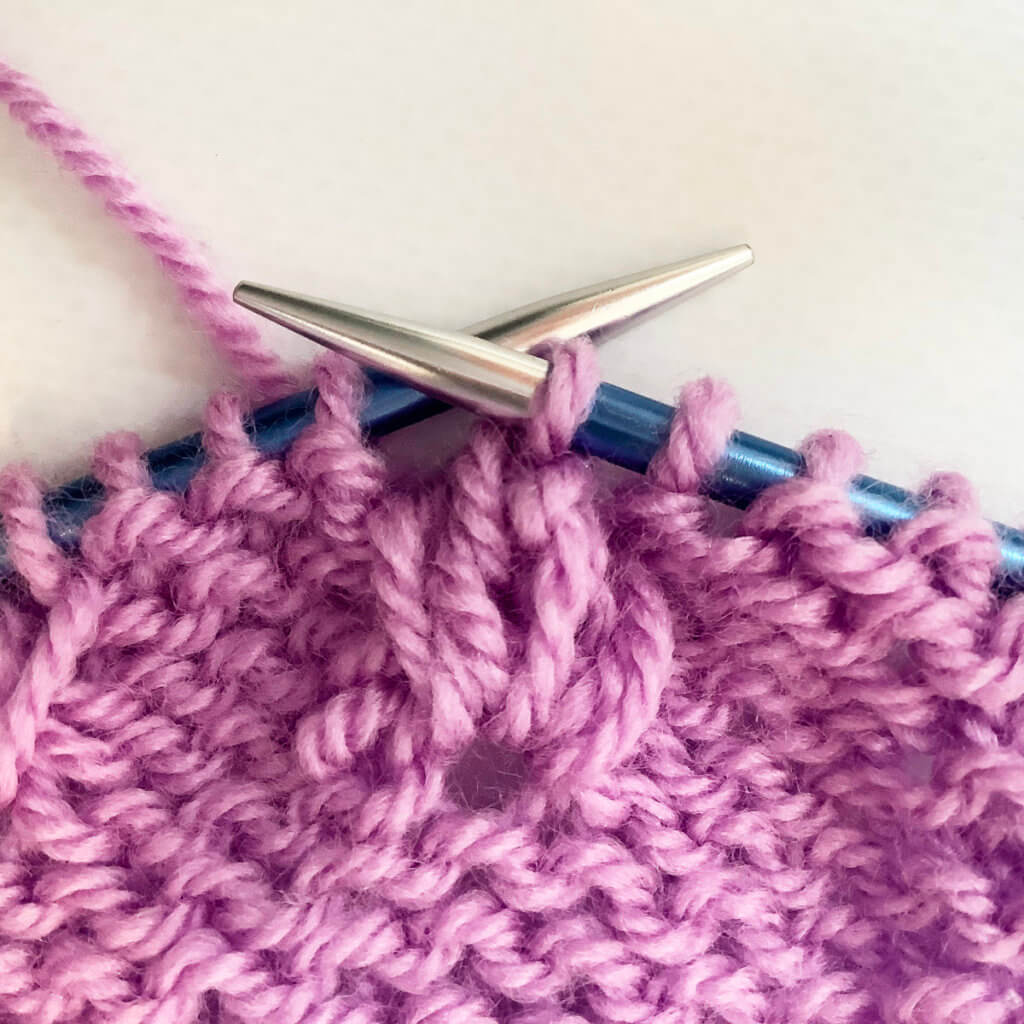
14. For the 3 stitch bobble I worked a sl2-k1-p2sso decrease. This is the result:
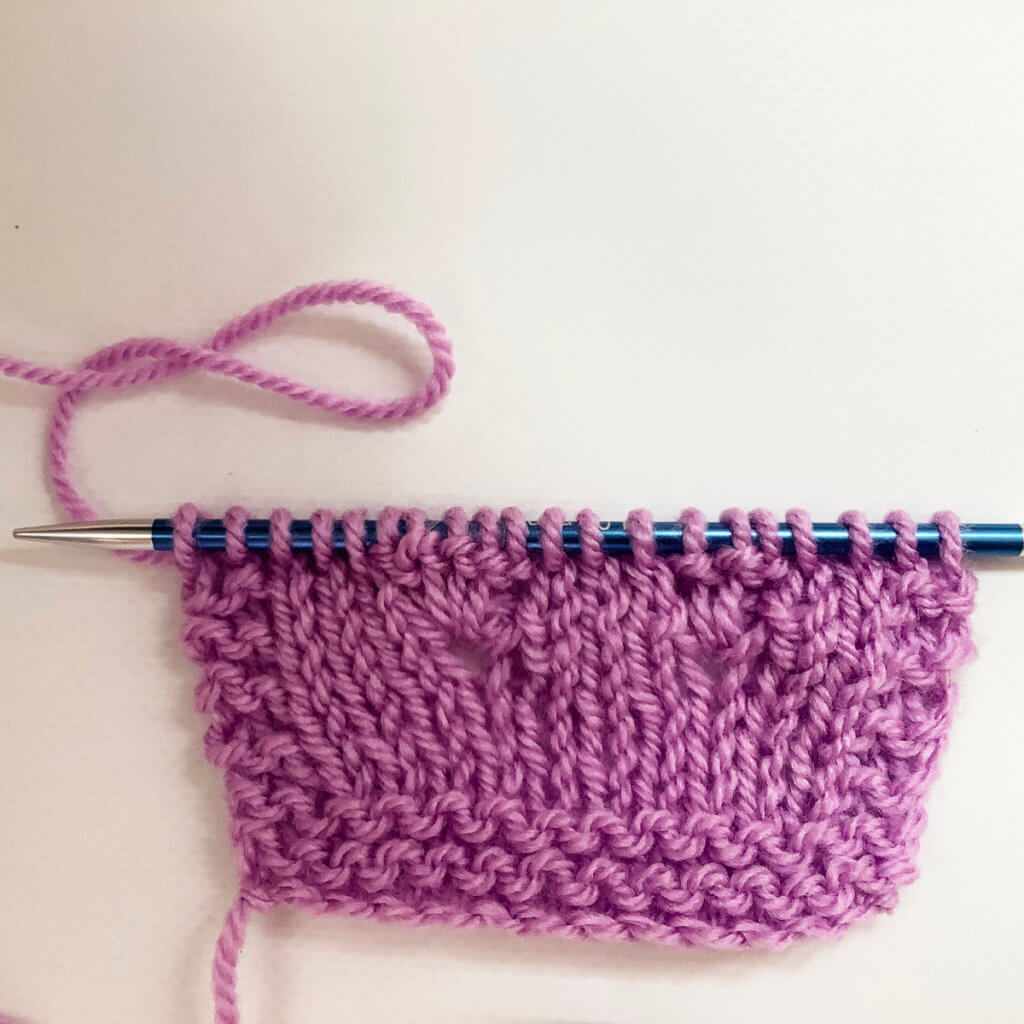
15. And this is how these bobbles look after 2 more rows in reverse stockinette have been worked. See how much fatter the 5 stitch bobble is when compared with the other one? You can, of course, work even fatter bobbles this way. Just repeat steps 4-6 twice or thrice instead of only once.
And this how to do it!
Found this tutorial useful? Tag me with @la_visch on Instagram or @lavischdesigns on Facebook if you’ve used it in a project!

Thanks to my Patreon supporters for bringing you this freebie! Creating quality patterns and tutorials is a lot of work and resource-intensive. However, I find it important to give you free content like this tutorial. Thanks to the generous support of my Patreon supporters, I can make it happen. Thank you, patrons! Click here to join, or click here to read more about La Visch Designs on Patreon.


