Earlier, in my blog about the Russian join, I’ve already shown you how my favorite way to attach a new ball of yarn works. But how do you join new yarn just as invisible and strong when you do not have a needle with you?
In that situation, I like to use the braided method where the old and new yarn are braided together. Just as with the Russian method this makes a very strong join, which remains in place even with slick yarns like satin and mercerized cotton. Also, after you have complete your project no ends are to be woven in, as these are already woven in when making the join.
A prerequisite for this method is that your yarn consists of at least two plies. Why is this important, you will see later in this blog. The braided join makes for a locally thicker thread, but this does not need to be a problem, because it is often not very visible.
The braided join step by step
In this example I have used two different colors of yarn to show you exactly how to work this type of join.
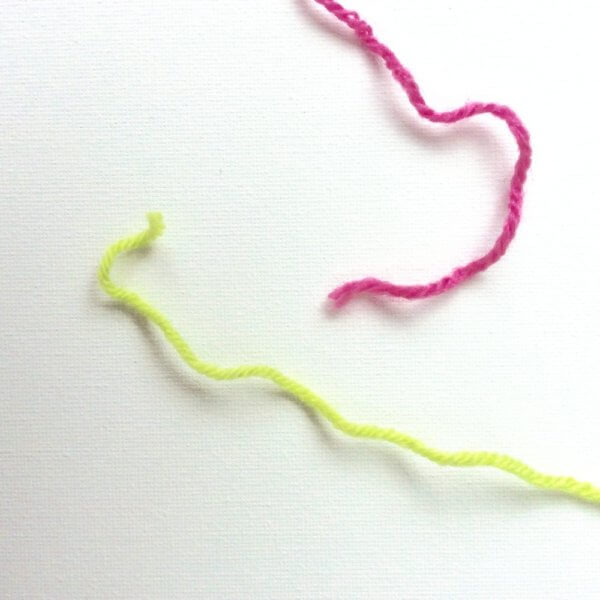
1. The two threads to join, the pink yarn comes from the project, the yellow-green is the new ball of yarn.
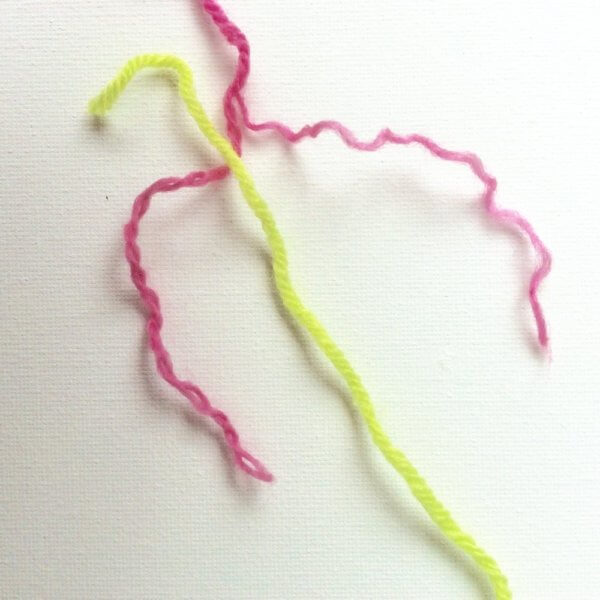
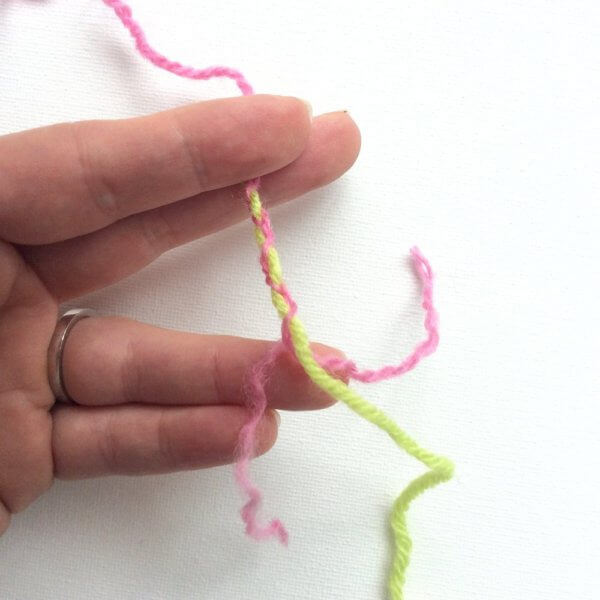
2. In the “old” yarn loosen the plies over a length of approx. 10 cm (4 inch) and divide into two. Place the new yarn on top of it as shown in the photograph.
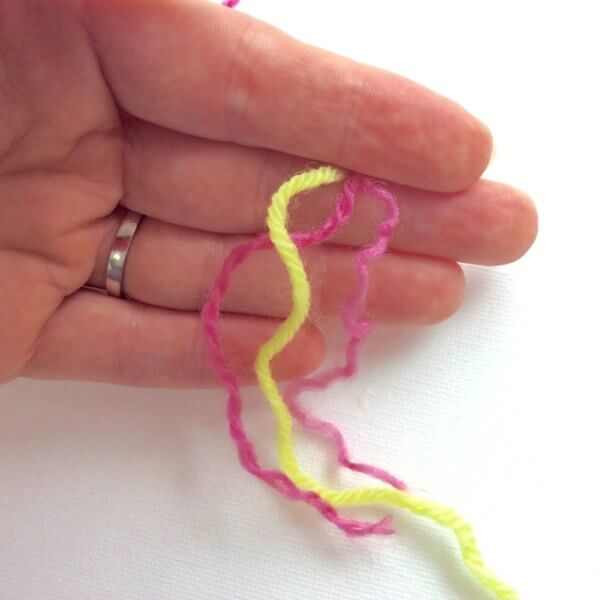
3. Hold the threads together at the top. I like to hold them between my forefinger and middle finger, but you can also use a paperclip or something similar.
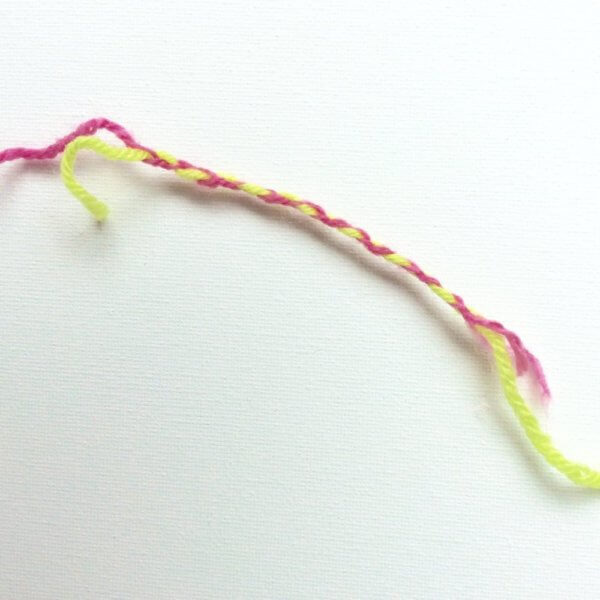
4. Braid the three pieces of yarn (two of the “old” and one of the new ball of wool) together to join them.
5. Braid until you reach the end of the three threads, you have a braided portion of about 5 up to 7.5 cm (2 to 3 inch).
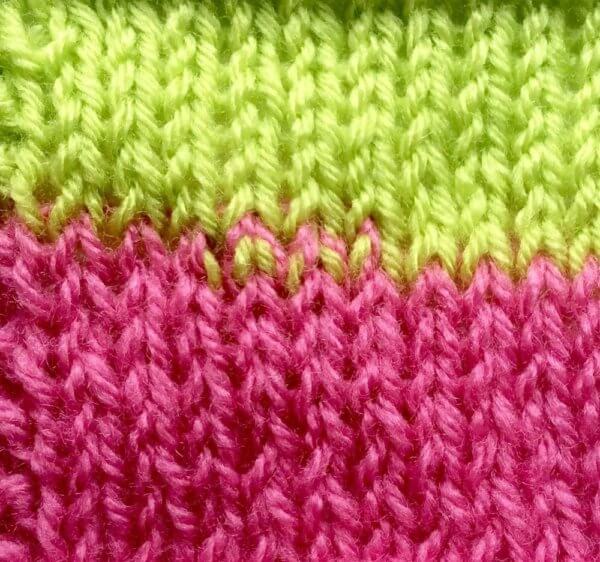
And now you can continue knitting again. As you see in the picture below, there are three stitches in this sample in which both threads are visible. However, if you join the same color of yarn, the join would be hardly visible in the finished piece.
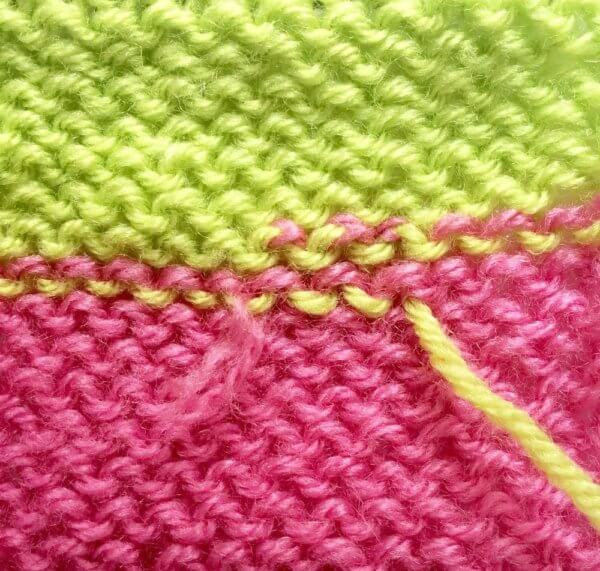
The back of the work looks like in the photo below. The loose ends I usually leave until after washing and possibly blocking the work. Then it’s just a matter of (carefully!) cutting them off.


")
