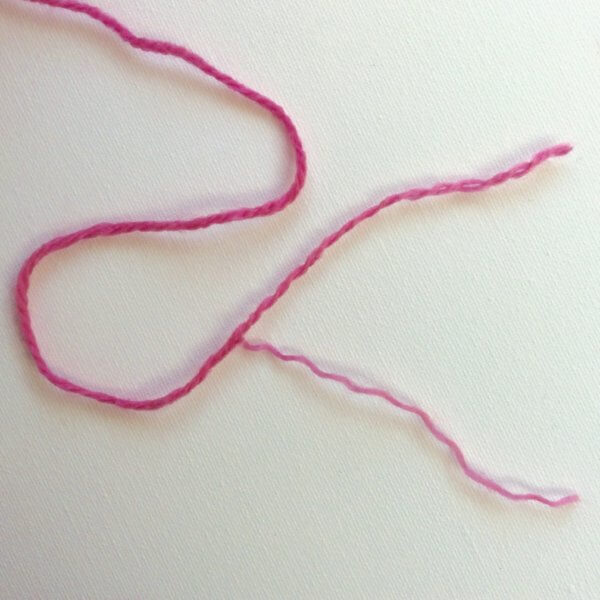
Whether you knit or crochet, we all have to deal with it: Joining new yarn when you have reached the end of a ball of wool. Of course, you can just change balls when you’re at the end of a row, but what if you work in the round? Or when you only have a limited amount of yarn and you really want to use it all? Just switching and tying a knot is something I never do. I think the risks are simply too great, there isn’t much needed for a knot to become undone and make a hole in my carefully-made piece. No, I much prefer using the Russian join instead.
The Russian join makes a very strong join, which also remains in place with very smooth and slippery yarns like cotton. This method also ensures that after completion of your project there are no ends to weave in. These are, after all already woven in when making the join. The only drawback is that this join locally produces a thicker thread. However, this does not need to be a problem, because it’s often not very visible.
The Russian join step by step
In this example, I have used yarn in two different colors to illustrate how this method works.
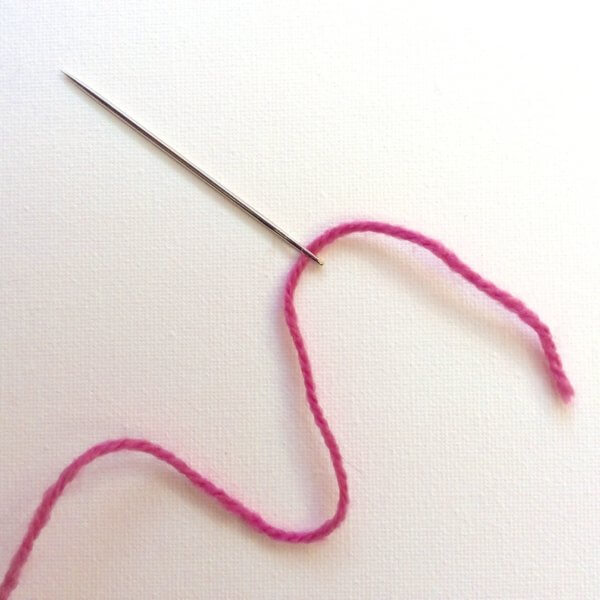
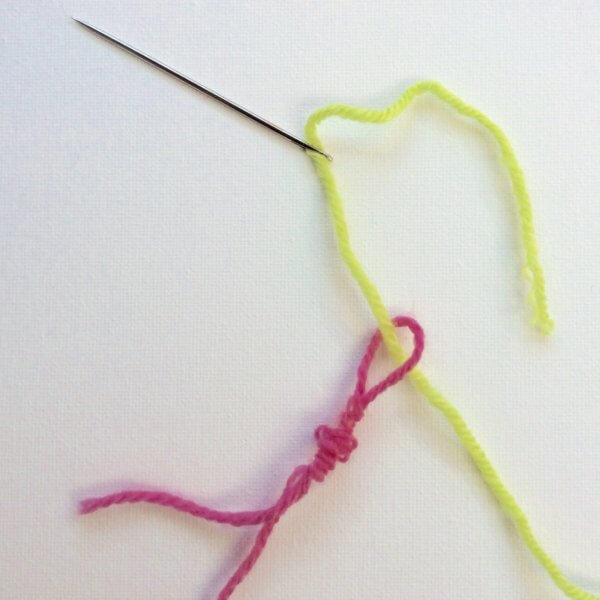
1. Thread the yarn end from the first ball through the eye of the needle.
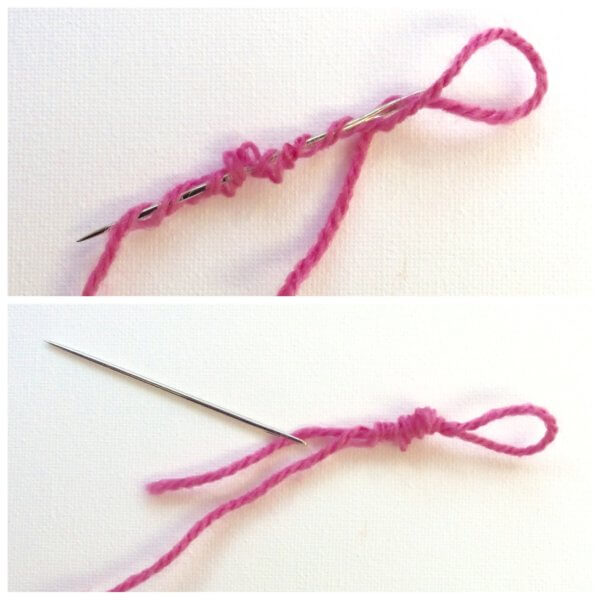
2. Zigzag with the needle back through the thread for approximately 5 to 6 centimeters (about 2 inches), in such a way that your yarn forms a loop. Through this loop, the yarn of the new ball will be threaded later on. It helps to put a finger through the loop while pulling your needle through, to make sure it doesn’t close up on you.
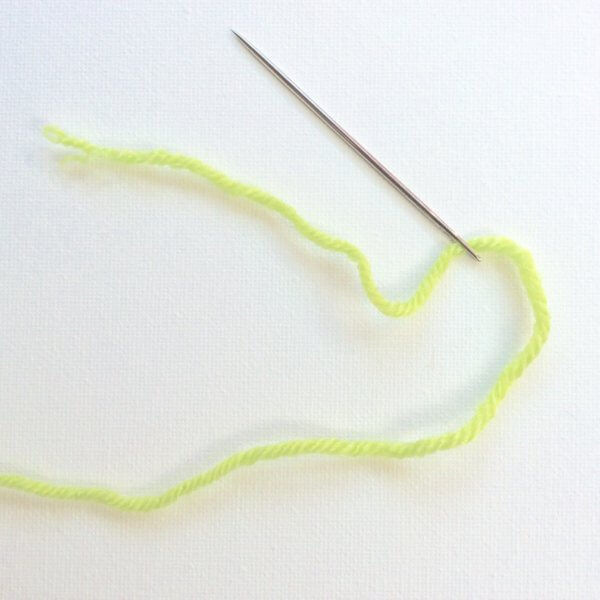
3. Thread the yarn end from the second ball through the eye of the needle.
4. Insert the needle through the loop you created in step 2 above.
5. Now zigzag back with the needle through the second thread for about 5 to 6 centimeters (about 2 inches). Again, it may help to put a finger through the loop while pulling your needle through, to make sure it doesn’t close up on you.
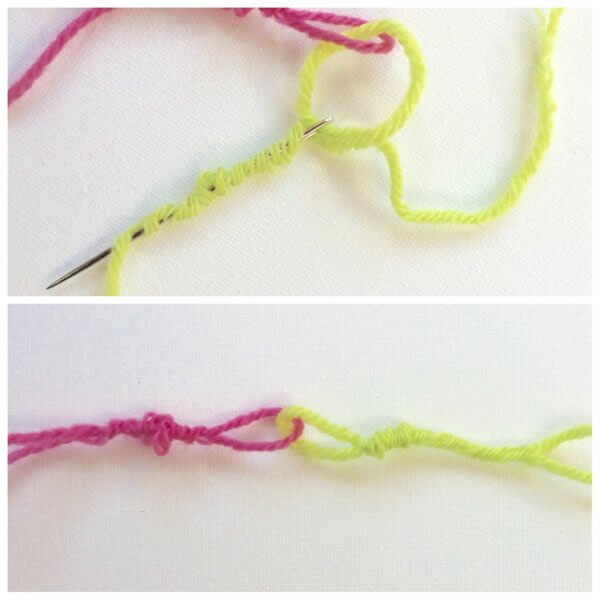
6. Pull gently on both ends to reduce the loops and pull the yarn smooth.
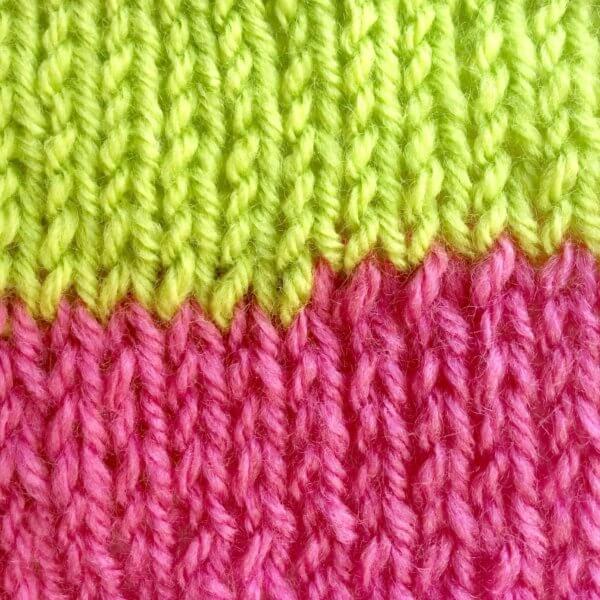
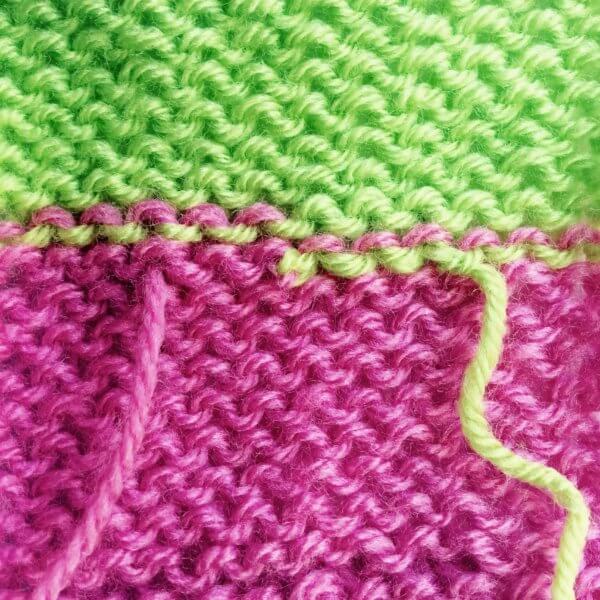
And now, you can just continue knitting! As you see in the picture below, the join in the knitting is (apart of course from the difference in color) barely visible.
The back of the work looks like the photo below. The remaining yarn ends I usually leave until after washing and possibly blocking the workpiece. Then it’s just a matter of (carefully!) cutting them off.
One last tip
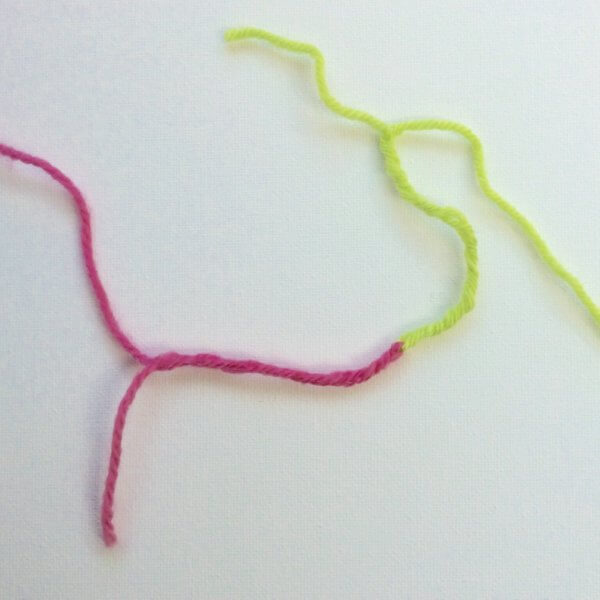
As noted, the Russian join gives a place in your work where the yarn is locally thicker. You can avoid this when your yarn is composed of several threads twined together. Cut a small portion of these threads away, then proceed with the join as usual with the locally thinner piece of yarn. In the picture below I have removed one of the totals of three strands.