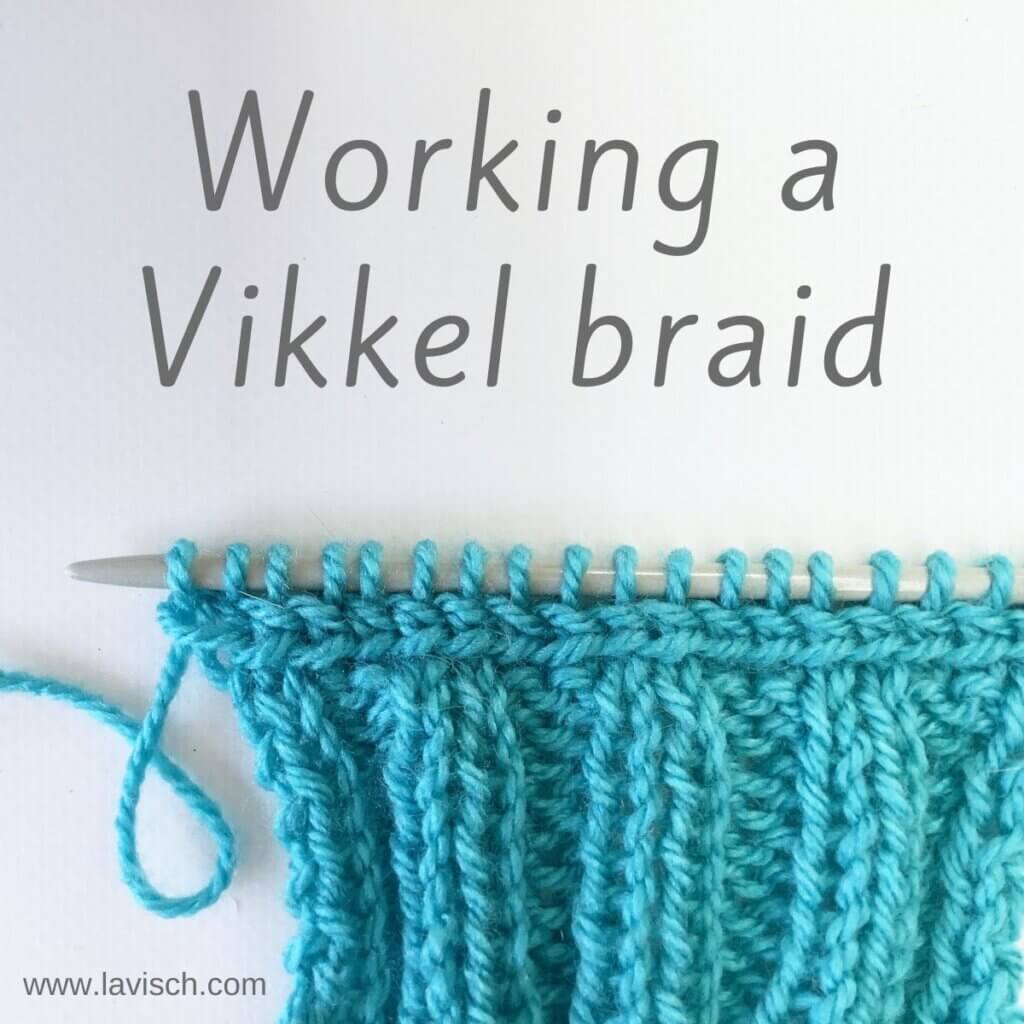
A Vikkel braid, also known as an Estonian or lateral braid, is a decorative knitting technique used to create a horizontal braid-like texture across the fabric. It’s often used in traditional Estonian knitting, especially in mittens and cuffs, to add both structure and ornamentation. It can serve as a nice demarcation of the ribbing and the rest of the fabric. Its key feature, is that it creates a raised, twisted horizontal band that looks like a chain of stitches.
The braid is worked in a single row. It’s common to have a plain row above and below it to frame it nicely, and to prevent the purl stitches in the ribbing to distort the braid. Some folks advise dropping down a needle size when working the braid, because it can be a tad loose otherwise. In this how-to, I didn’t do that and found the tension to be ok. But, be warned, and try it out for yourself and adjust where needed.
In this article, I’m showing you how to do a Vikkel braid worked flat in a single color. It is, however, also possible to work it in the round, and in a contrasting color. I’ll show those variations sometime in the future.
Materials used


Yarn: Paintbox Yarns Simply DK, a good value, good quality 100% acrylic yarn, here in the color Marine Blue.
Needles: This is a pair of straights that I picked up at the second-hand store when I started knitting, brand unknown.
Working a Vikkel braid step by step
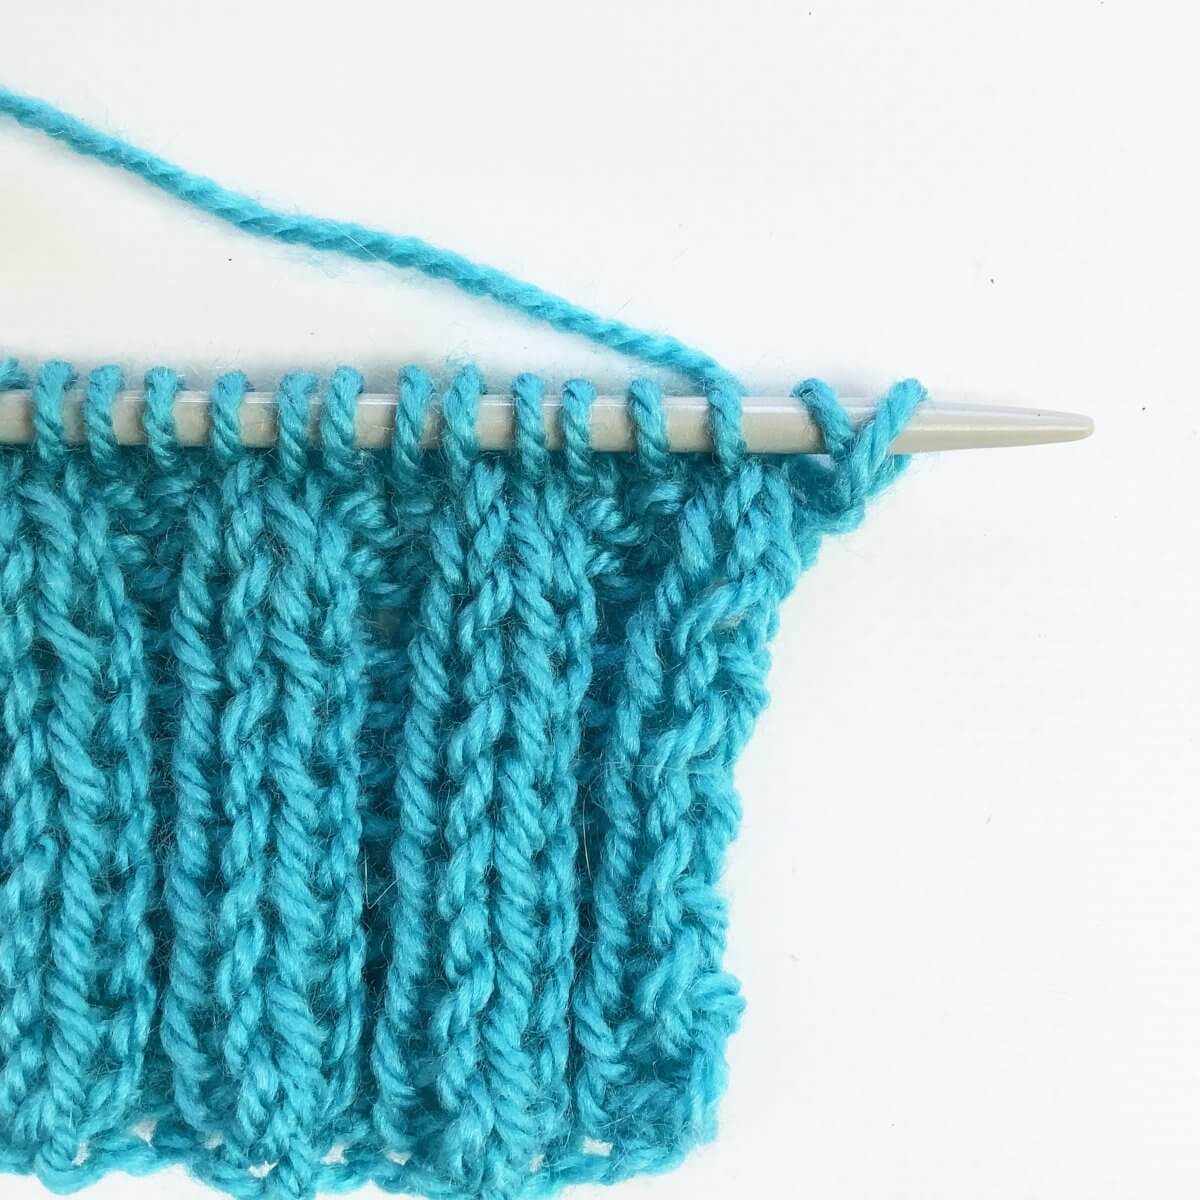
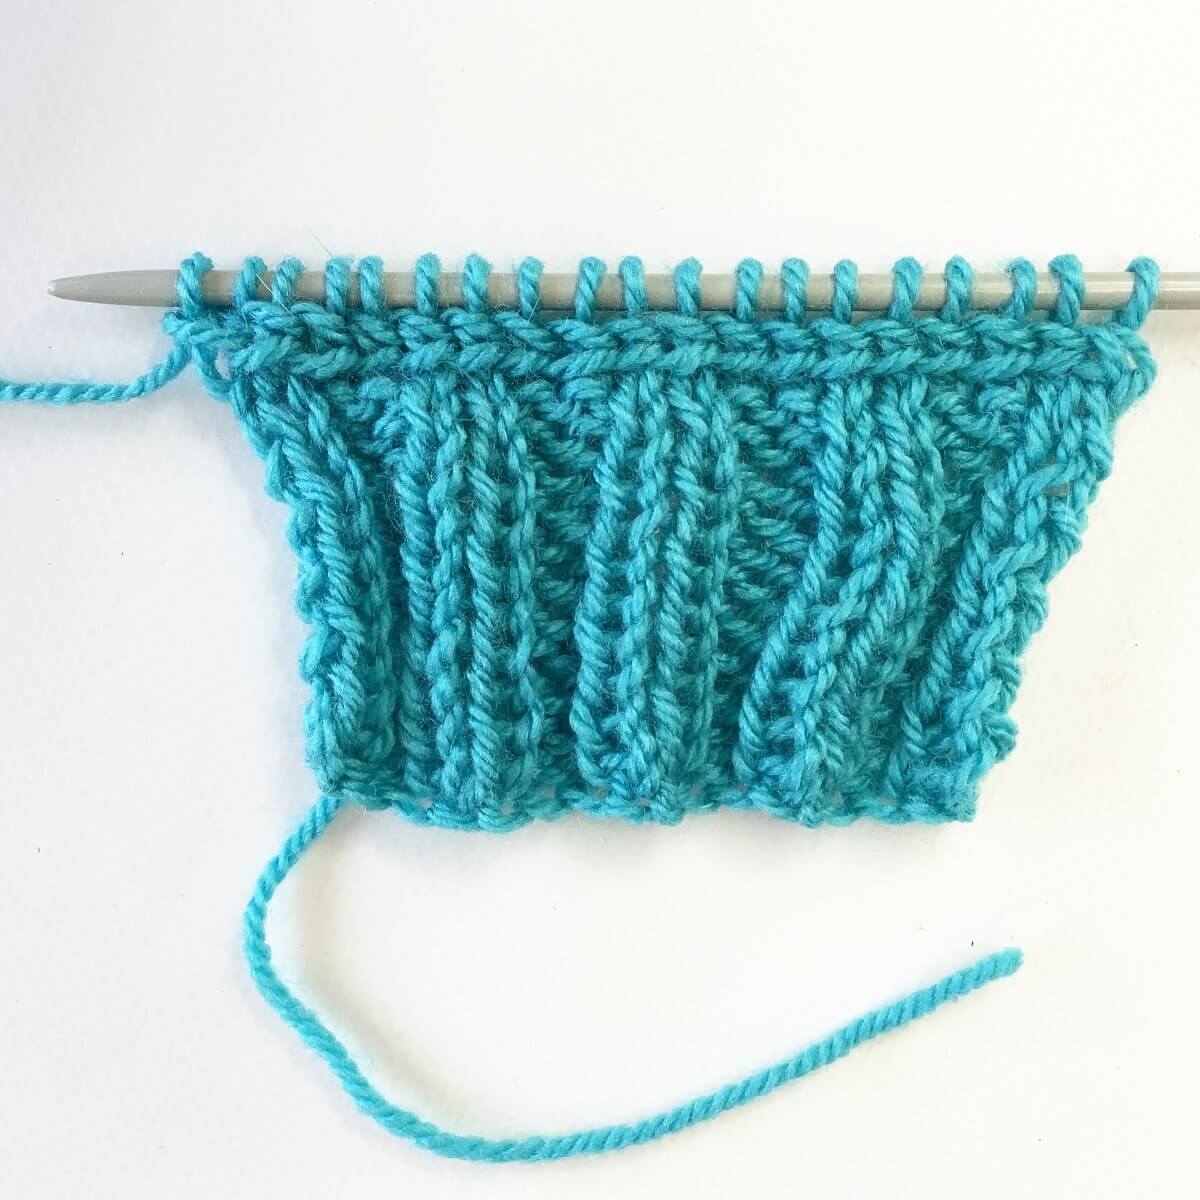
A Vikkel braid can be worked over any number of stitches, after or just before ribbing. In this example, I’m using a swatch in 2×2 rib.
- I’m going to work my Vikkel braid onto this swatch.
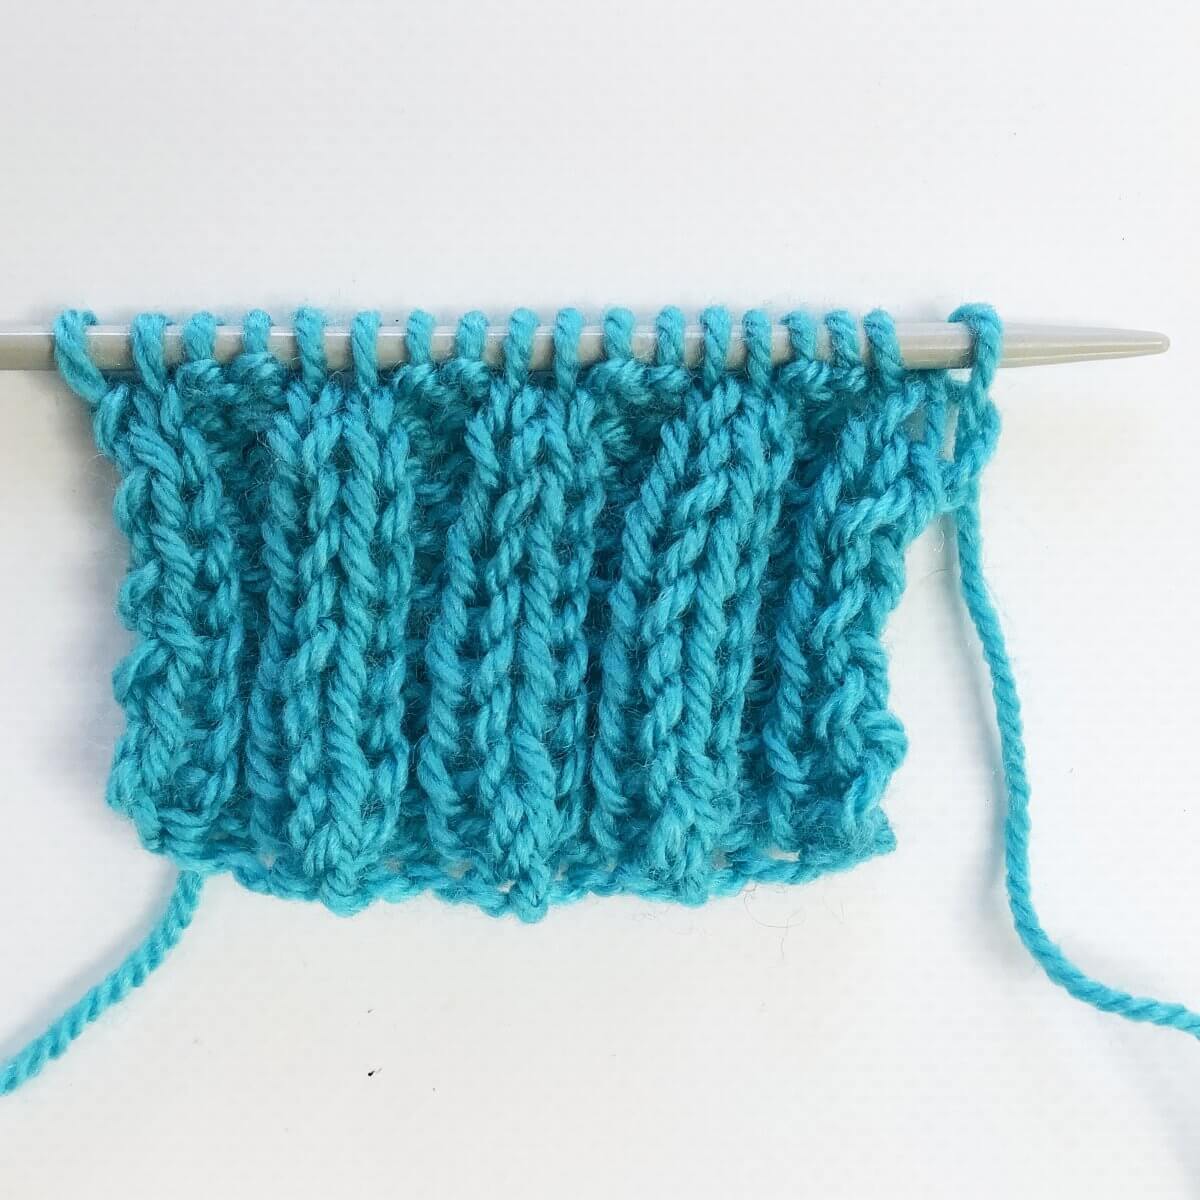
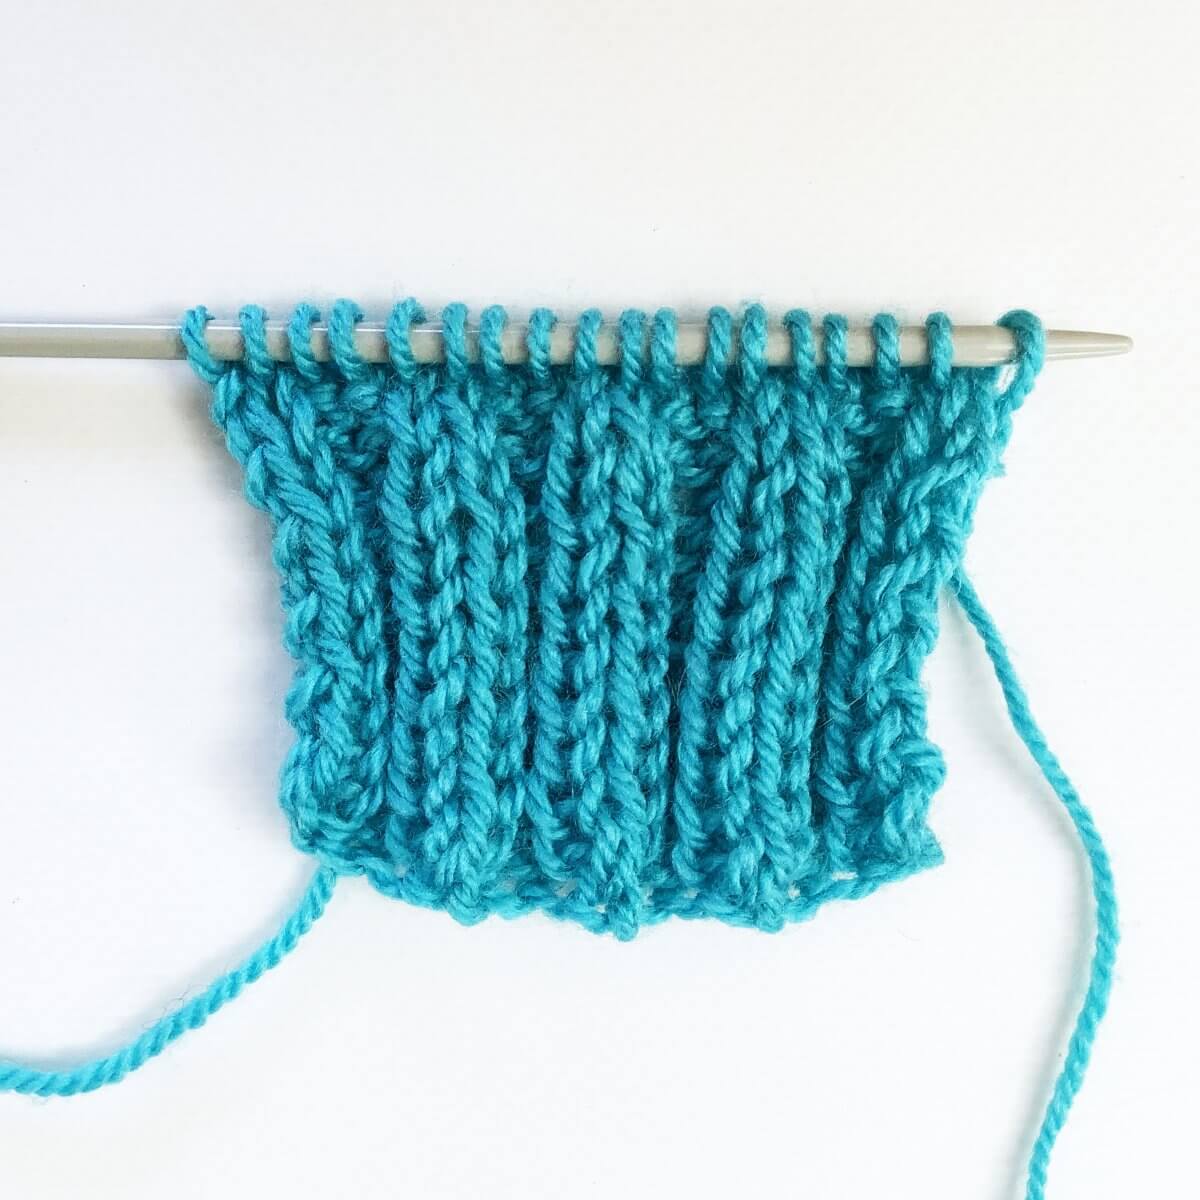
- To prevent any distortion in the braid, I’m working another right side row in 2×2 rib, followed by a wrong side row in purl.
That single row without patterning won’t be noticeable in the final result, but will prevent the braid from being wobbly.
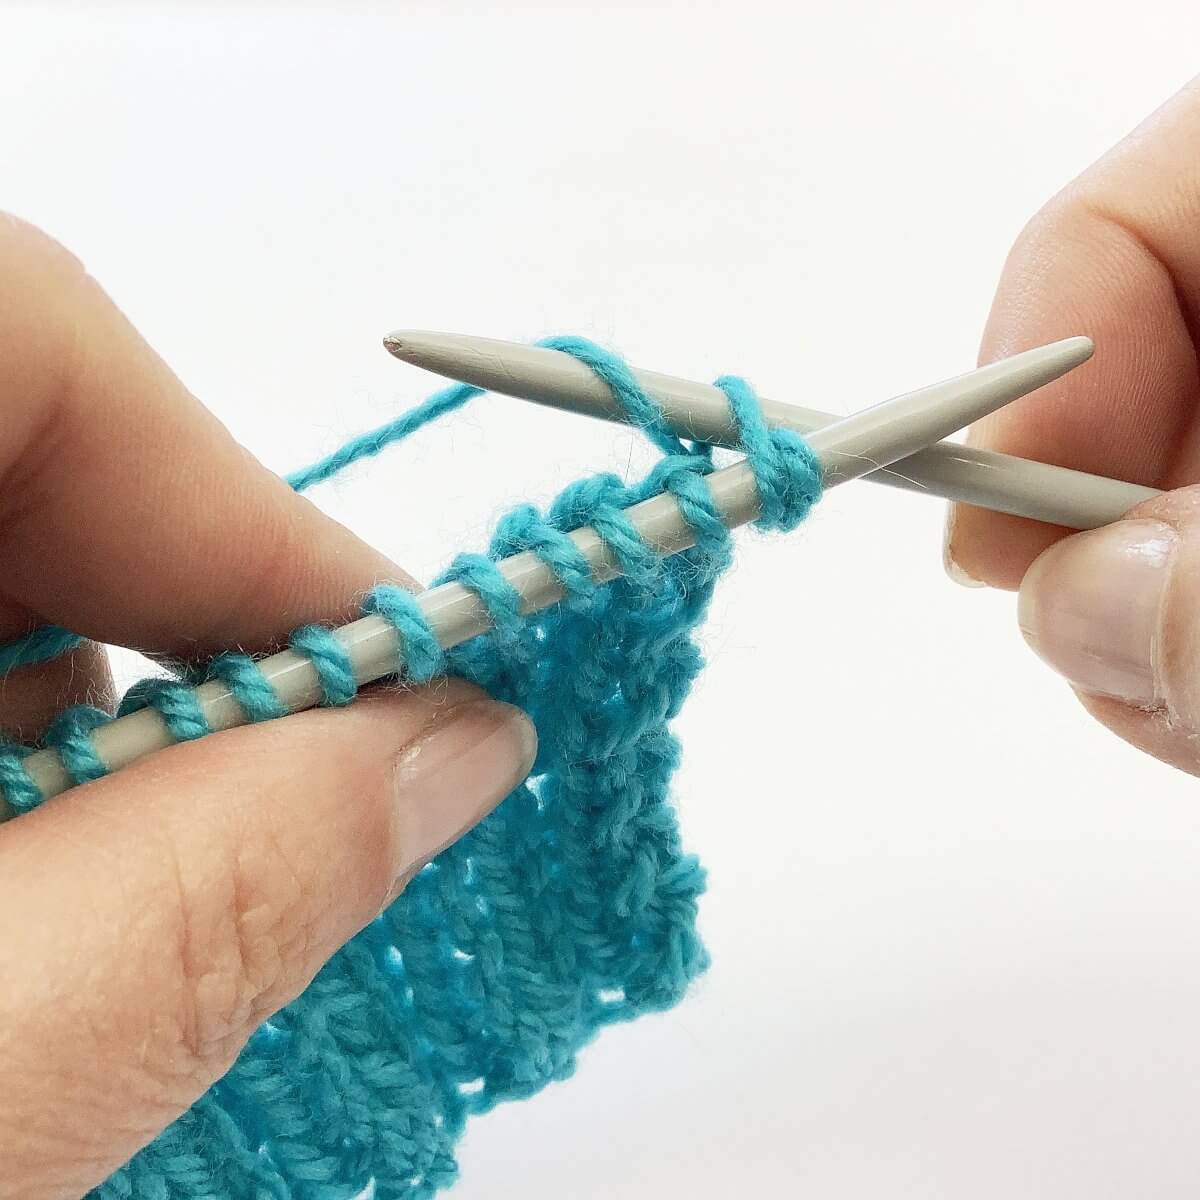
- Cast-on a stitch, here I used the knitted-on cast-on, but the cable cast-on would also work.
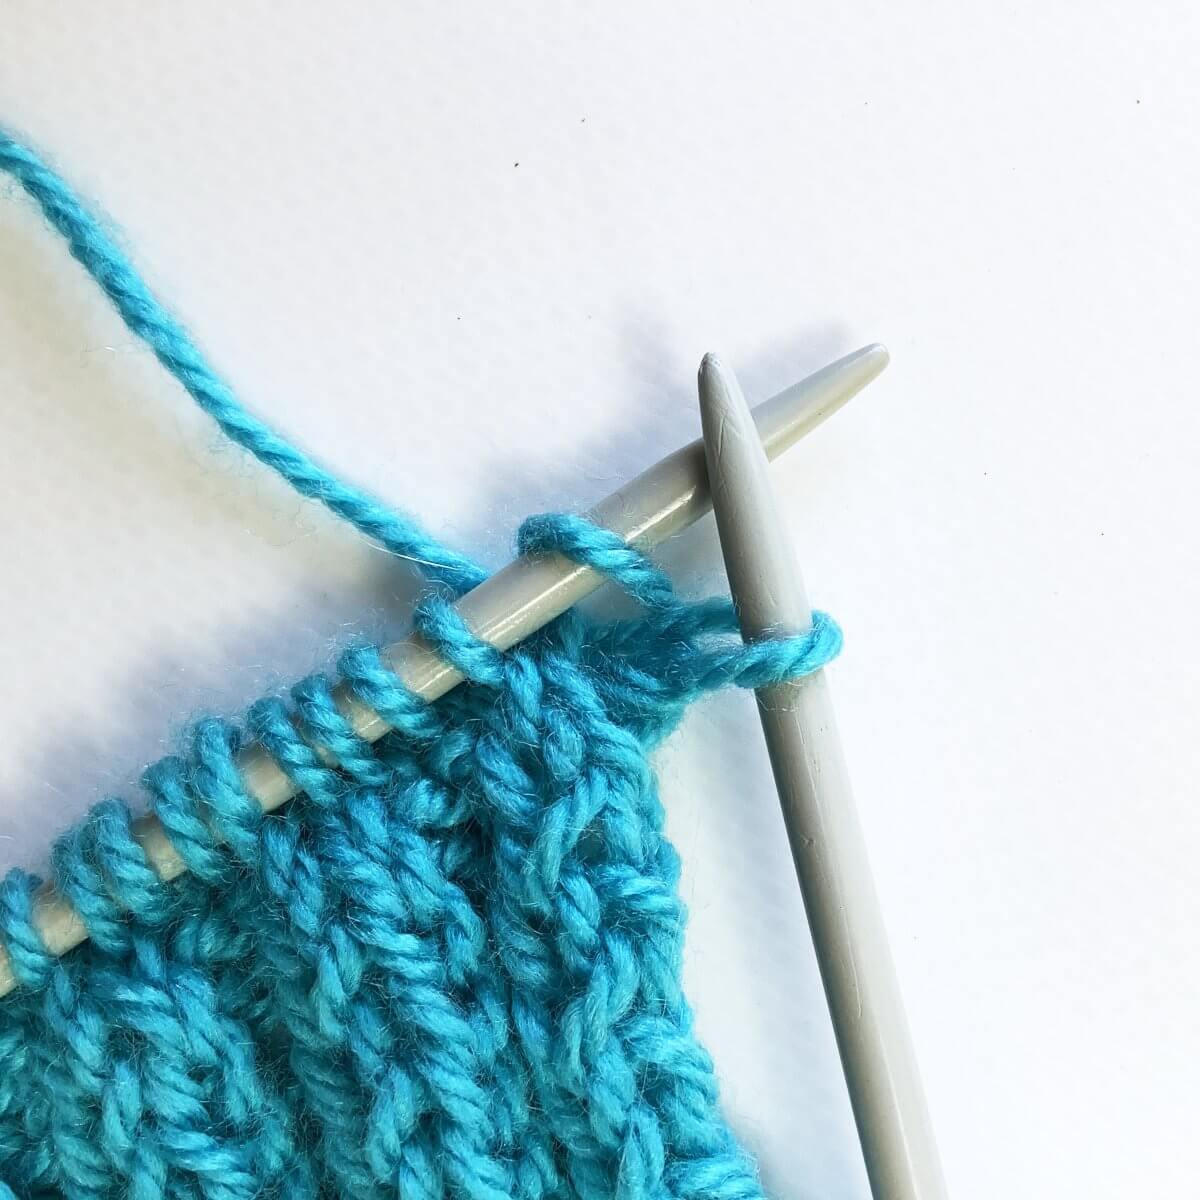
- Slip the newly cast-on stitch back to the left-hand needle.
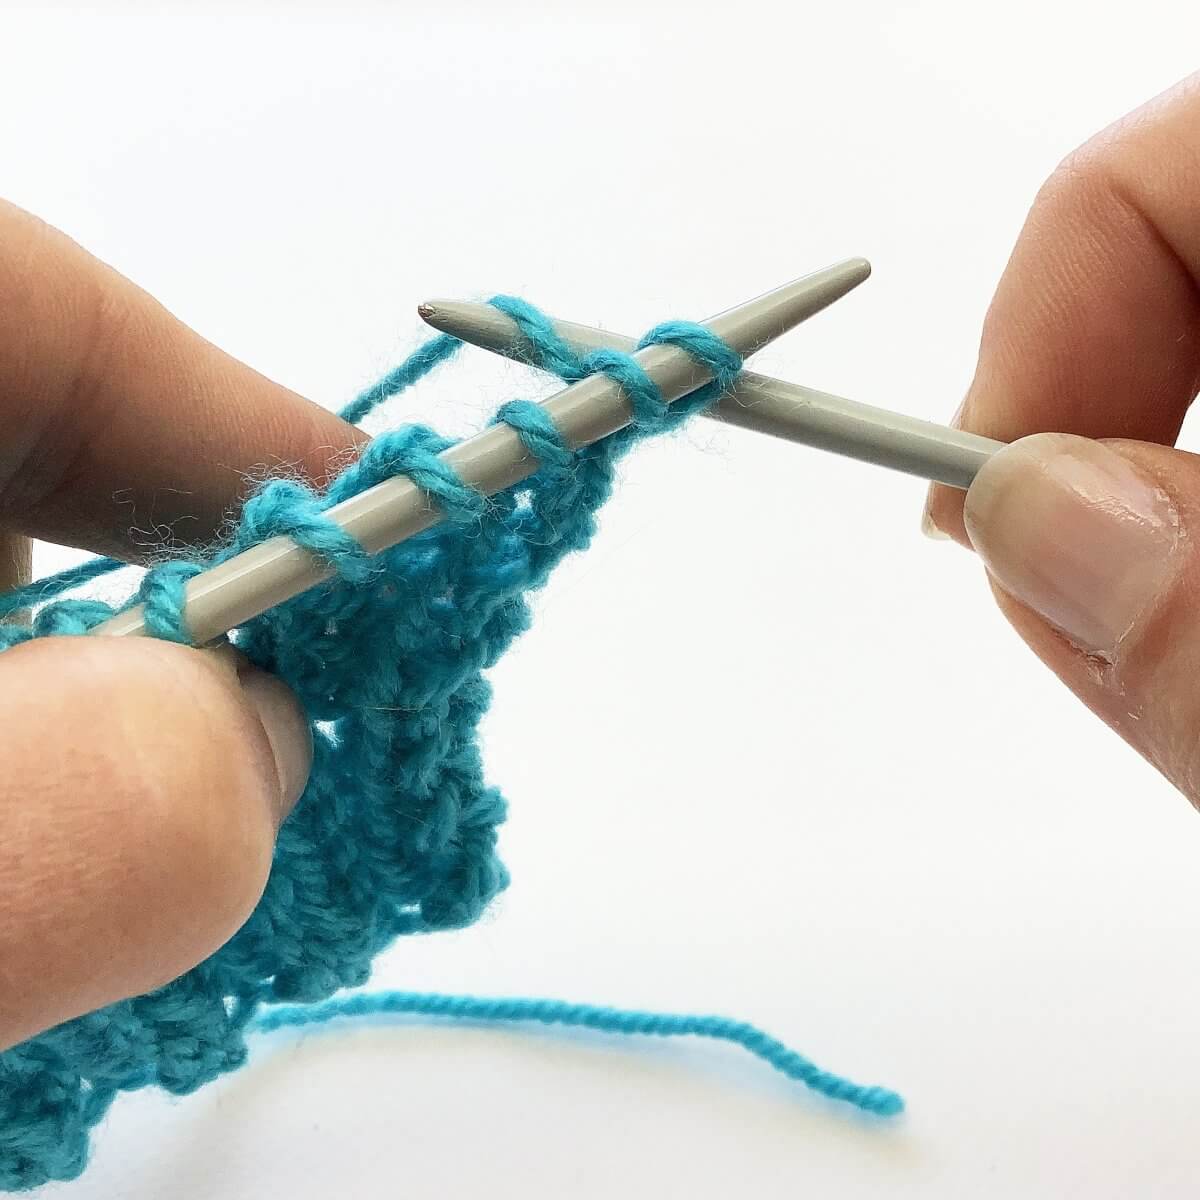
- Next, insert the right-hand needle through the back loop of the 2nd stitch.

- Wrap the yarn around….
- …. and pull it through.
Do not slip the stitch of the needle yet!
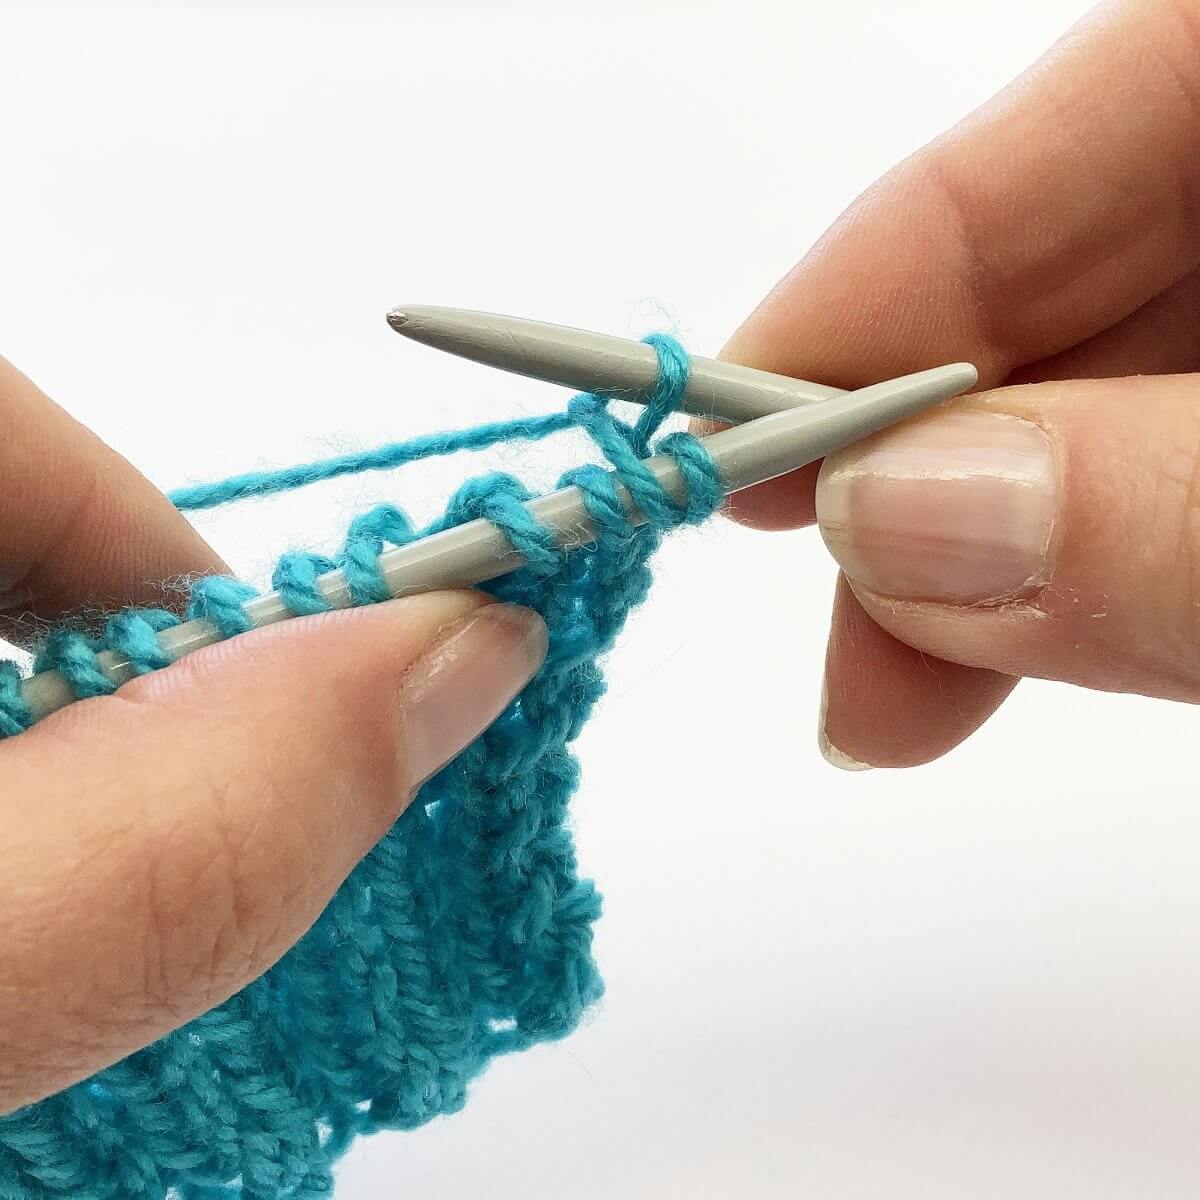
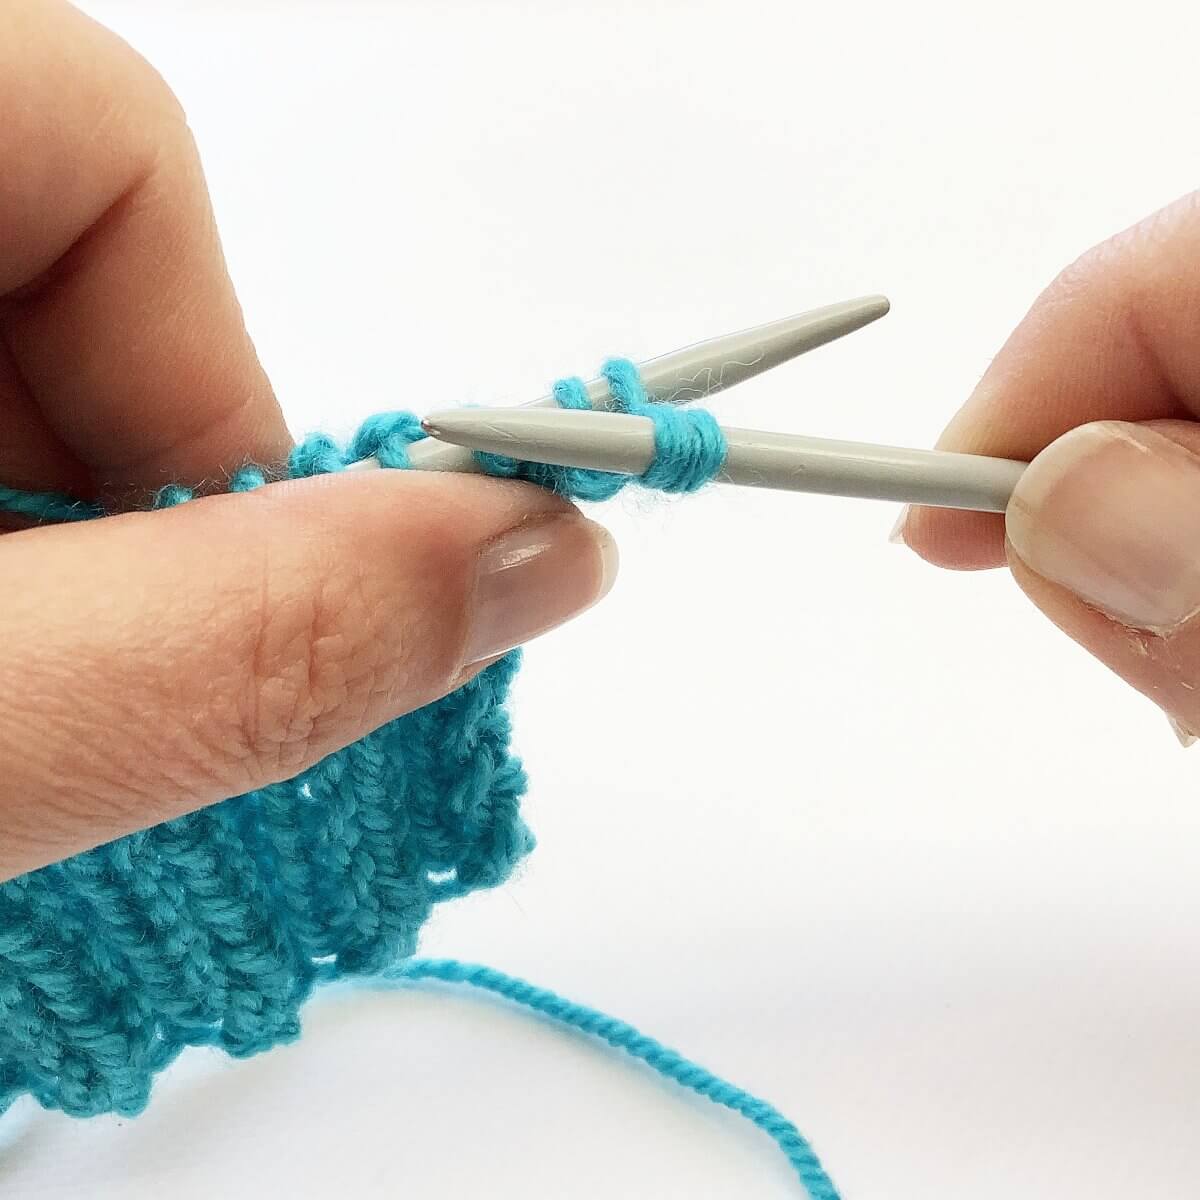
- Now, insert the needle into the first stitch as if to knit (because we’re going to knit it).
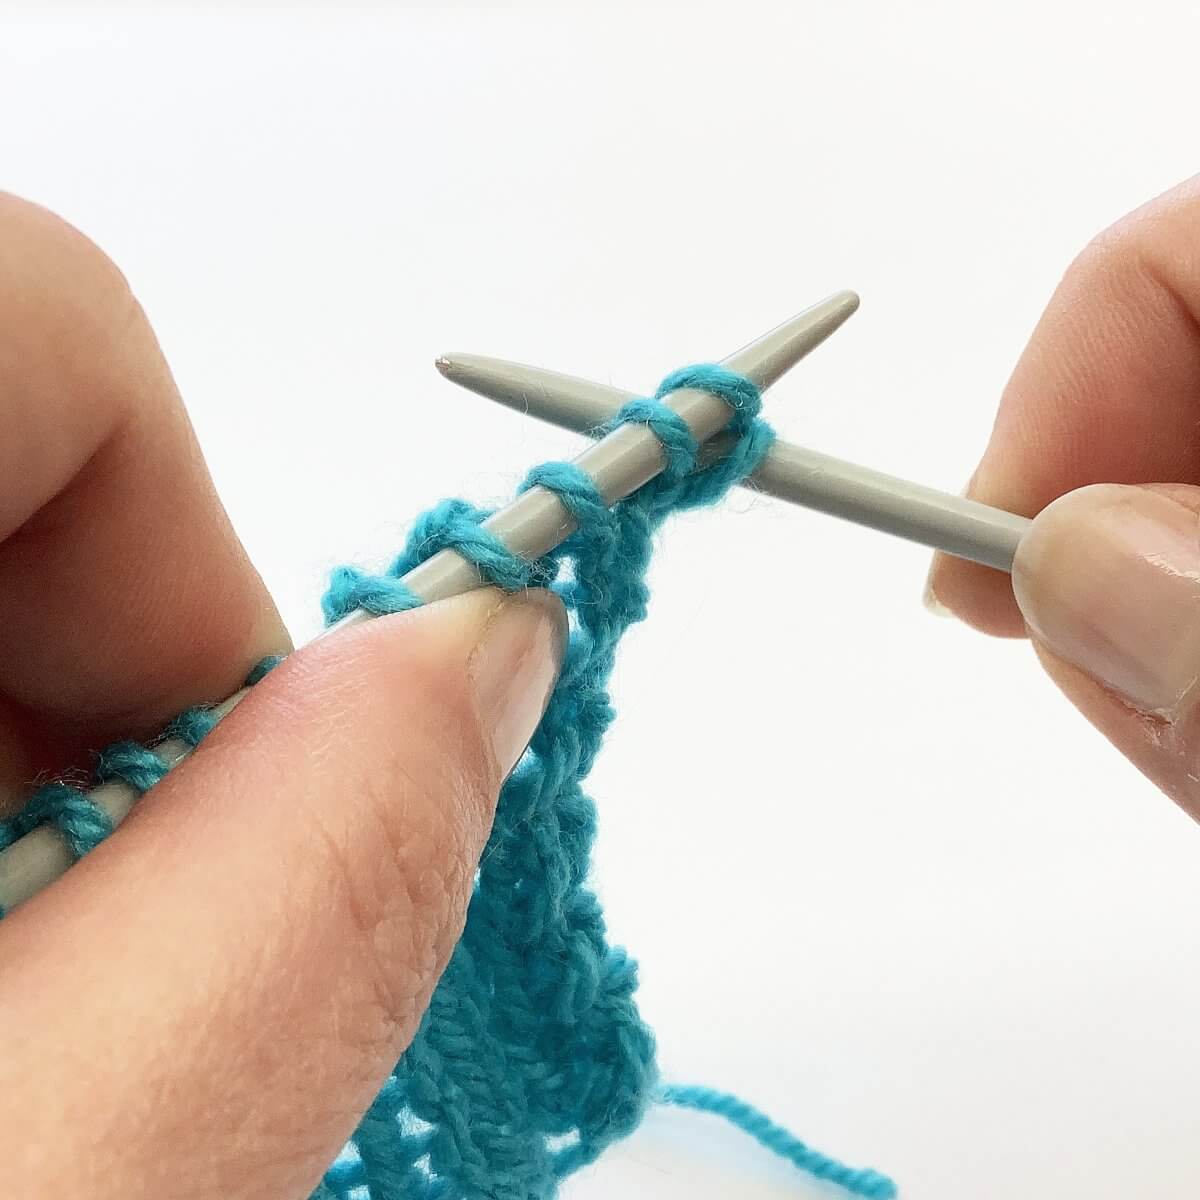
- Again, wrap the yarn around the needle….
- … and pull it through.
- Now you can slip the 2 stitches nearest to the tip of the left-hand needle off.
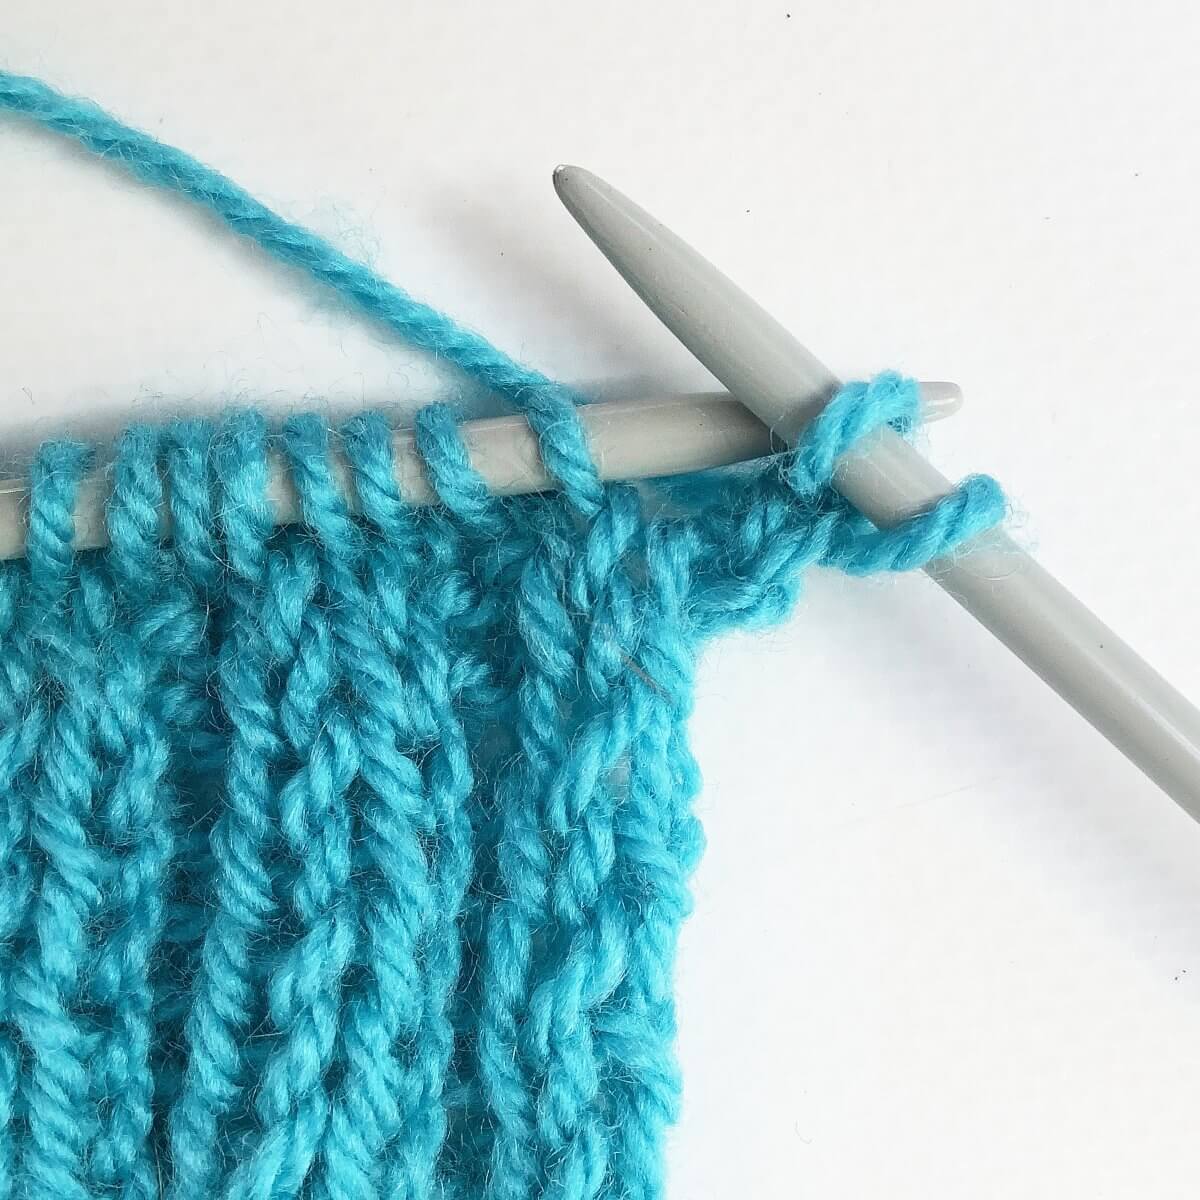
- Slip the stitch nearest to the tip of the right-hand needle, back to the left-hand needle.
- Repeat steps 5-12 until 1 stitch remains, then repeat steps 5-11 once more.
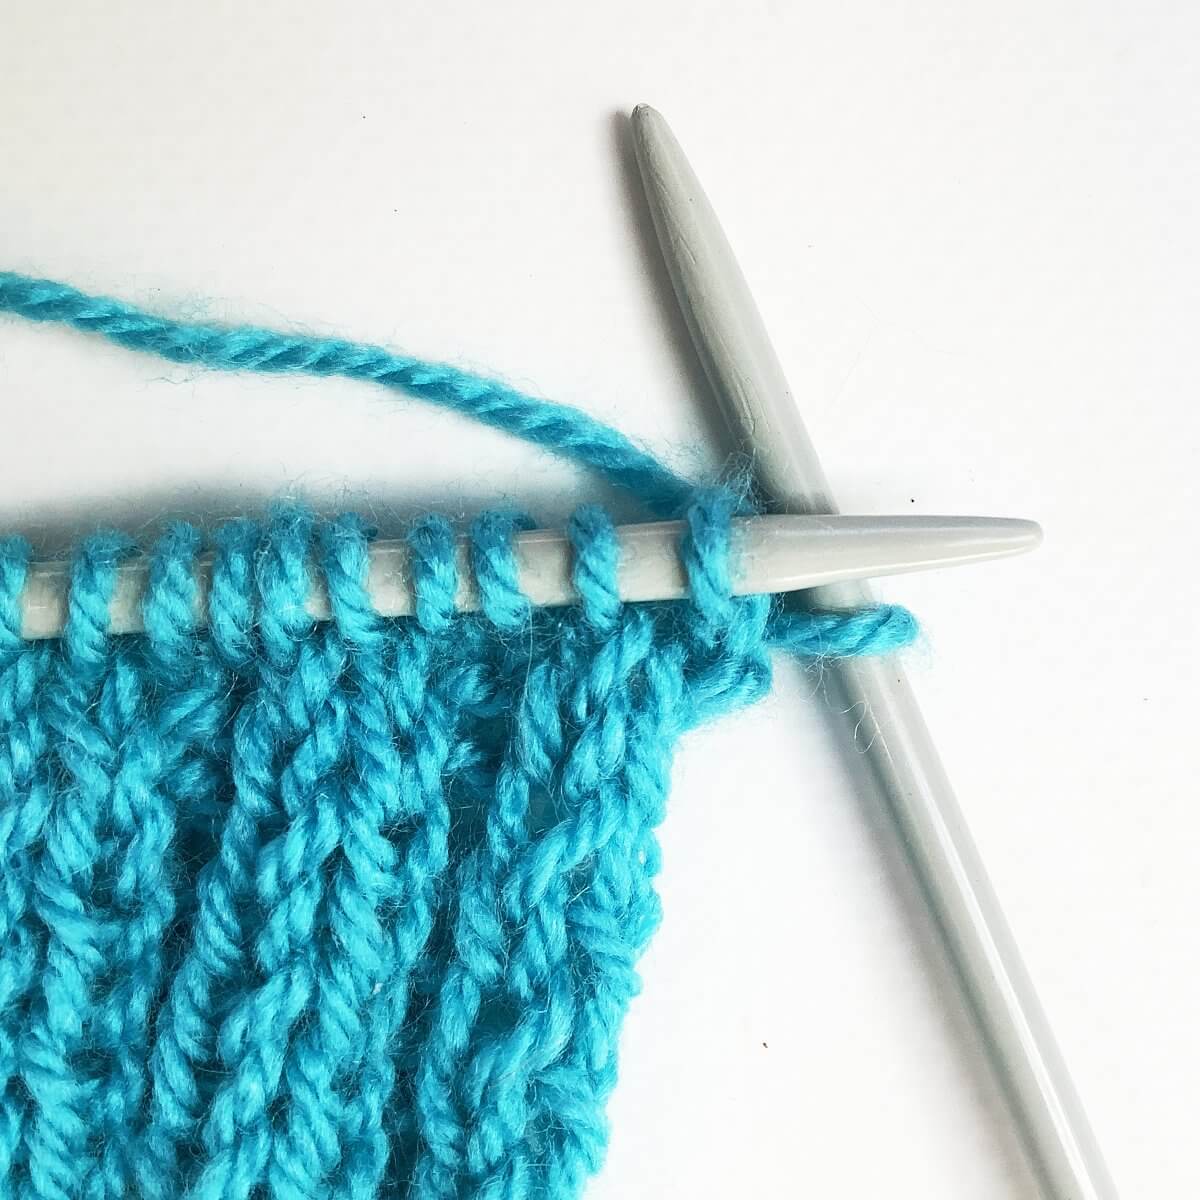
This is how it looks by then. Pretty, right?!

Thanks to my Patreon supporters for bringing you this freebie! Creating quality patterns and tutorials is a lot of work and resource-intensive. However, I find it important to give you free content like this tutorial. Thanks to the generous support of my Patreon supporters, I can make it happen. Thank you, patrons! Click here to join, or click here to read more about La Visch Designs on Patreon.


