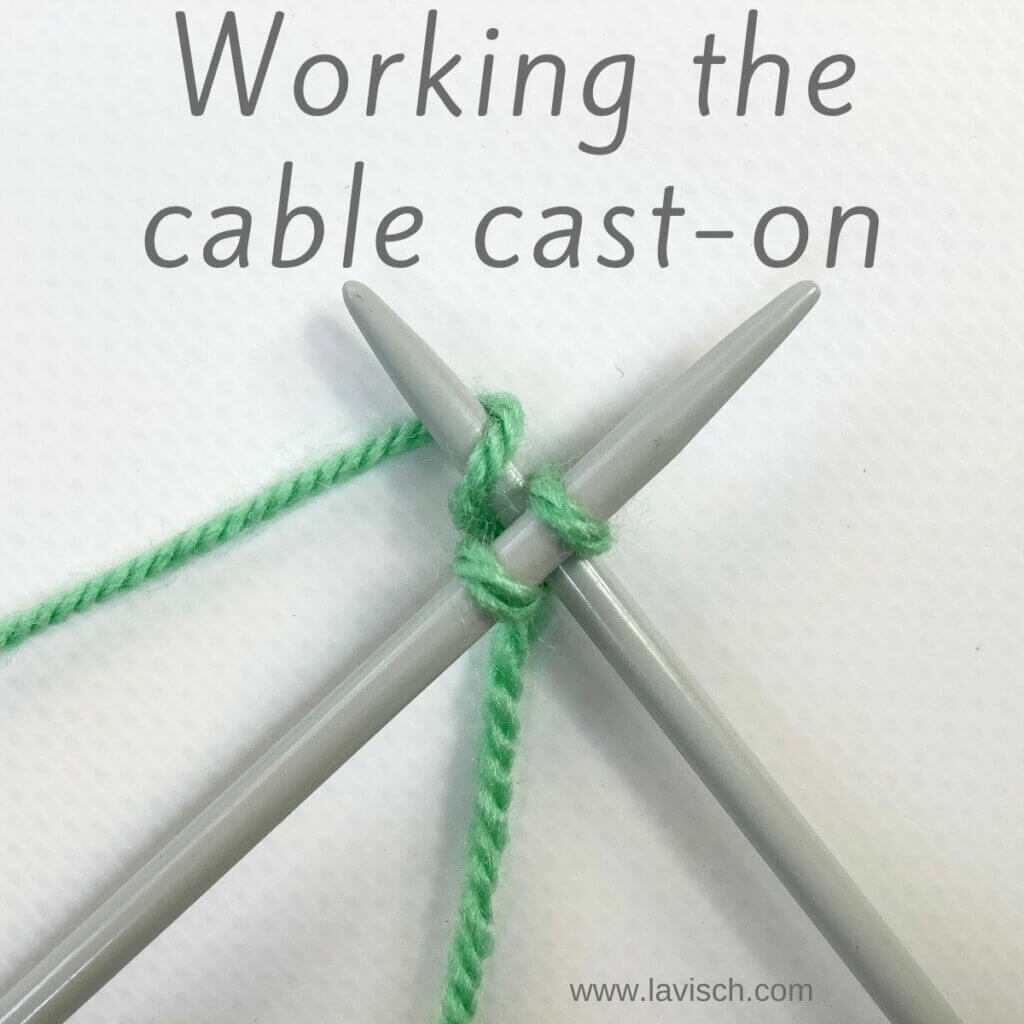
The cable cast-on is a cast-on very similar to the knitted on cast-on. It is worked similarly and creates a clean, and sturdy edge. It is, however, more firm and less stretchy; a very good choice for edges that benefit from that stability and don’t need any stretch. Take for example edges from which stitches are picked up and knit. For this reason, I personally wouldn’t use it for a knitting project that would be blocked heavily. For most other applications, though, it makes a very nice decorative edge. Think for example of edges of non-lace blankets.
This particular method is also great for the beginner knitter because it is basically the knit stitch that is used to cast on. In this post, I’ll show you how to do it!
Materials used
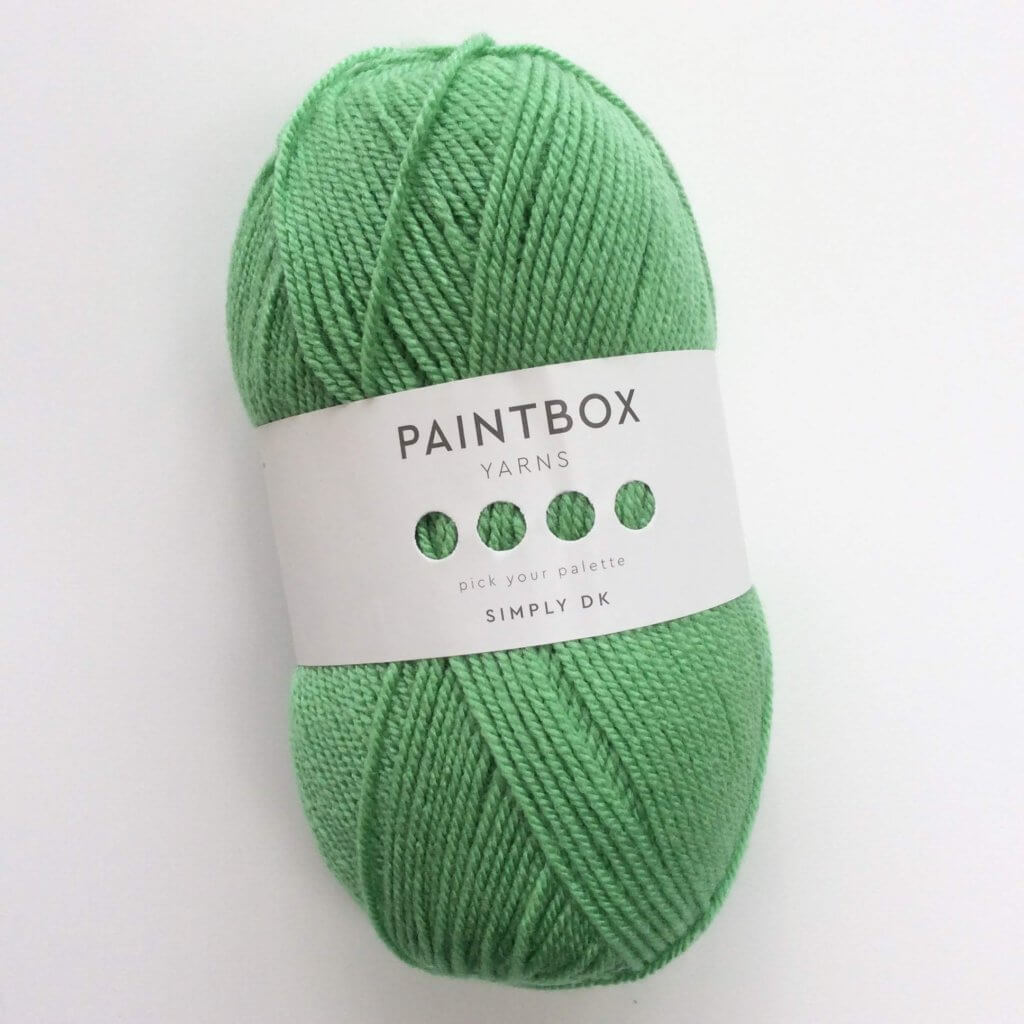

Yarn: Paintbox Yarns Simply DK, a good value, good quality 100% acrylic yarn, here in the color 125 Spearmint Green.
Knitting needles: This is a pair of straights that I picked up at the second-hand store when I started knitting, brand unknown.
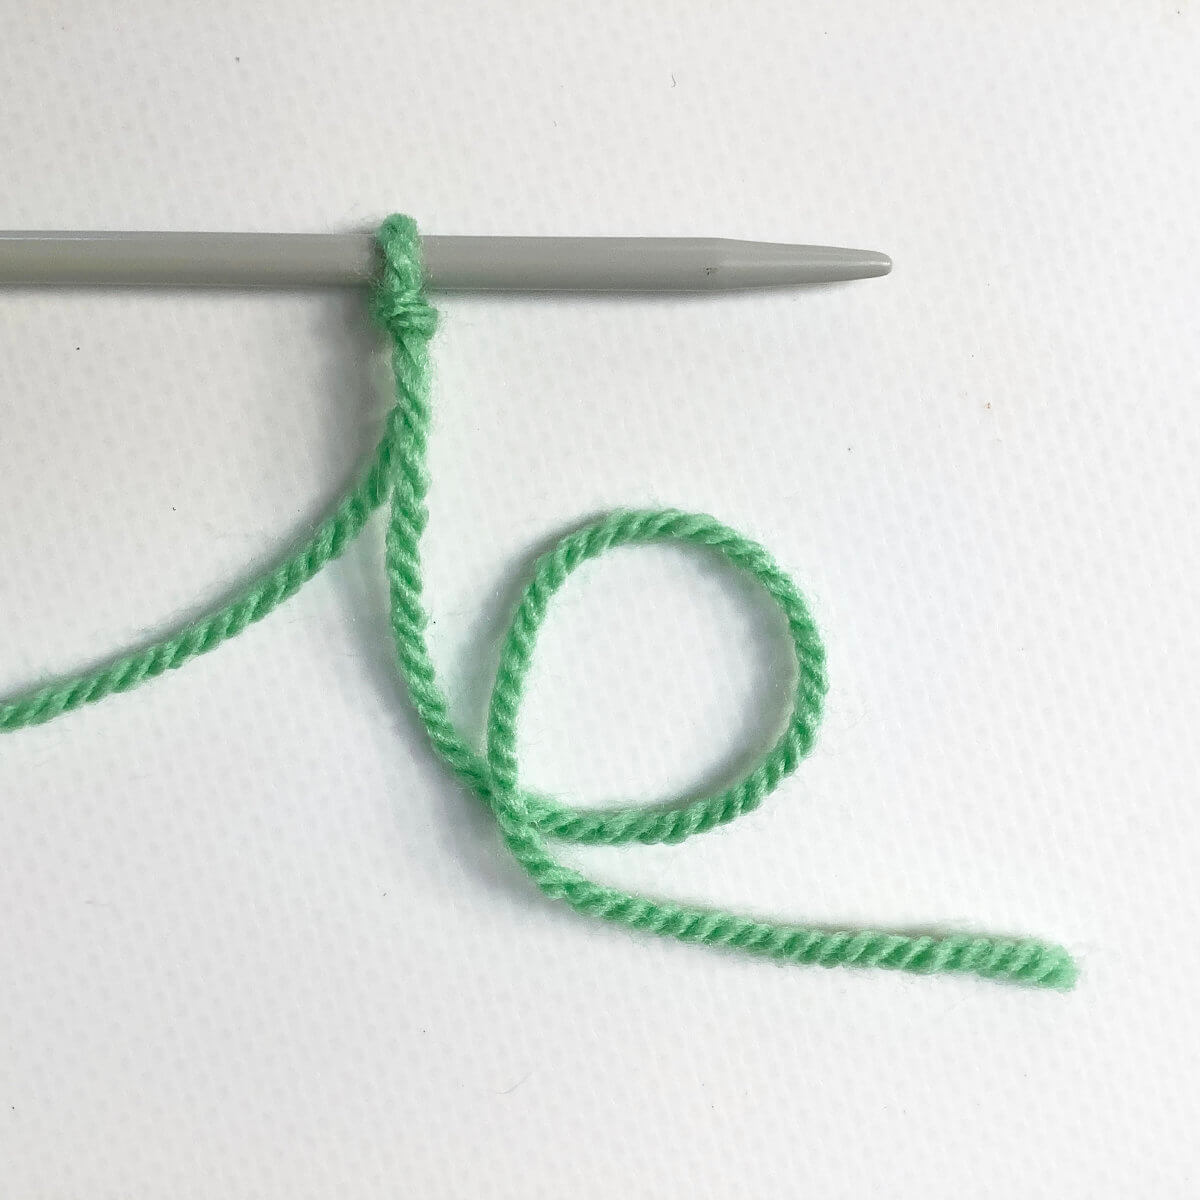
The cable cast-on step by step
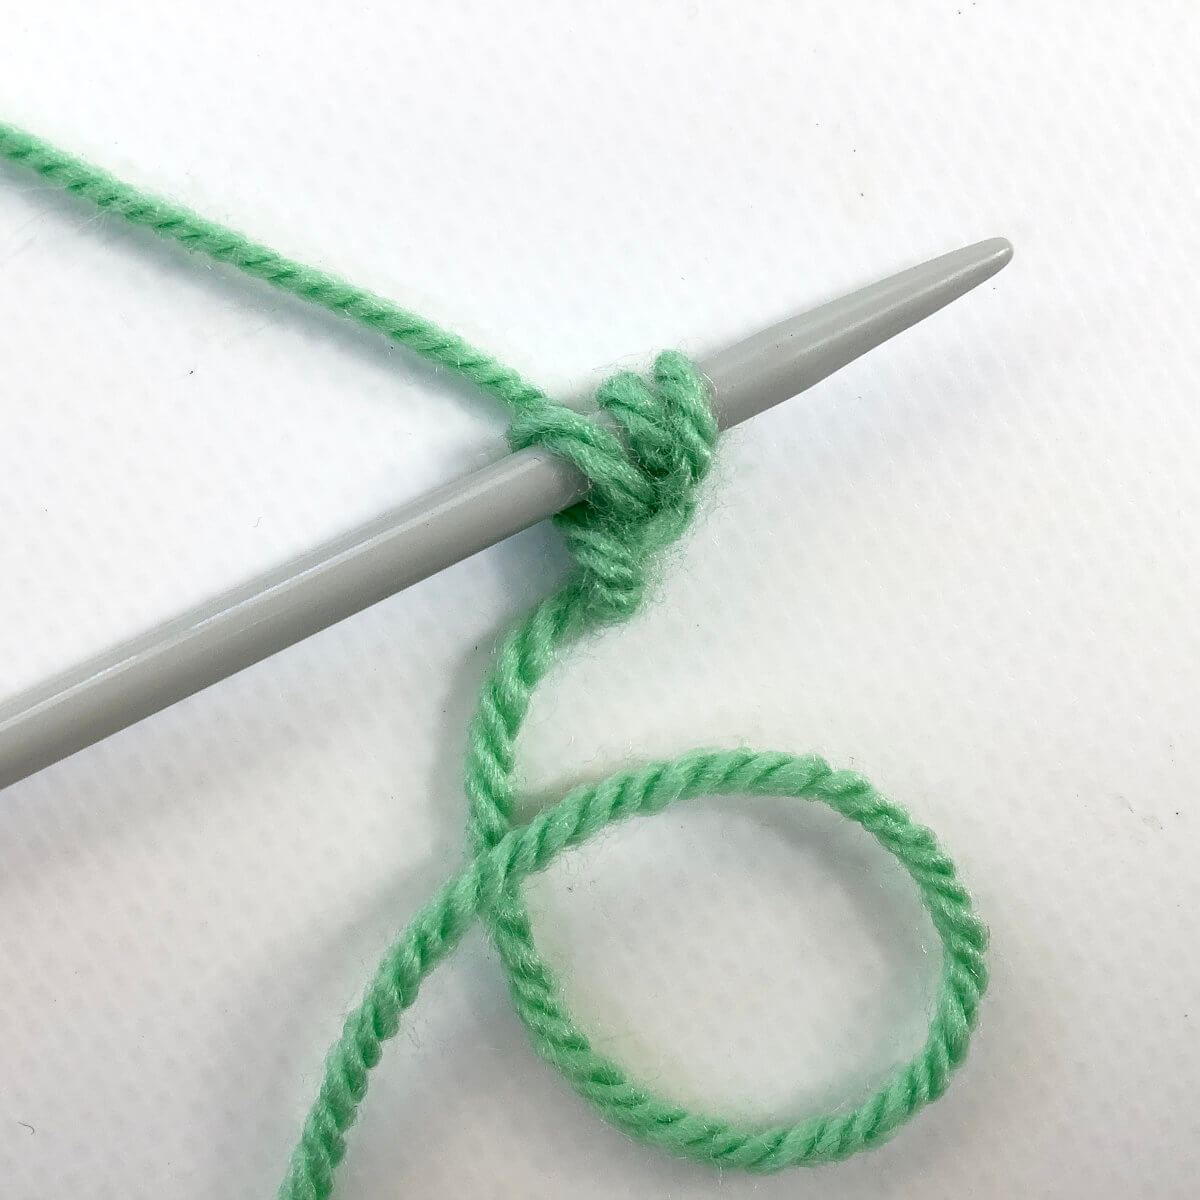
- Make a slip knot and place it on your needle.
This forms the first stitch, make sure to leave enough on the tail of the yarn to weave in later. It is also possible not to use a slip knot and just loop the yarn around the needle for your first stitch, thus avoiding the knot in the corner of your work. For the sake of this tutorial, however, I’m going with the slip knot version.
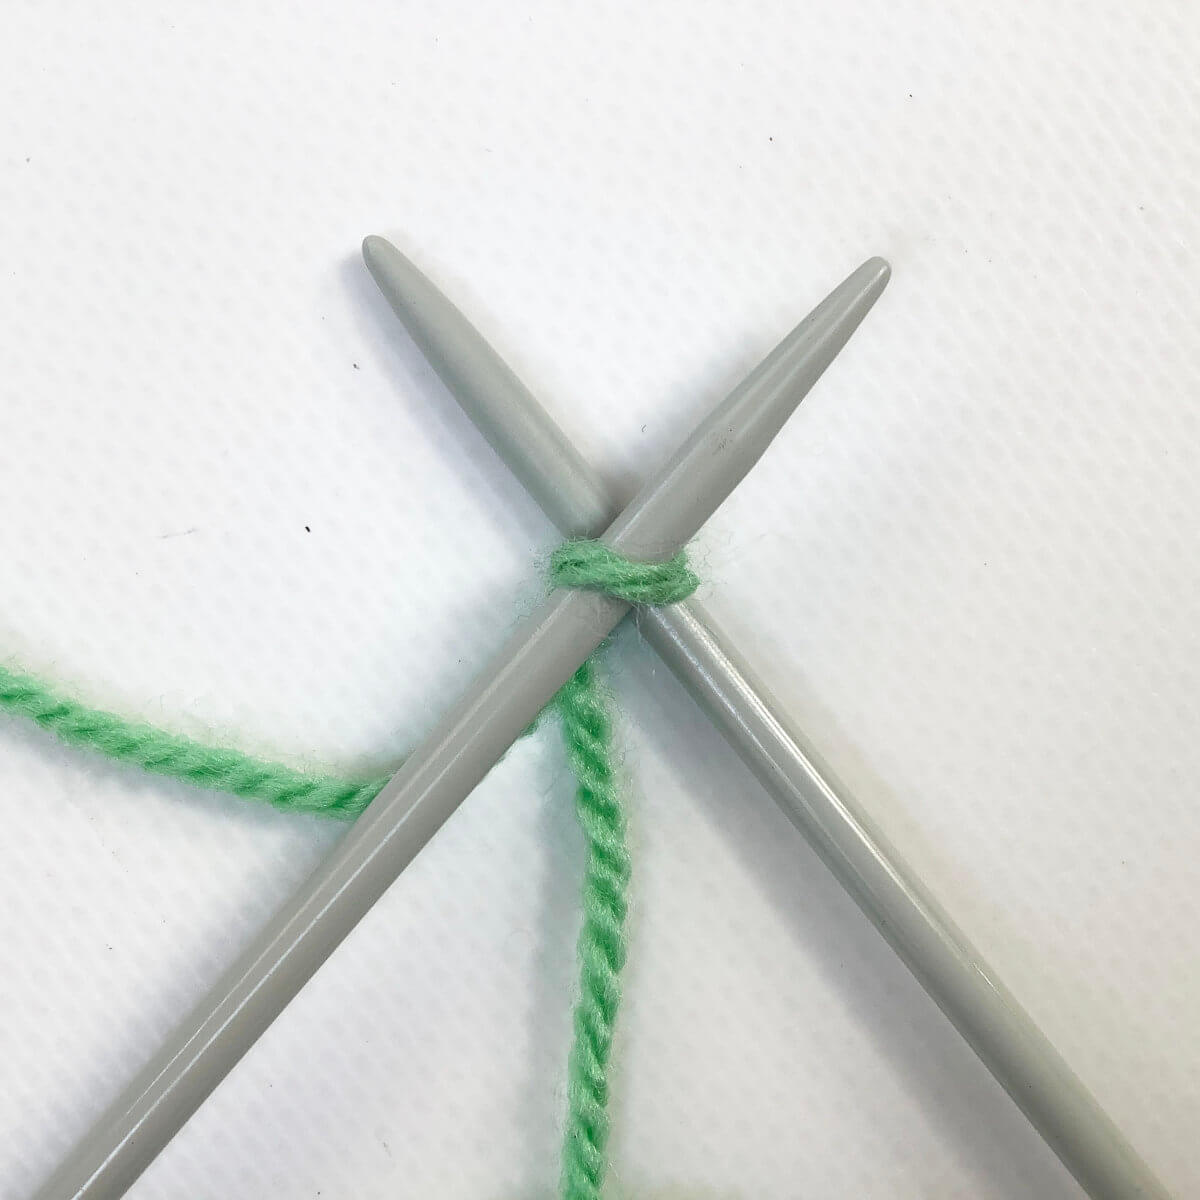
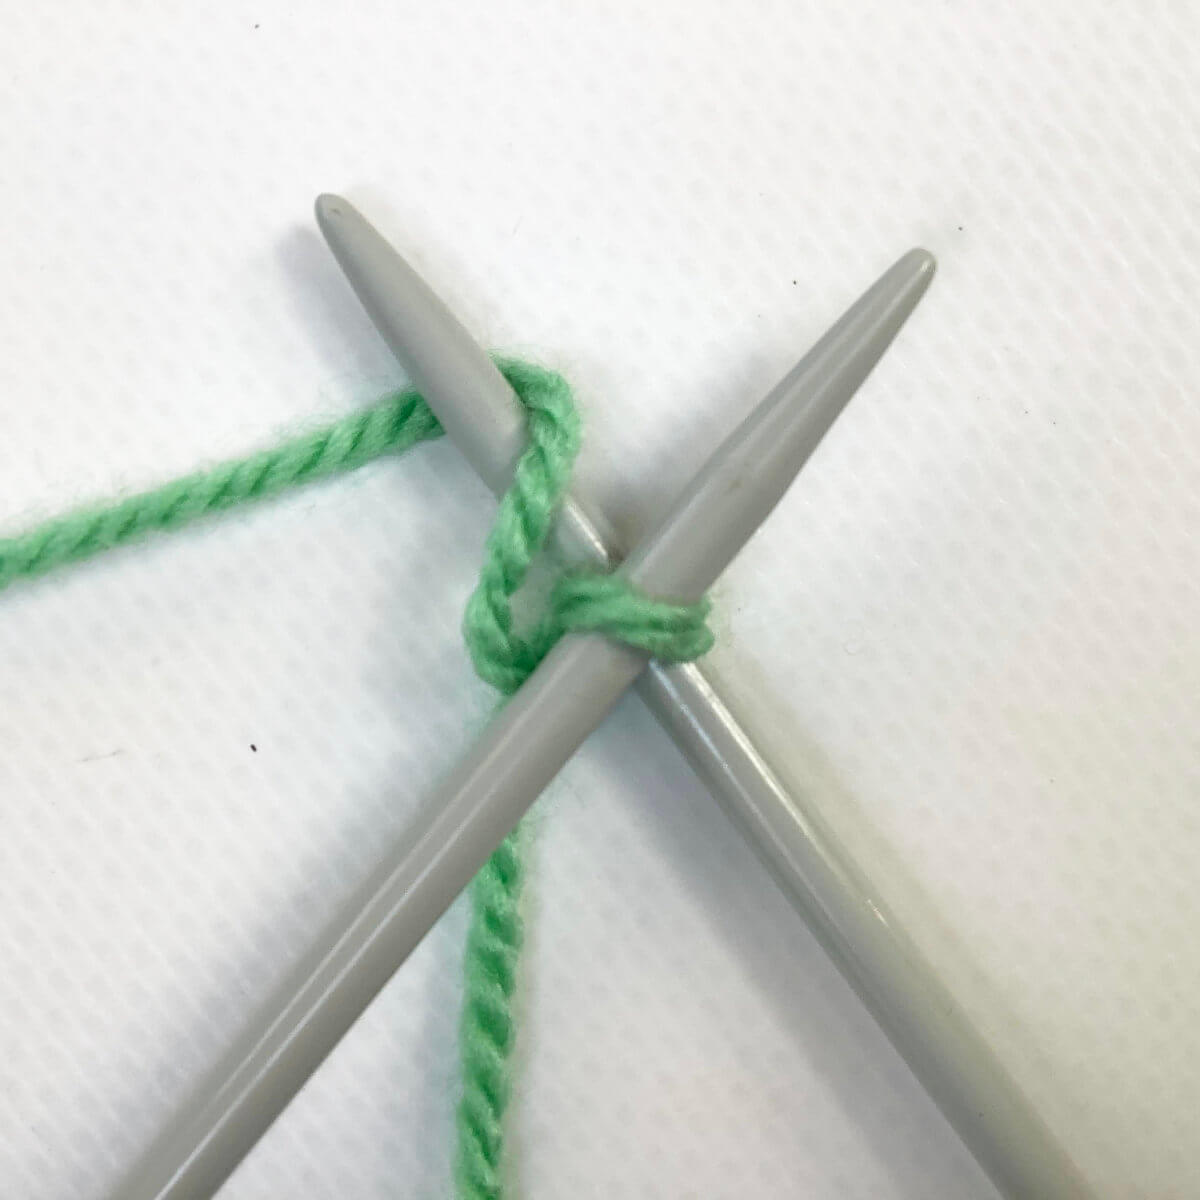
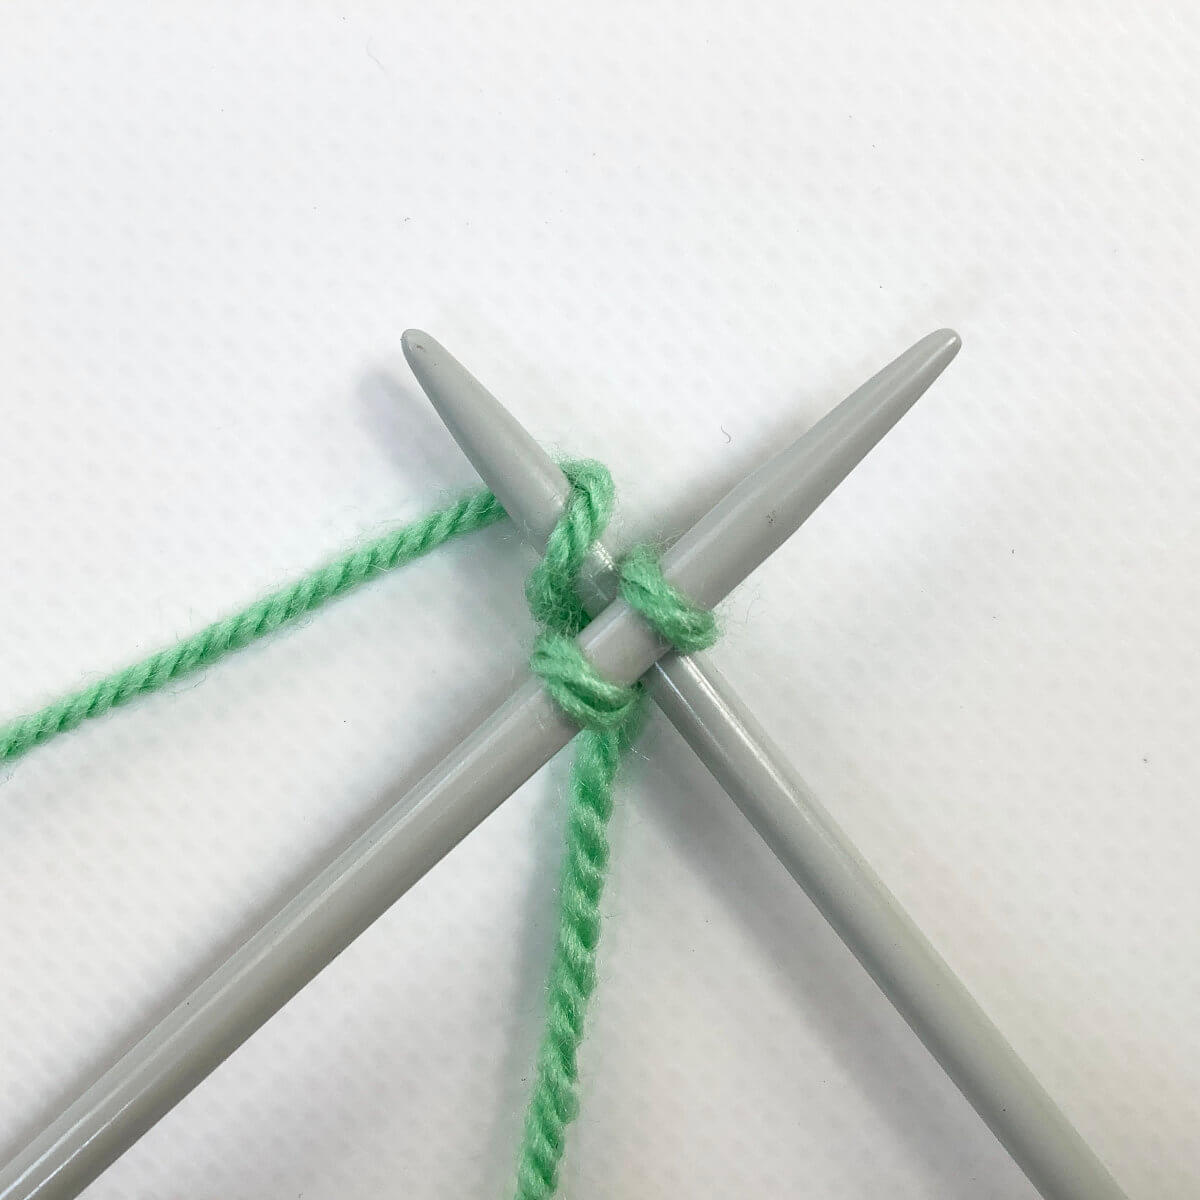
- Take your second needle and insert the tip into the stitch with the needle under your main needle.
Insert at an angle, so your needles cross as pictured.
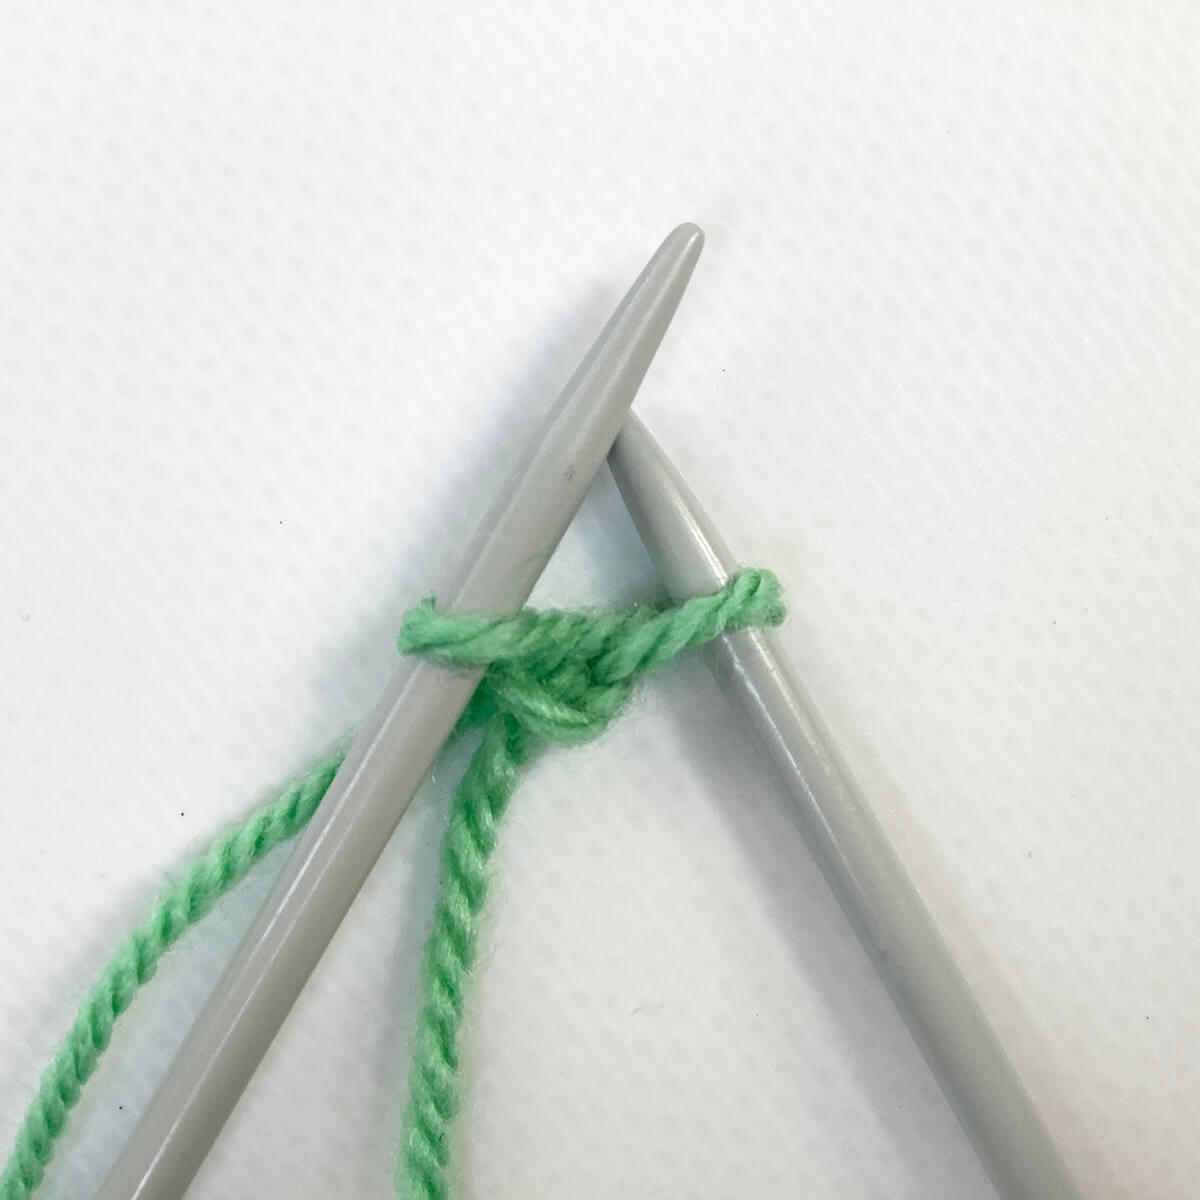
- Hold the crossed needles together, take the yarn connected to your ball and wrap it around the bottom needle: go around, and then over.
Depending on your knitting style, this can be done with either your left or your right hand. The end result is however always the yarn wrapped around the needle as pictured.
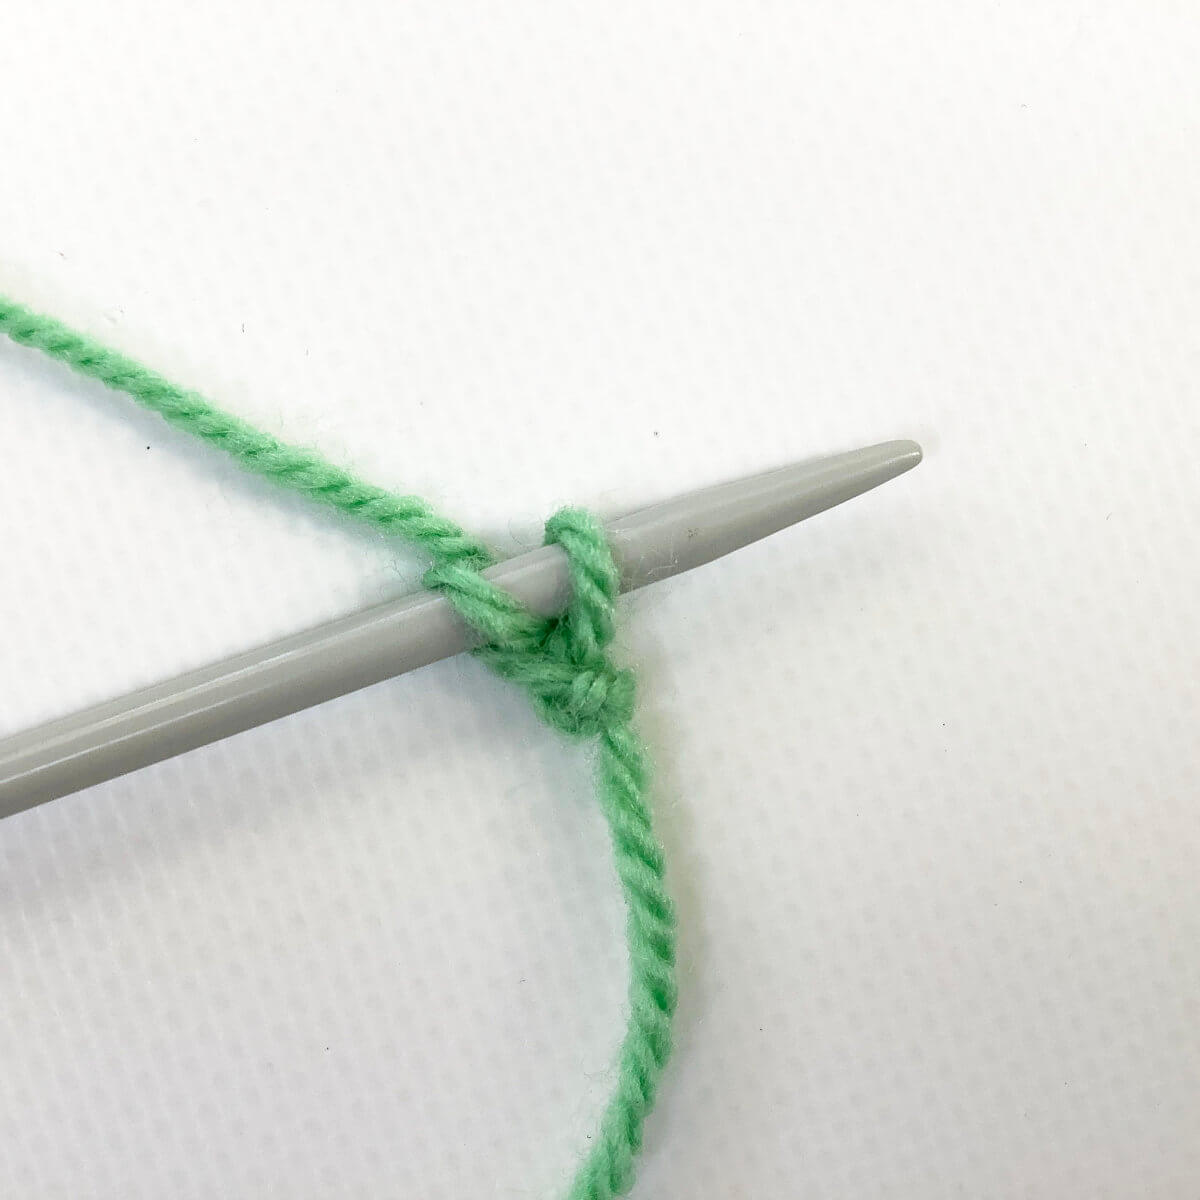
- Take the bottom needle and bring it back through the stitch, pulling the yarn with it in a loop.
- Now transfer the new loop from the bottom needle to the other needle and tighten the yarn.
You have now cast on a stitch!
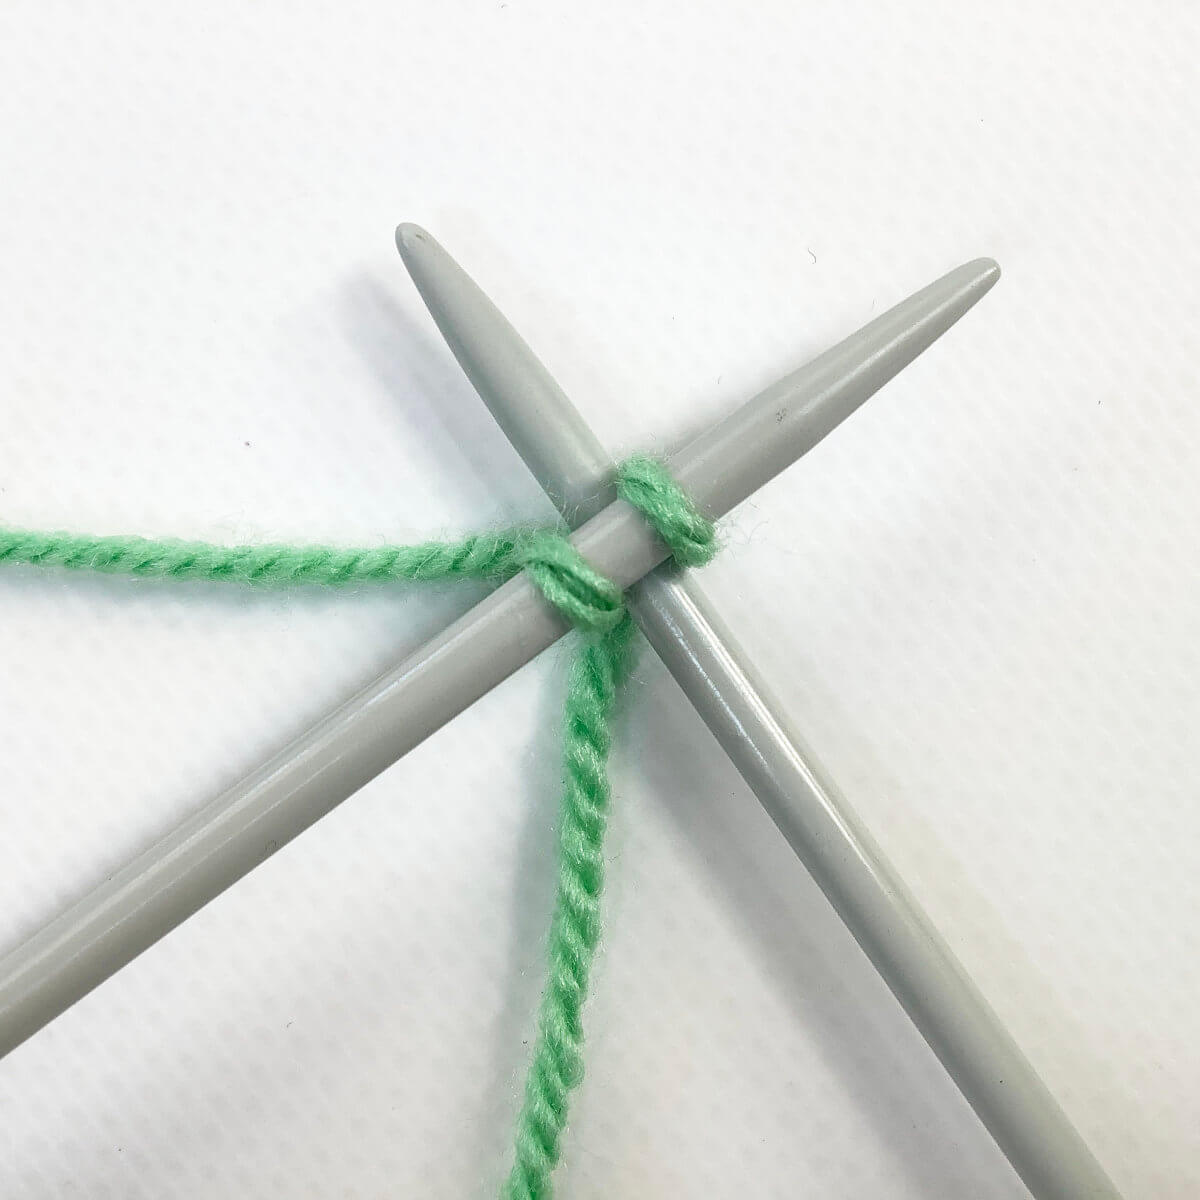
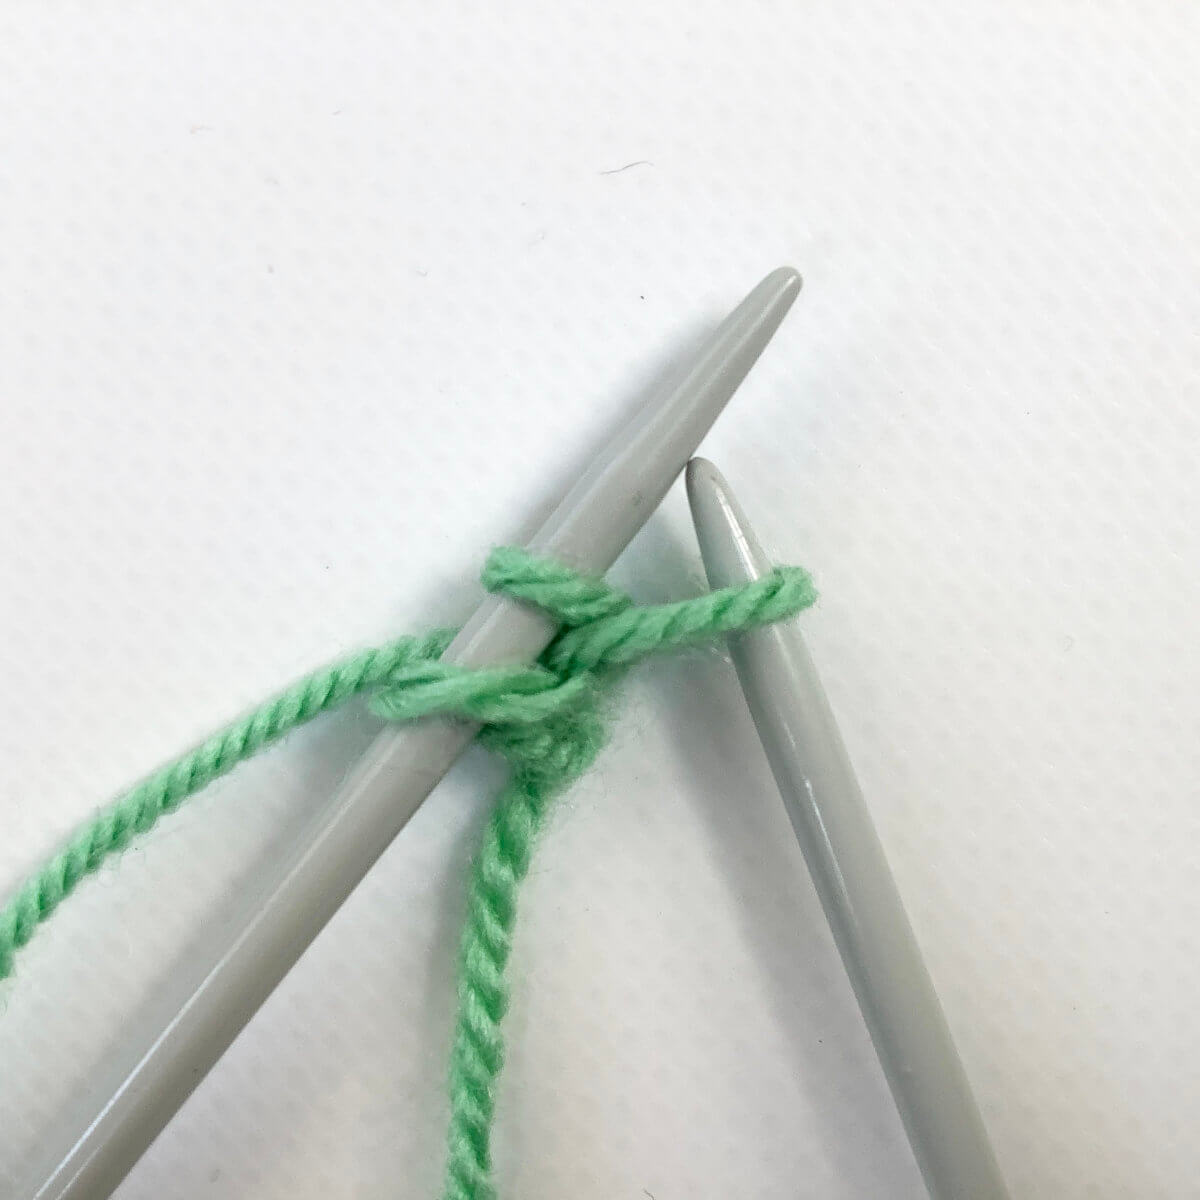
- Take your second needle and insert the tip in between the 2 stitches closest to the tip of the main needle.
In this step, we’re deviating from the knitted-on cast-on.
- Wrap the yarn around the needle….
- … and pull it through the stitch.
- To finish adding the new stitch, place it on the main needle.
- Repeat steps 6-9 until you have reached the desired amount of stitches on your needle.
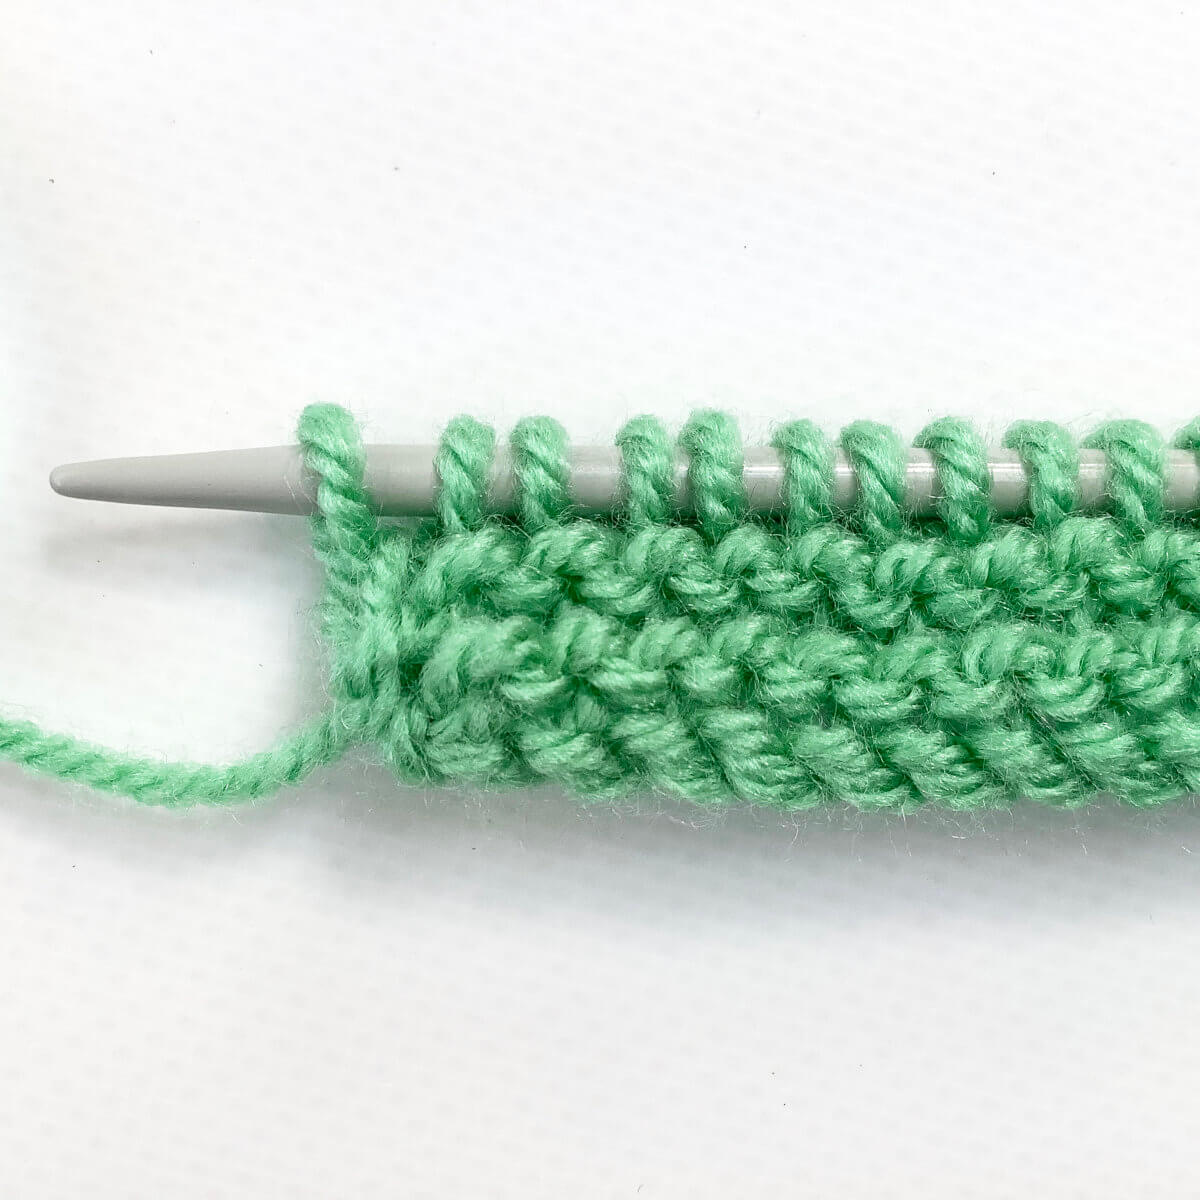
This is how it looks from the RS of the work, after a couple rows have been worked in garter stitch.
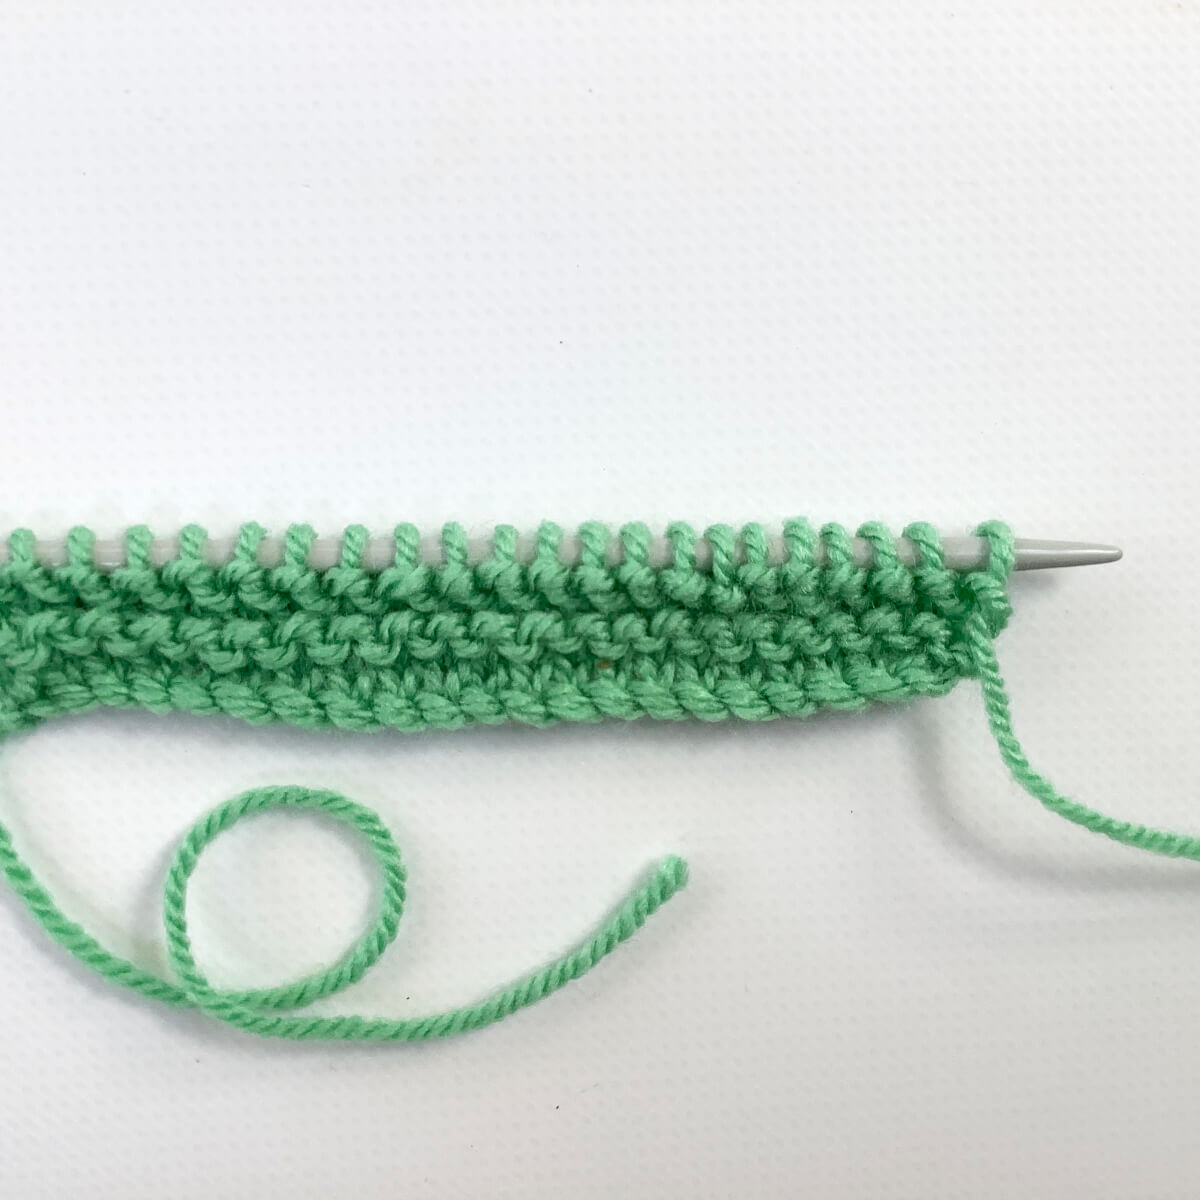
- And the result from the WS:

Thanks to my Patreon supporters for bringing you this freebie! Creating quality patterns and tutorials is a lot of work and resource-intensive. However, I find it important to give you free content like this tutorial. Thanks to the generous support of my Patreon supporters, I can make it happen. Thank you, patrons! Click here to join, or click here to read more about La Visch Designs on Patreon.


