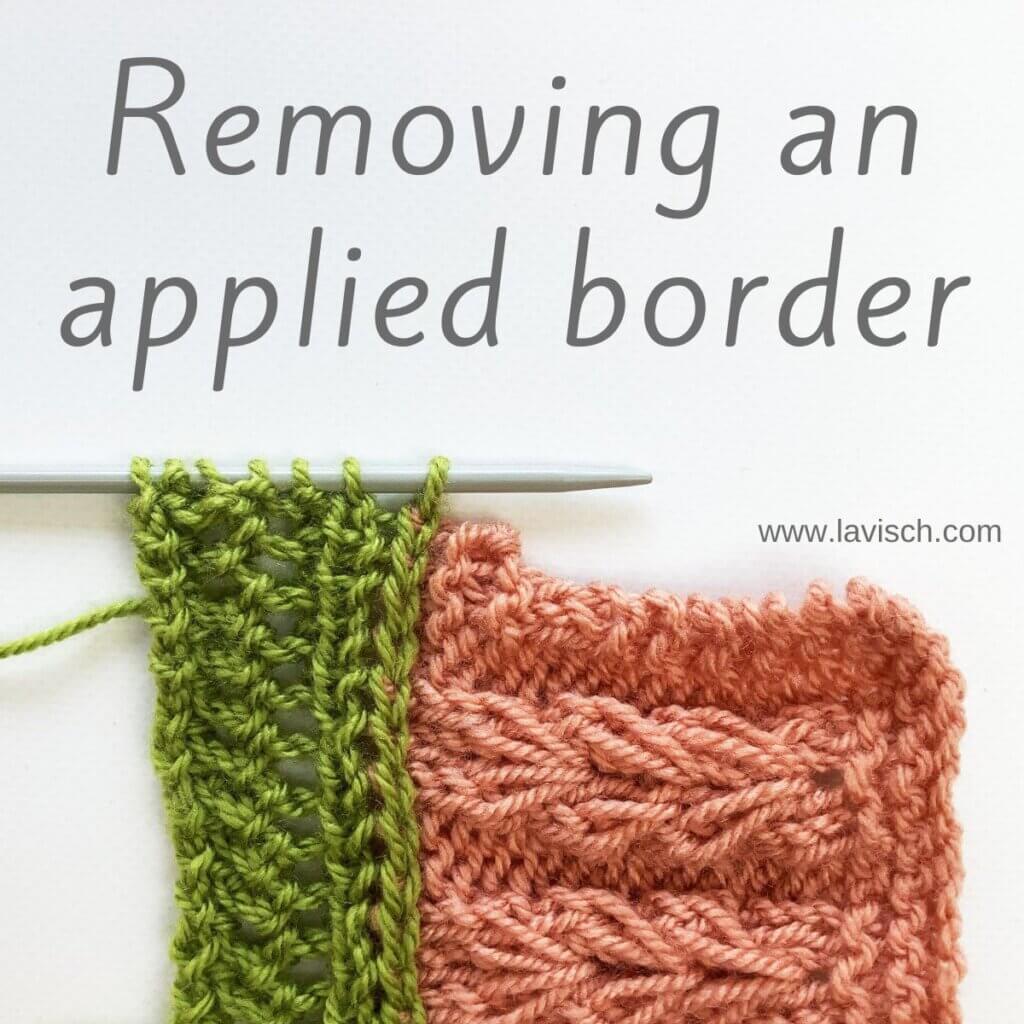
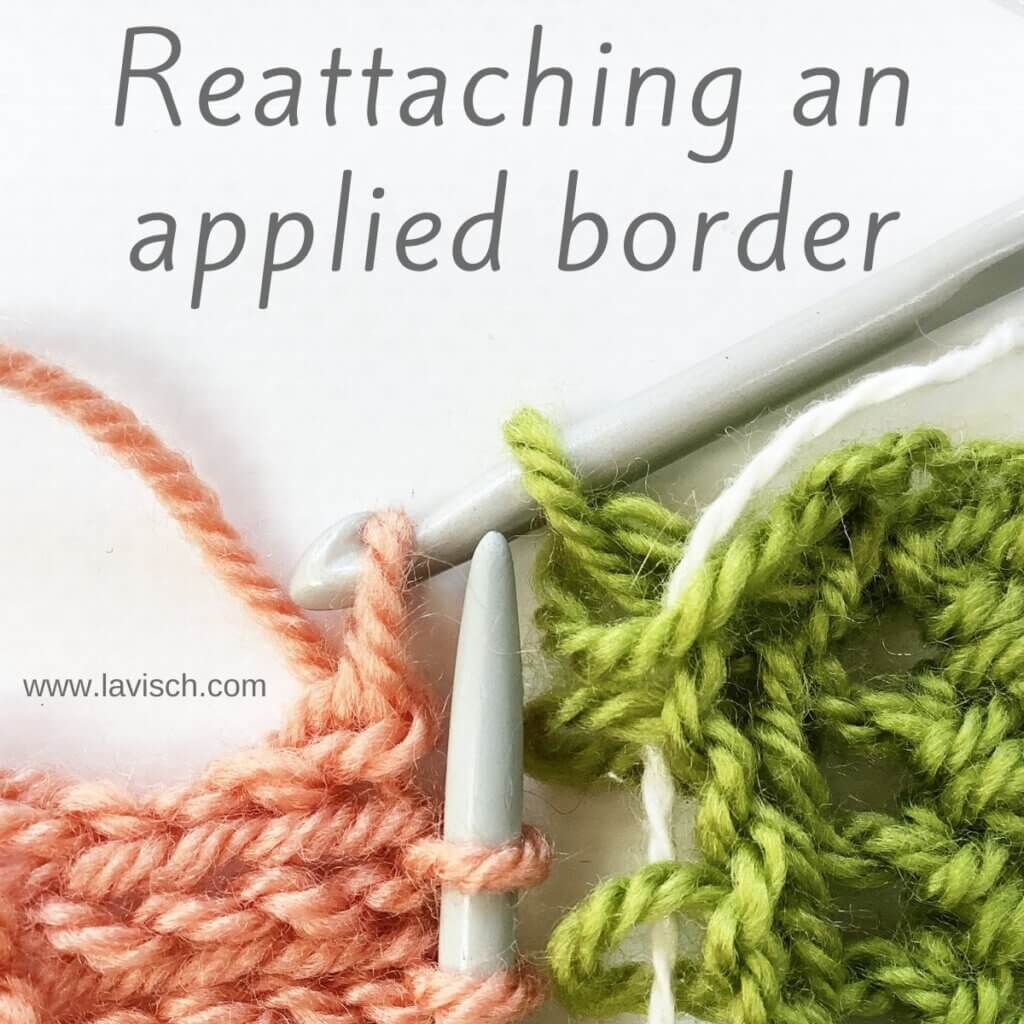
tutorial – reattaching an applied border
In a recent post, I showed you how to remove an applied border, in order to reattach it later on. For example, after a couple of more rounds or rows in the main body of the project have been worked. But, this only does any good, if you also know how to reattach it again as well. So, in the name of science, I tried it out on a swatch. In this post, I’ll show you exactly what I did to reattach the removed knitted-on border.
Materials used


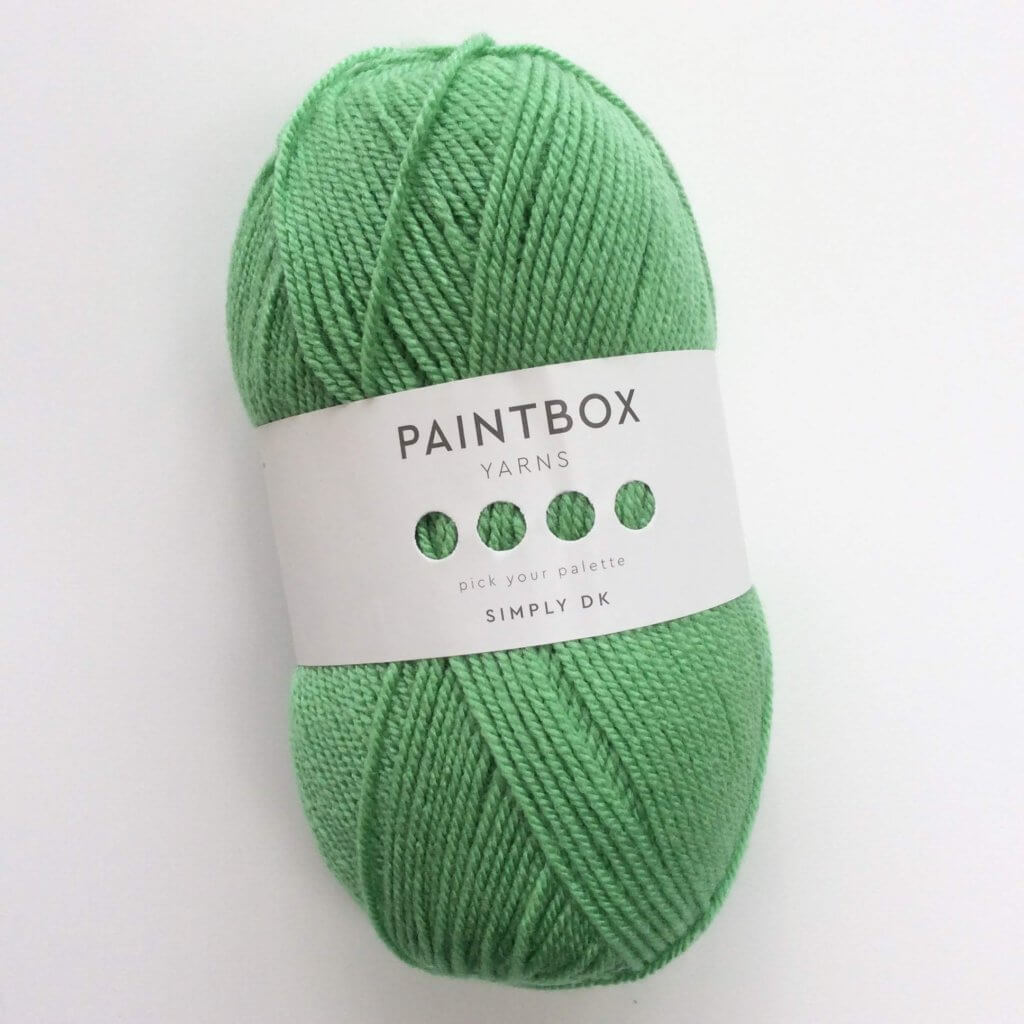
Yarn: Paintbox Yarns Simply DK, a good value, good quality 100% acrylic yarn, here in the colors Lime and Vintage Pink.
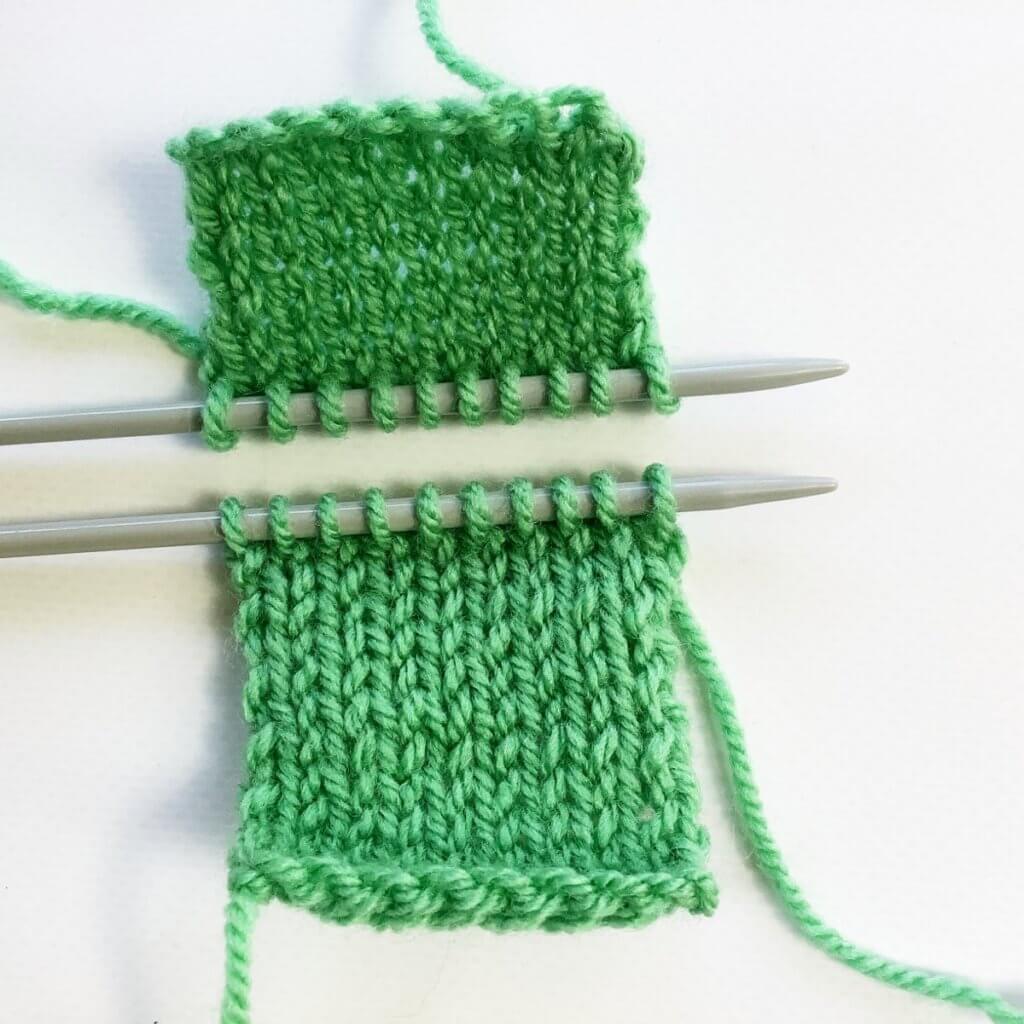
Other tools: Some spare knitting needles, and a crochet hook in the same size or slightly smaller than your knitting needles. For example, this Pony Aluminum Crochet Hook in size 4 mm. I also used a darning needle, a length of smooth crochet cotton, and a stitch holder.
Reattaching the applied border step by step
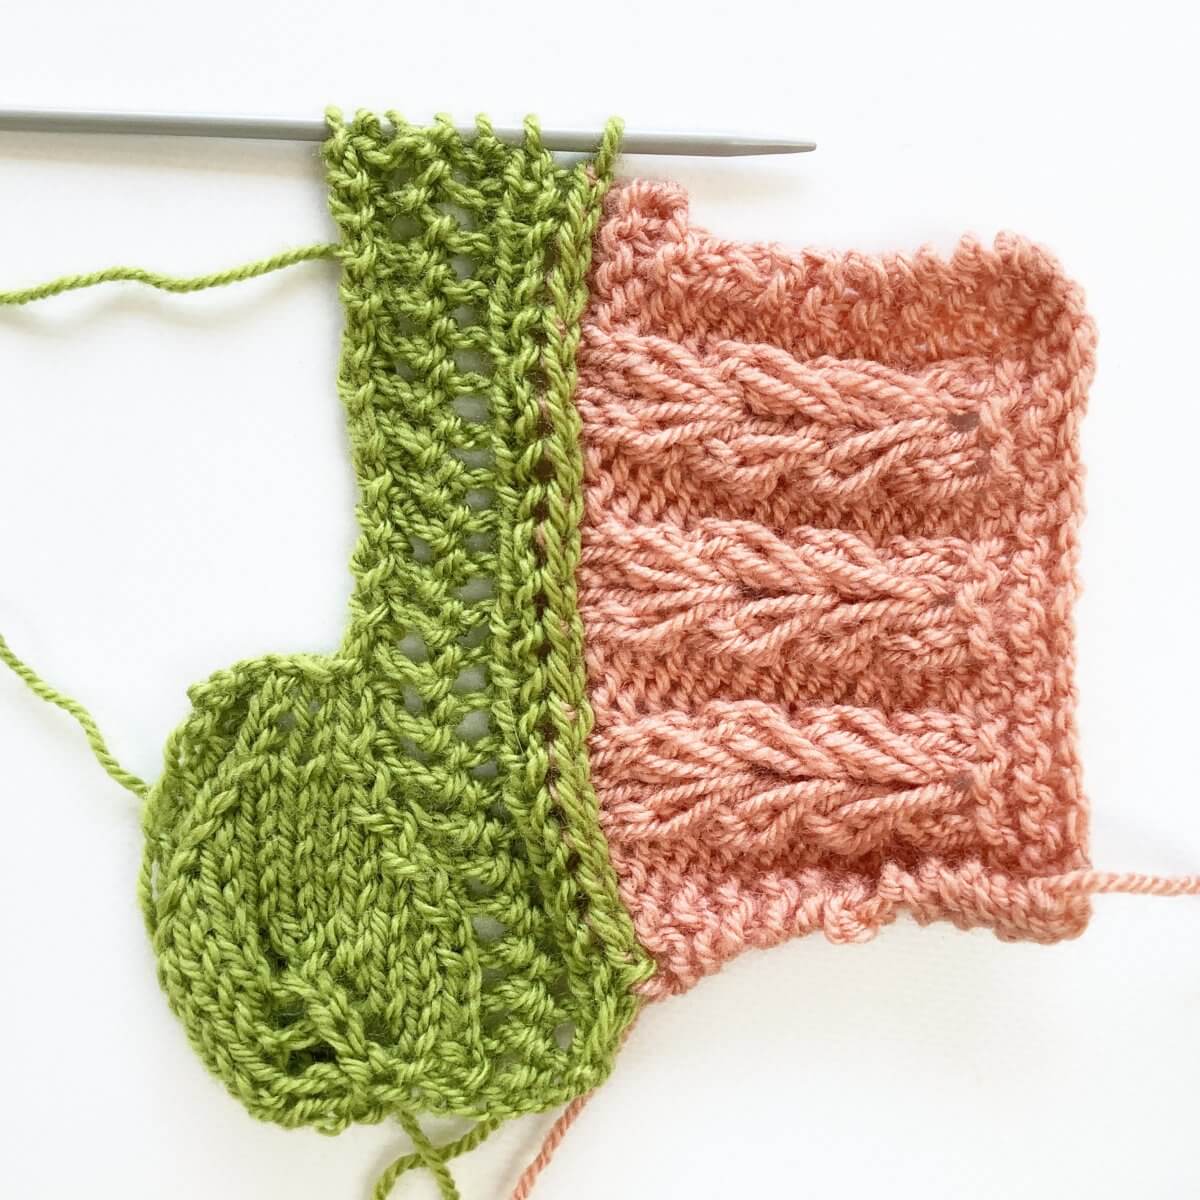
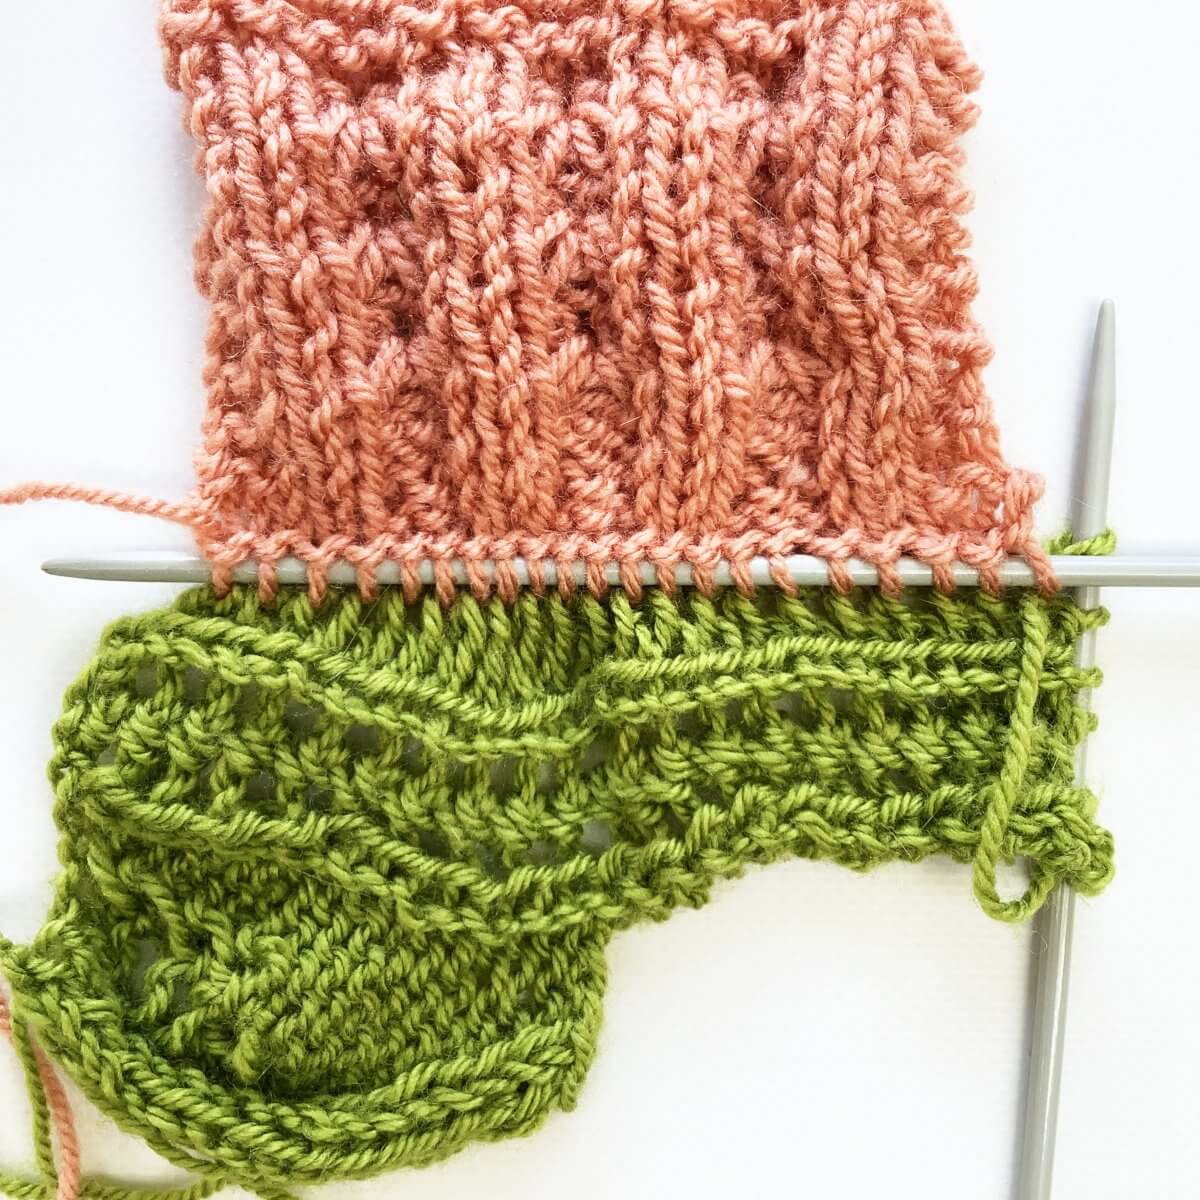
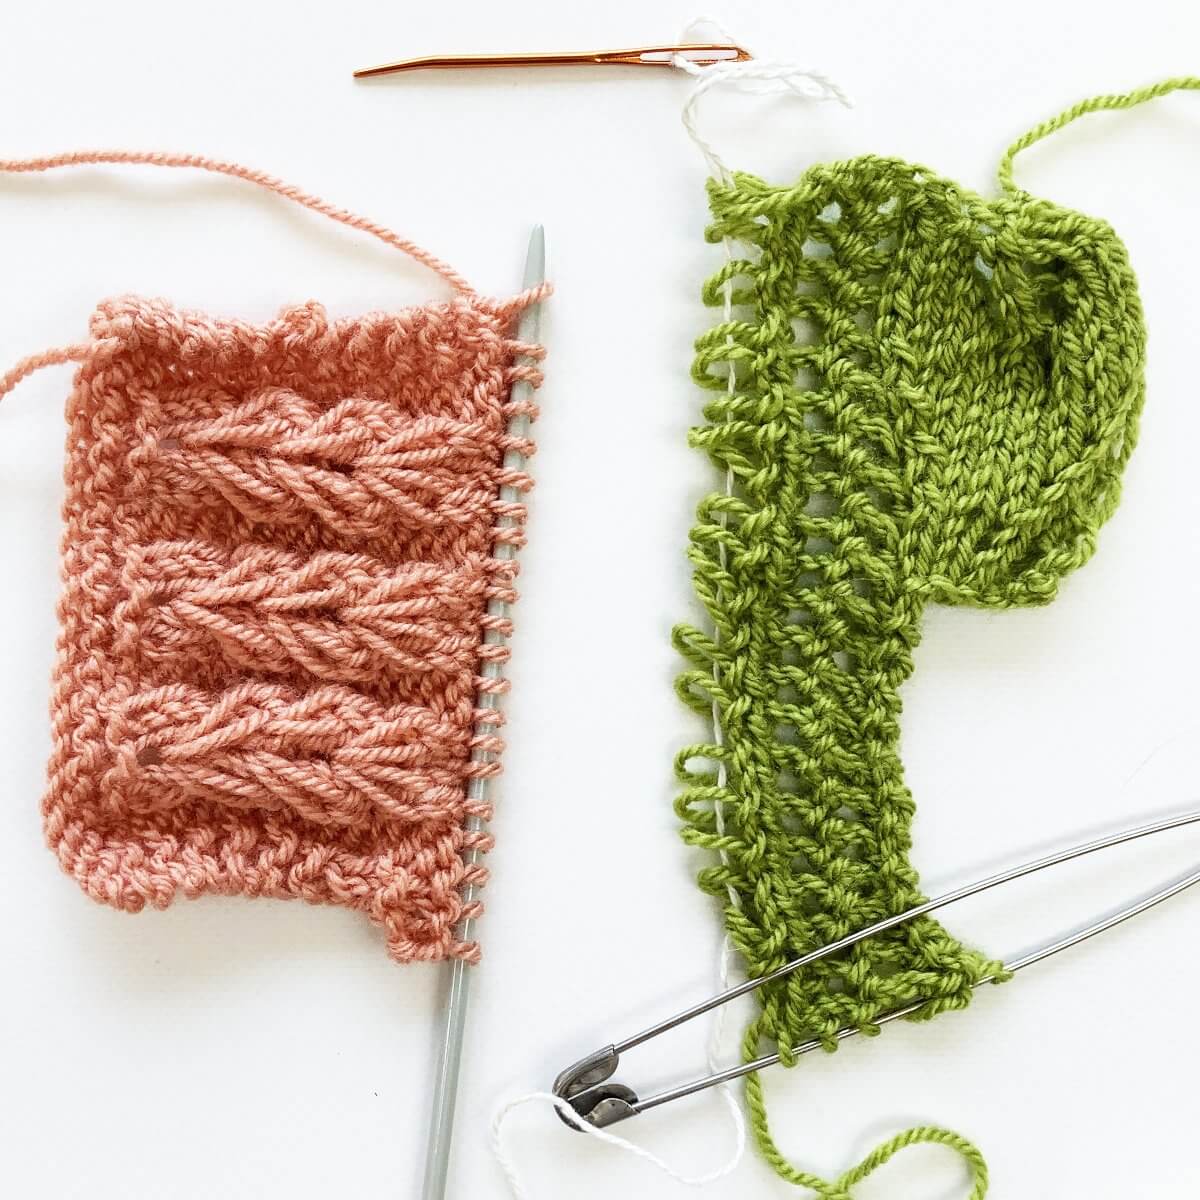
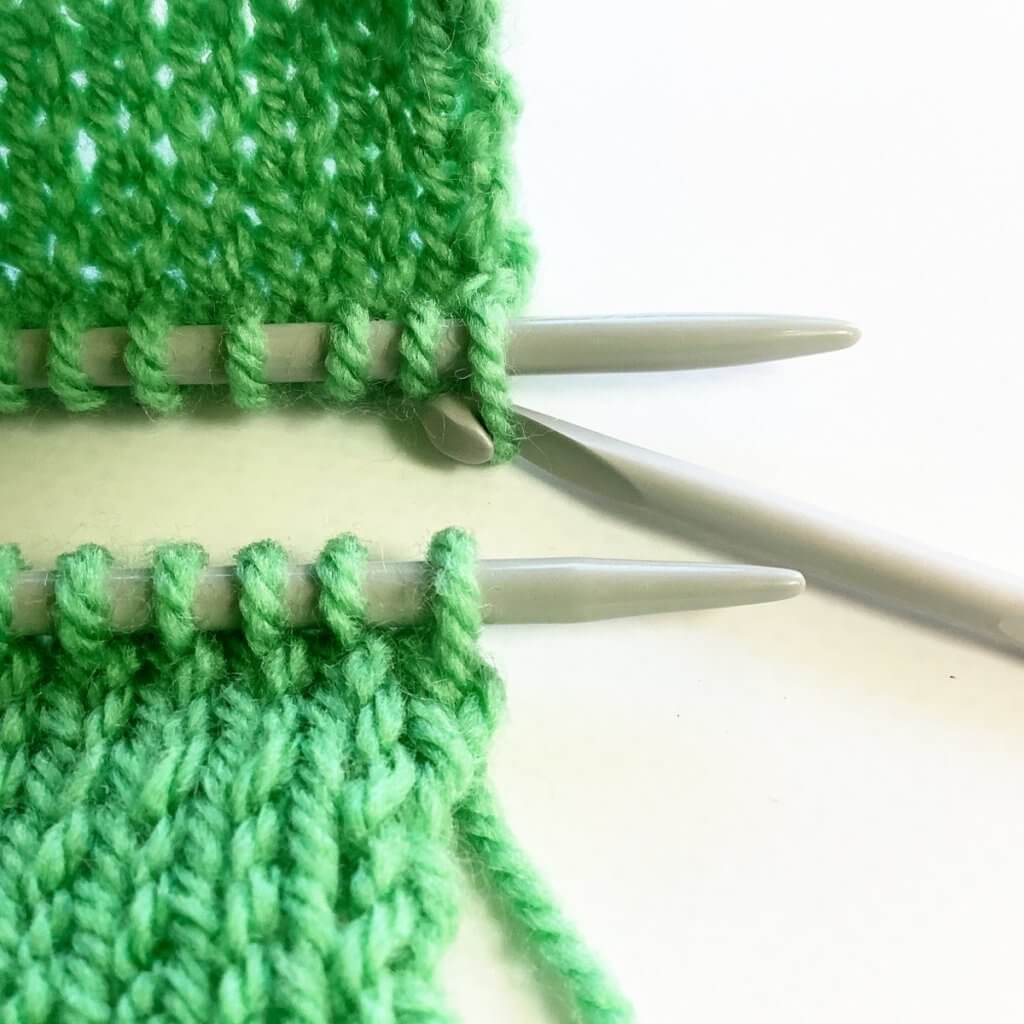
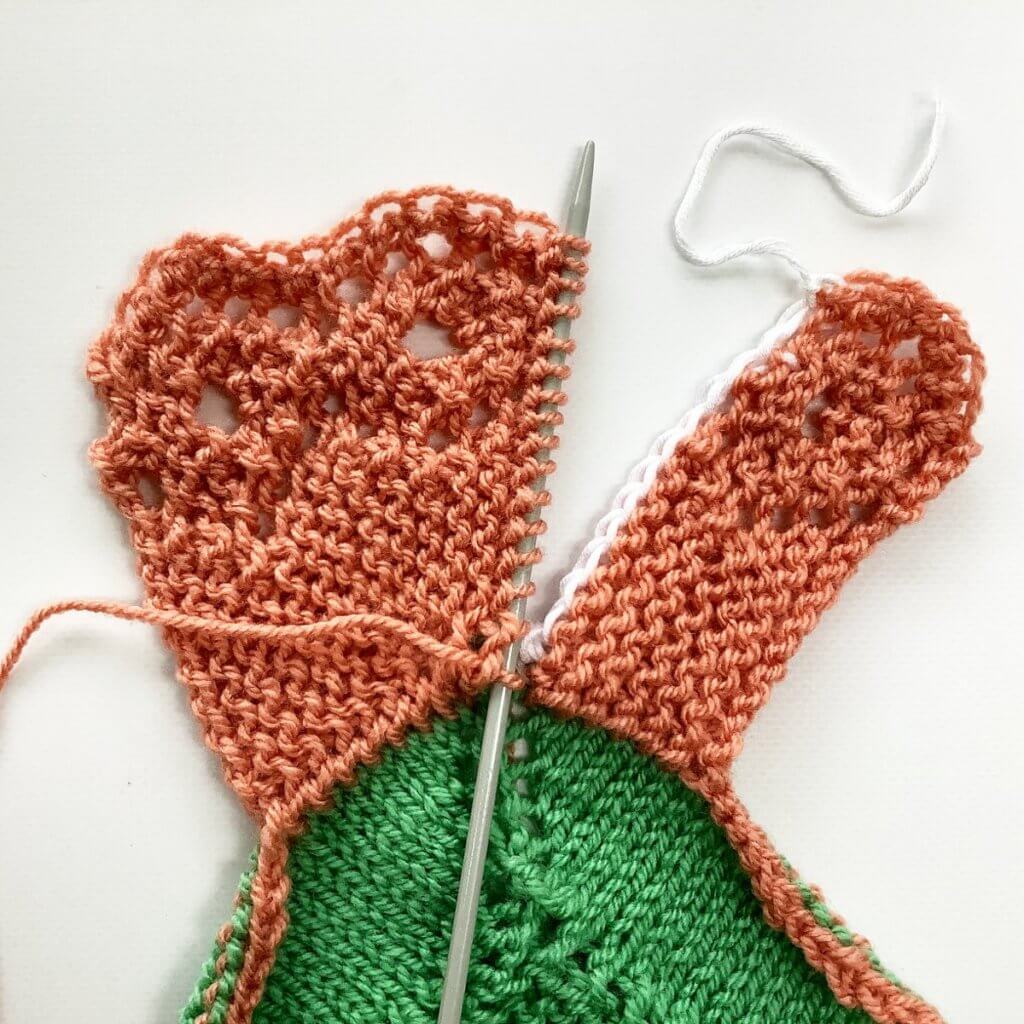
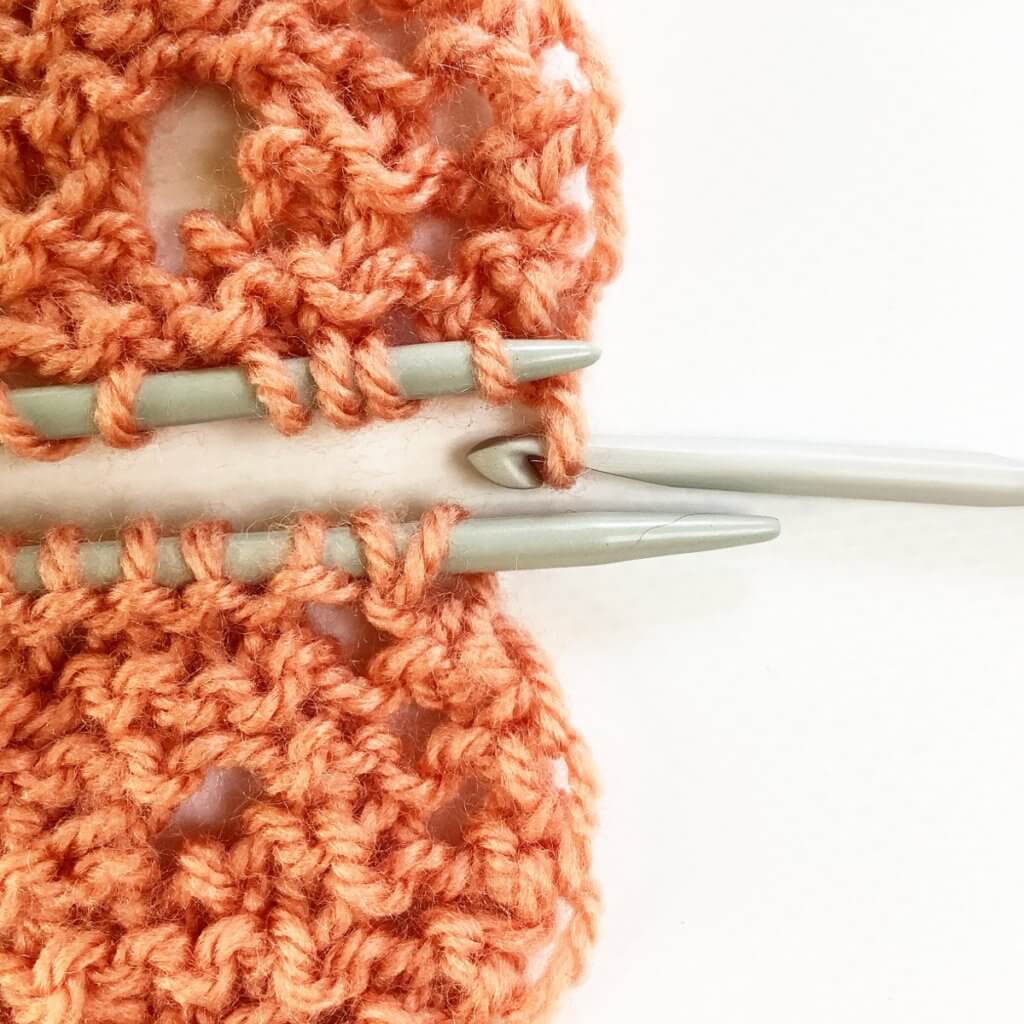
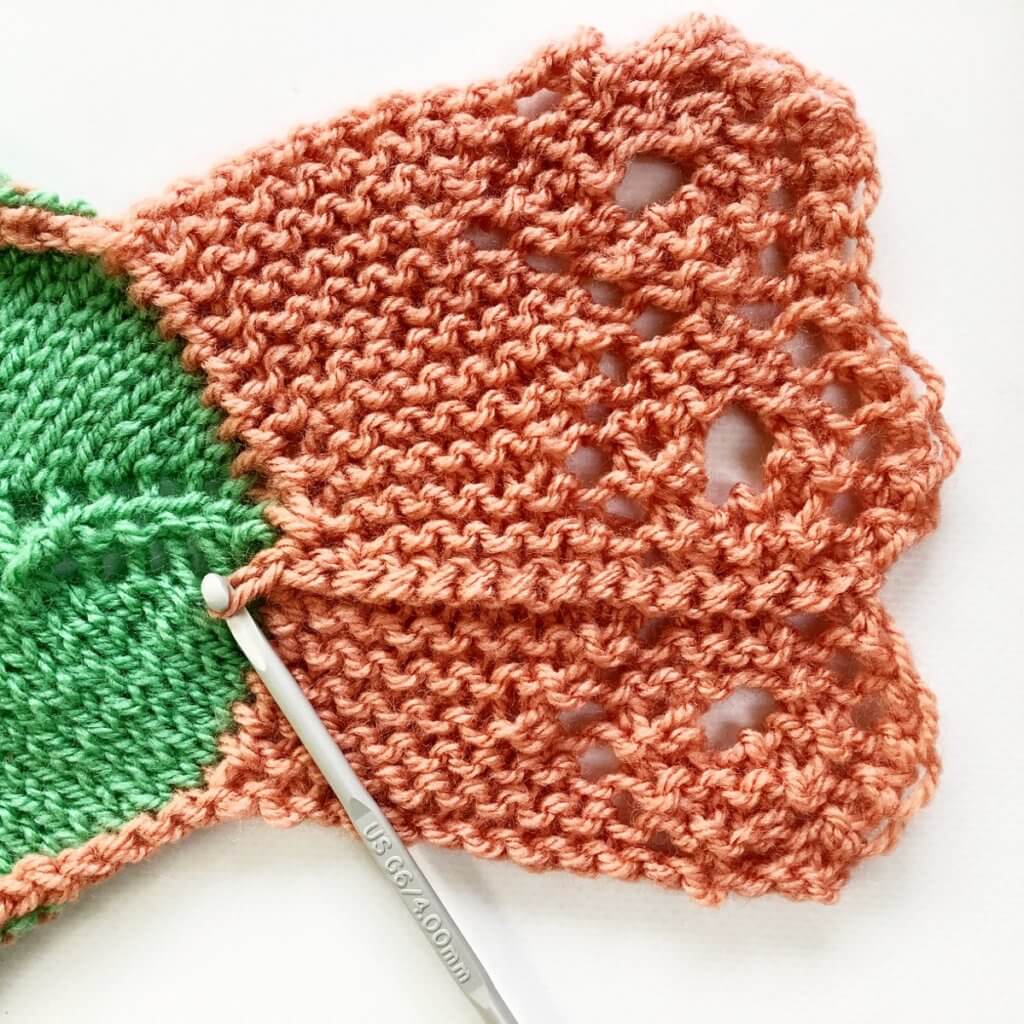
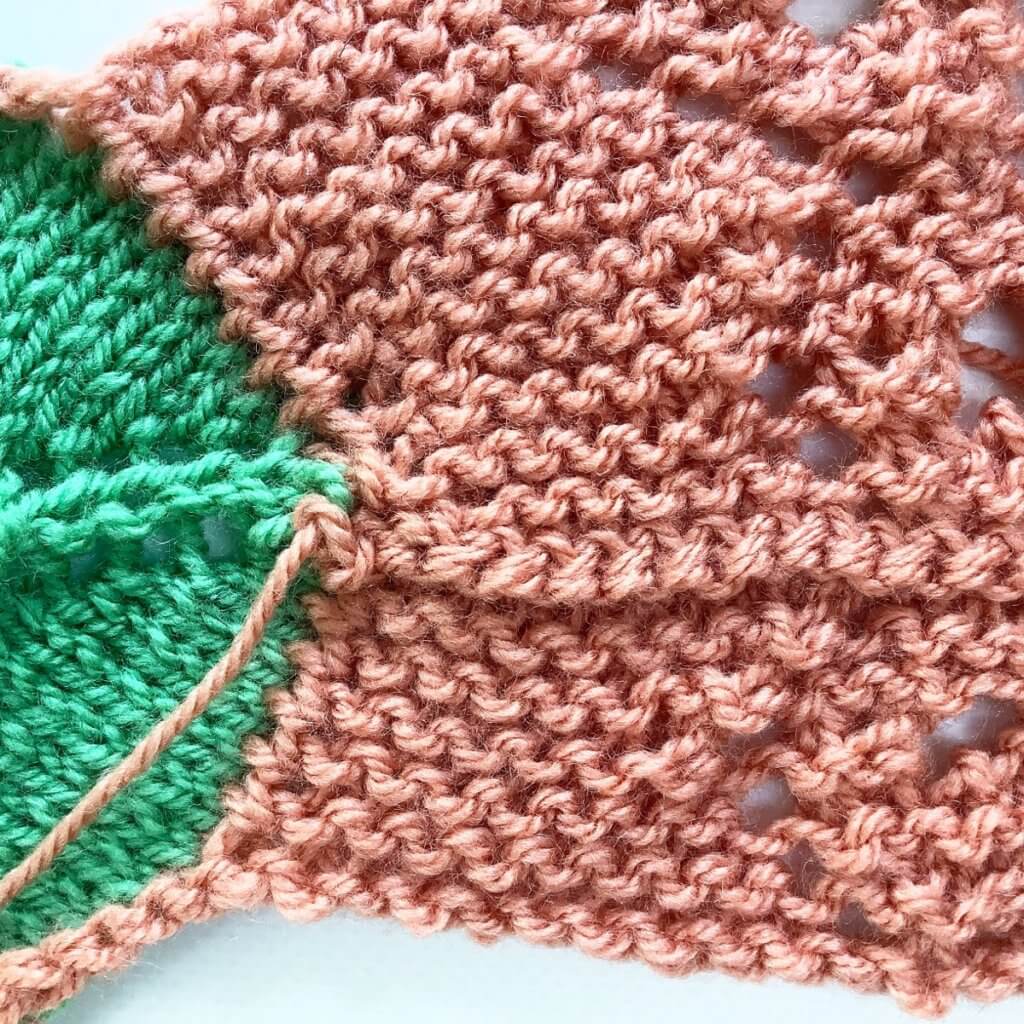
- For this tutorial, I’m continuing with the swatch I used for the tutorial on removing the applied border. I worked extra rows in the pink part to simulate what I want to do with the big round project. To get started on reattaching it, I arranged both the border and the main body of the project with the right sides of the fabric pointing up.
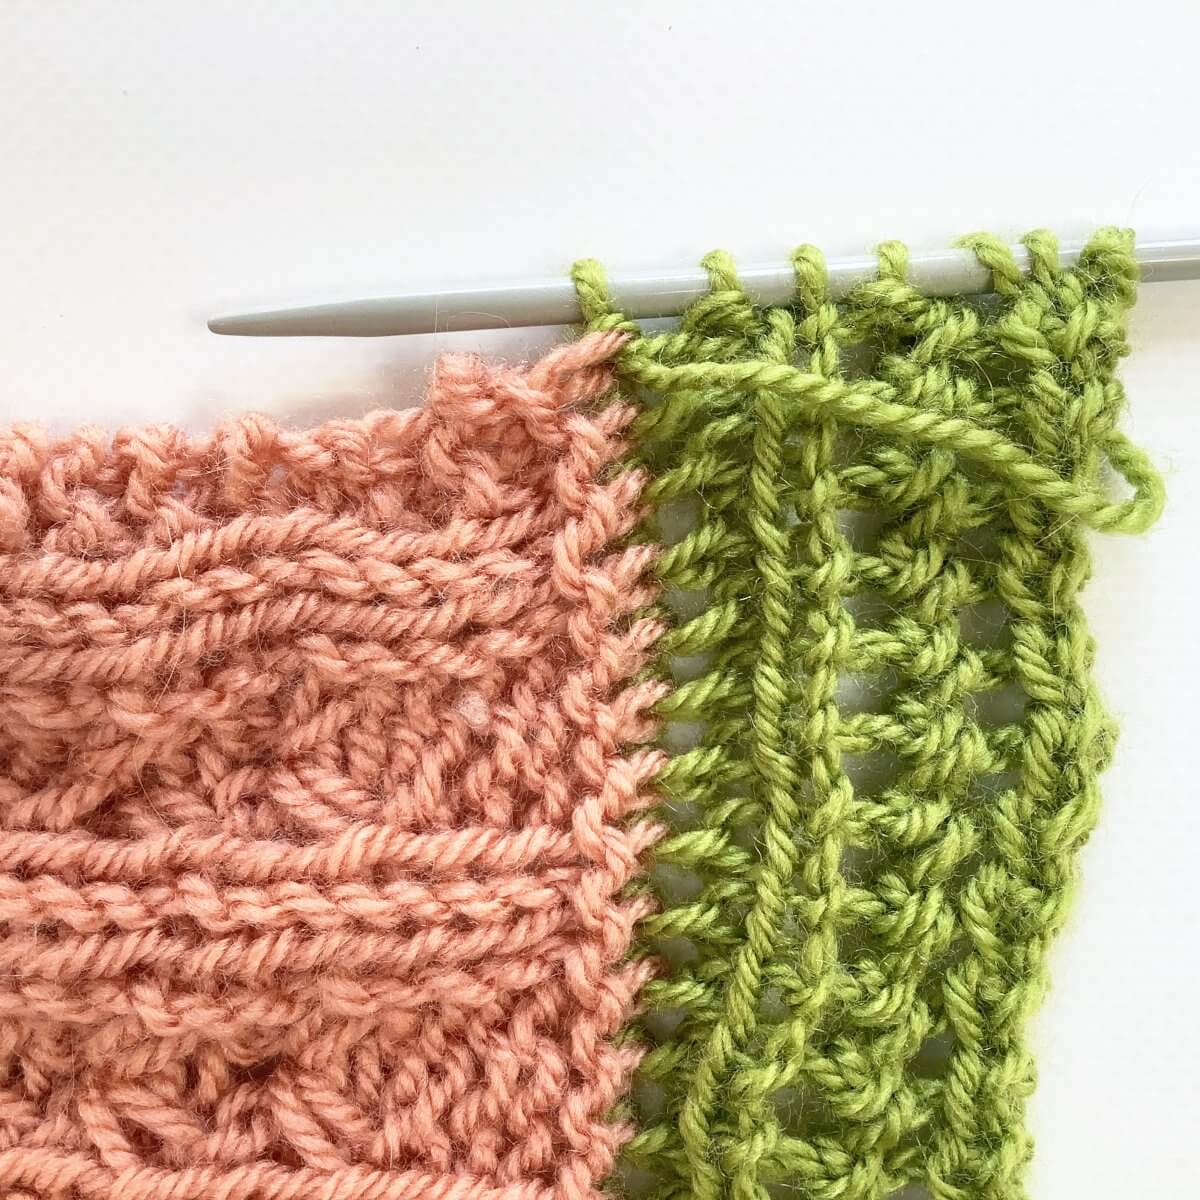
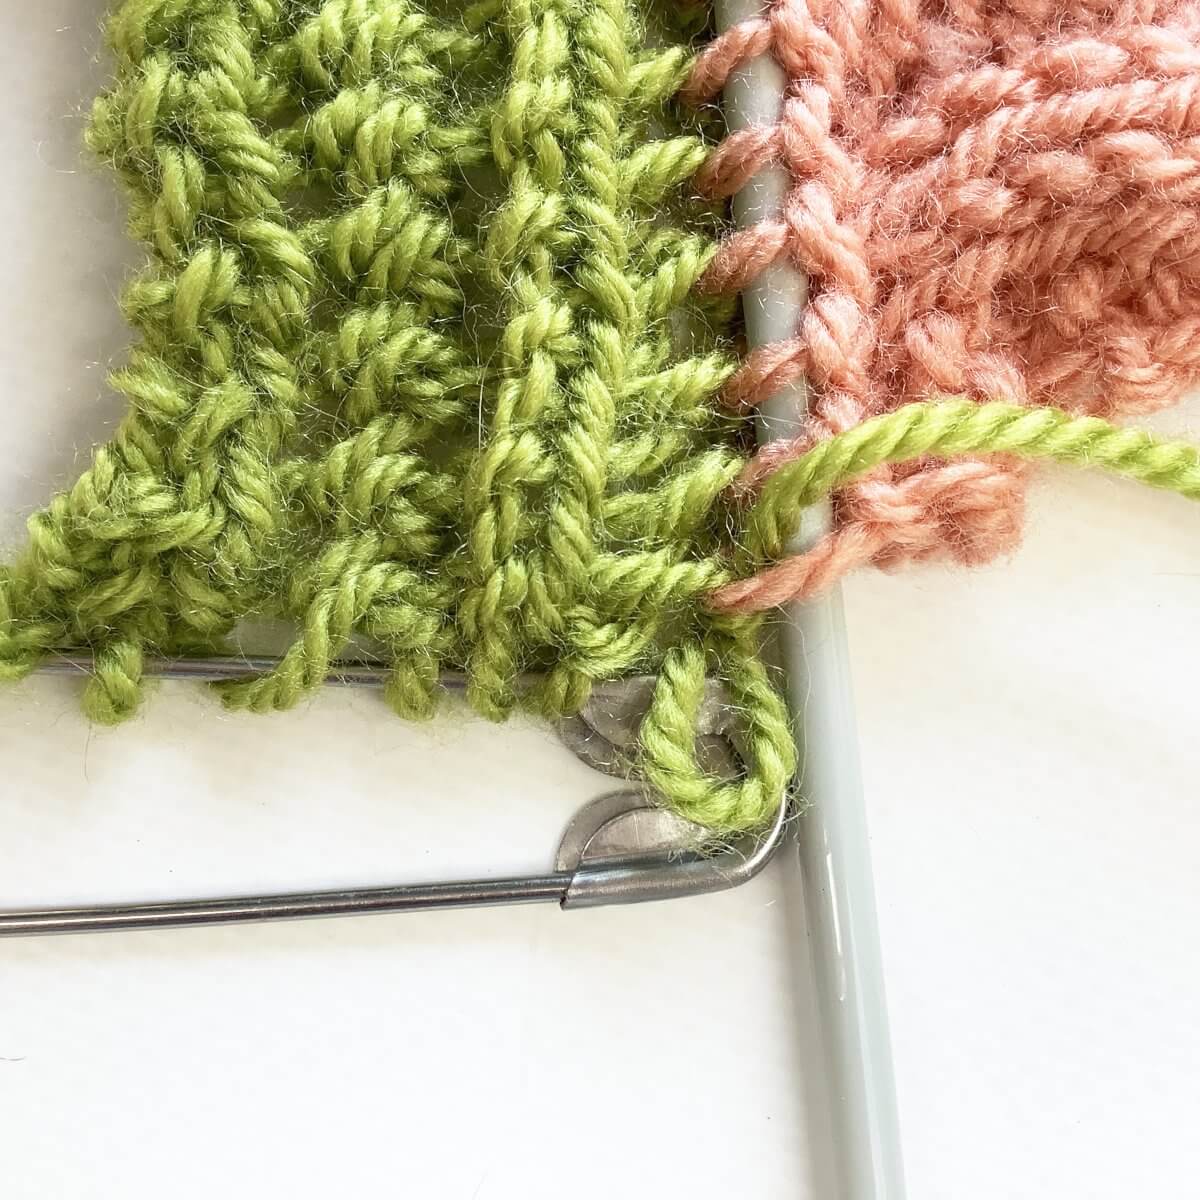
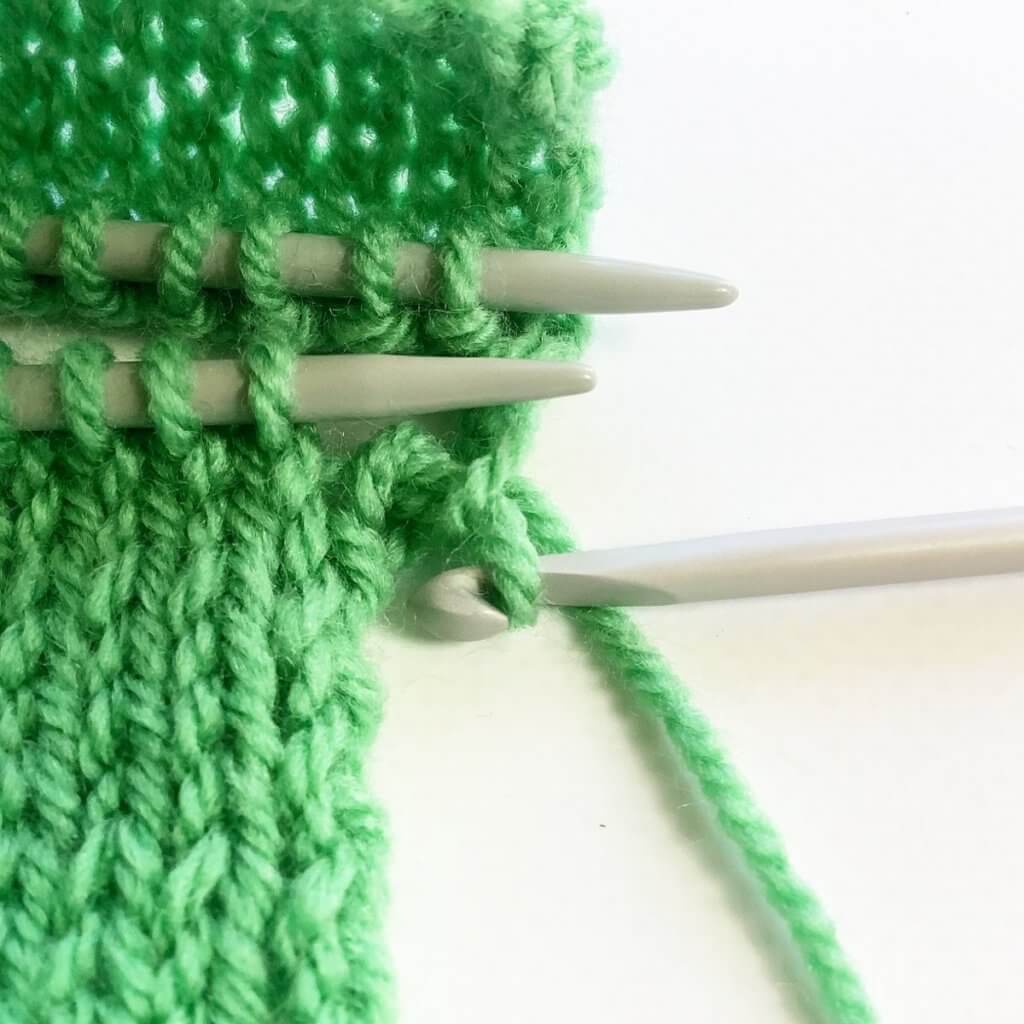
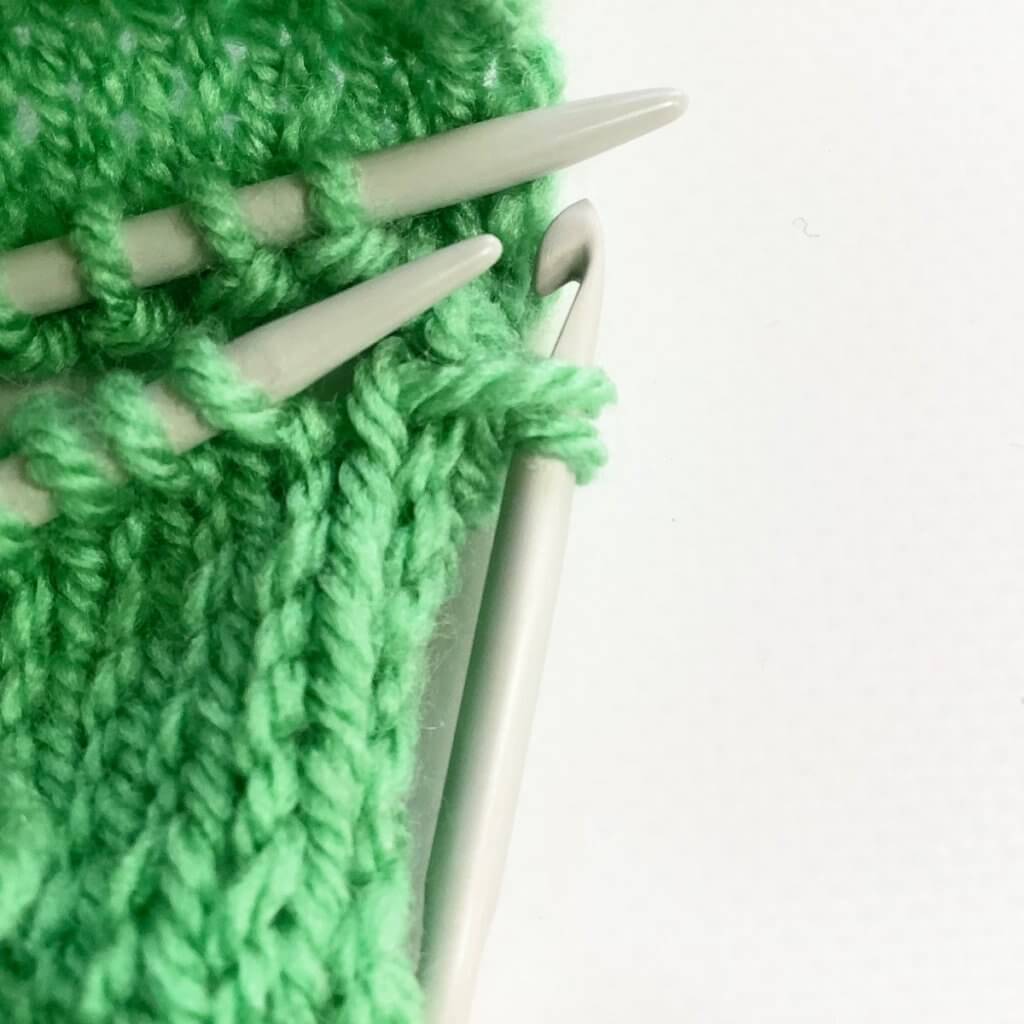
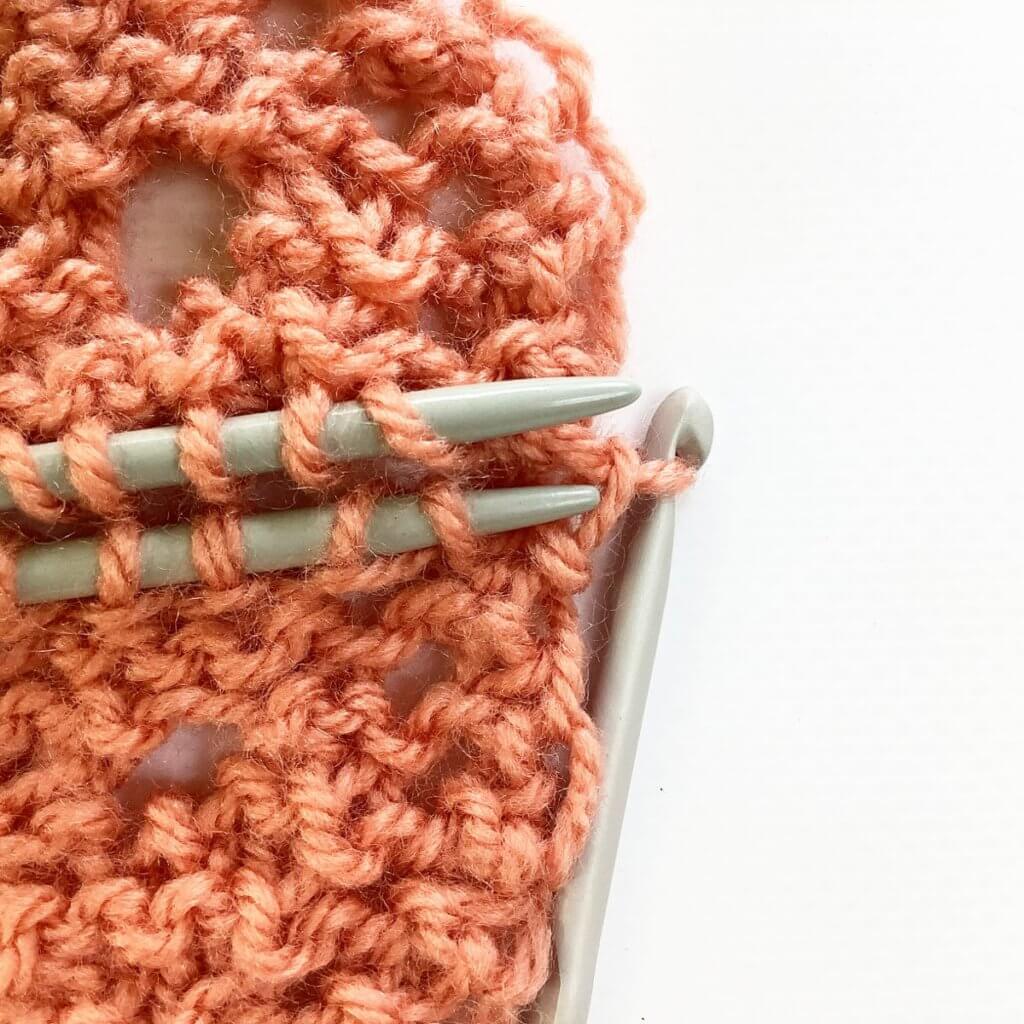
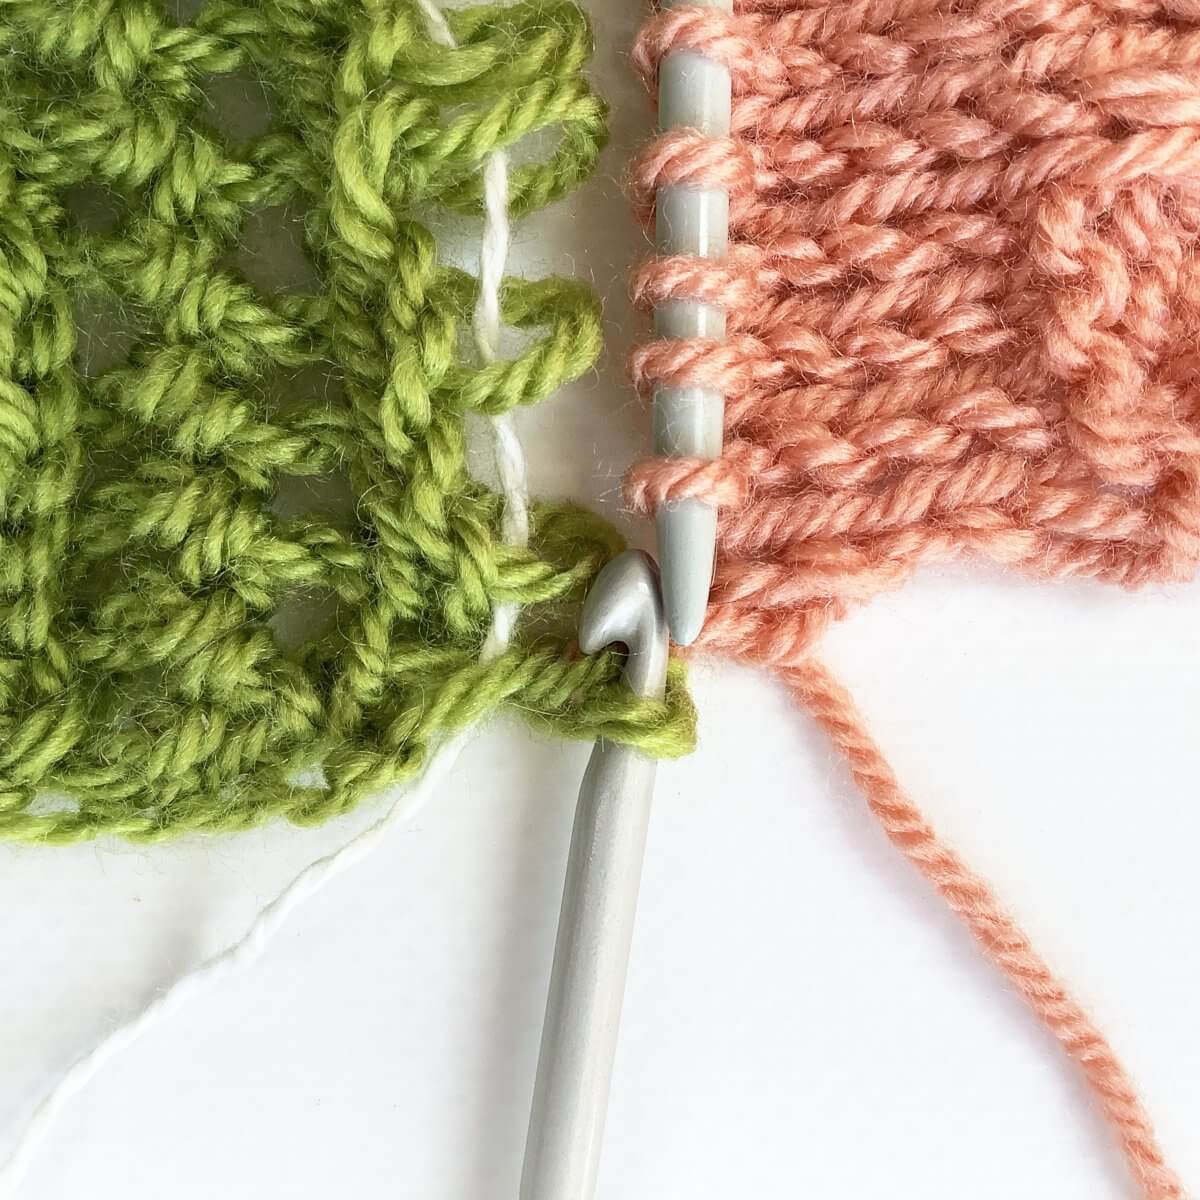
To get started, put the crochet hook through the first loop of the border. Do you see that it peeks through a larger green loop?
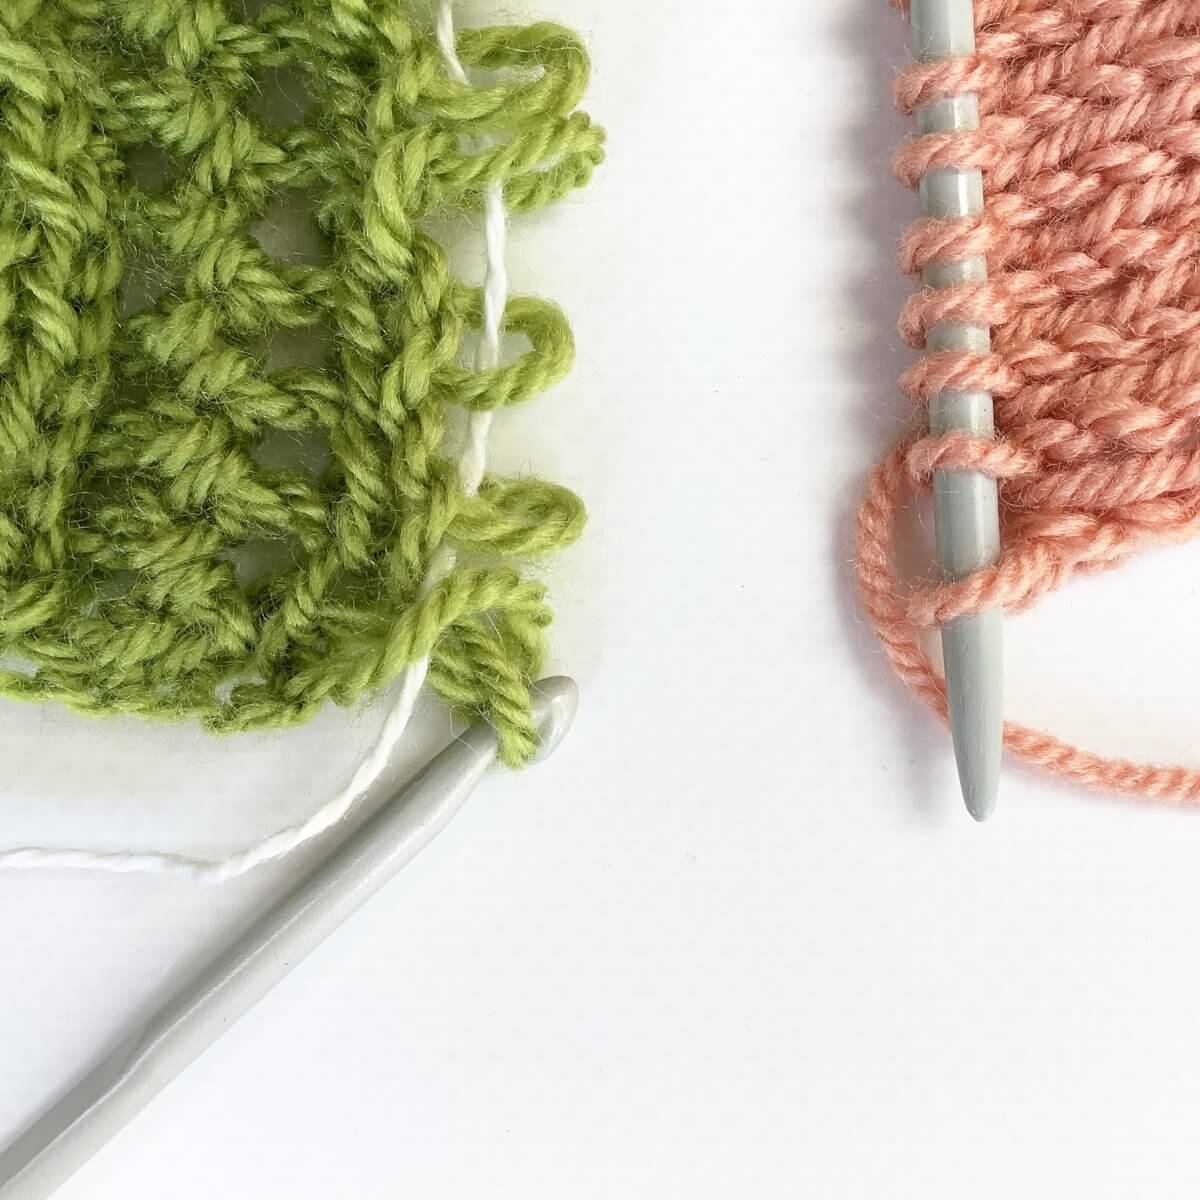
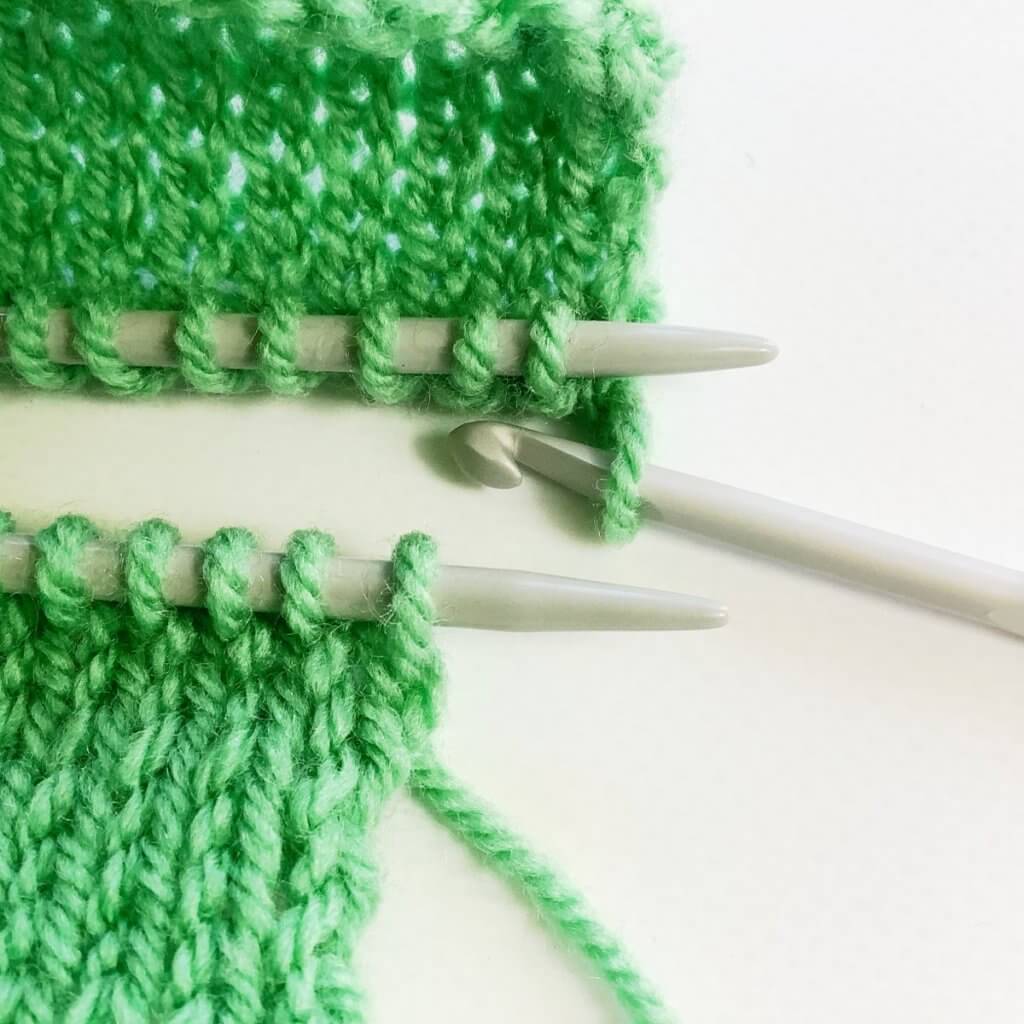
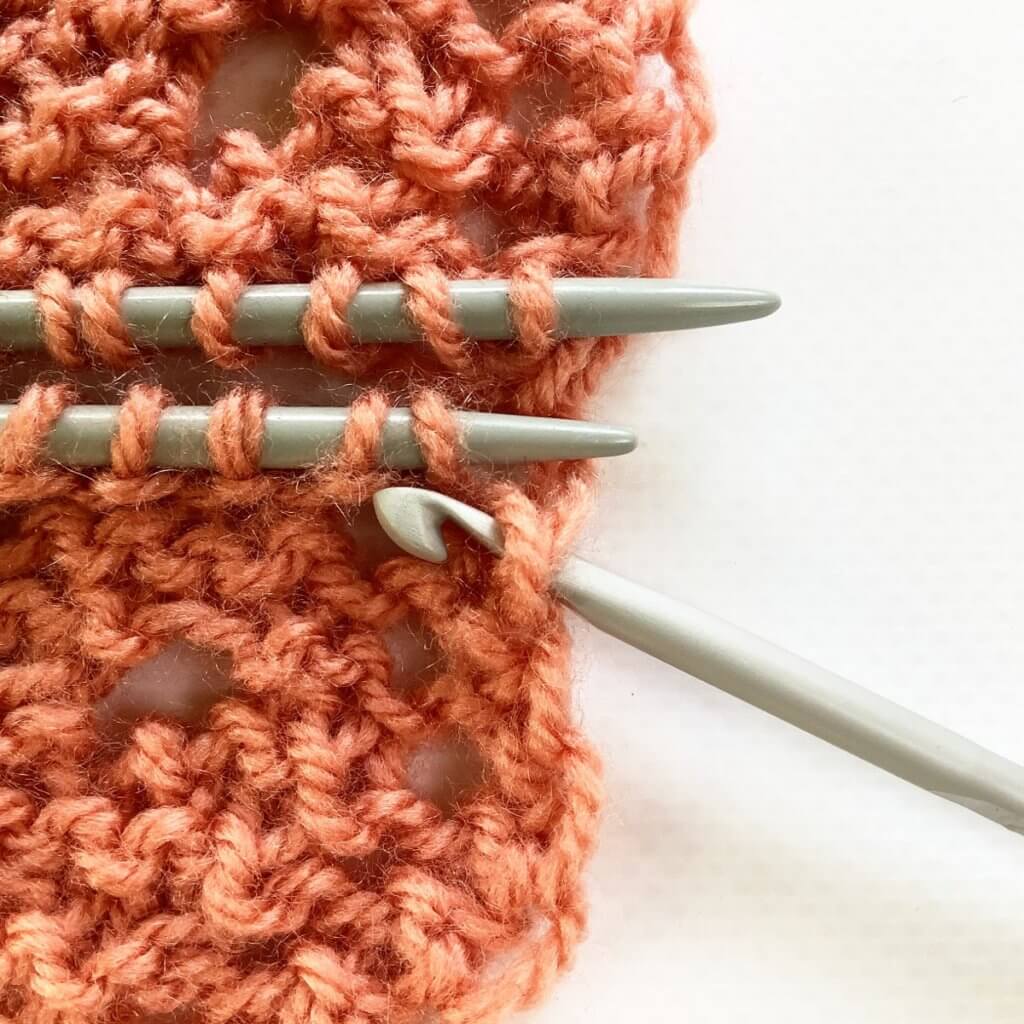
- Next, slip the first stitch of the body off the needle, and unto the crochet hook.
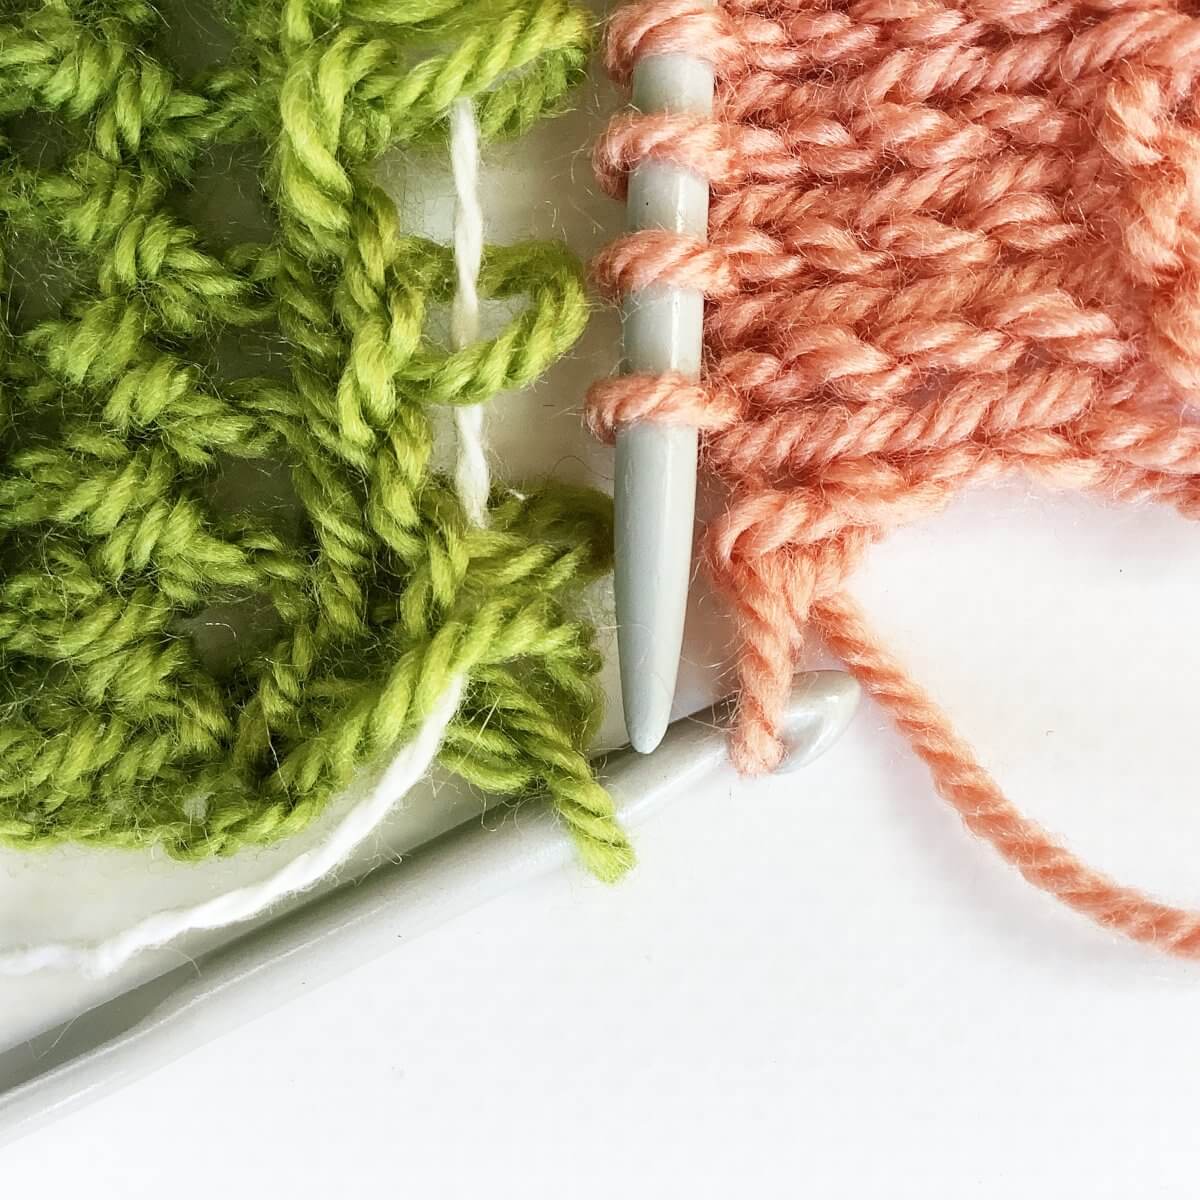
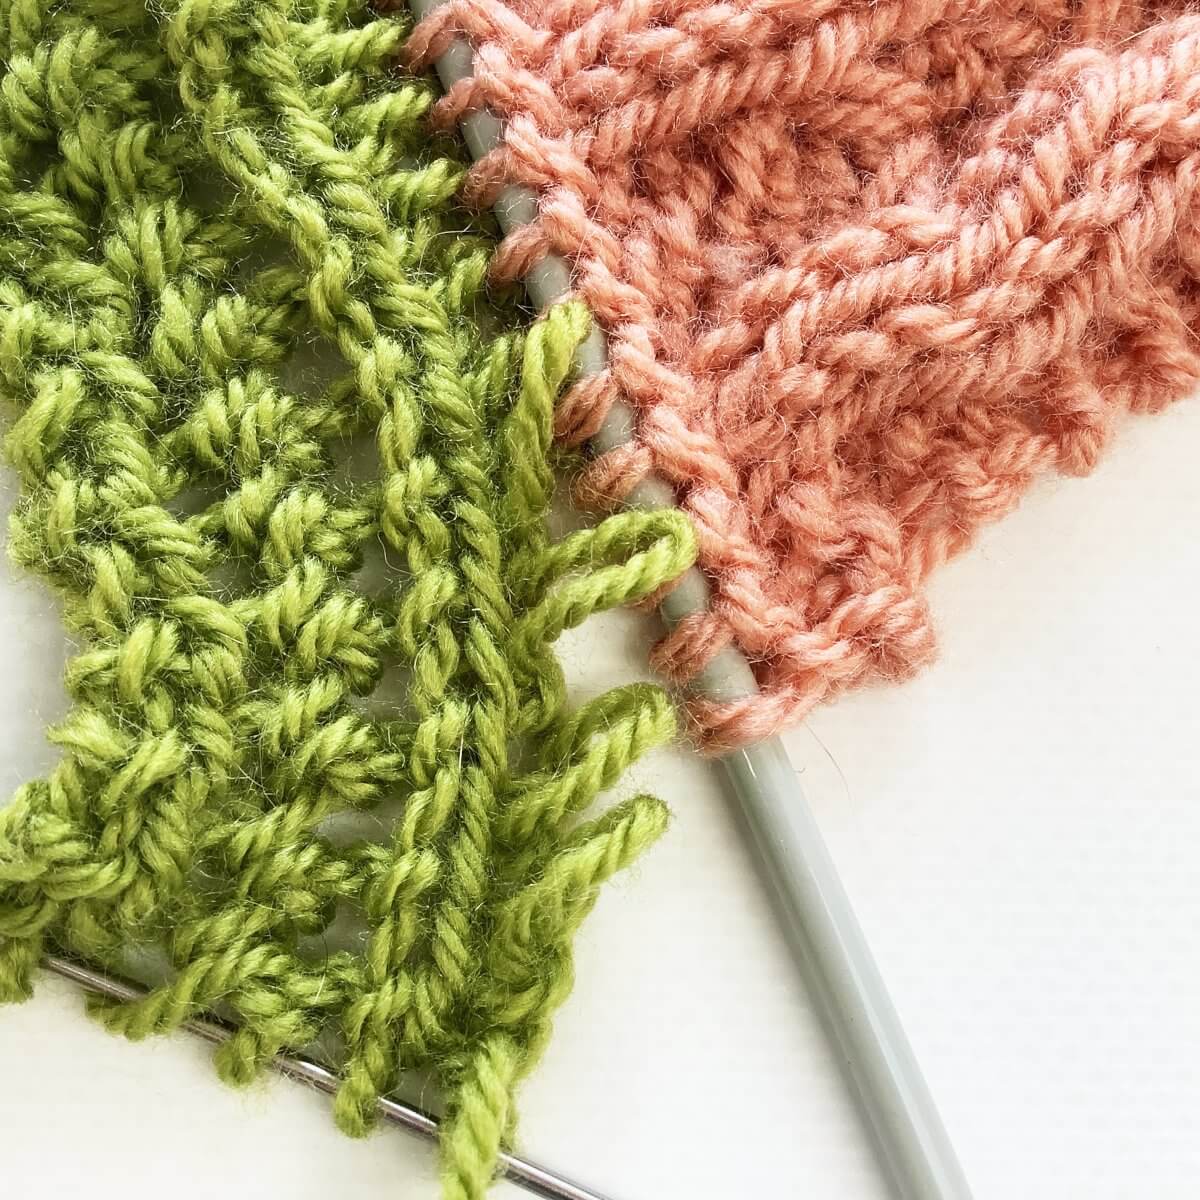
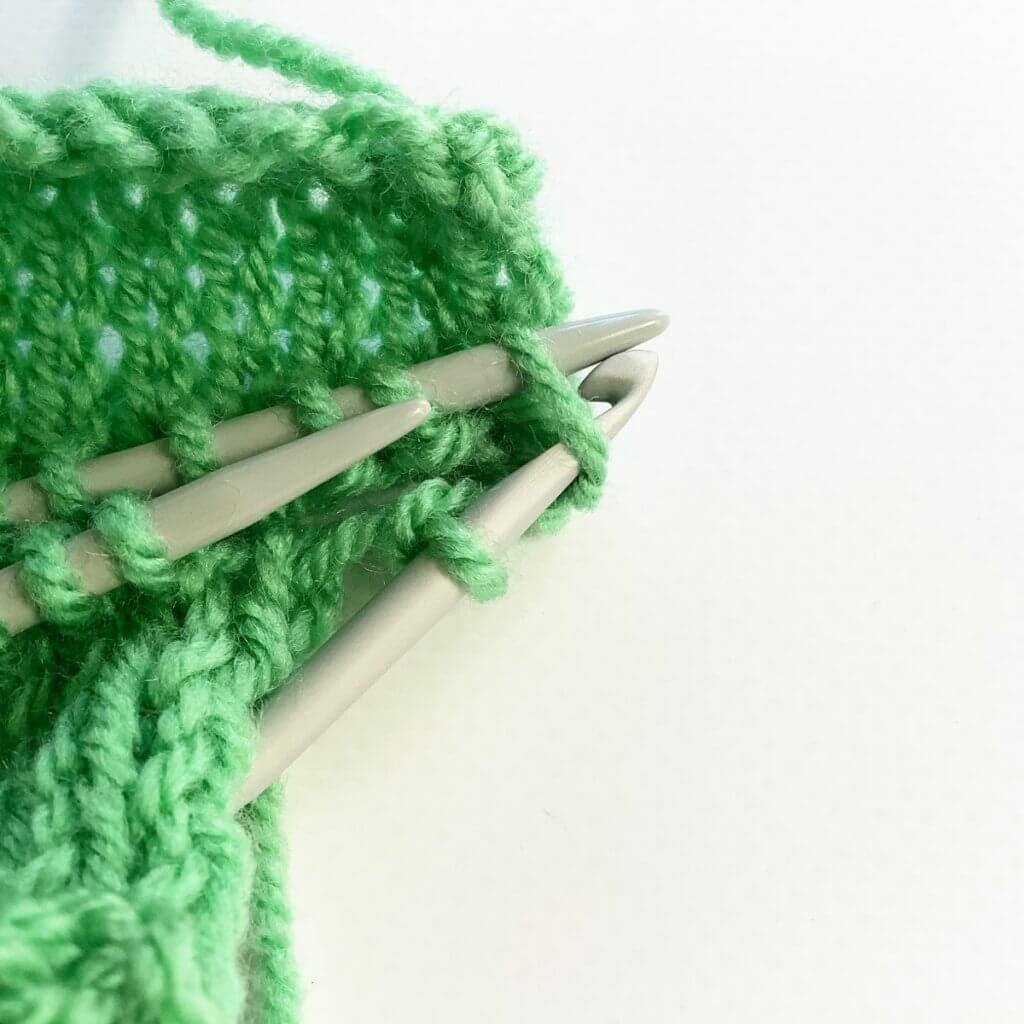
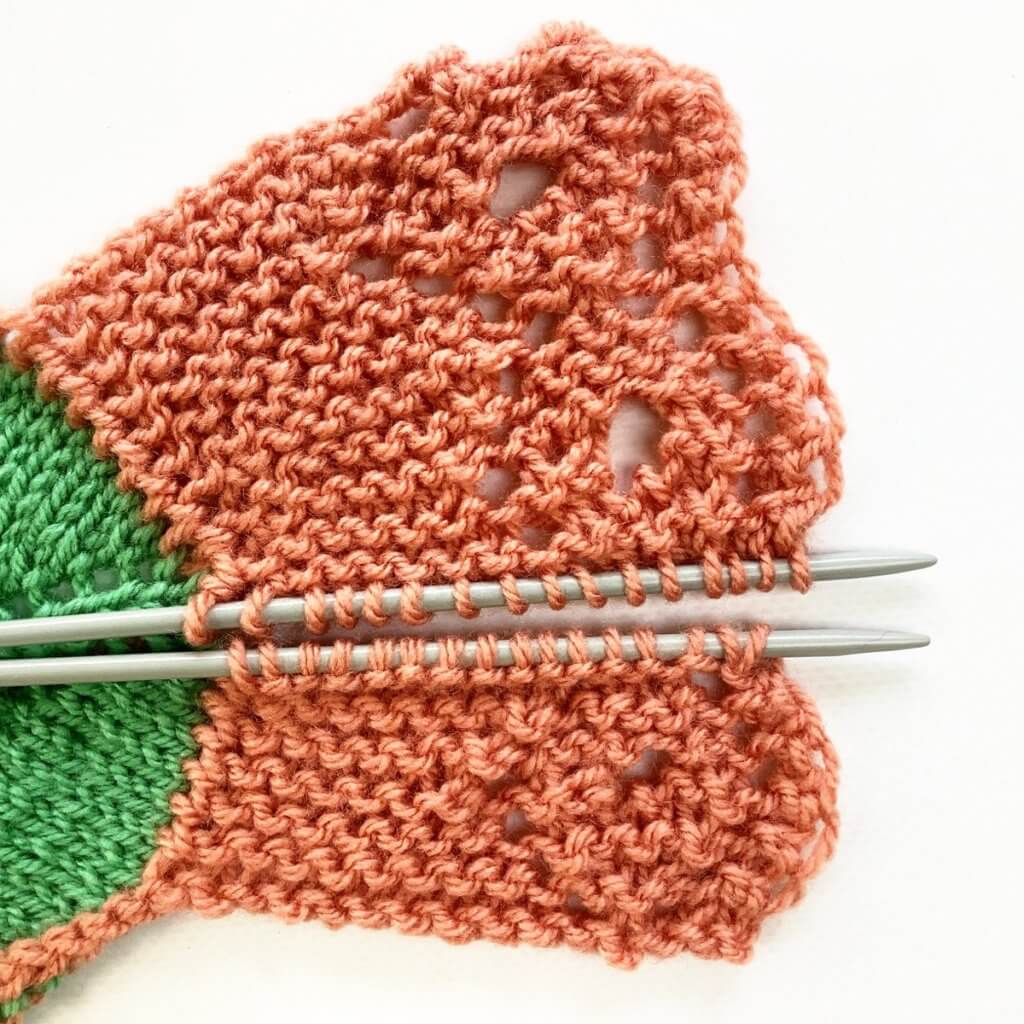
- Next, insert the crochet hook into the larger green loop on the left, where the first one was coming through. Pull it through the two other loops on the hook.
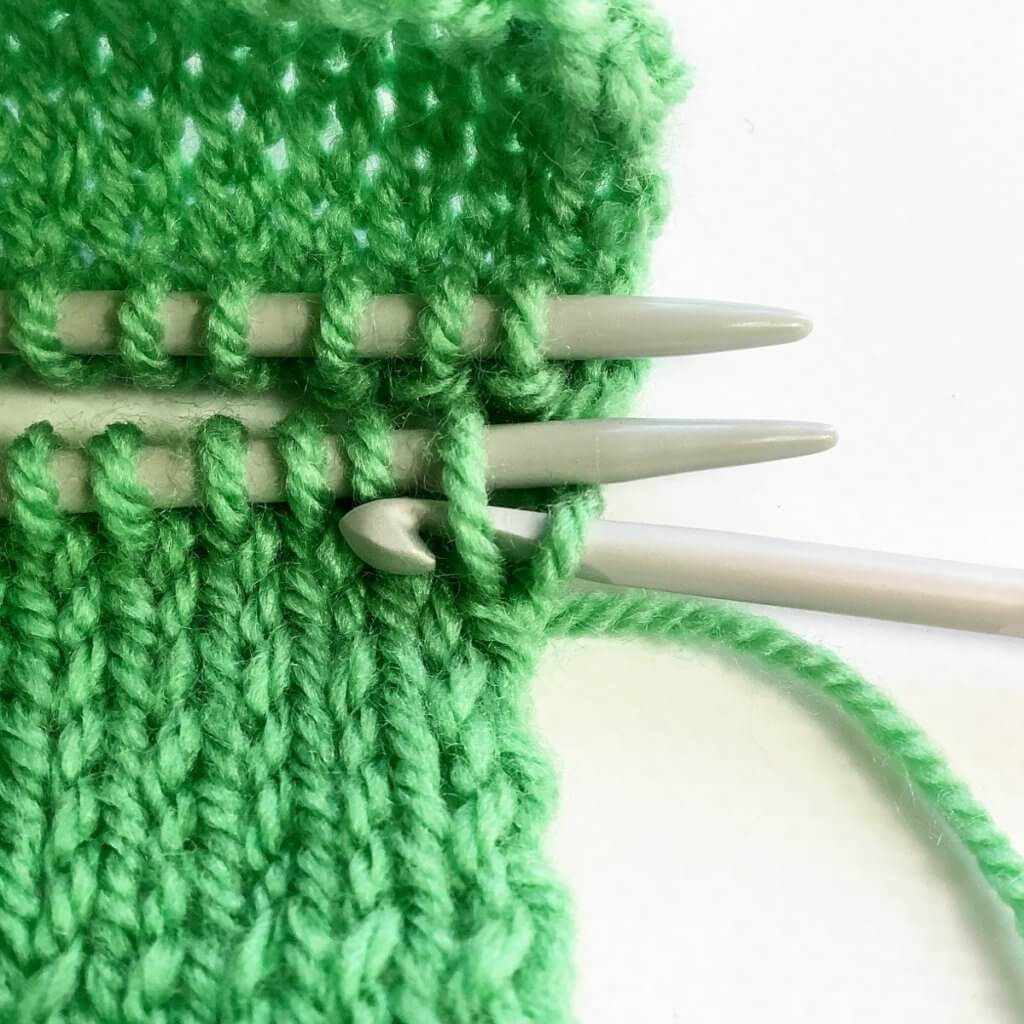
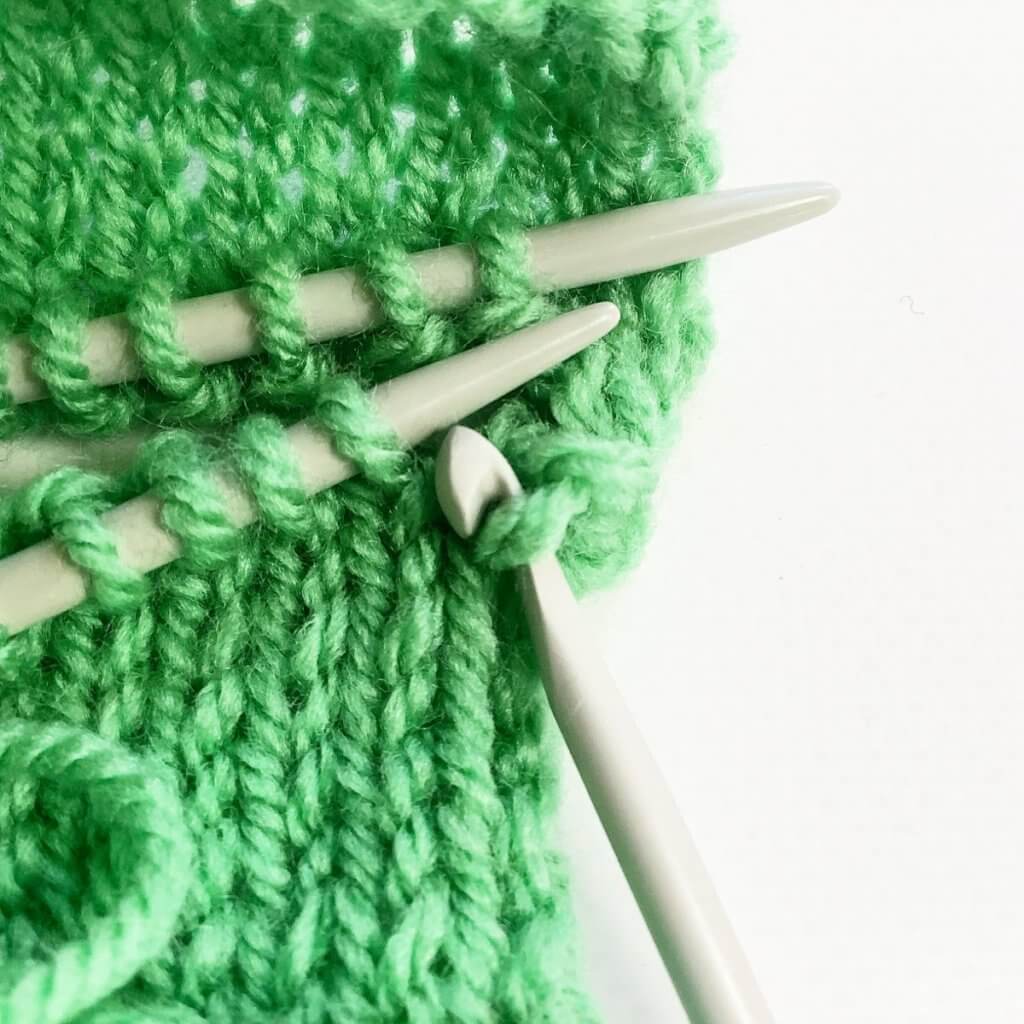
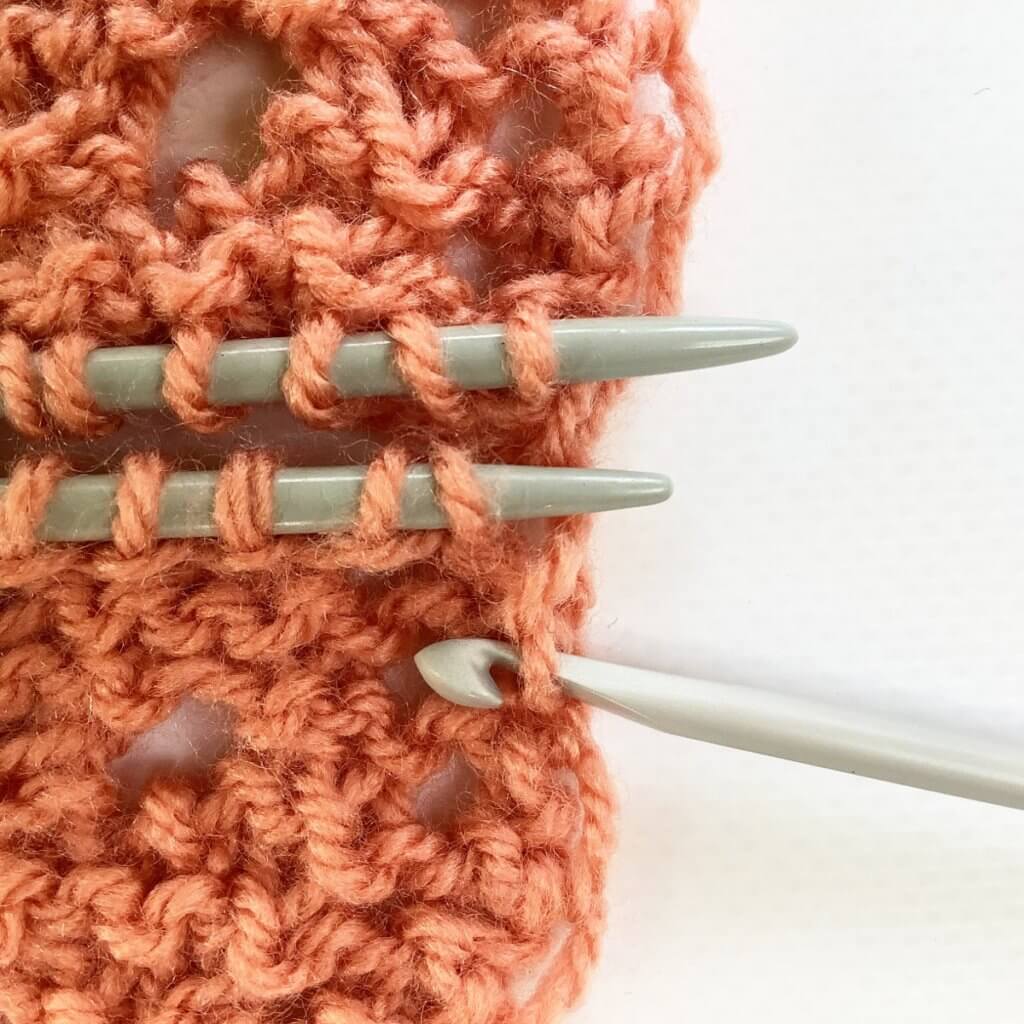
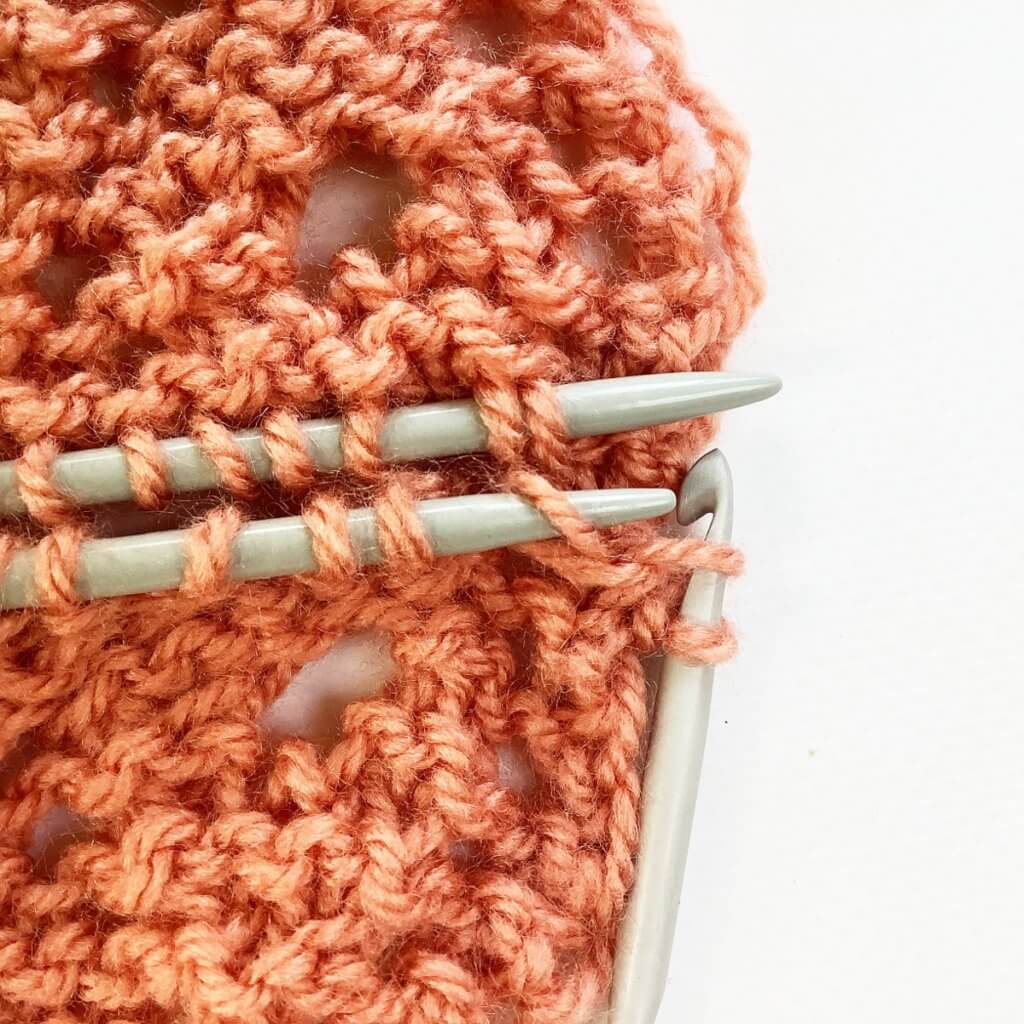
- Now insert the crochet through the next pink stitch of the body, and through the next green border stitch on the waste yarn….
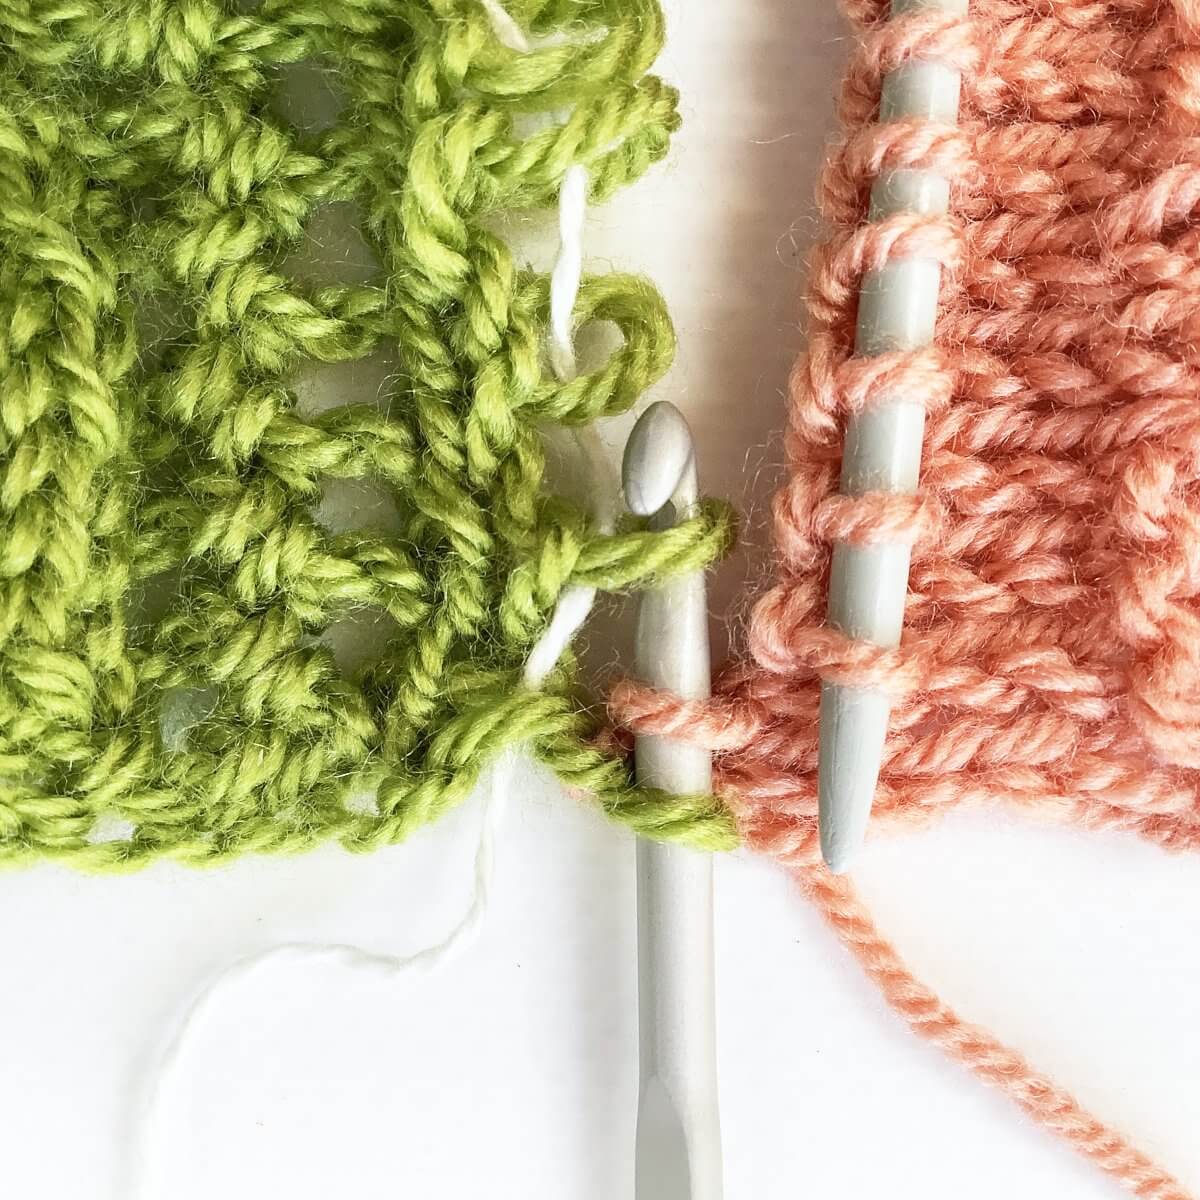
- … and pull it through the loops already on the hook.
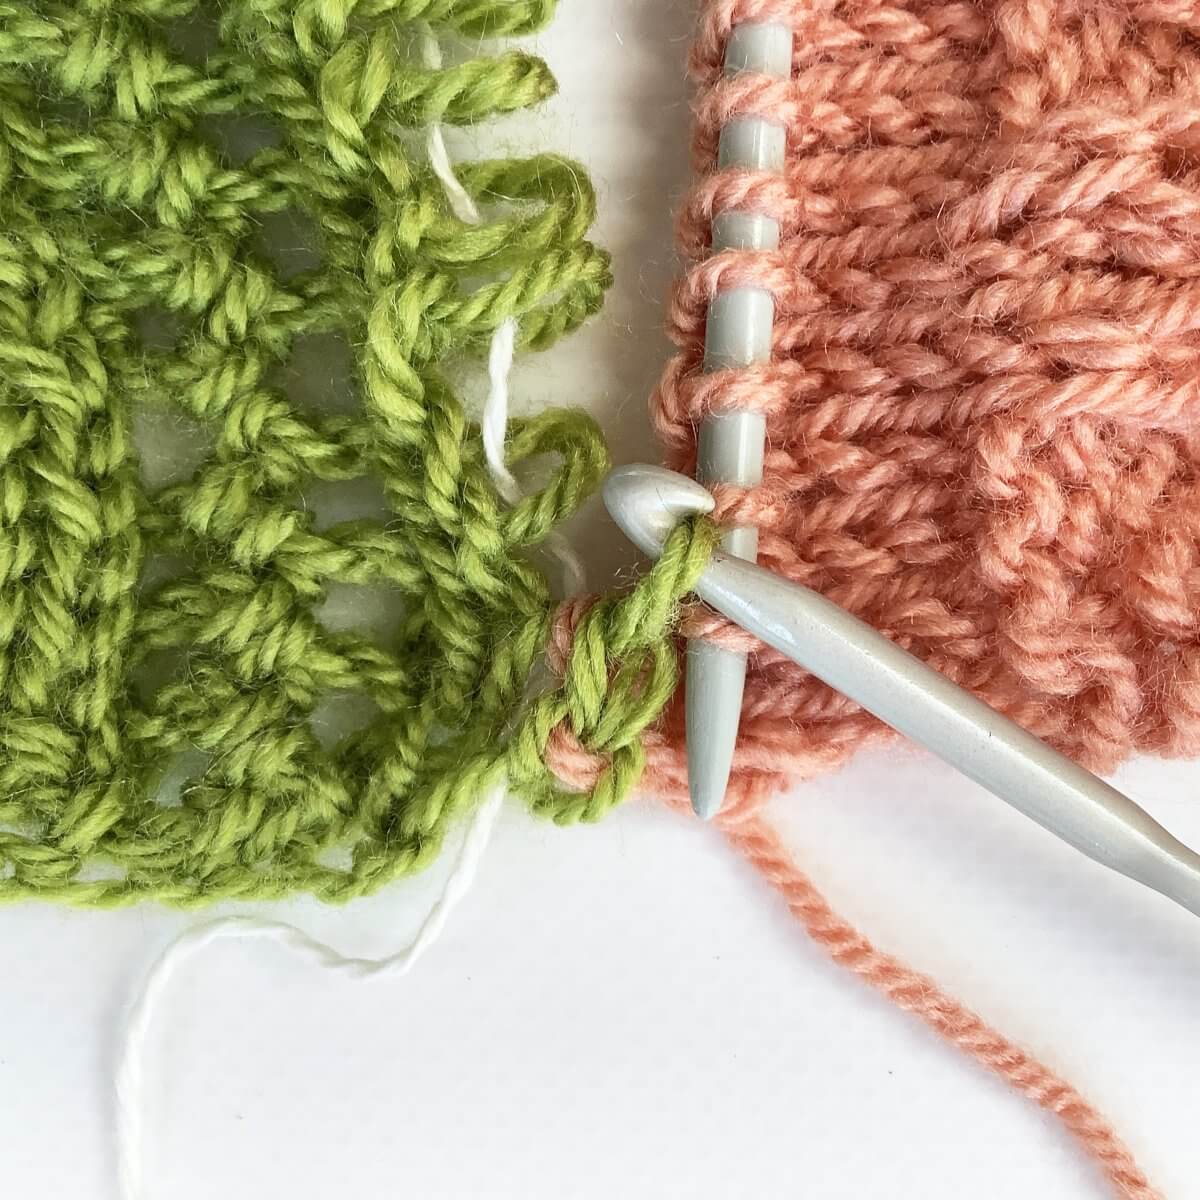
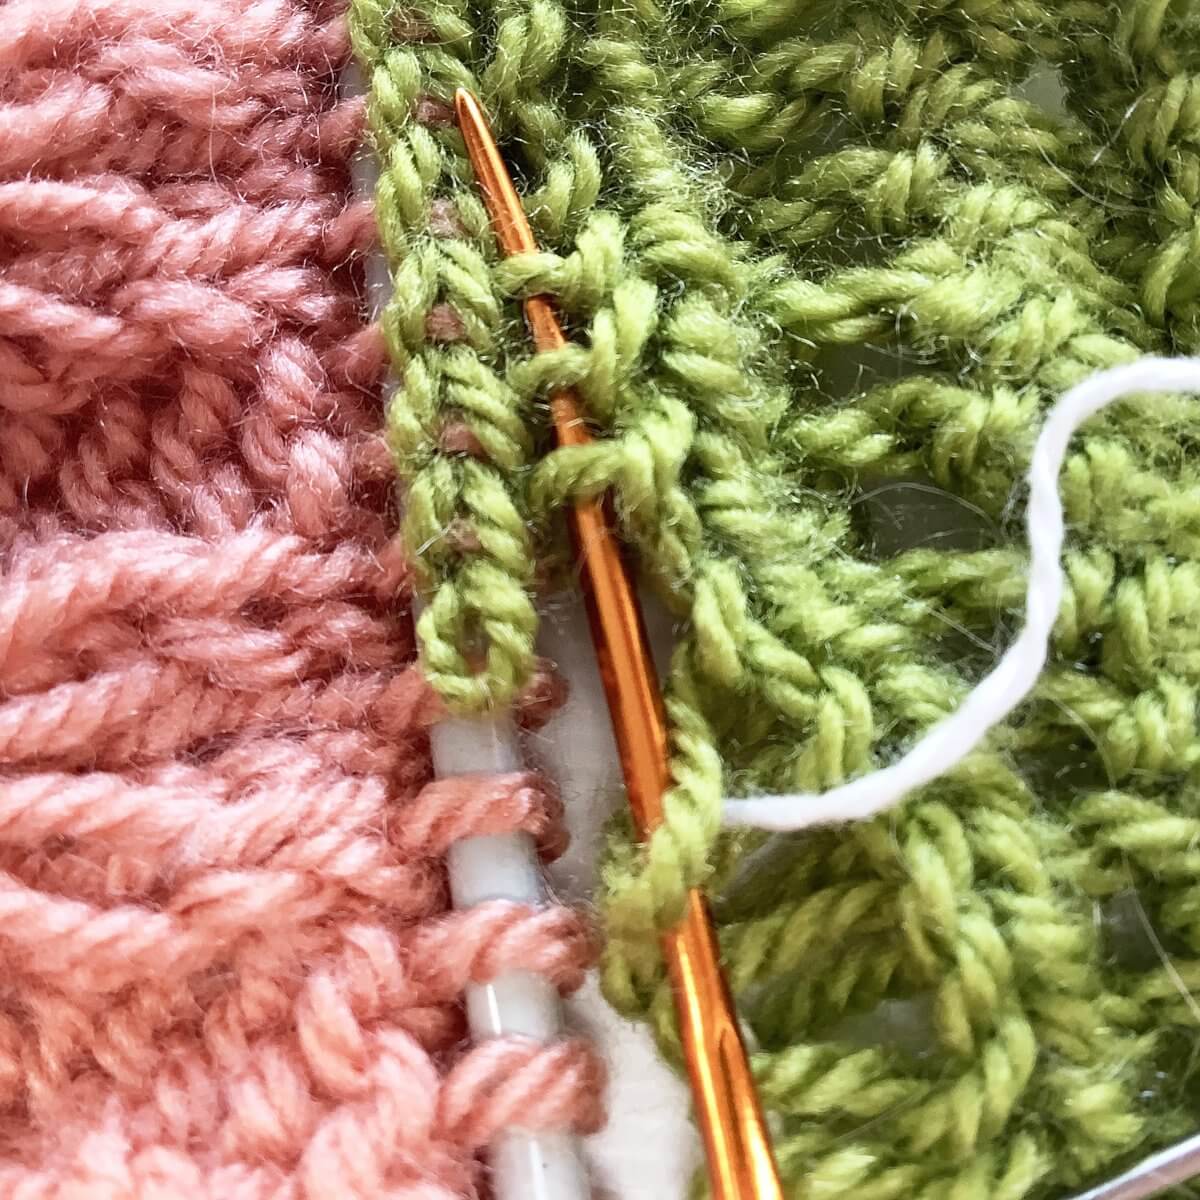
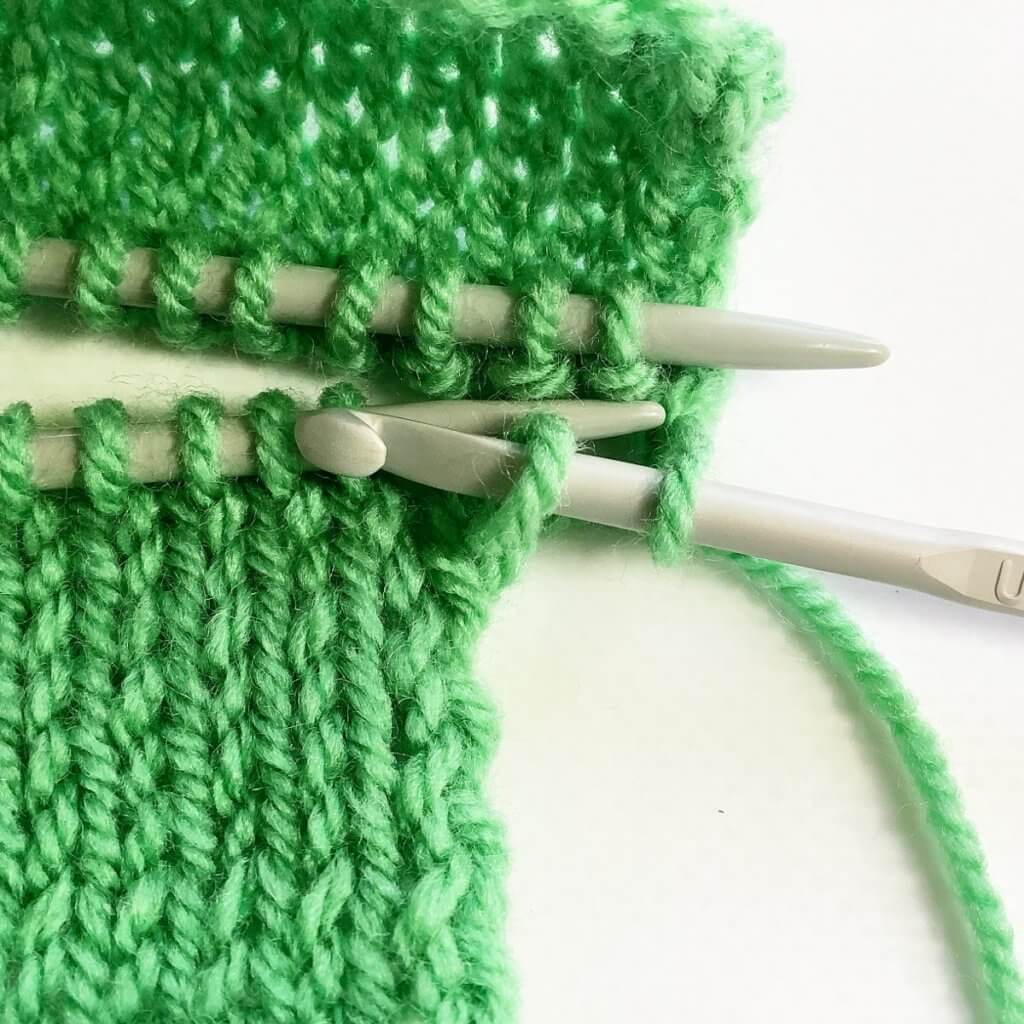
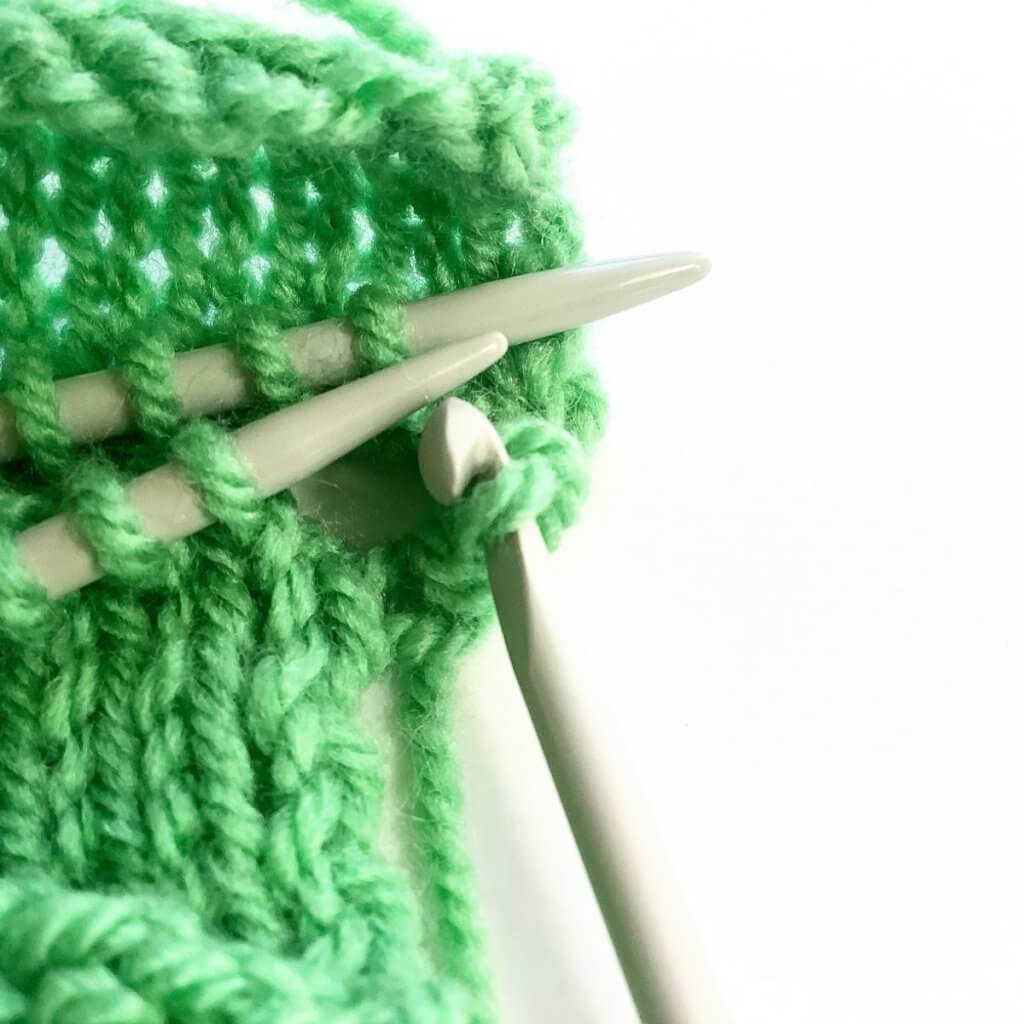
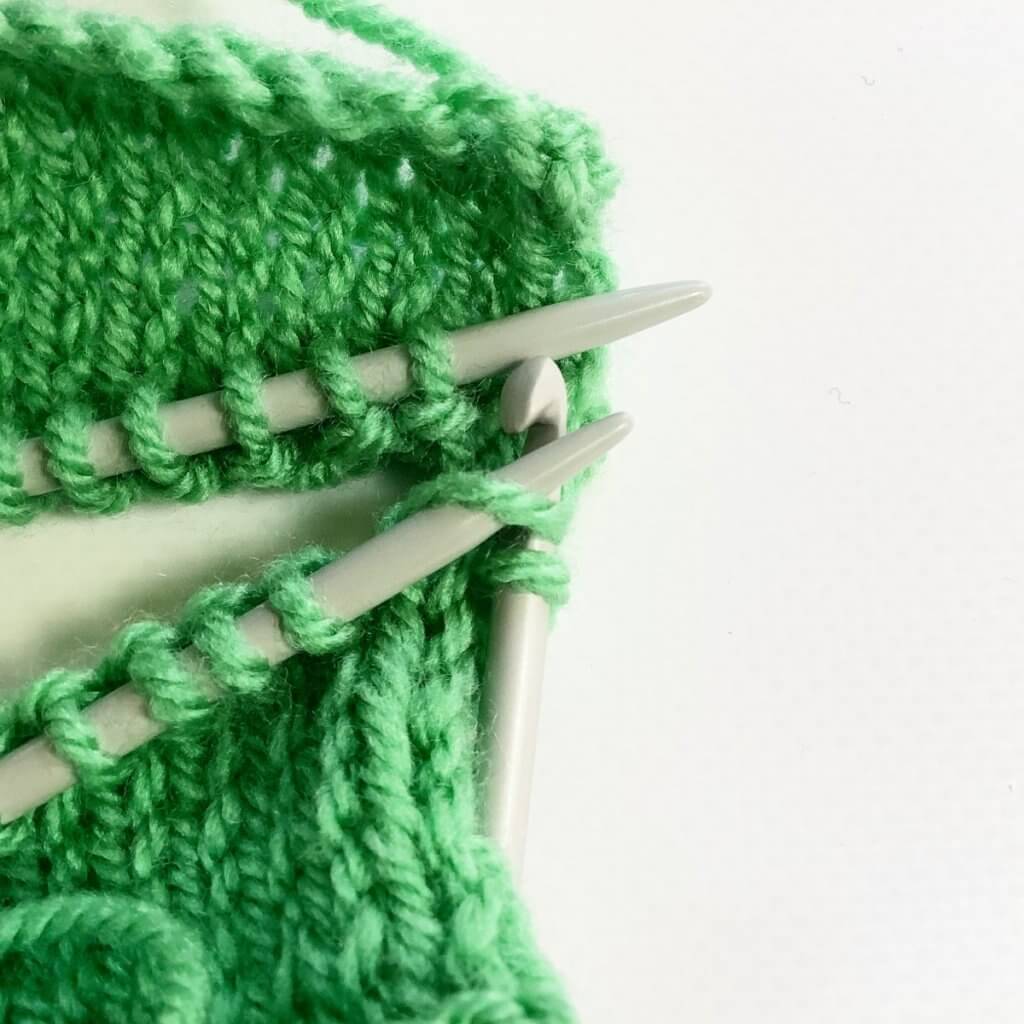
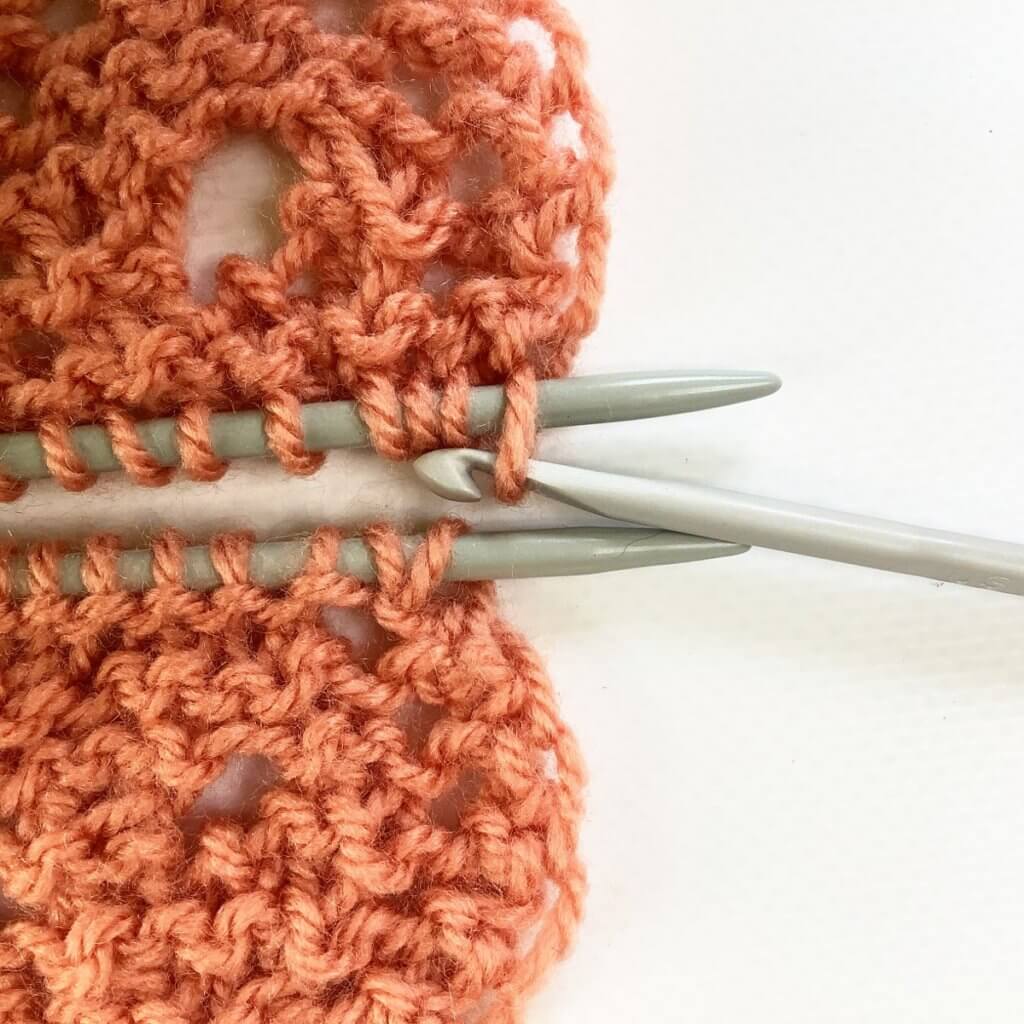
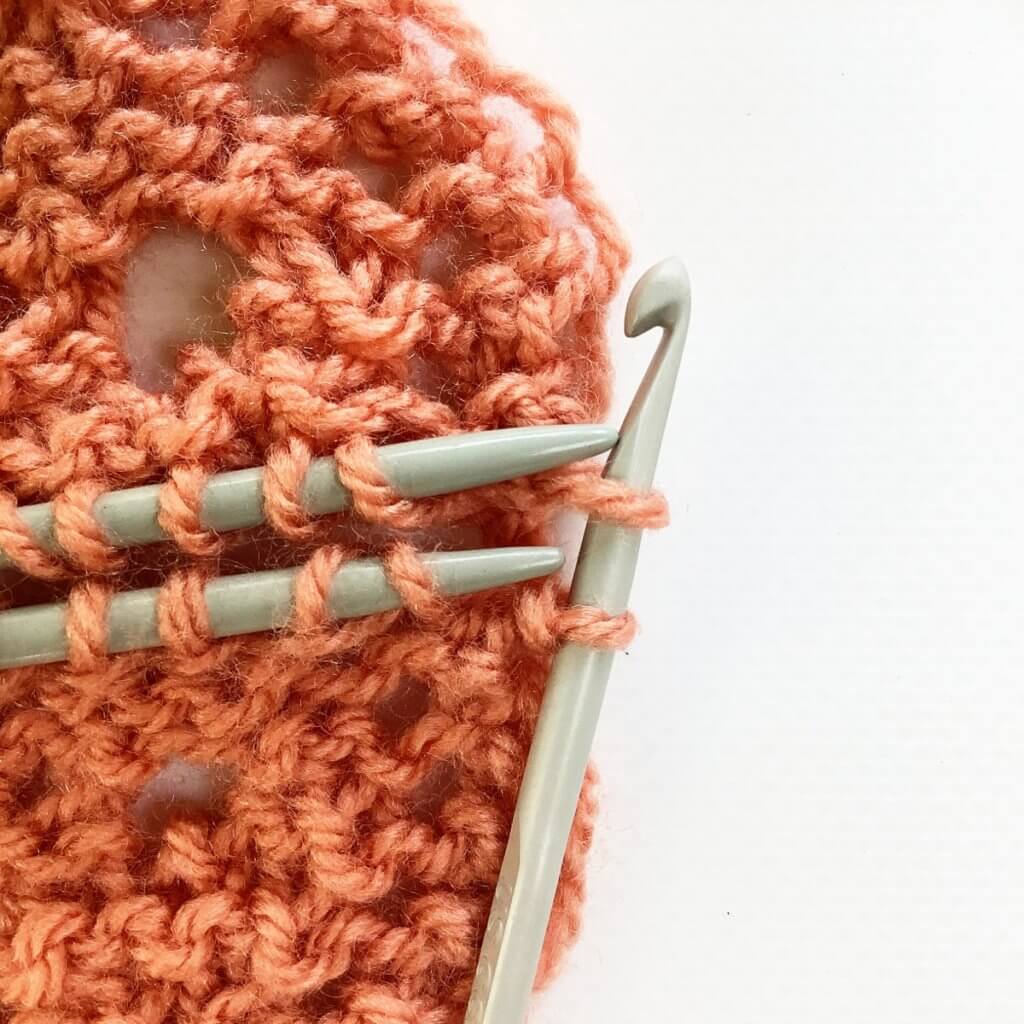
- Repeat steps 4 and 5 until there are no more free loops of the border and body are available.
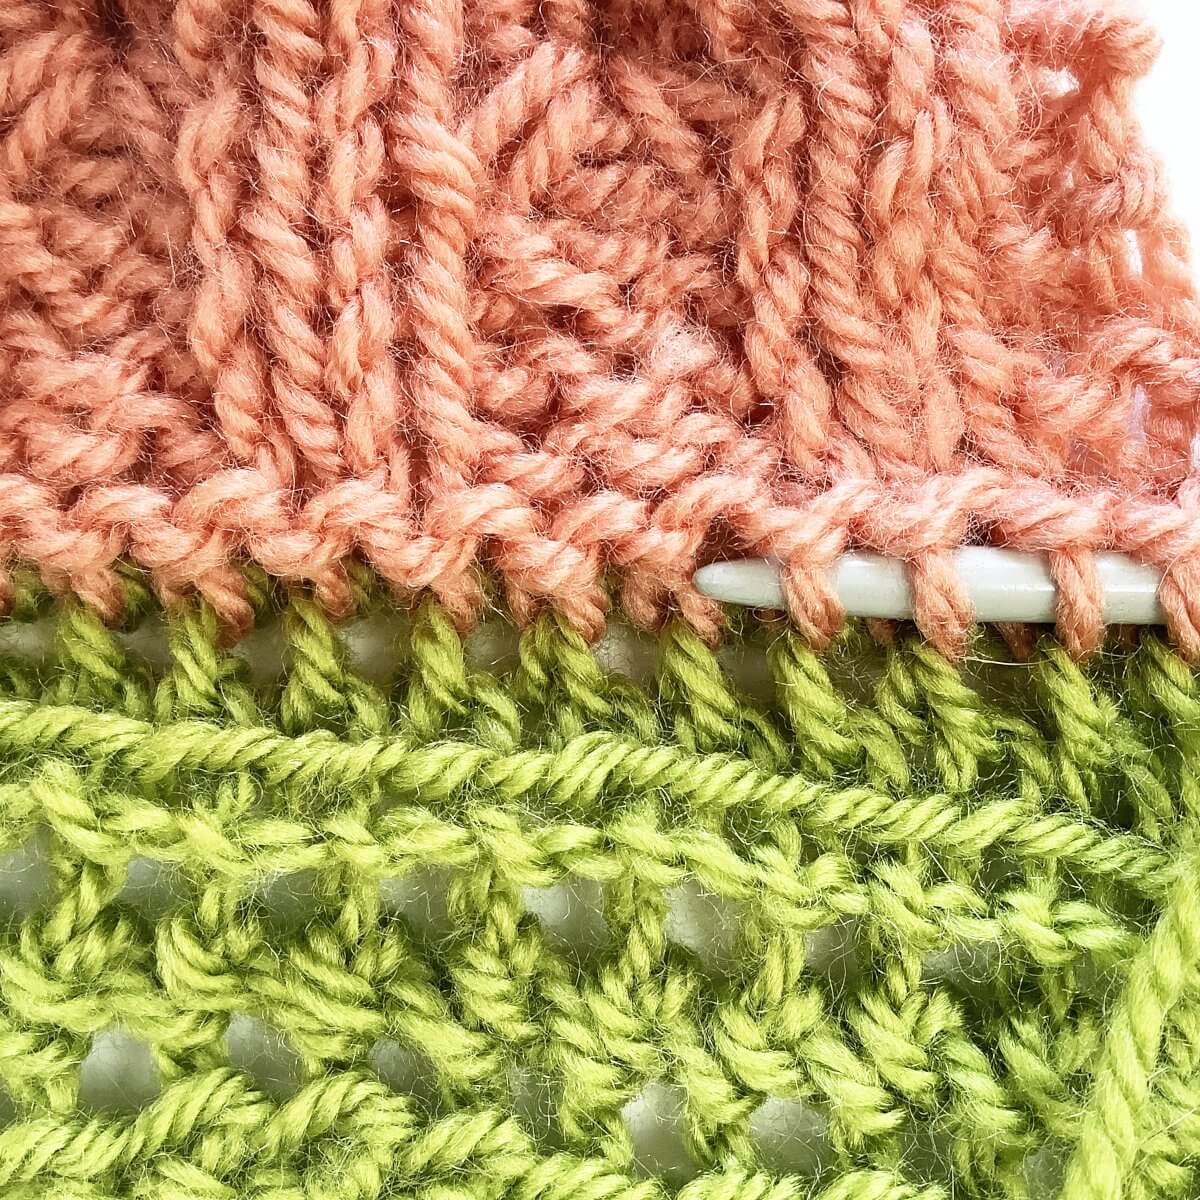
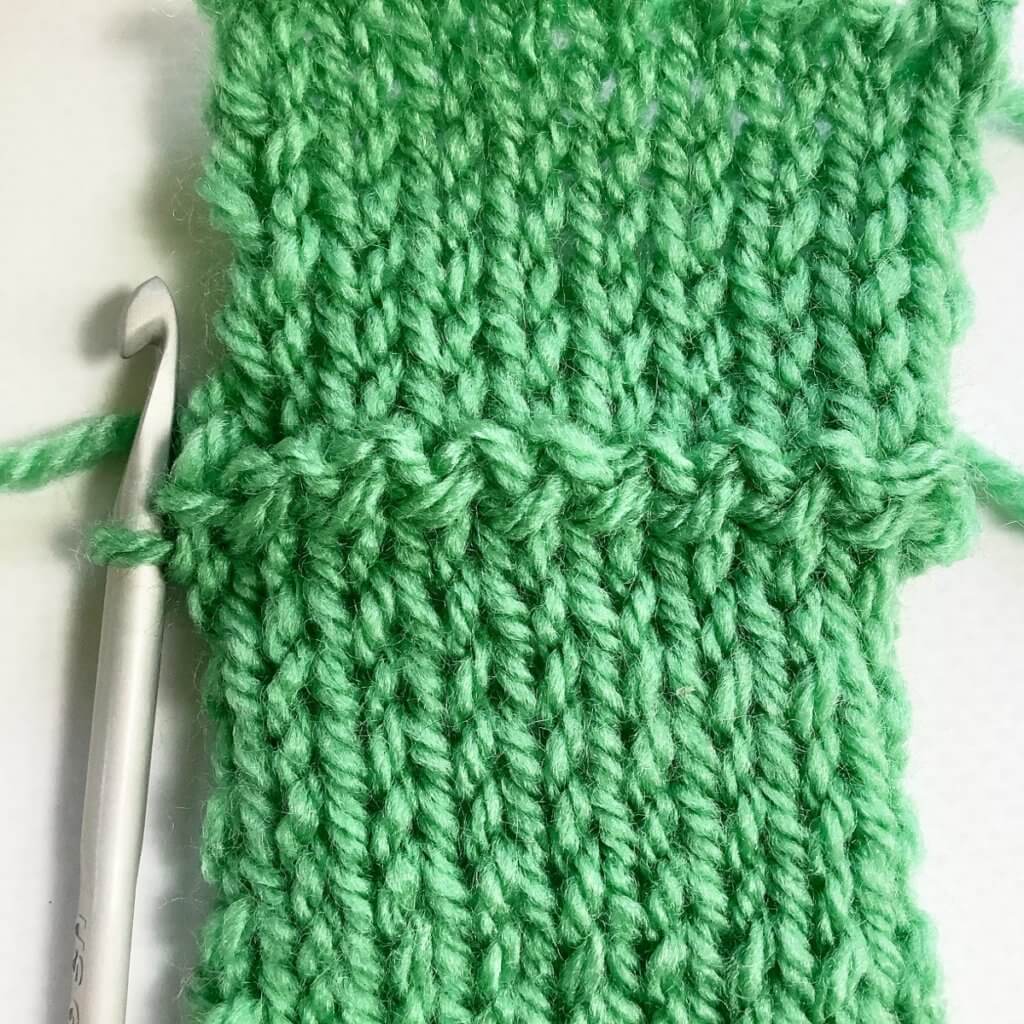
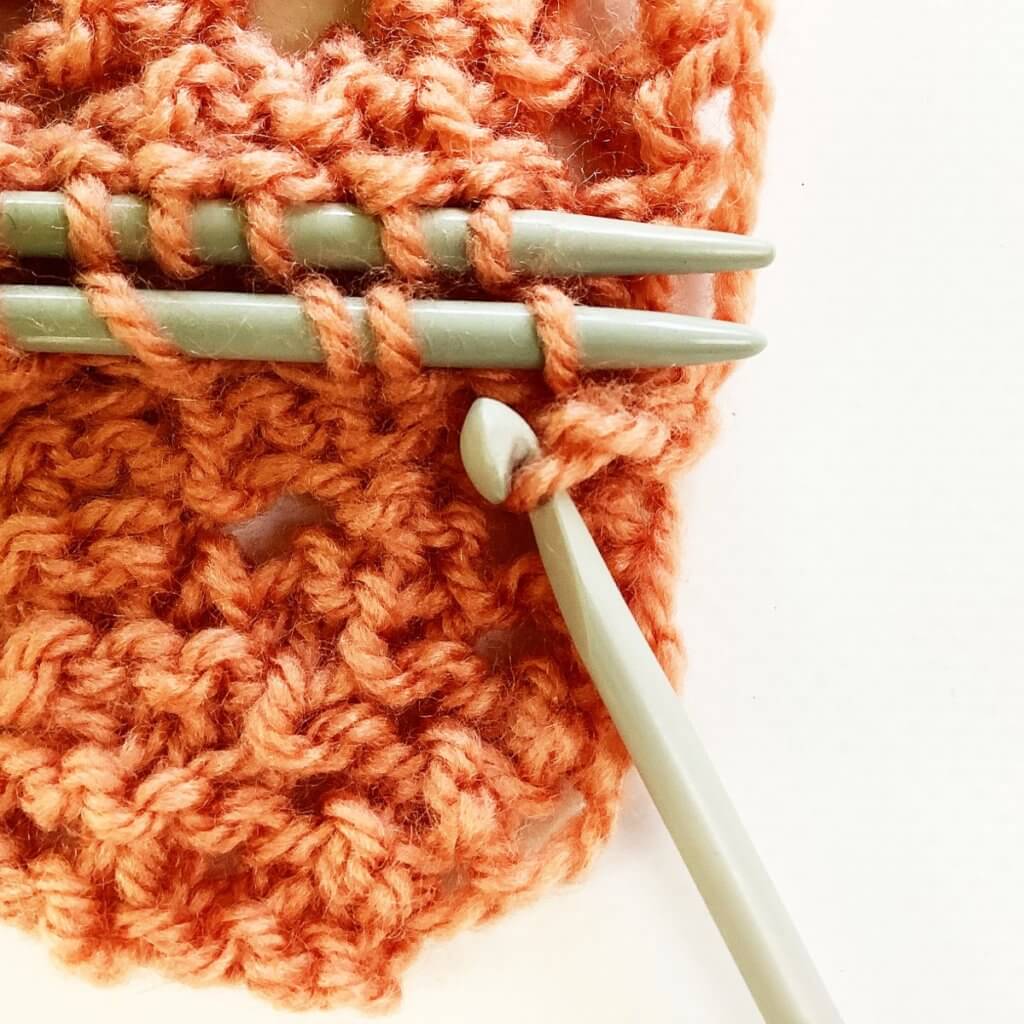
The last loop on the crochet hook can be placed on the holder or needle holding the other life border stitches, for the final finishing steps.
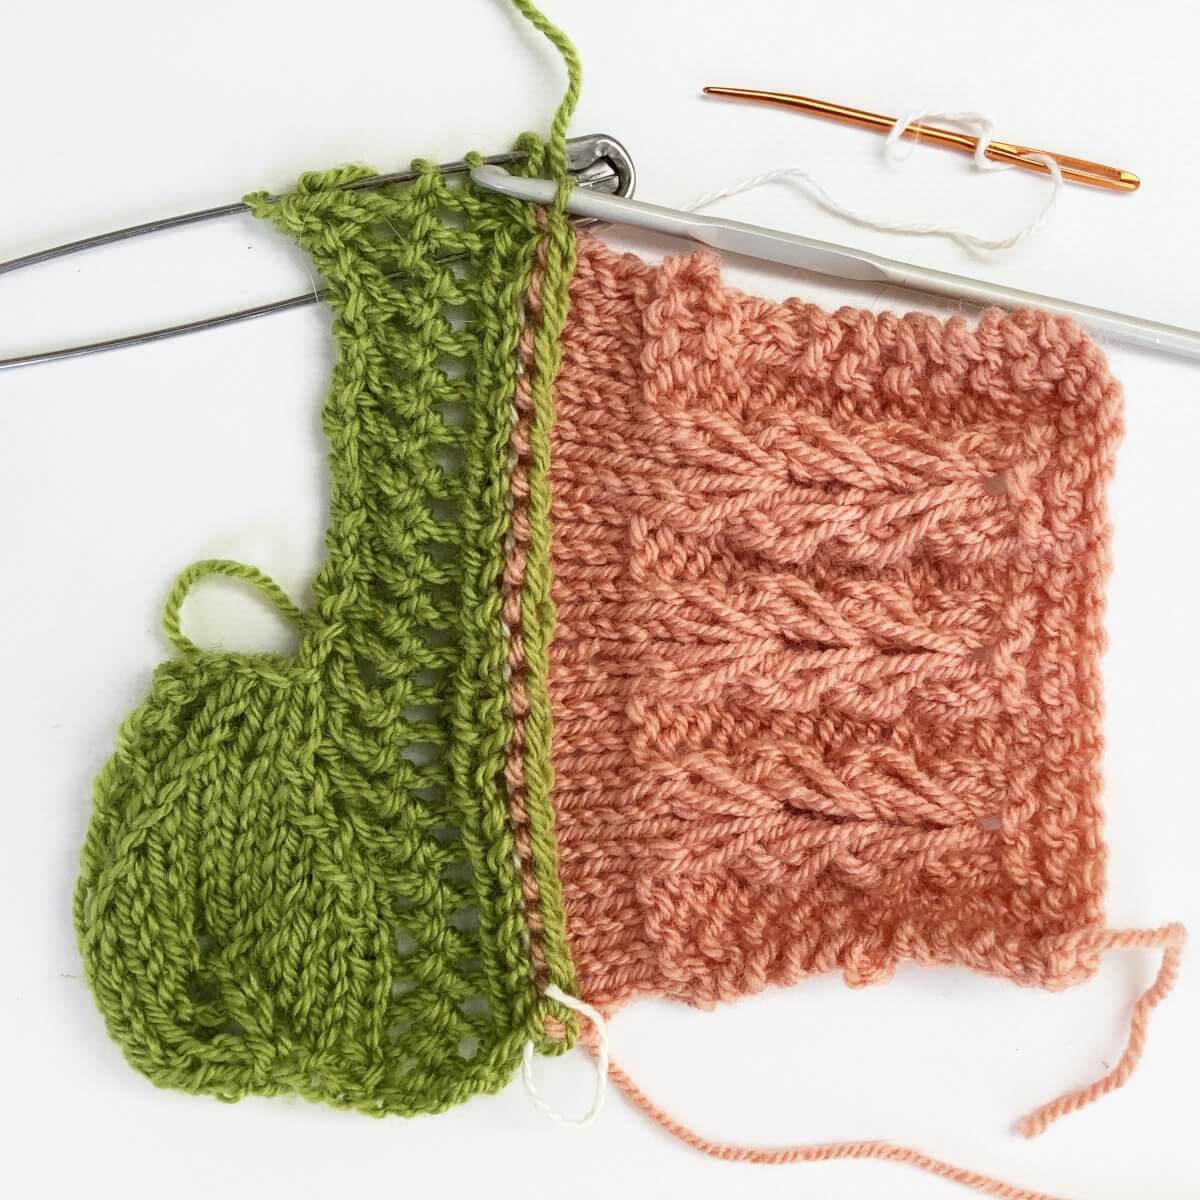
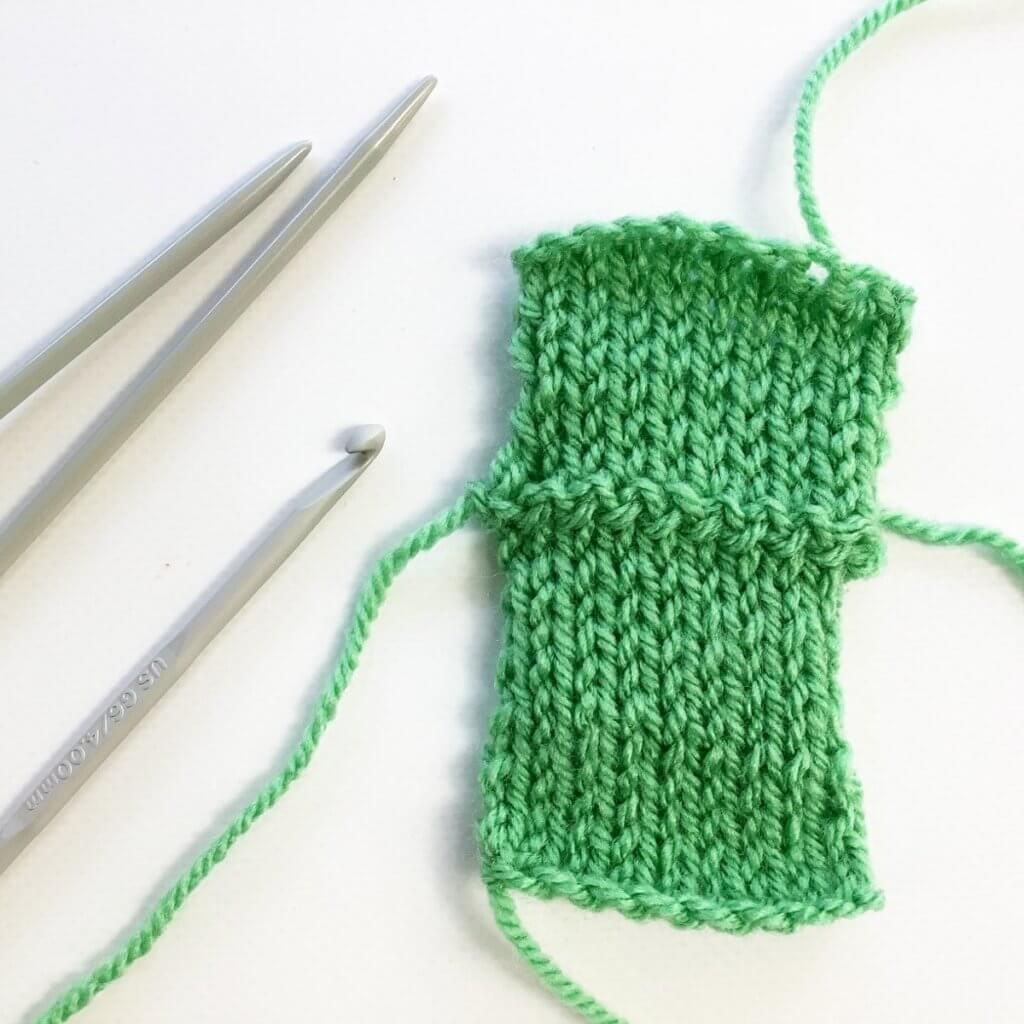
So, this is how to go about reattaching a removed applied border!

Thanks to my Patreon supporters for bringing you this freebie! Creating quality patterns and tutorials is a lot of work and resource-intensive. However, I find it important to give you free content like this tutorial. Thanks to the generous support of my Patreon supporters, I can make it happen. Thank you, patrons! Click here to join, or click here to read more about La Visch Designs on Patreon.
tutorial – reattaching an applied border Read More »