Russian grafting is a method of joining live knitting stitches together. It’s an alternative to the Kitchener stitch and is a quick and easy method for finishing off your knitted piece. In this tutorial, I’ll show you the in’s and outs of using the Russian grafting method to connect 2 pieces of stockinette fabric. Of course, this method has pro’s and cons when compared with the Kitchener stitch, which I’ll go into below.
Pro’s
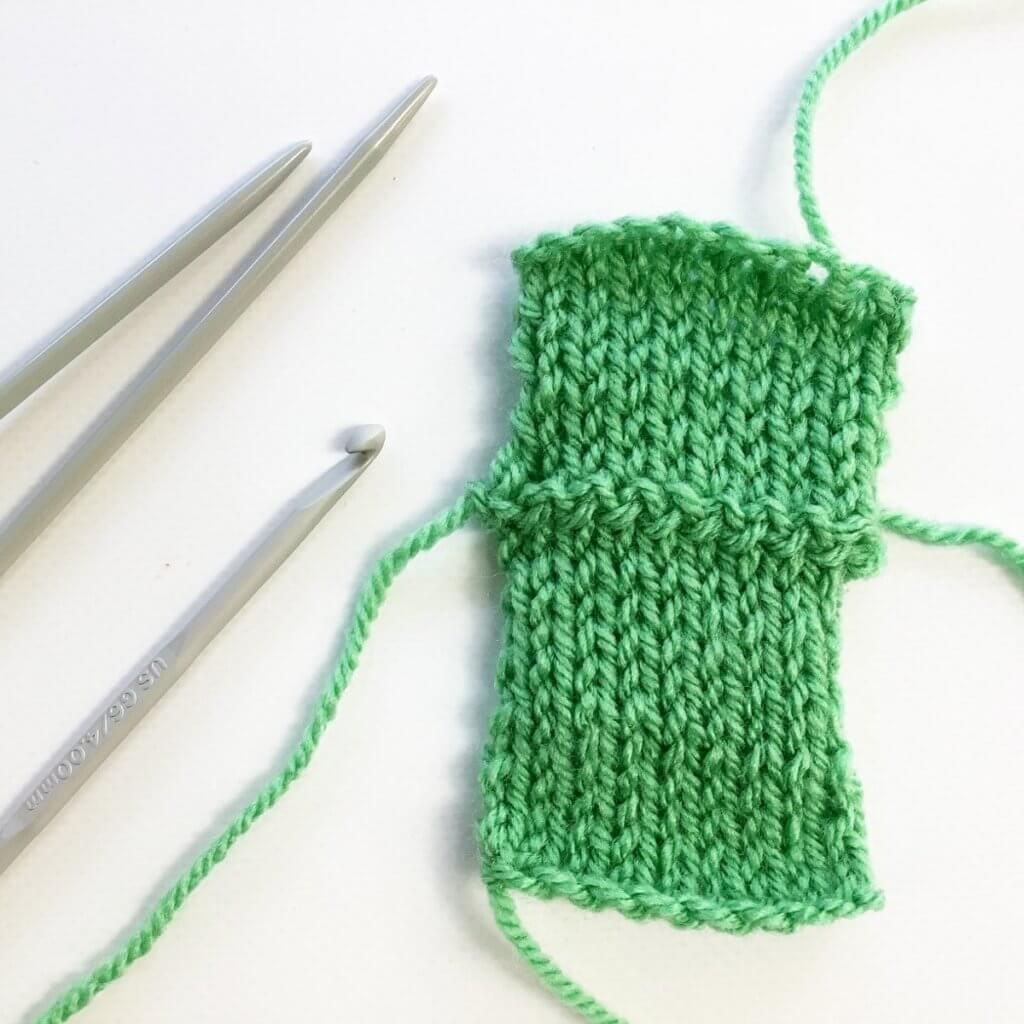
- When using Russian grafting on stockinette, a decorative seam is created on the outside of the work.
- No working yarn is necessary, this makes this method, not a “true” grafting method.
- When grafting with this method, the stitches of the pieces to be joined align better than with Kitchener stitch grafting. This can be desirable when using patterning.
Con’s
- Since Russian grafting is worked by pulling existing stitches through other stitches, there is no way to adjust the tension of the graft.
- The seam will be visible if it’s used on a piece of very open lace fabric.
Materials used
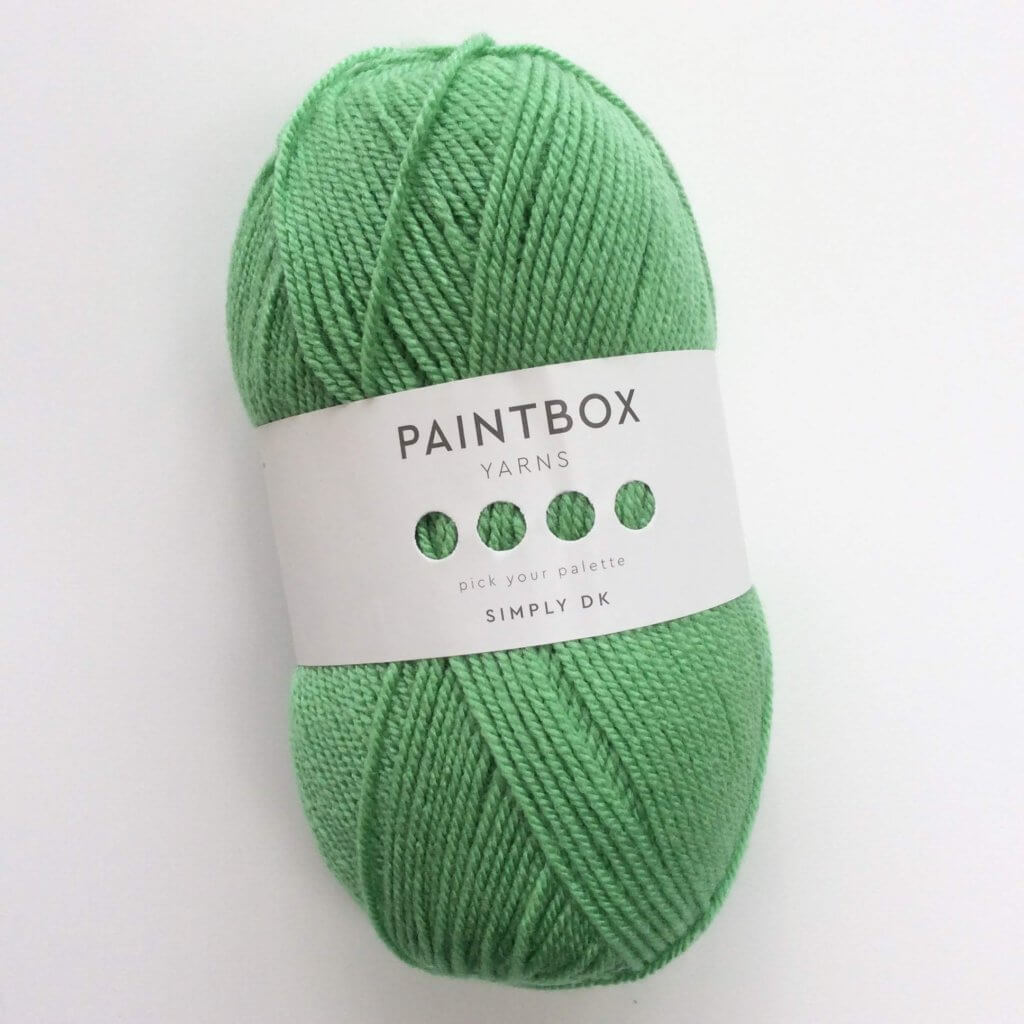

Yarn: * Paintbox Yarns Simply DK, a good value, good quality 100% acrylic yarn, here in the color 125 Spearmint Green.
A crochet hook in the same size or slightly smaller than your knitting needles. For example this * Pony Aluminum Crochet Hook in size 4 mm.
Russian grafting step-by-step
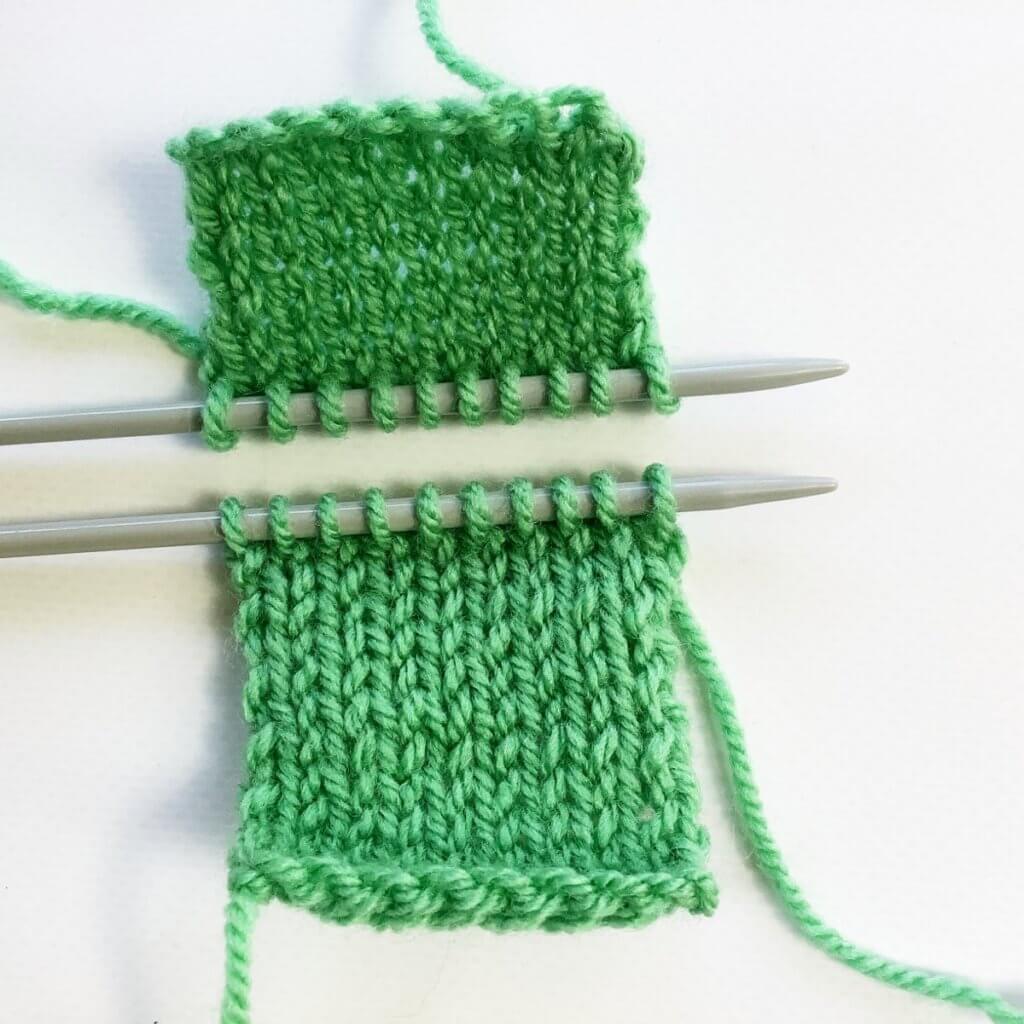
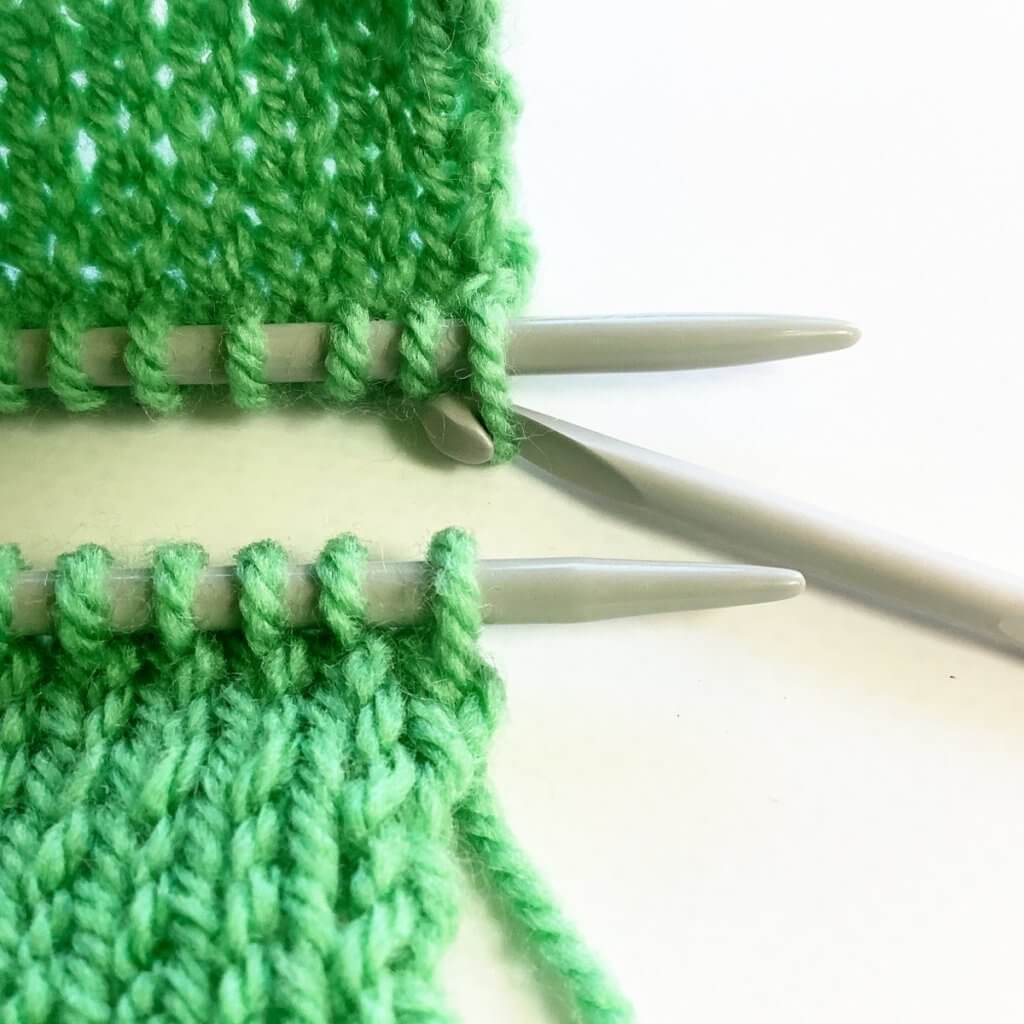
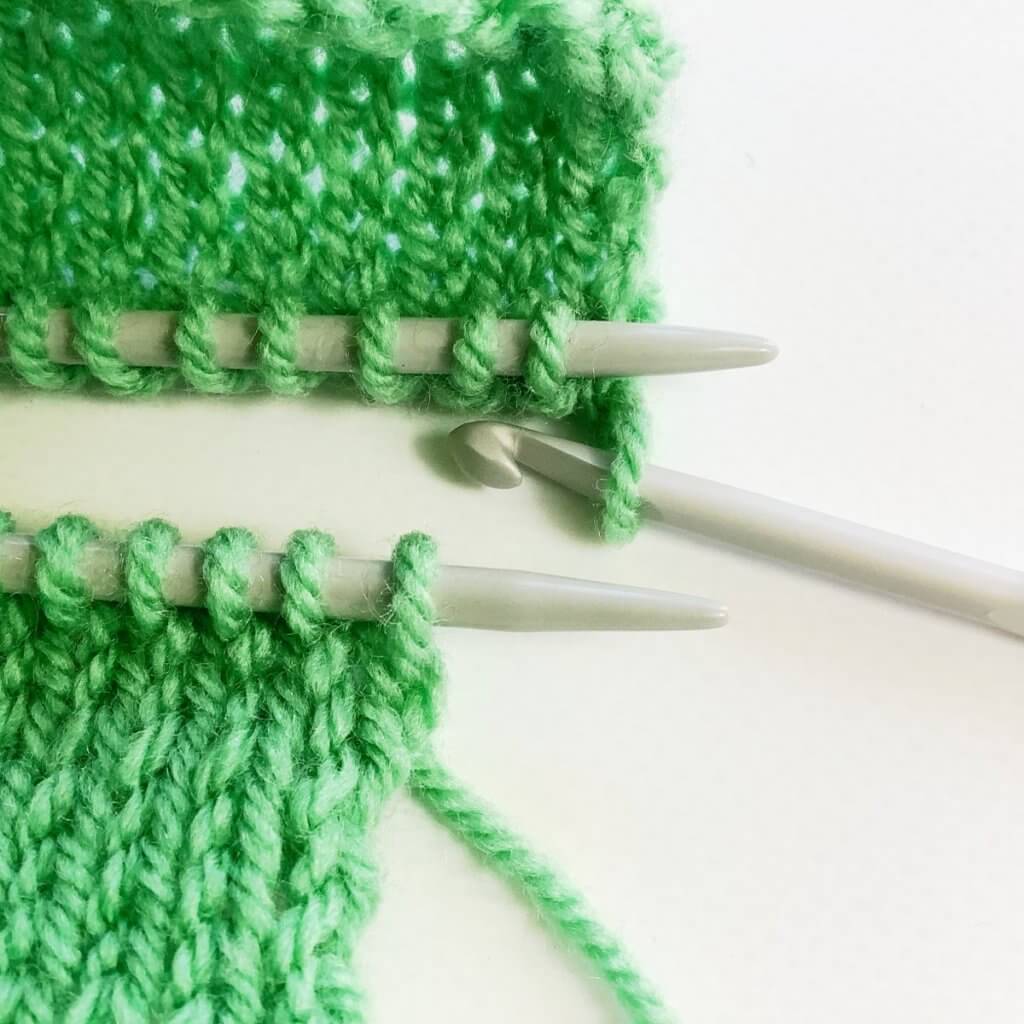
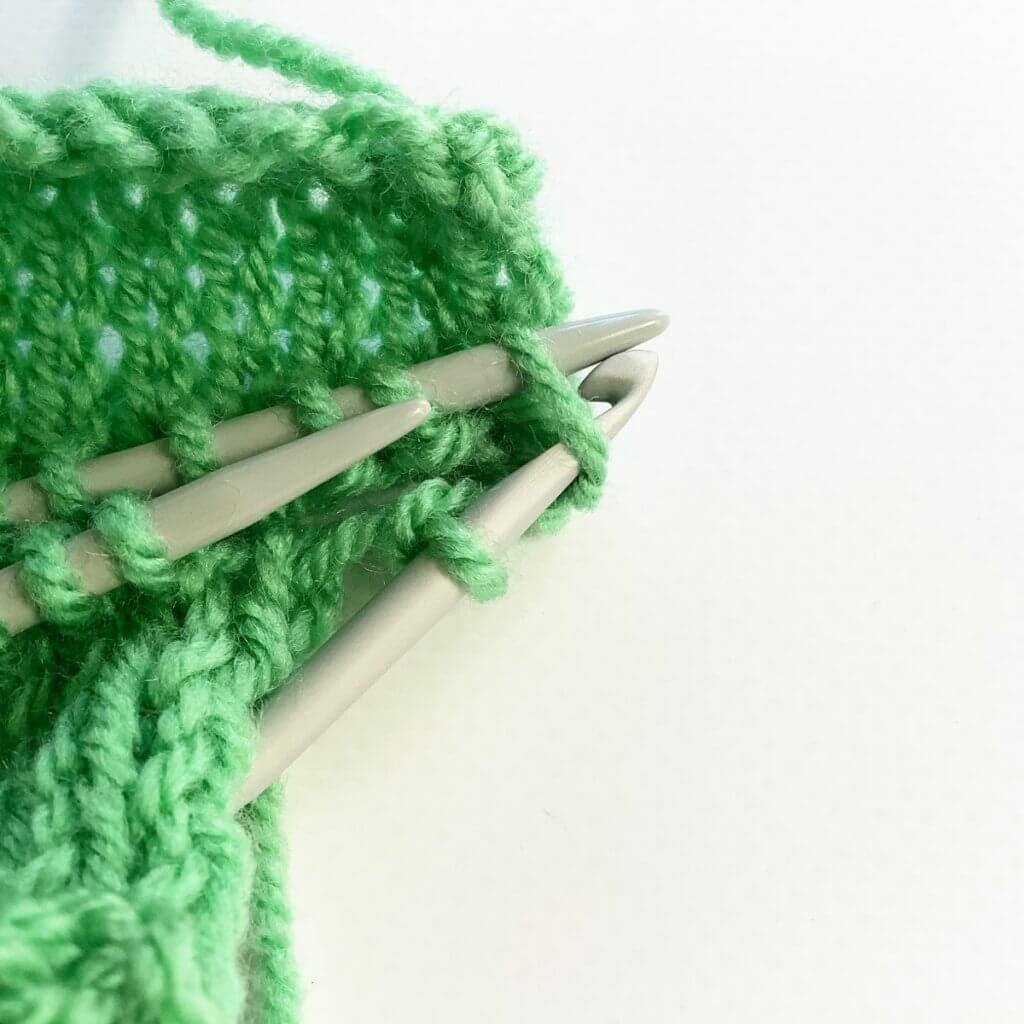
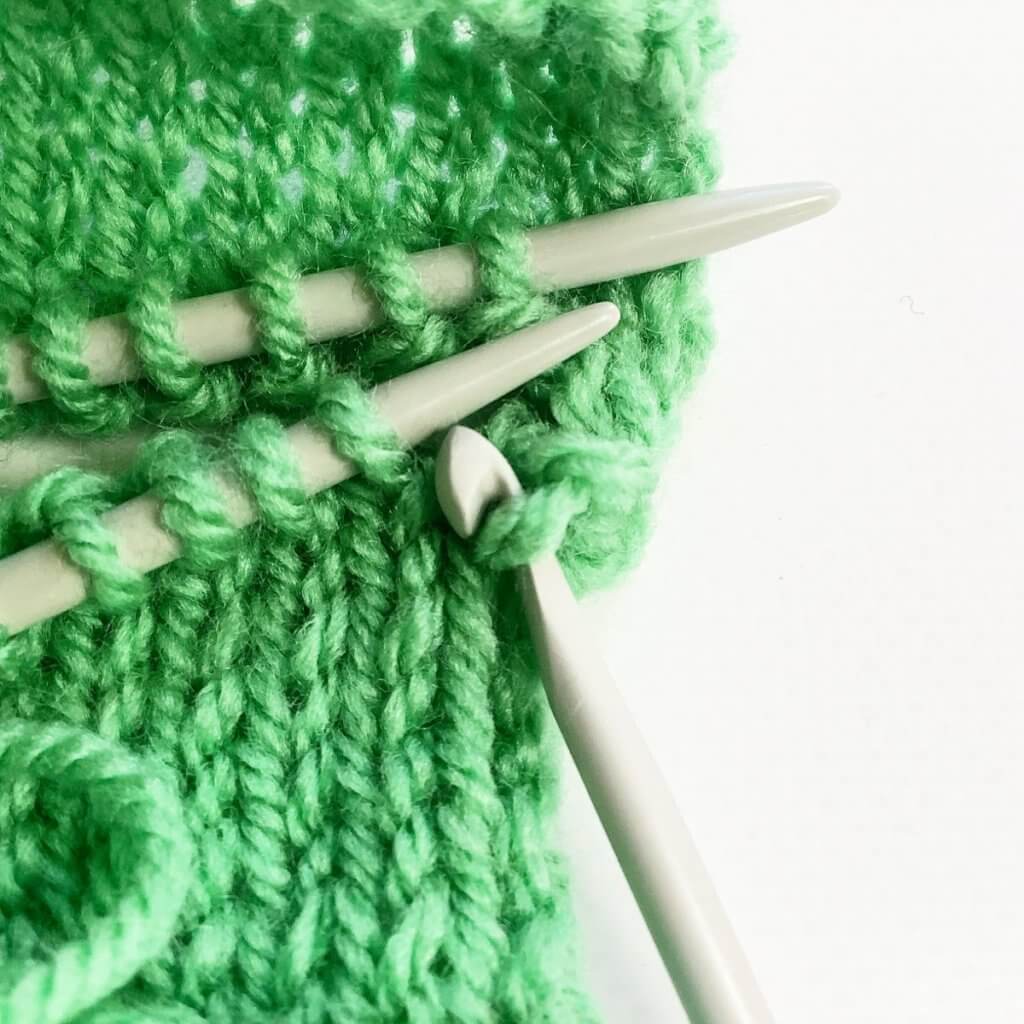
I’ve made 2 little swatches of stockinette and slipped one of those to another knitting needle, making sure the yarn tail is on the left side. Position the needles as pictured. Now we’re ready to start the actual Russian graft!
Set-up
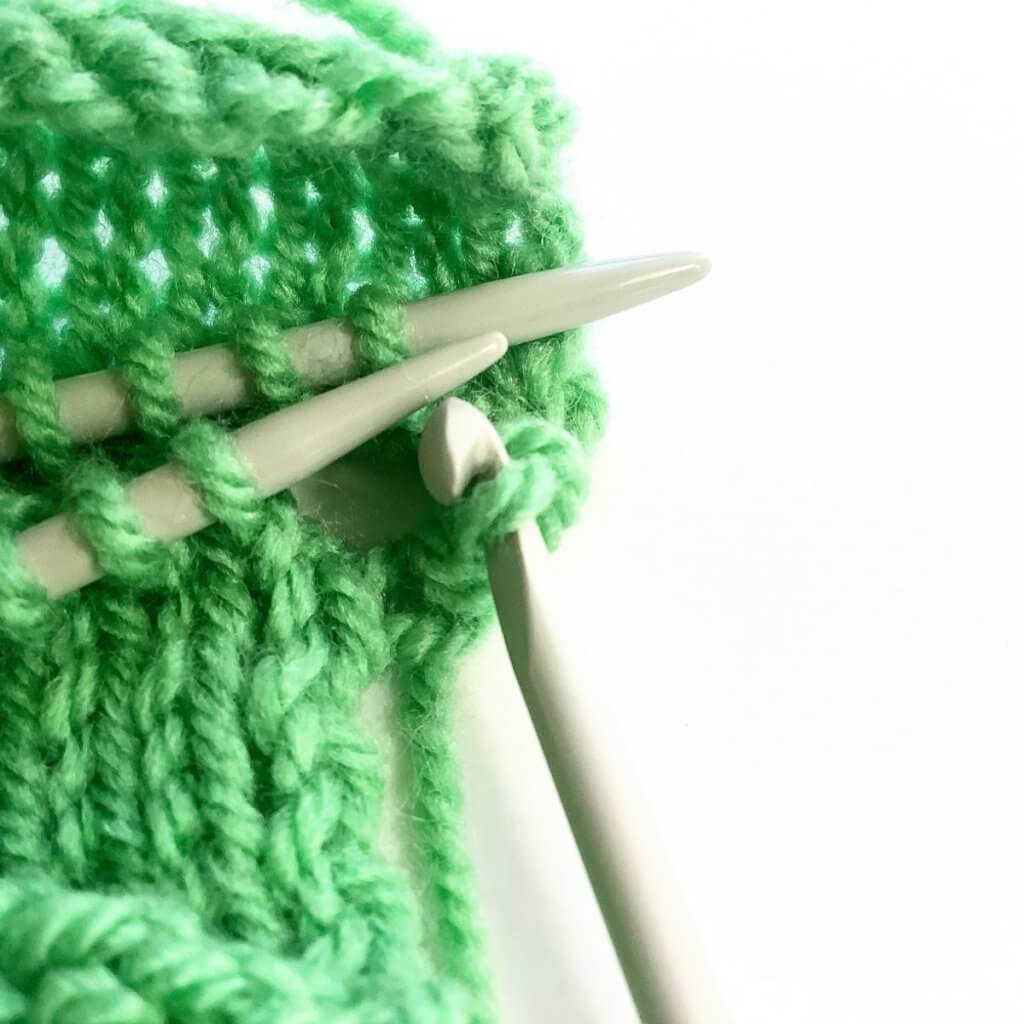
1. Back needle: Insert the crochet hook purlwise through the first stitch on the needle …
2. … and slide it off the needle.
3. Front needle: Insert the crochet hook purlwise through the first stitch on the needle ….
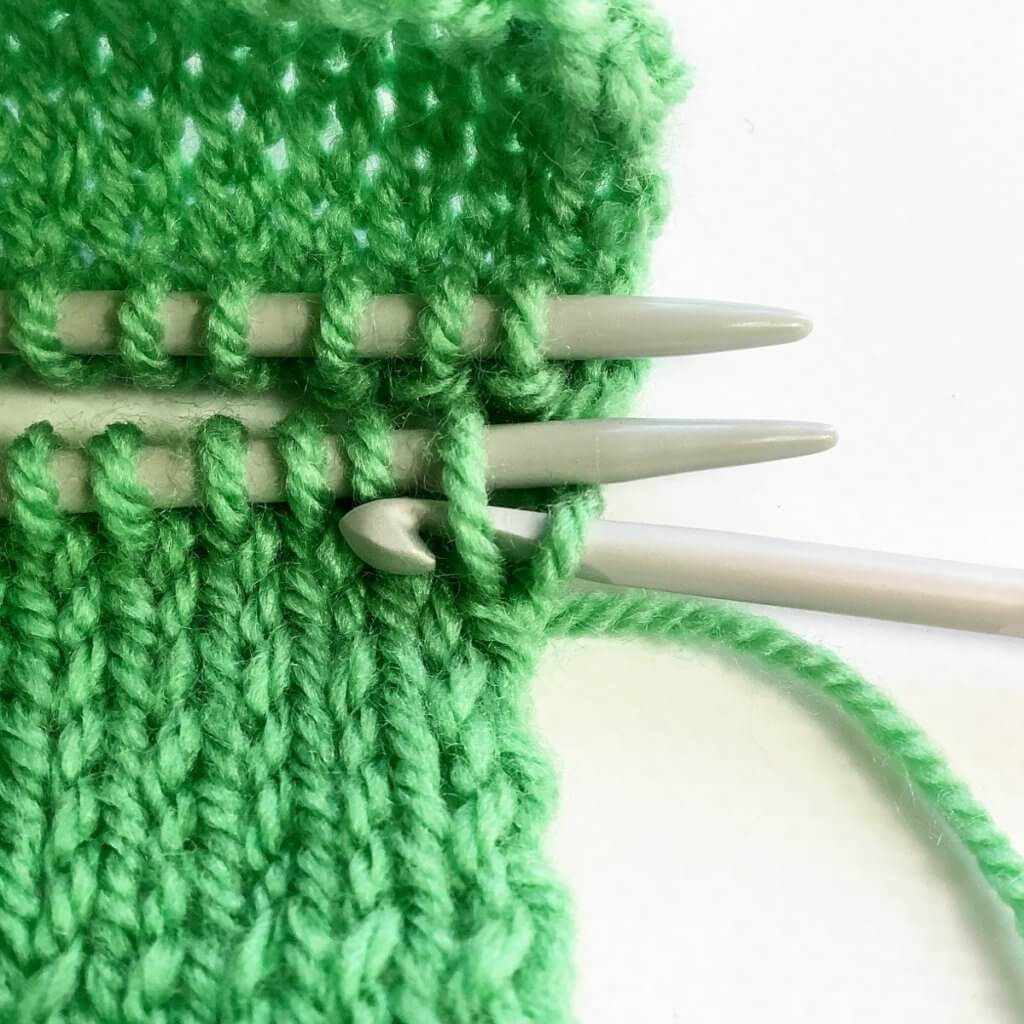
4. … and slide it off the needle.
5. Now pull this second stitch through the first stitch on the hook, so only 1 loop remains on the crochet hook.
Repeat
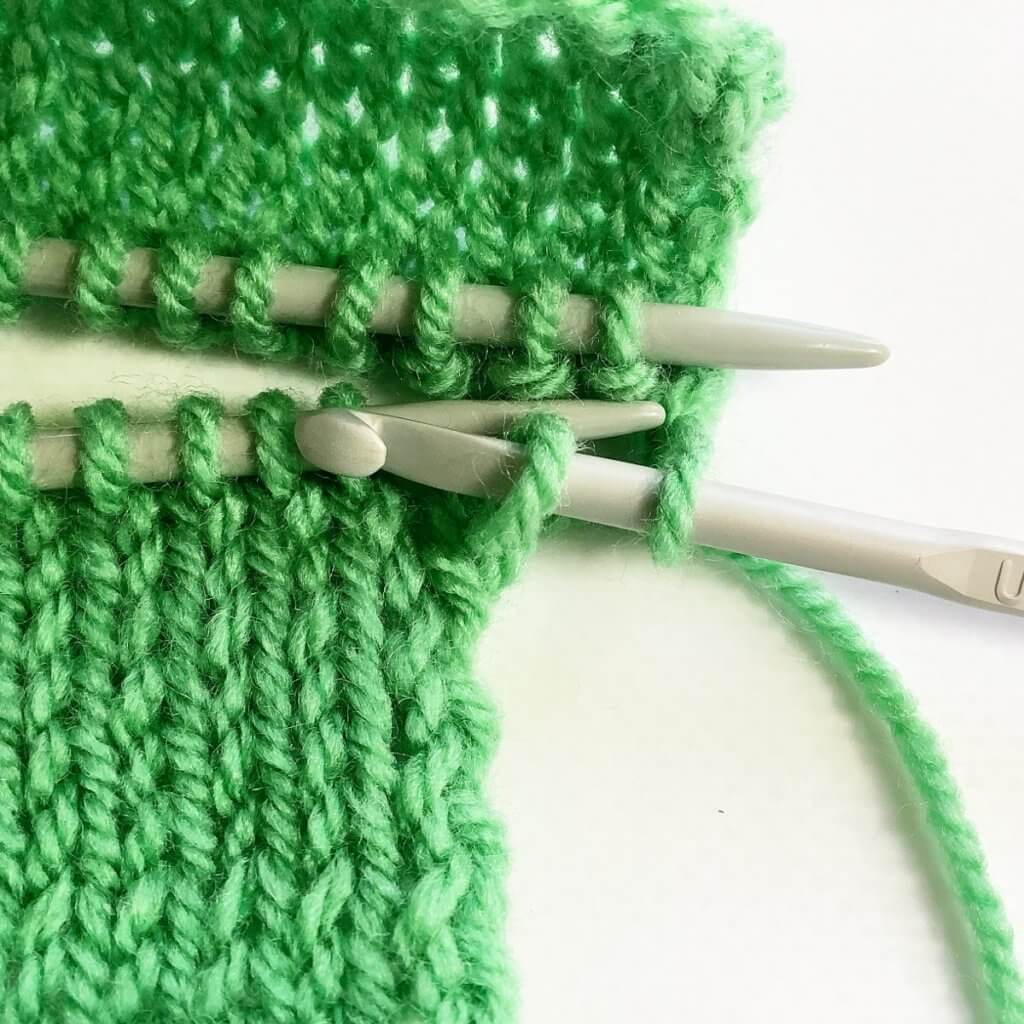
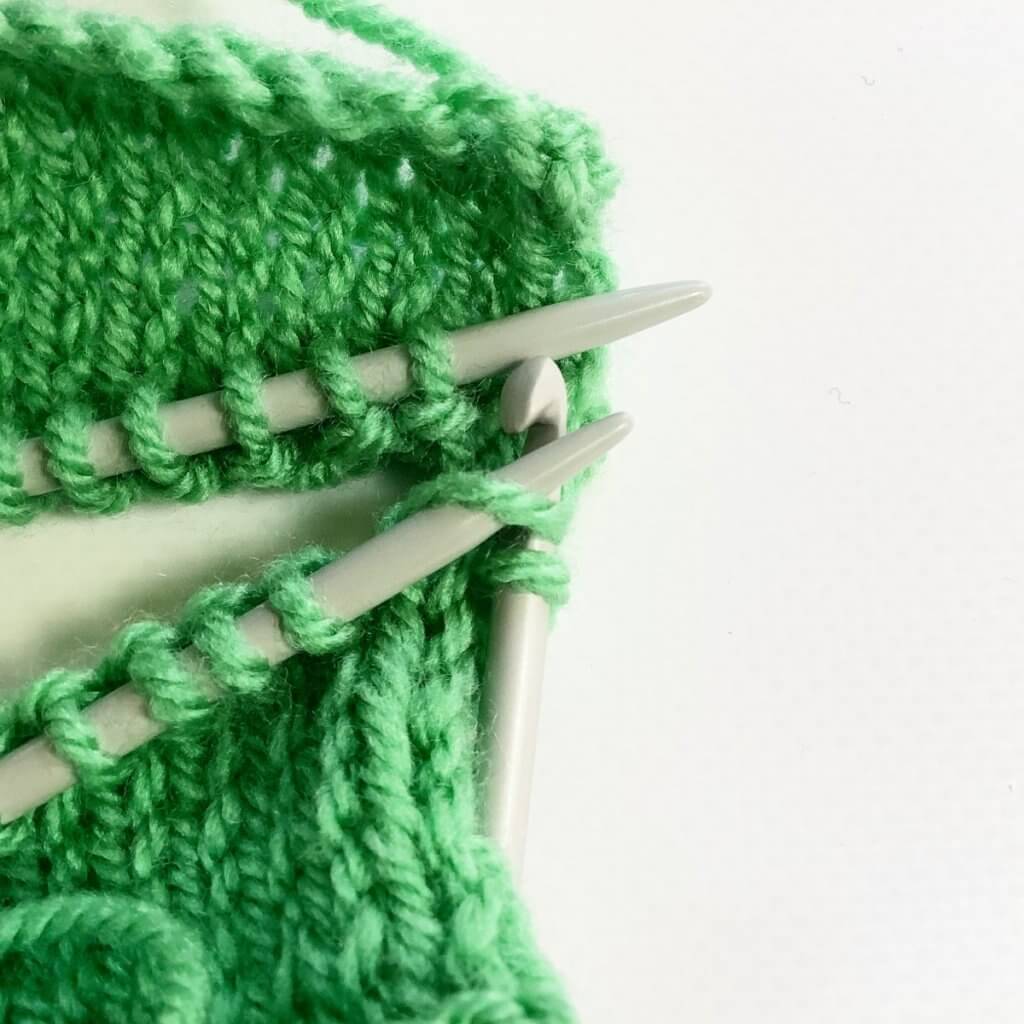
1. Back needle: Insert the crochet hook knitwise through the first stitch …
2. … and slide it off the needle.

3. Pull this last stitch through the first stitch on the hook, so only 1 loop remains on the crochet hook.
4. Front needle: Insert the crochet hook knitwise through the first stitch …
5. …and slide it off the needle.
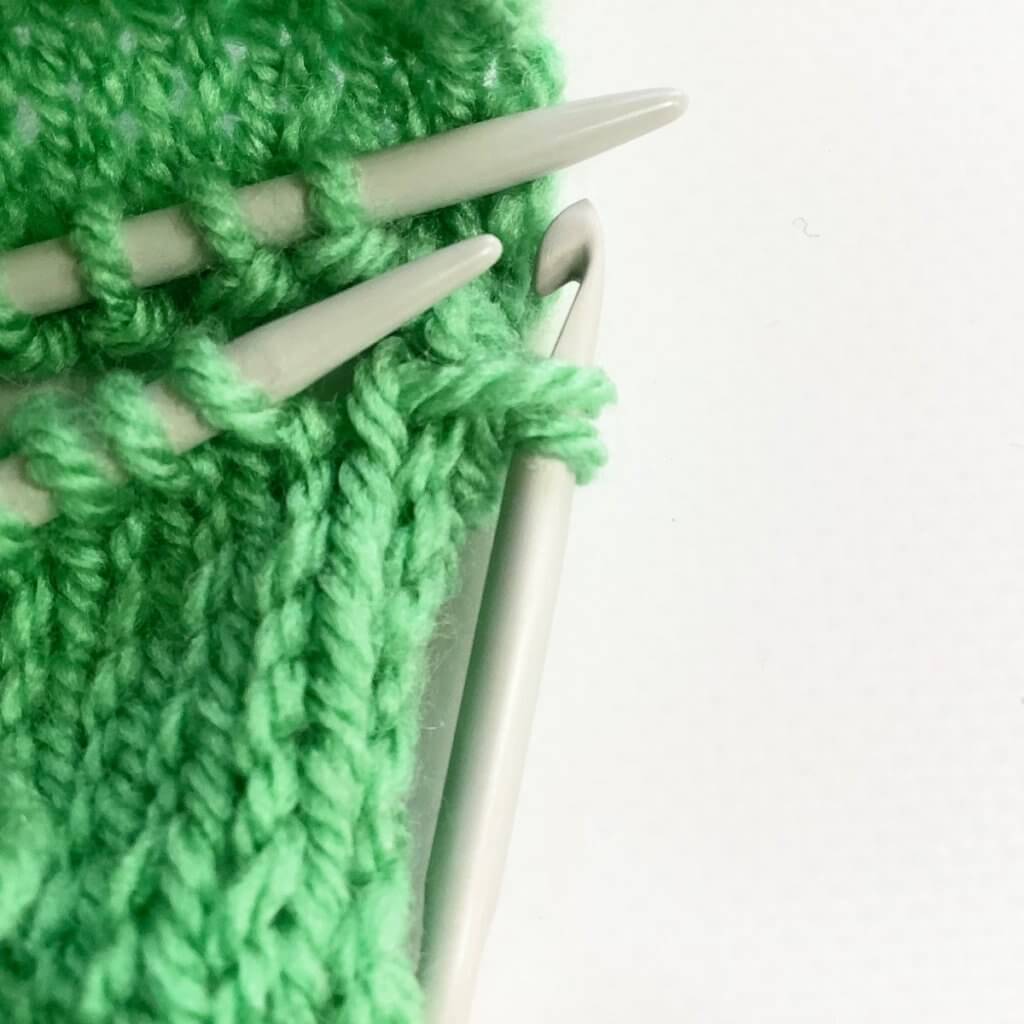
6. Pull this last stitch through the first stitch on the hook, so only 1 loop remains on the crochet hook.
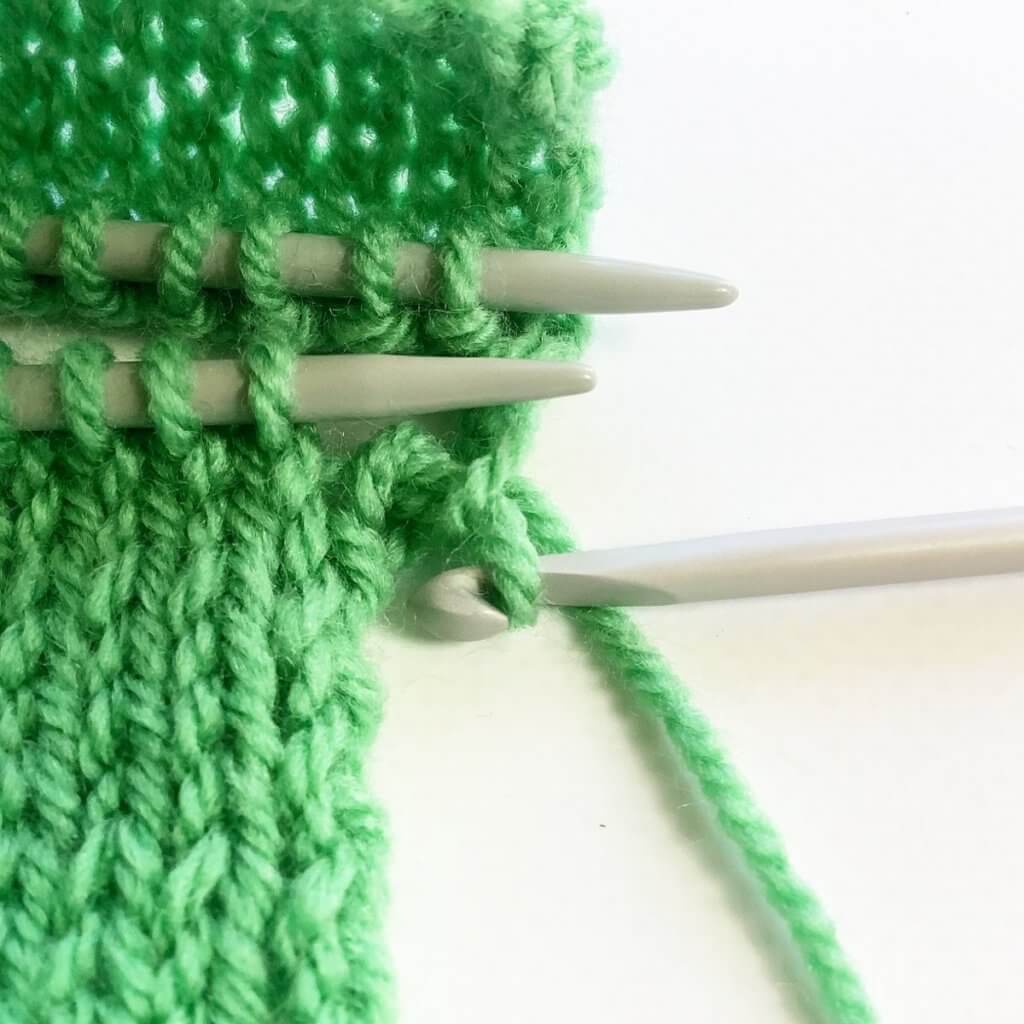
Repeat steps 1-6 until all stitches have been worked. At this point you will have 1 stitch remaining on the crochet hook:
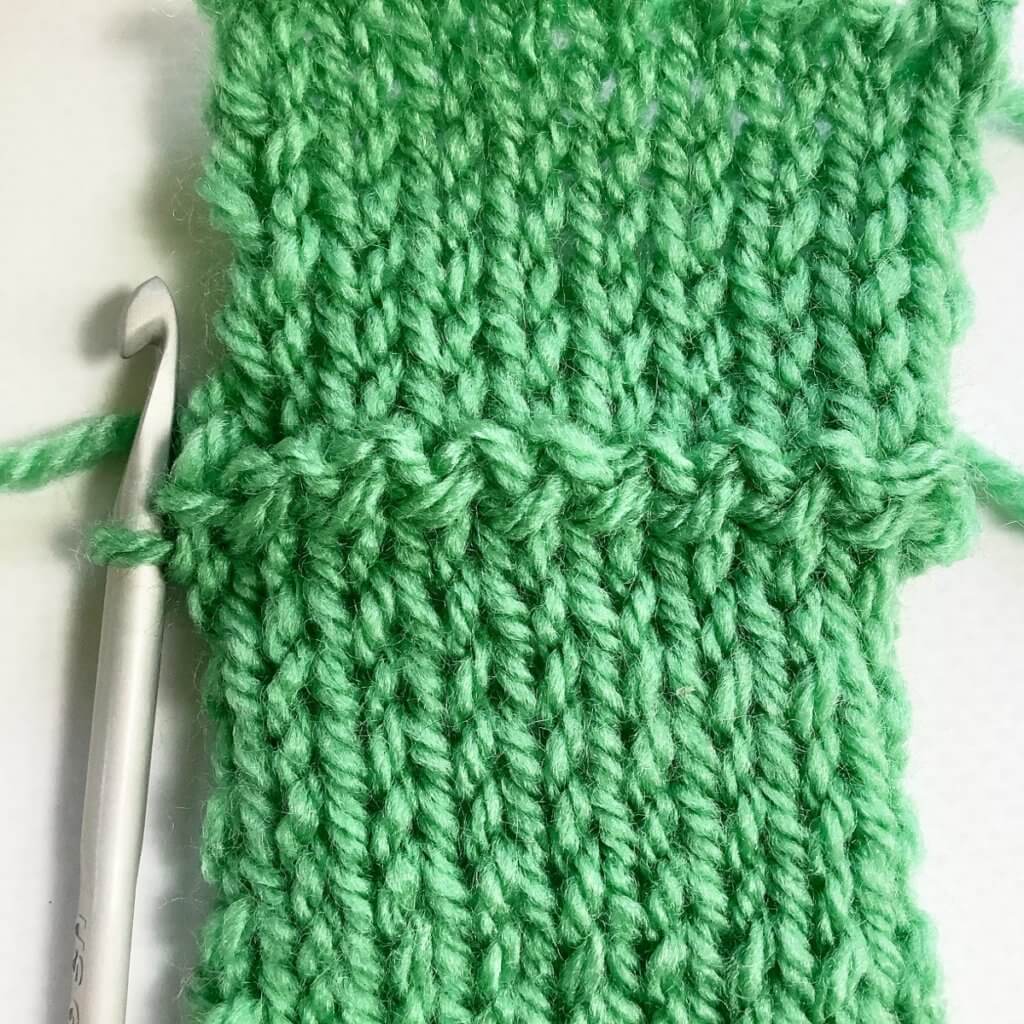
To finish the graft, pull the yarn tail through this last stitch to secure it. This was the reason to shuffle the stitches around on one of the swatches, otherwise, we wouldn’t have a yarn tail available.
And that’s how Russian grafting on stockinette is done! The seam is very decorative on its own and could be used as a design element instead of a 3-needle bind-off. Think for example when closing the shoulder seams on a bottom-up sweater.

Thanks to my Patreon supporters for bringing you this freebie! Creating quality patterns and tutorials is a lot of work and resource-intensive. However, I find it important to give you free content like this tutorial. Thanks to the generous support of my Patreon supporters, I can make it happen. Thank you, patrons! Click here to join, or click here to read more about La Visch Designs on Patreon.


