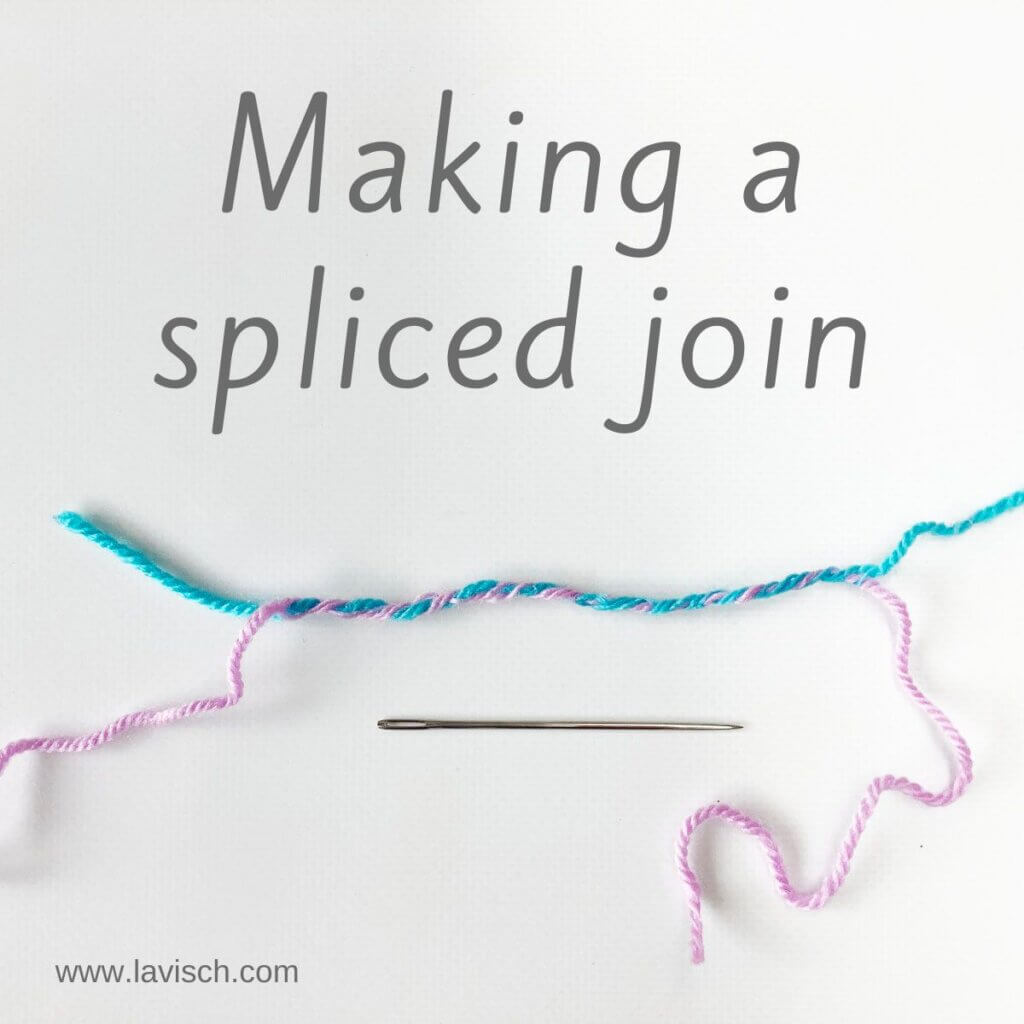
tutorial – making a spliced join
When making a bigger project, chances are that you’ll have to join a new ball of yarn. There are multiple ways to approach this, also depending on the type of yarn. For a non-super wash wool, for example, I’ll probably go for a felted join. In a project with a smooth and slippery yarn like cotton, I would most likely choose a braided join or a Russian join. But what about the spliced join this tutorial is about?
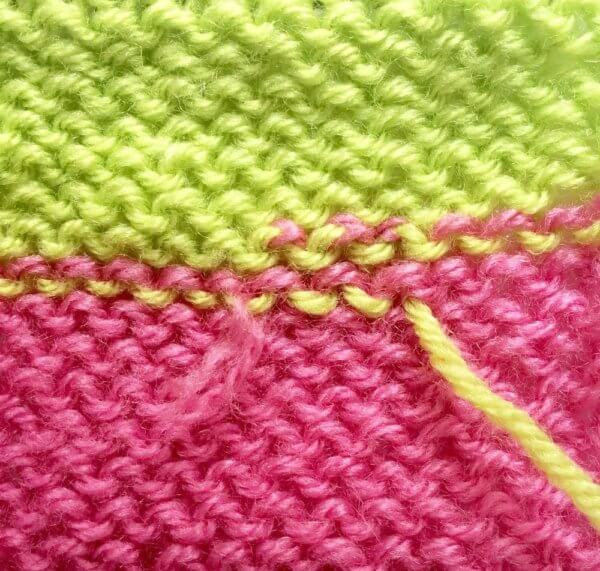
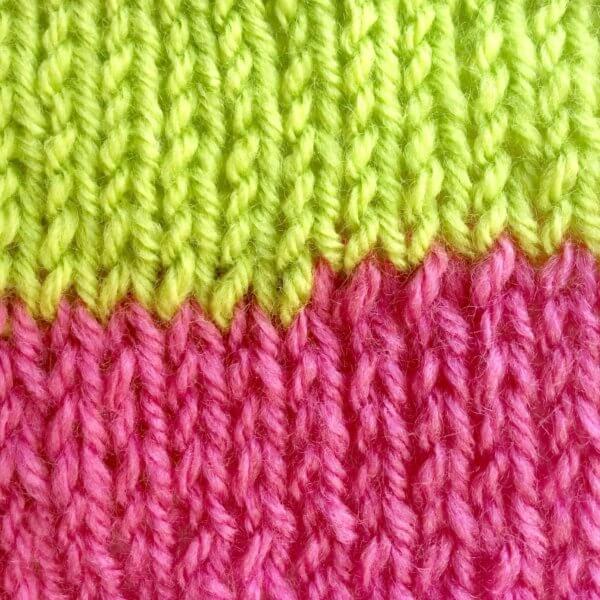
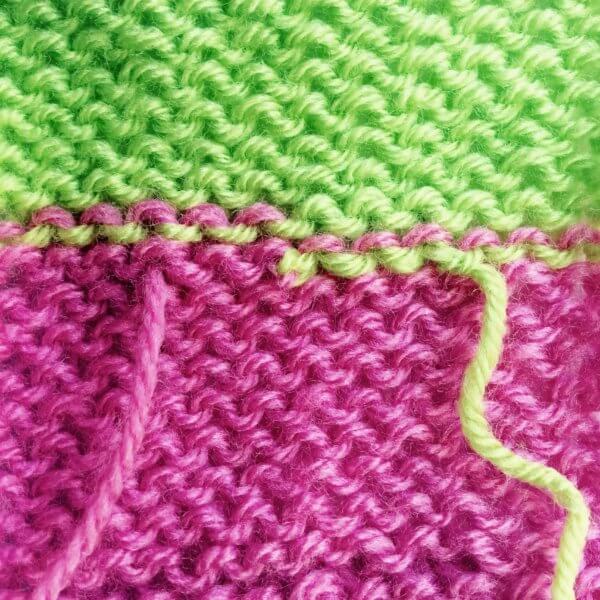
The spliced join is very similar to the Russian join, in the sense that a needle is used to thread the yarn through the end of the new piece of yarn. The difference, however, is that in the spliced join the yarn is not looped back. Because of this, it’s a join that less suited for the very slippery yarns. Yarns that have some texture and “grip” to them, will work splendidly, though. Similar to the Russian join, the spliced join locally produces a thicker thread. However, this does not need to be a problem, because it’s often not very visible.
Materials


Yarn: Paintbox Yarns Simply DK, a good value, good quality 100% acrylic yarn, here in the colors 133 Marine Blue, and 142 Tea Rose.
Darning needle: Pictured is a Hiya Hiya Darn It Yarn Needle. Please note that in the tutorial, I used a sharper darning needle, to make threading it through the yarn easier.
The spliced join step by step
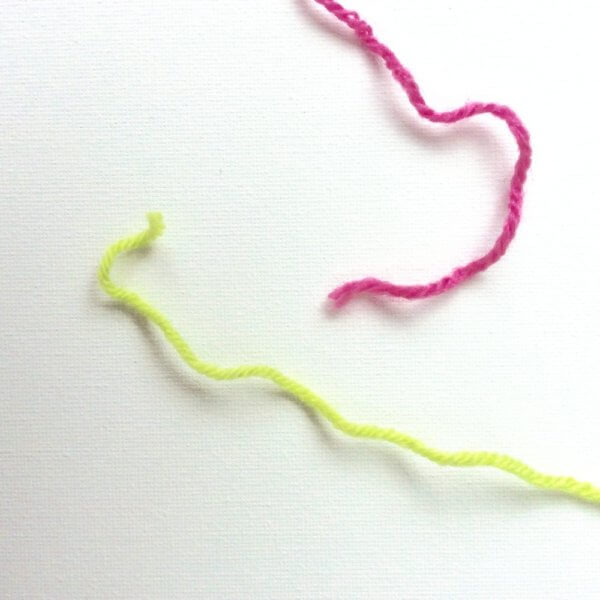
In this example, I have used yarn in two different colors to illustrate how this method works.
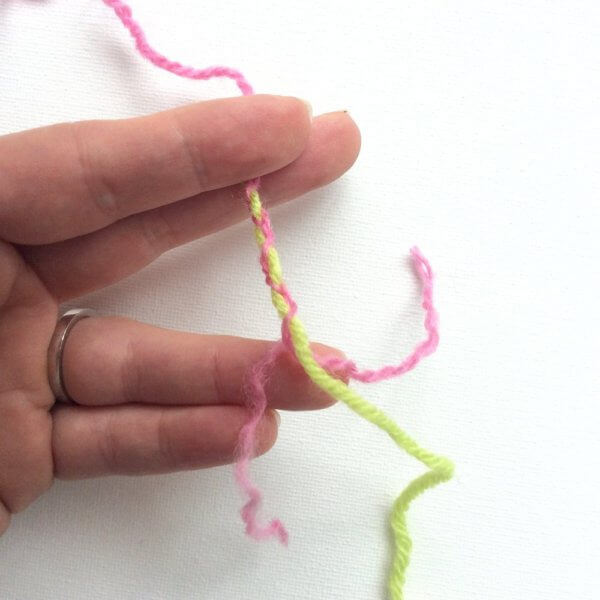
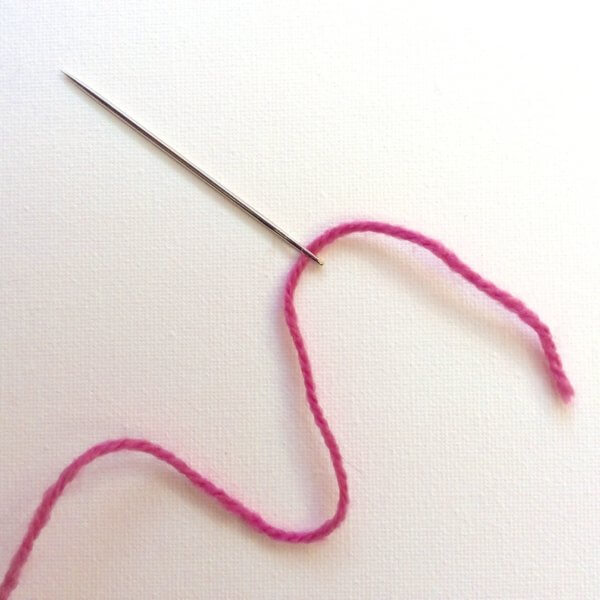
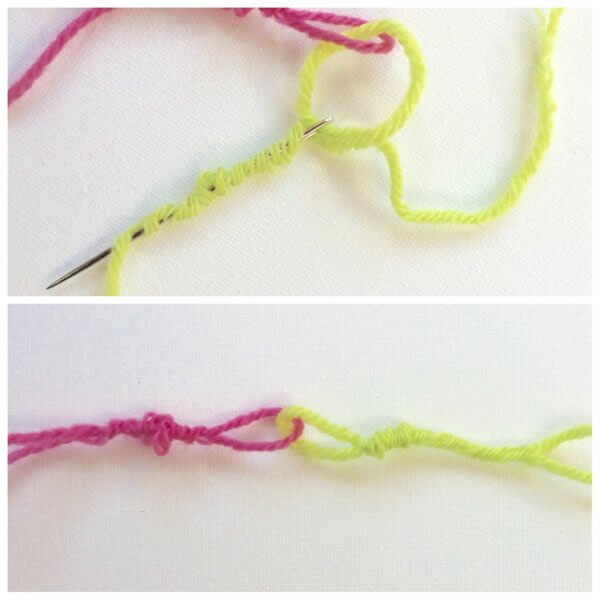
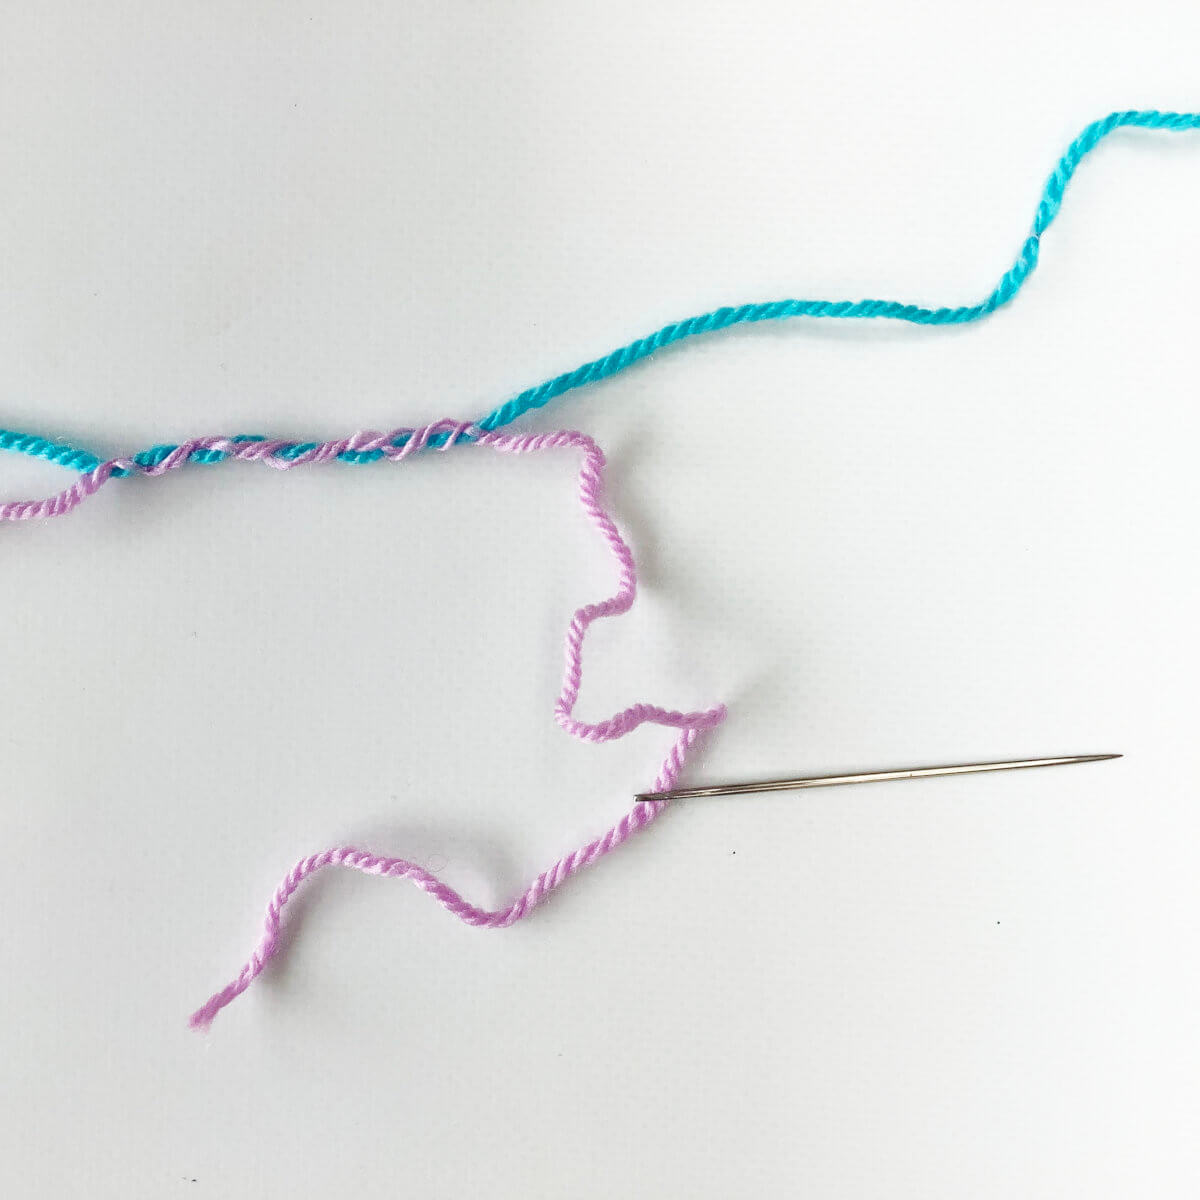
- Thread the yarn end from the first ball through the eye of the needle.
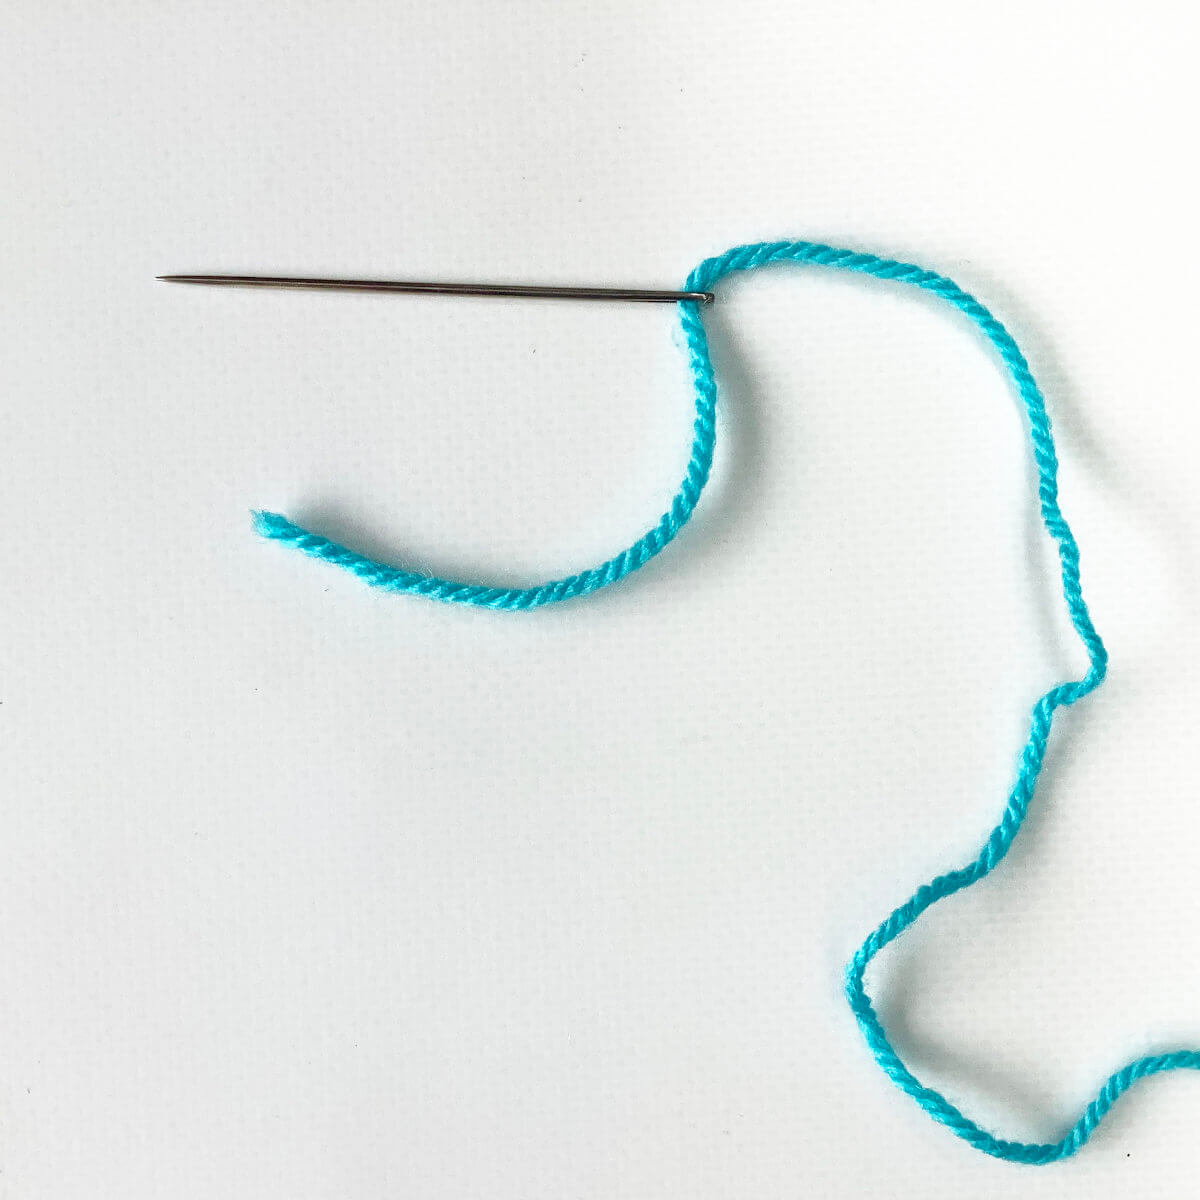
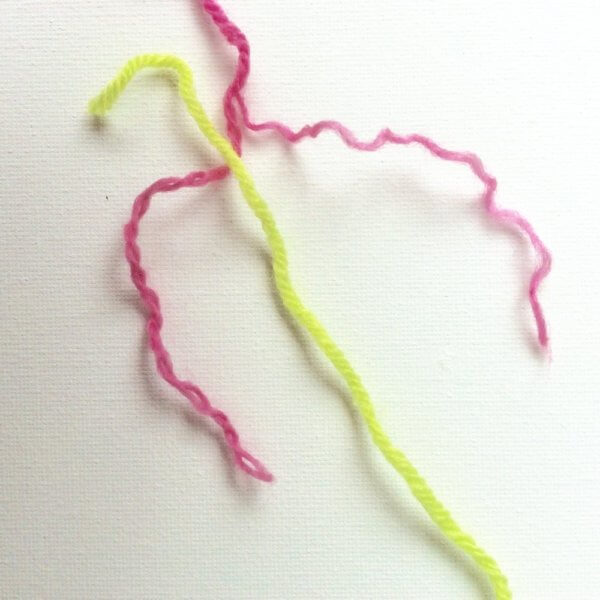
- Zigzag with the needle through the end of the thread attached to your project, for approximately 5 to 6 centimeters (about 2 inches).
Make sure to do that about 10-15 cm (4 to 6 inches) from the end.

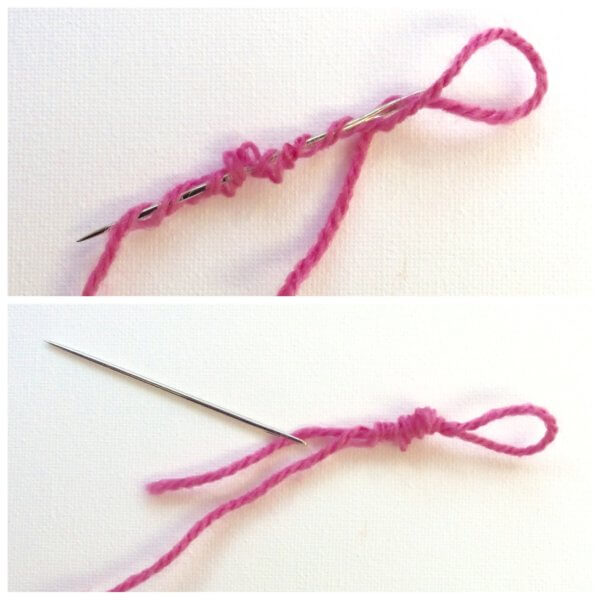
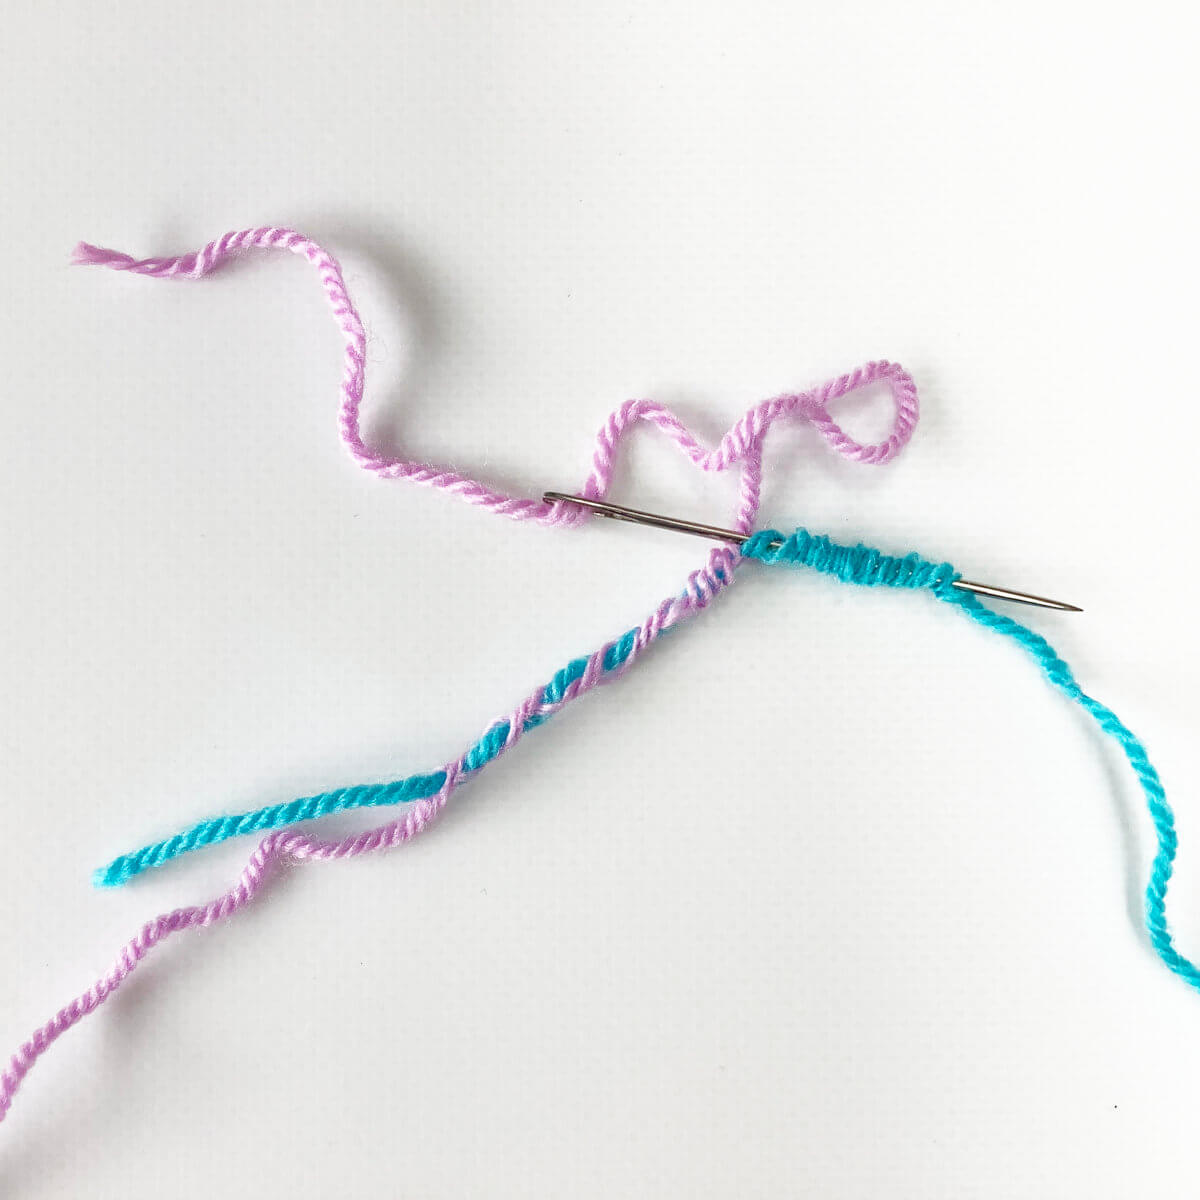
- Pull the needle with its attached yarn through the other thread.
After that, you can remove the yarn from the needle.
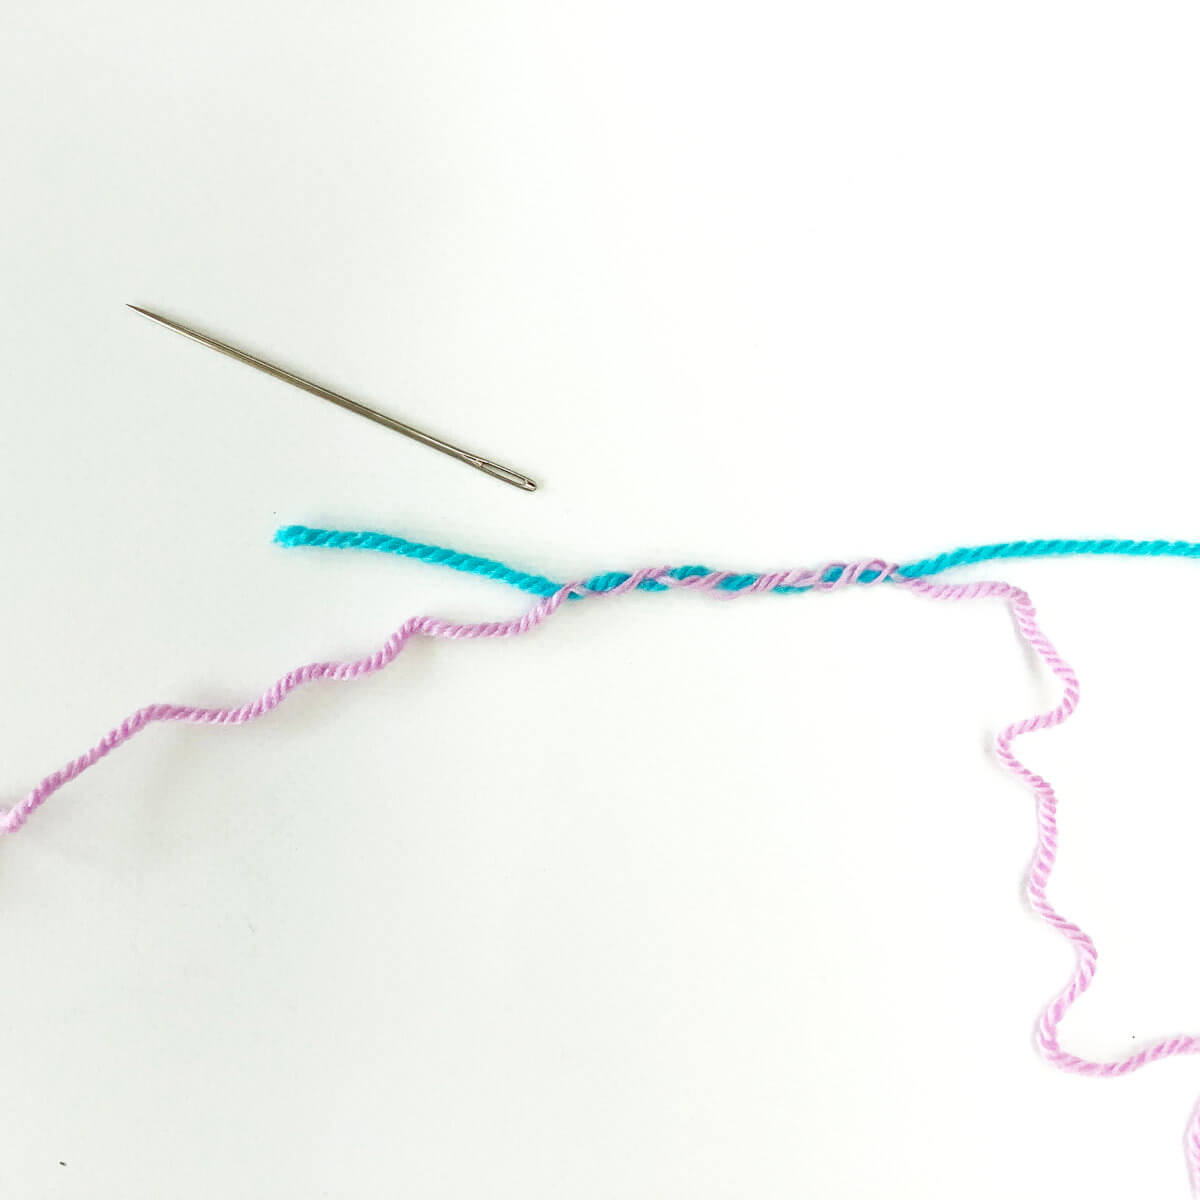
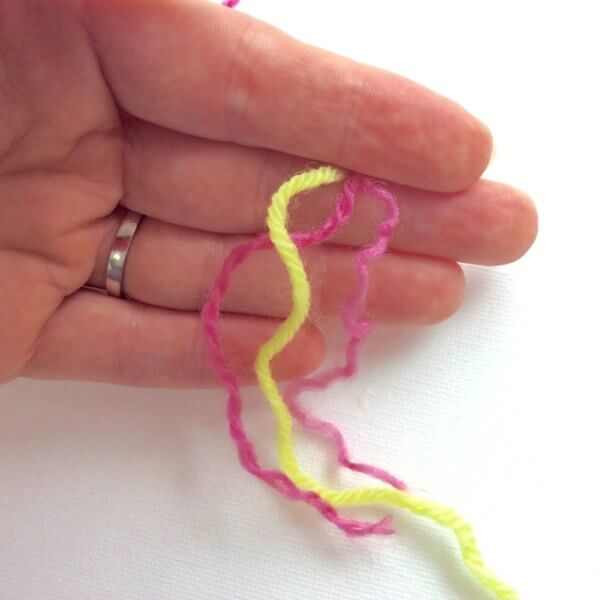
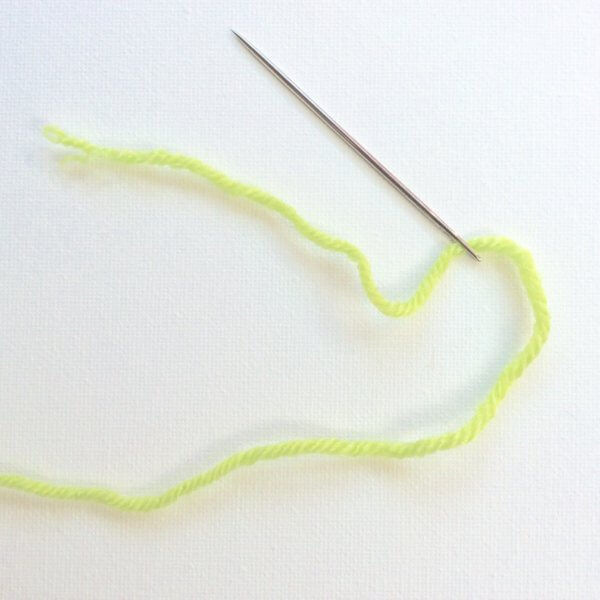
- Next, thread the yarn from the other tail through the eye of the needle.
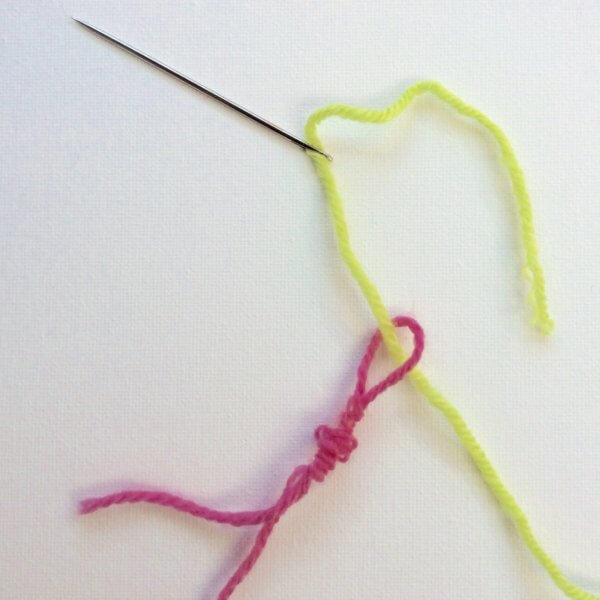
- Now zigzag back with the needle through the second thread for about 5 to 6 centimeters (about 2 inches).
Start at the point where the other “doubled up yarn section” ended.
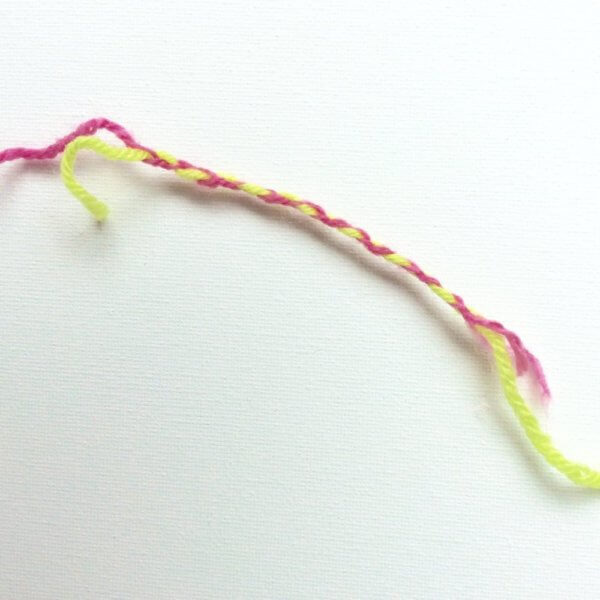
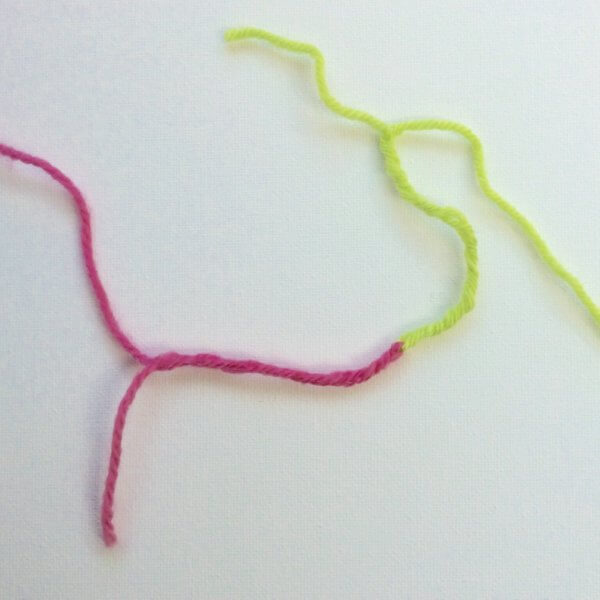
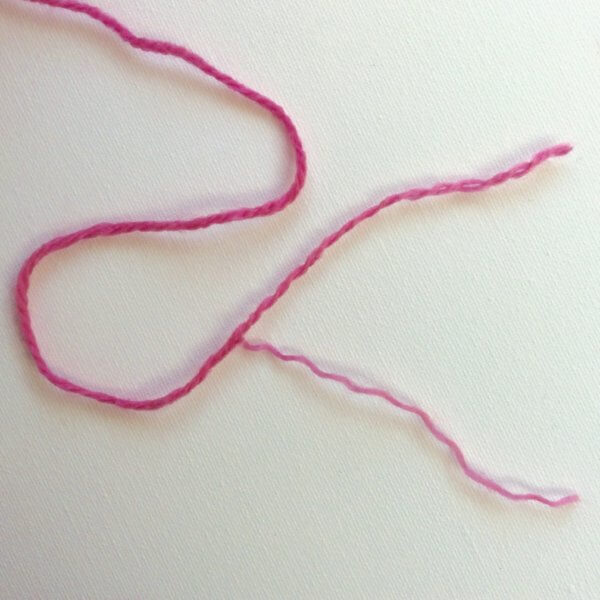
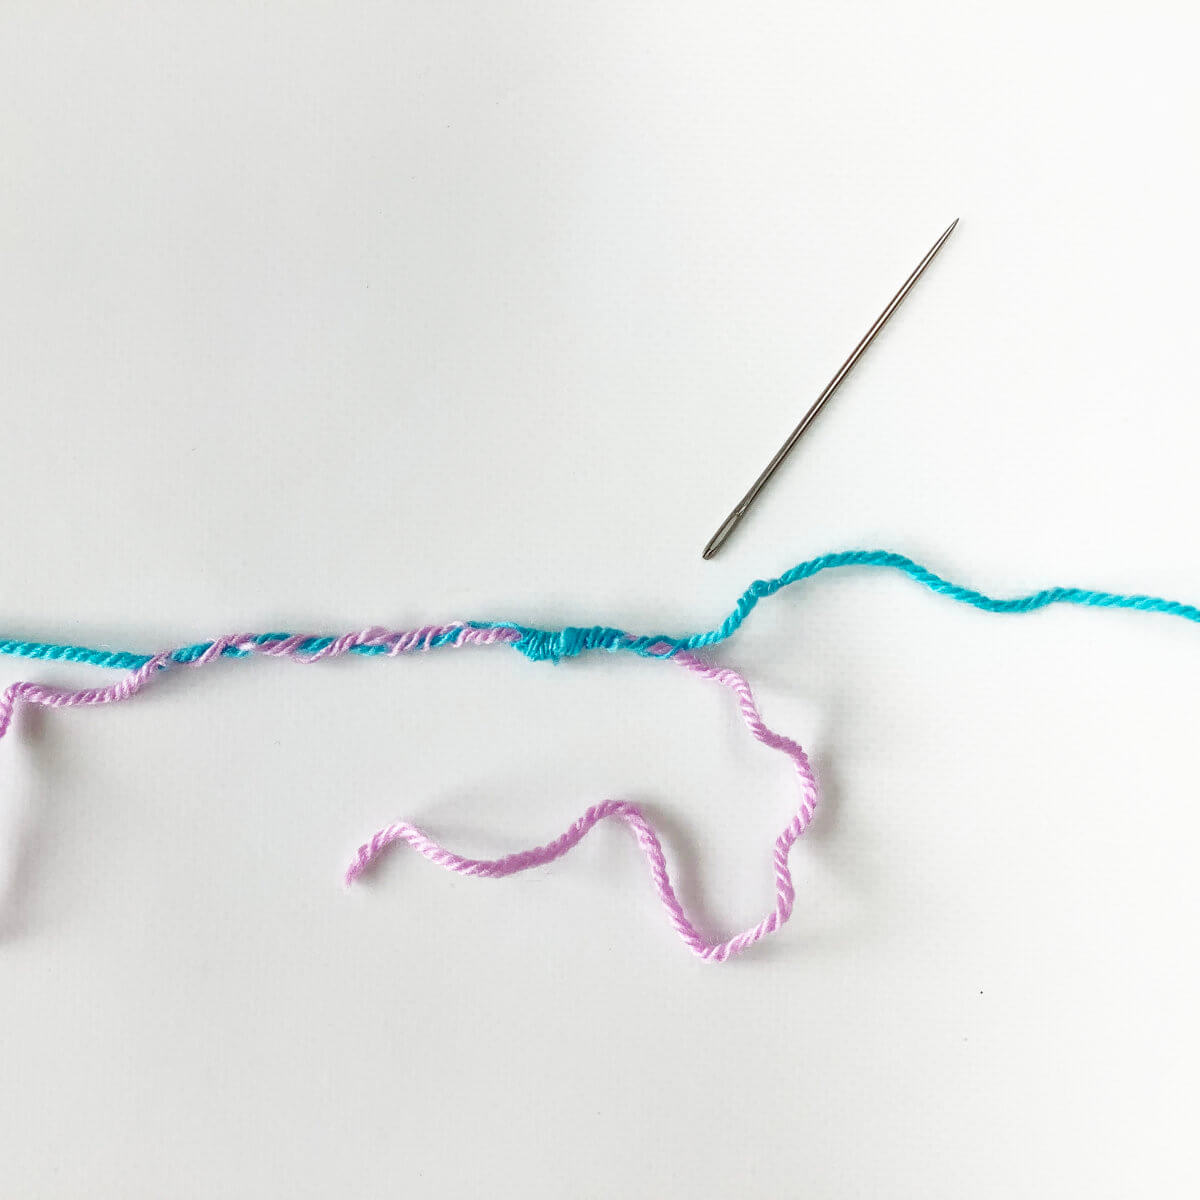
- Pull the yarn through, and gently tug on both ends to pull the yarn smooth.
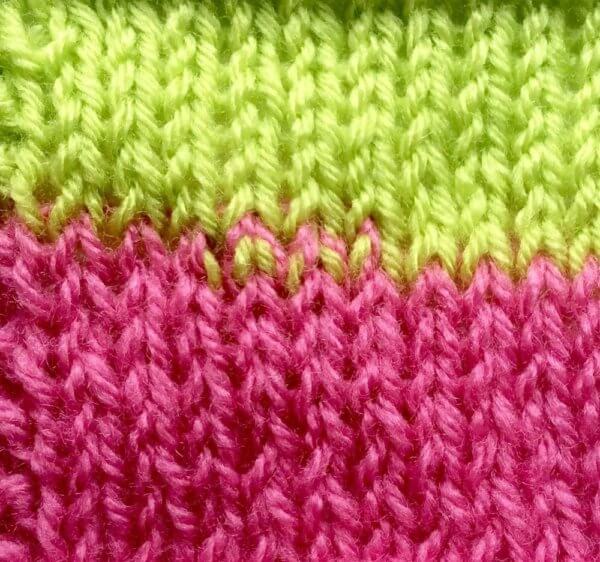
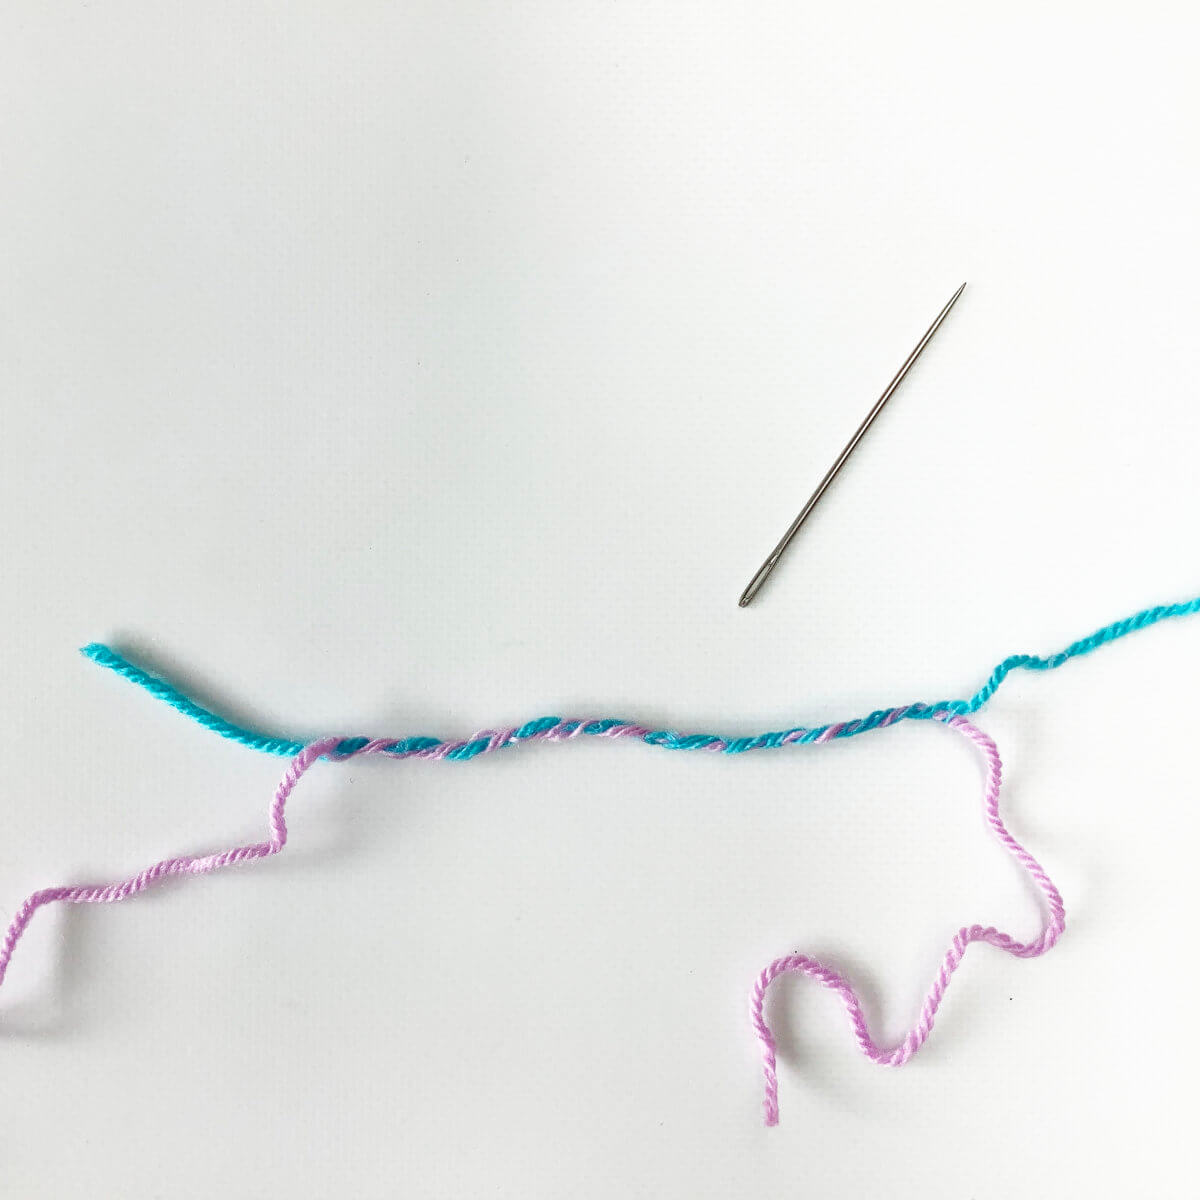
- The result of the spliced join!

Thanks to my Patreon supporters for bringing you this freebie! Creating quality patterns and tutorials is a lot of work and resource-intensive. However, I find it important to give you free content like this tutorial. Thanks to the generous support of my Patreon supporters, I can make it happen. Thank you, patrons! Click here to join, or click here to read more about La Visch Designs on Patreon.
tutorial – making a spliced join Read More »