tutorial: knitting M1L and M1R increases

Many knitting patterns do not consist of rectangles but have a different shape. Think of a hat or a triangular shawl. To make contours in your work, you can make it wider by increasing your number of stitches, and narrower by decreasing them. When knitting lace both increases and decreases are indispensable. Knowing about knitting M1L and M1R increases, therefore, comes in very handy.
Being able to work a wide variety of increases is, therefore, a very important skill for a knitter. In this post, I’m going to show you how to make increases by lifting the horizontal thread between the stitch just knit and the next one. These increases are referred to as “make one left” (abbreviated M1L) and “make one right” (abbreviated M1R).
Left? Right?
Now you may wonder what is meant by “left” and “right” in this context. Depending on how exactly you make the increase, it leans to the left or to the right, relative to the surrounding “normal” stitches. This can be very useful in, for example, a sweater where increases on both sides of the neck opening are needed. In this particular case, it may be visually pleasing to be symmetrical.
Sometimes there is no indication of a direction given in the pattern, usually denoted by plain “M1”. If that is the case, you can choose which version you like best, or easiest to make.
Knitting a M1R increase step by step
In this variation, you increase by lifting the thread between the stitch just knit and the next one from the back with your left needle, then knit (RS) or purl (WS) into the front of the loop. The resulting extra stitch leans to the right.
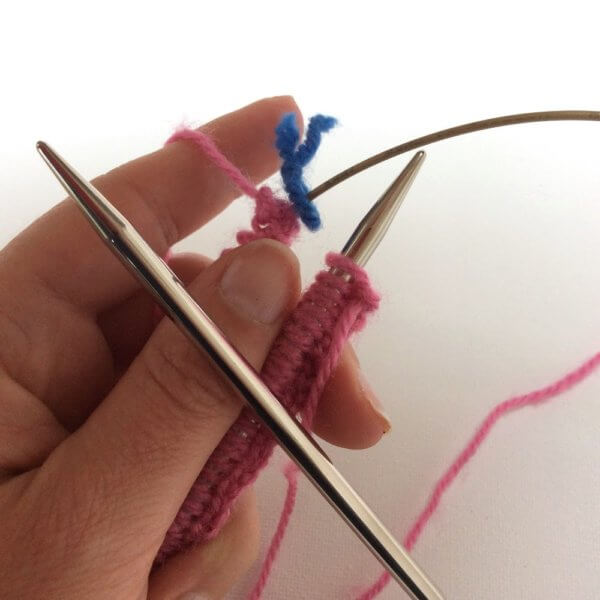
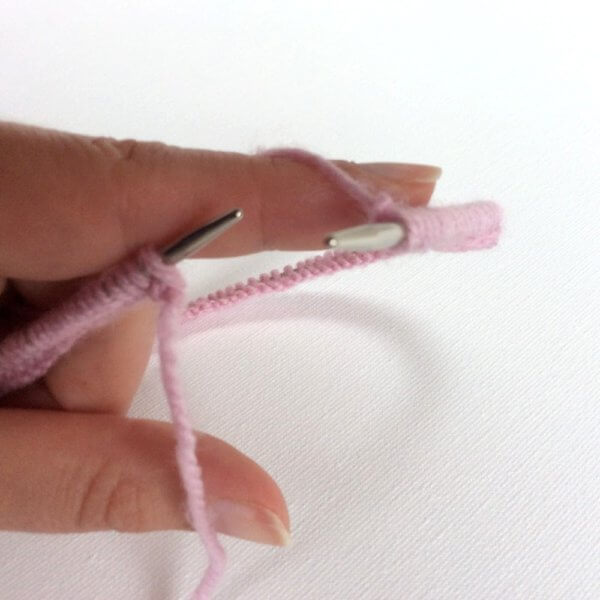
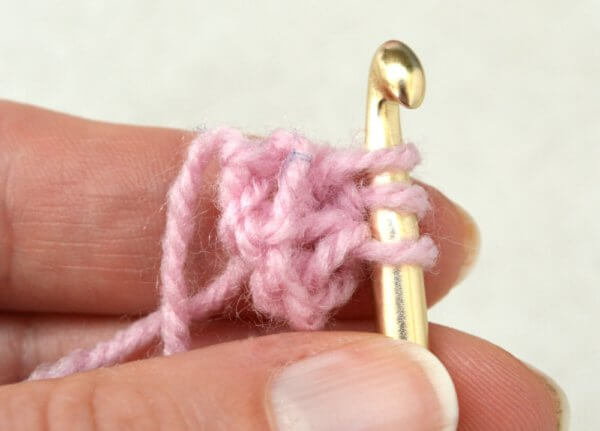
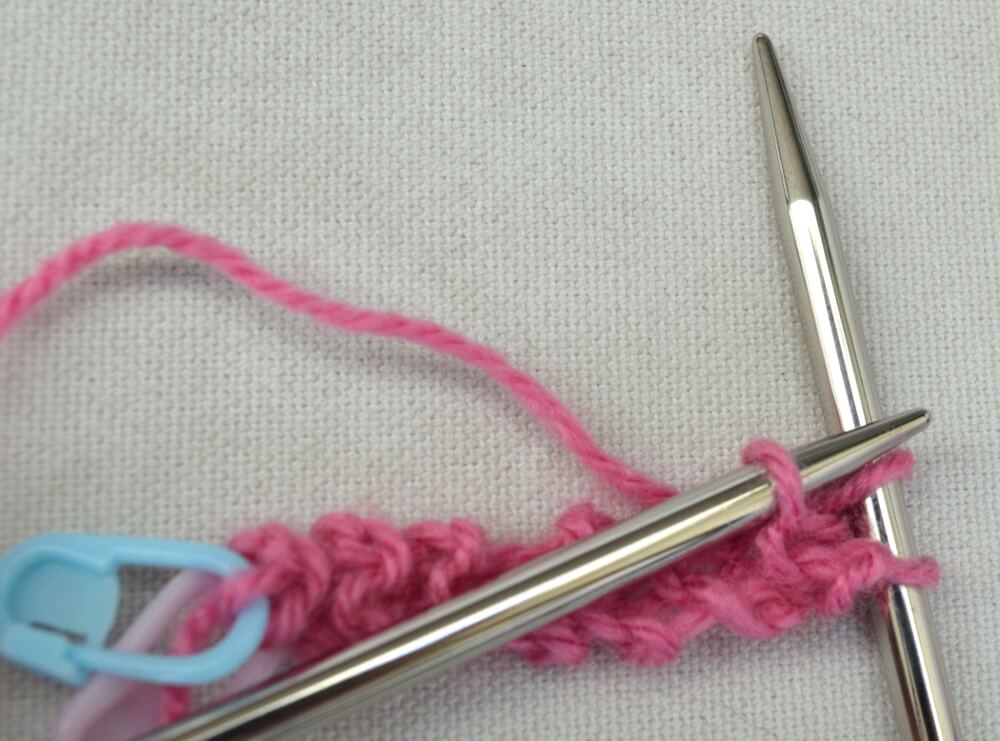
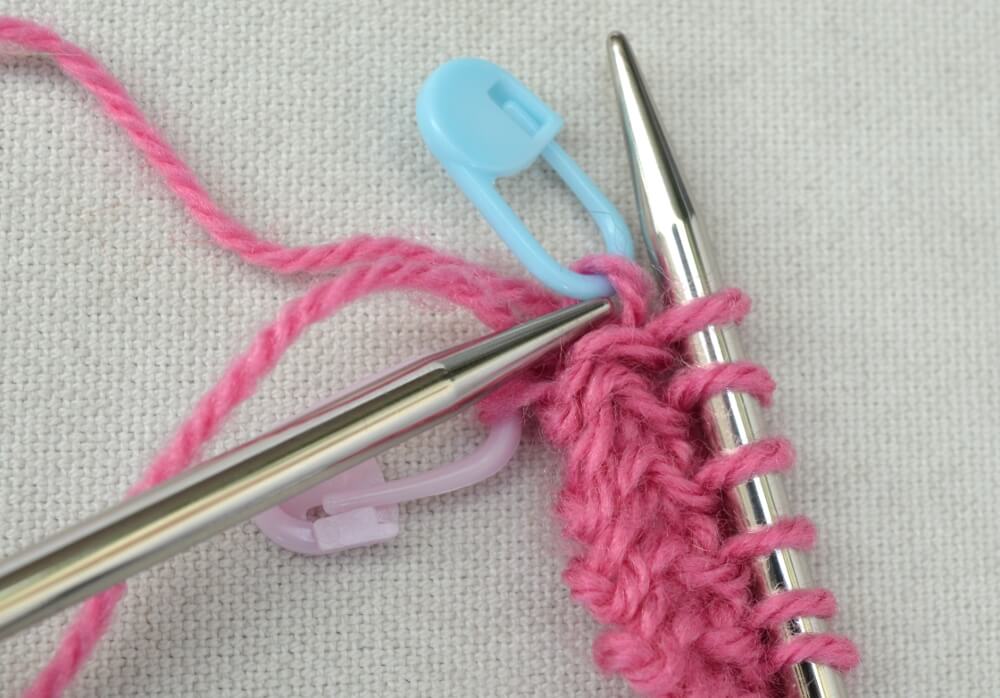
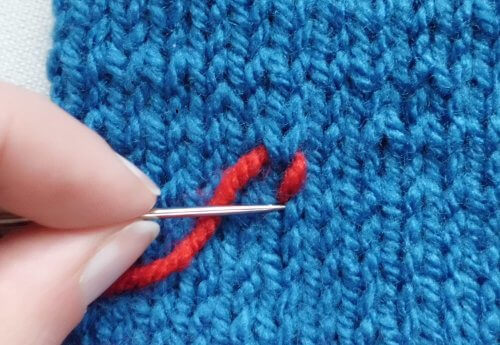
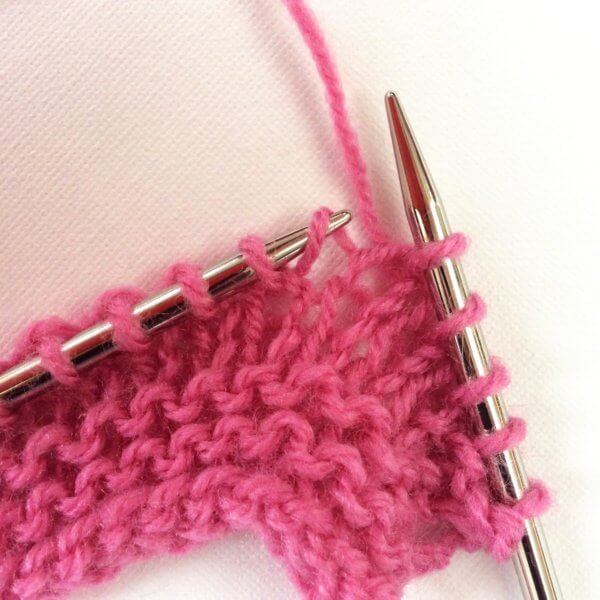
1. Lift the thread between the stitch just knit and the next one from the back with your left needle.
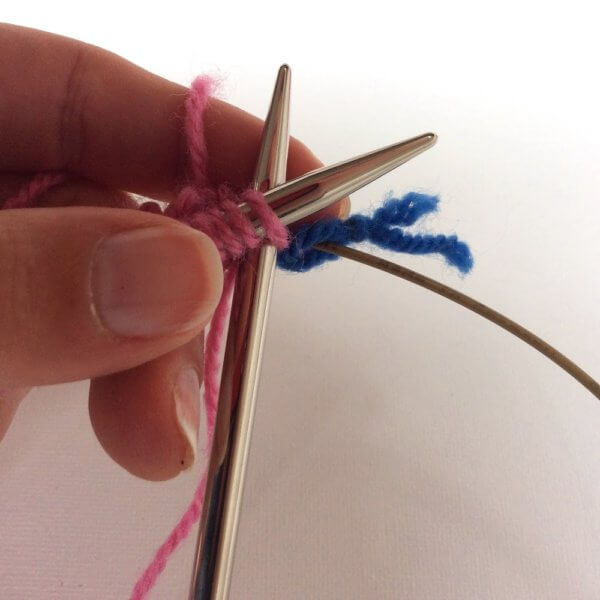
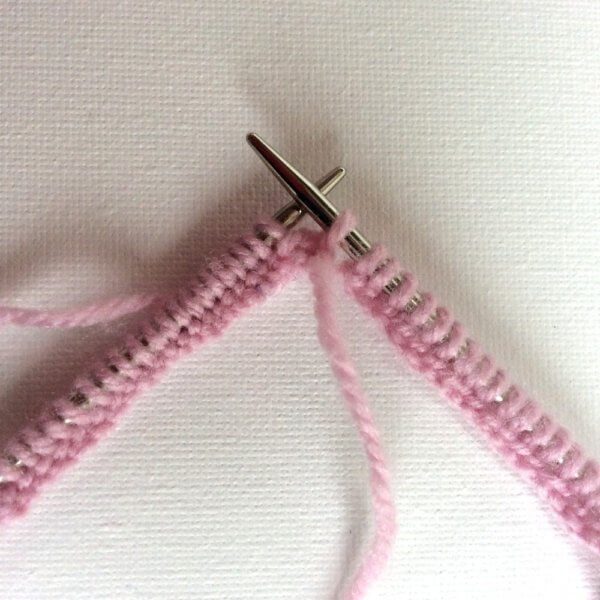
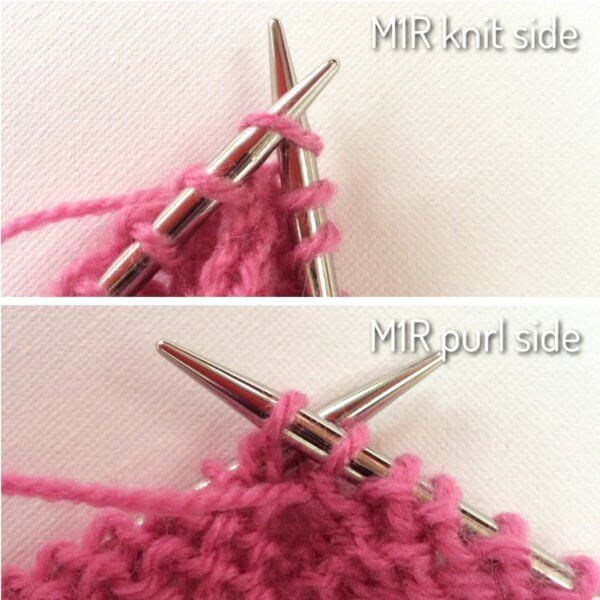
2. Knit (RS) or purl (WS) into the front of the loop.
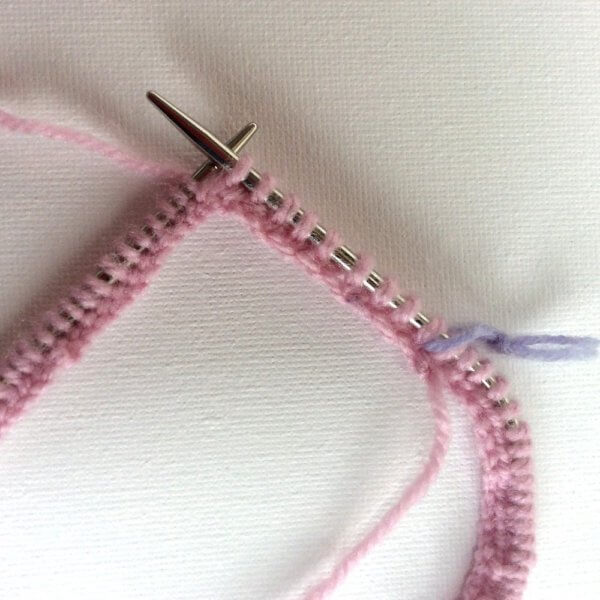
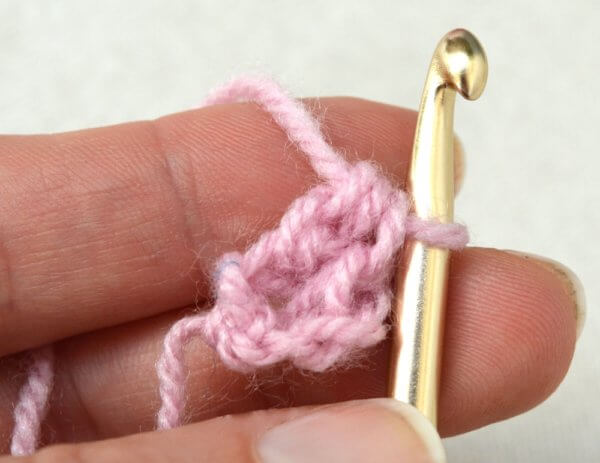
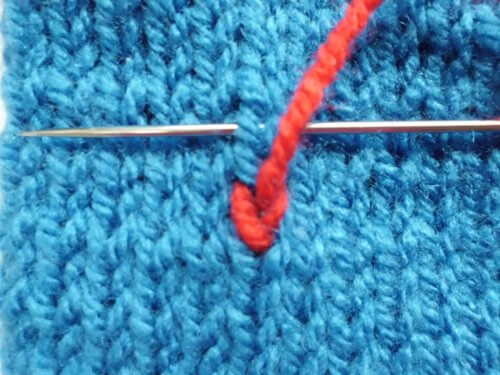
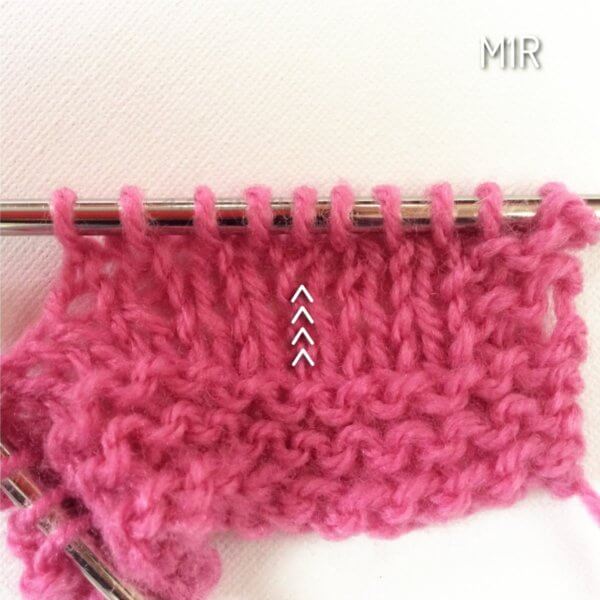
3. The result of the right-leaning M1R.
Knitting a M1L increase step by step
In this variation, you increase by lifting the thread between the stitch just knit and the next one from the front with your left needle, then knit (RS) or purl (WS) into the back of the loop. The resulting extra stitch leans to the left.
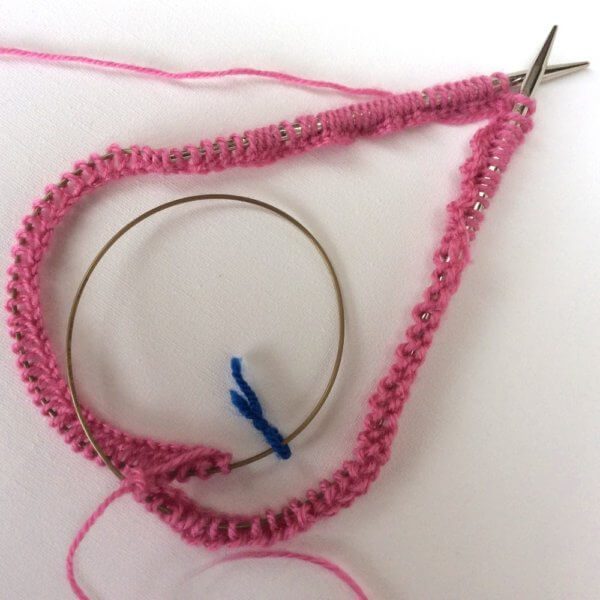
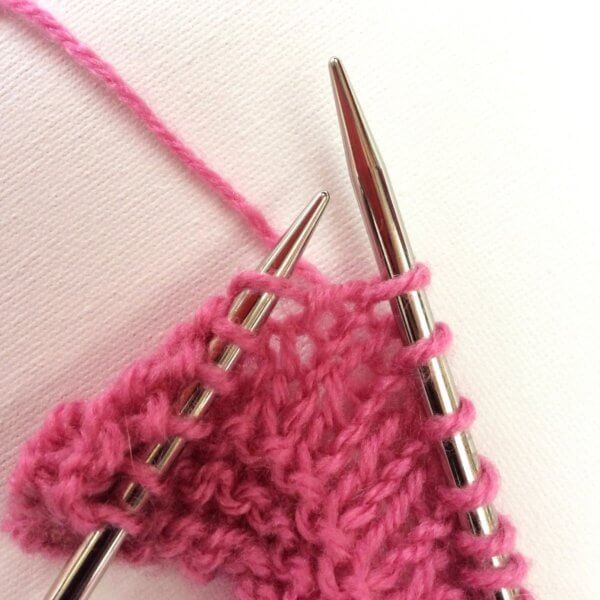
1. Lift the thread between the stitch just knit and the next one from the front with your left needle.
2. Knit (RS) or purl (WS) into the back of the loop. The latter may be a bit challenging, but as with everything practice makes perfect.
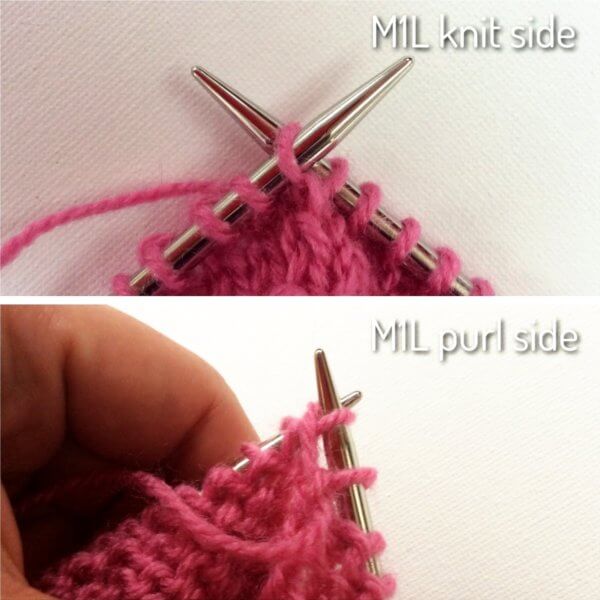
3. The result of the left-leaning M1L.

And this is how knitting M1L and M1R increases is done!
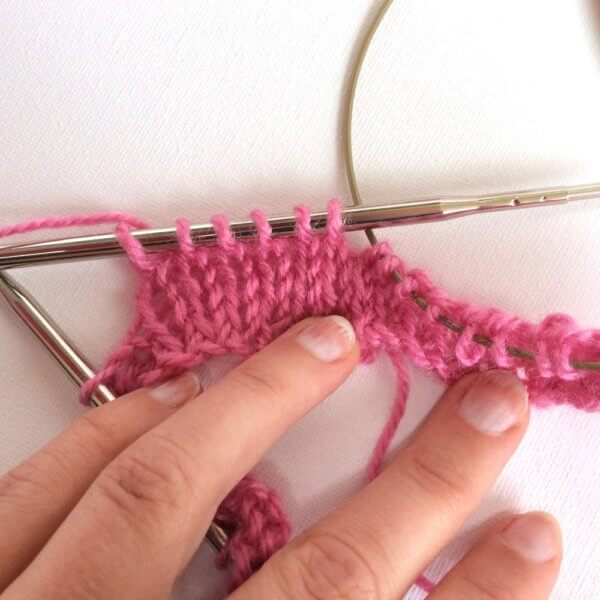
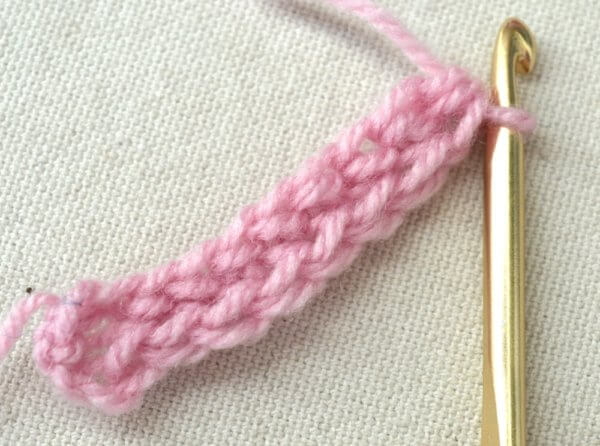
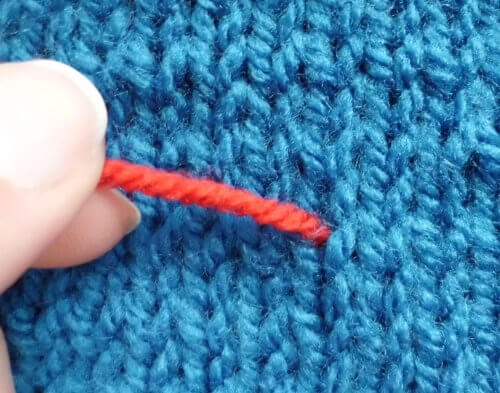
The M1 increase really is one of my favorites, not in the least because they give an almost invisible result. See for example in the picture below. In this small swatch, there are three increase rows worked every other row, at a distance of 3 stitches from the garter stitch edge.

tutorial: knitting M1L and M1R increases Read More »