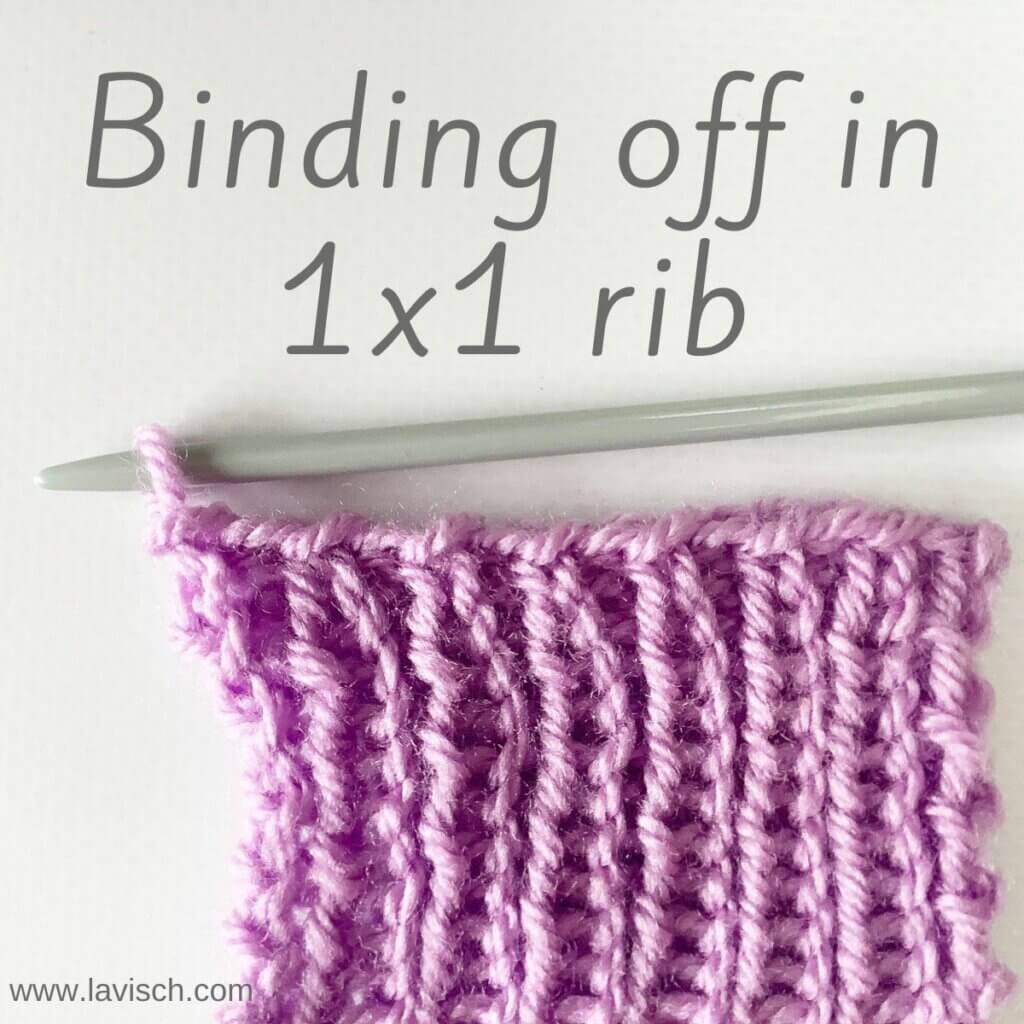
In this tutorial, I’ll show you how to work binding off in 1×1 rib patterning. In knitting patterns you may encounter the phrase “to bind off in pattern”, after working (k1, p1) ribbing. For example, after knitting the cuff of a sleeve or the hem of a sweater. The basic premise of it, is that you continue working the knit stitches as knits, and the purl stitches as purls while binding off. The resulting edge to your work seamlessly blends into the stitch pattern. Also, working the bind off itself in rib patterning ensures that it pulls in somewhat, as ribbing tends to do. This way, it won’t flare out, as it may do when working a non-patterned bind off.
Materials used


Yarn: Paintbox Yarns Simply DK, a good value, good quality 100% acrylic yarn, here in the color 142 Tea Rose.
Knitting needles: This is a pair of straights that I picked up at the second-hand store when I started knitting, brand unknown.
Binding off in 1×1 rib step by step
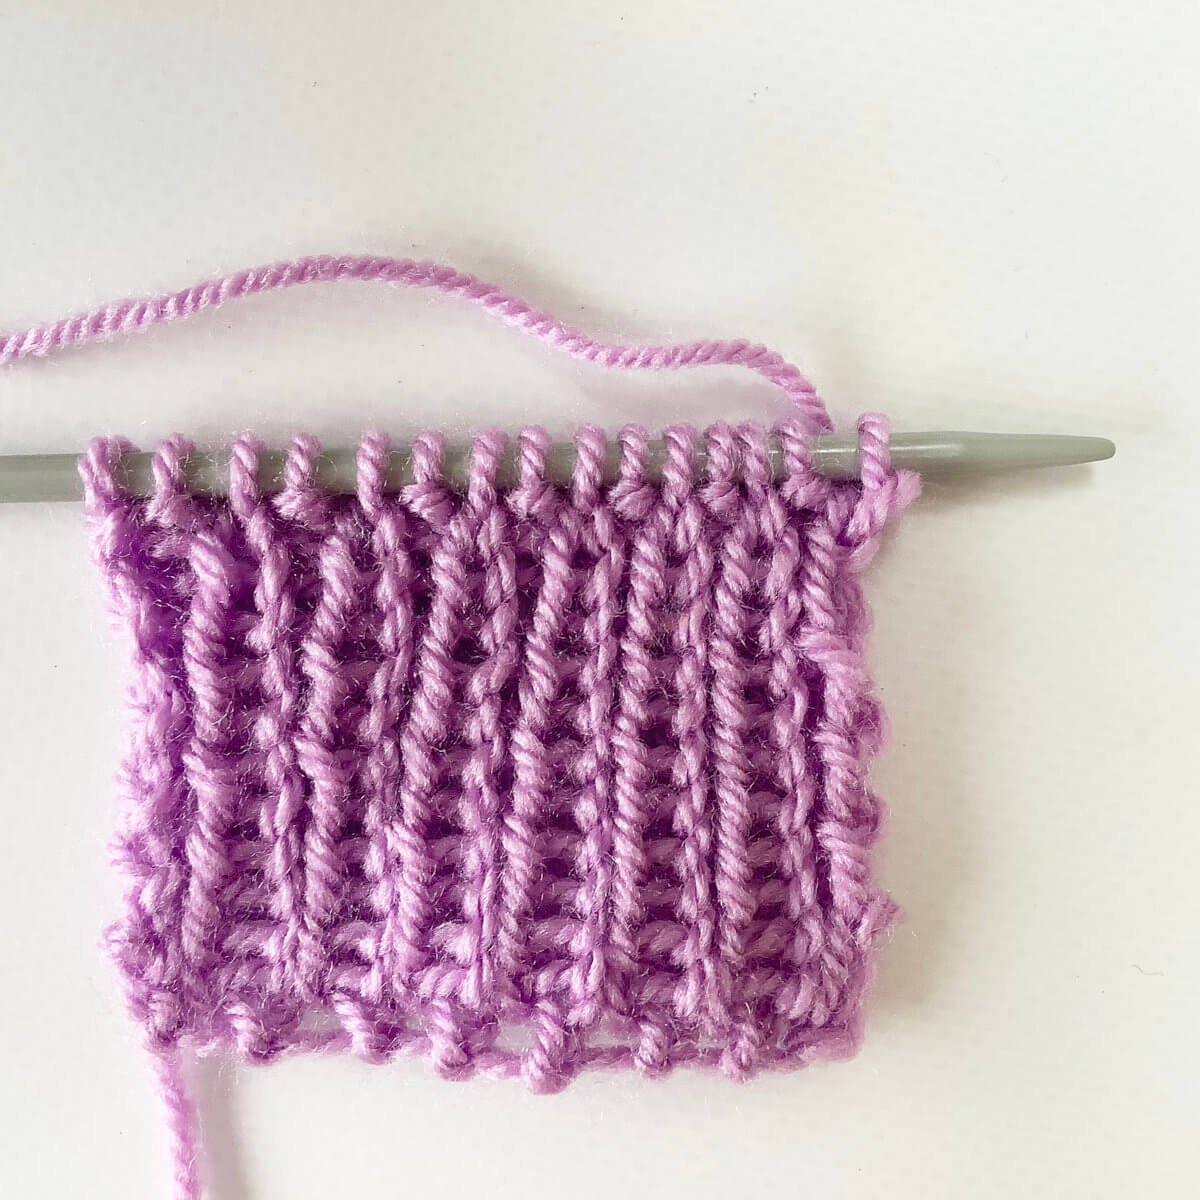
- To start, take the piece of knitting you want to bind-off.
- First, we’re going to knit the first stitch on the left-hand needle. To do so, insert the right-hand needle knit wise into the first stitch.
- Wrap the yarn around the needle…
- … and pull it through the stitch.
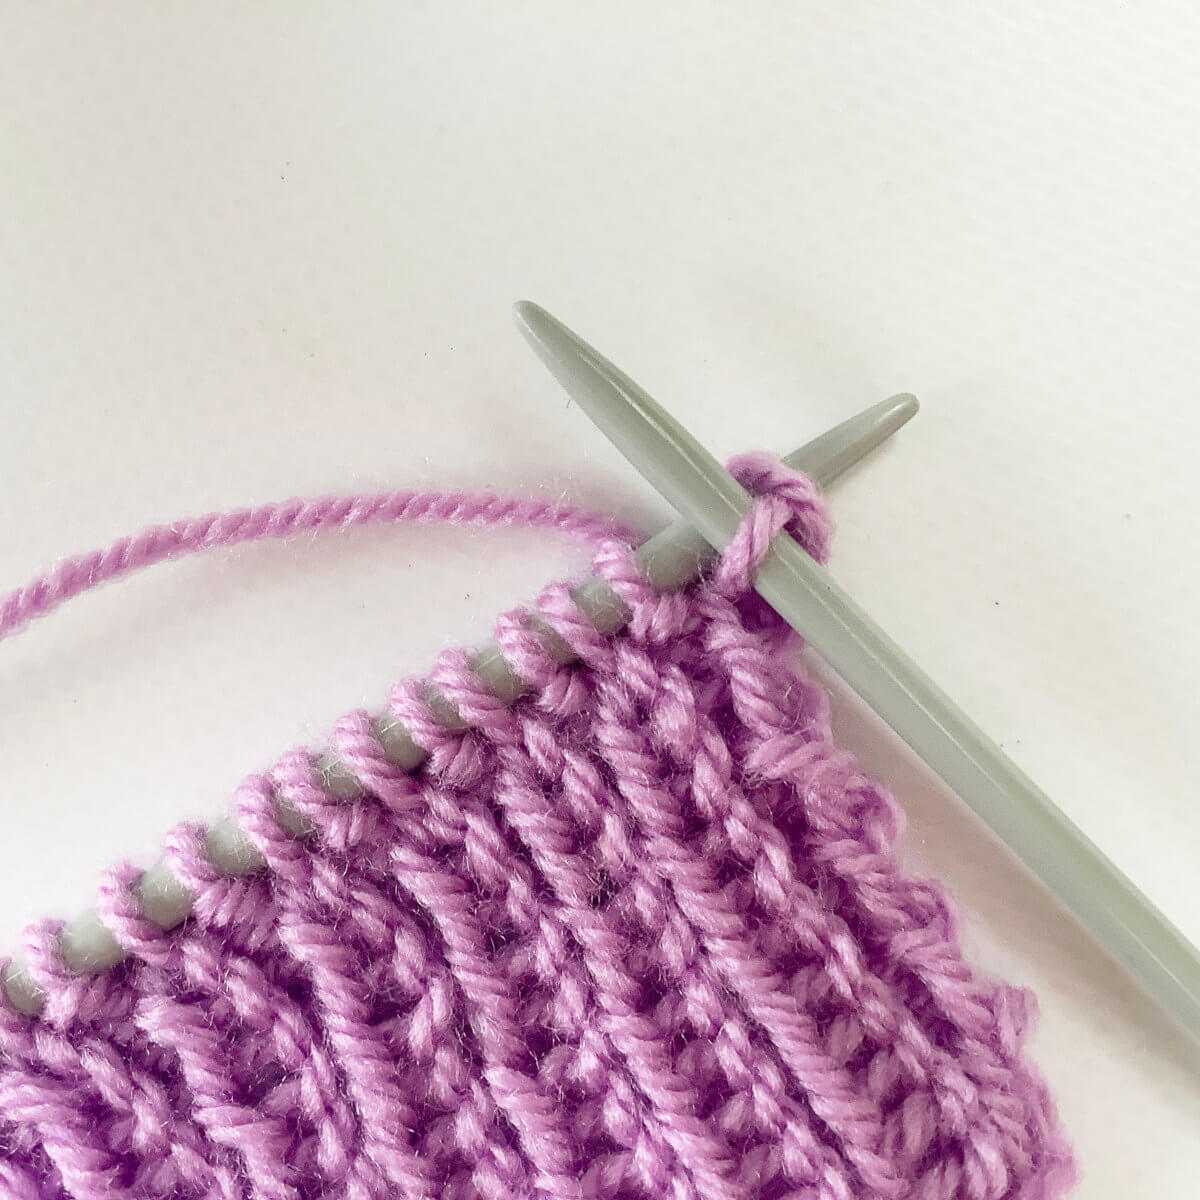
- To complete knitting the first stitch, slip it off the left-hand needle.
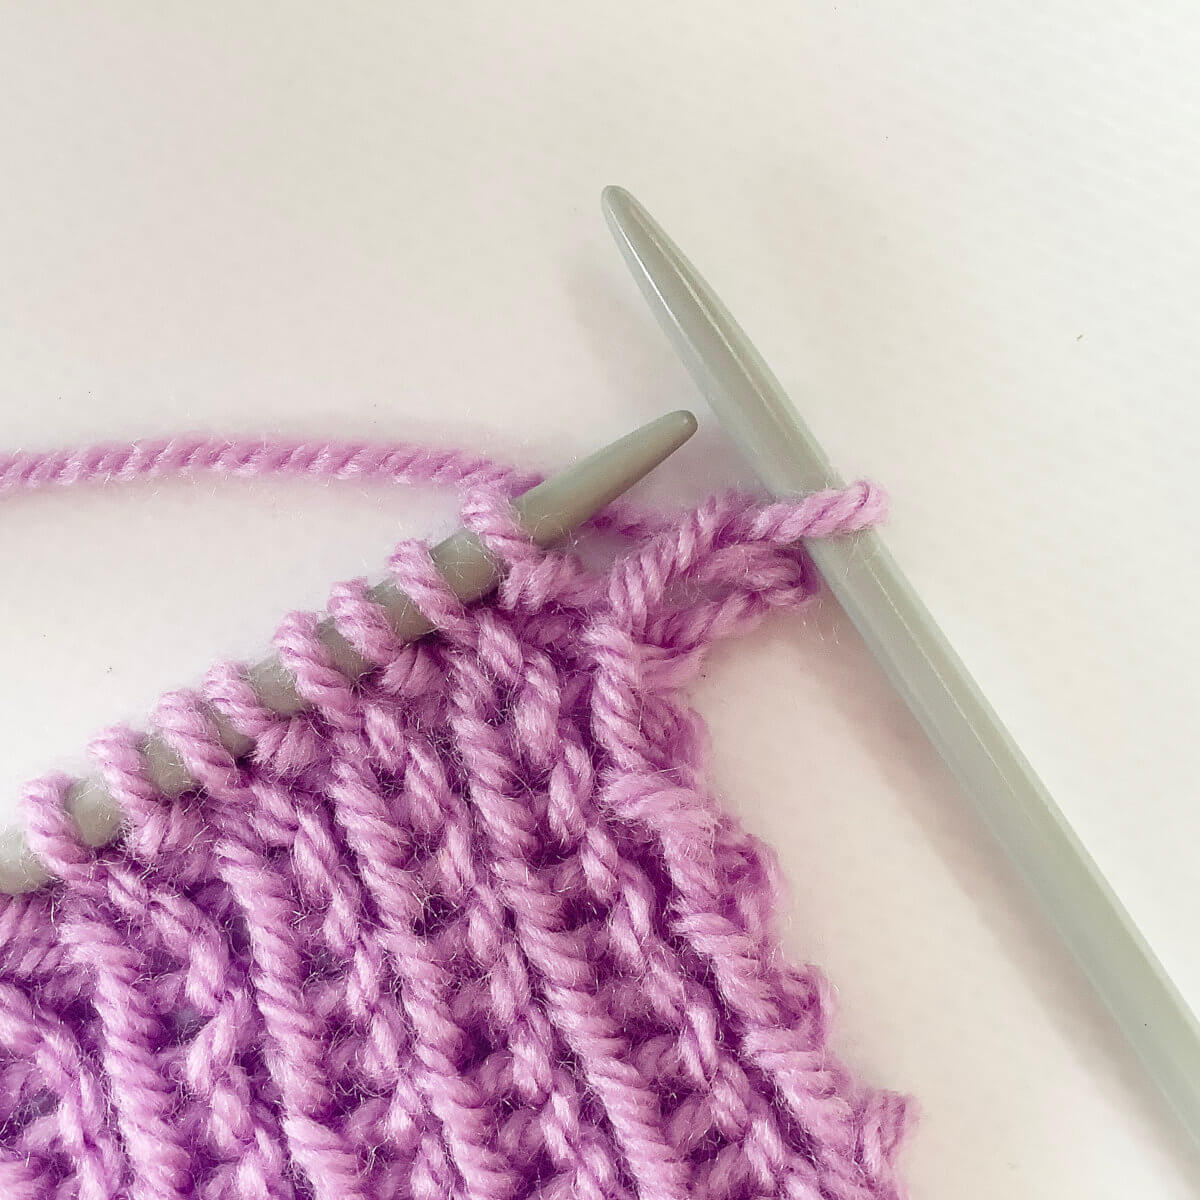
- Next, we’re going to purl the new stitch nearest to the tip of the left-hand needle. To do so, insert the right-hand needle purl wise into the first stitch.
- Wrap the yarn around the needle…

- … and pull it through the stitch.
- To complete purling the stitch, slip it off the left-hand needle.
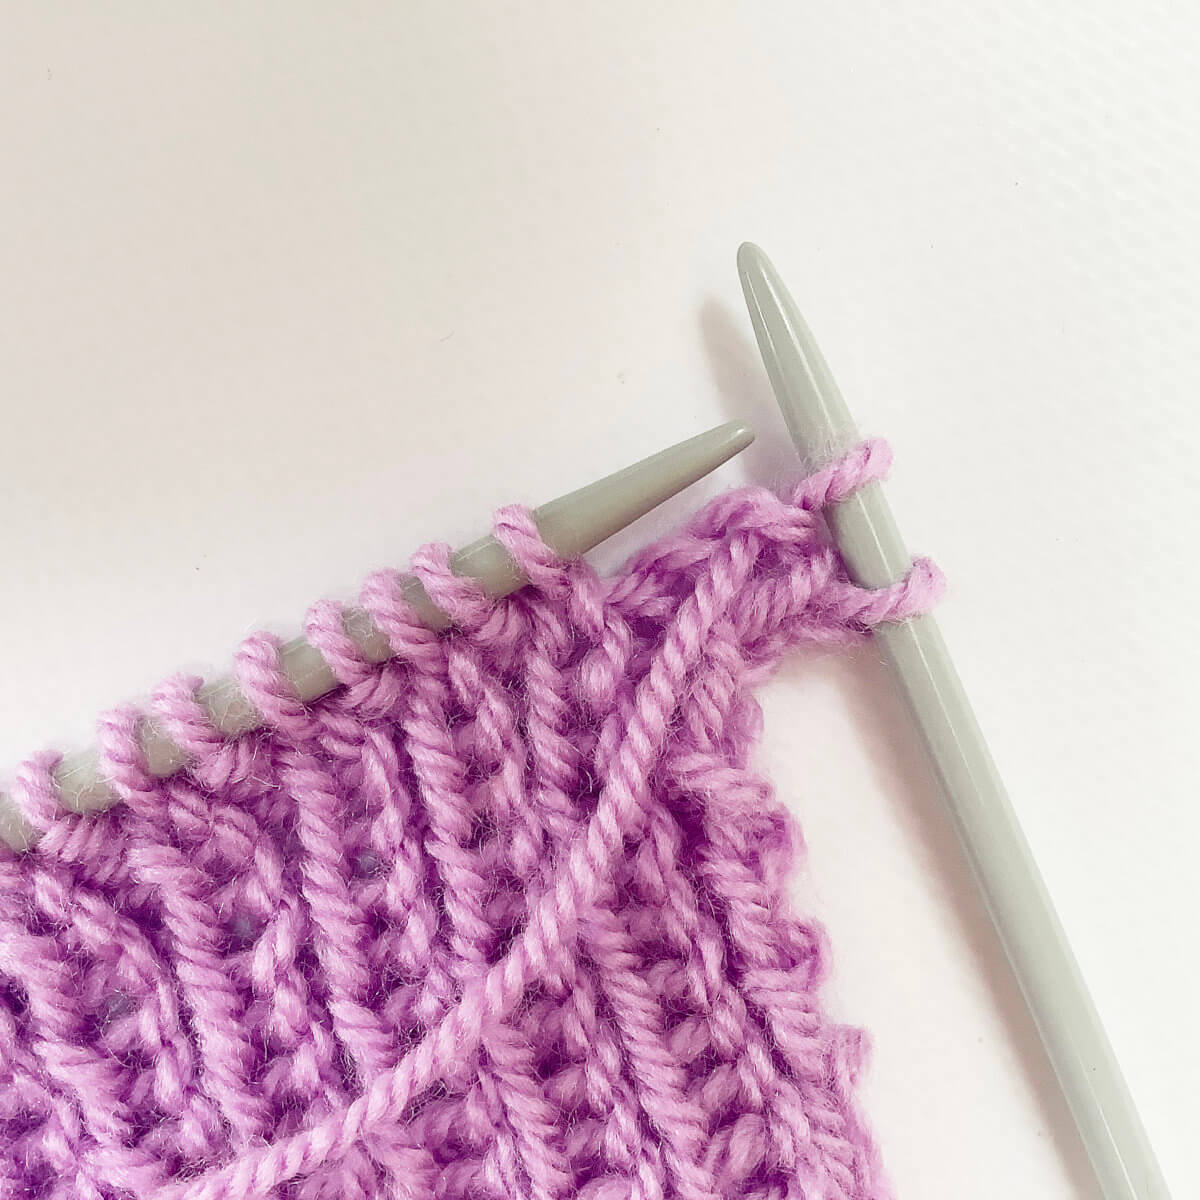
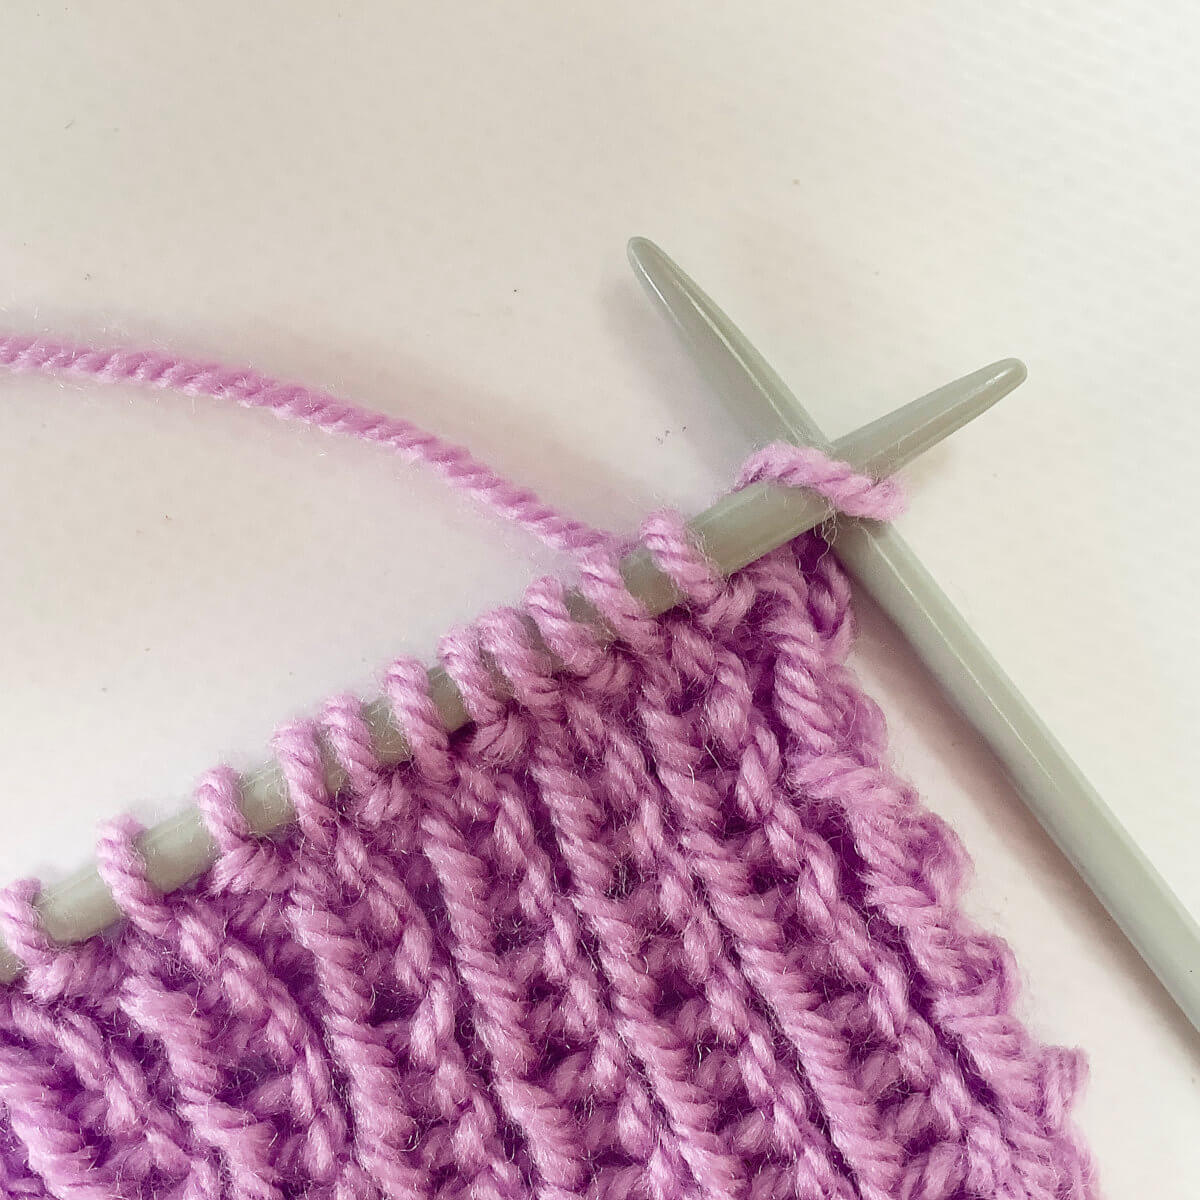
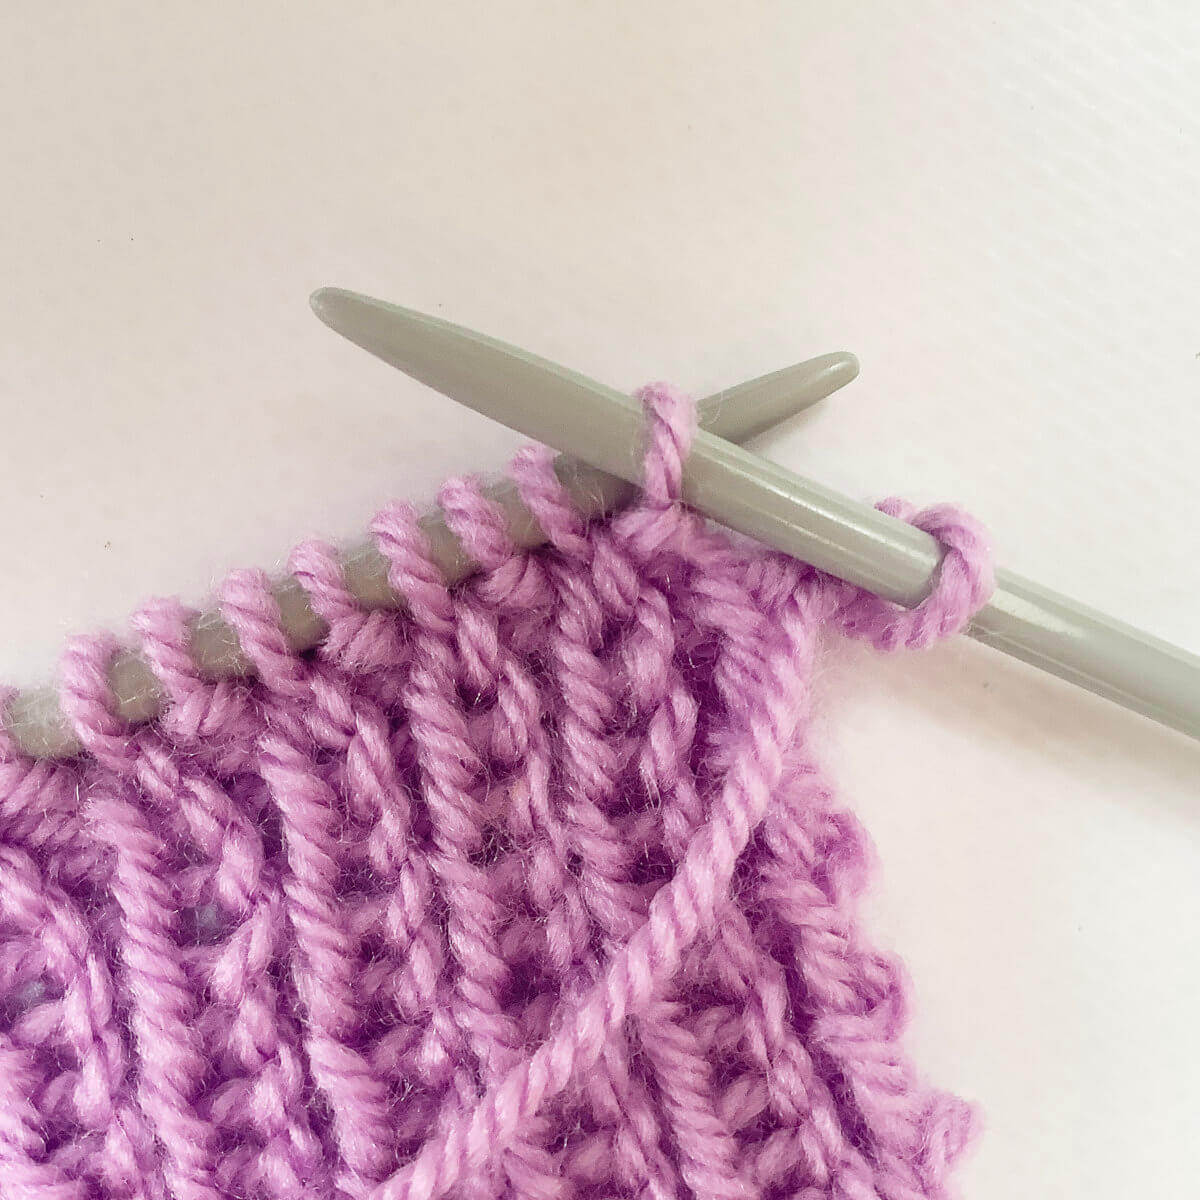
- Now insert the tip of the left-hand needle into the second stitch on the right-hand needle….
- …., and pass this second stitch over the first one.
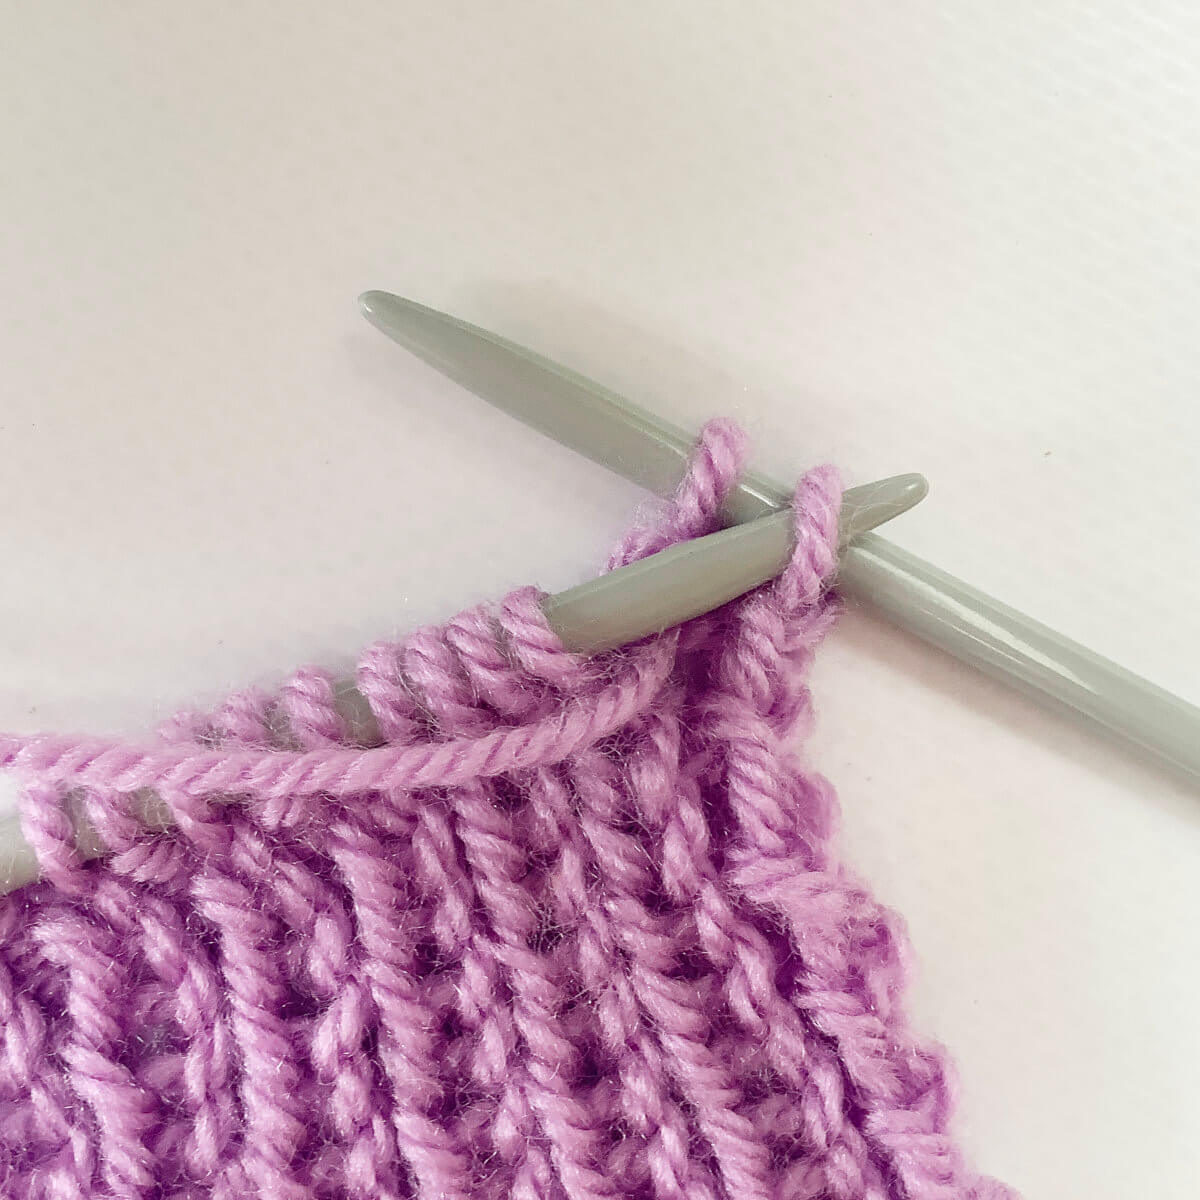
You have now bound-off a stitch!

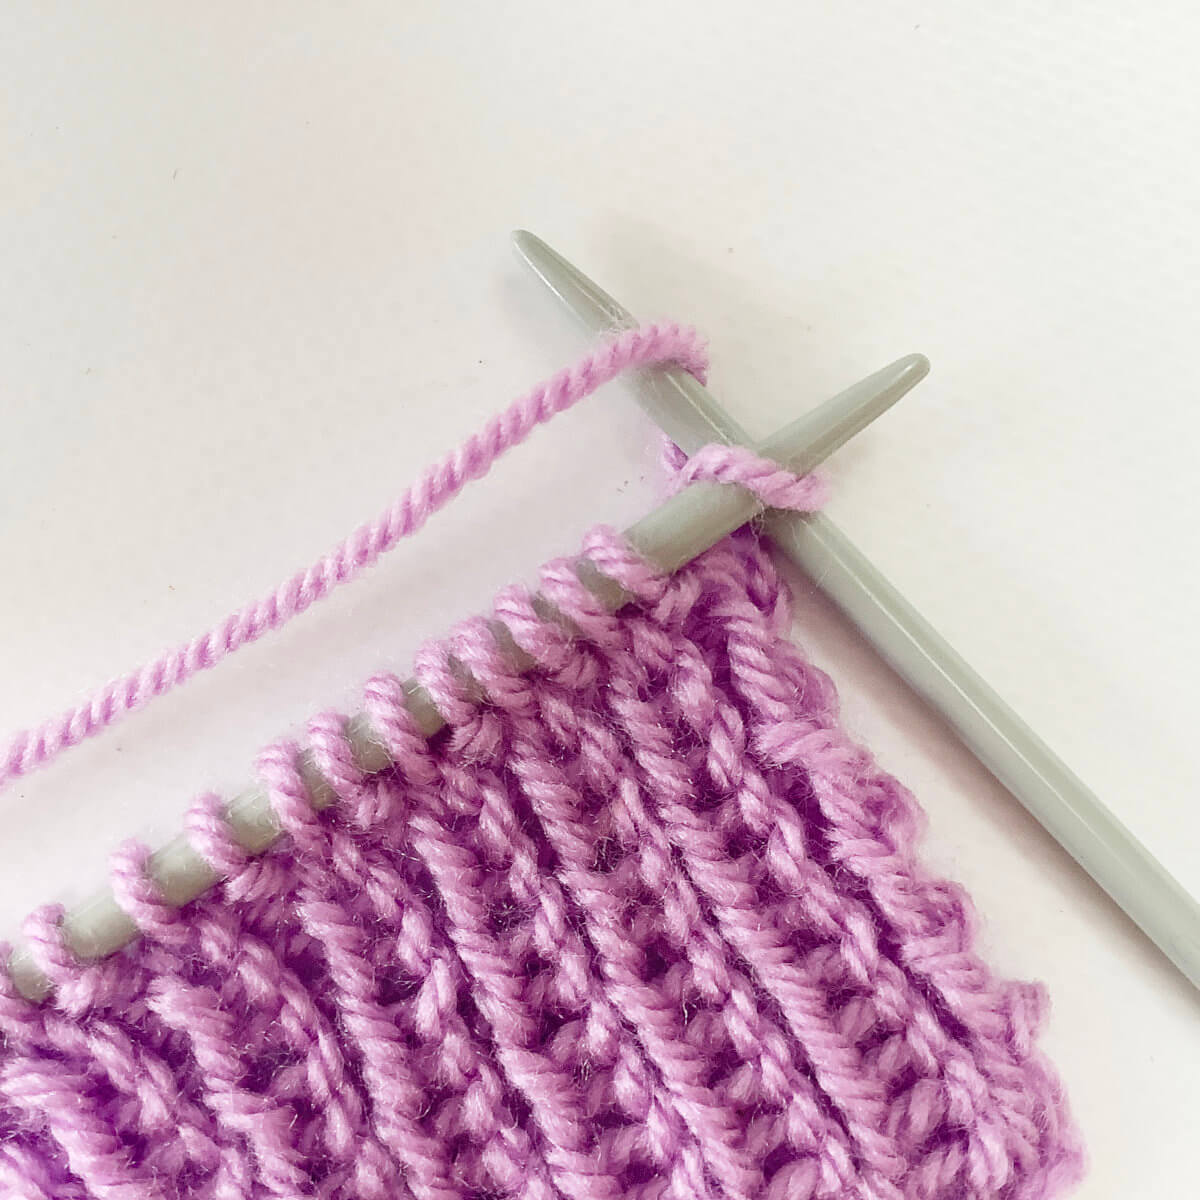
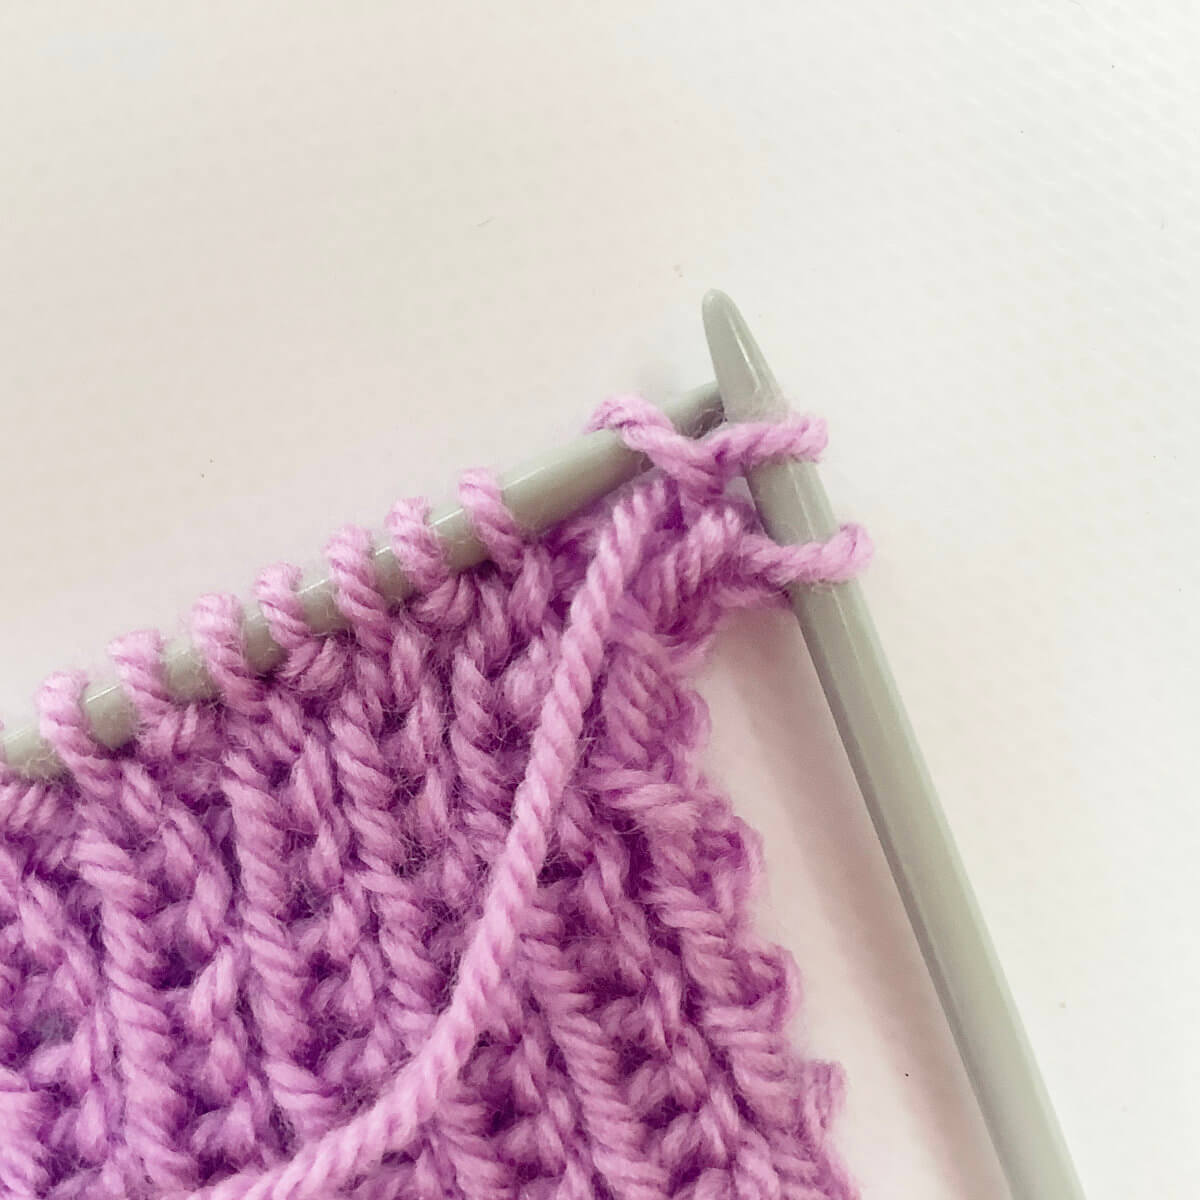
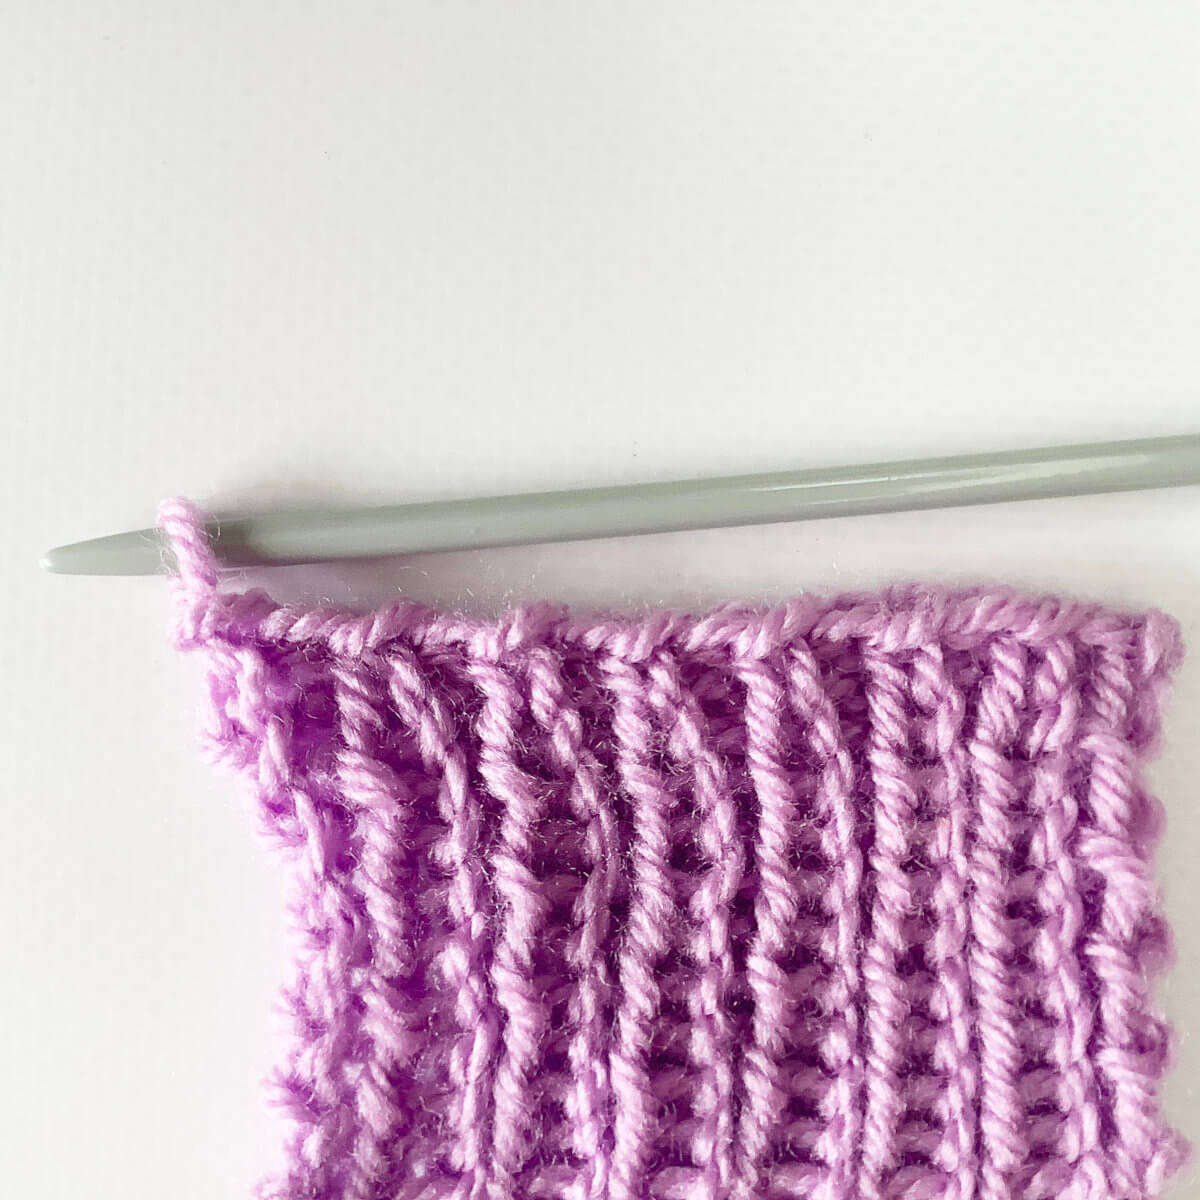
- Repeat steps 2-5 plus 10-11, followed by steps 6-9 plus 10-11 until all stitches have been bound-off.
It will look something like this:
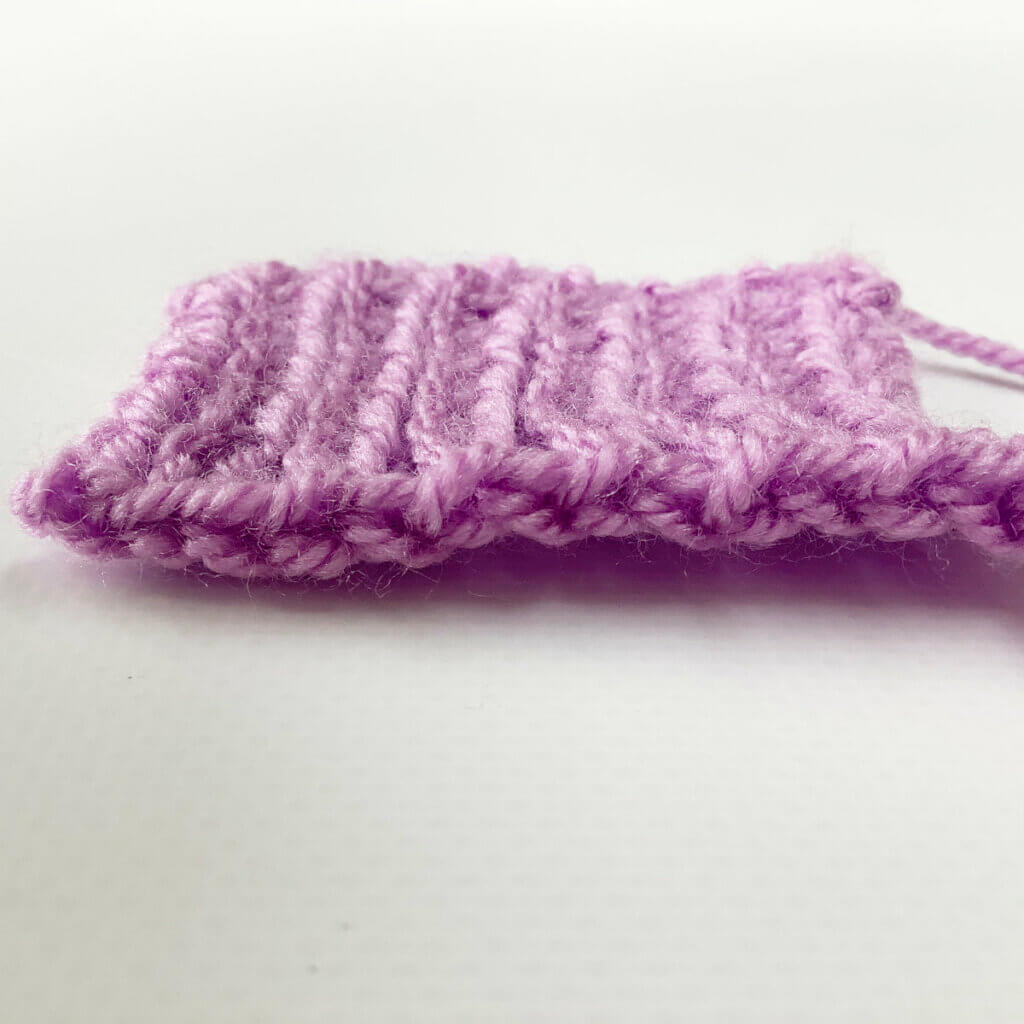
That’s how binding off in 1×1 rib is done! And here is a picture of the resulting edge. Pretty, isn’t it?!

Thanks to my Patreon supporters for bringing you this freebie! Creating quality patterns and tutorials is a lot of work and resource-intensive. However, I find it important to give you free content like this tutorial. Thanks to the generous support of my Patreon supporters, I can make it happen. Thank you, patrons! Click here to join, or click here to read more about La Visch Designs on Patreon.


