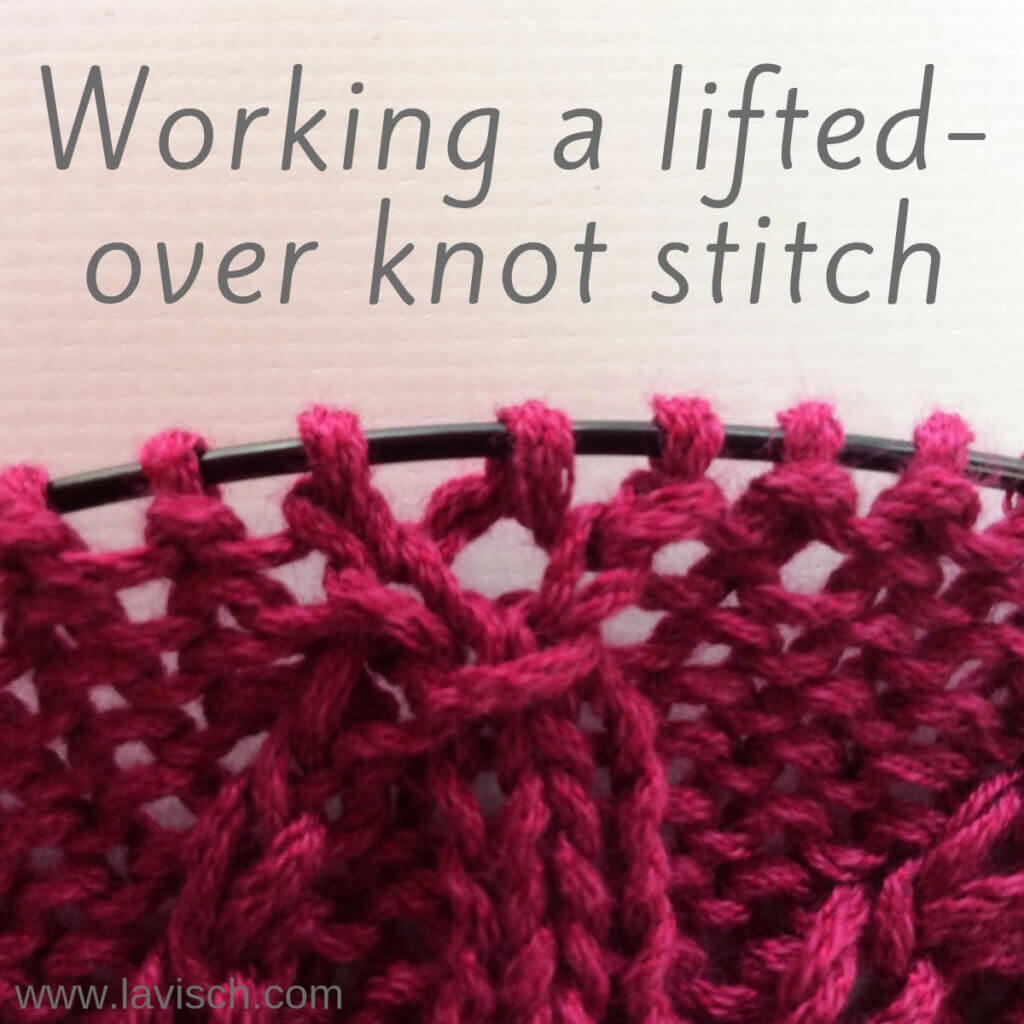
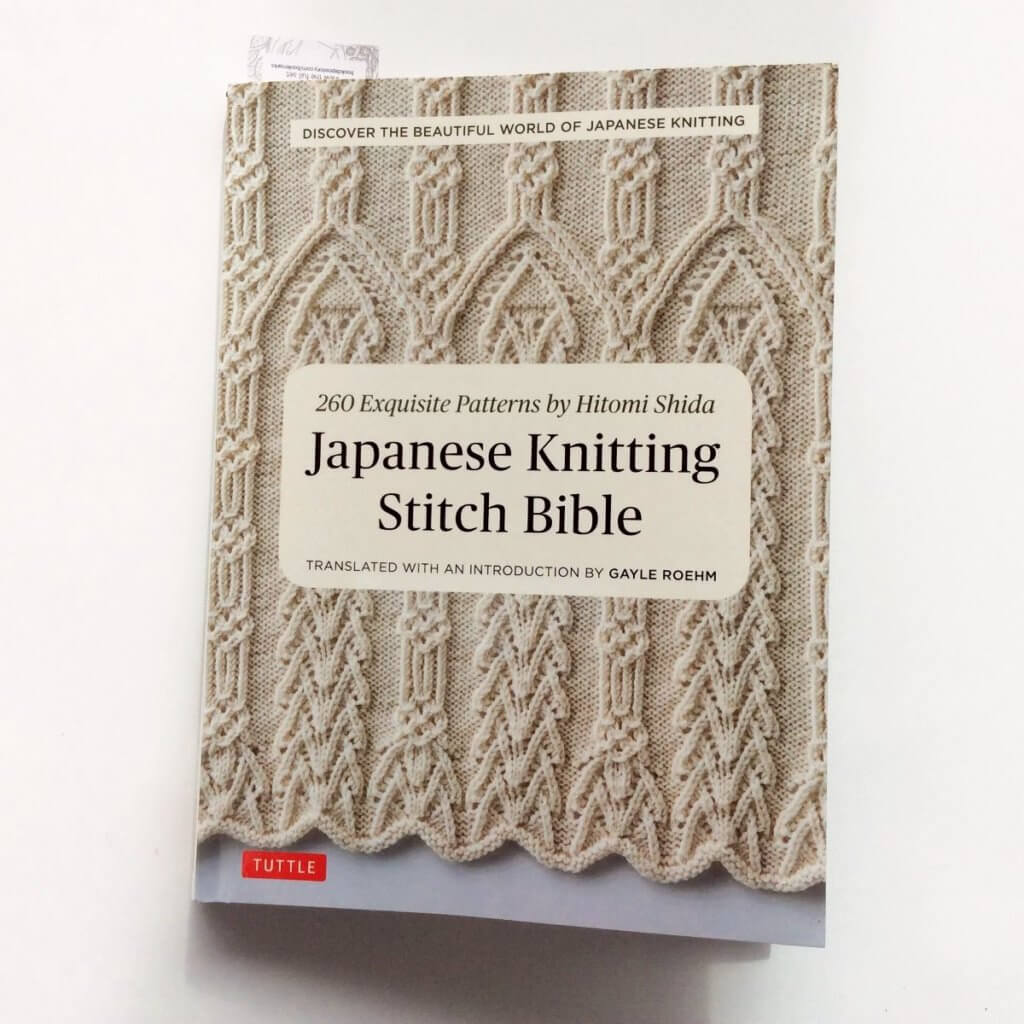
I find myself working more and more of the lovely intricate stitch patterns in the Japanese Knitting Stitch Bible by Hitomi Shida. In these stitch patterns, there are a lot of types of stitches that I personally haven’t encountered before. A good reason to make some new tutorials! In this post, I’ll go into how to work a lifted-over knit stitch.
There are, of course, many variations of this type of stitch. They can be worked over 3 to 5 stitches and in any combination of purl and knit stitches, either regularly or through the back loop. What they all have in common, however, is that one of the stitches is lifted over the others, after which the remaining stitches are worked, in combination with a yarn over to bring the number of stitches back to the original number. Characteristic of the lifted-over knot stitch is the horizontal bar that is created by the lifted-over stitch.
In this tutorial I’ll explain the version of the lifted-over knot stitch that is explained in the Japanese Knitting Stitch Bible by the following text:
Insert tip of RN into the third st; lift it up and over the first two sts and let it drop; k, yo, k.
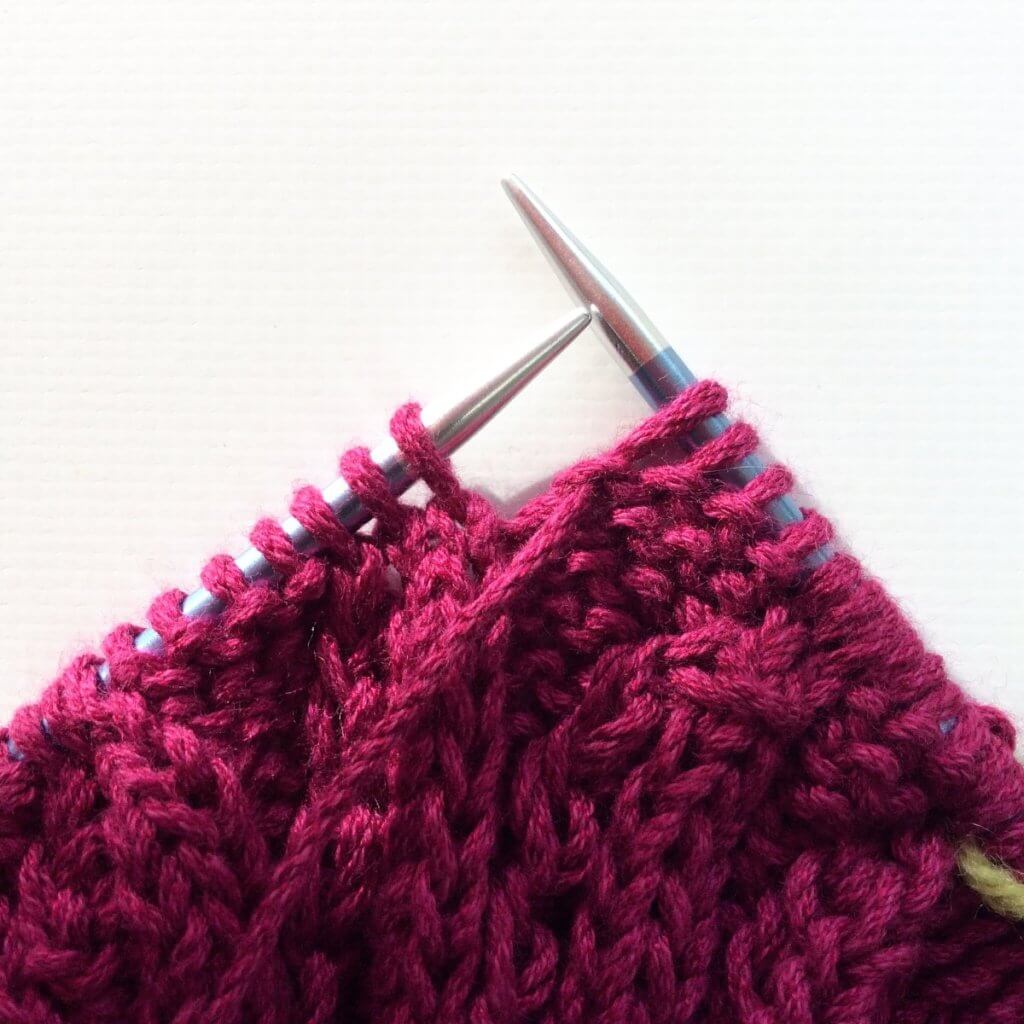
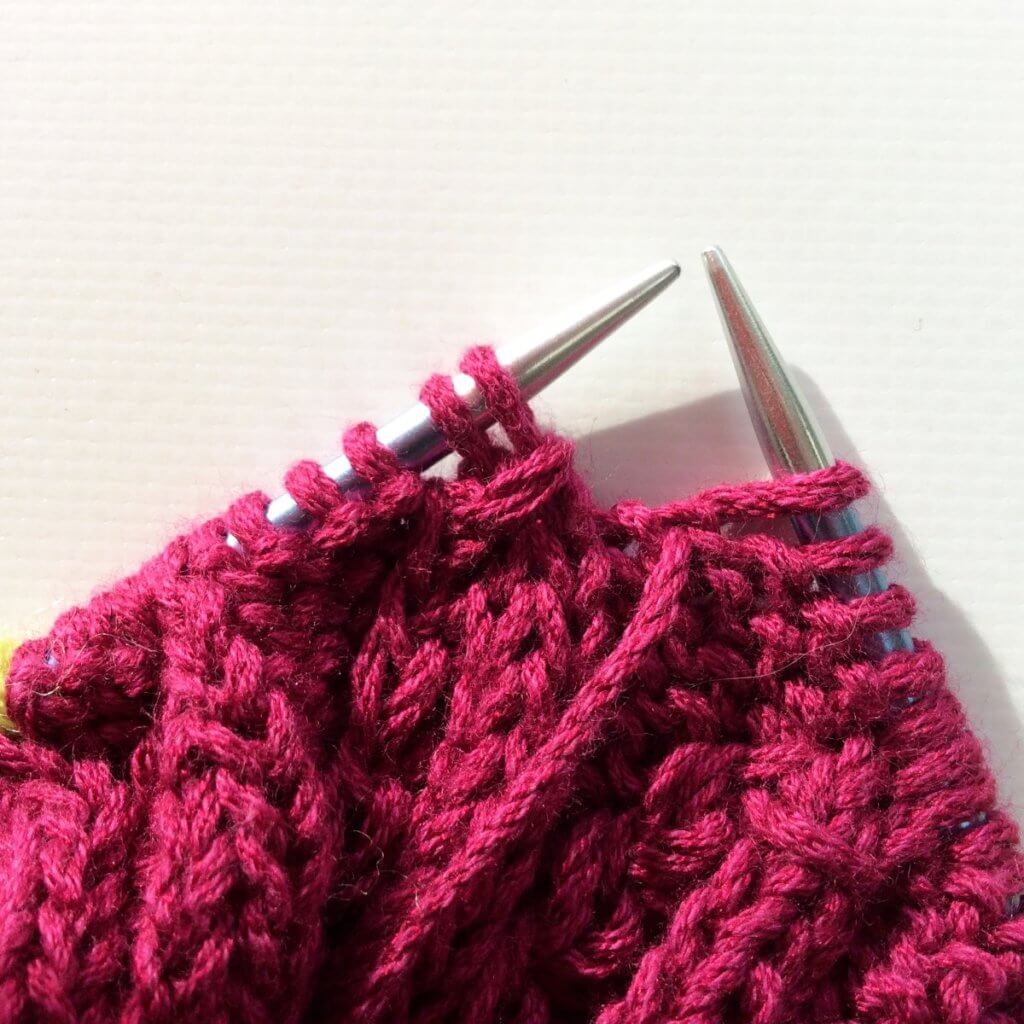
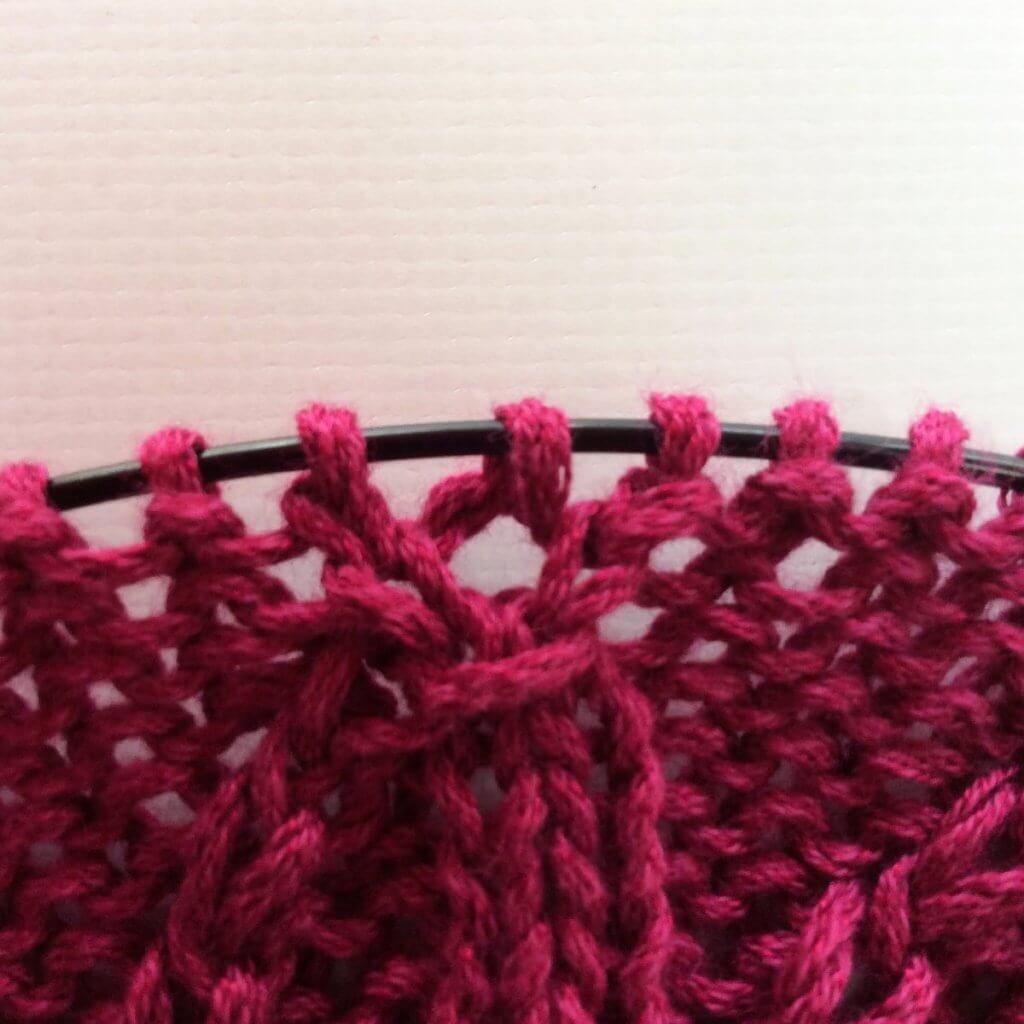
This particular version is worked over 3 stitches, the 3 that are near the tip of the left-hand needle in the picture below.
Working a lifted-over knot stitch step by step
1. To start, insert your right-hand needle purl wise into the third stitch from the tip of the left-hand needle.
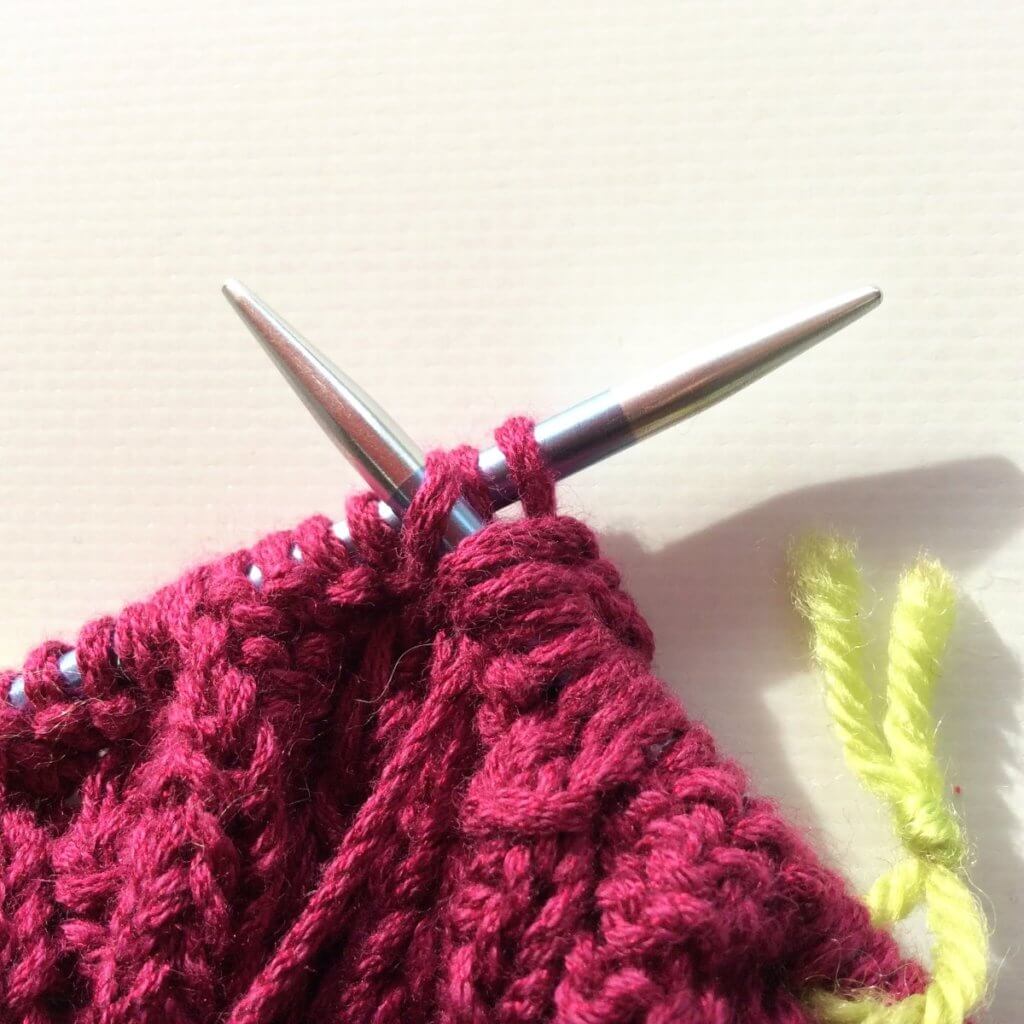
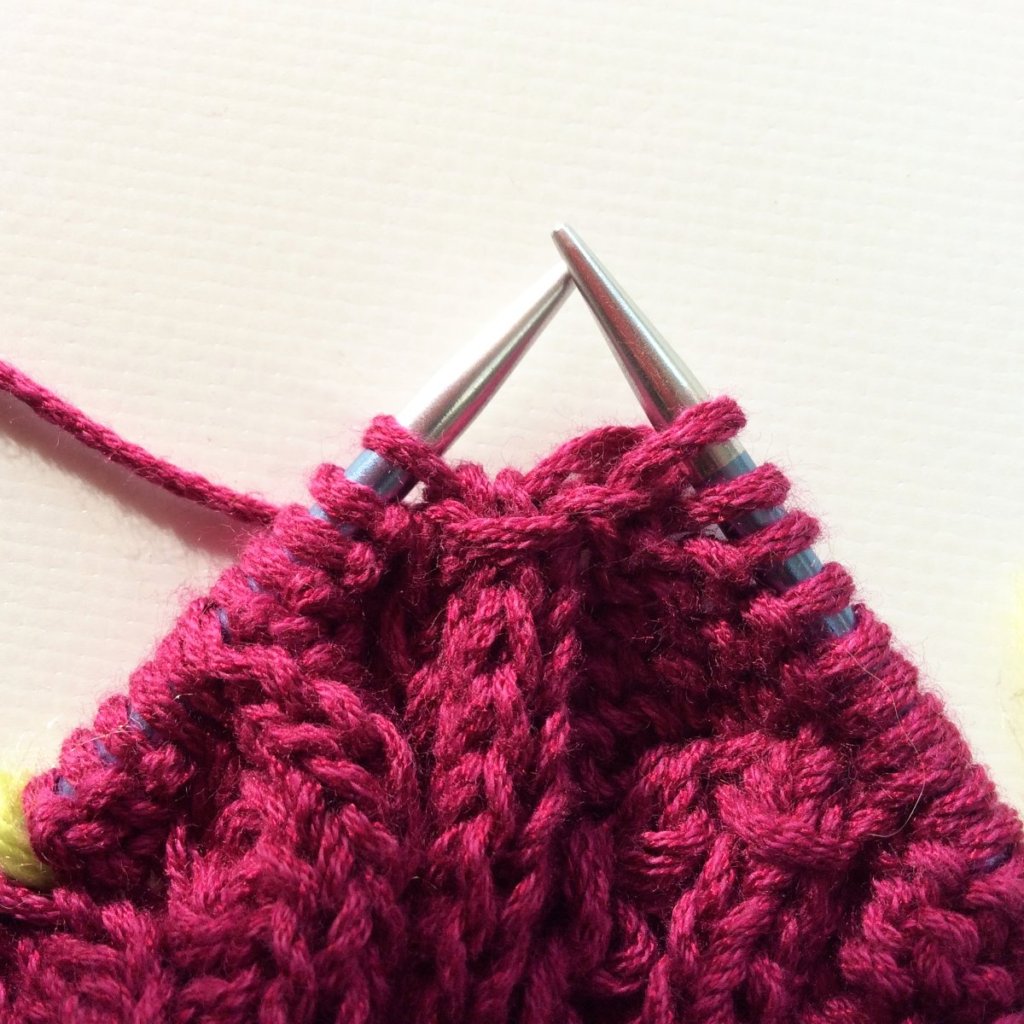
2. Lift this stitch up and pull it over the two stitches nearer to the tip as well as over the needle tip itself. Be careful, this action may pull the other two stitches along and off the needle.
3. Now knit one stitch.
4. Yarn over…
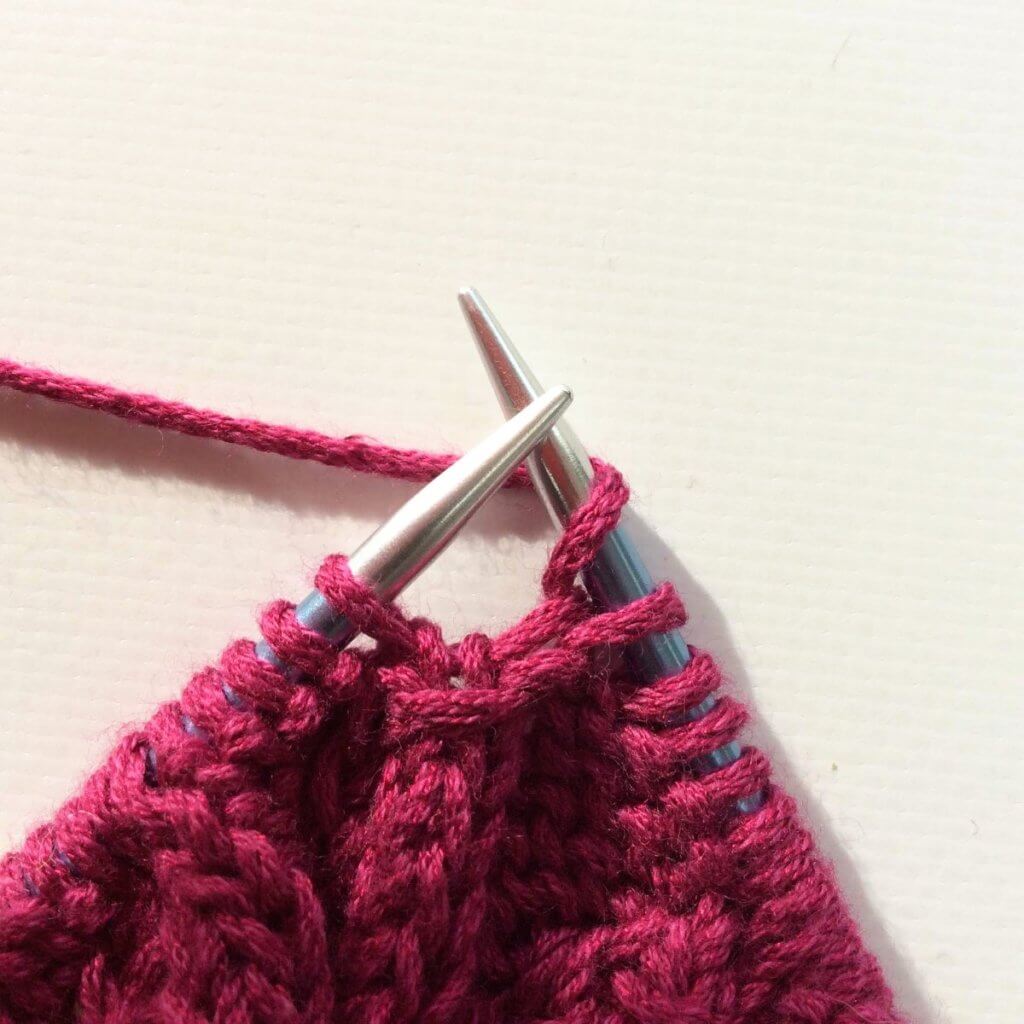
5. … and work another knit stitch to complete the lifted-over knot stitch.
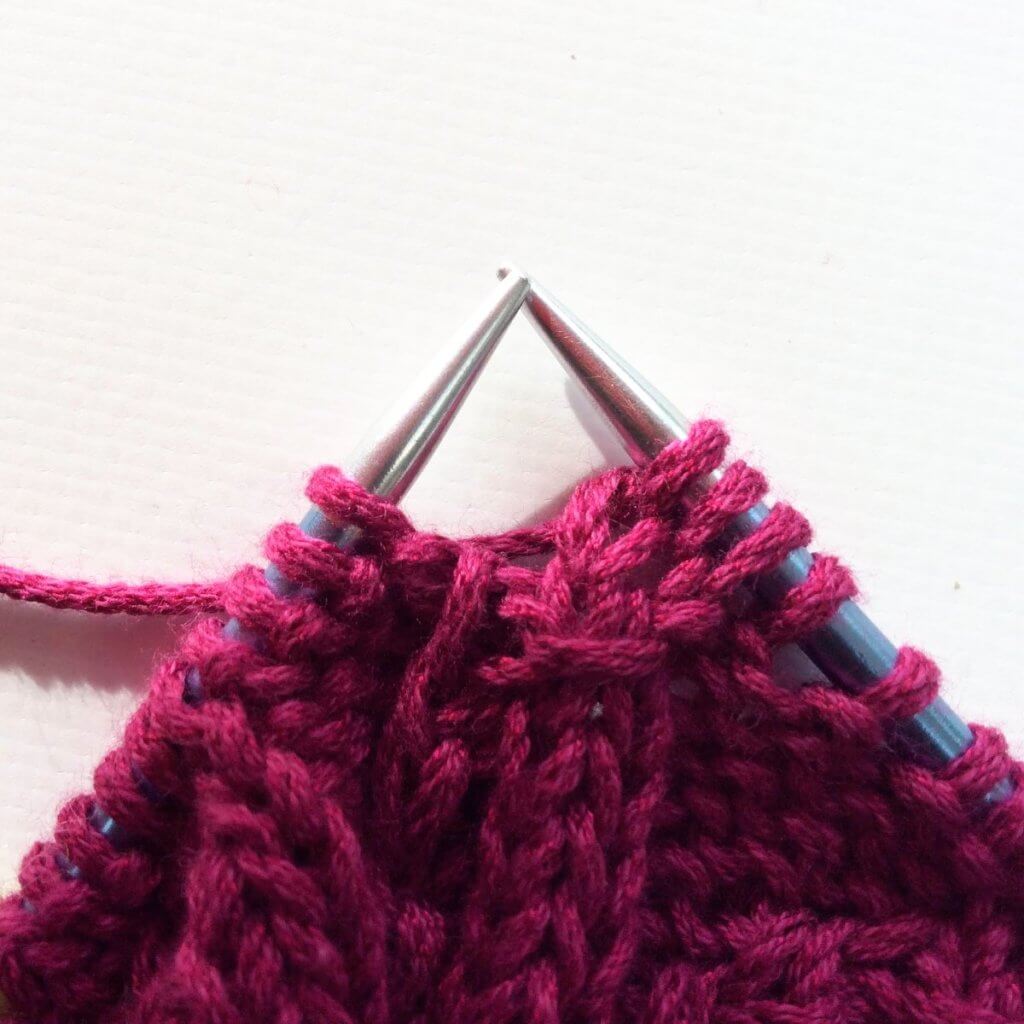
6. In the below picture another row is worked. This reveals the true appearance of this lifted-over knot stitch!
On a side note, in this piece of knitting is more going on than just the lifted-over knot stitch. Tutorials for these other types of stitches will follow!
The yarn used in this tutorial is Debbie Bliss “Piper” in Magenta. It’s a yarn with a composition of 50% cotton and 50% viscose. As you can see, it has a great stitch definition! Perfect for trying out those intricate Japanese stitch patterns.

Thanks to my Patreon supporters for bringing you this freebie! Creating quality patterns and tutorials is a lot of work and resource-intensive. However, I find it important to give you free content like this tutorial. Thanks to the generous support of my Patreon supporters, I can make it happen. Thank you, patrons! Click here to join, or click here to read more about La Visch Designs on Patreon.


