The thing that all yarn over bind-off have in common, is that they all use an extra yo somewhere in the bind-off sequence to give the edge some extra stretch. Where they differ, is how that yo is treated within the bind-off repeat. The one I’m showing in this tutorial is not really the one I prefer, because it has significant flare at the edge. That said, it’s a good one to know. In a couple of weeks, I’ll share a different yarn over bind-off for stockinette with you. Let’s get started!
Materials used


Yarn: Paintbox Yarns Simply DK, a good value, good quality 100% acrylic yarn, here in the color Lime
Knitting needles: This is a pair of straights that I picked up at the second-hand store when I started knitting, brand unknown.
The yarn over bind-off step by step
In patterns, you may see the following instruction for this bind-off:
K1, *k1, insert tip of the left-hand needle into the first stitch on the right-hand needle, pass this stitch over the second stitch, yo, grab the first st, and pass it over the yo*; repeat *-* to end.
Please note, that when I mentioned “first” or “second”, I mean the stitch that was knit first or second, not the location relative to the tip of the right-hand needle. Below, I’ll show you step by step how this looks like in knitting!
- To start, take the piece of knitting you want to bind-off, and knit the first stitch on the left-hand needle.
In this case, I’m using a swatch in stockinette stitch.
- Next, knit the new stitch nearest to the tip of the left-hand needle.
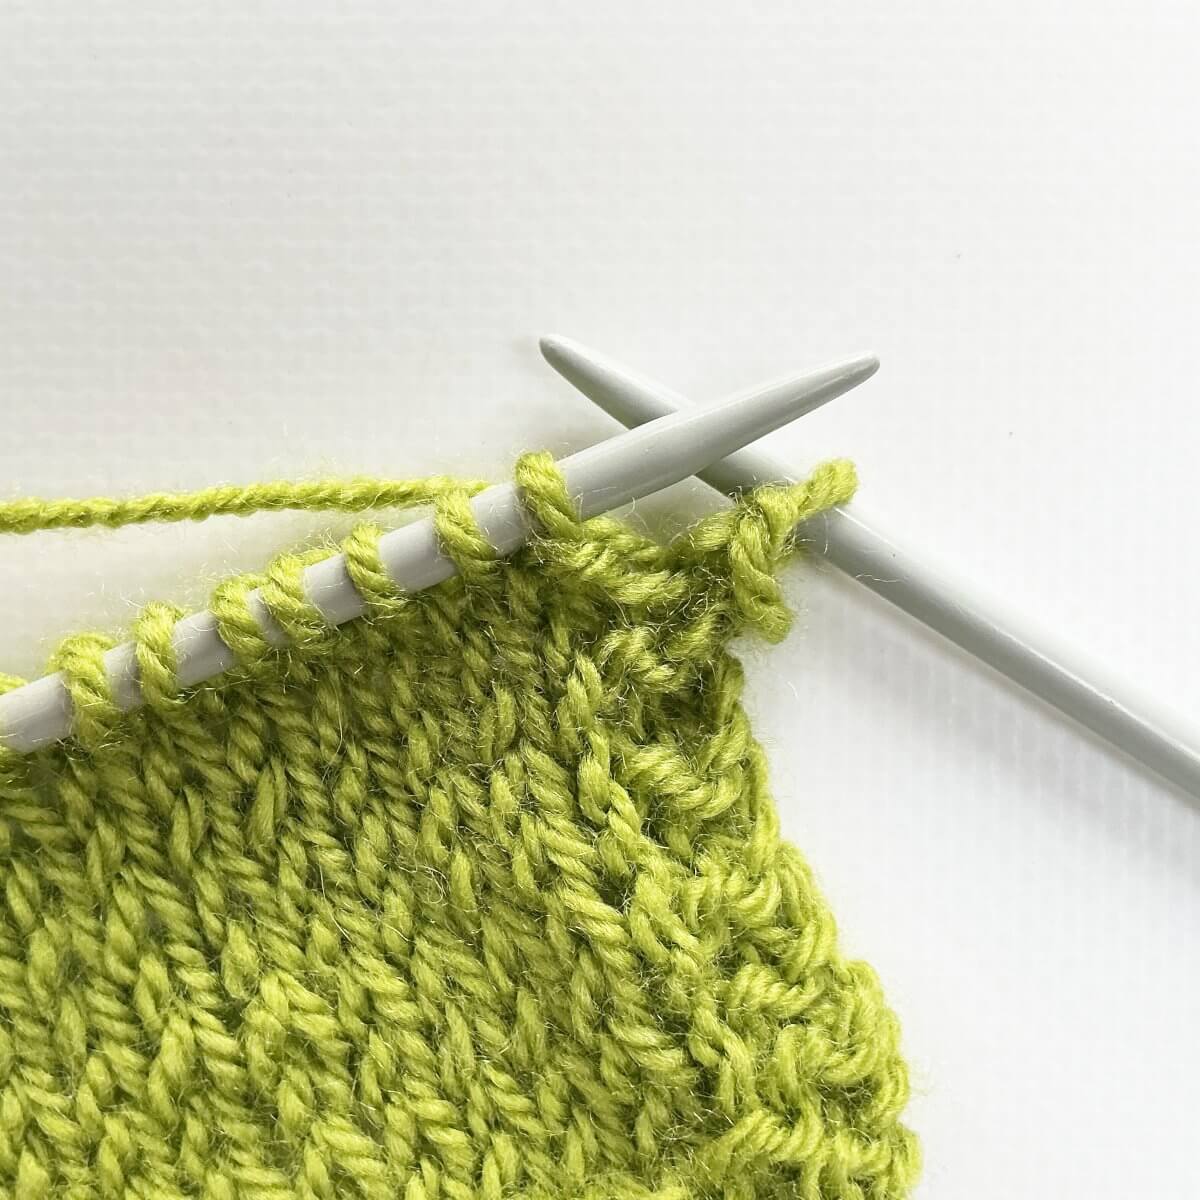
- Insert the tip of the left-hand needle into the first stitch on the right-hand needle, and pass this stitch over the second one.
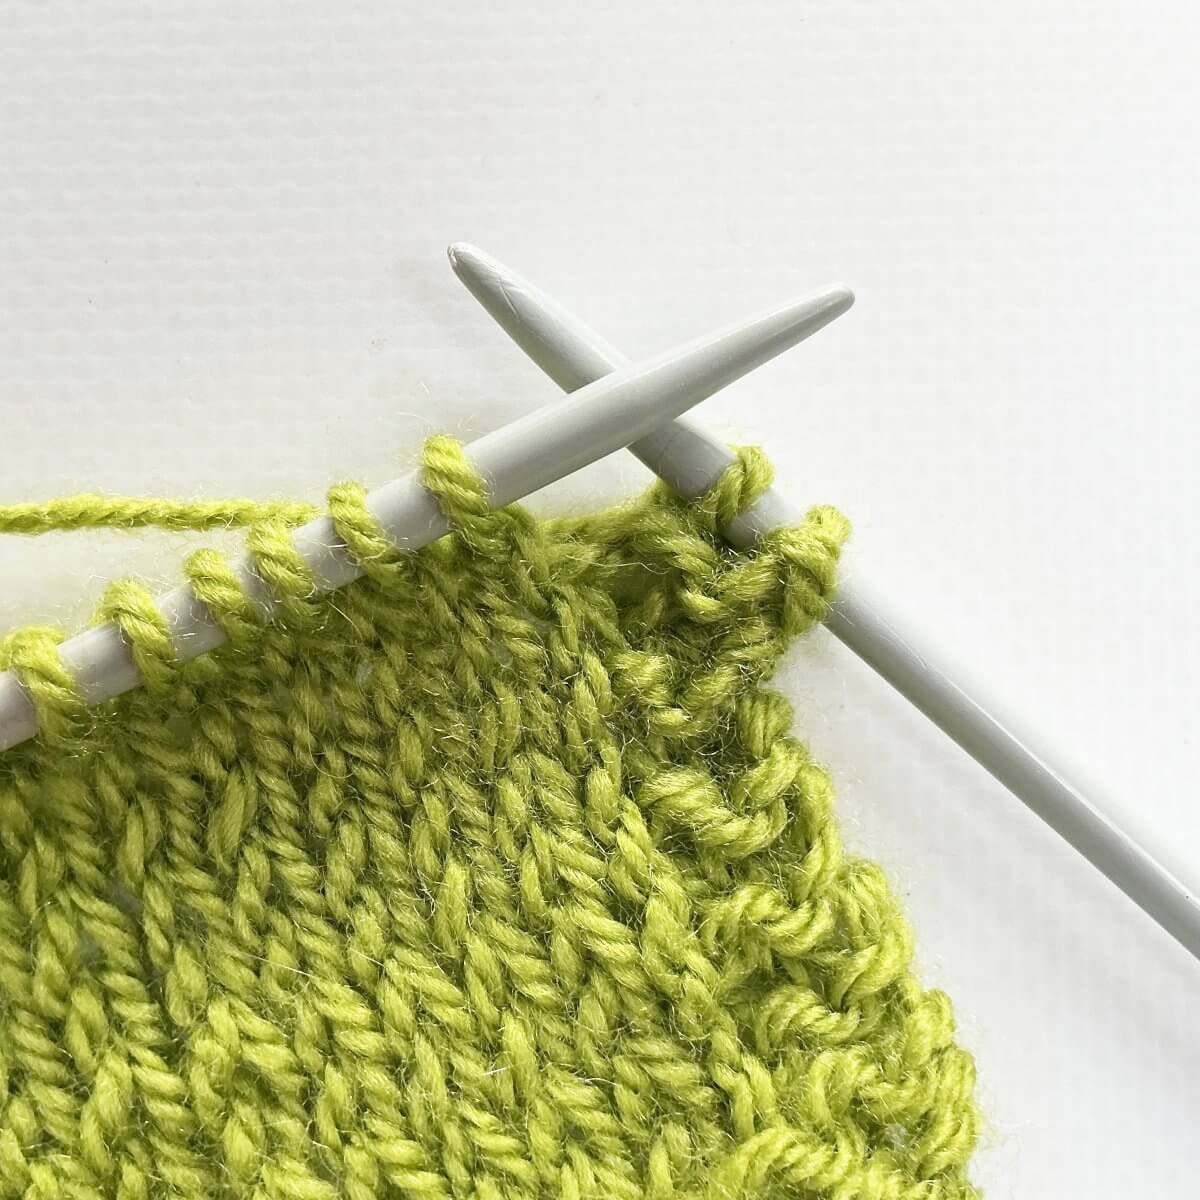
- Next, work a yarn over by wrapping the yarn around the needle.
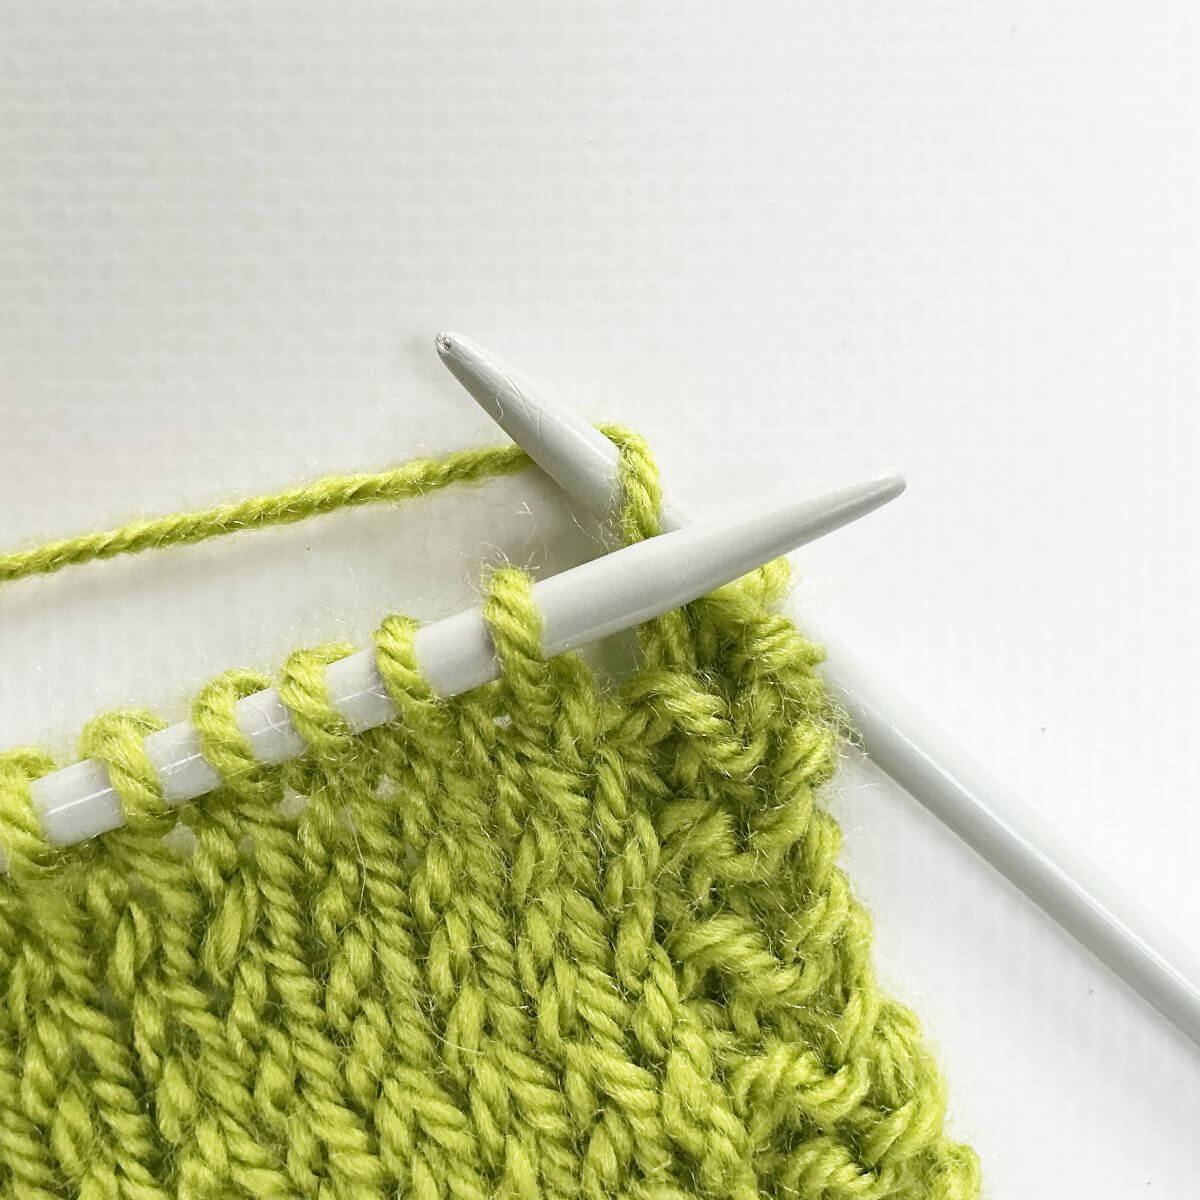
- Insert the tip of the left-hand needle into the first stitch on the right-hand needle, and pass it over the yarn over.
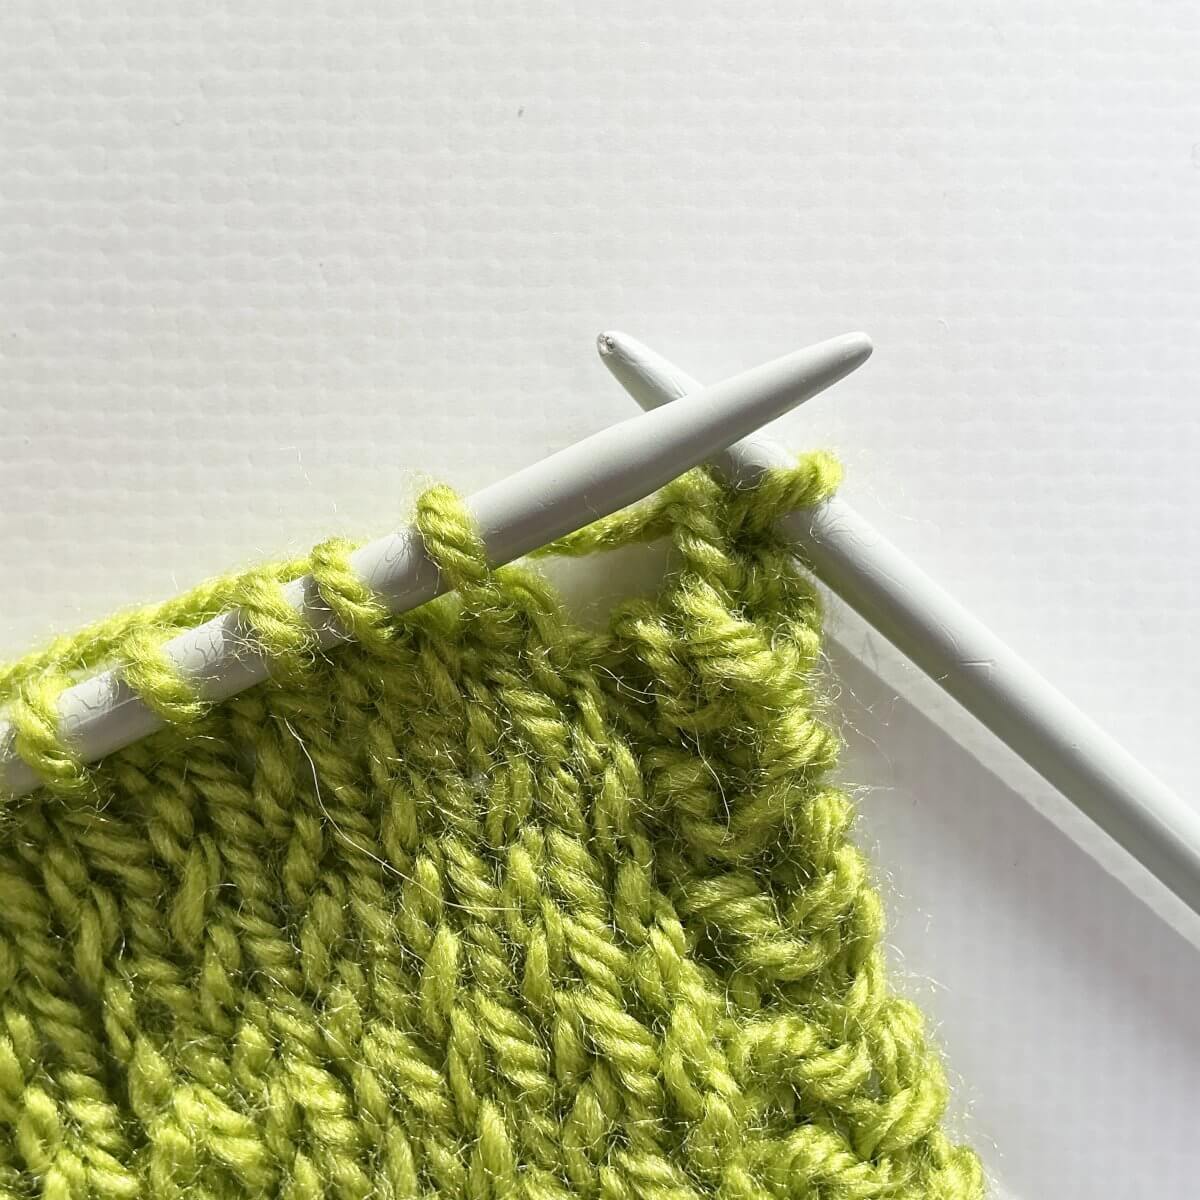
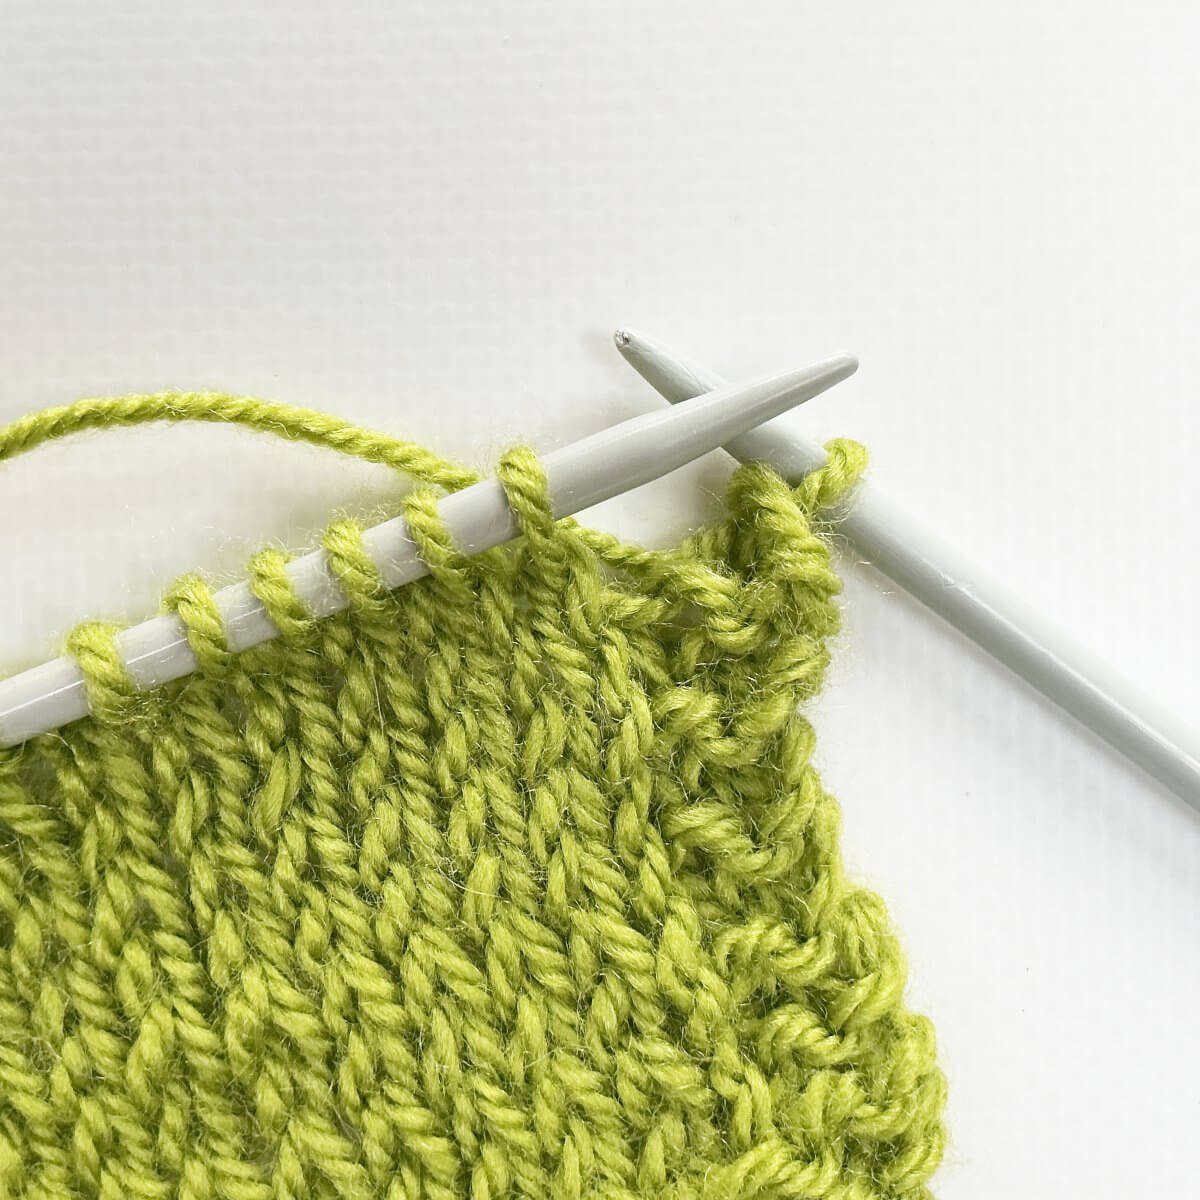
- Continue working steps 2-5 for every stitch you encounter.
To bind-off the last stitch you end up with, just break your yarn, and pull it through.
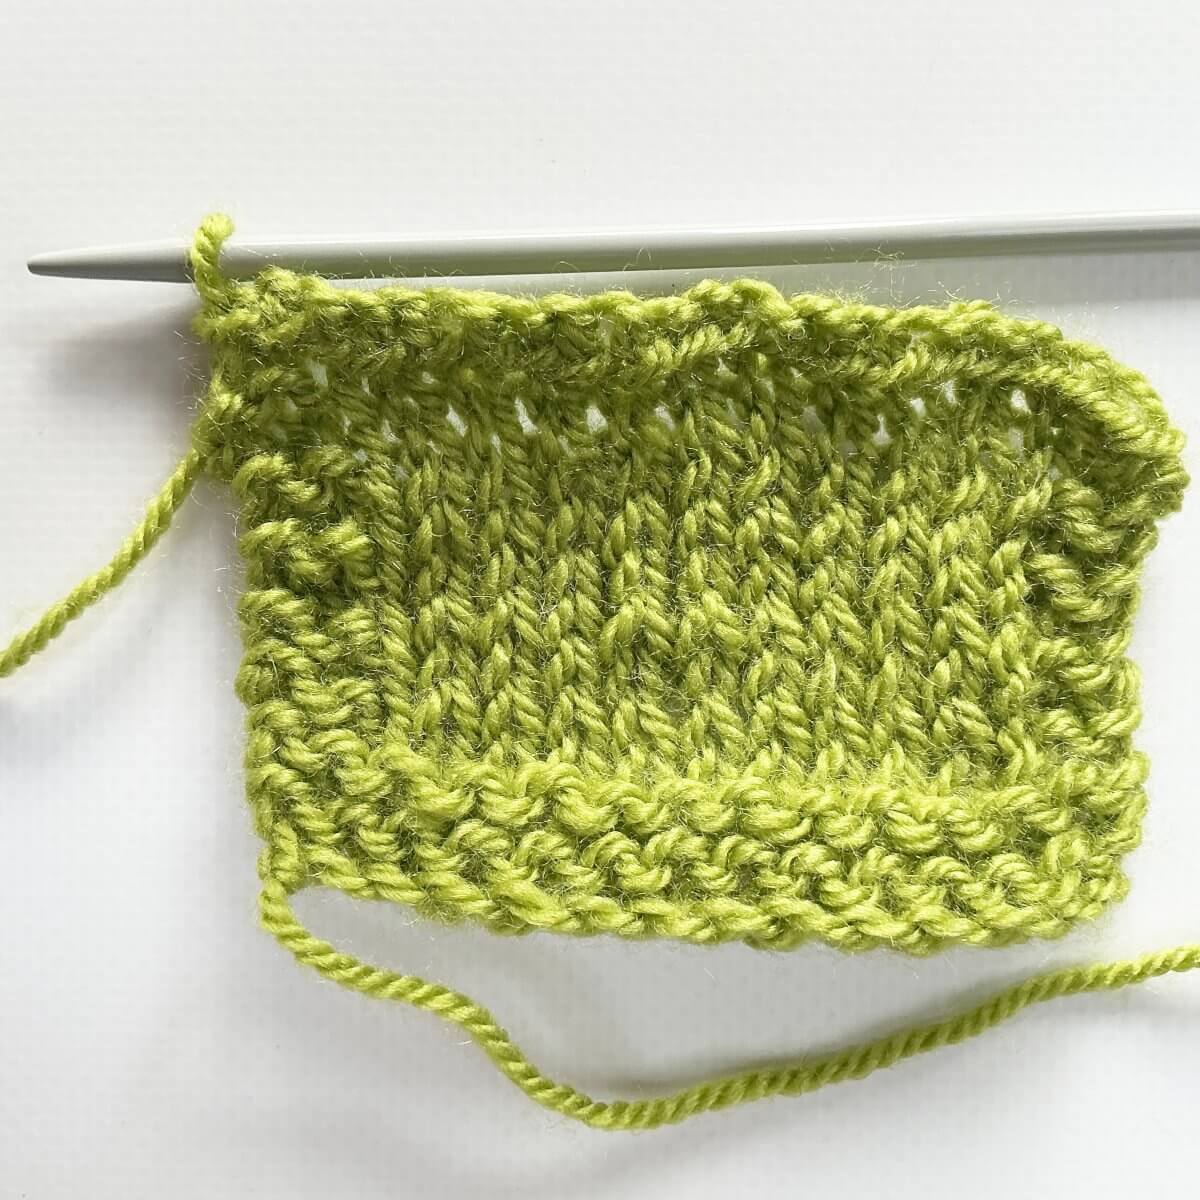
As you can see in the last picture above, this bind-off has quite some flare to it. Reduce the amount of flare by repeating steps 1-5 instead of 2-5. However, this would also reduce the stretchiness. When seen from the wrong side, the result looks like this:


Thanks to my Patreon supporters for bringing you this freebie! Creating quality patterns and tutorials is a lot of work and resource-intensive. However, I find it important to give you free content like this tutorial. Thanks to the generous support of my Patreon supporters, I can make it happen. Thank you, patrons! Click here to join, or click here to read more about La Visch Designs on Patreon.


