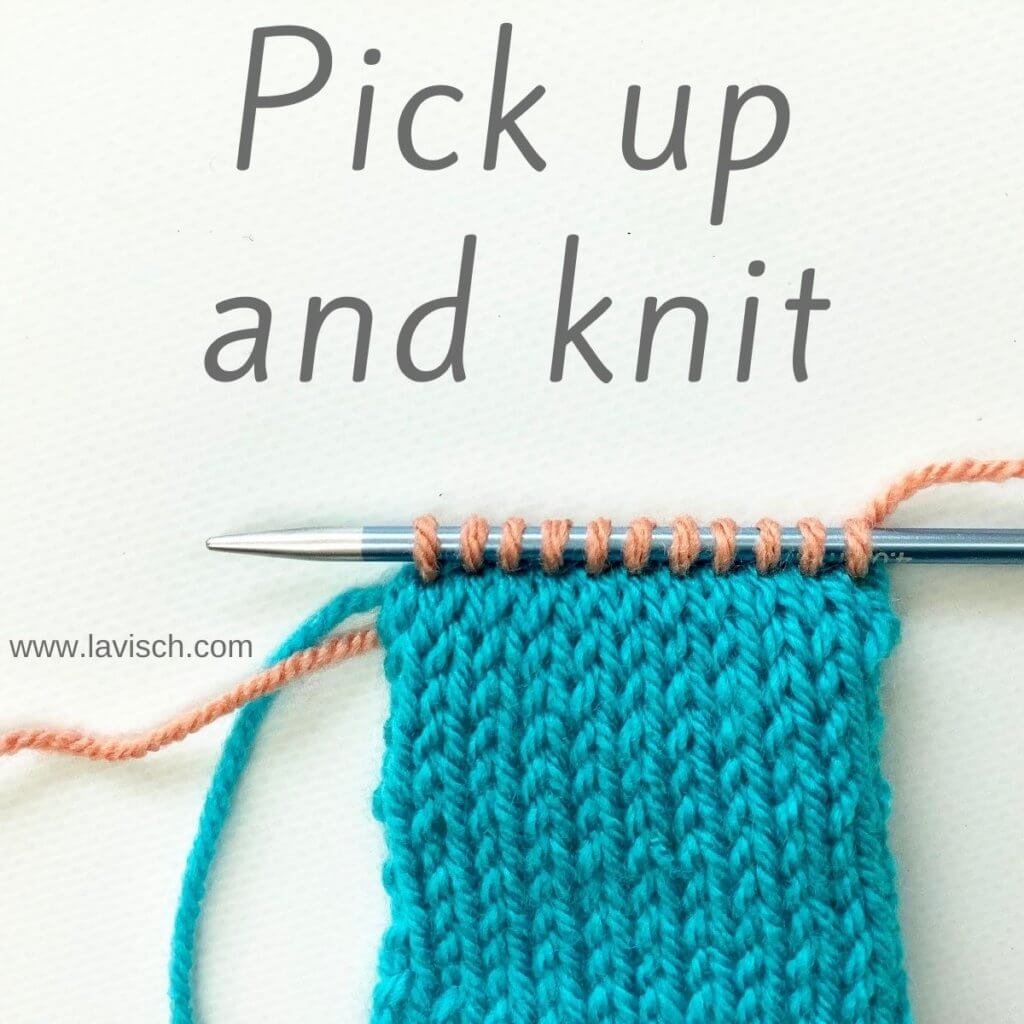
In an earlier tutorial I already showed you how to pick up stitches. But what is the difference between “pick up and knit” and “picking up stitches”? The main difference is that with “pick up and knit” new yarn is introduced to form new stitches. “Picking up stitches” is merely placing loops from an edge of the existing piece of knitting on a knitting needle.
Pick up and knit, like just picking up stitches, is a way to add knitting to an existing piece of fabric, independent of the original knitting direction. It can be used to create finished edges around necklines, button bands, etc.
Materials used


Yarn: * Paintbox Yarns Simply DK, a good value, good quality 100% acrylic yarn, here in the color Marine.
Needles: * KnitPro Zing Fixed Circular Needles. In this tutorial, I used the 4 mm (US 6) size with a cable length of 80 cm (32 inches).
Planning your pick up rate
A stitch is usually wider than it’s tall: it has a different row gauge than stitch gauge. This has as a result that picking up stitches along vertical edges at a rate of 1:1 usually doesn’t give an optimal result. In other words: we have to plan in advance how often to pick up and knit the stitches to avoid puckering and ruffling in the newly added piece of knitting. For this it’s useful to divide the edge into sections, using stitch markers. The possible sections would be vertical edge, diagonal edge and horizontal edge. The latter would be picking up along a bind-off or cast-on edge, where every stitch in the edge equals a stitch to be picked up and knit.
For the vertical and diagonal edges, if no ratio is specified in your pattern, a rule of thumb is to pick up approx. two stitches for every three rows or three stitches for every four rows. It’s also possible to calculate the pick-up rate exactly. To do so, measure the gauge of your blocked piece or swatch and pick up the correct number of stitches per 10 cm/inches along the edge to match your stitch gauge.
Pick up and knit step by step
In this tutorial I’m going to show you how to pick up stitches from the bind-off edge of a piece of simple stockinette. For this I made a little swatch. Of course, you can also pick up stitches along a cast on or side edge. Some people prefer using a crochet hook to pick up and knit, but in this example I’m just using knitting needles. Time to get started!
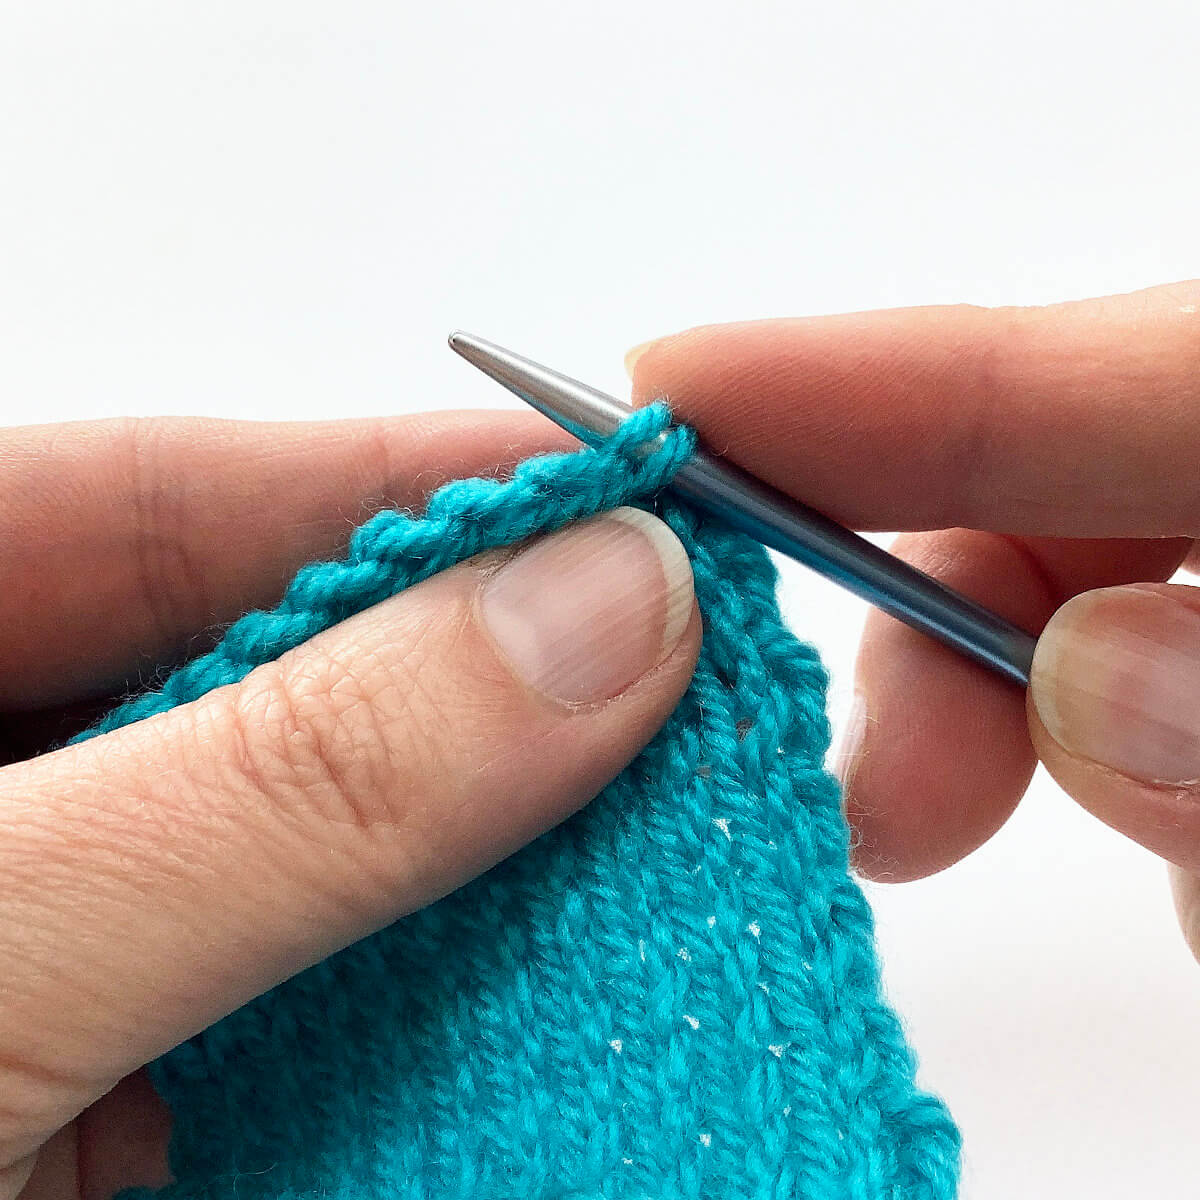
- Find the most right stitch on the edge
With picking up stitches we work from right to left, with the right side of the fabric facing. We start by finding the outer right stitch on the edge and insert the knitting needle underneath it. In this example I’m working on a bind-off edge and I’m inserting my needle underneath both legs of the v. You can, of course, pick up only one of the strands, but that will result in a looser, less tidy connection. When working on a vertical edge, insert your needle under both strands of the edge stitch.
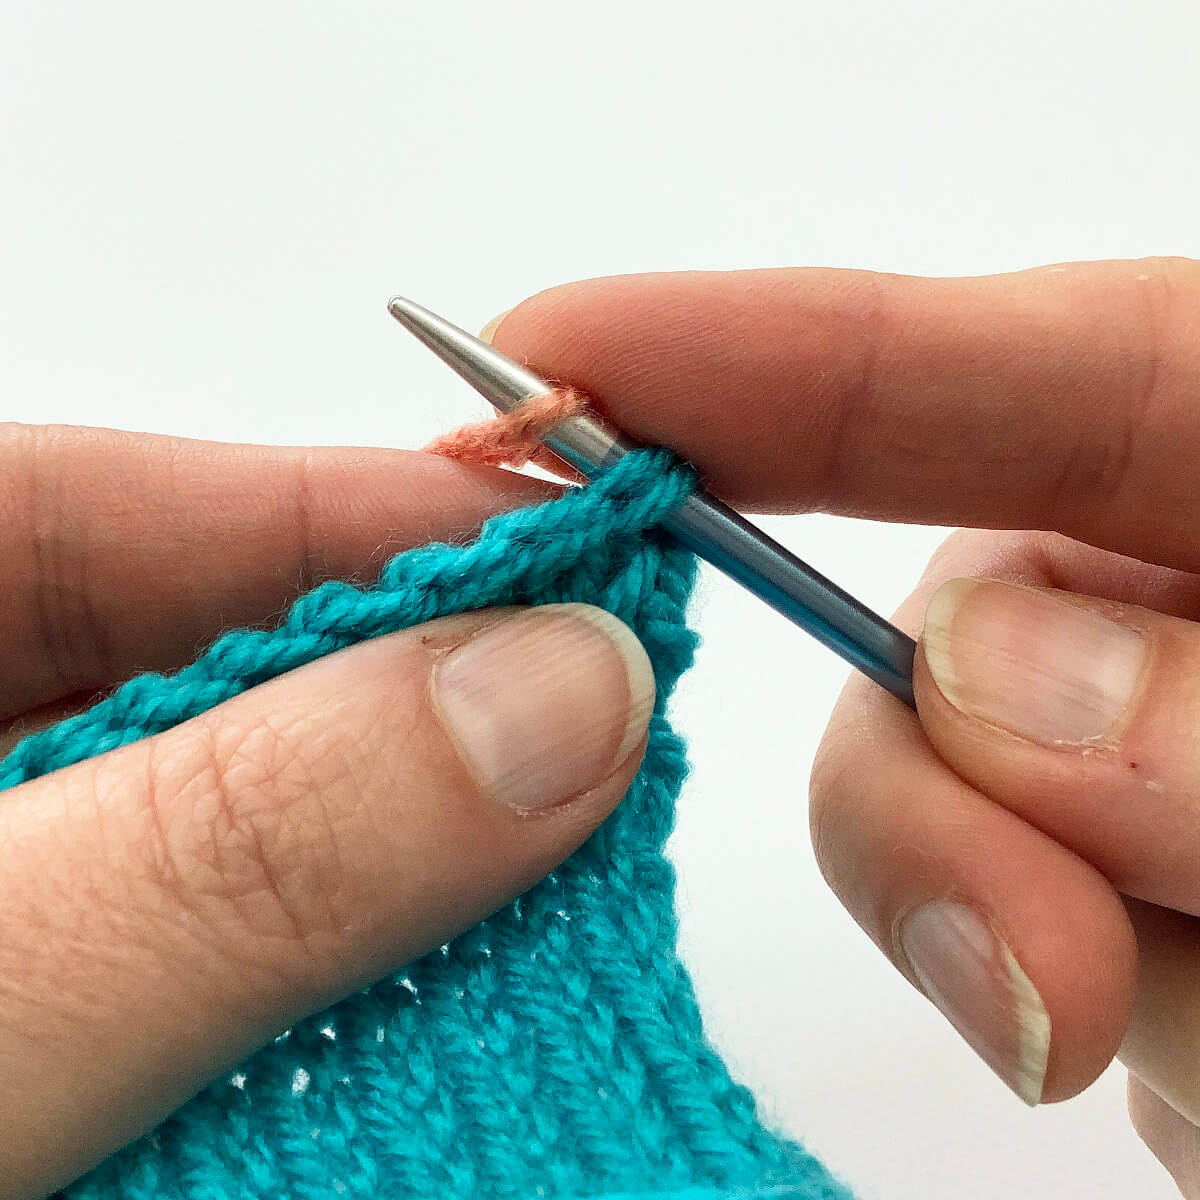
- Wrapping the working yarn around the needle
Next is to wrap your working yarn around the knitting needle (or crochet hook). Leave enough of a tail to weave it in later on. About 15 cm or 6 inches should be enough.
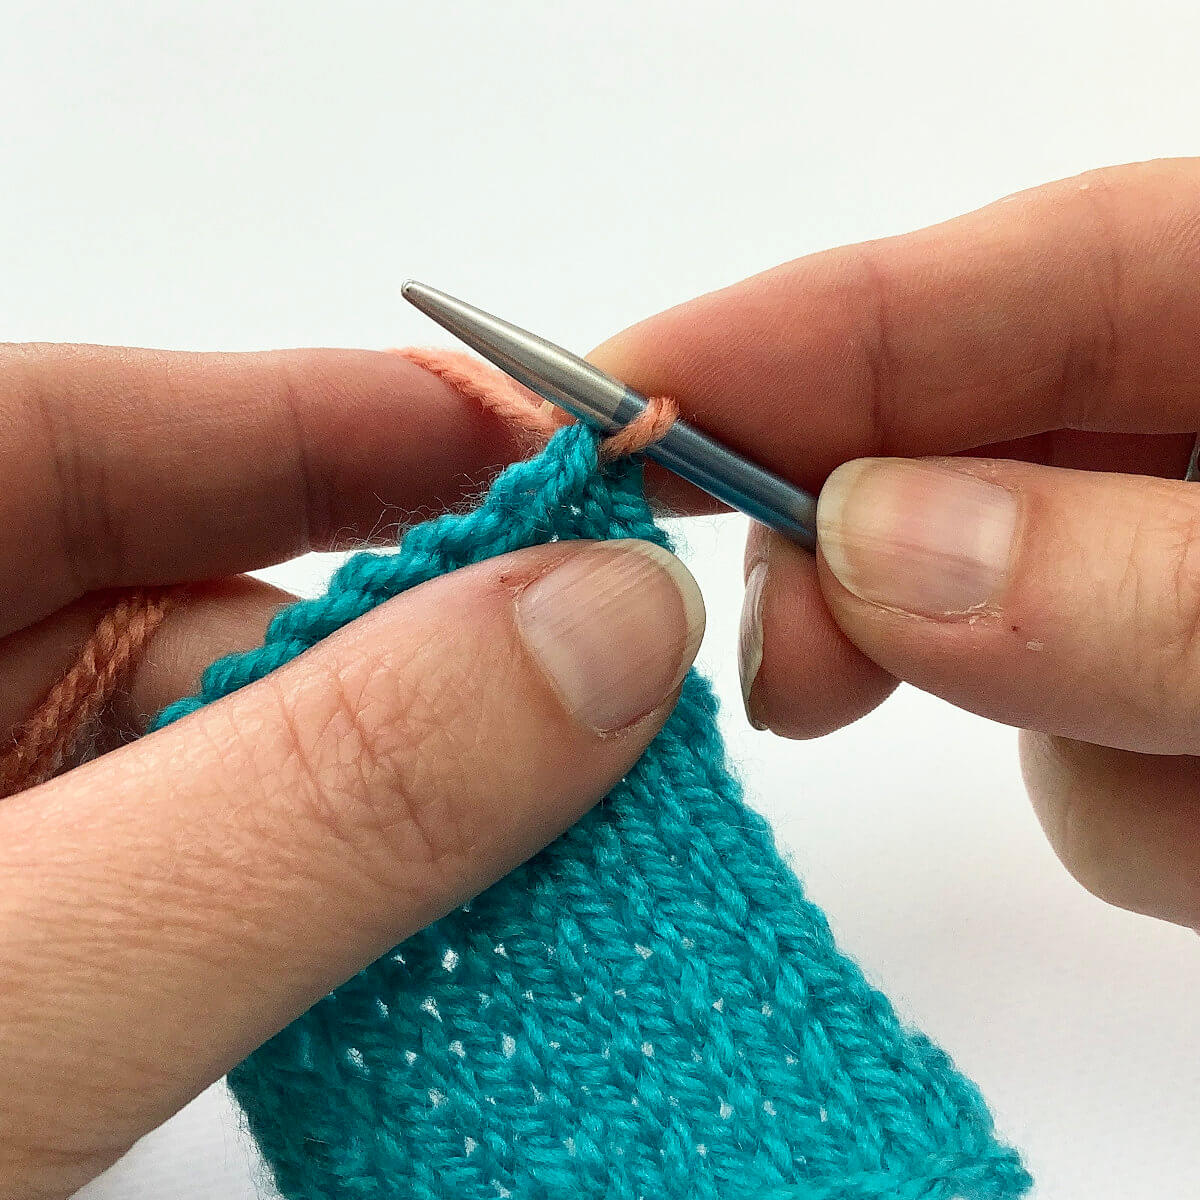
- Pulling the yarn through
Now pull the yarn wrapped around the needle through the fabric to form a stitch.
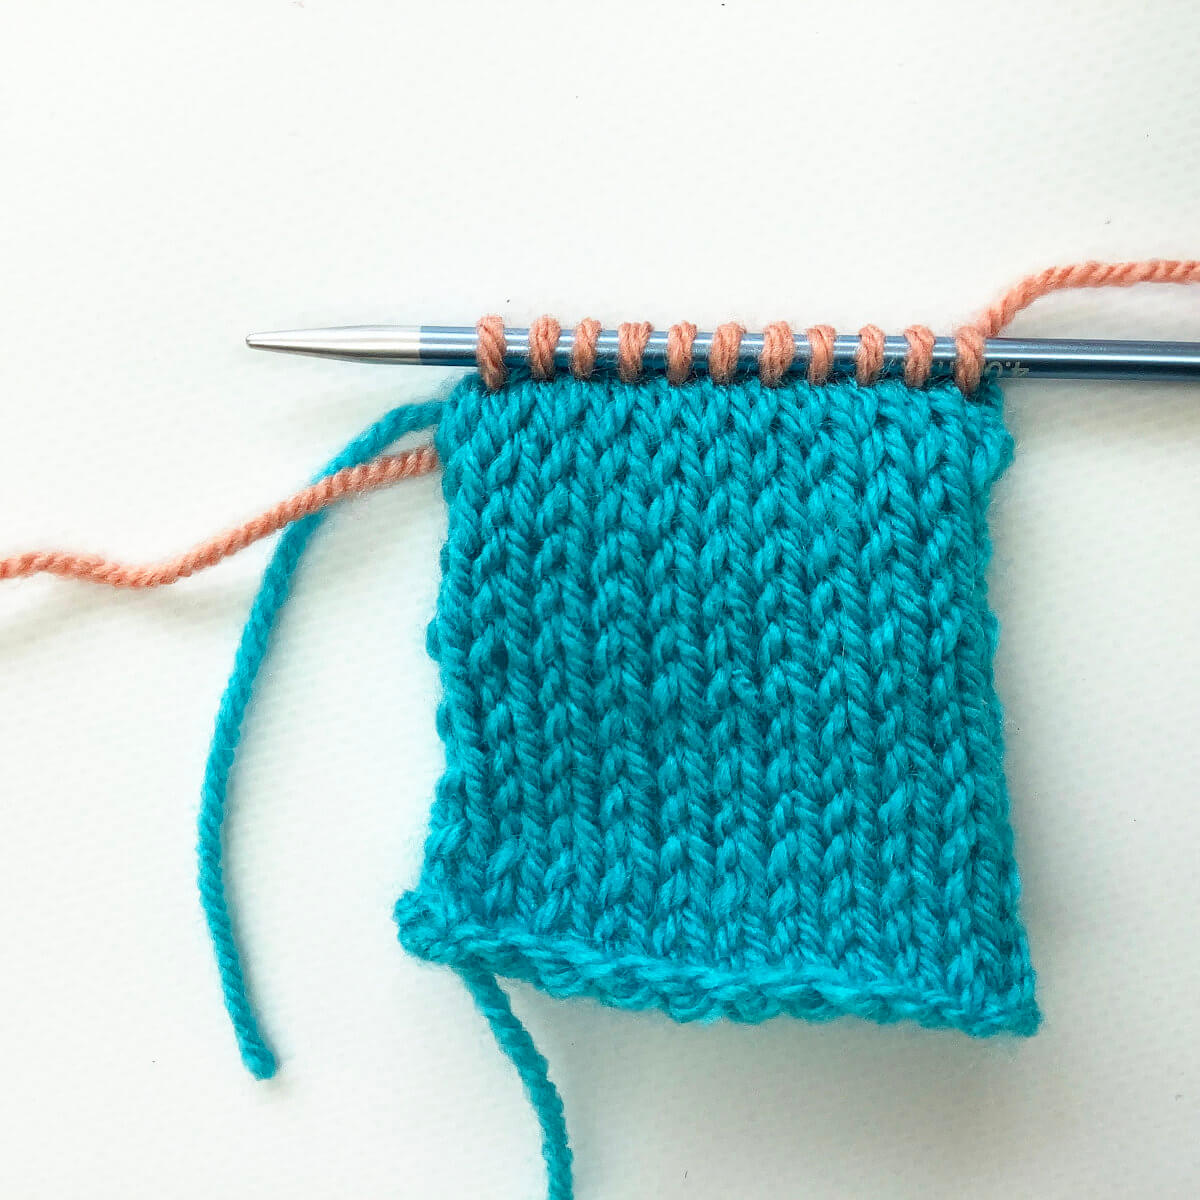
- Repeat steps 1-3
Now just repeat steps 1-3 starting at the next spot where you want to pick up and knit a stitch until the whole edge has been worked. The result will look something like this:
What about garter stitch?
Yes, you can also pick up and knit from a fabric in garter stitch, or any kind of stitch, actually. The nice thing of garter stitch is that it has those typical garter bumps or ridges. This makes it very easy to pick up and knit a stitch every other row, when working on a side/vertical edge. Just insert your needle underneath a loop of the ridge! In the picture below that’s exactly what I did.


Thanks to my Patreon supporters for bringing you this freebie! Creating quality patterns and tutorials is a lot of work and resource-intensive. However, I find it important to give you free content like this tutorial. Thanks to the generous support of my Patreon supporters, I can make it happen. Thank you, patrons! Click here to join, or click here to read more about La Visch Designs on Patreon.


