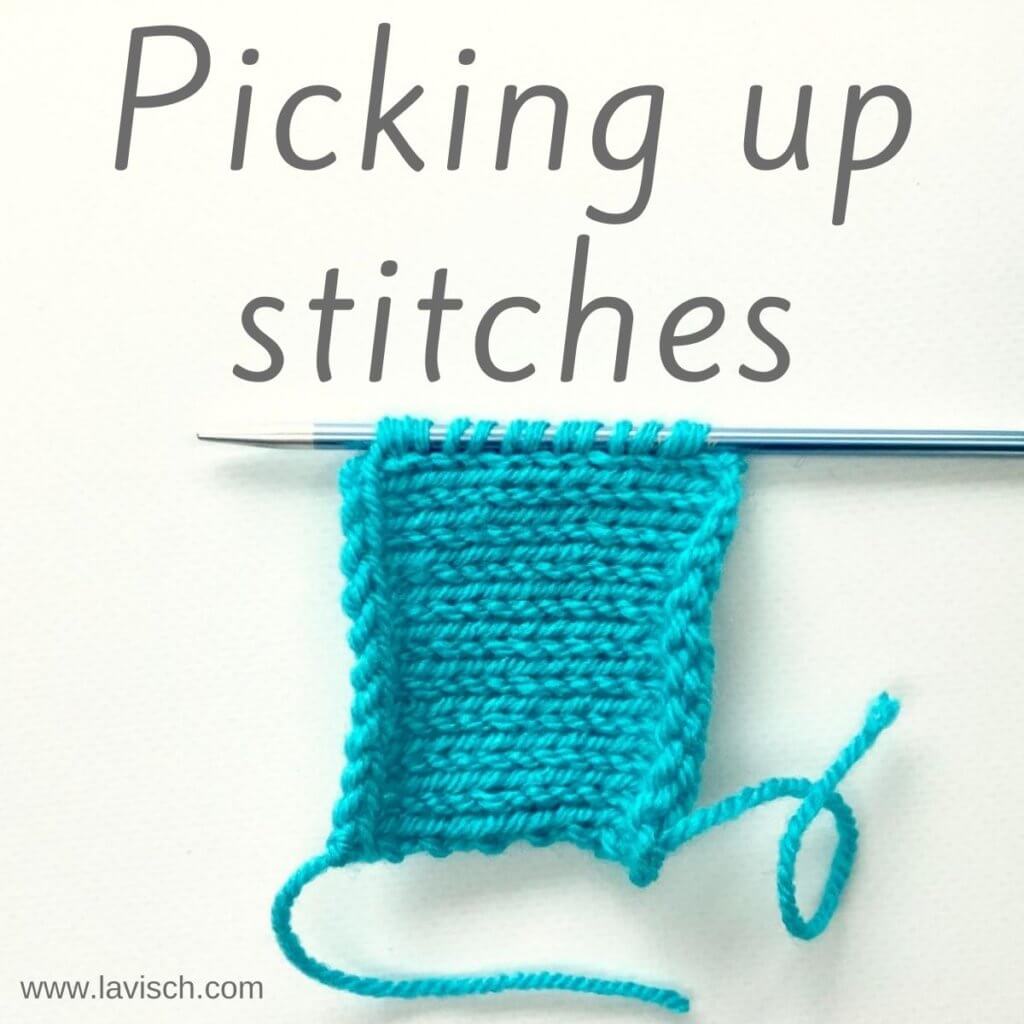
Picking up stitches, not to be confused with “pick up and knit”, is a knitting technique that most knitters will encounter sooner or later. It’s a way to continue working on an otherwise finished edge of a knitting project. It can be used to add a finishing around necklines, to add button bands or to make a project seamless for example.
The main difference with “pick up and knit” is that with plain “picking up stitches” no new yarn is added and no new stitches are formed. In other words: loops from an edge of the existing piece of knitting are placed on a knitting needle. That’s it.
Materials used
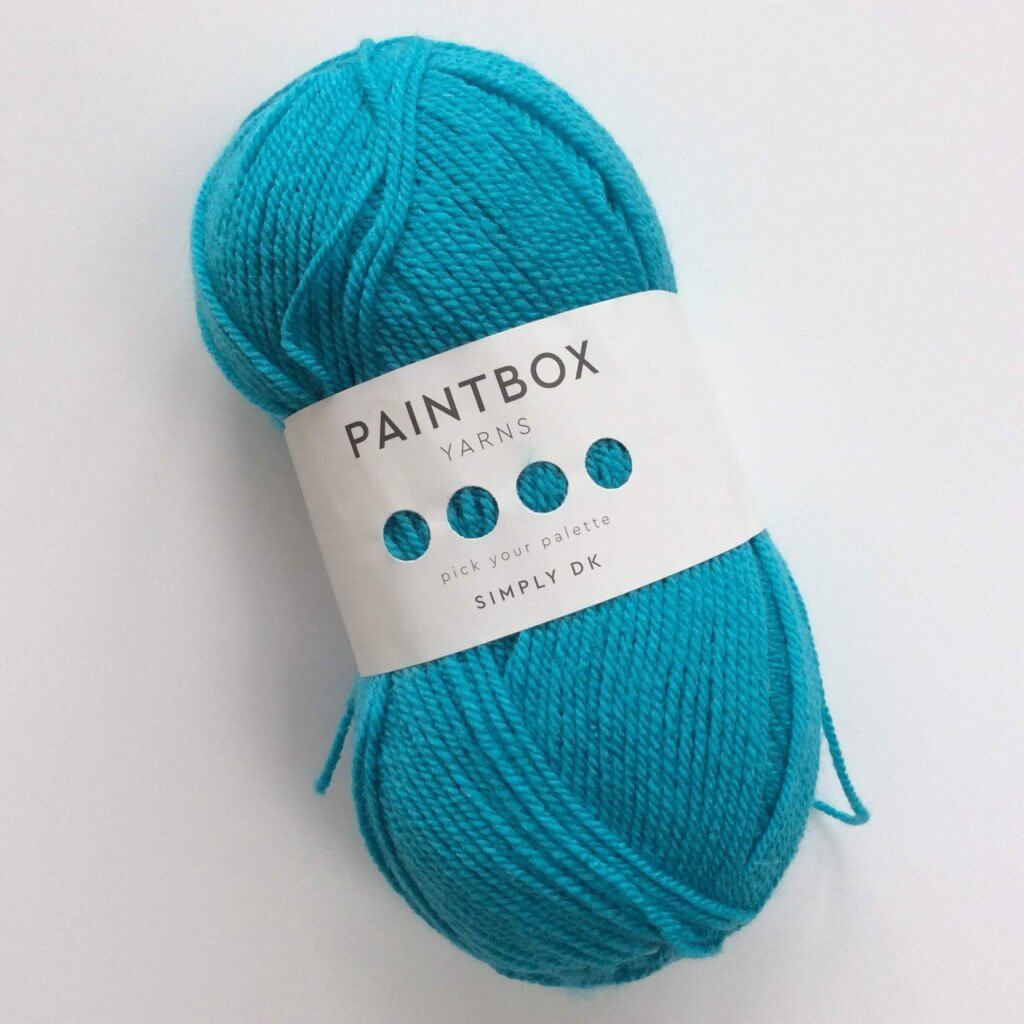
Yarn: * Paintbox Yarns Simply DK, a good value, good quality 100% acrylic yarn, here in the color Marine.
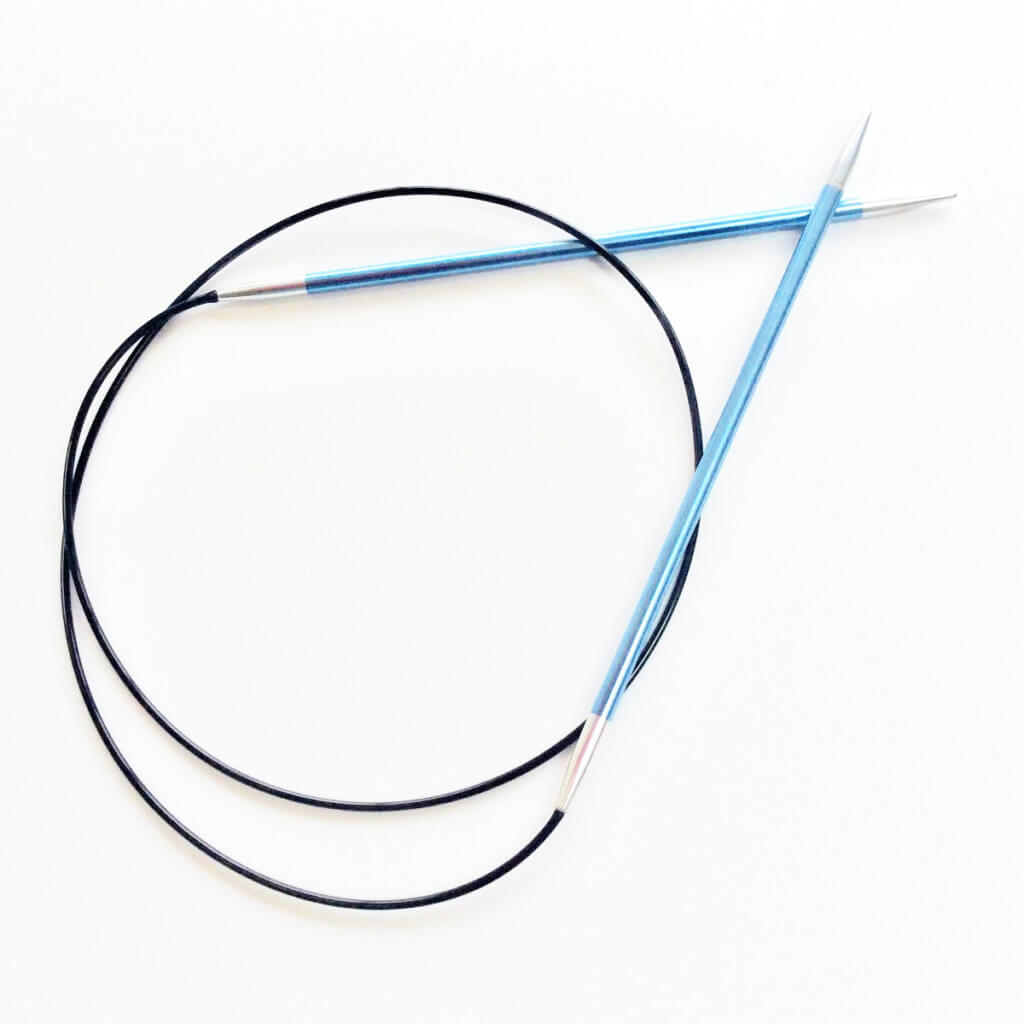
Needles: * KnitPro Zing Fixed Circular Needles. In this tutorial, I used the 4 mm (US 6) size with a cable length of 80 cm (32 inches).
Where and what to pick up?
In this tutorial I’m going to show you how to pick up stitches from the side of a piece of simple stockinette. For this I made a little swatch. Of course, you can also pick up stitches along a cast on or bind off edge.
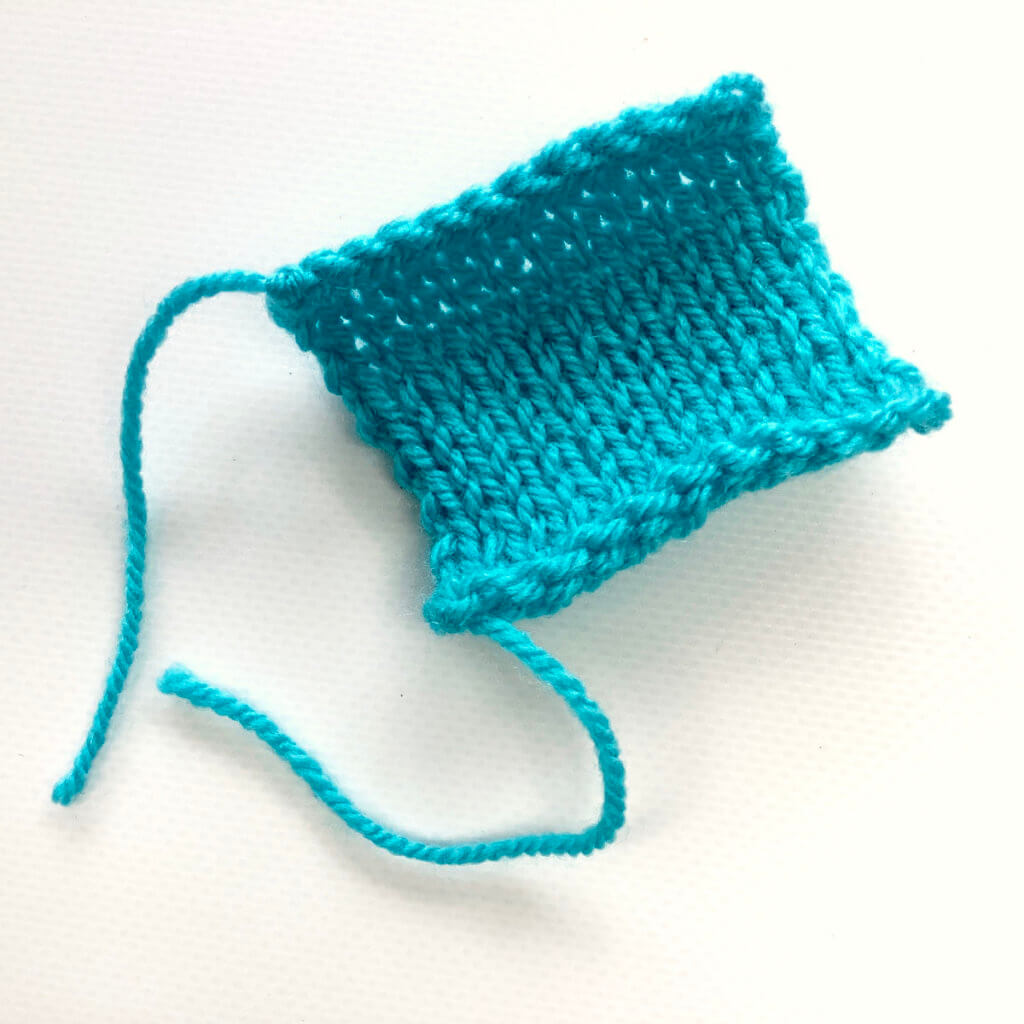
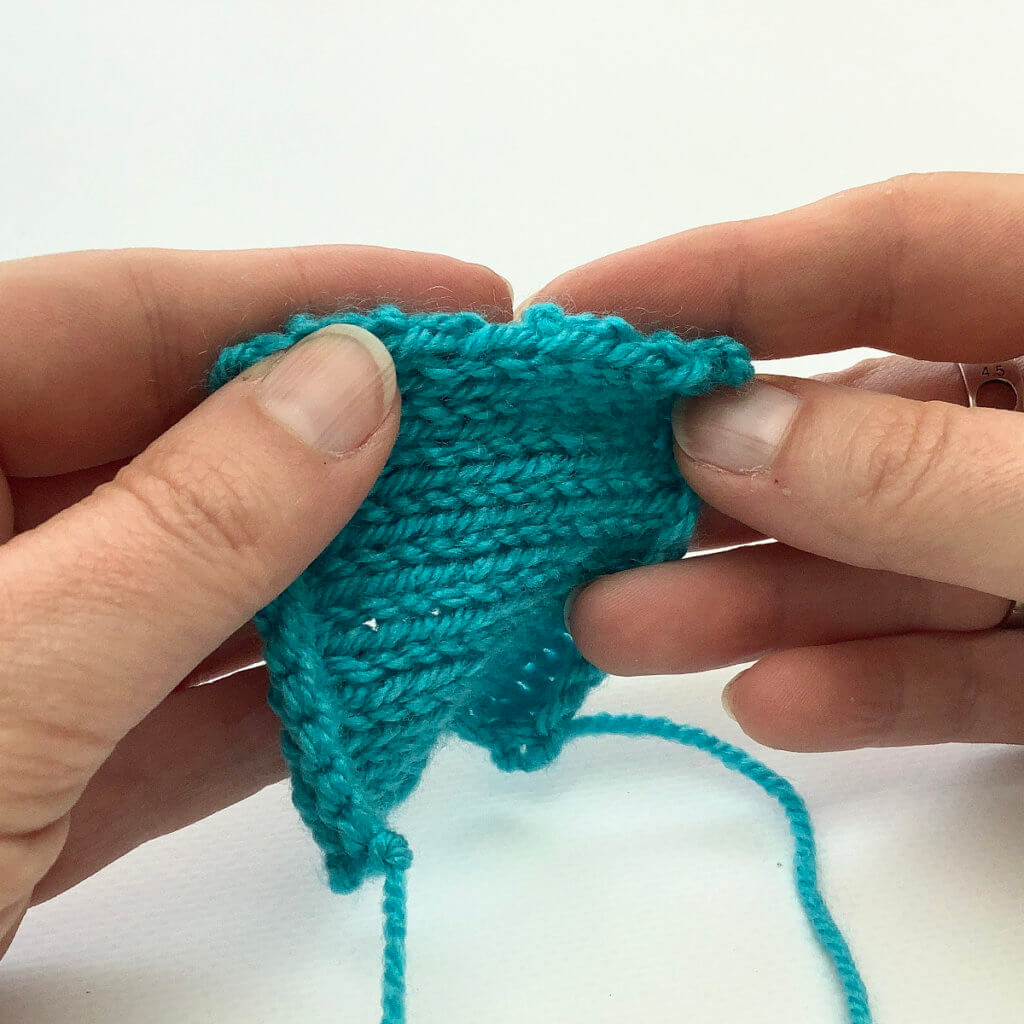
If you take a look at the picture below, you can see that I’m holding the swatch in such a way that one of the vertical edges is facing. Do you see that the outer column of stitches forms a (somewhat wobbly) line of v’s?
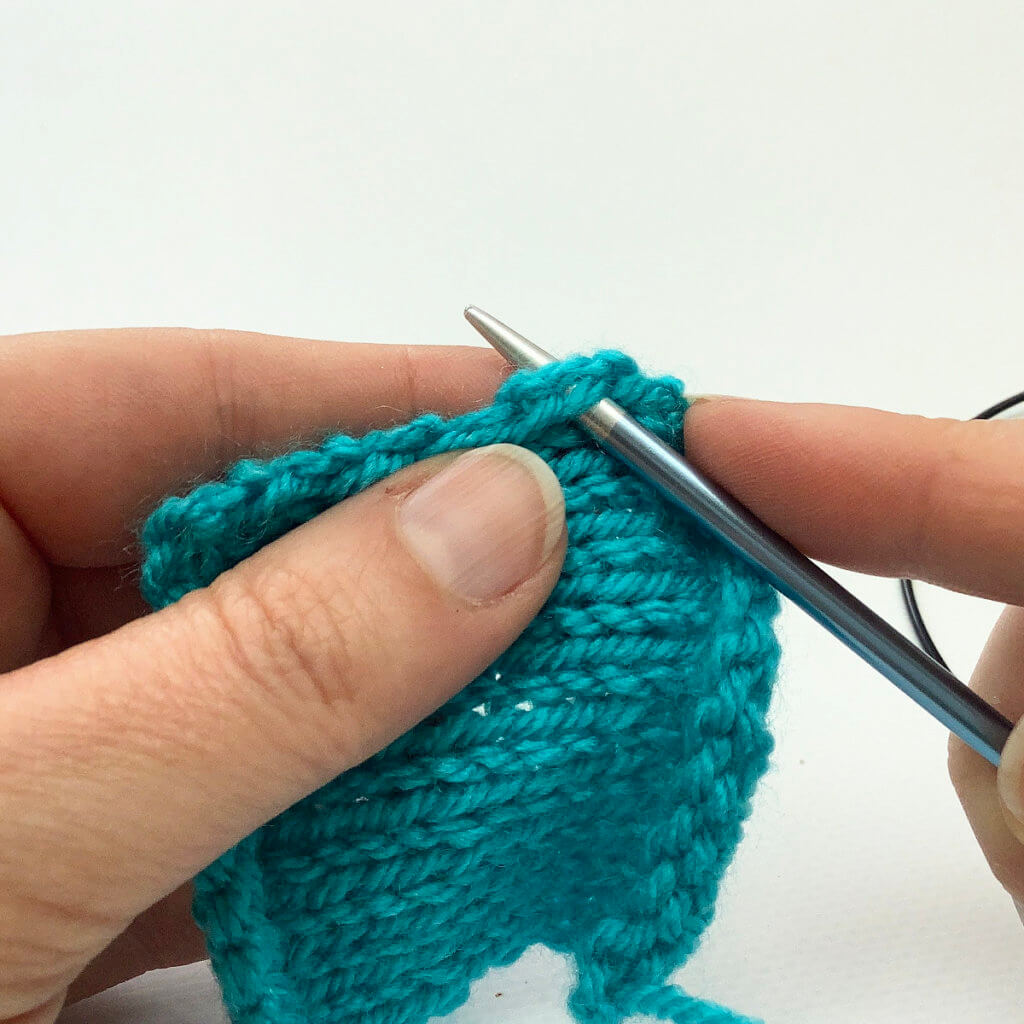
In the following picture you can see it a bit more clearly. I’ve inserted the knitting needle underneath both legs of the v at the edge of the fabric.
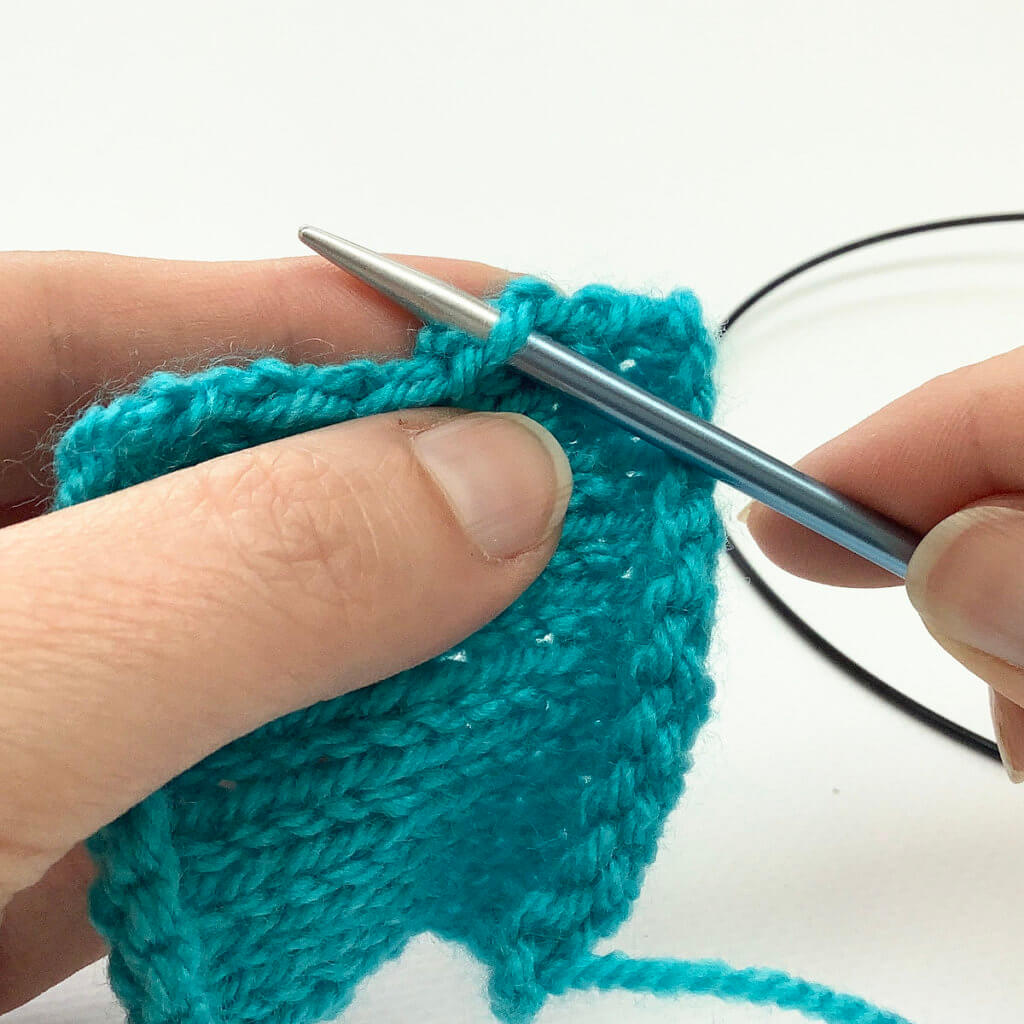
However, when merely picking up stitches, it is very hard to pick up both legs of every v/stitch along the edge. Therefor usually only one of the legs is picked up. For example the left one:
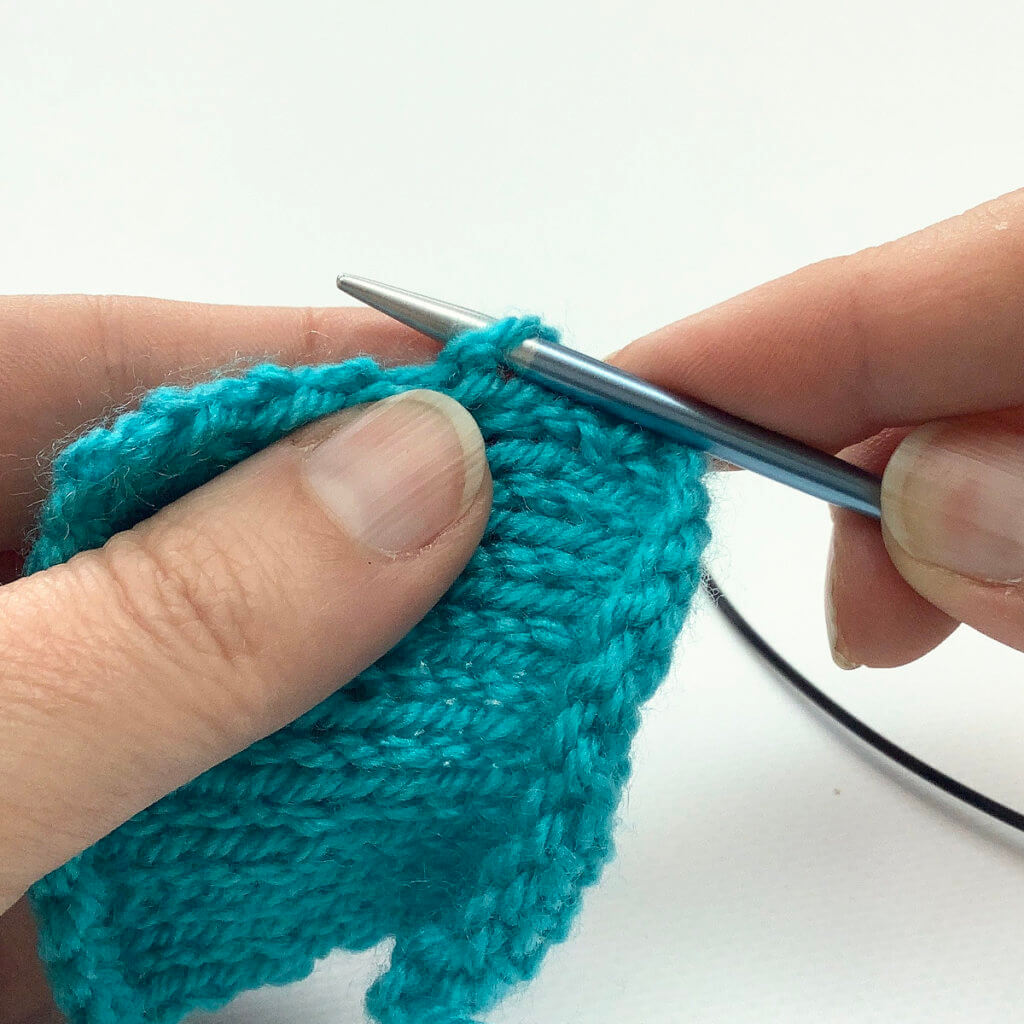
Or the right one:
Picking up stitches step by step
- Find the most right stitch on the edge
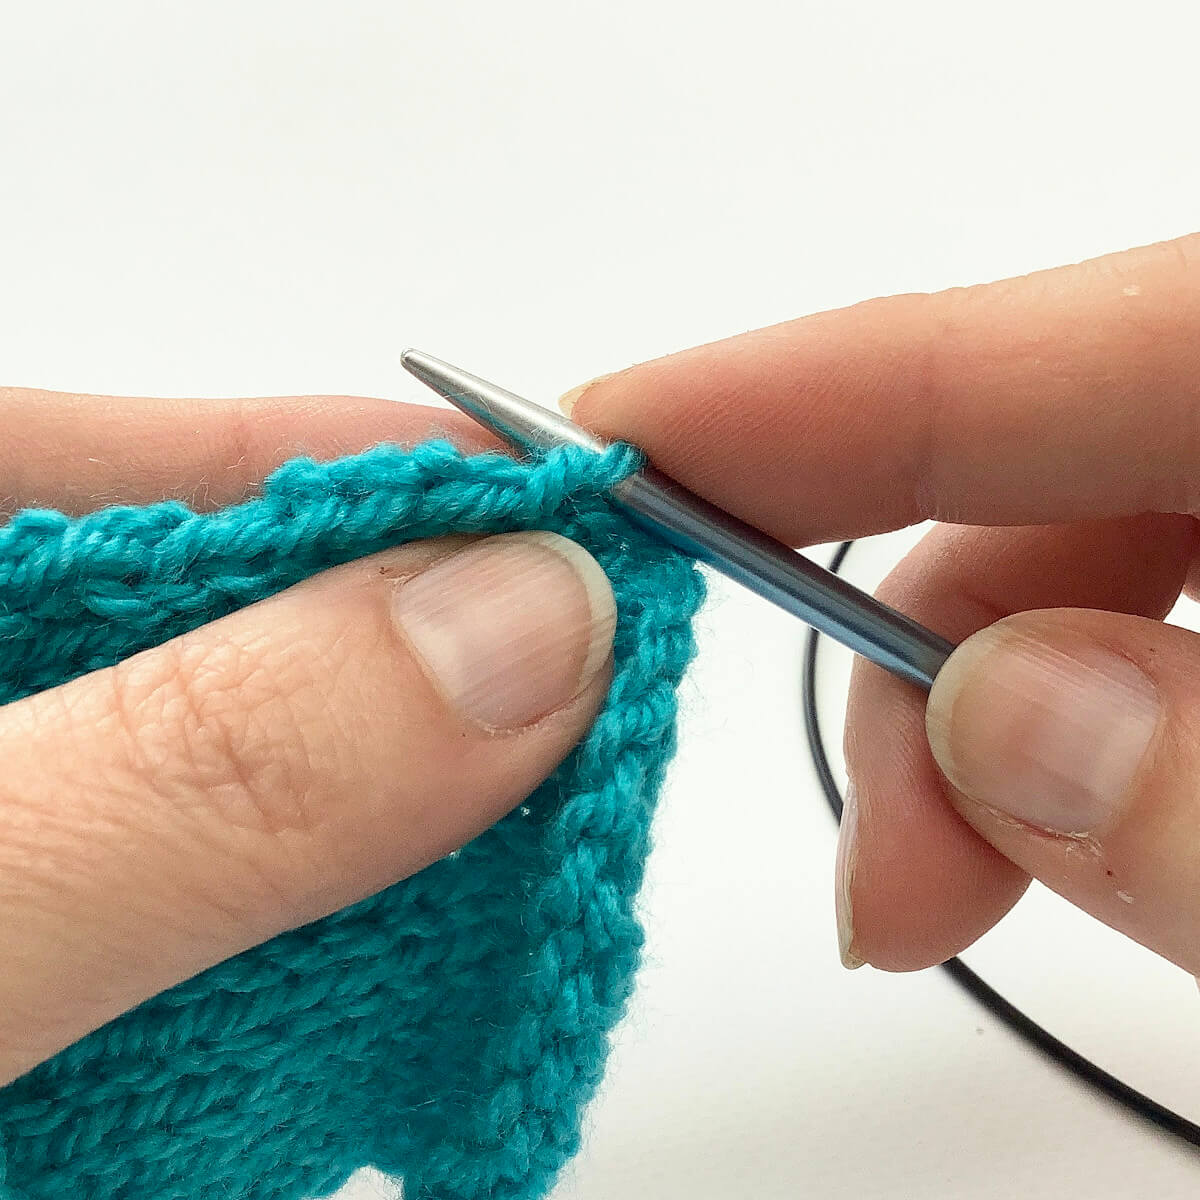
With picking up stitches we work from right to left. We start by finding the outer right stitch on the edge and insert the knitting needle underneath one of the legs of the v. here I’ve chosen to insert underneath the left leg, which is the one closest to me.
- Continue picking up stitches
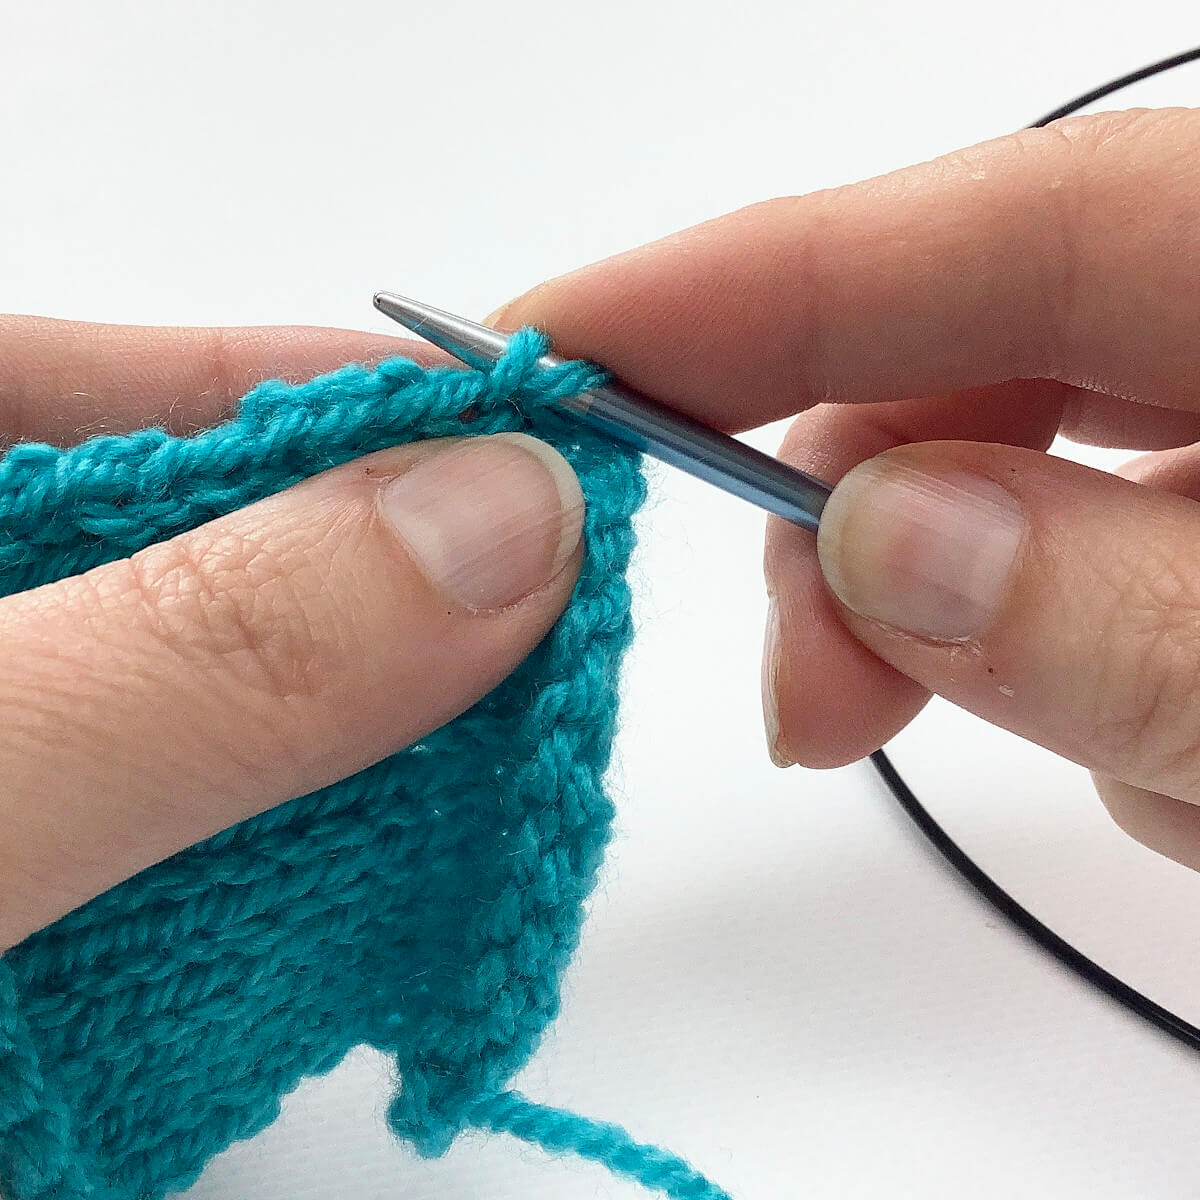
Next I move one stitch to the left and pick that one up. Again by inserting the knitting needle underneath the leg of the v closest to me.
- The result
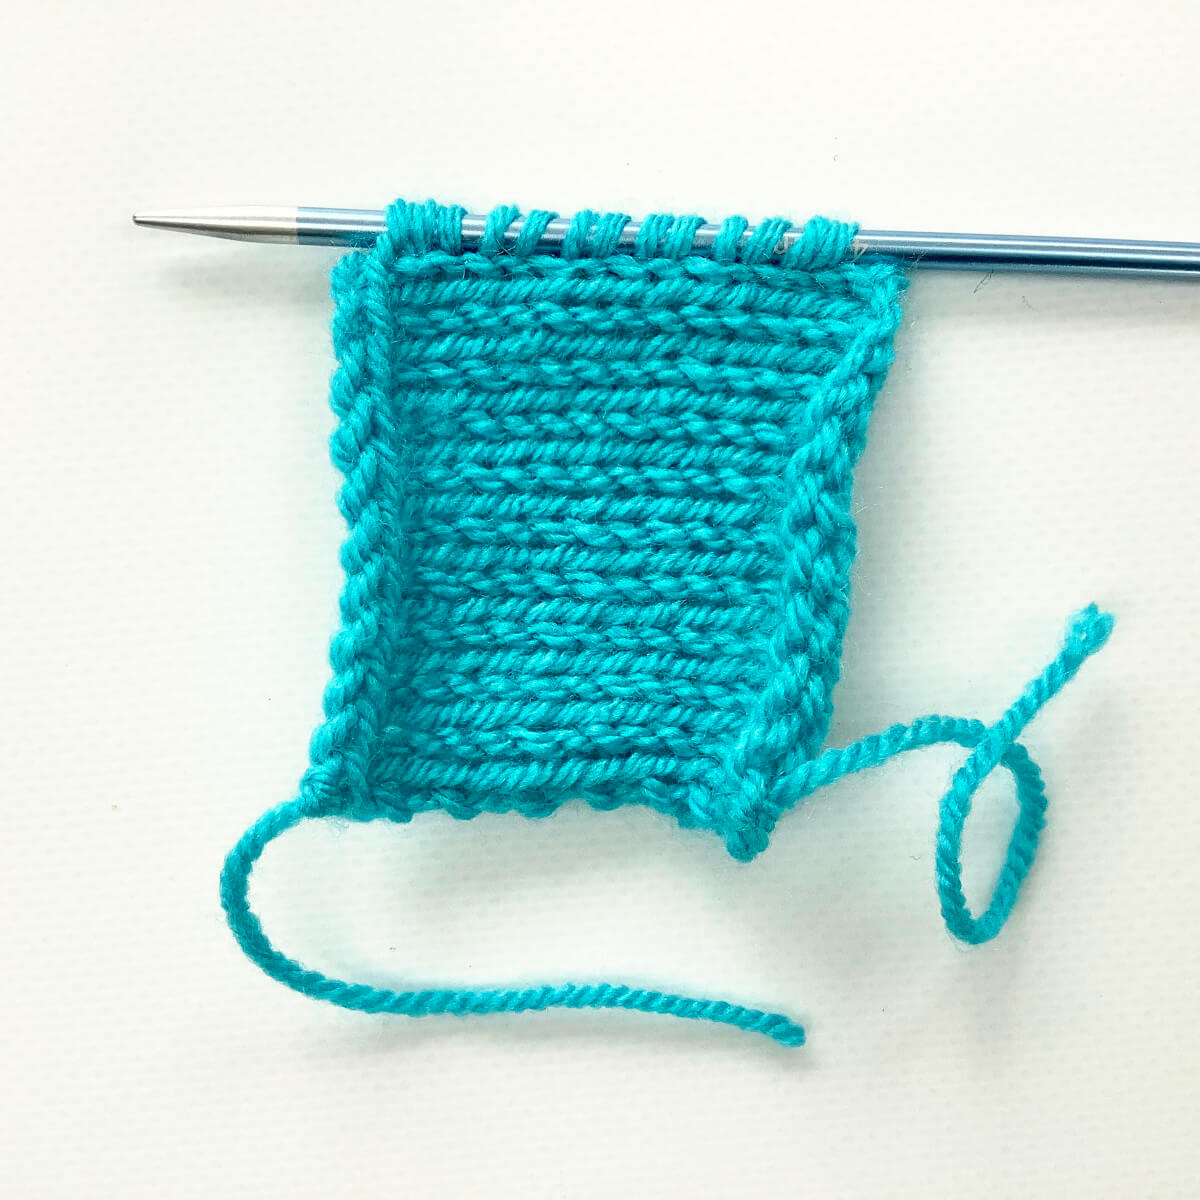
When all stitches along the edge are picked up, this is the result:
Pick up rate
In this example I picked up 1 stitch for every row of the stockinette. However, a stitch is usually wider than it’s tall: it has a different row gauge than stitch gauge. This has as a result that picking up stitches along vertical edges at a rate of 1:1 usually doesn’t give an optimal result.
If no ratio is specified in your pattern, a rule of thumb is to pick up approx. two stitches for every three rows or three stitches for every four rows. It’s also possible to calculate the pick-up rate exactly. To do so, measure the gauge of your blocked piece or swatch and pick up the correct number of stitches per 10 cm/inches to match your stitch gauge. This would also work for any diagonal edges you may encounter. Take for example when picking up stitches for finishing off neck edges.

Thanks to my Patreon supporters for bringing you this freebie! Creating quality patterns and tutorials is a lot of work and resource-intensive. However, I find it important to give you free content like this tutorial. Thanks to the generous support of my Patreon supporters, I can make it happen. Thank you, patrons! Click here to join, or click here to read more about La Visch Designs on Patreon.

