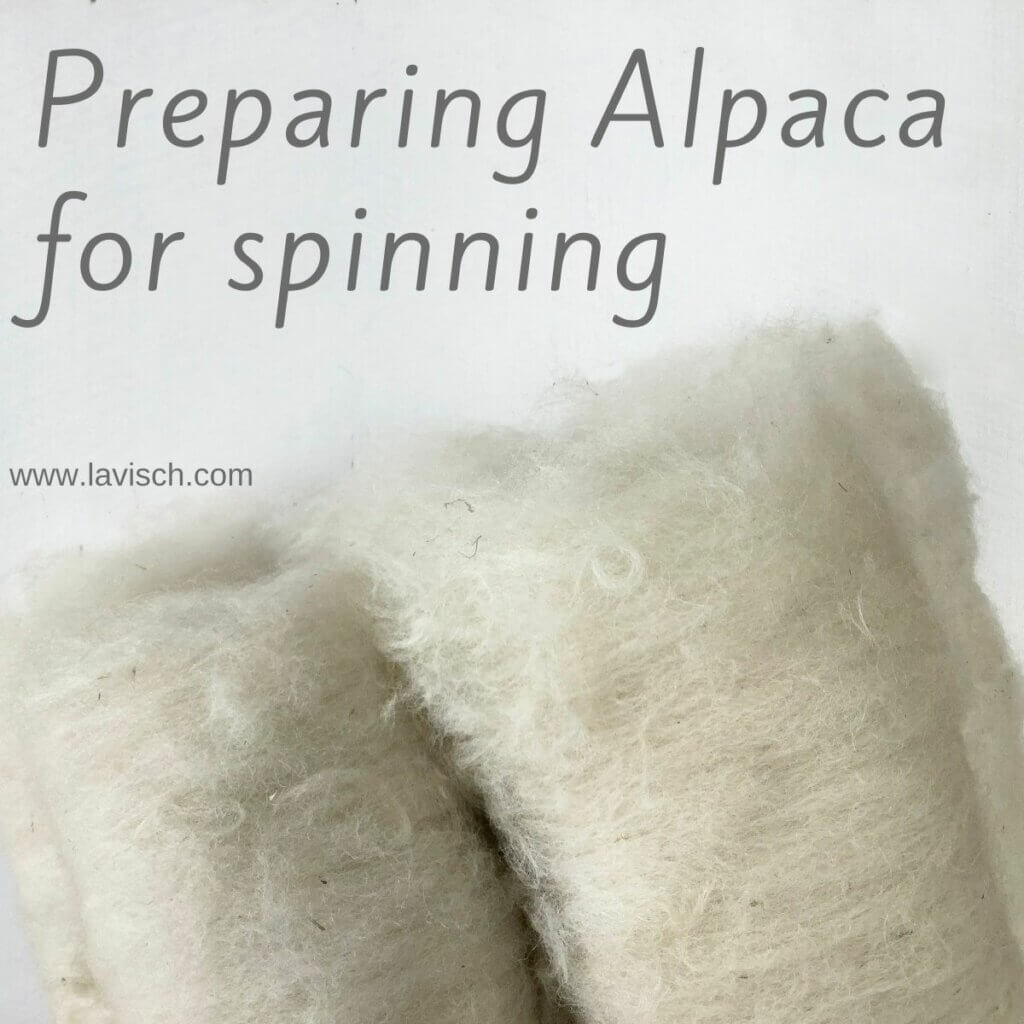
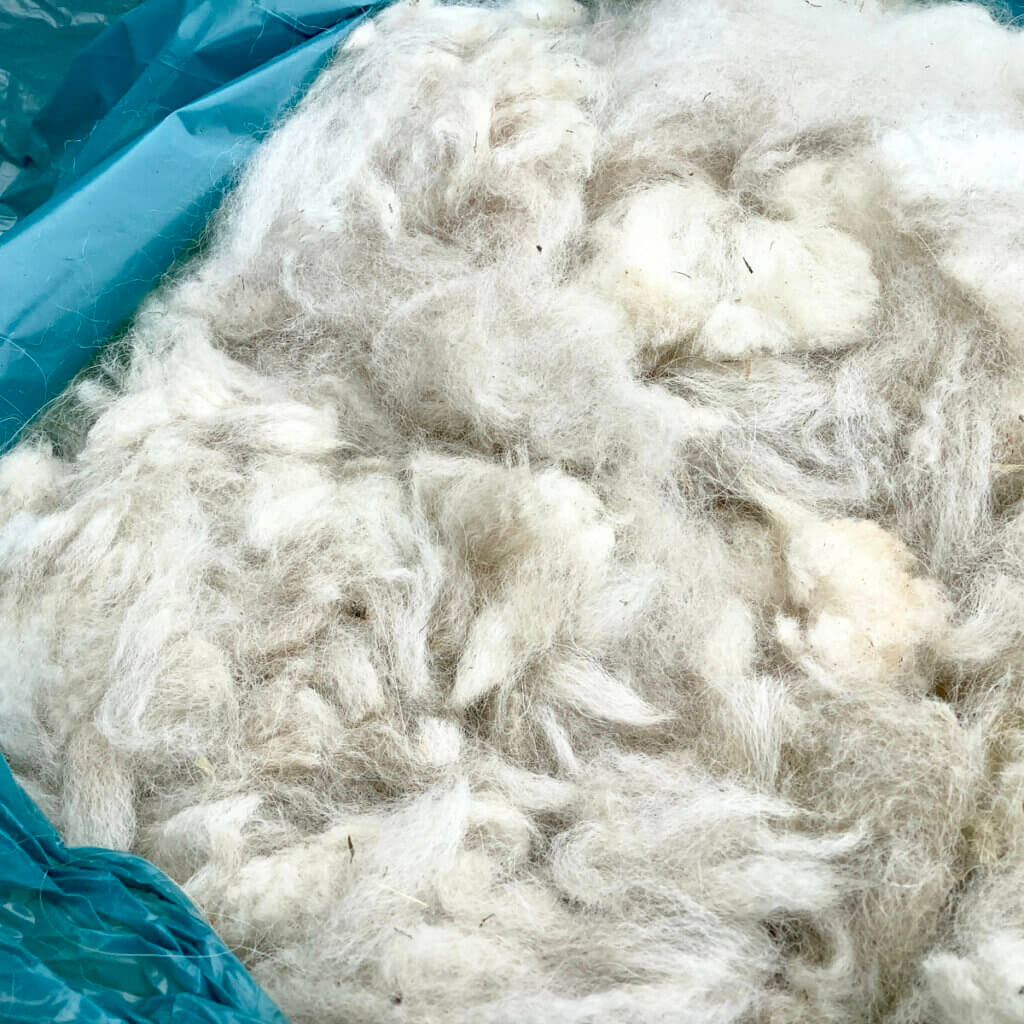
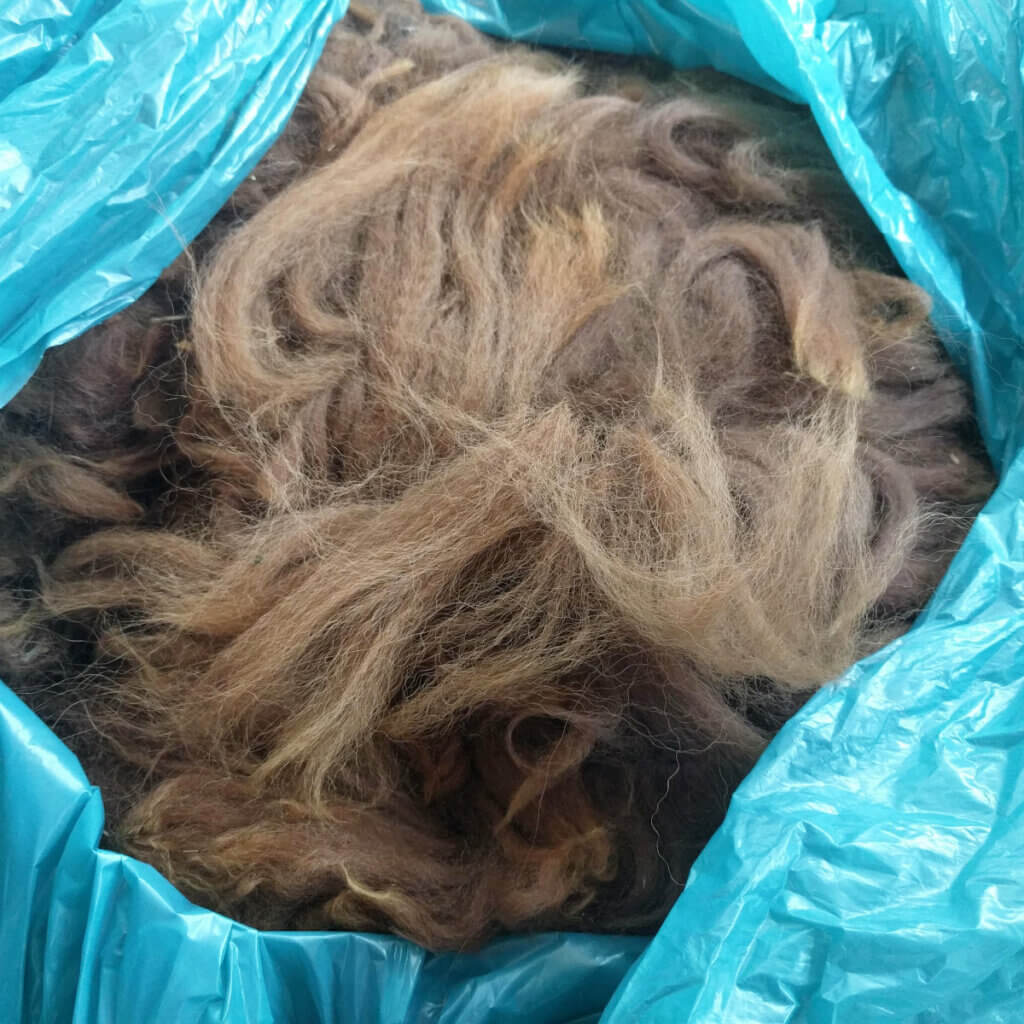
Recently I learned that the mother of an acquaintance of my mom has a small flock of alpacas, and piles of unused freshly shorn fiber. So when, the question came if I would be interested in taking some of her hands, I was delighted! I’ve never worked with raw alpaca before. I got a big bag of white and another one in brown, the pictures below really don’t do it justice.
And, of course, I had to prepare this raw alpaca to be able to spin it into yarn! In this post, I’ll show you how I went about it. Please bear in mind that I’m new to processing alpaca, so this very first batch really was a matter of trial and error for me.
Differences between alpaca and wool
Before going into detail about how I prepped this fiber for spinning, it’s good to talk about the differences between wool from sheep and the fiber from alpaca’s. Off course, there are many differences in fiber even within both sheep and alpaca’s, due to breed, age, nutrition etc. A very basic difference, however, is that alpaca fibers are hollow, where sheep fibers are not. Because of this, alpaca fiber repels water and retains heat, making it warmer than wool. Also, in general, alpaca will have better drape and less elasticity than sheep wool.
From a fiber prep perspective, the main difference is that sheep wool contains lanolin and alpaca fiber does not. However, alpaca’s just love their dust baths, so a wash before spinning is absolutely advised to prevent locking in dirt.
Ok, let’s get started on this fiber!
Alpaca fiber prep step by step
Since I’m very new to preparing raw alpaca for spinning, I’ve started with only a small amount of fiber. My aim is to prep enough to spin a shawl-amount of yarn.
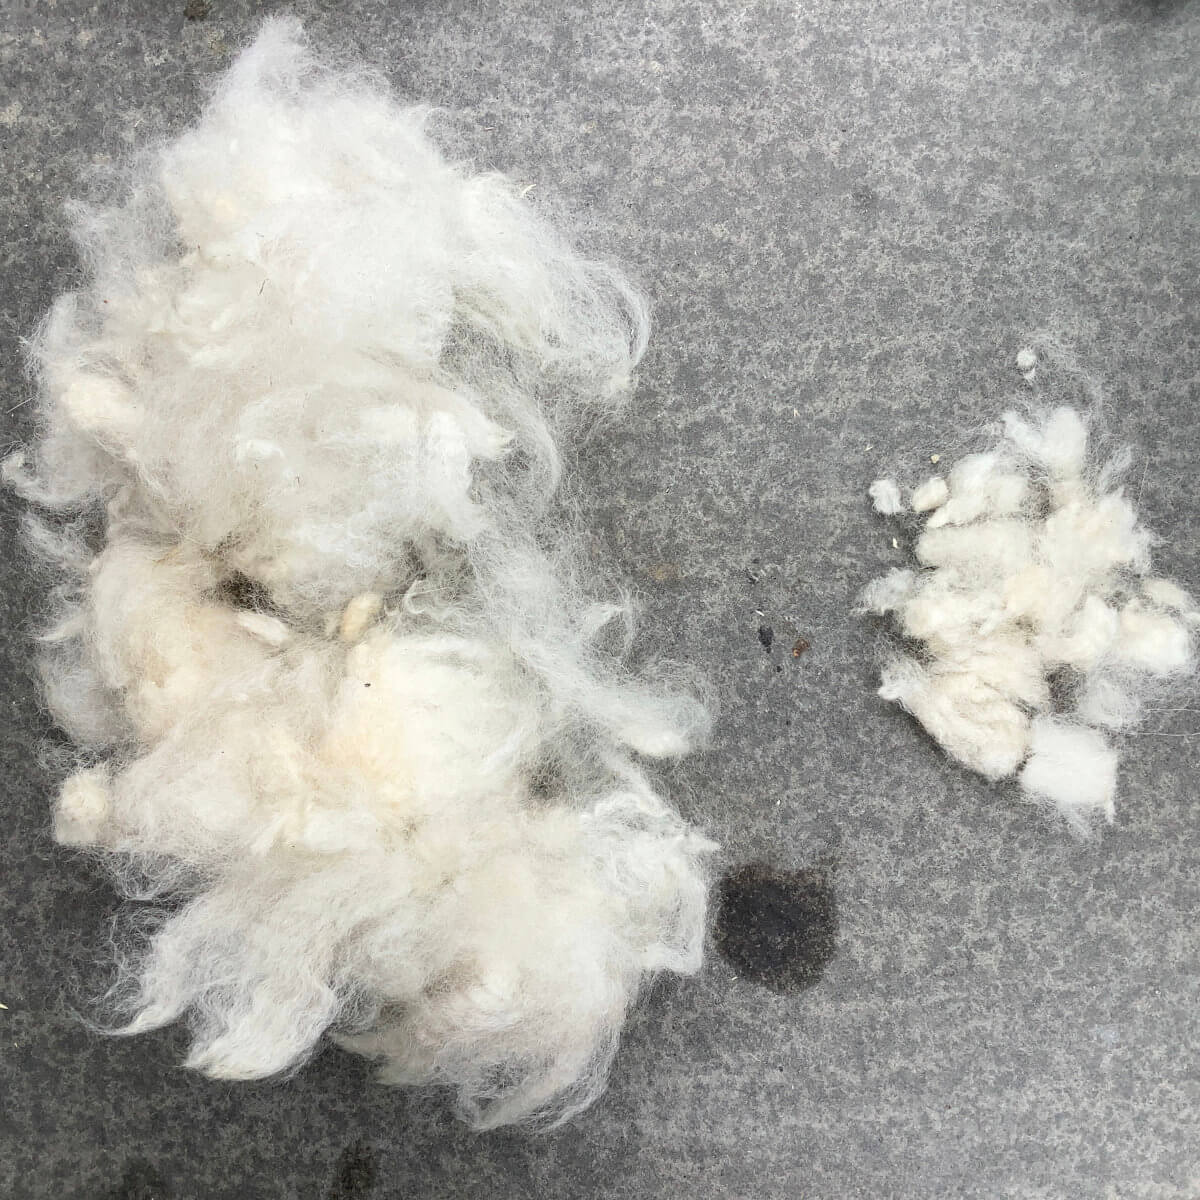
- Picking through the yarn to remove the short bits.
This fiber was not shorn with the hand spinner in mind and contains quite a lot of vegetable matter and shortcuts that will have to be filtered out. In the picture below, you see on the right the pile of shortcuts that I’ve already removed from this handful of alpaca.
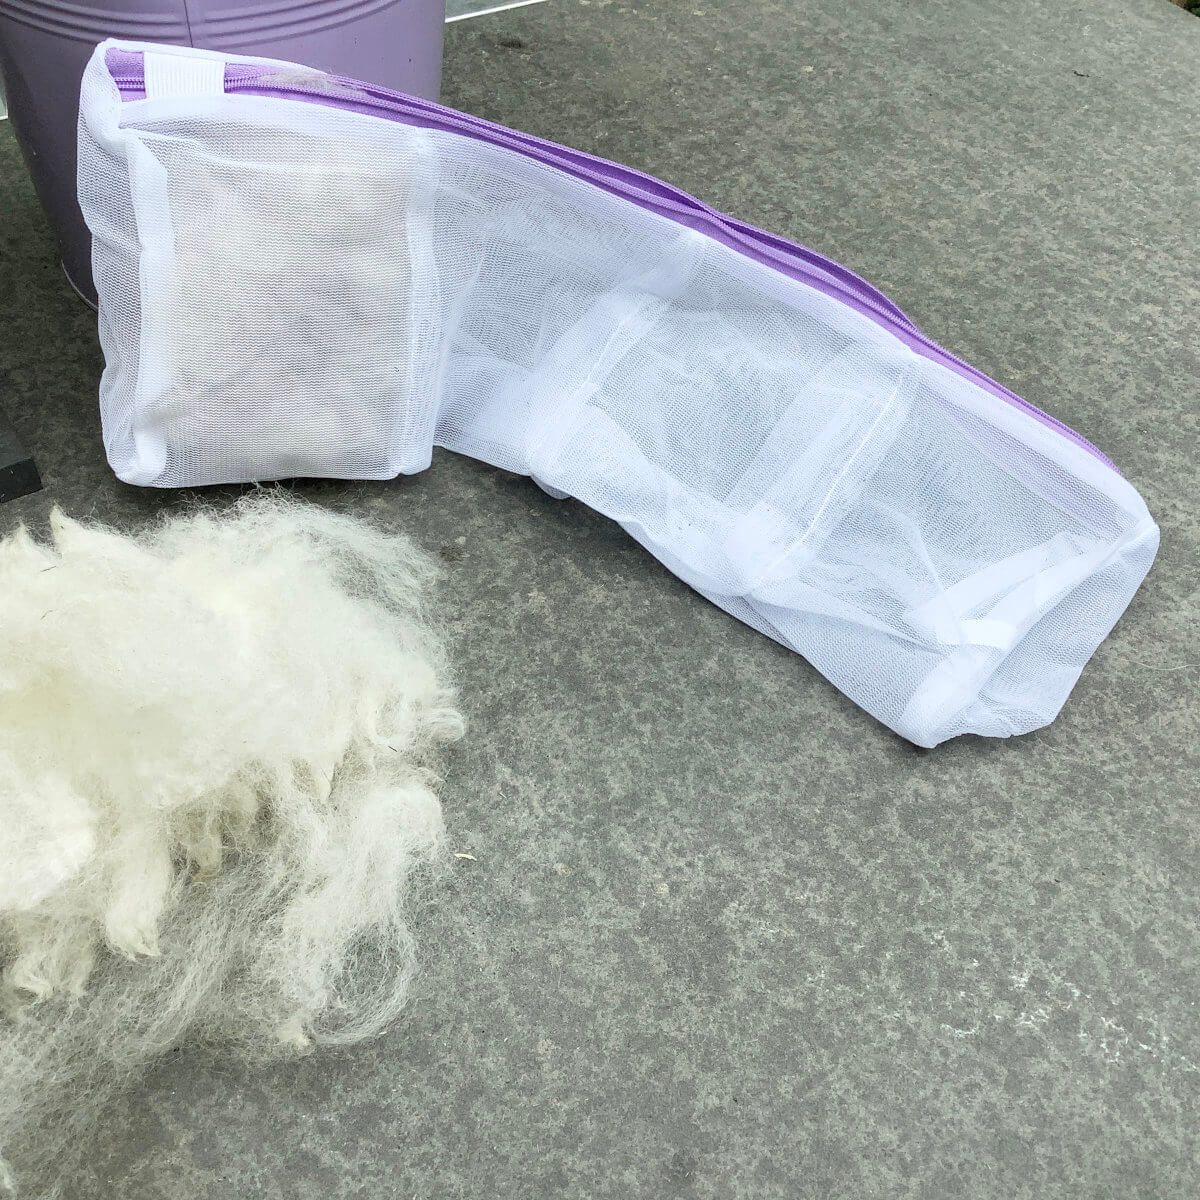
- After, picking each handful of fiber, I put it into this laundry bag.
This particular one has compartments, which is a good thing, since it reduces the amount of movement possible in the bag, and thus possible felting/
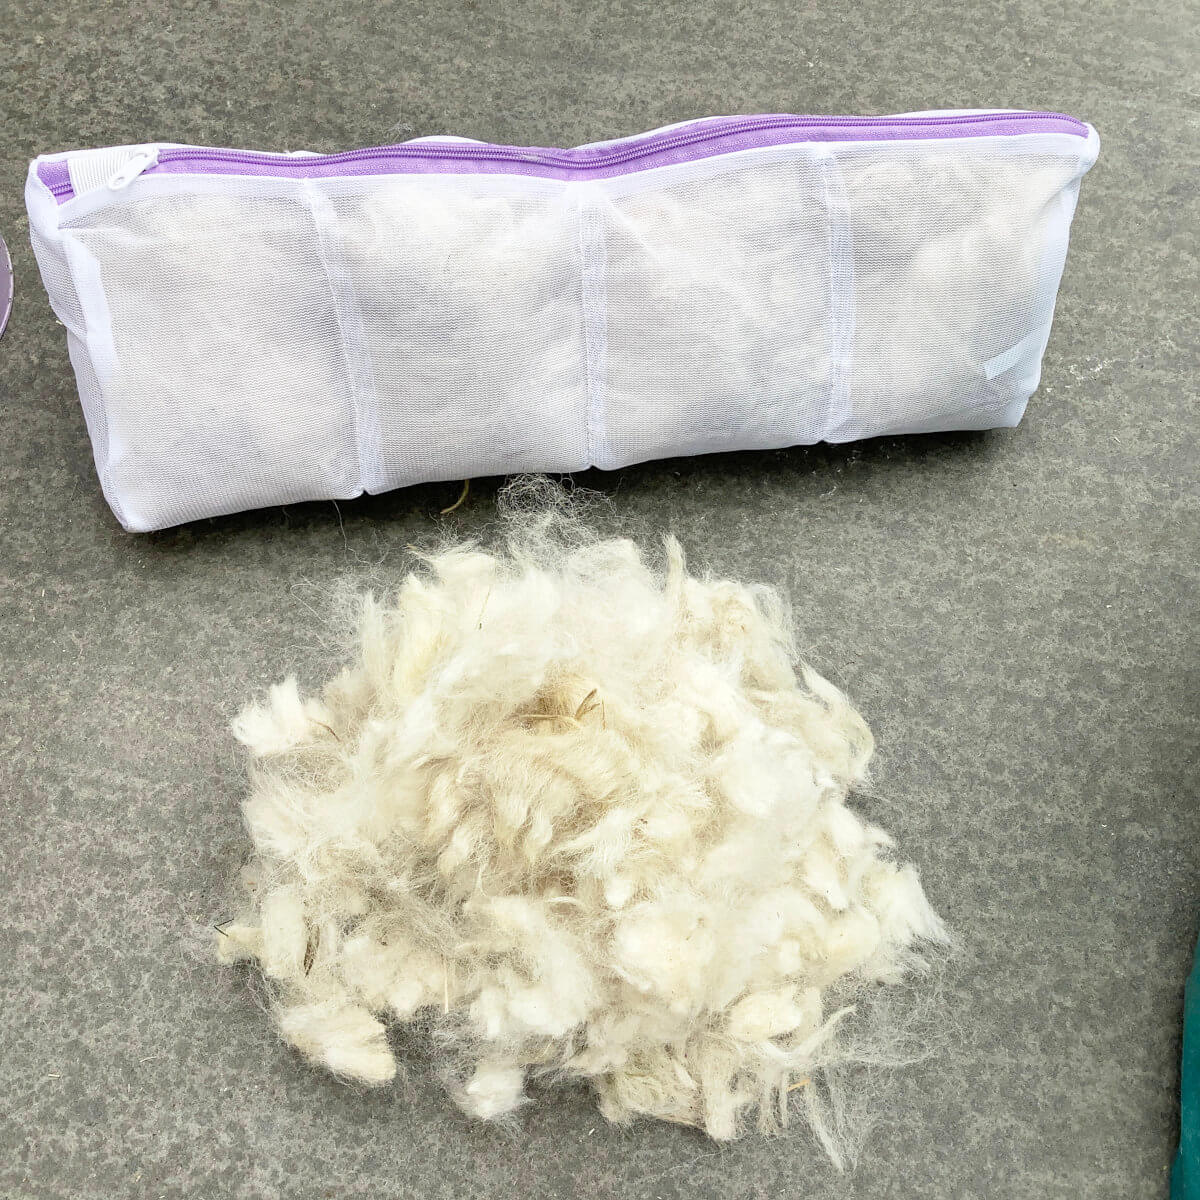
- One bag completely filled!
There fits much more fiber into the bag than one might think. The pile in front of it are all the short bits I filtered out.
- Next step is washing the fiber.
Here I used some wool wash and warm water. Not to remove lanolin from the fiber, since alpaca doesn’t have any, but to get some of the dust and dirt out. Take care not to agitate or squeeze the fiber, because it doesn’t take much to felt it.
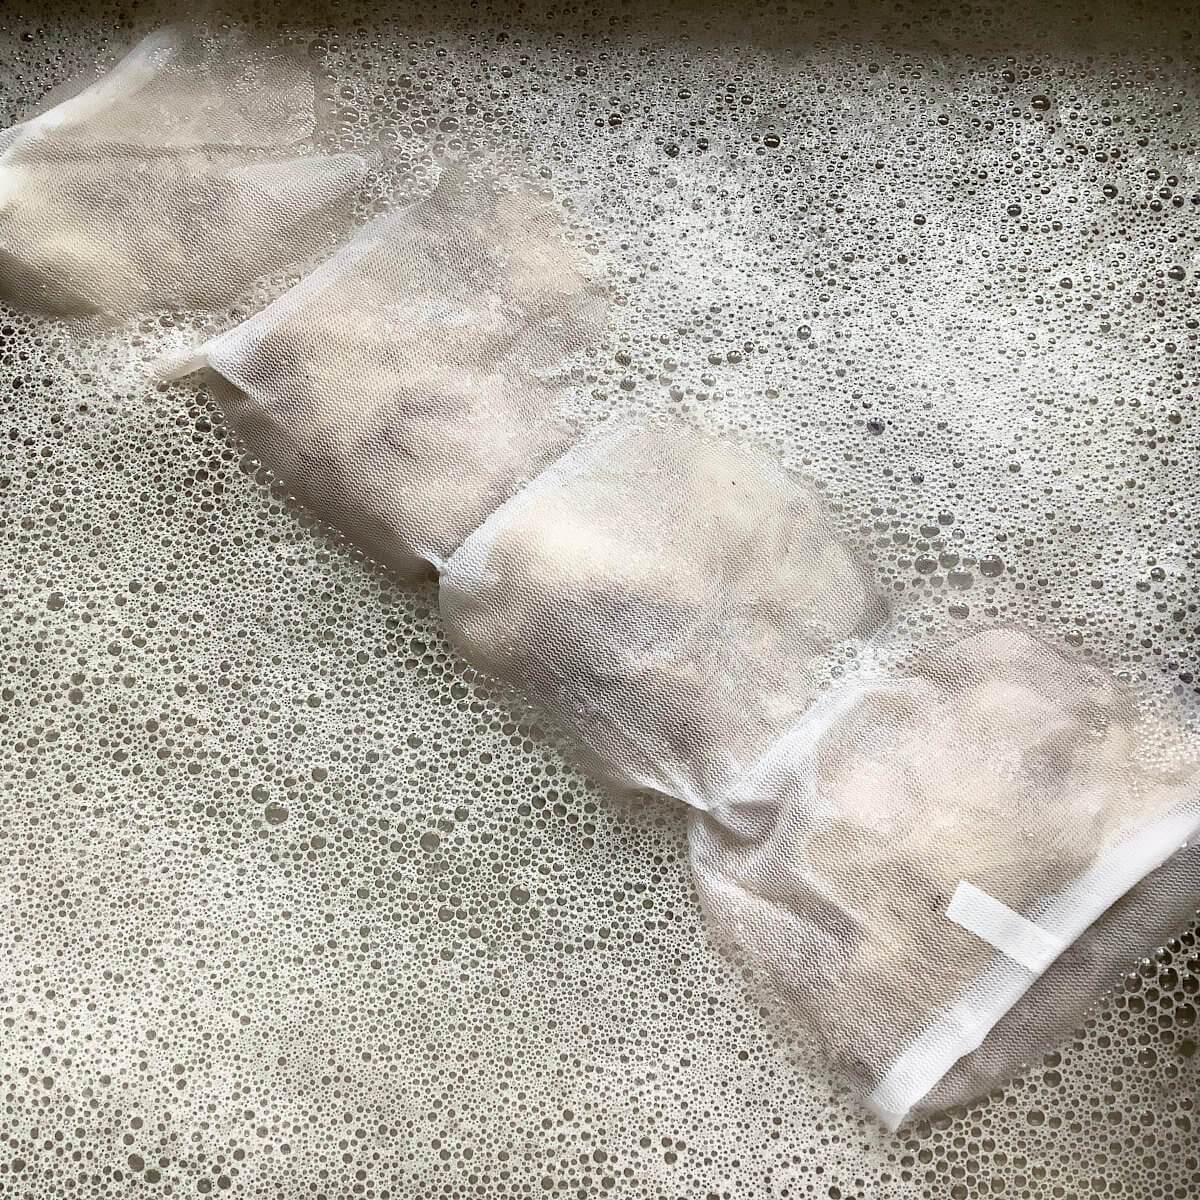
- Do you see how filthy the water turns?
The fiber itself didn’t look as dirty, but looks can be deceiving!
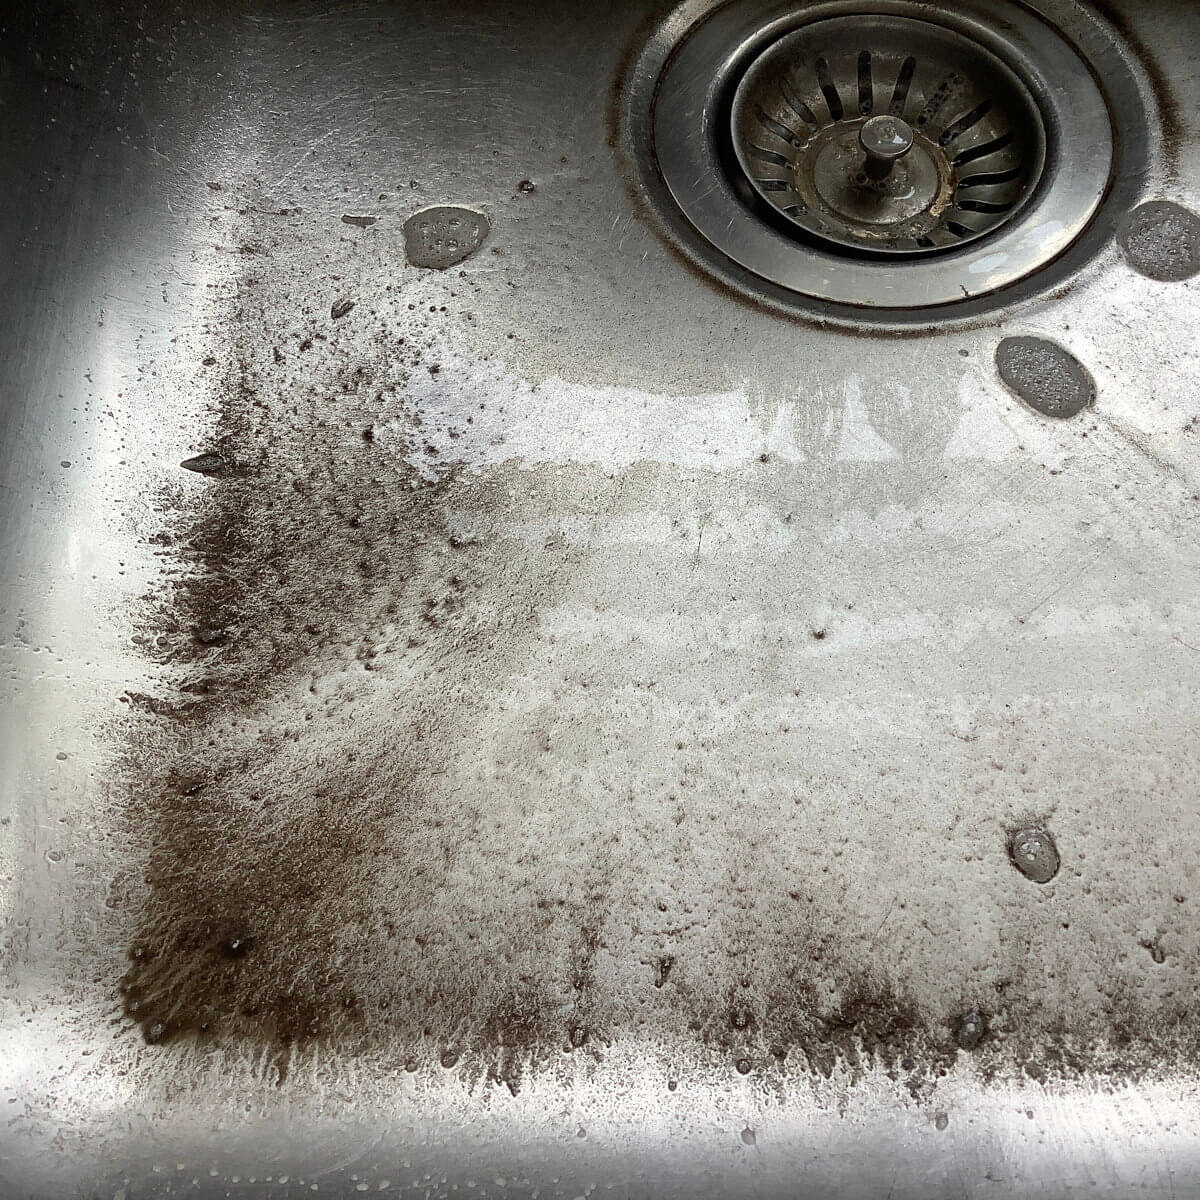
- The grit remaining in the sink after washing.
I really didn’t expect this much dirt to come out.
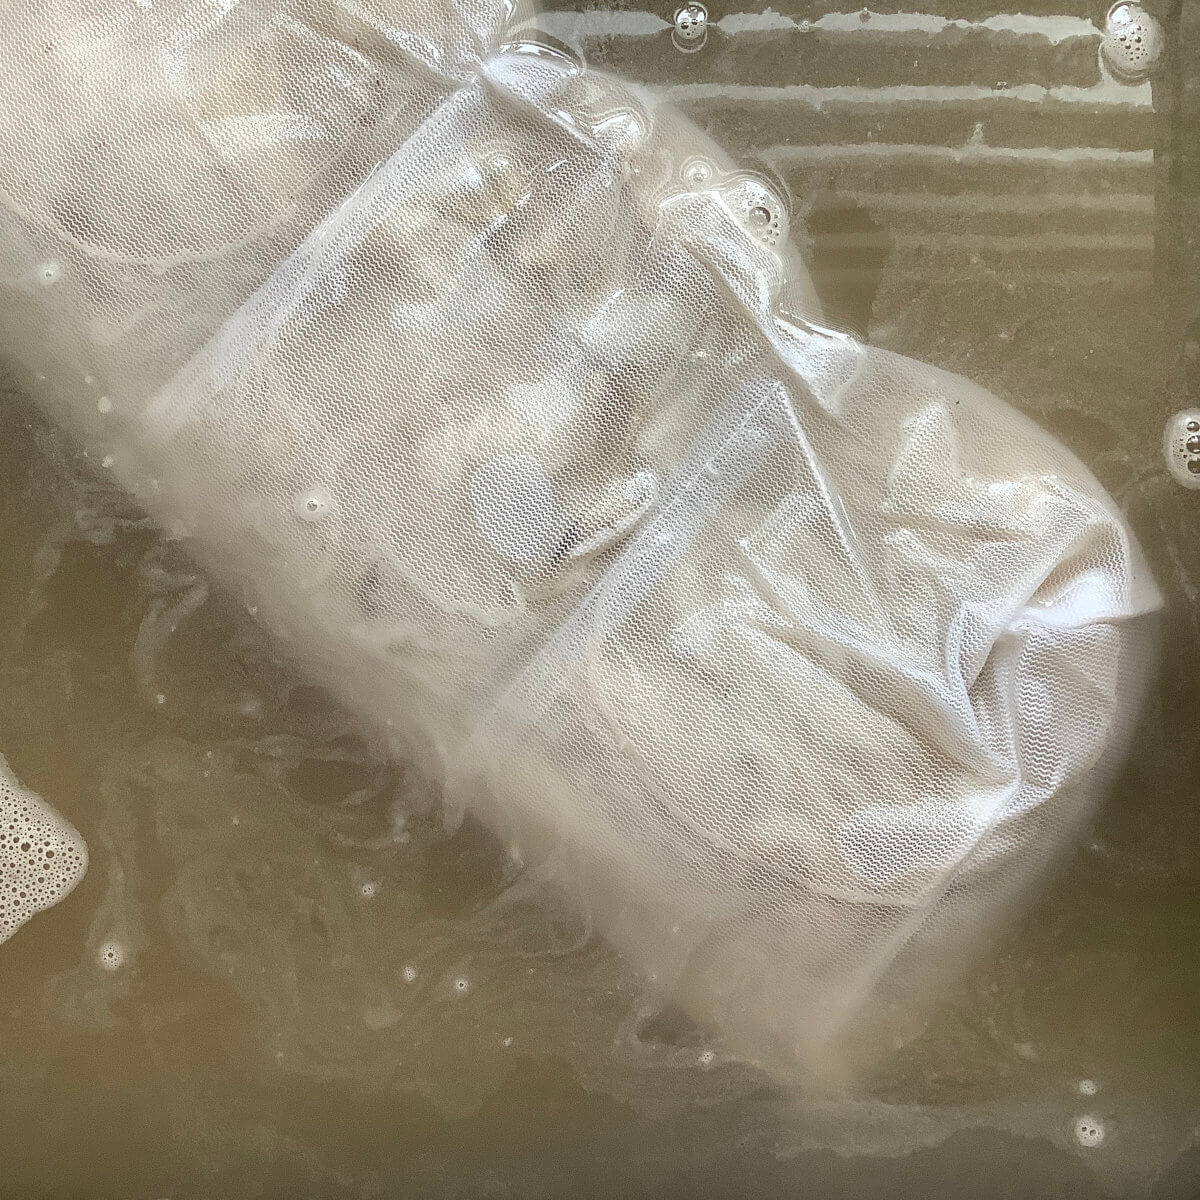
- After washing, I rinsed the fiber in a new bath with hot water.
Again, take care not to agitate the fiber to prevent felting.

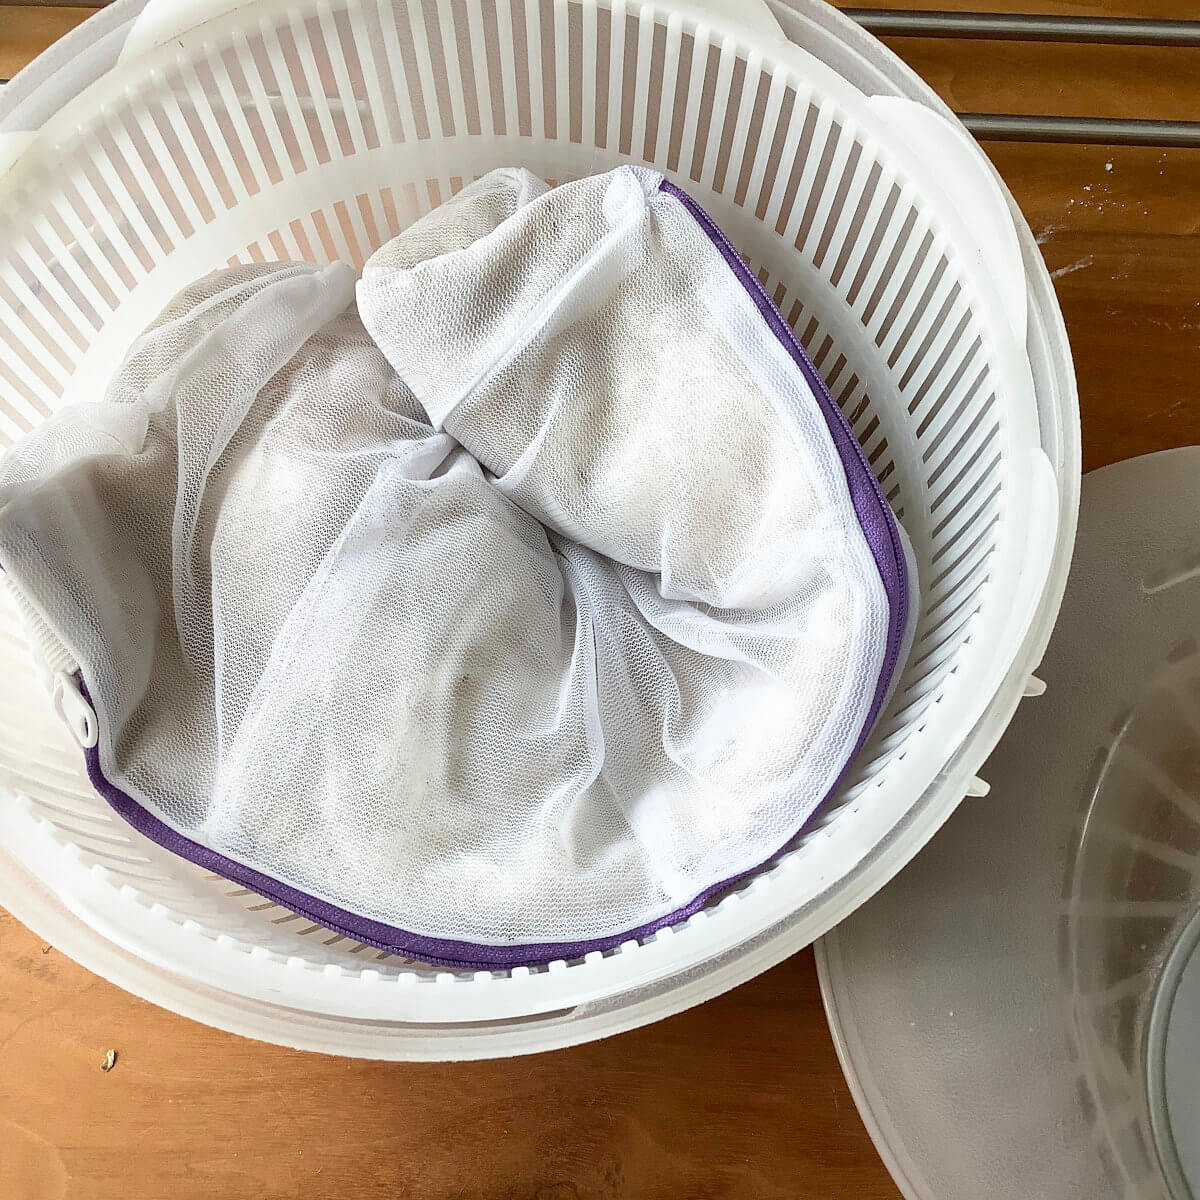
- Next, I’m removing as much water out of the fiber as possible, without squeezing!
Because this is a tiny amount of fiber, I used my dedicated fiber salad spinner. For bigger quantities, a centrifuge would be best. Please note that the centrifuge in your washing machine is only advised if you can use it without any rinsing water, because that would cause the fiber to felt.
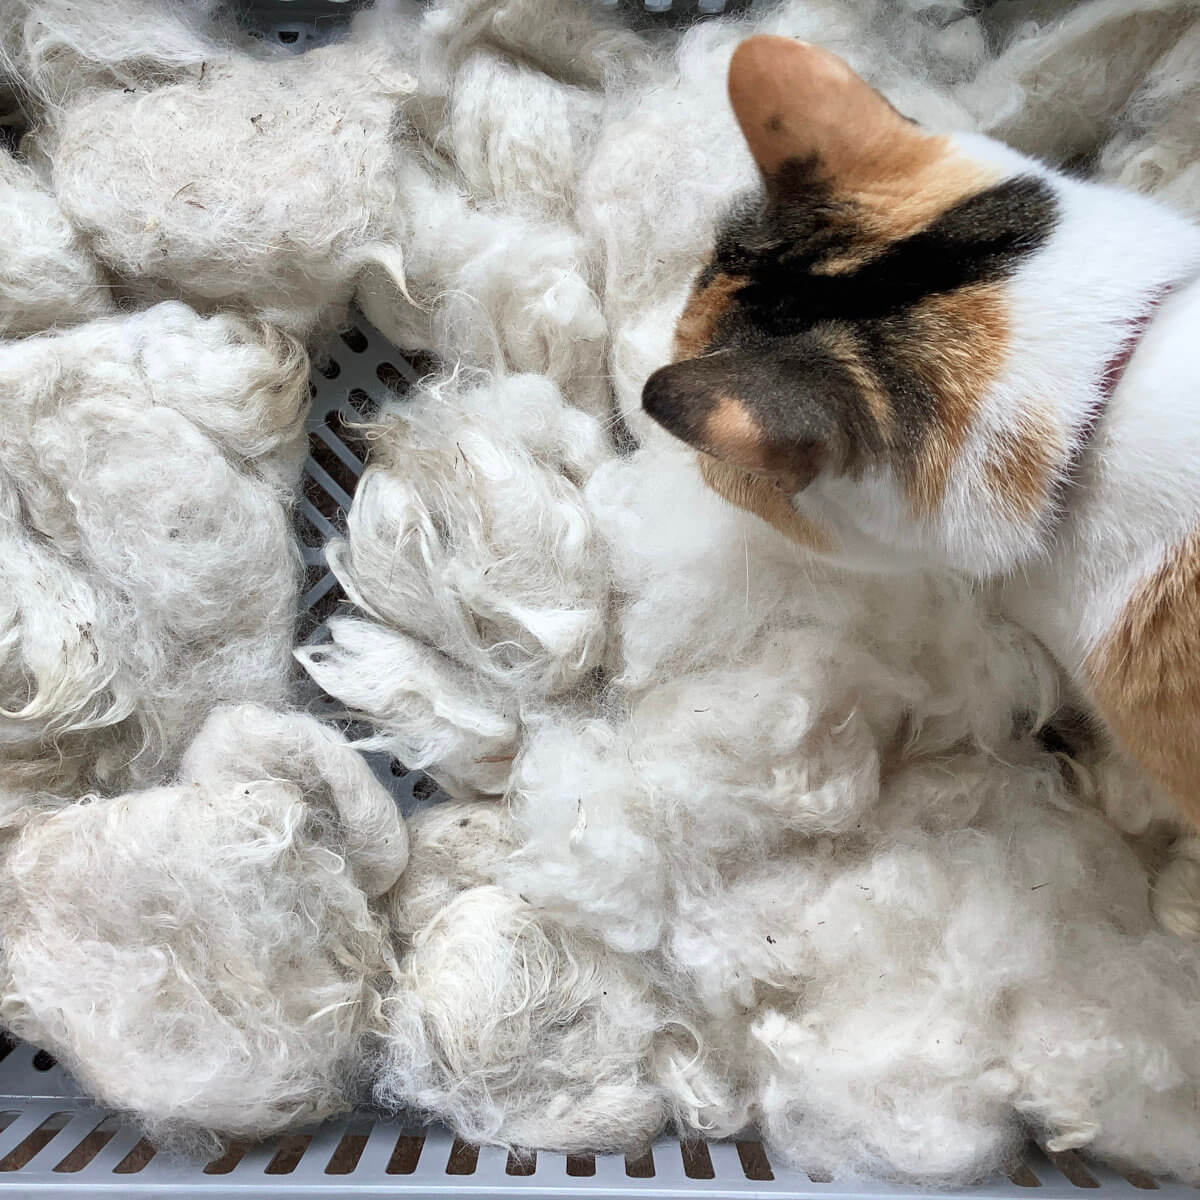
- The next step is to dry the alpaca.
I filled up my laundry bag twice and agitated the second batch even less than the first one. You can see the difference in this picture: on the left is the first batch, and on the right the second one. This stuff really felts as soon as you look at it wrong! I use a flat perforated crate for drying fiber, to promote air circulation. (Also, Donut is of the opinion that wet alpaca smells funny.)
- After drying, which took a couple of days, this is what I ended up with.
It looks a tad felted, despite handling it as lightly as possible.

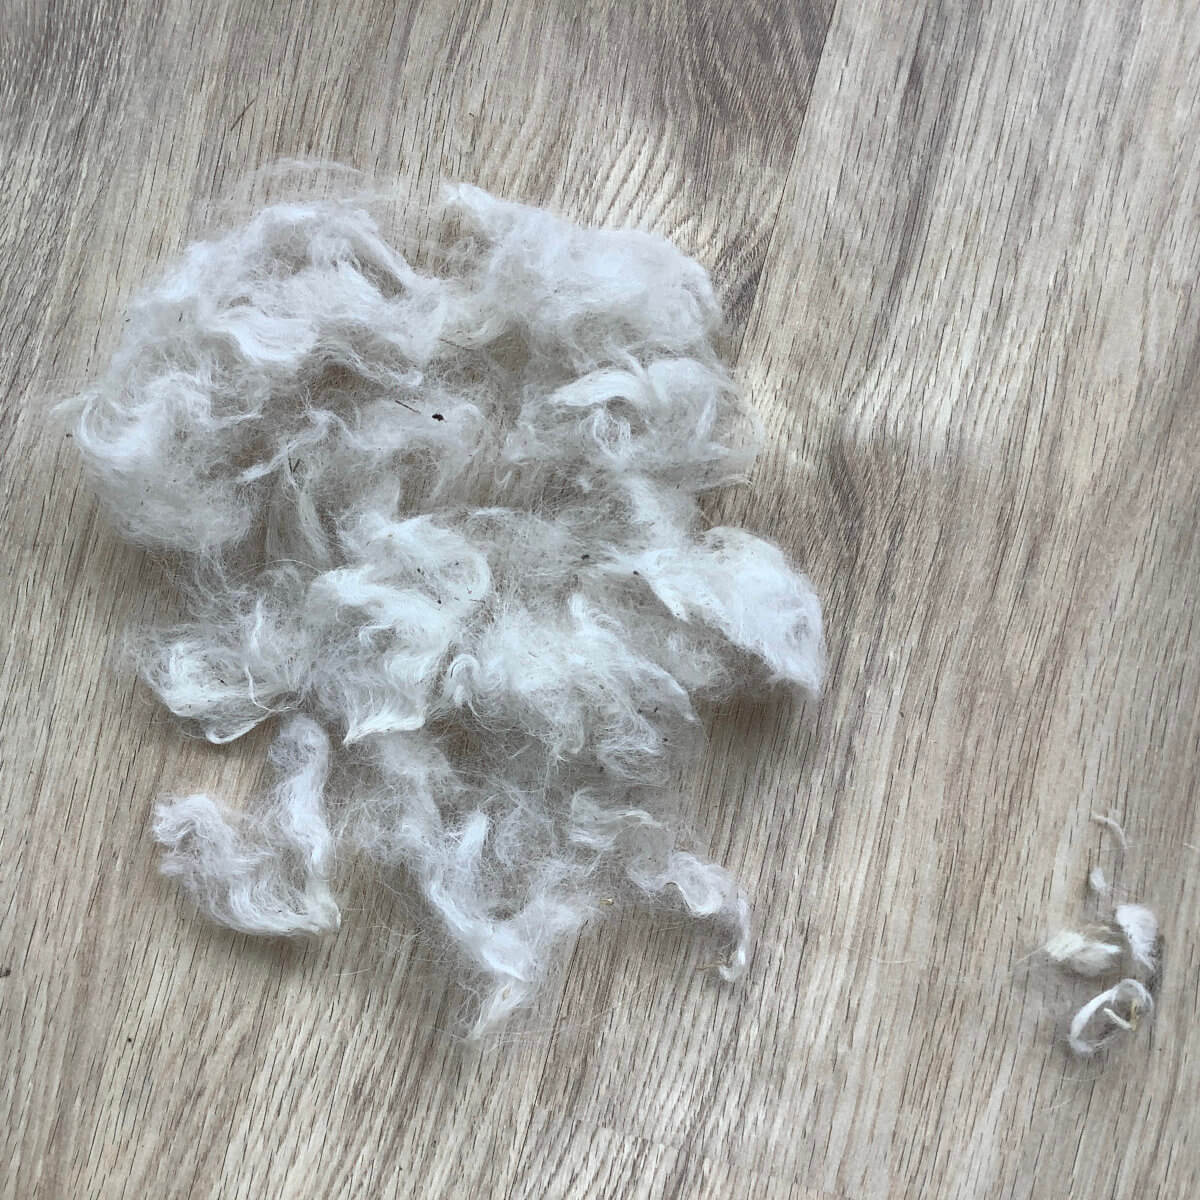
- Fortunately, the fiber fluffed up quite nicely!
On the right, you see some more shortcuts that I found and separated out.
- Below, you can see the result of all the washed alpaca fluffed up.
Doesn’t it look wonderful?

- Next is carding all the fluffed up fiber into batts for spinning.
I ended up with 5 batts total. For those who’re interested: my carding machine is an Ashford drum carder, with a 72 point carding cloth.
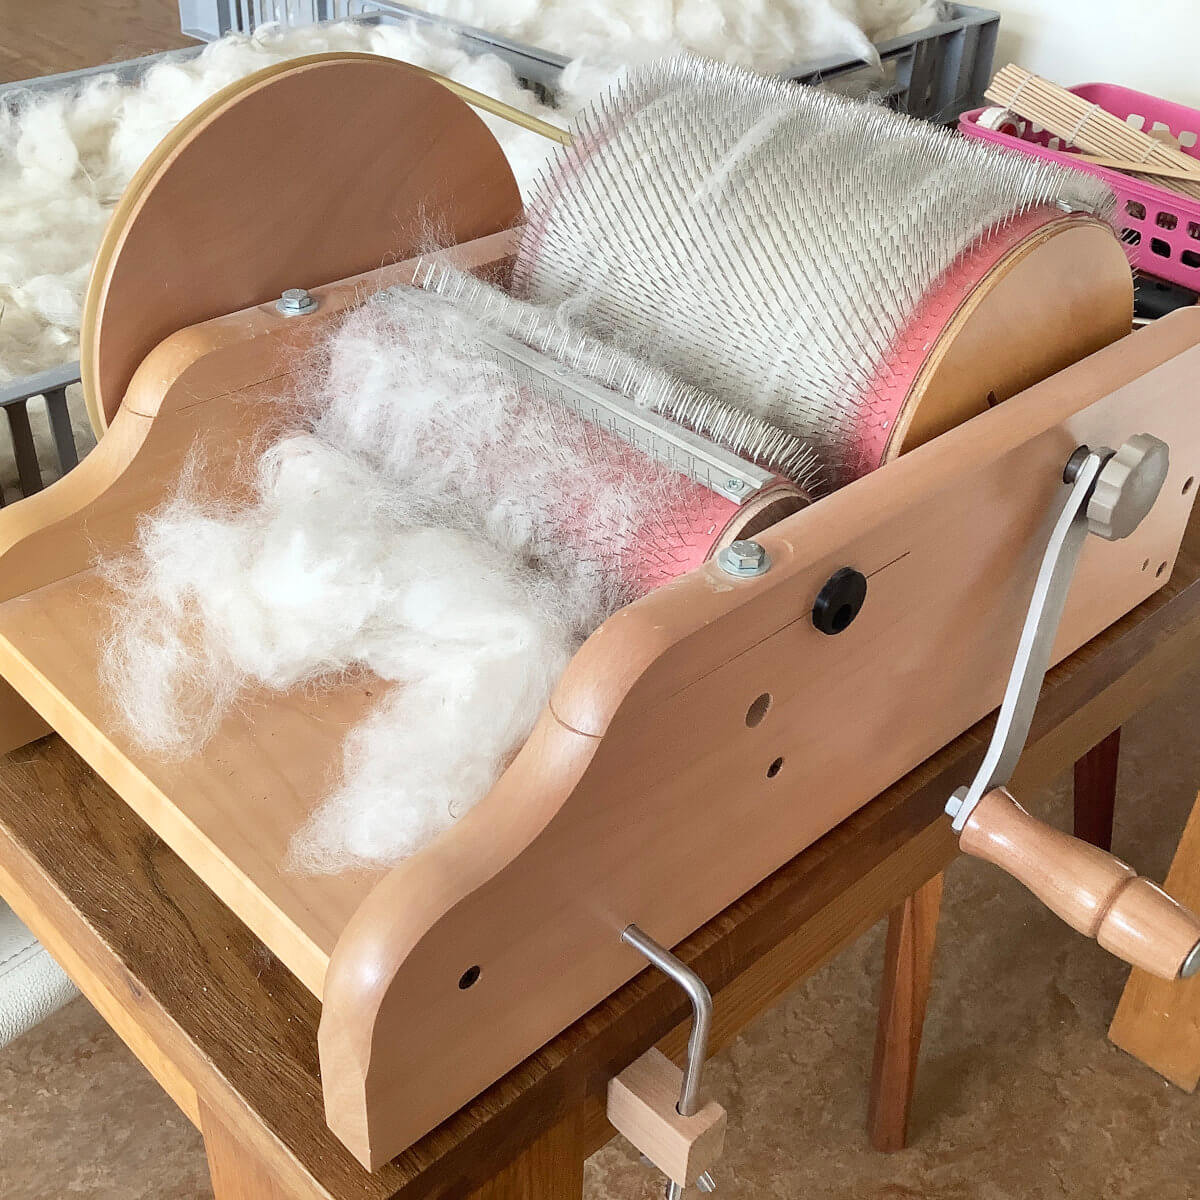
- During carding, I again removed any shortcuts that I found.
The dirt pictured, is what I found underneath my carder after I was finished.

And that’s everything I did to prep the raw alpaca for spinning!

Thanks to my Patreon supporters for bringing you this freebie! Creating quality patterns and tutorials is a lot of work and resource-intensive. However, I find it important to give you free content like this tutorial. Thanks to the generous support of my Patreon supporters, I can make it happen. Thank you, patrons! Click here to join, or click here to read more about La Visch Designs on Patreon.


