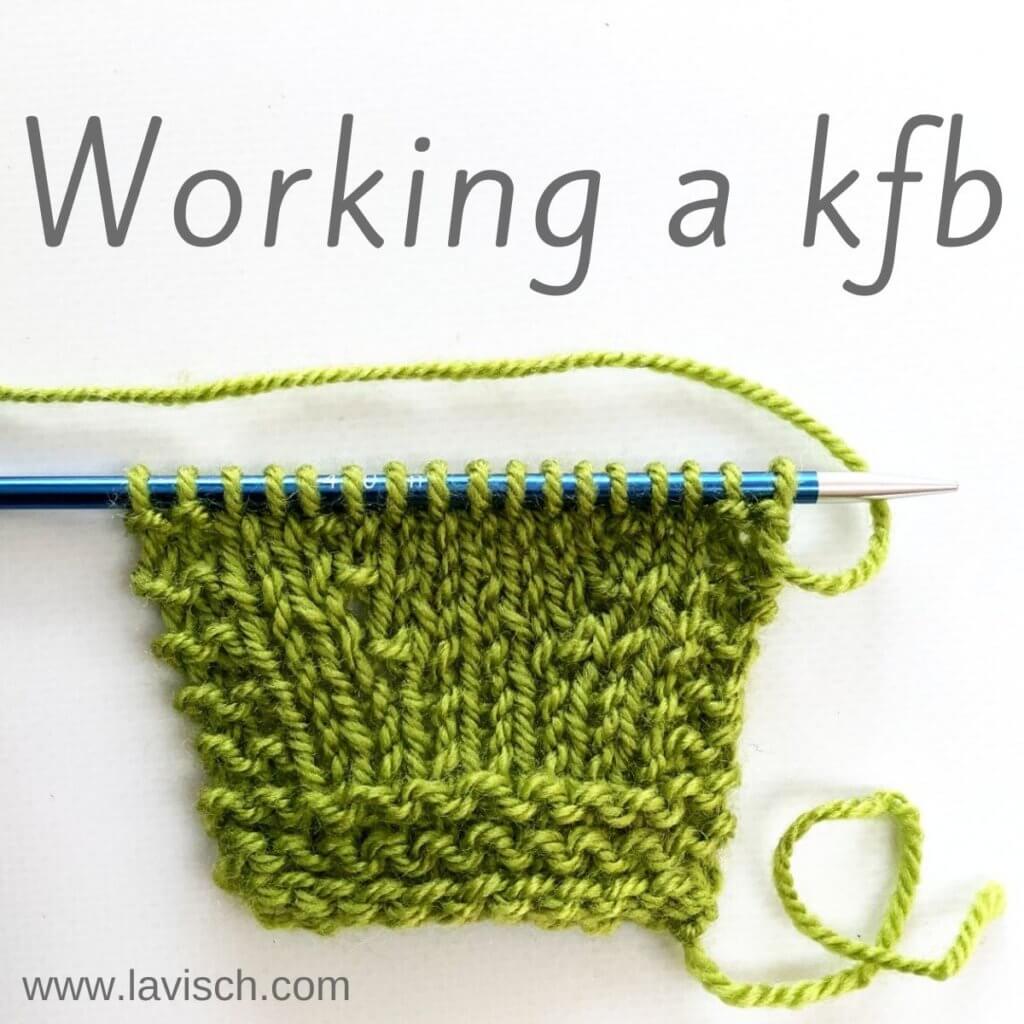
There are lots of ways to increase the number of stitches on your needle. Knitting in the front and back of the same stitch, also known as the kfb increase, is a relatively easy one. The kfb increase is also known as a “bar increase” because it forms a little horizontal bar in your work.
Due to this little bar, this increase is virtually invisible in garter stitch. When used in stockinette, as shown in this tutorial, it forms a series of decorative bars along the increase line. This how-to will give you step by step instructions on how to work the “knit front and back” increase.
Materials used


Yarn: * Paintbox Yarns Simply DK, a good value, good quality 100% acrylic yarn, here in the color 128 Lime Green.
Needles: * KnitPro Zing Fixed Circular Needles. In this tutorial, I used the 4 mm (US 6) size with a cable length of 80 cm (32 inches).
Working a kfb step by step
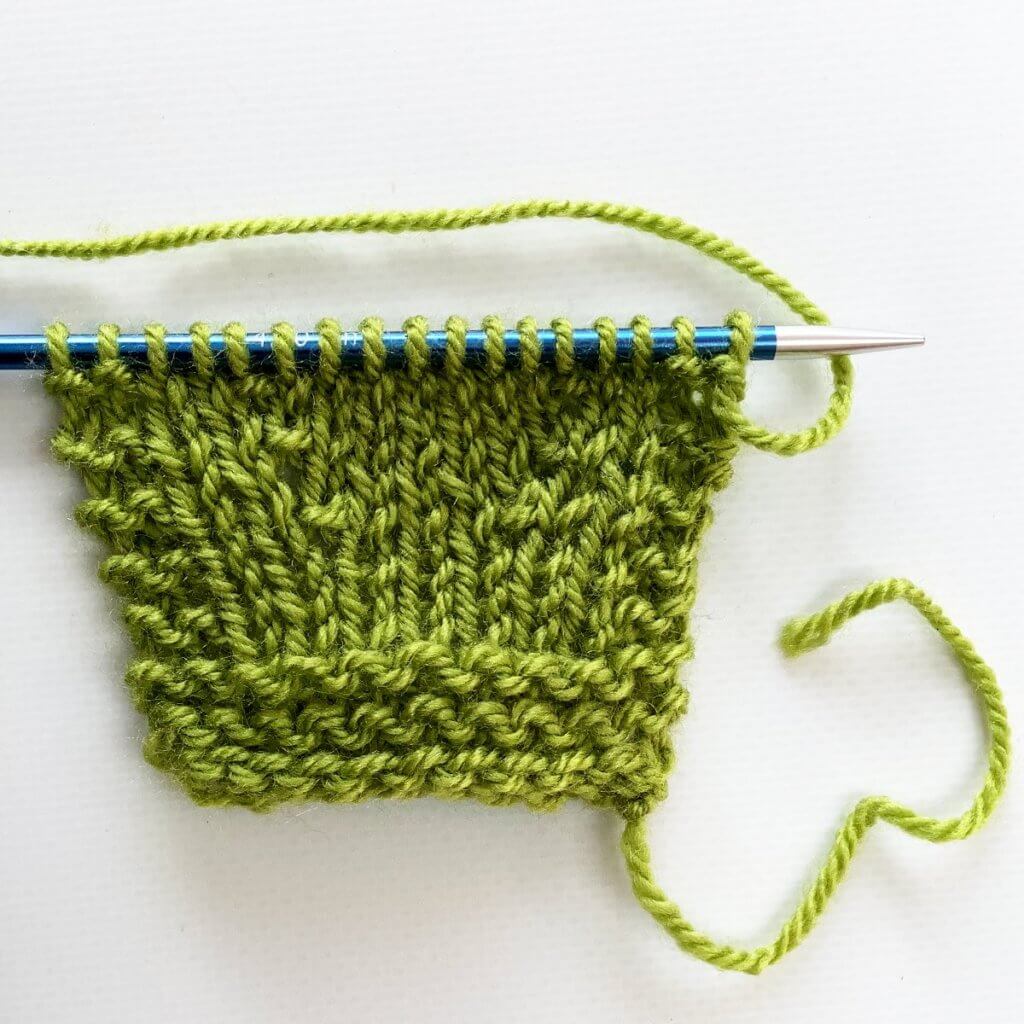
I’ve made a little swatch and will be making the increases 2 sts in from each of the garter stitch borders.
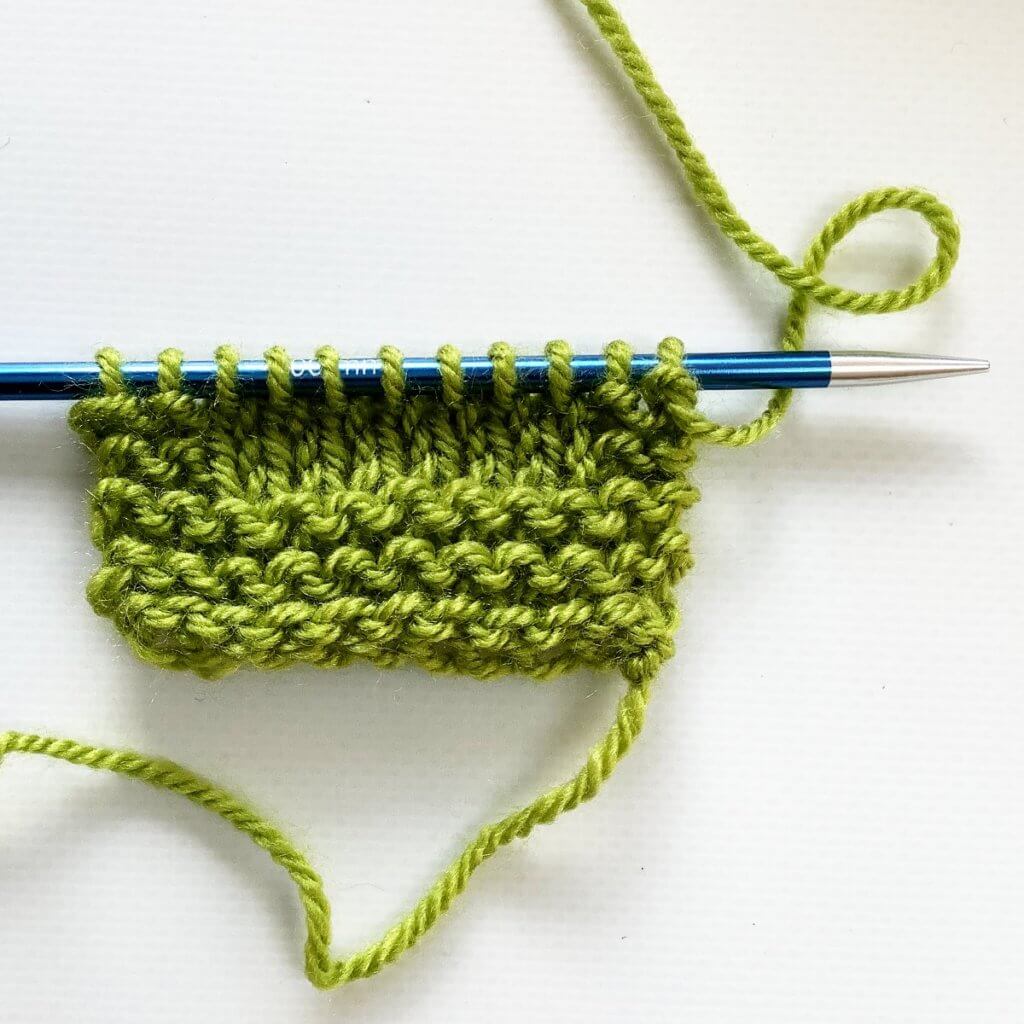
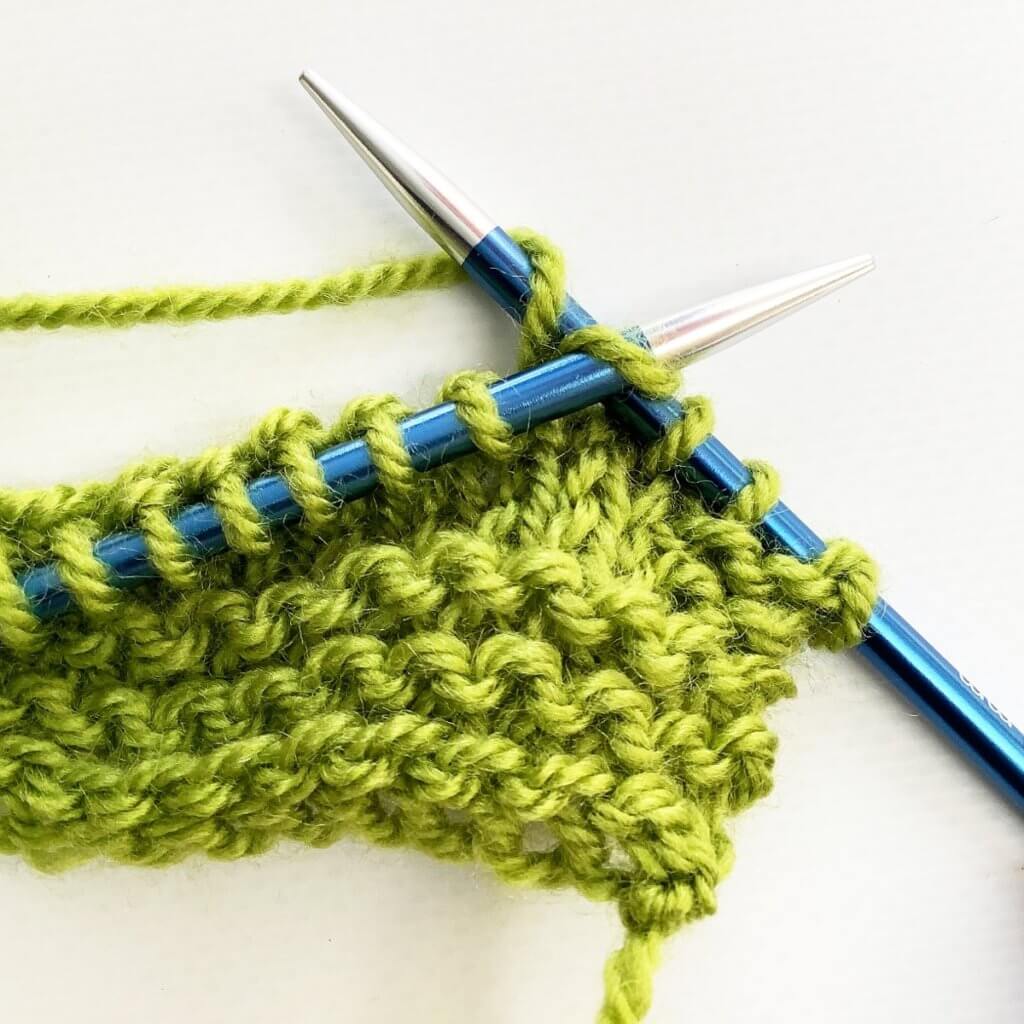
1. First, work your way across the row until you’ve reached the point where you want to make the increase. In this case, I want the increase 2 sts in from the garter stitch border on the right. A kfb first makes a knit stitch, followed by the extra “bar” stitch on the left of it. Because of this, I start working the kfb over the second stitch.
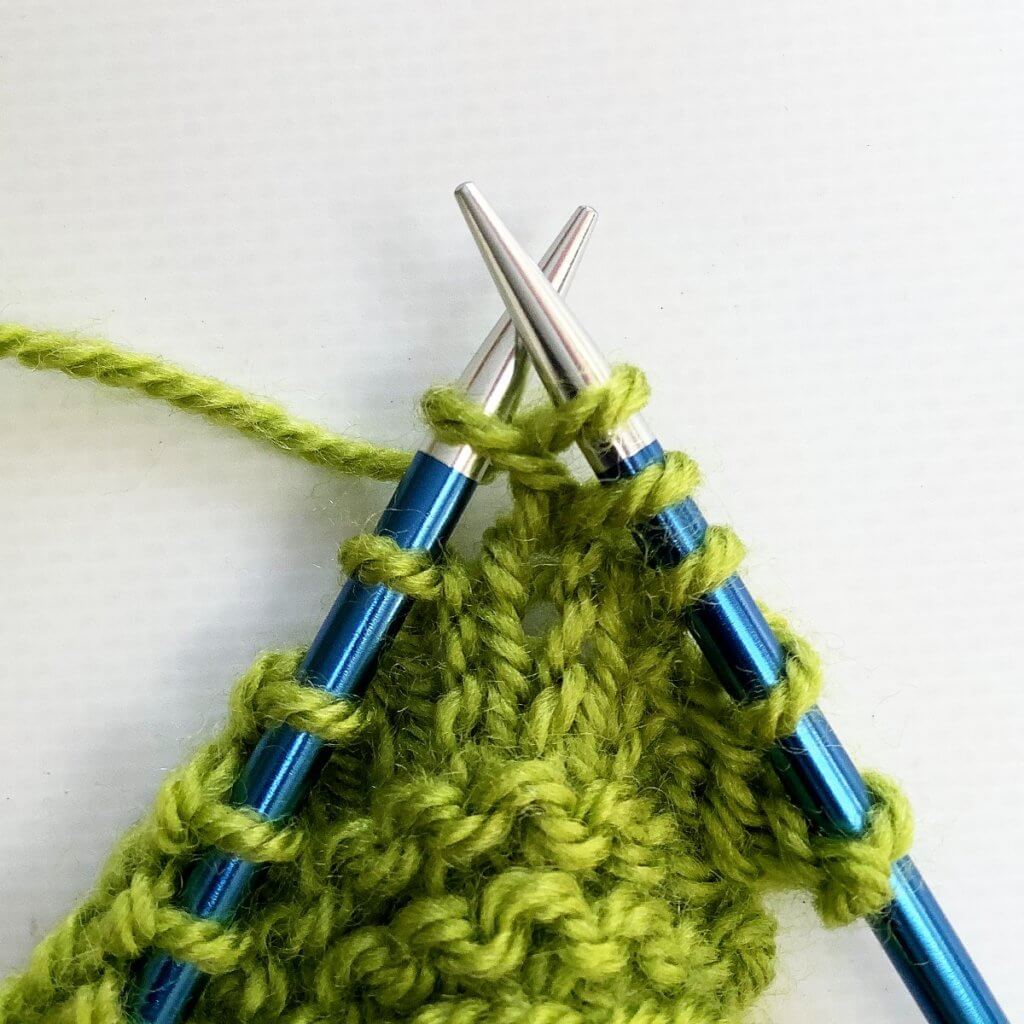
2. To start, insert the right-hand needle knitwise into the front loop of the stitch.
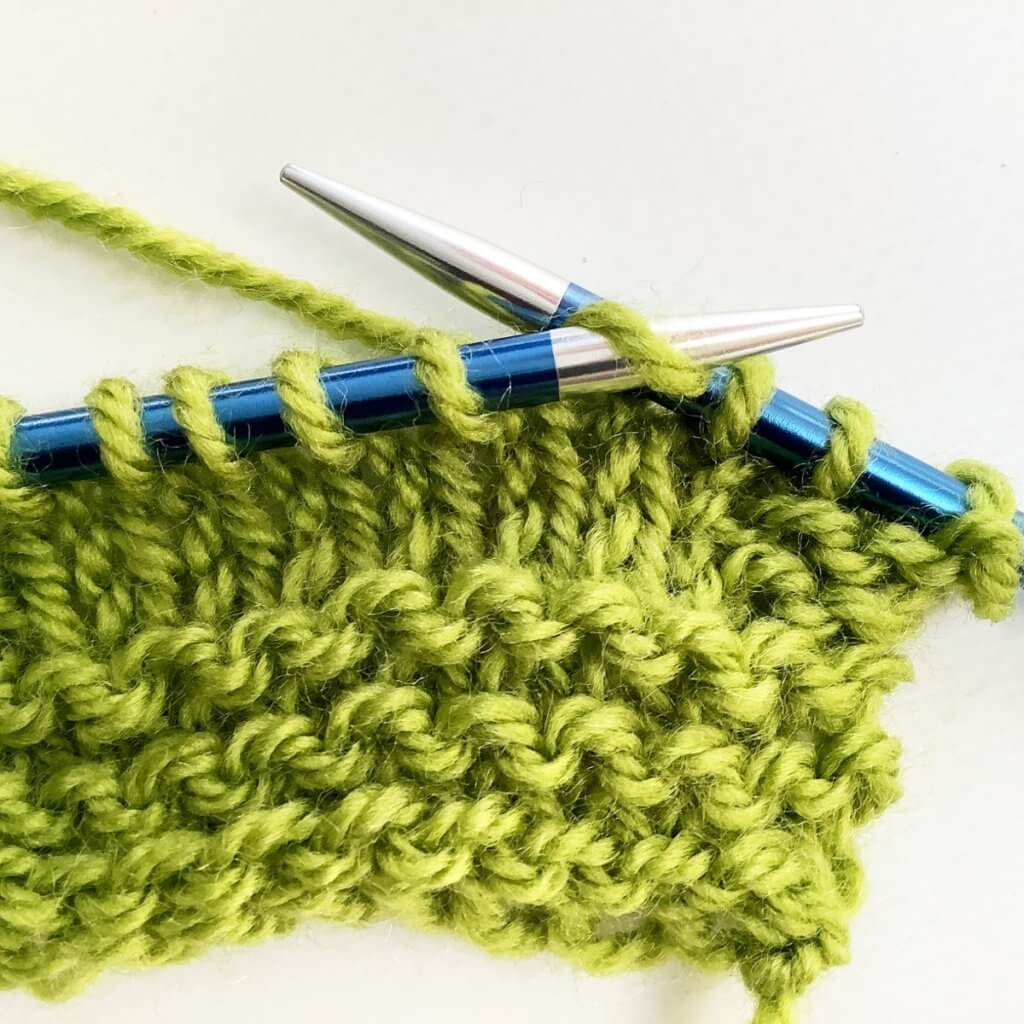
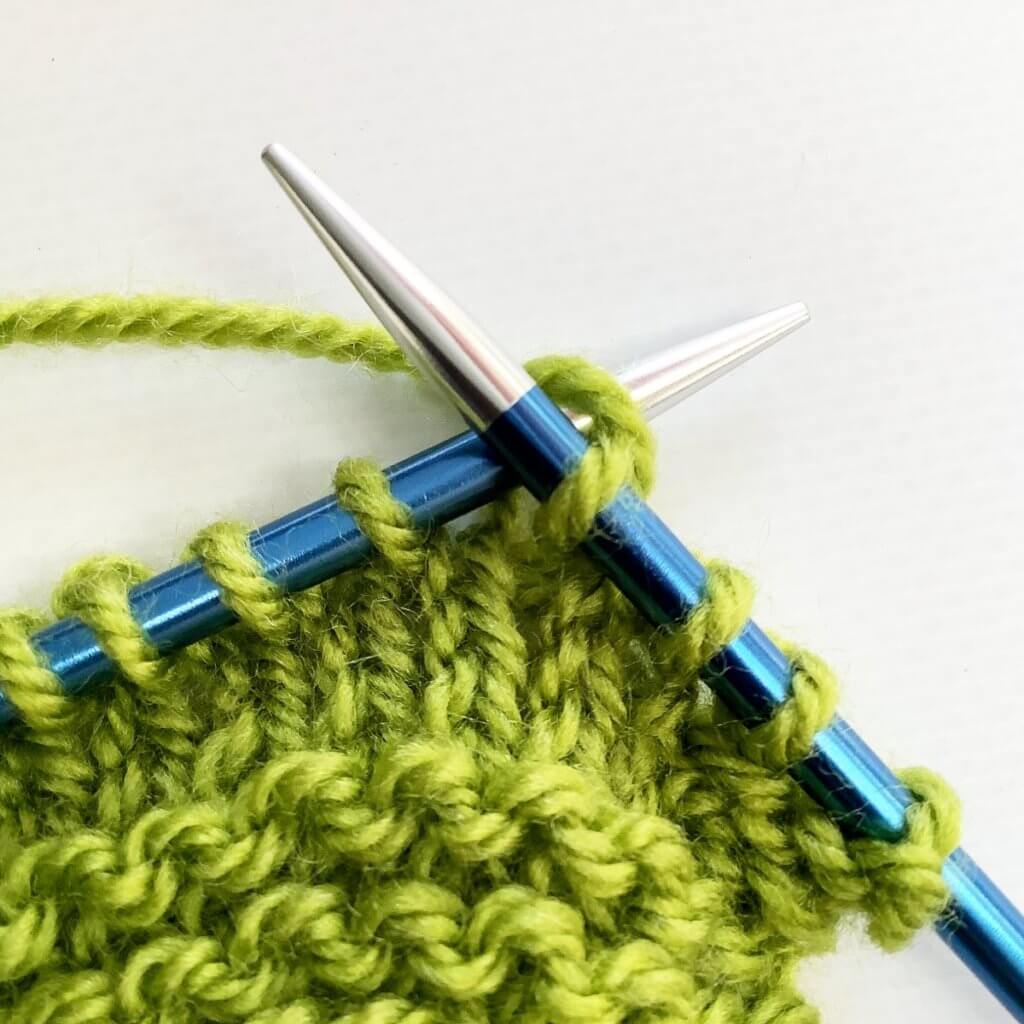
3. Wrap the yarn around the needle…
4. … and pull it through the stitch. Do not let the original stitch slide of the left-hand needle yet!
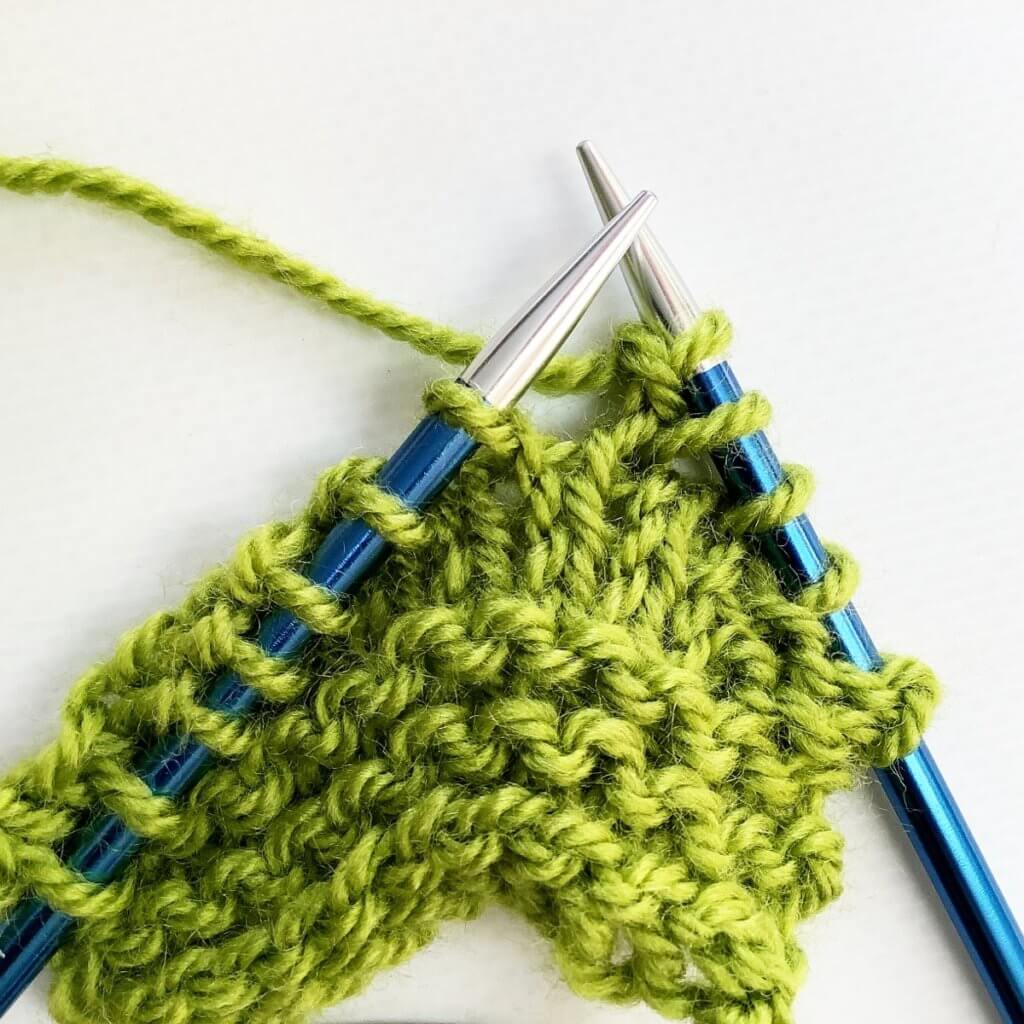
5. Now we insert the right-hand needle knitwise into the back loop of the stitch.
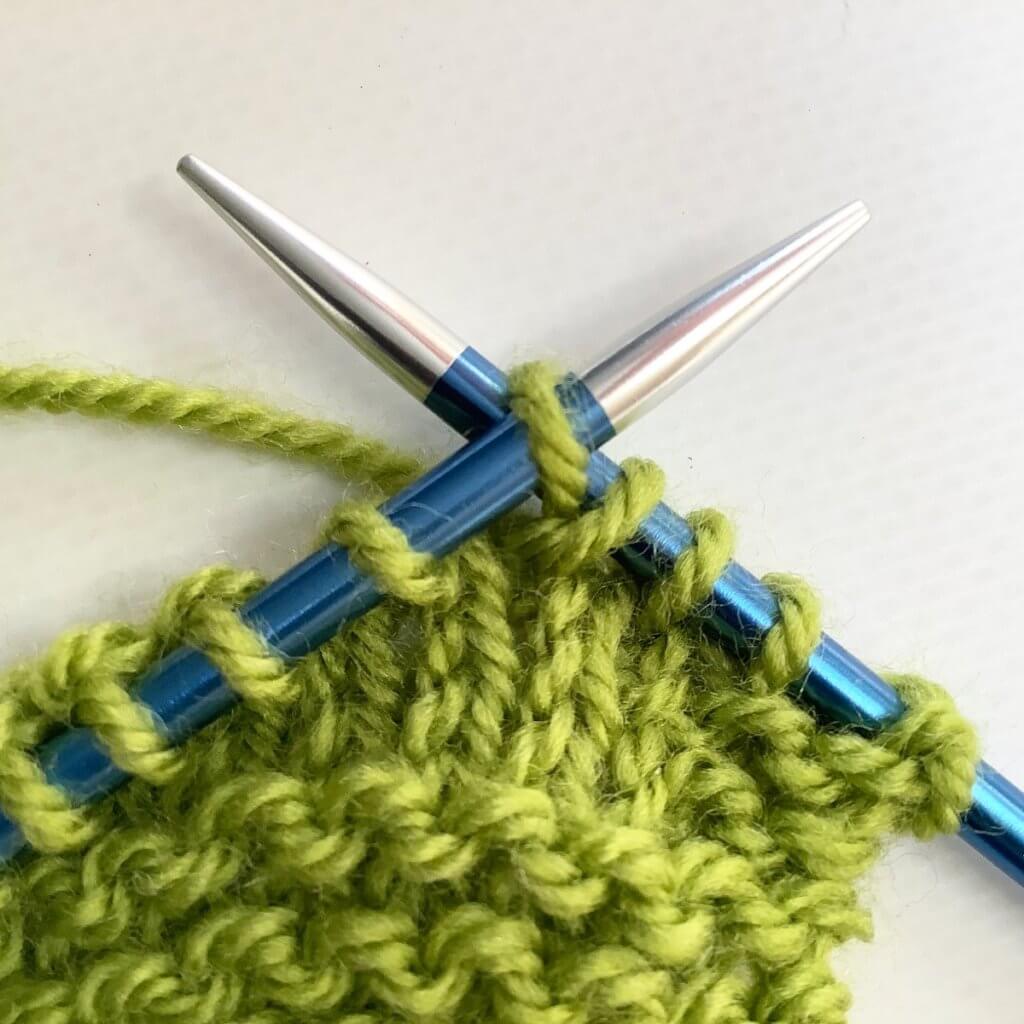
6. Wrap the yarn around the needle…
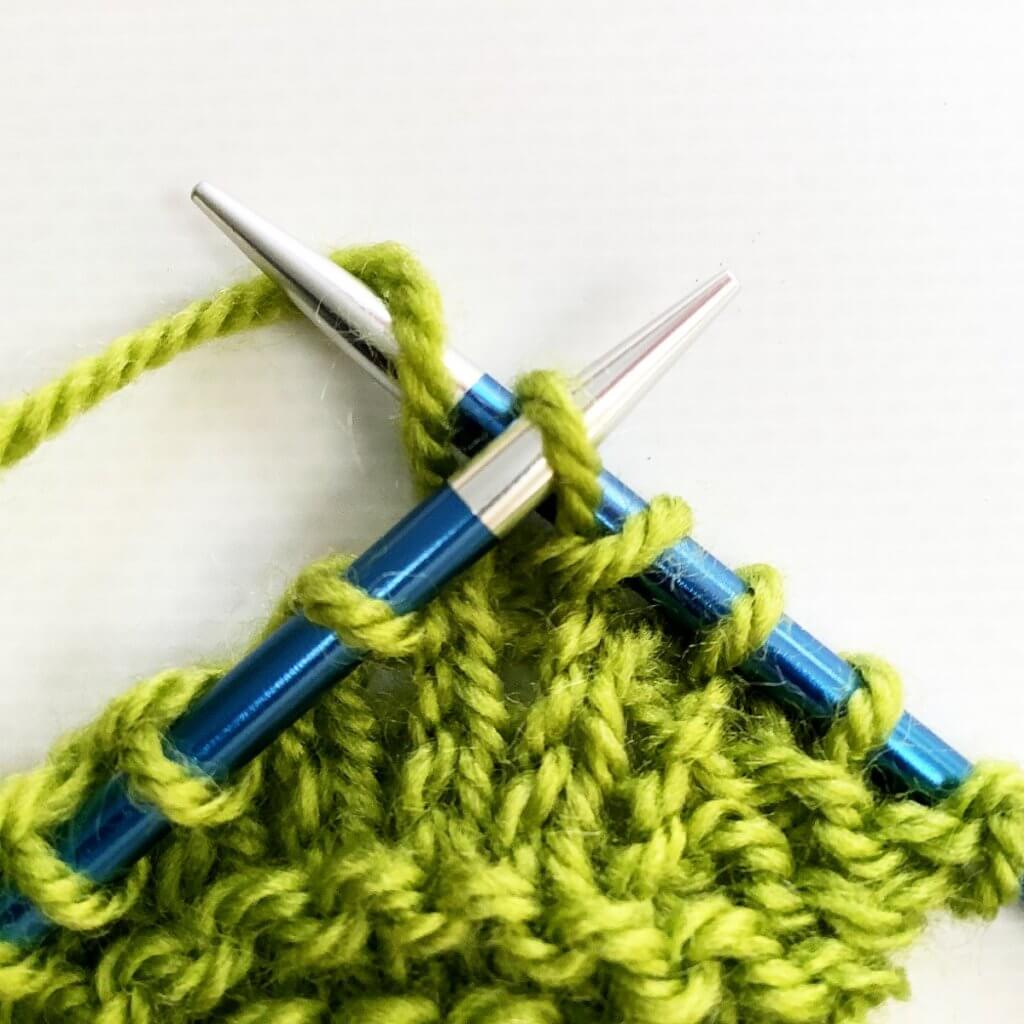
7. … and pull it through the stitch.
8. To complete the kfb increase you can now let the original stitch slide from the needle. This is how it looks now: a knit stitch with an extra “bar stitch” to the left of it.
9. In this swatch, I’m also making an increase on the left side of the fabric. Because I want the bar stitch to be 2 sts in from the garter stitch, I now have to work the increase over the 3rd stitch from the right of the garter stitch edge stitches.
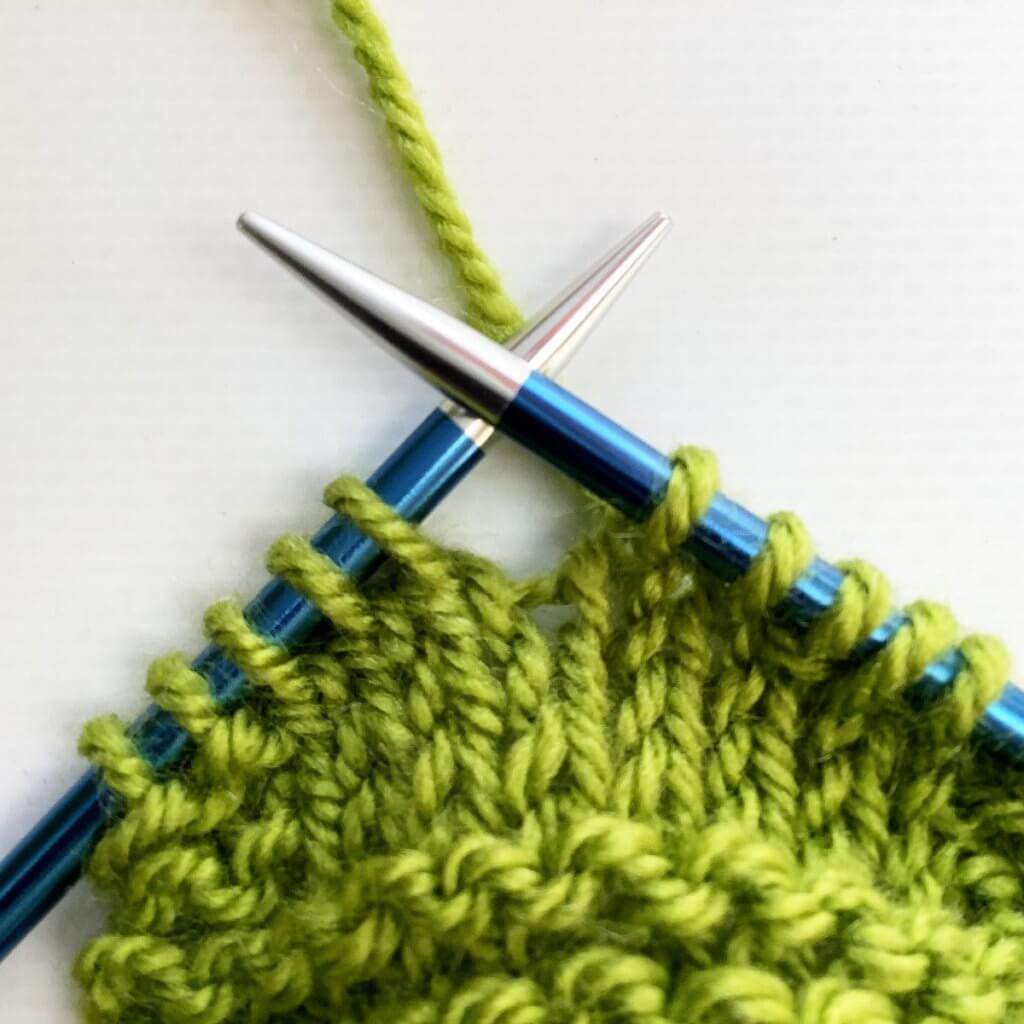
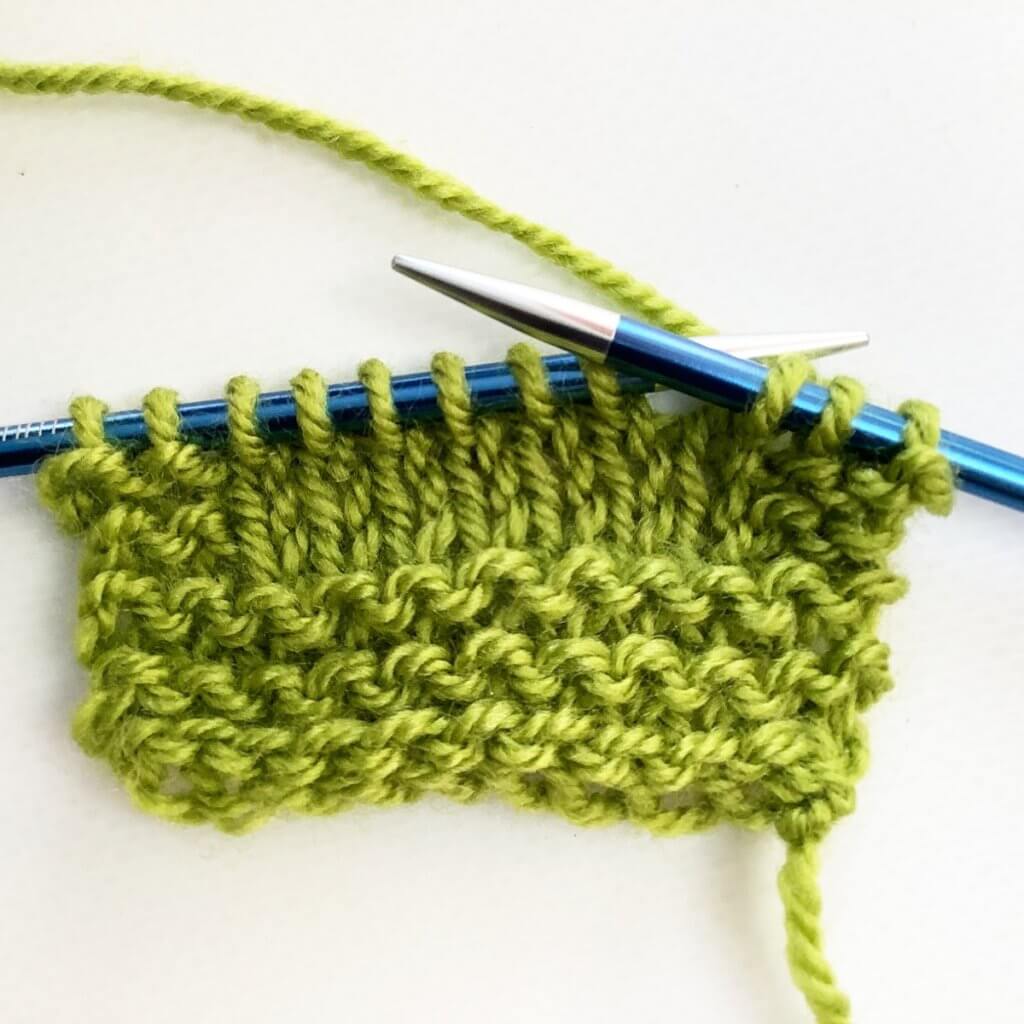
This is how it looks after the entire row with its 2 increases has been worked:
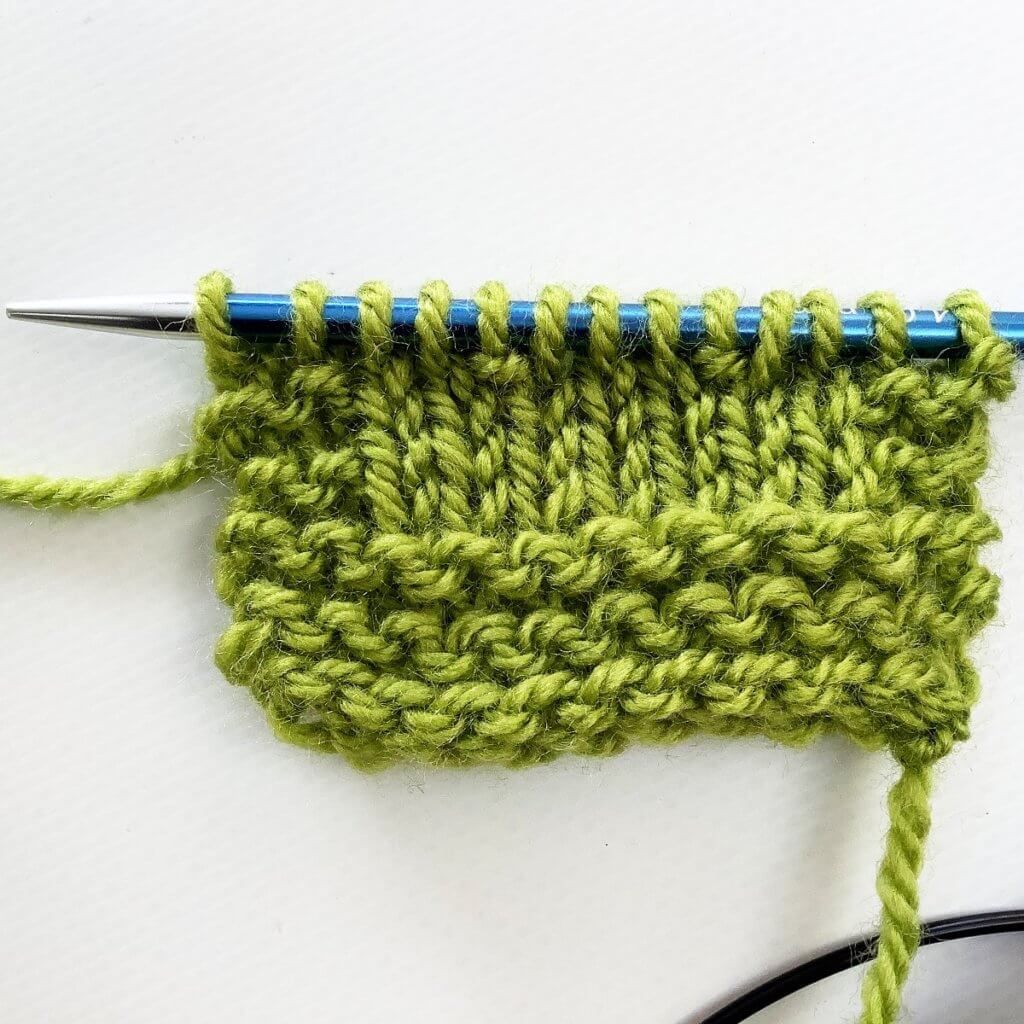
And here again, after 3 increase rows total have been worked, each with 2 kfb increases.
And that’s all there is to it!

Thanks to my Patreon supporters for bringing you this freebie! Creating quality patterns and tutorials is a lot of work and resource-intensive. However, I find it important to give you free content like this tutorial. Thanks to the generous support of my Patreon supporters, I can make it happen. Thank you, patrons! Click here to join, or click here to read more about La Visch Designs on Patreon.


