In one of the designs I’m working on, I’m using a lovely intricate stitch pattern from the Japanese Knitting Stitch Bible by Hitomi Shida. In this particular stitch pattern, a Left Twist stitch is used. So, in this post, I’ll go into the details on how to work this stitch.
The basic characteristic of a Left Twist is that it switches the order of 2 adjoining stitches, one “main stitch” and one “background stitch” to make it appear that the main stitch travels to the left. The background is usually reverse stockinette. The main stitch is usually worked twisted (working the stitch through the back loop) stockinette. This way it pops even more against the background.
The instruction from the Japanese Knitting Stitch Bible for this stitch consists of the following text:
With RN, go behind first st and p second st without removing it from LN; ktbl first st and slip both off LN.
Now, I don’t know if you’ve tried this, but following the above instruction didn’t give me anything resembling the picture of the worked left twist. It may be due to where I had my yarn or the fact that I knit weird, who knows? Anyway, I did some more research and found that this type of traveling stitch is also used quite a lot in Bavarian knitting. I also found that there are quite some ways it can be worked. Take for example this one from leethalknits.com, the one described in this Interweave article or the elaborate description of methods by Rox over on Ravelry.
Personally, I found just changing the order of the stitches before actually knitting them (as one would do for cabling without a cable needle) to be easiest. So that’s what I will show you in this tutorial.
Materials used
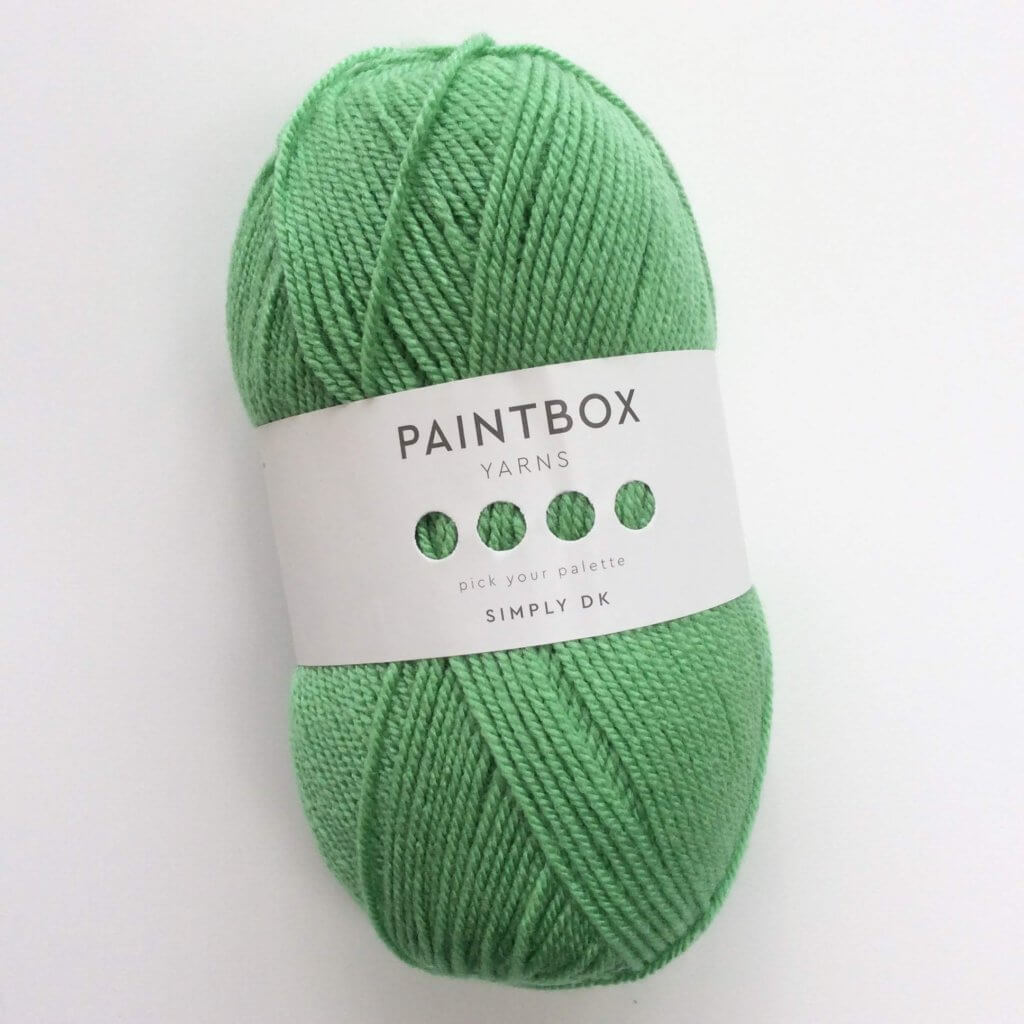

Yarn: Paintbox Yarns Simply DK, a good value, good quality 100% acrylic yarn, here in the color 125 Spearmint Green.
Needles: KnitPro Zing Fixed Circular Needles. In this tutorial, I used the 4 mm (US 6) size with a cable length of 80 cm (32 inches).
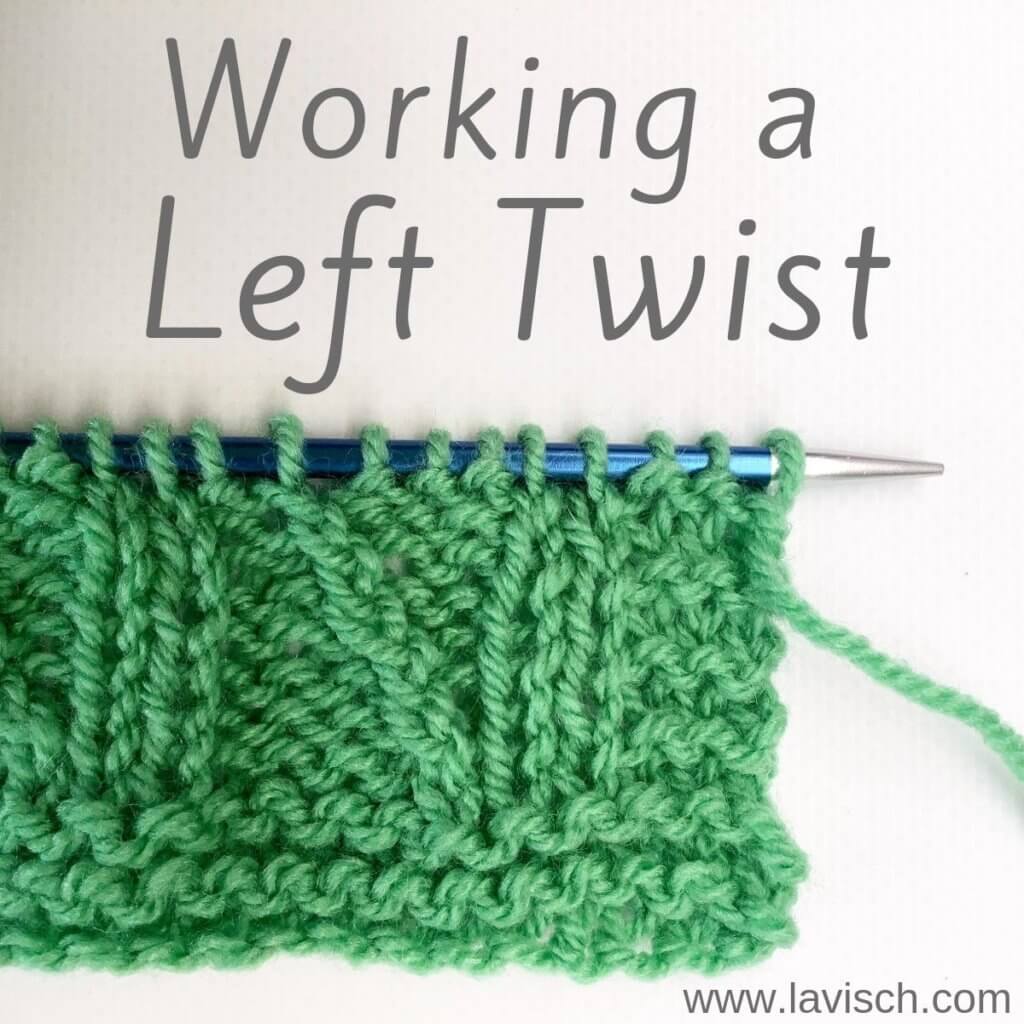
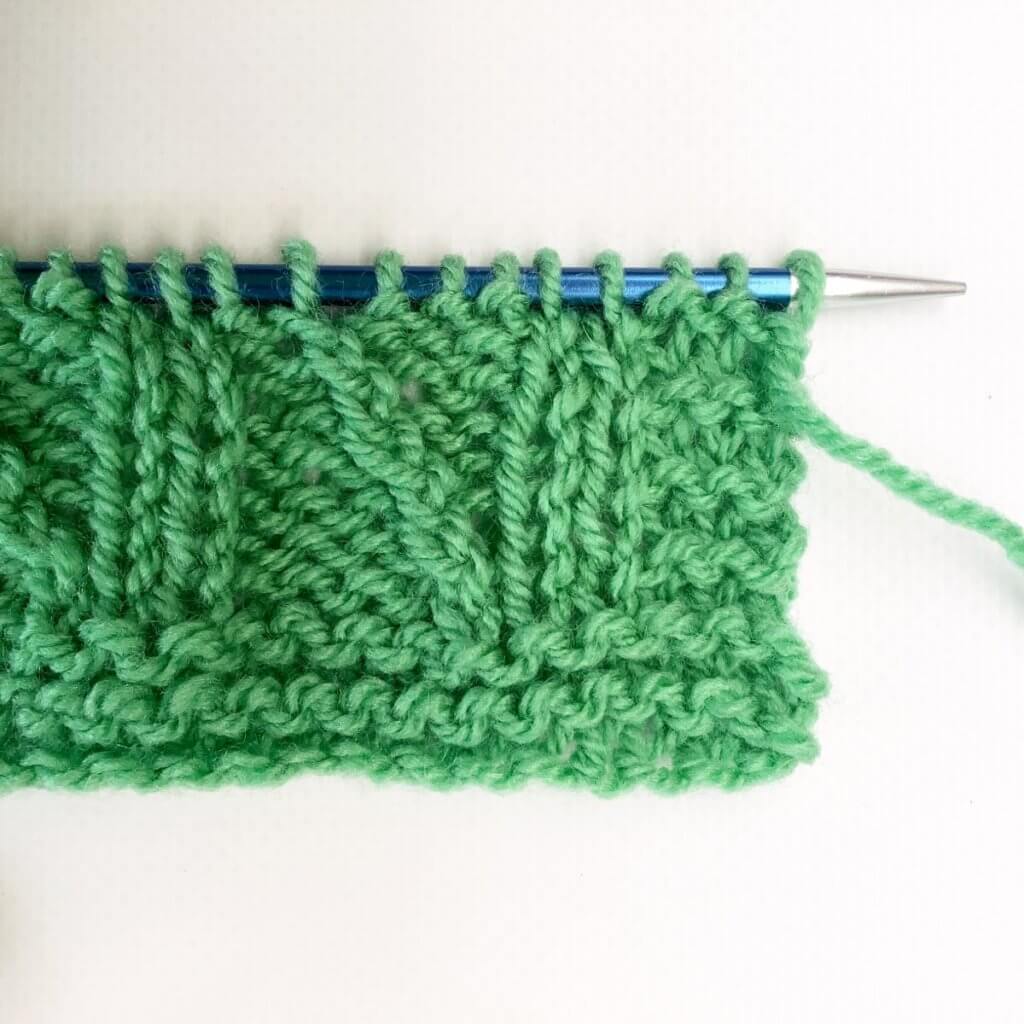
Some words about the swatch
In this swatch, I’ve taken part of the stitch pattern in which I encountered the Left Twist stitch. It consists of a k3, p4 rib in which the left-most knit stitch travels across the purl stitches until it joins the next column of knit stitches. As you can see, I’ve already worked one RS row with a Left twist, as well as it’s accompanying WS row.
Working a Left Twist step by step
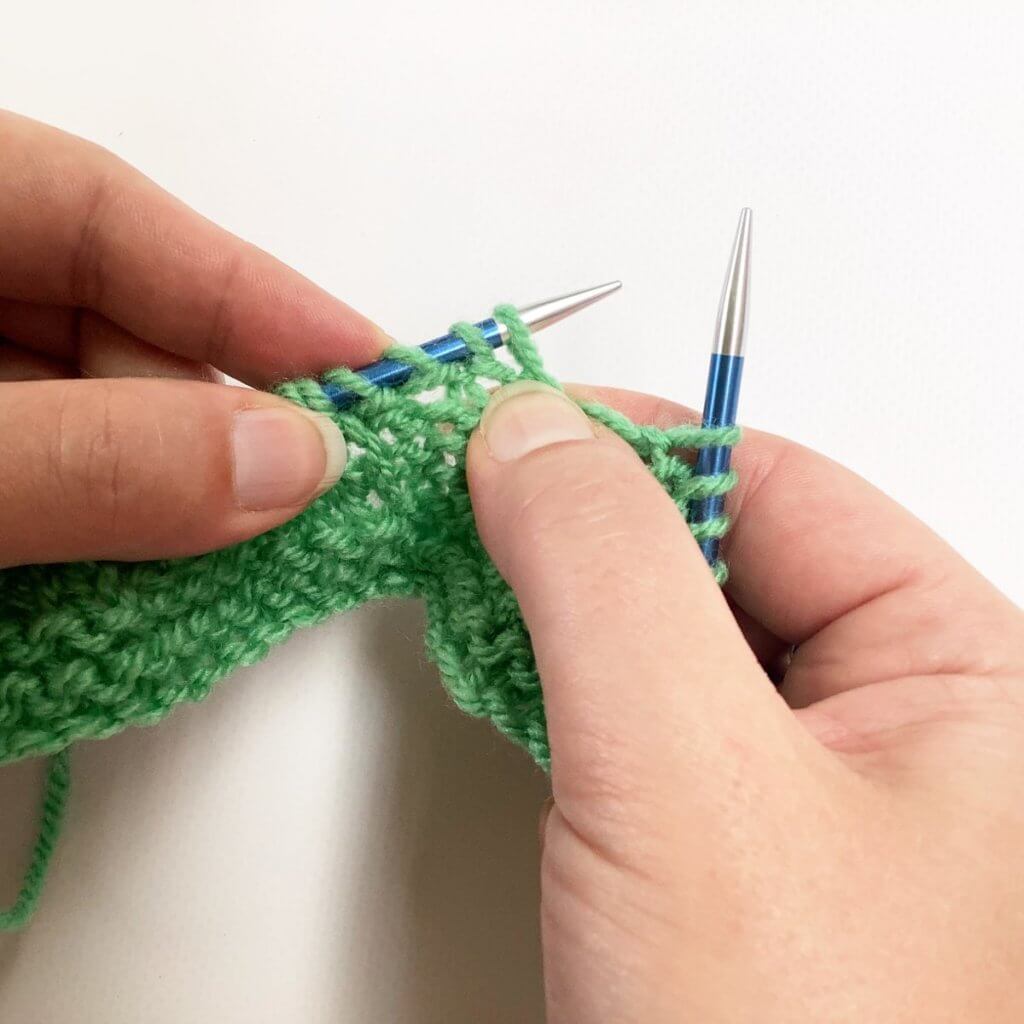
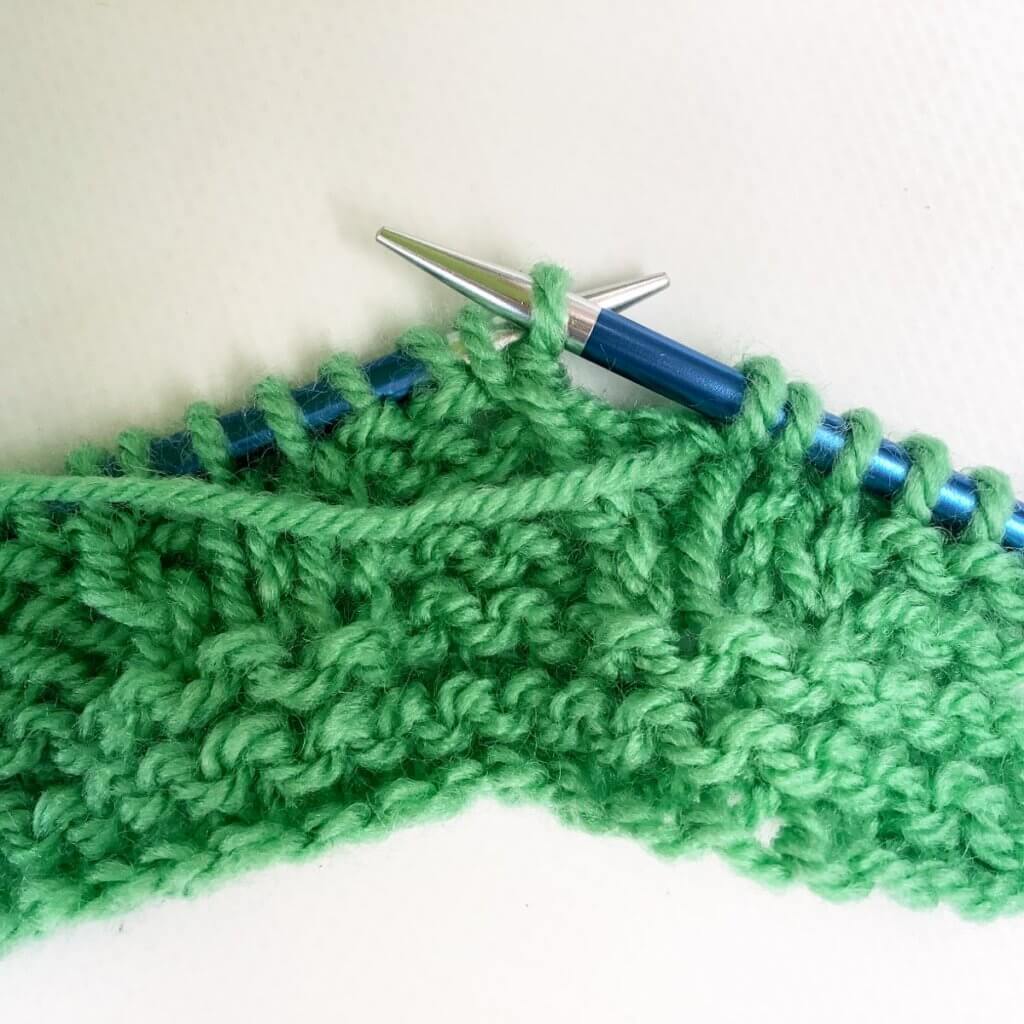
1. The first 2 stitches on the left-hand needle in the picture below, are the ones we’re going to work the Left Twist over. In other words: we’re going to switch the order of the knit and the purl stitch, to make it appear that the knit stitch travels to the left.
2. First I make sure to move the working yarn to the front of the work since the first stitch to work will be a purl stitch. Next, I grab the yarn directly below the 2 stitches to be switched and pinch down as pictured.
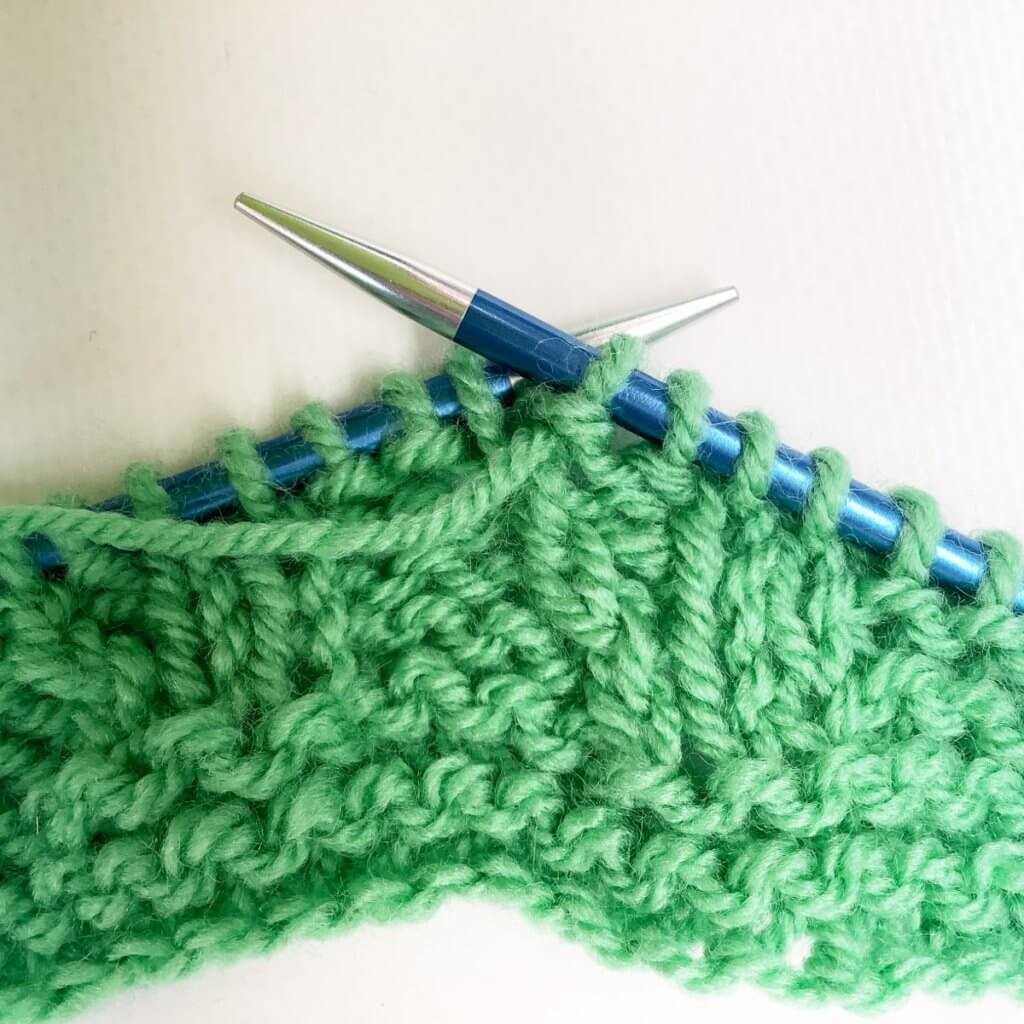
3. Next, I move these stitches off the left-hand needle. Keeping the fabric pinched, makes sure that the stitches won’t ladder down.
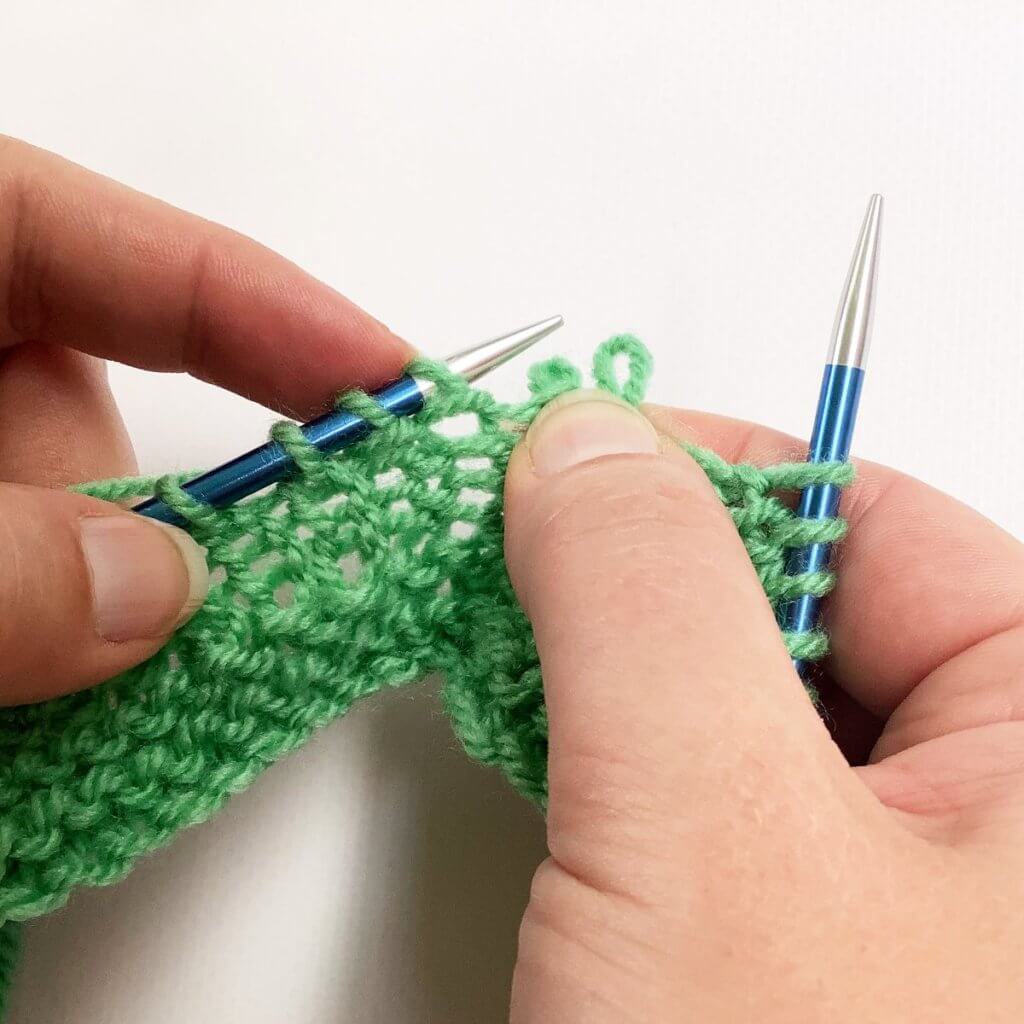
4. Then insert the left-hand needle knit wise into the loose stitch on the right to put it back on the needle. Make sure to keep pinching the fabric underneath the other stitch! Especially now we’re placing some stress on the yarn.
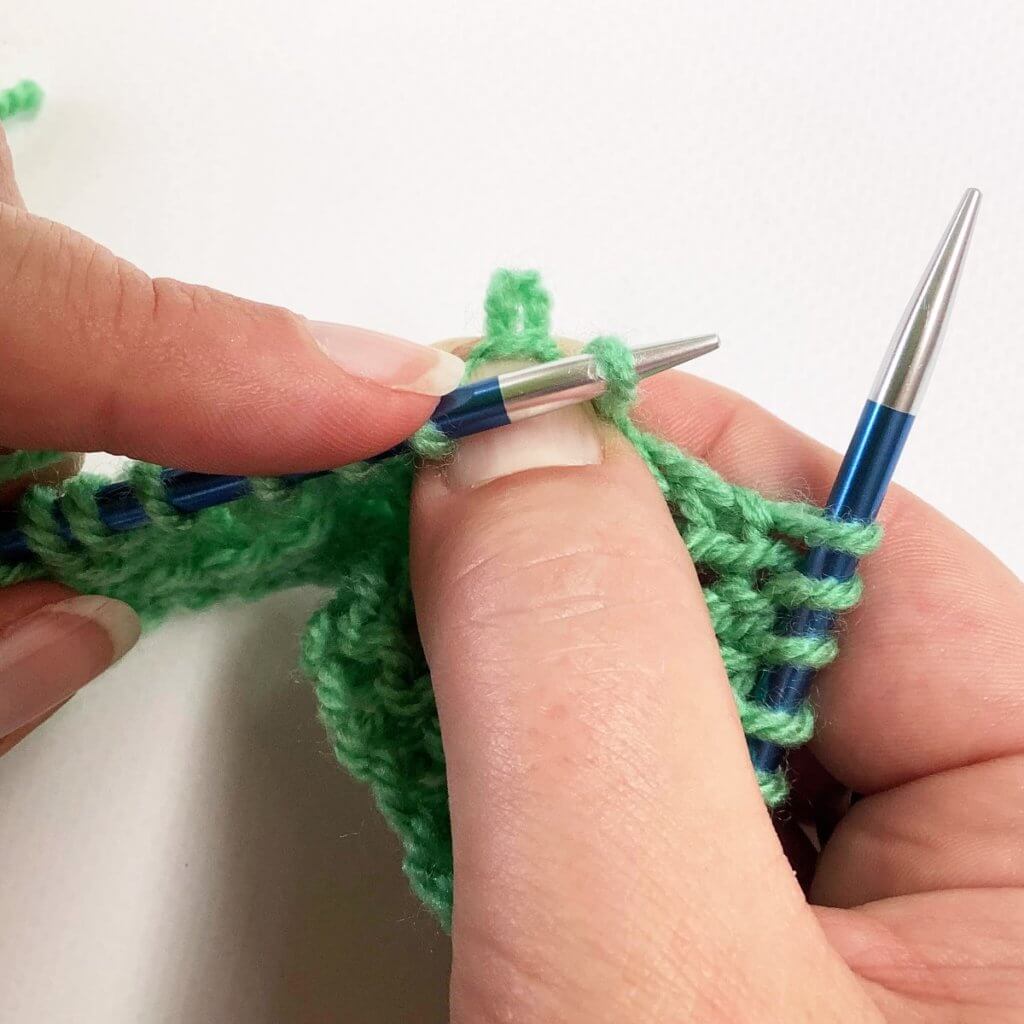
5. Now insert the left-hand needle knit wise into the remaining loose stitch and put it back on the needle. This can be somewhat fiddly.
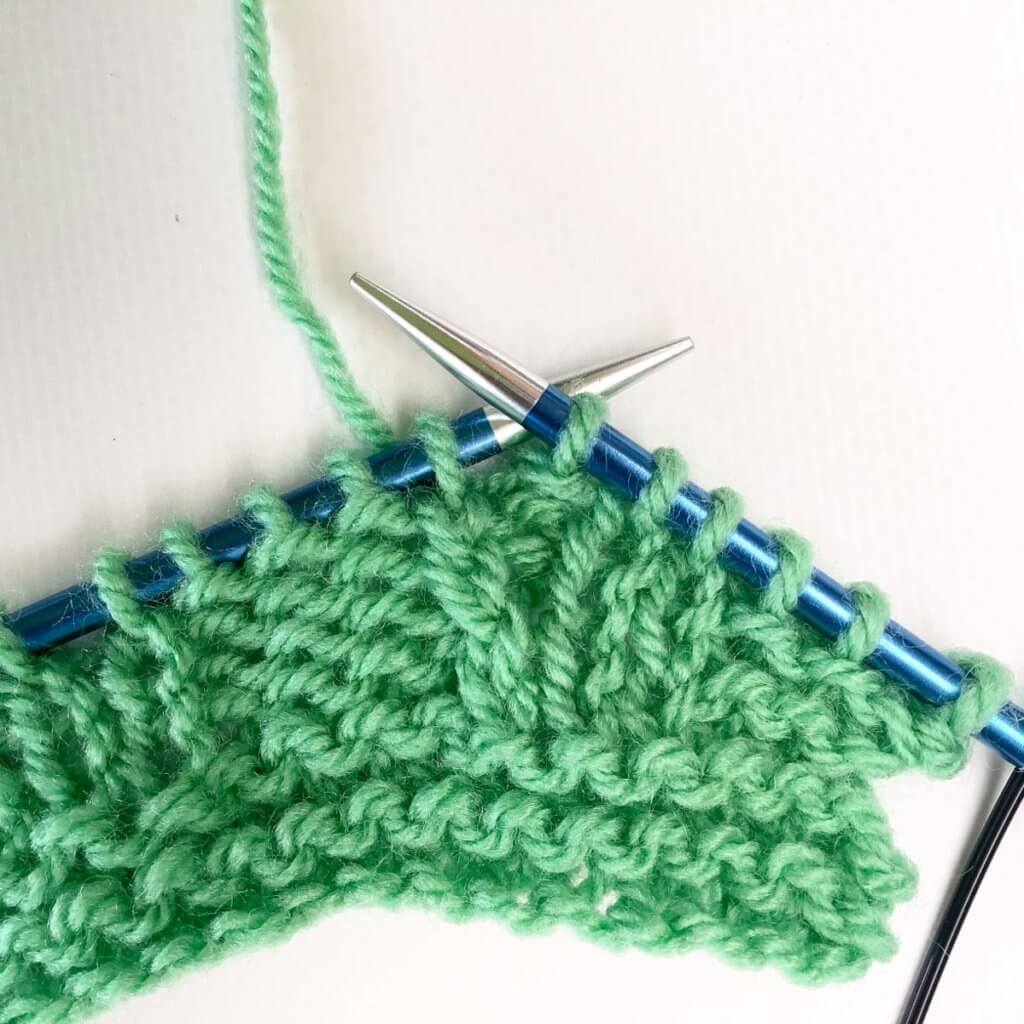
6. Now it’s time to insert your right-hand needle purl wise into the first stitch from the tip of the left-hand needle.
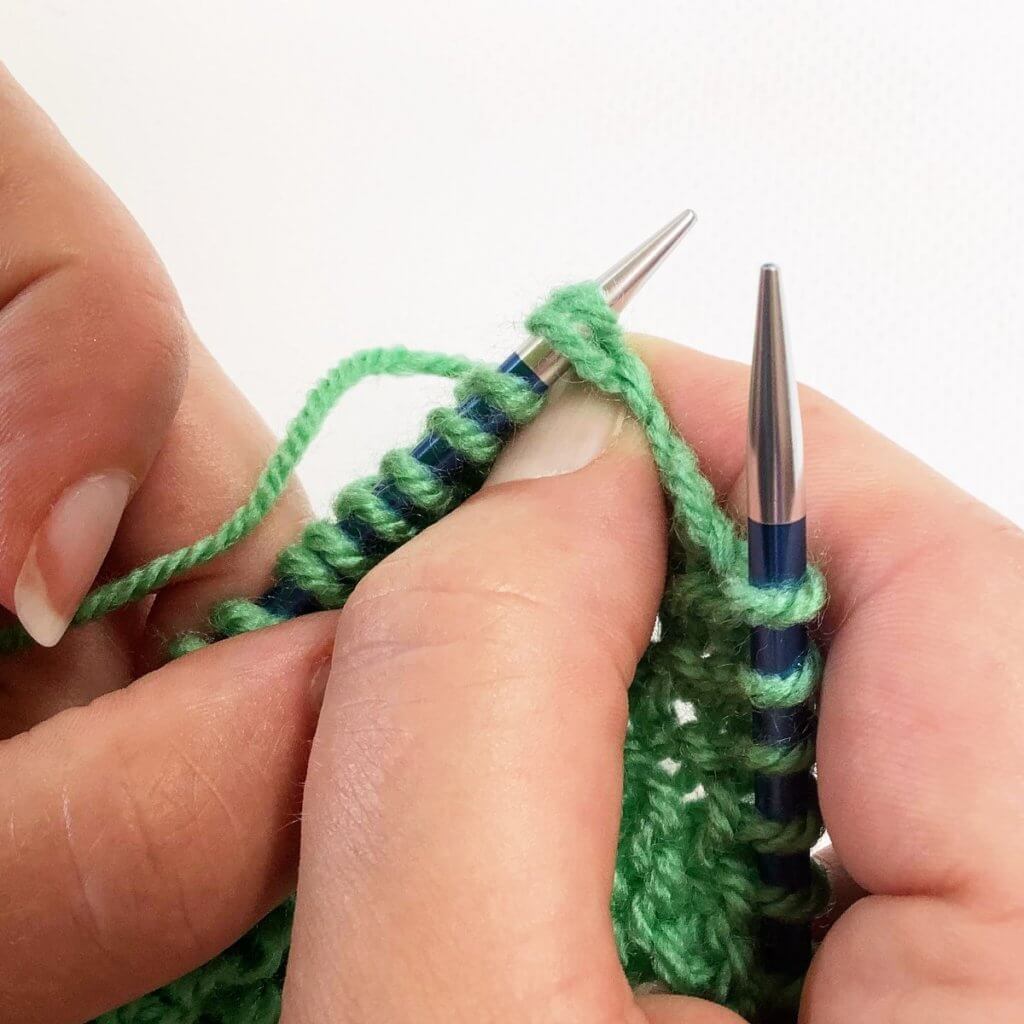
7. Next, wrap your yarn around the needle, pull it through and let the stitch slide of the needle to complete the purl stitch.
8. Next is to work the traveling stitch itself. To make it pop against the background and tighten it up a bit, this stitch is worked through the back loop. So, insert your right-hand needle knit wise into the first stitch from the tip of the left-hand needle.
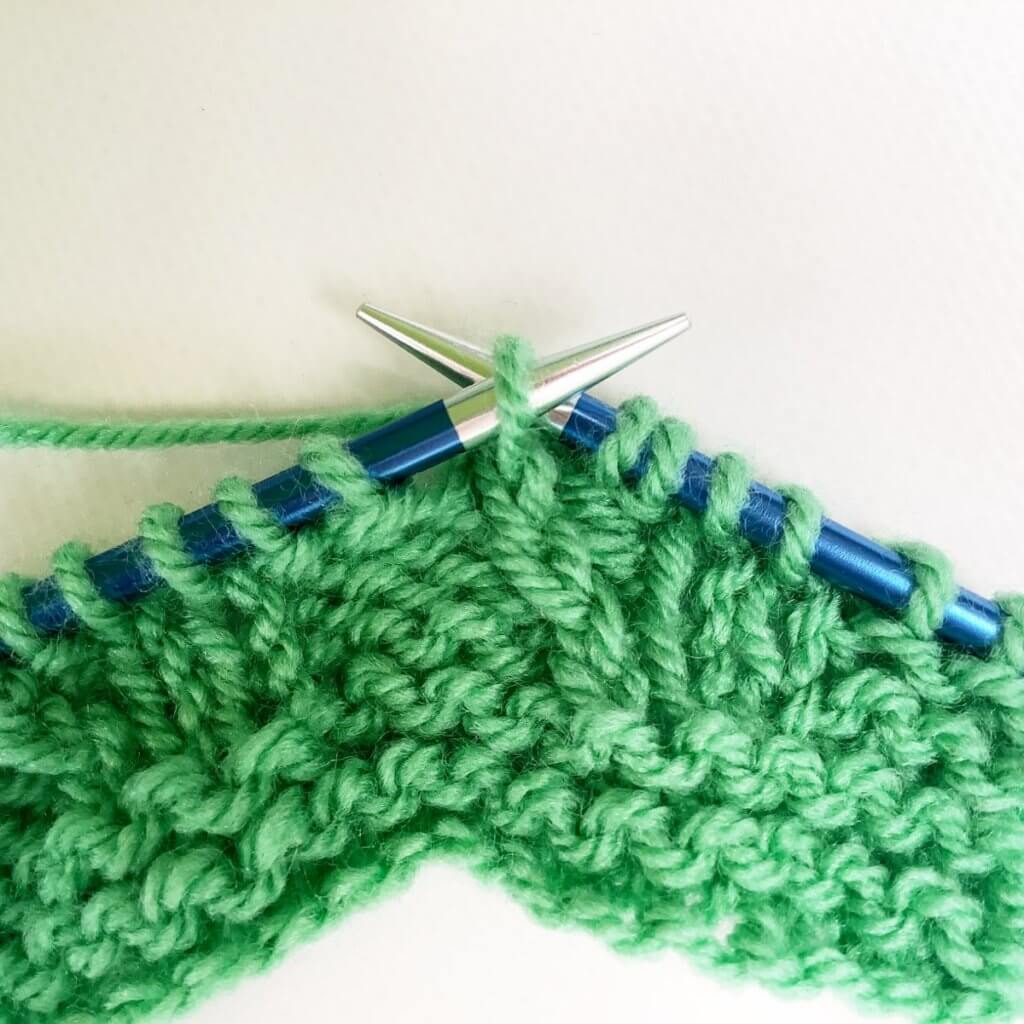
9. Next, wrap your yarn around the needle, pull it through and let the stitch slide of the needle to complete the twisted knit stitch.
Then what?
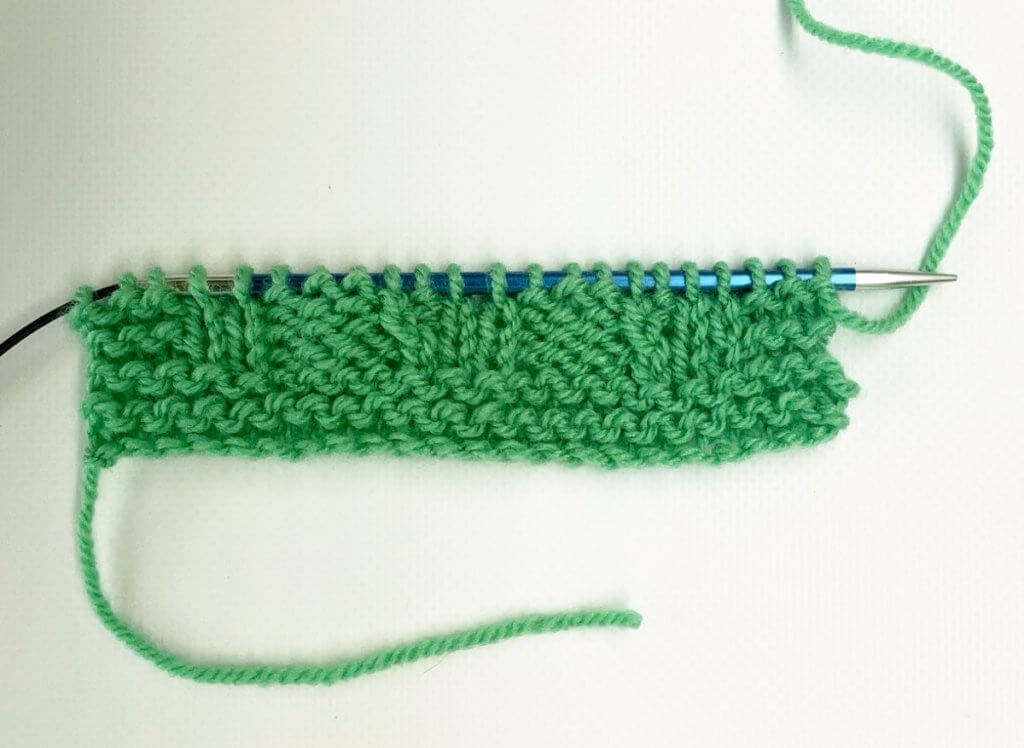
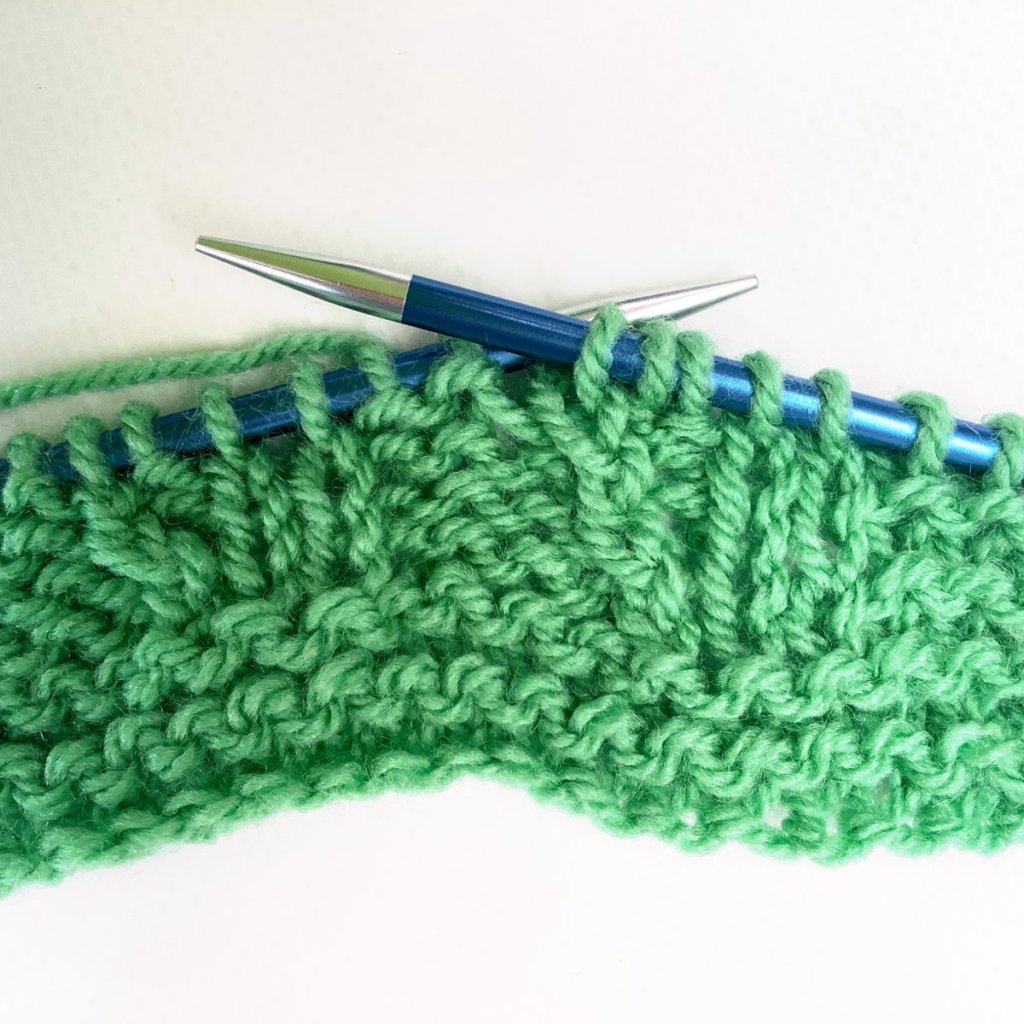
On the following wrong side row, work the stitches as they present themselves. In other words: what looks like a knit stitch is knit, what looks like a purl stitch is purled, and the “traveling stitch” itself is purled through the back loop. Below is how it looks after a couple of more rows have been worked. Please note this piece has not been blocked!
Of course, there is also a Right Twist tutorial, you can find that one here.

Thanks to my Patreon supporters for bringing you this freebie! Creating quality patterns and tutorials is a lot of work and resource-intensive. However, I find it important to give you free content like this tutorial. Thanks to the generous support of my Patreon supporters, I can make it happen. Thank you, patrons! Click here to join, or click here to read more about La Visch Designs on Patreon.
")


